Marco decorativo navideño para interruptor🌲 //Christmas decorative frame for switch🌲[ESP-ING]
Buena noche queridos amigos espero que el inicio de esta semana sea productivo y prospera. Hoy vengo a compartir con ustedes una hermosa manualidad que hice con mucho cariño para ustedes. Como ya viene la temporada decembrina quise realizar una decoración para un prende y apaga con motivo de navidad. De verdad me gusto mucho como quedo.
Good evening dear friends, I hope the start of this week is productive and prosperous. Today I come to share with you a beautiful craft that I made with great love for you. As the holiday season is coming I wanted to make a decoration for a Christmas on and off switch. I really liked how it turned out.
A continuación empezamos.
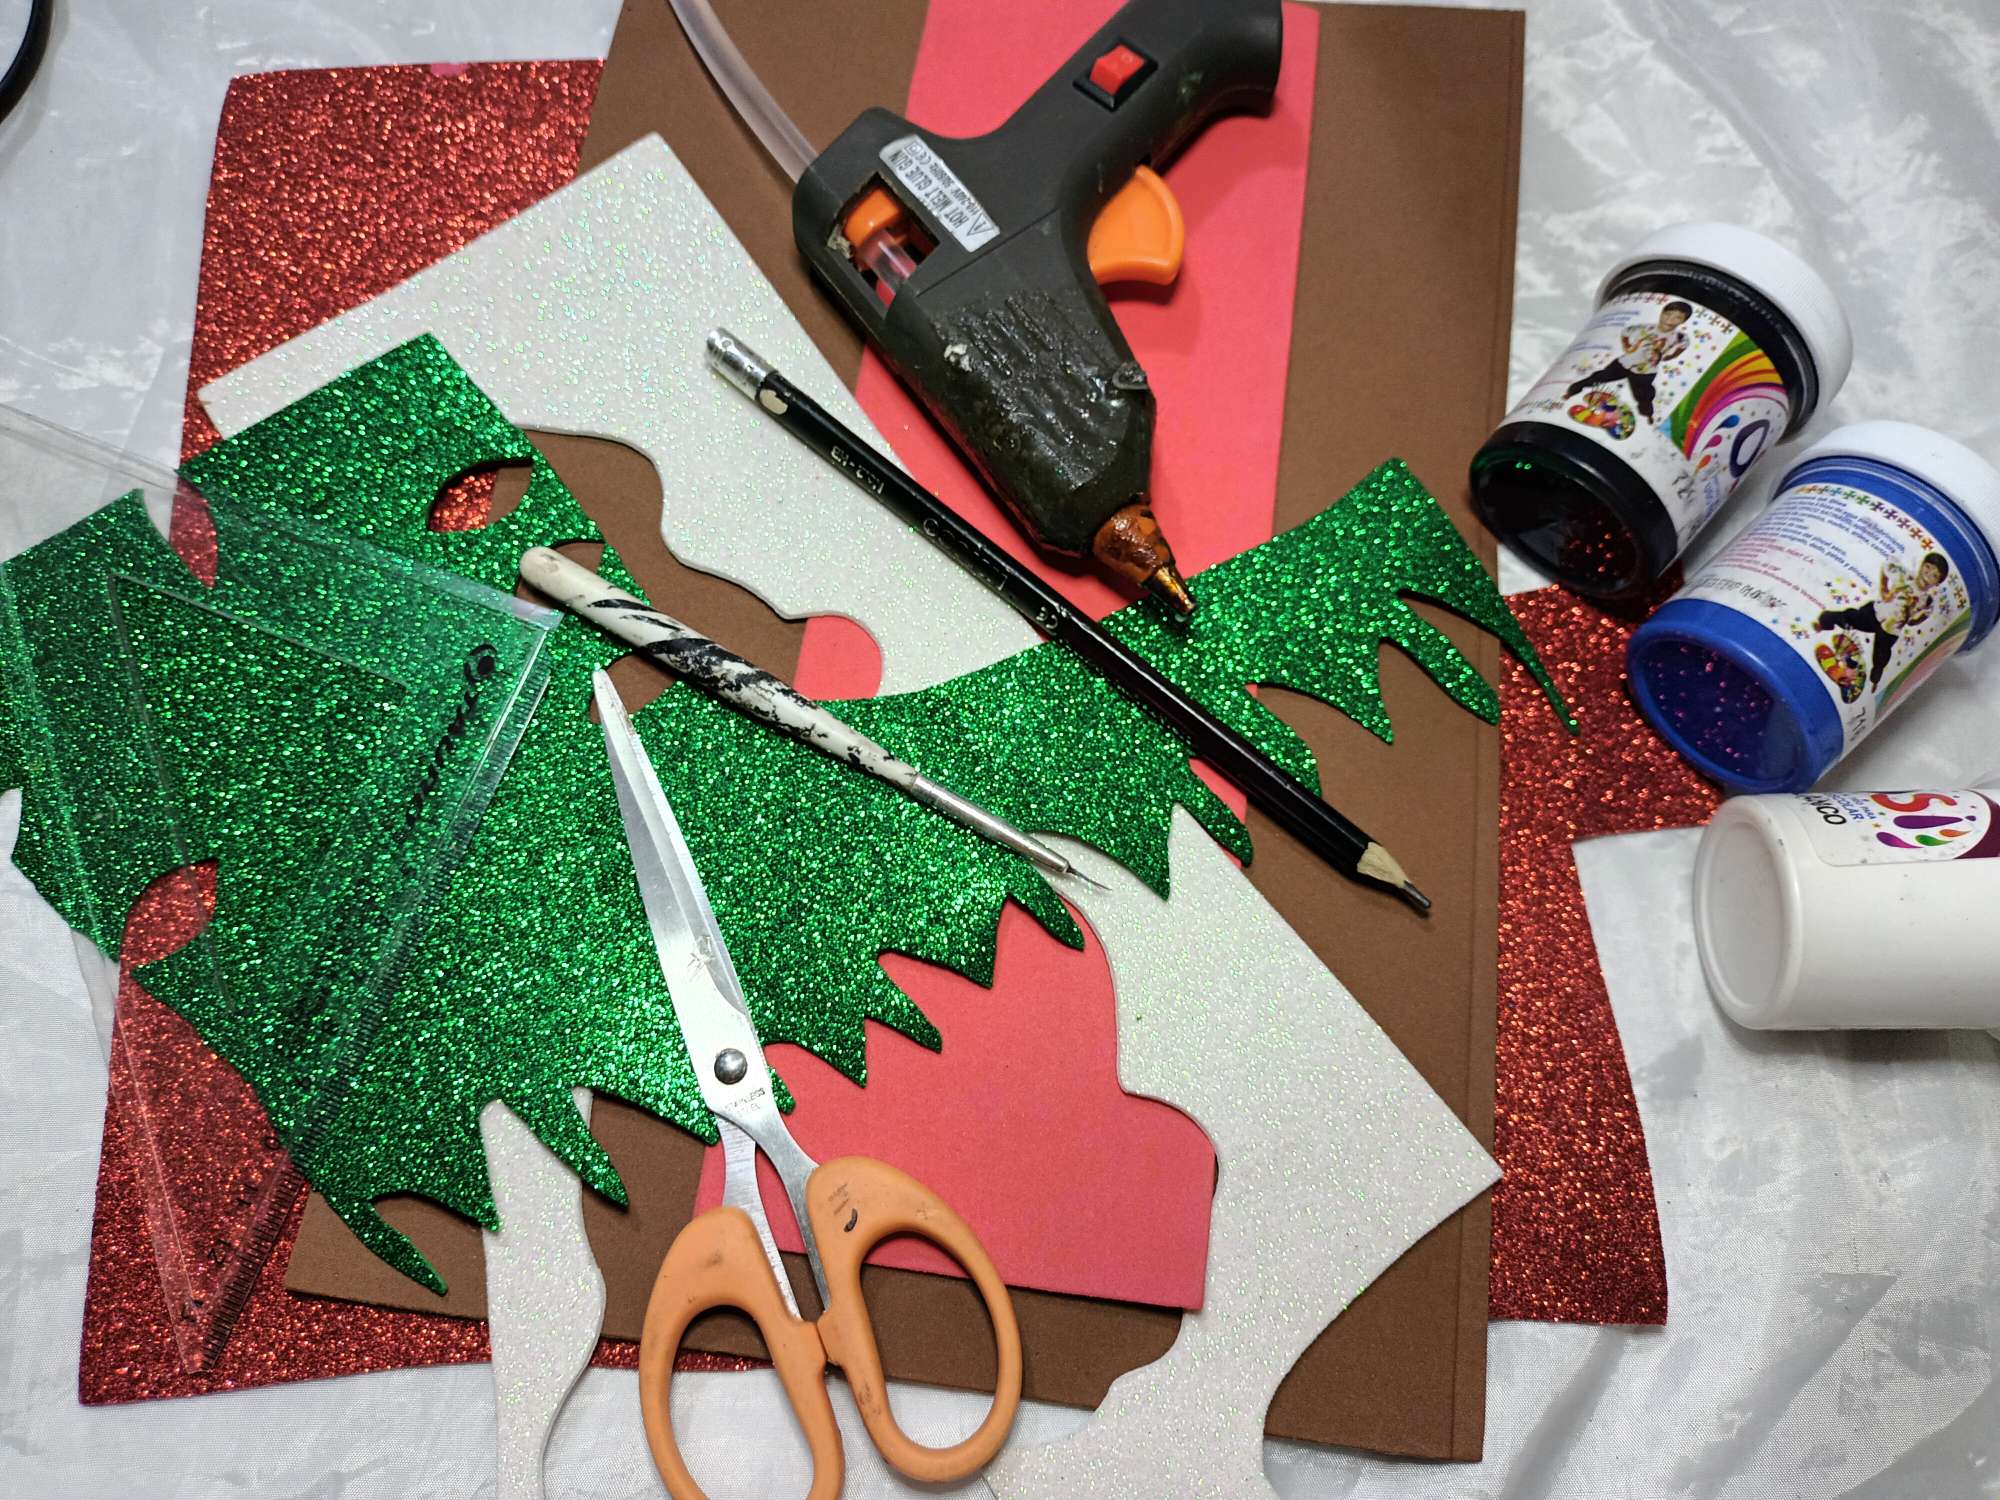
Materiales:
Foami(verde,rojo,blanco,marrón,dorado)
Tijera
Silicon
Regla
Pinturas
Pincel
Lápiz
Next we begin.
Materials:
Foami (green, red, white, brown, gold)
Scissors
silicon
Ruler
Paintings
Brush
Pencil
Paso a paso :
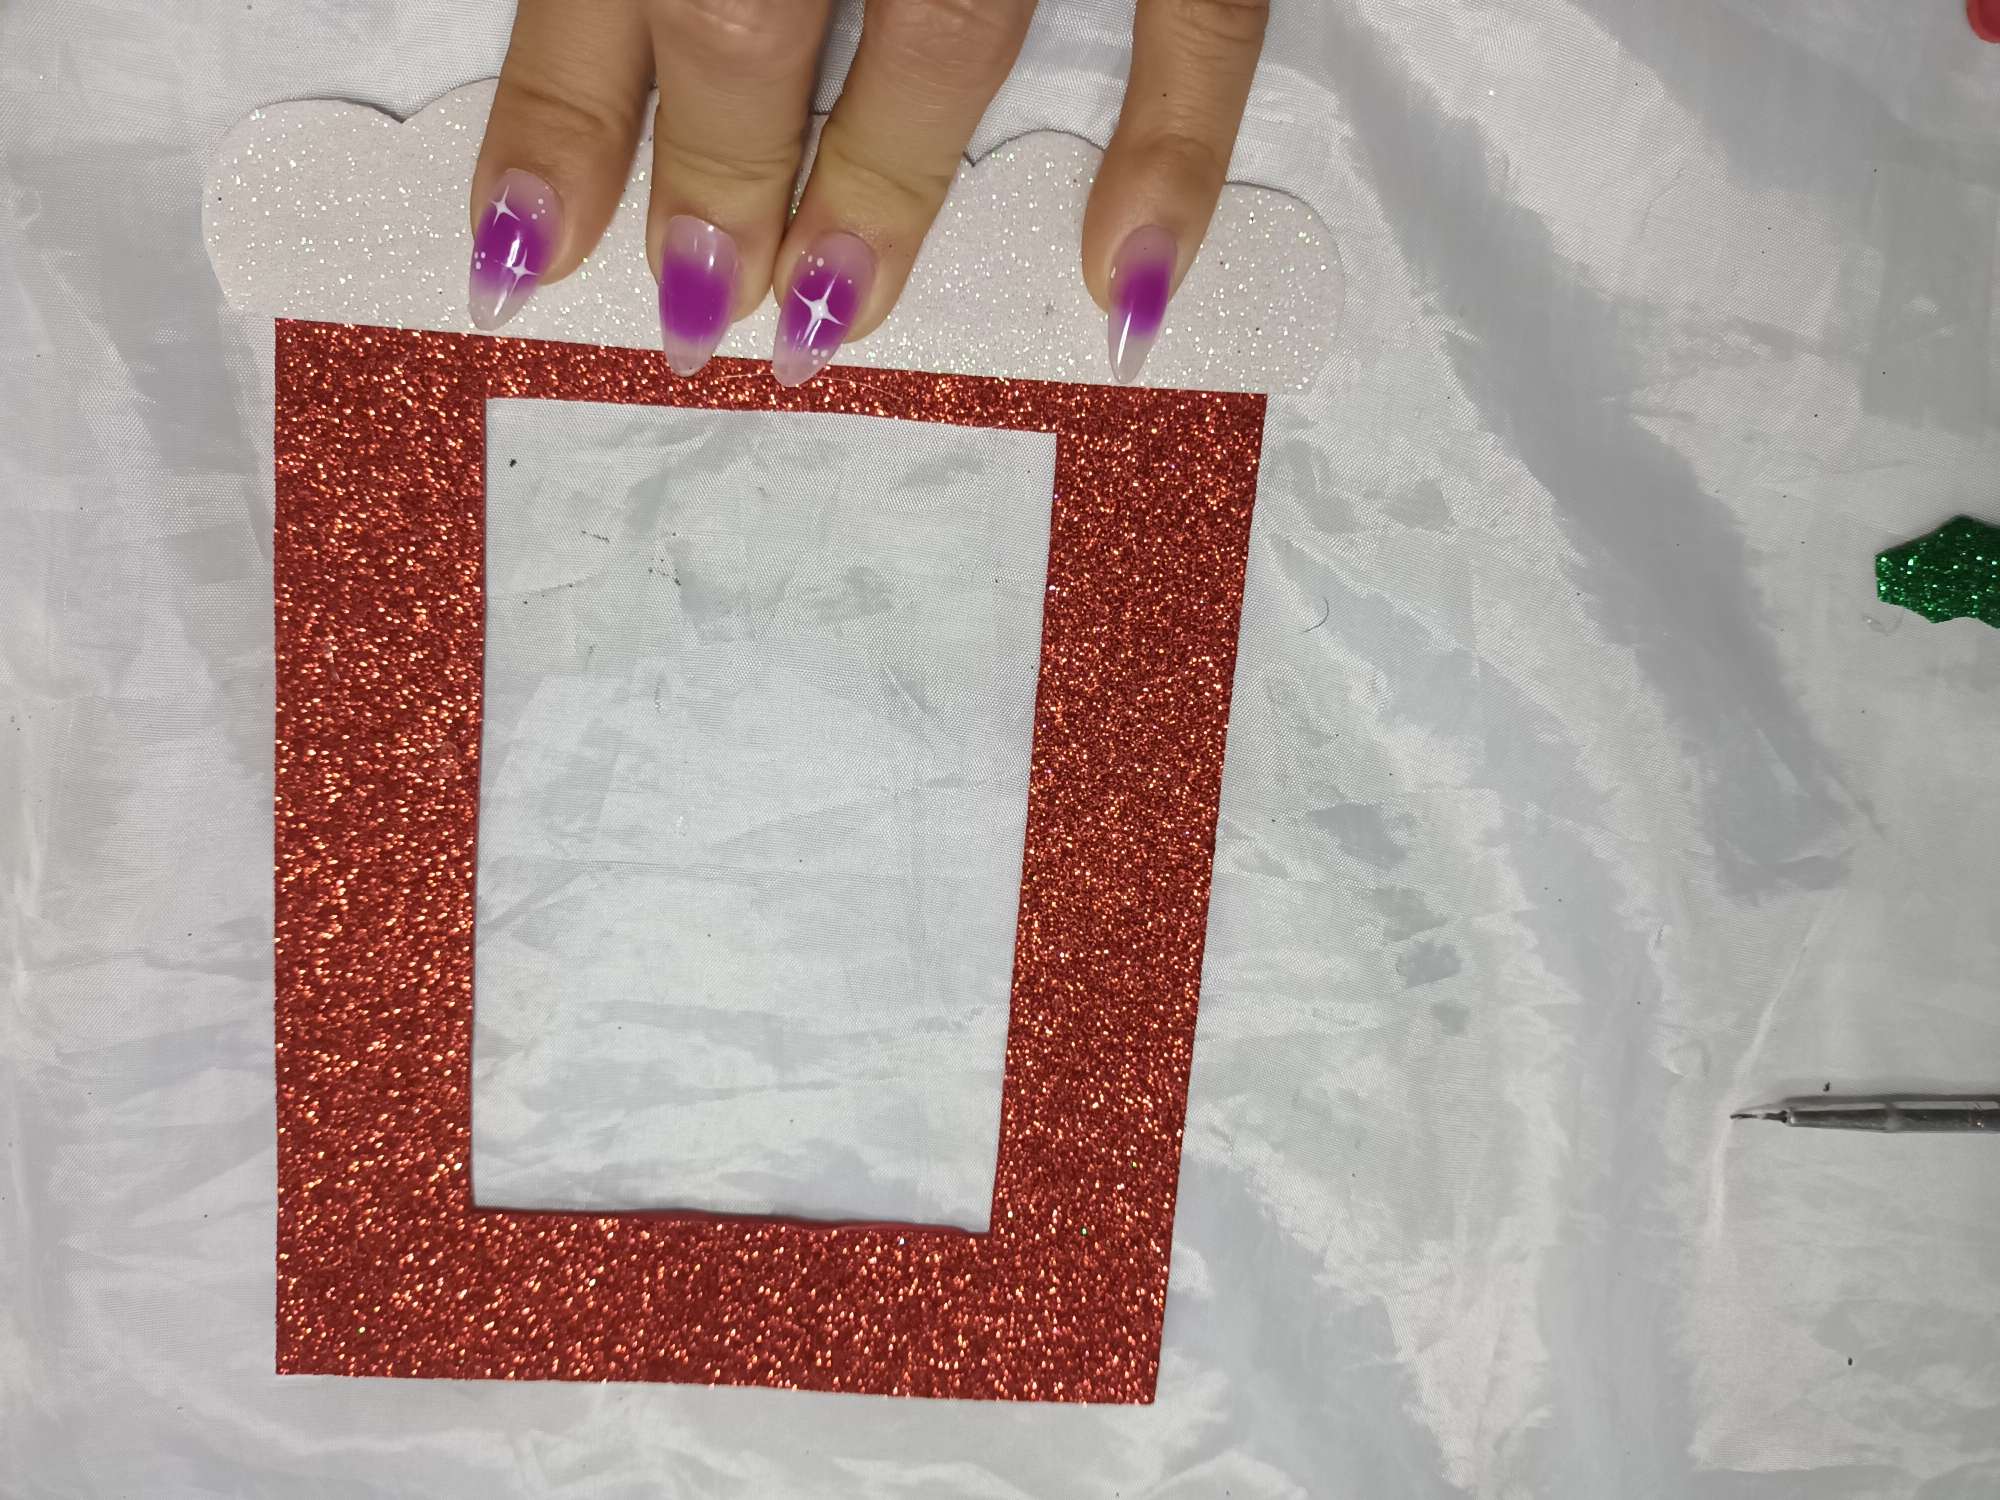
Lo primero que hacemos es el marco, medimos con una regla, horizontal tiene 7cm y vertical 11cm y de grosor 2.5cm . Aca les debo para que se guien.
Step by Step :
The first thing we do is the frame, we measure with a ruler, horizontally it is 7cm and vertically 11cm and 2.5cm thick. Here I owe them to guide themselves.

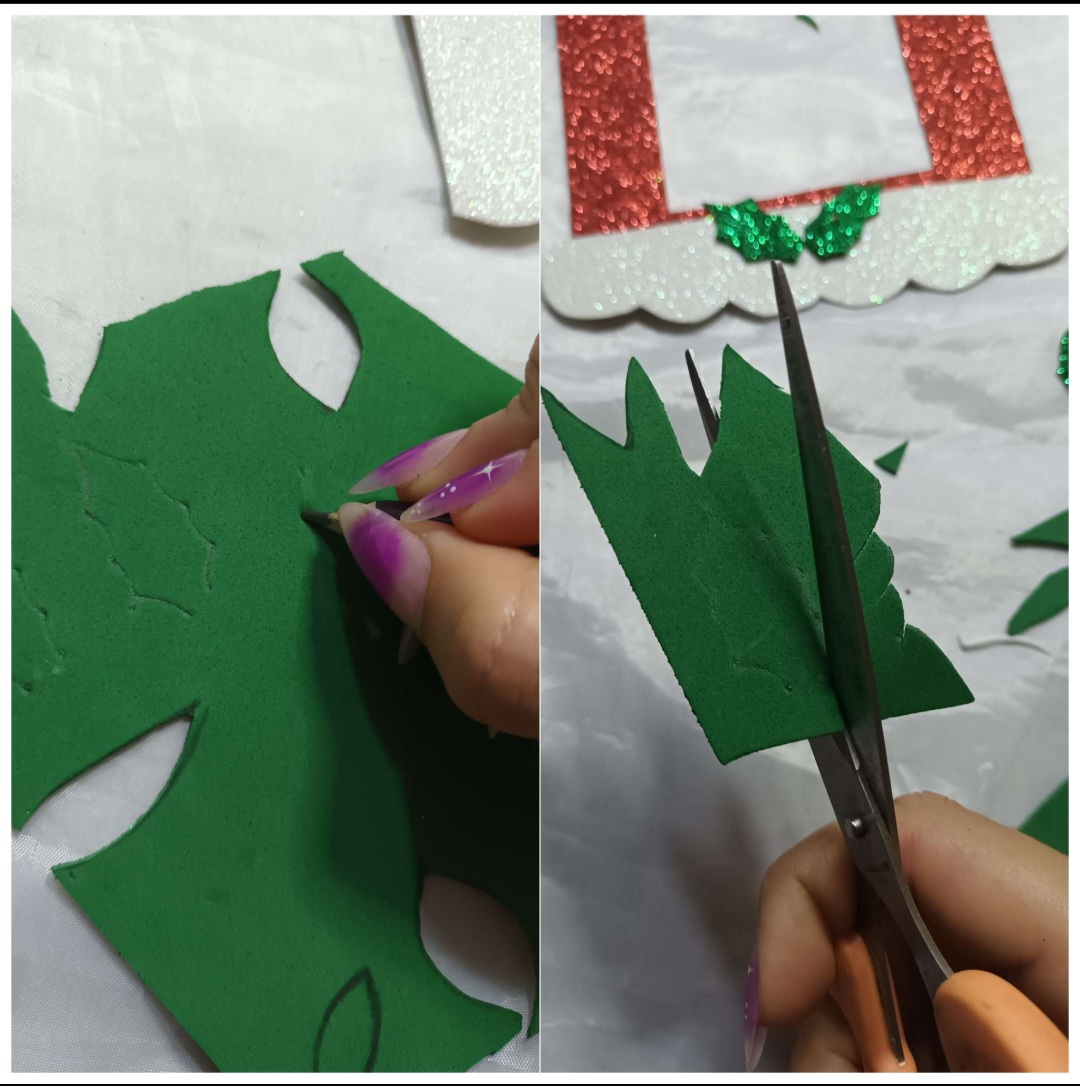
Una vez ya tenemos el marco, vamos a relizar nuestra hojitas las marcamos y las recortamos.
Once we have the frame, we are going to make our little leaves, mark them and cut them out.
Luego recortamos especie de una nube para colocarla en la parte de abajo.
Then we cut out a kind of cloud to place it at the bottom
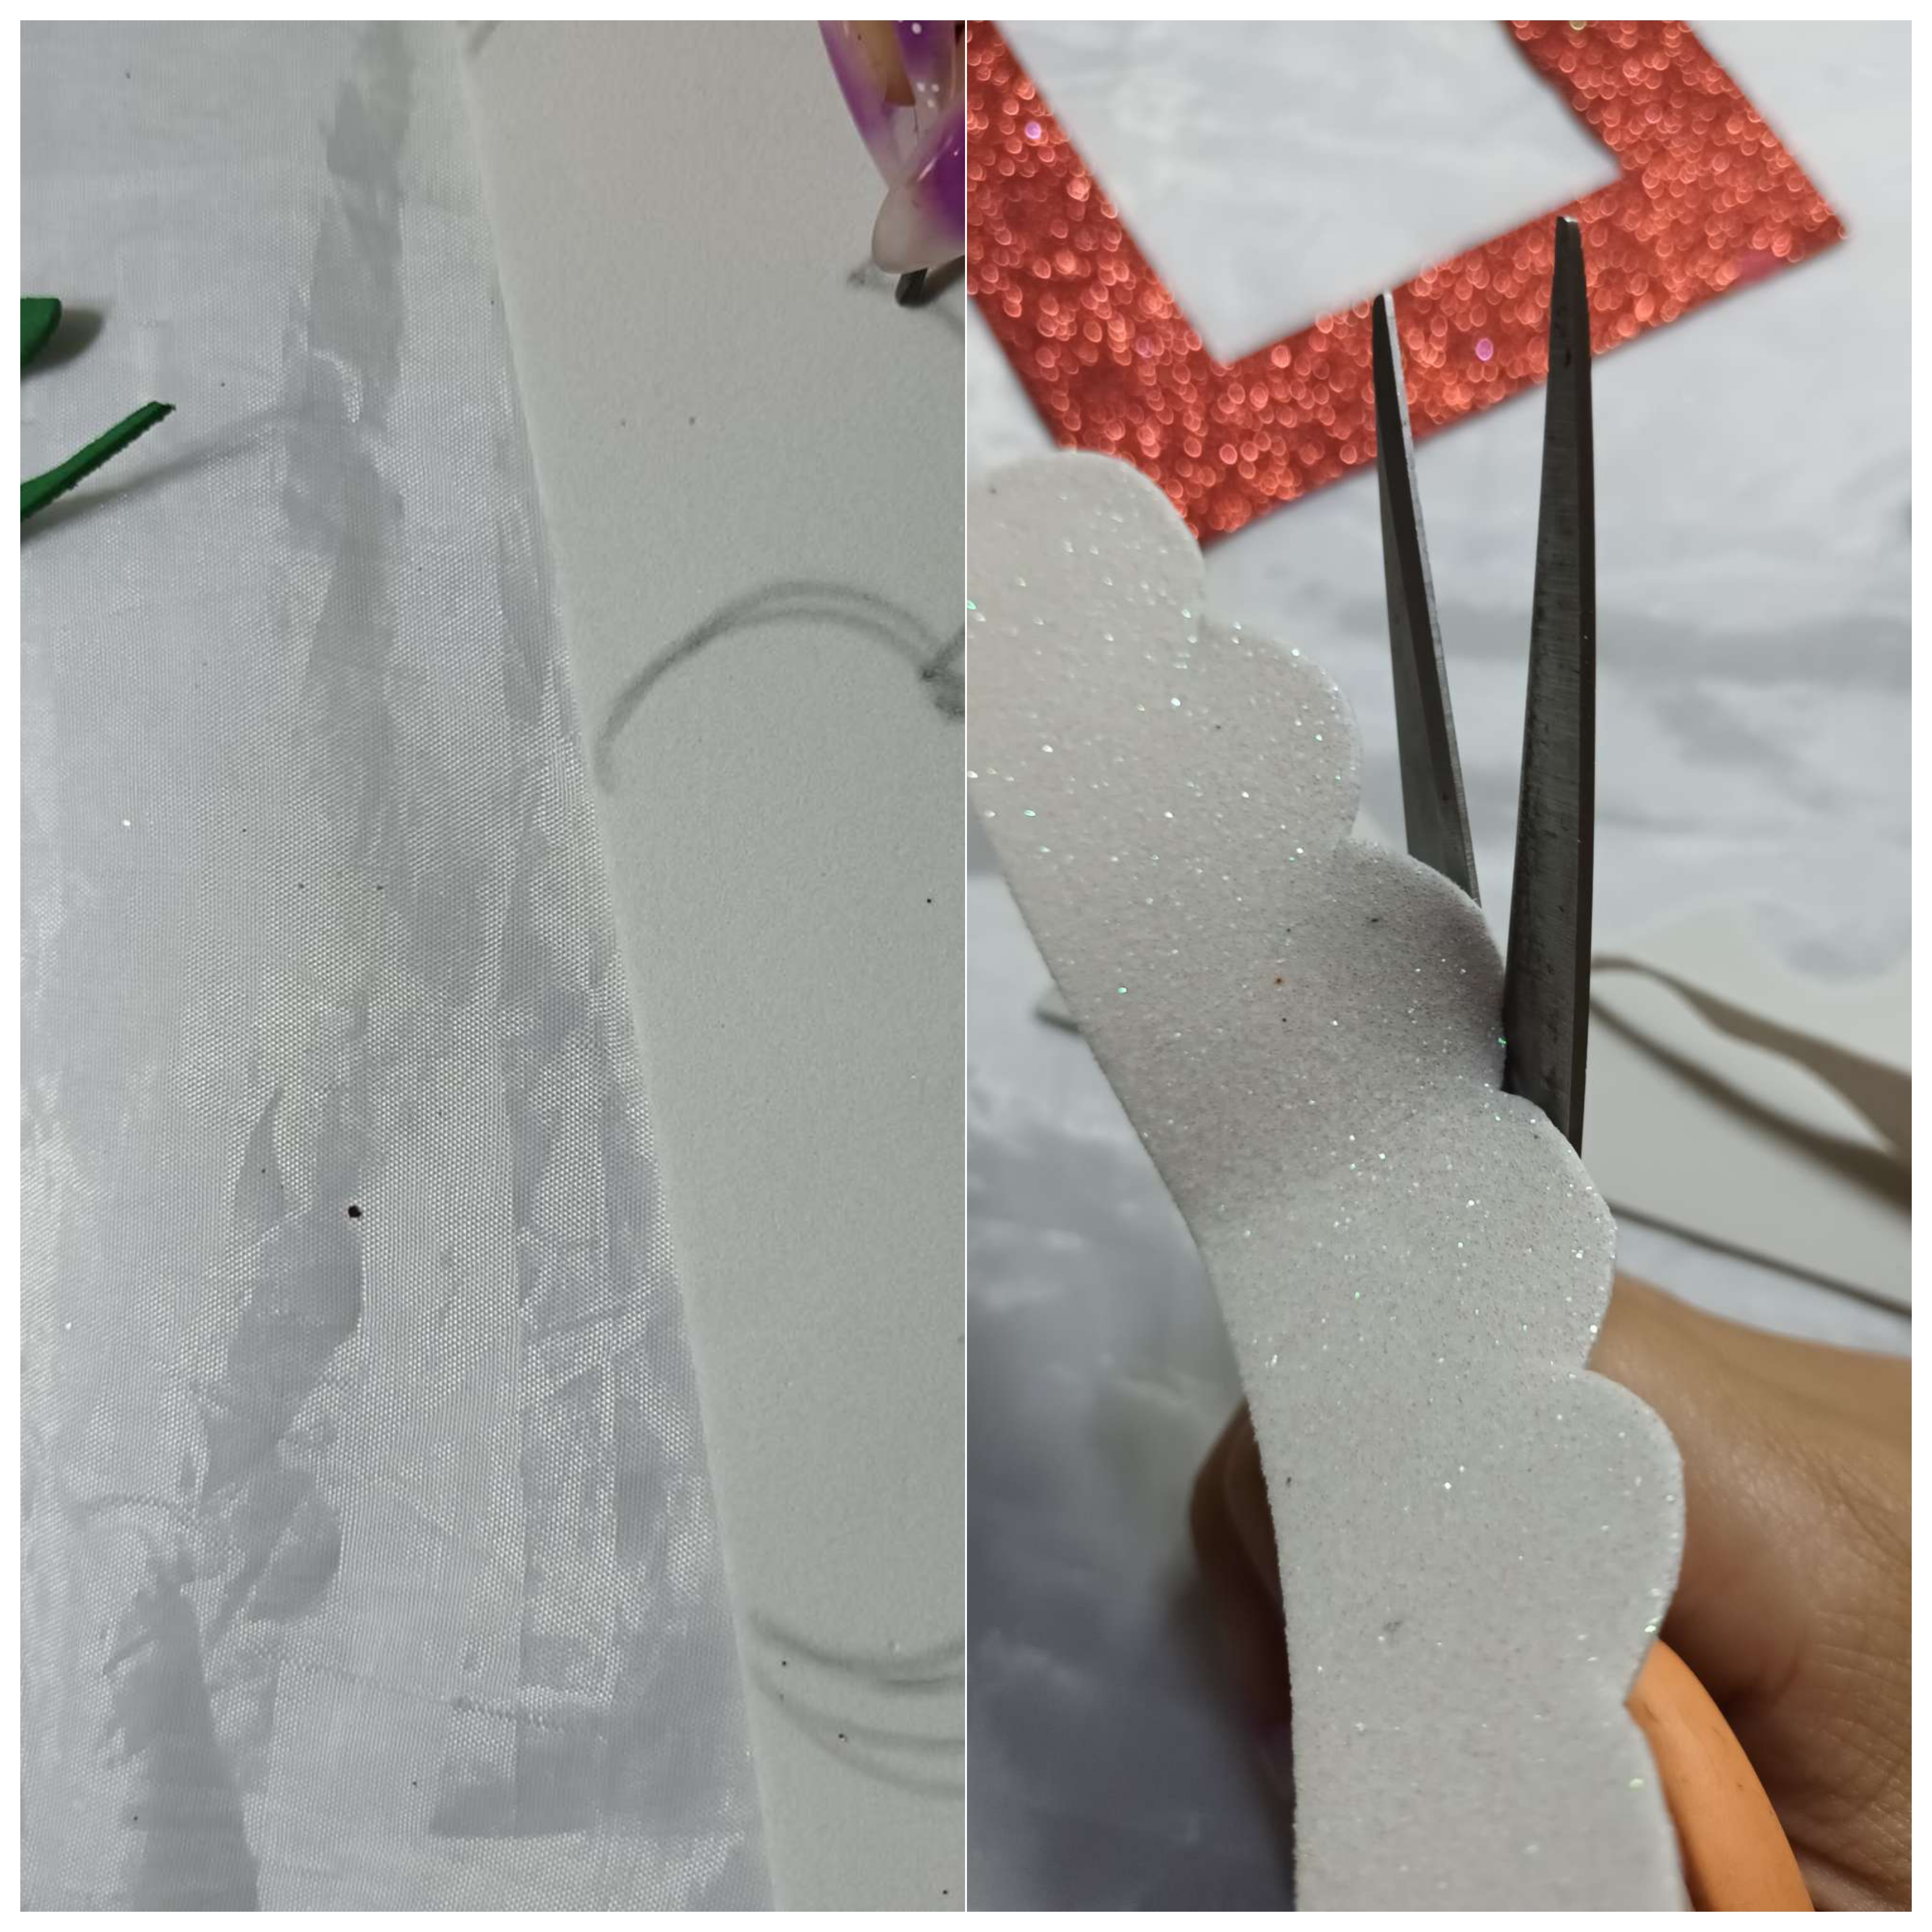
Se la pegamos a nuestro marco.
We glue it to our frame.
Luego realizamos los patrones de nuestro muñeco de navidad, en este caso un reno.
Then we made the patterns for our Christmas doll, in this case a reindeer.
Una vez tengamos los patrones
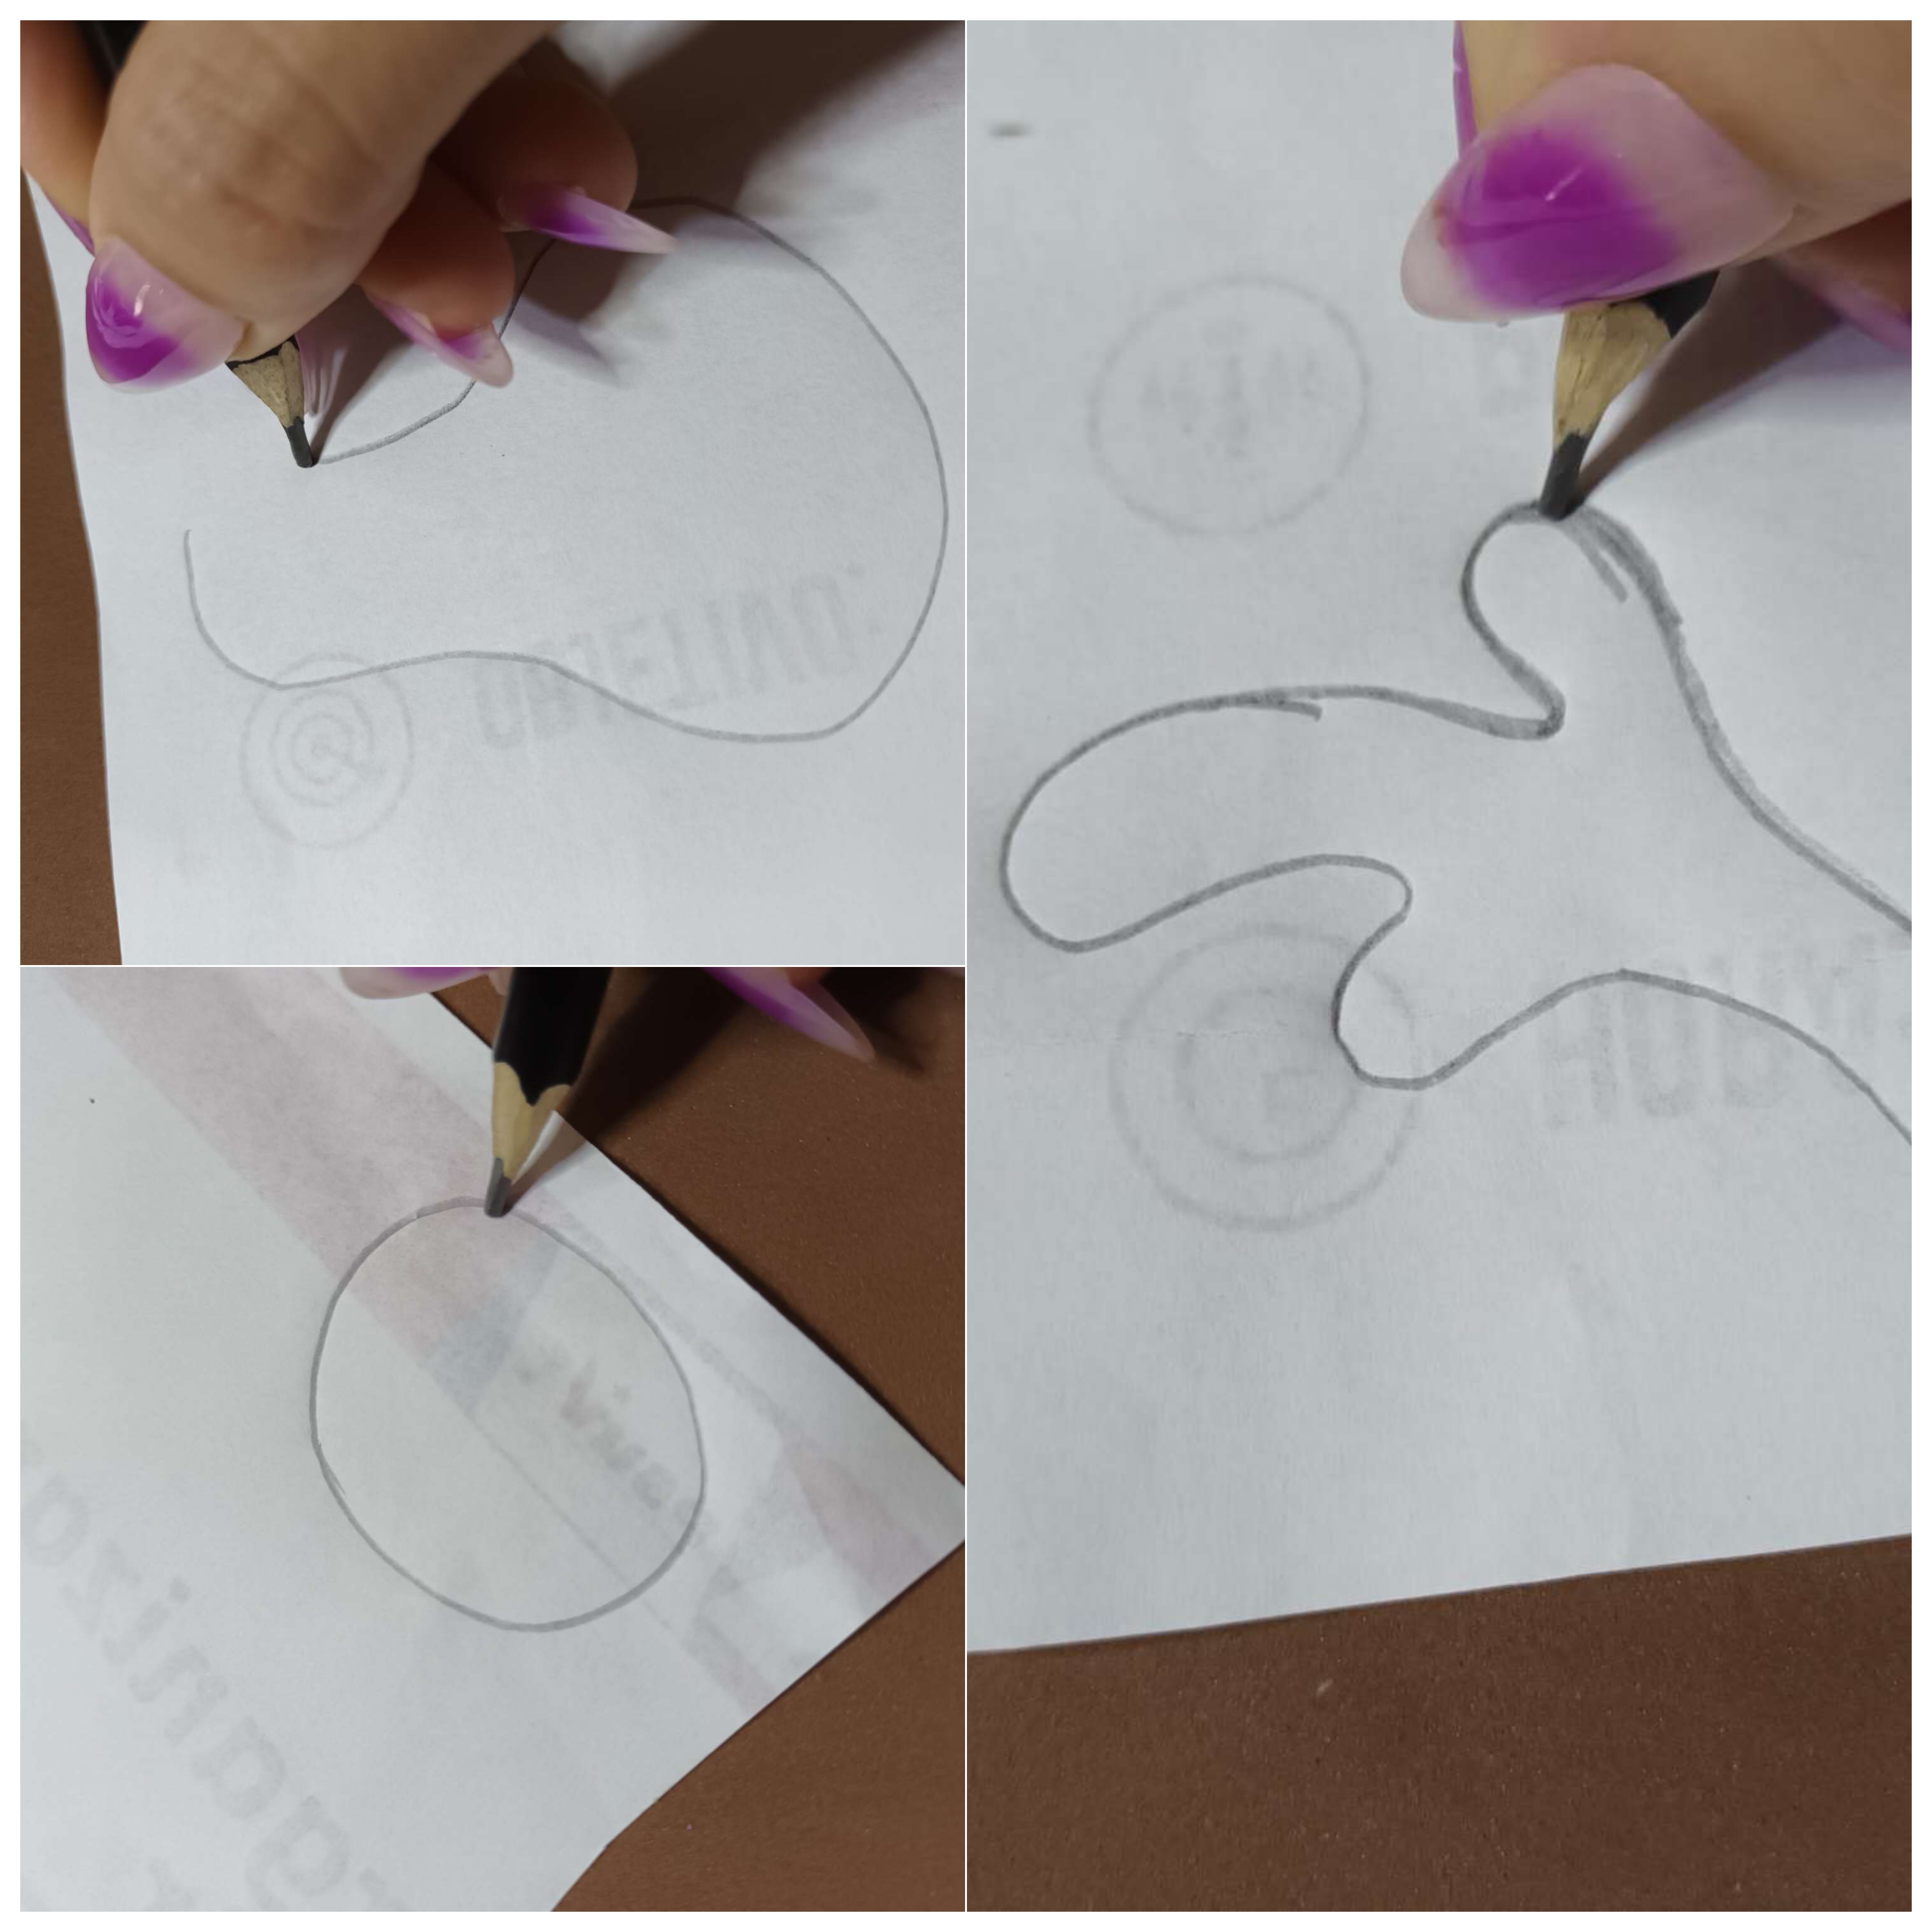
Luego lo marcamos en el color de foami indicado.
Then we mark it on the indicated foam color.
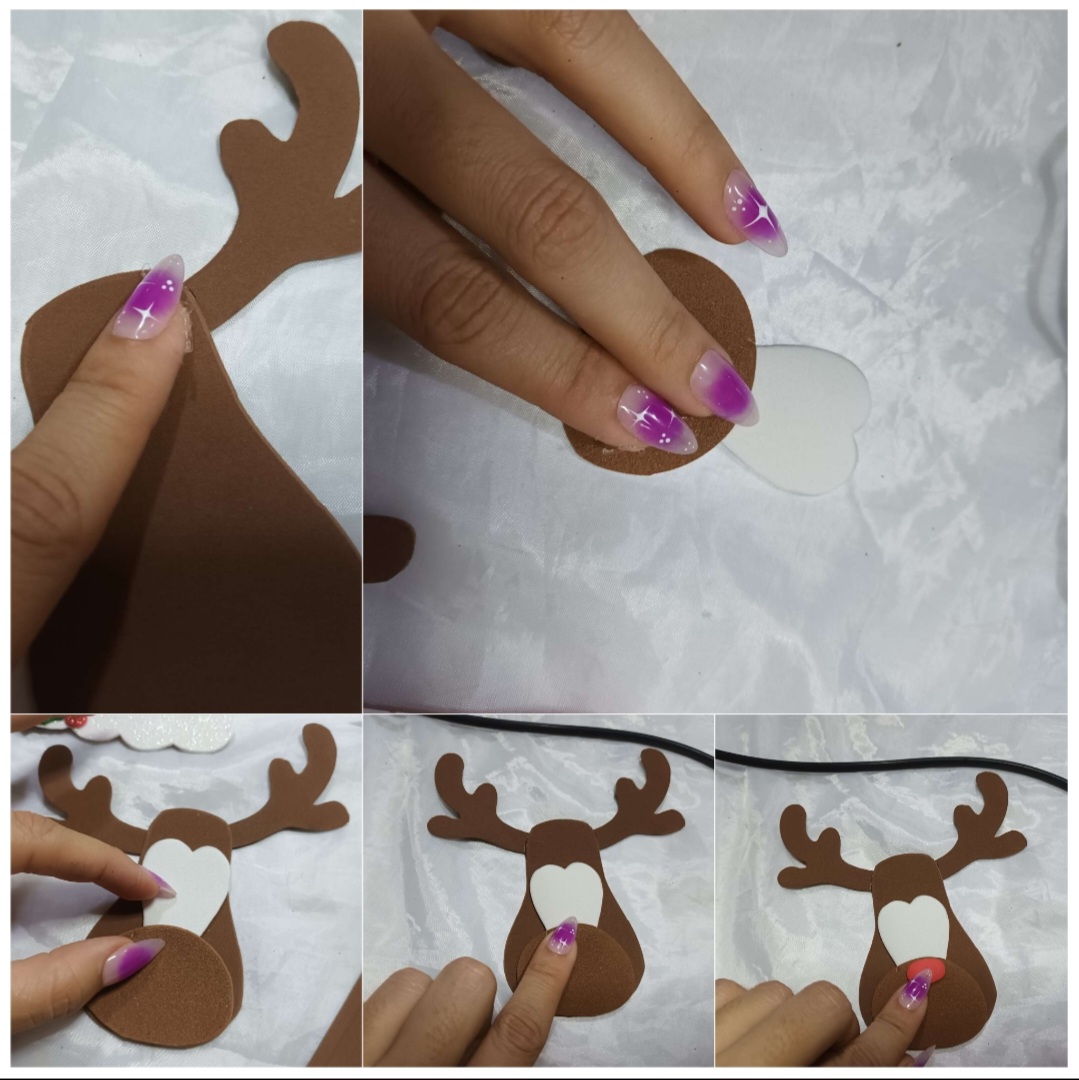
Una vez tengamos todas piezas listas vamos pegando cada una, primero los cuernos, lueo pegamos los ojos del ocico , luego pegamos el ocico de toda la cara.
Once we have all the pieces ready, we glue each one, first the horns, then we glue the eyes of the nose, then we glue the nose of the entire face.
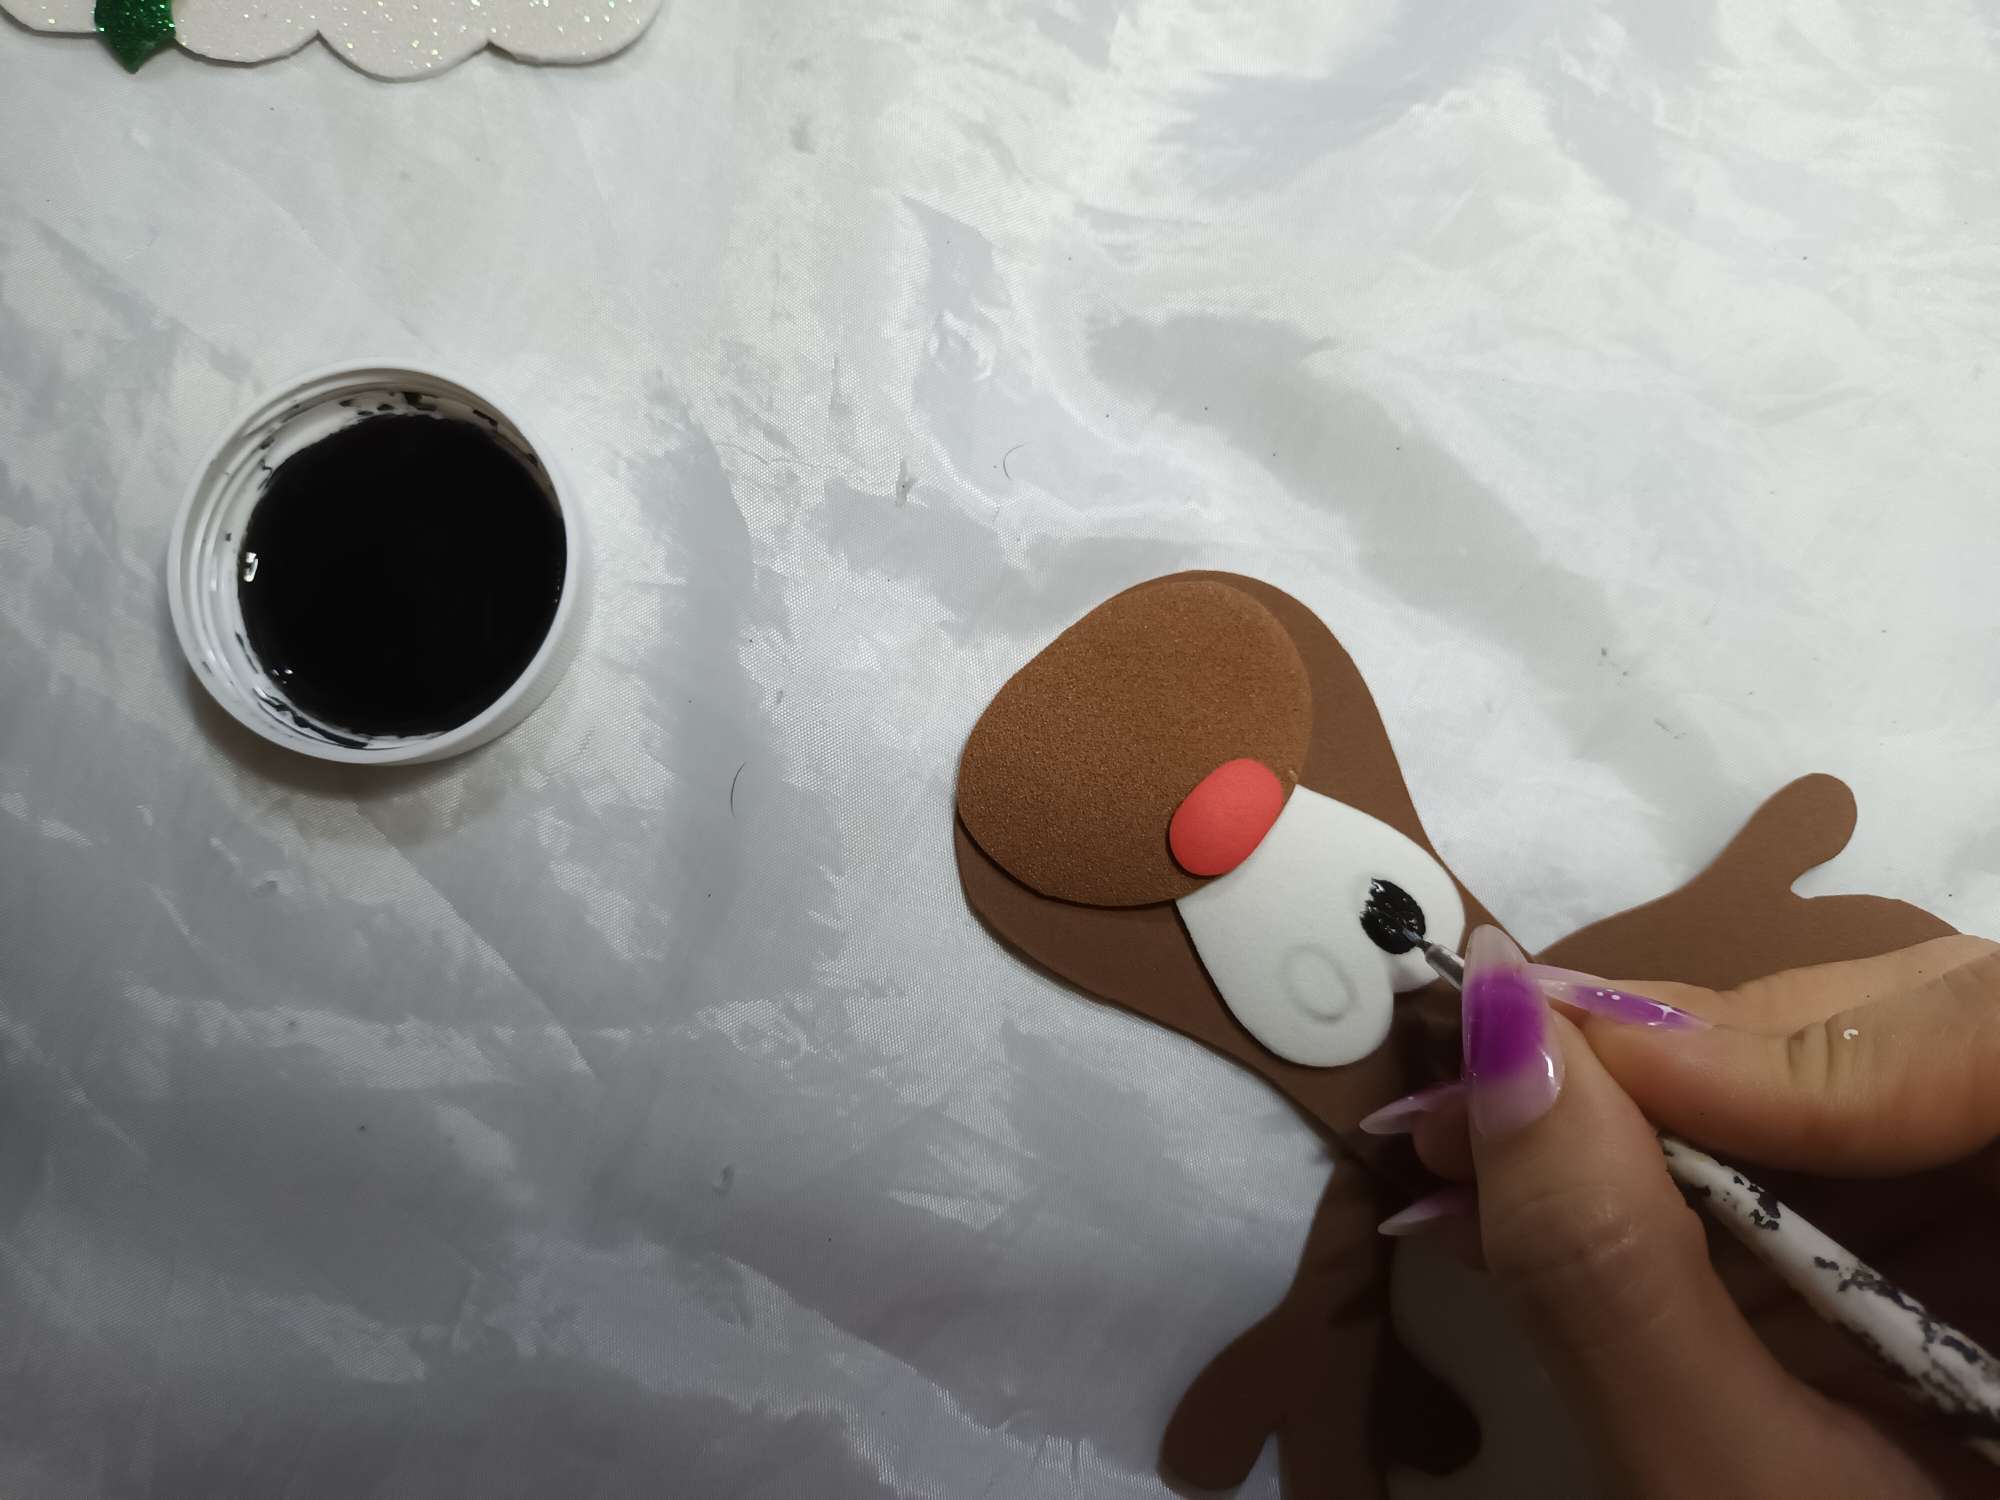
Una vez tengamos el muñeco todo pegado . Agarramos un pincel para hacerle los ojos y algunos otros detalles con pintura.
Once we have the doll all glued together. We grabbed a brush to make the eyes and some other details with paint.
Pegamos nuestras hojitas y nuestras cerecitas a el marco.
We glue our leaves and our cherries to the frame.
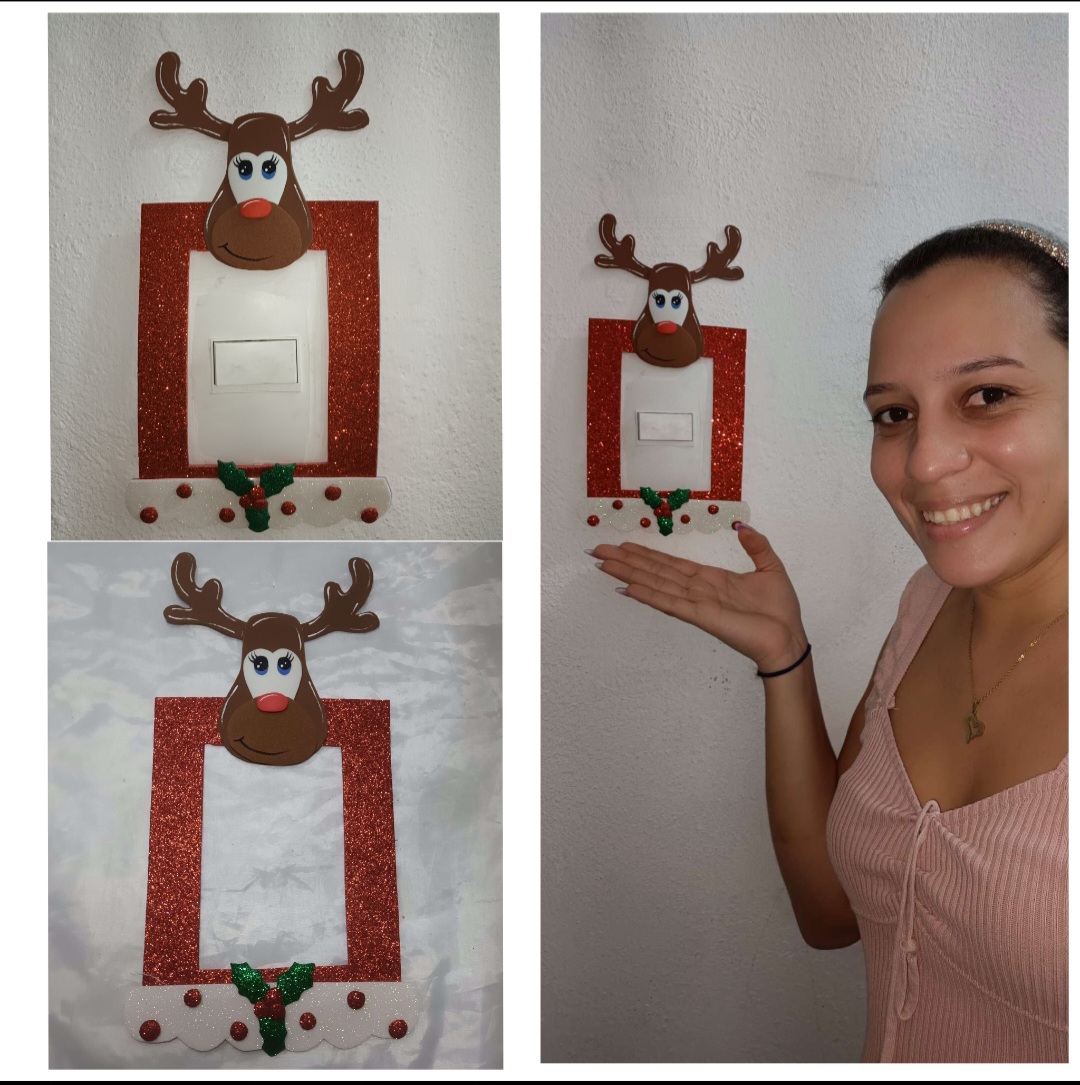
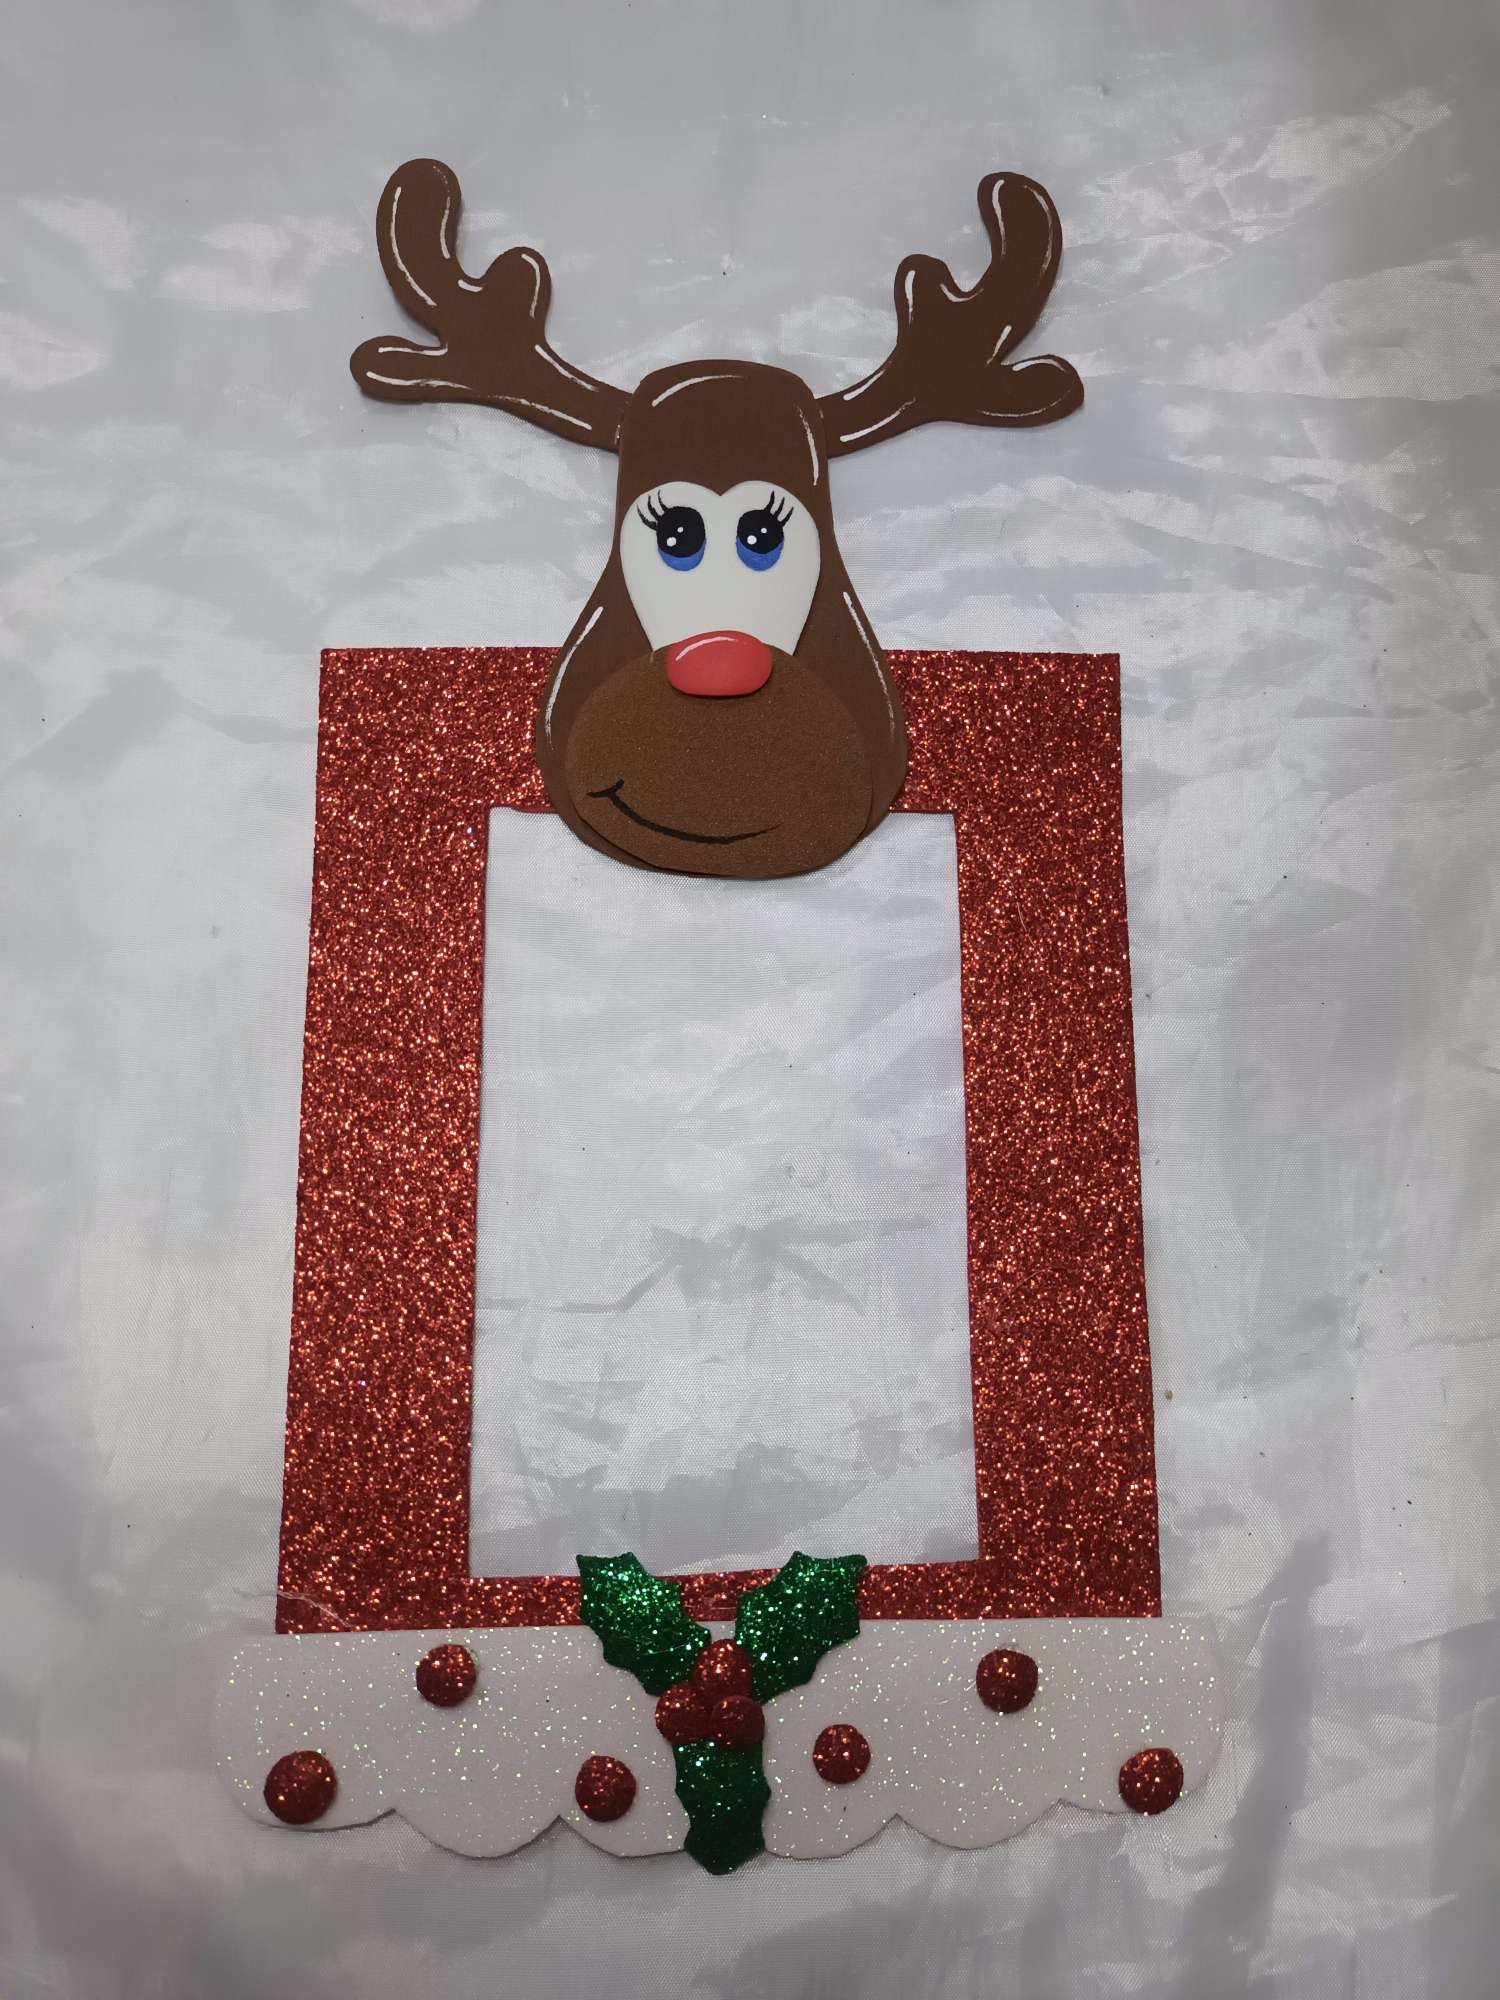
Ya por ultimo pegamos nuestro muñeco a el marco en a parte superior y listo. Es asi como tenemos un lindo marco par nuestro prende y apaga.
Finally, we glue our doll to the frame at the top and that's it. This is how we have a nice frame for our on and off.
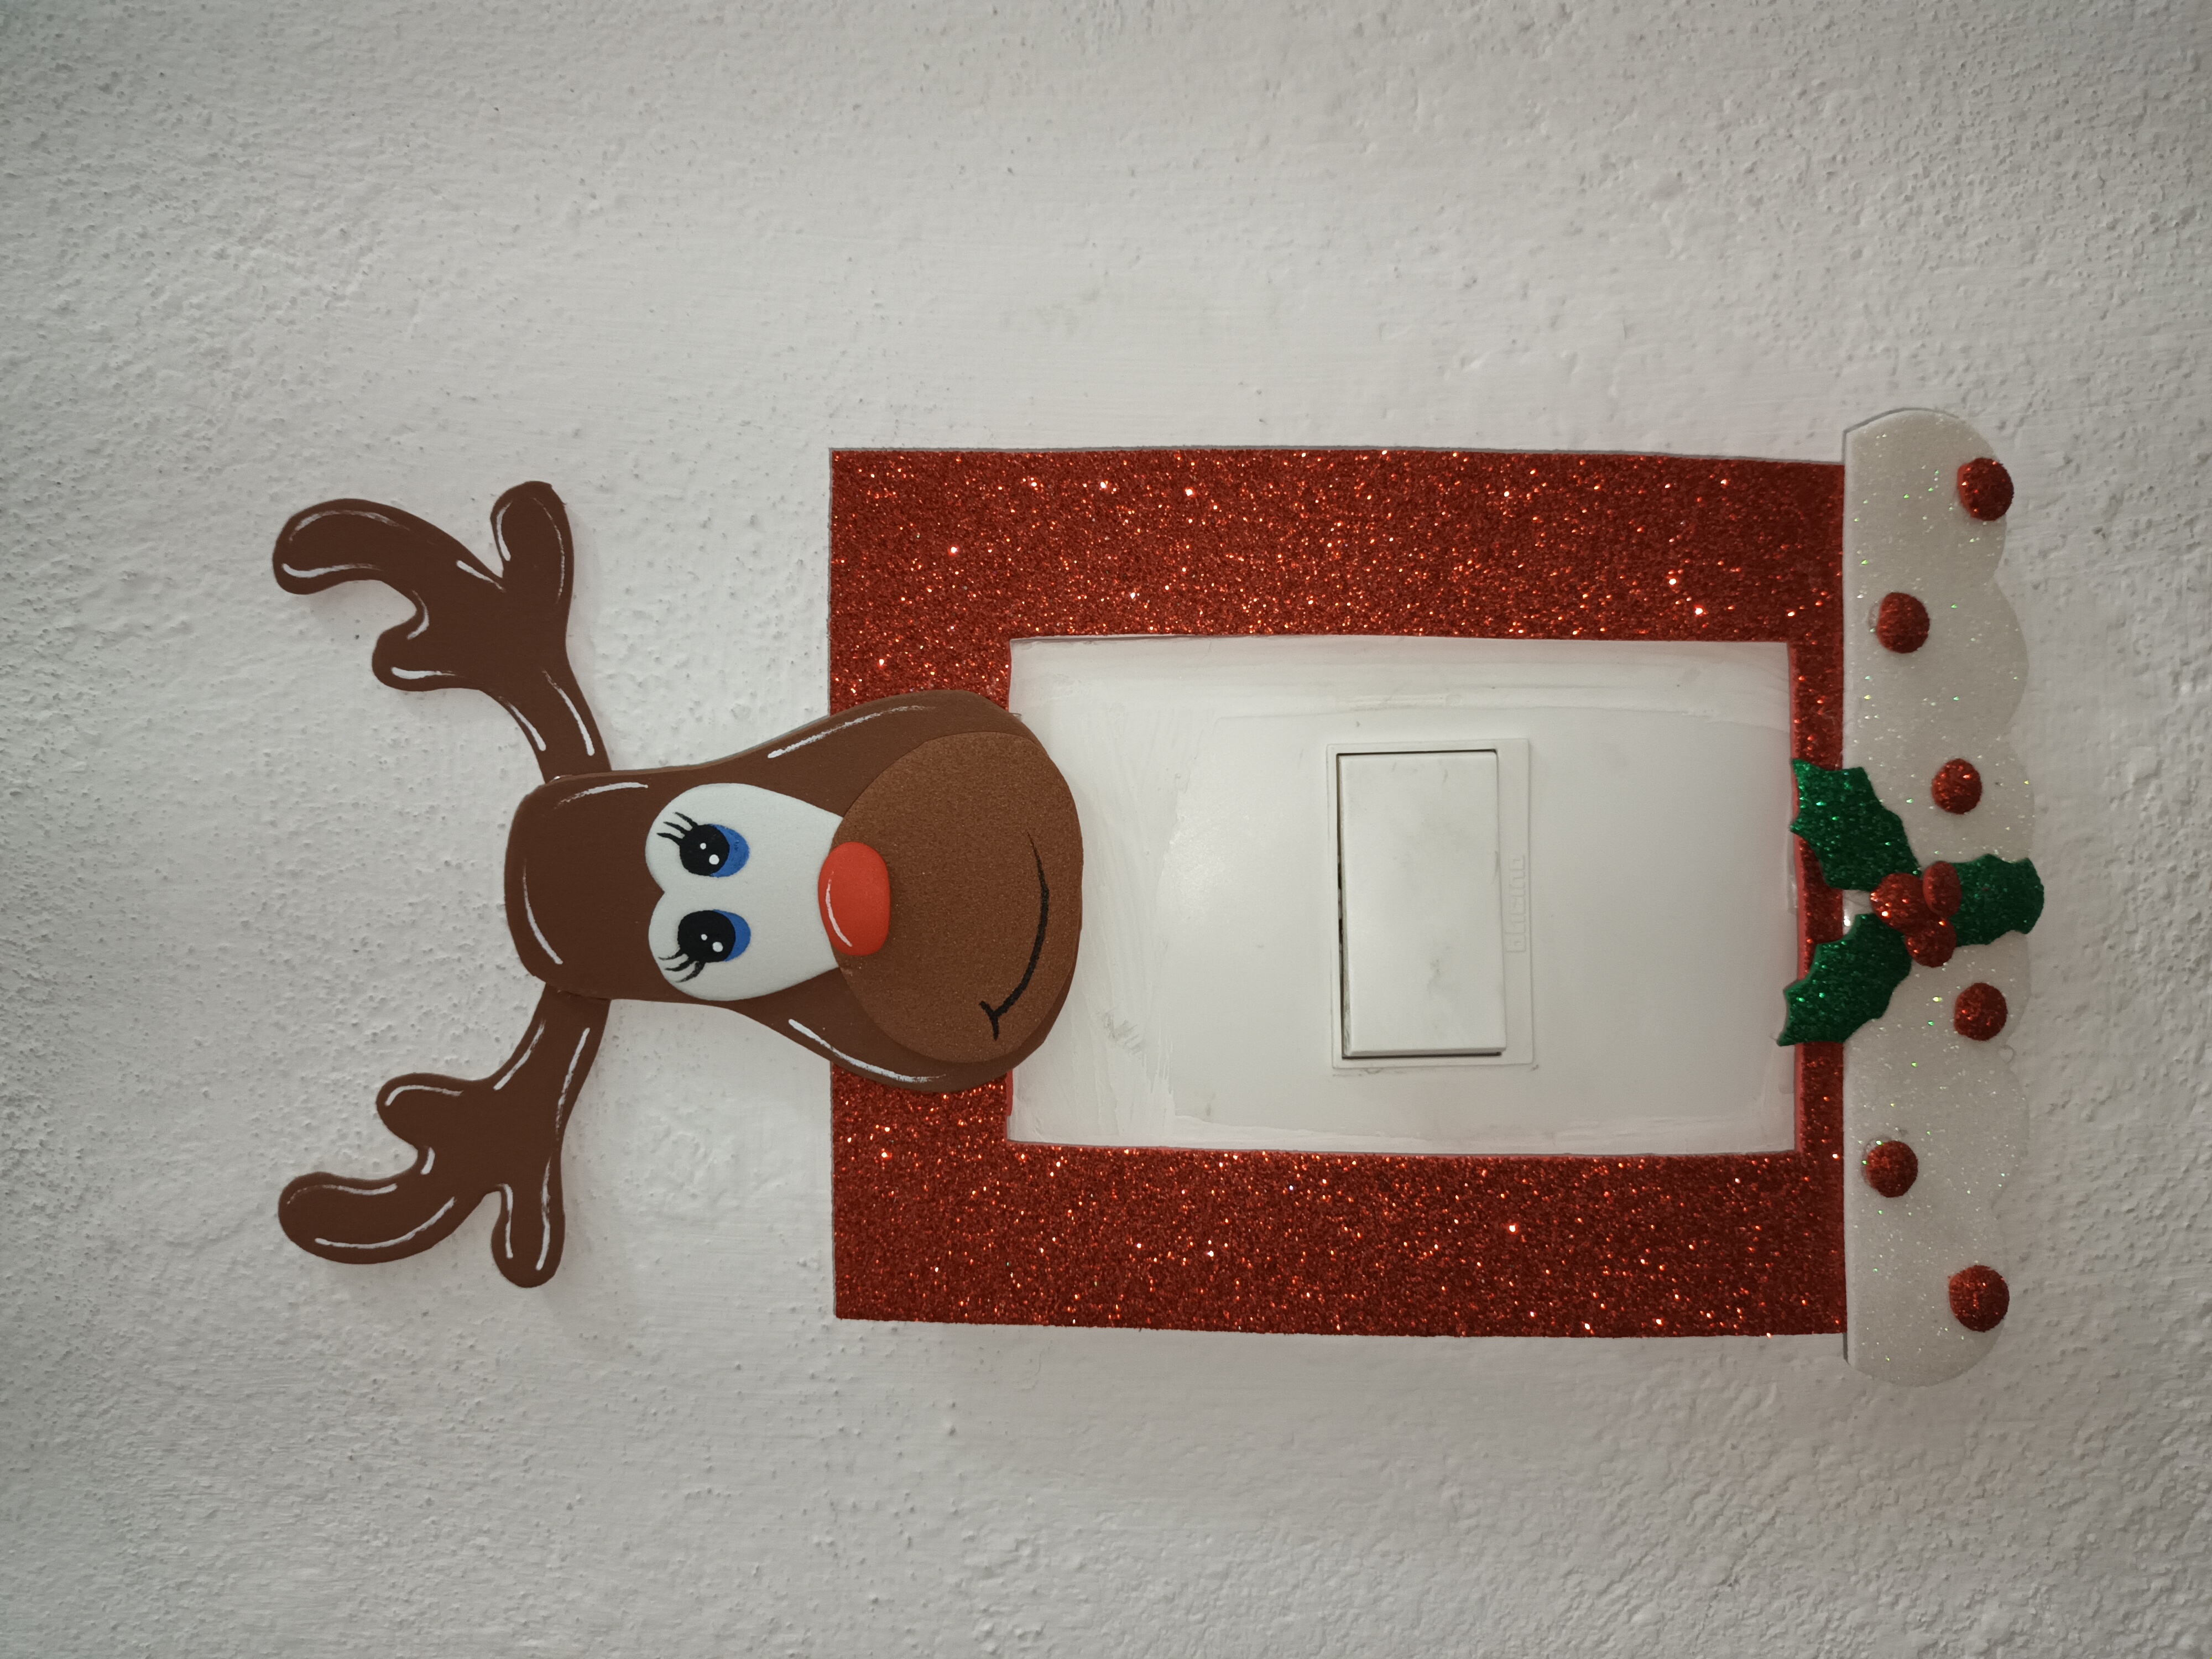
Aqui les dejo una doto con el matvo ya colocado en mi casa. Espero poder hacer mas para cuando ya entre la época de lleno tener muchos y poder tener mi casita decorada.
Here I leave you a photo with the frame already placed in my house. I hope to be able to do more by the time the season is full, to have many and to be able to have my little house decorated.
Gracias por leer hasta el final, sadidos hive'r amigos.
Thank you for reading until the end, sad hive'r friends.
Quedó muy lindo .. exitos!
Gracias amiga
🤗🤗❤️
This post was shared and voted inside the discord by the curators team of discovery-it
Join our Community and follow our Curation Trail
Discovery-it is also a Witness, vote for us here
Delegate to us for passive income. Check our 80% fee-back Program
What a lovely holiday craft! Thank you for sharing this step-by-step project and showing us how to make it. I'm sure your home will be filled with joy and holiday spirit with this beautiful decoration.
Thank you very much I will bring more ideas soon.
!discovery 36
@desileal
https://twitter.com/hivediy47901/status/1707180988034388072
Exelente idea, mí querida amiga, ya es hora de comenzar los preparativos para decorar en navidad. Gracias cariño por compartir.
Gracias amiga por tu apoyo