How to make a beautiful bracelet with Chinese thread and mostacilla. || [ESP/ENG]💞💞
Welcome to my Blog.
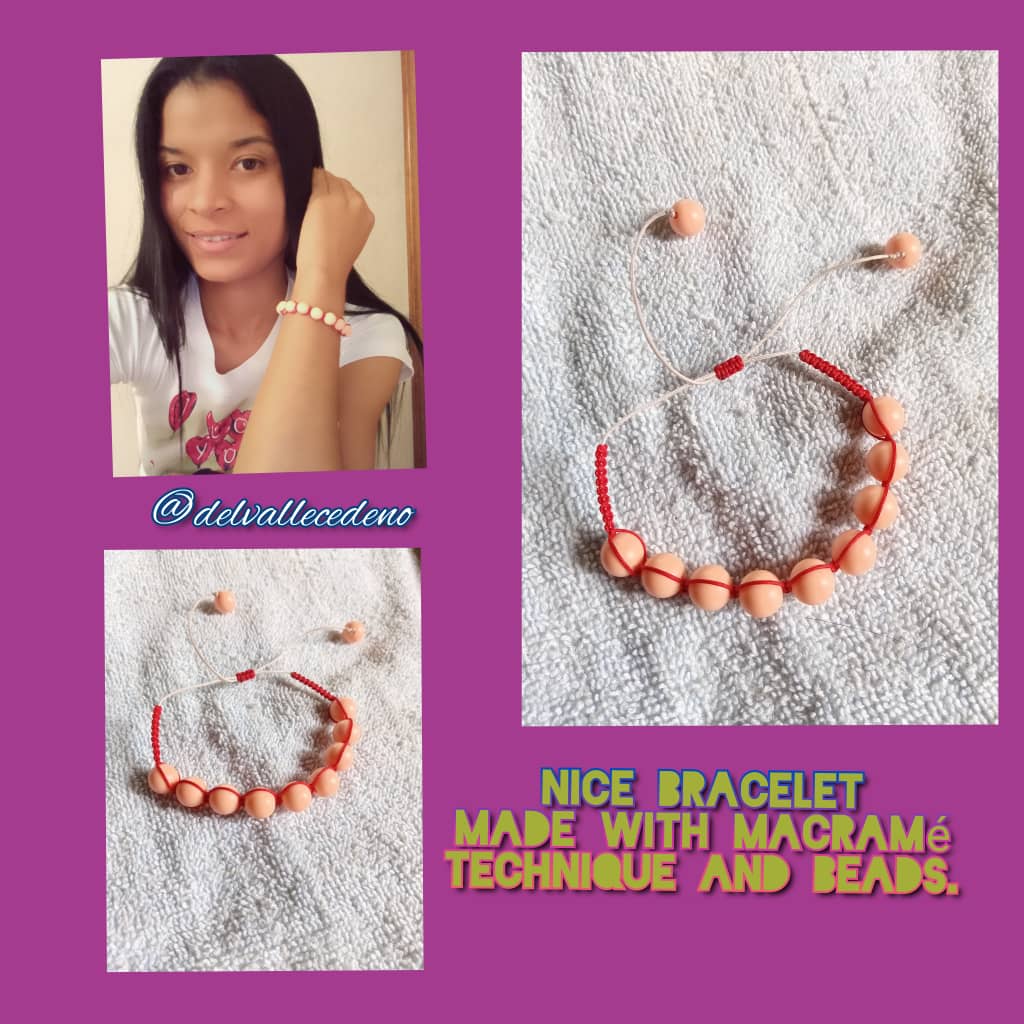
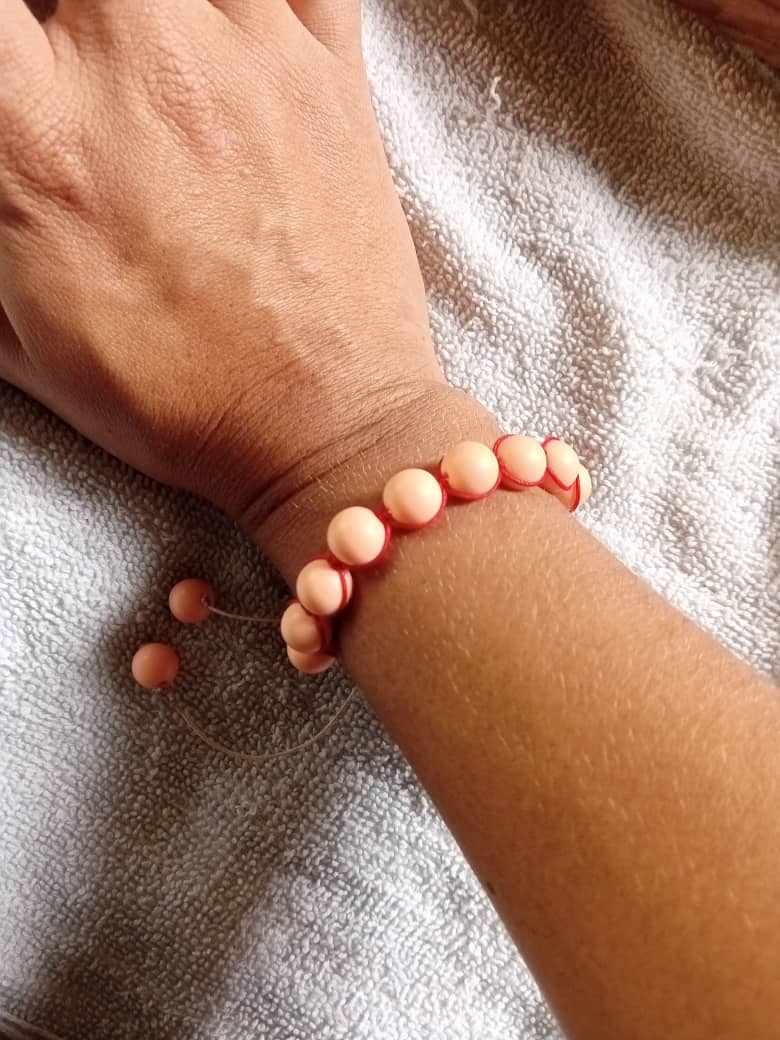
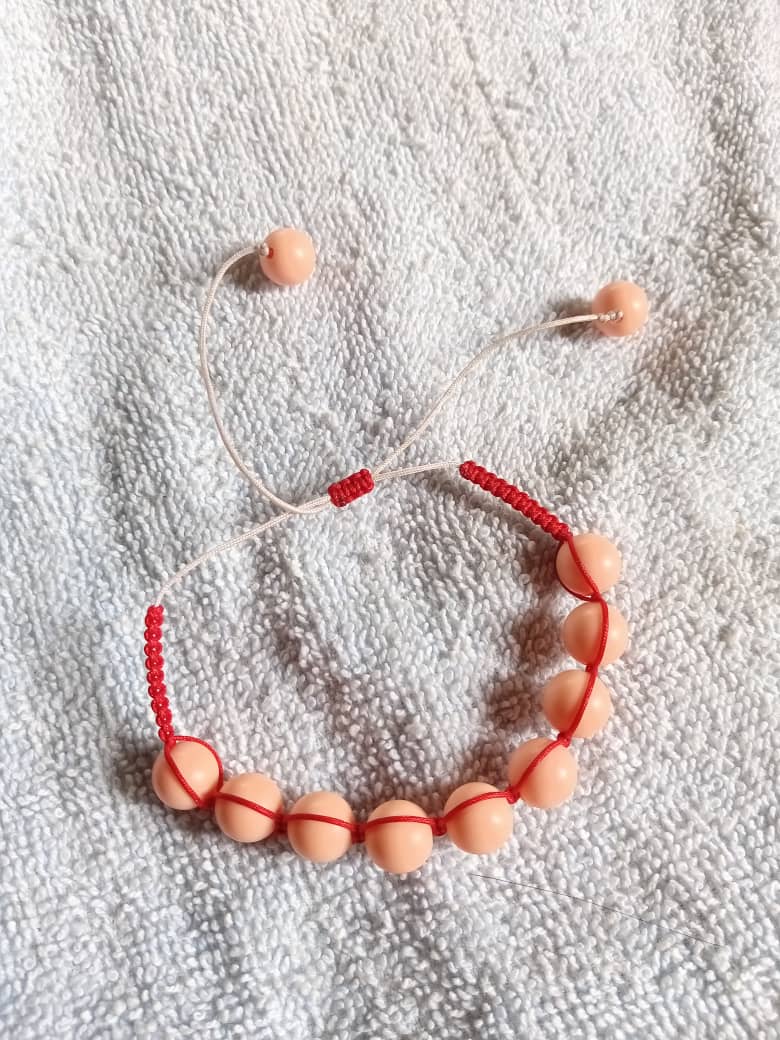
Muy buenas noche colmena de Hivers espero se encuentren muy bien, y este Día de hoy haya transcurrido en sana paz, Un fuerte abrazo para todos mis amigos de @jewelry. Me encanta formar parte de eteMuy buenas noche colmena de Hivers espero se encuentren muy bien, y el Día de hoy haya transcurrido en sana paz, Un fuerte abrazo para todos mis amigos de @jewelry. Me encanta forma parte de este gran equipo el Día de hoy les quiero compartir un lindo trabajo se trata de una pulsera con técnica de macramé con hilo chino y mostacillas es muy fácil de elaborar así que espero les guste mis creativos pueden combinarlo de acuerdo a su gusto. A mí en lo particular me gustaron estos colores blanco y rojo con mostacillas de color naranja claro es cómoda de usar y muy resistente ideal para complementar cualquier ouftis casual. Así que intenta hacer está linda y sencilla pulsera desde la comodidad de sus hogares les va a encantar se los aseguros. A continuación les indico los siguientes pasos a seguir:
Very good night Hivers hive I hope you are very well, and this day has passed in healthy peace, A big hug for all my friends from @jewelry. I love being part of eteVery good night Hivers hive I hope you are very well, and today has passed in healthy peace, A big hug for all my friends from @jewelry. I love being part of this great team, today I want to share a beautiful work with you, it is a bracelet with the macramé technique with Chinese thread and beads, it is very easy to make, so I hope you like it, my creatives can combine it according to your taste. I particularly liked these white and red colors with light orange beads, it is comfortable to wear and very resistant, ideal to complement any casual outfit. So try to make this beautiful and simple bracelet from the comfort of your home, you will love it, I assure you. Here are the next steps to follow:

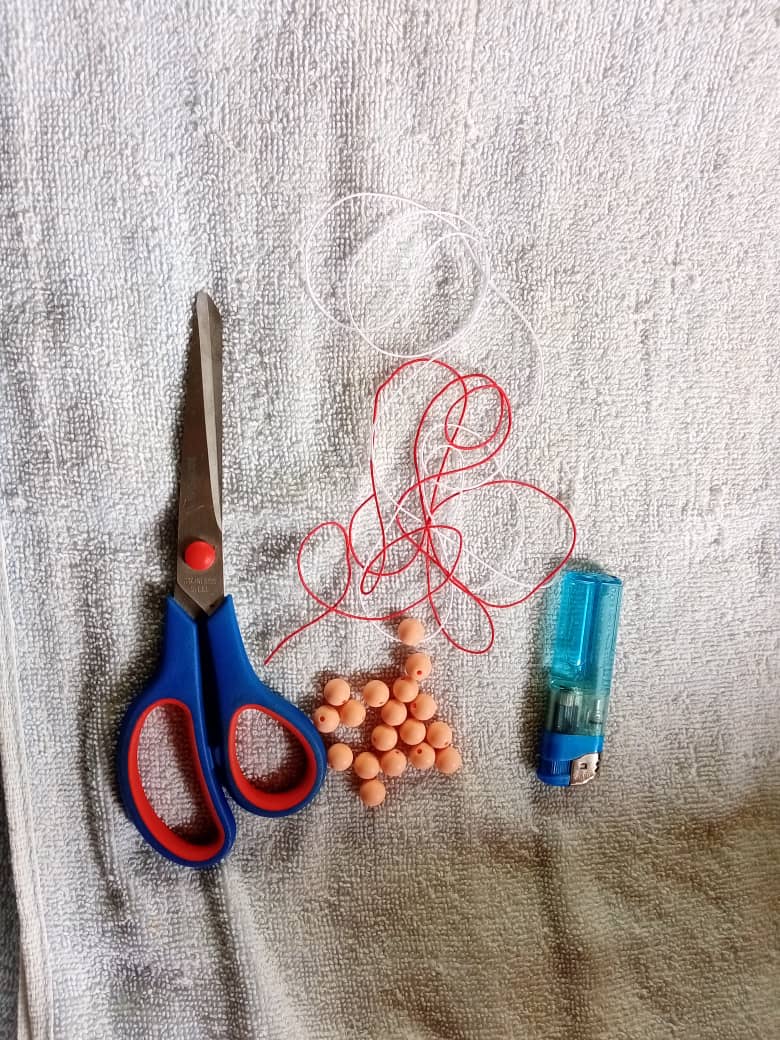
Materiales:
💞1 metro de hilo chino de color blanco.
💞1metro de hilo chino de color rojo.
💞Tijera.
💞Encendedor.
💞Mostacillas de naranja.
💞Tabla y clavo.
Materials:
💞1 meter of white Chinese thread.
💞 1 meter of red Chinese thread.
💞 Scissors.
💞Lighter.
💞Orange chips.
💞Board and nail.
Step by Step || Pasó a paso:
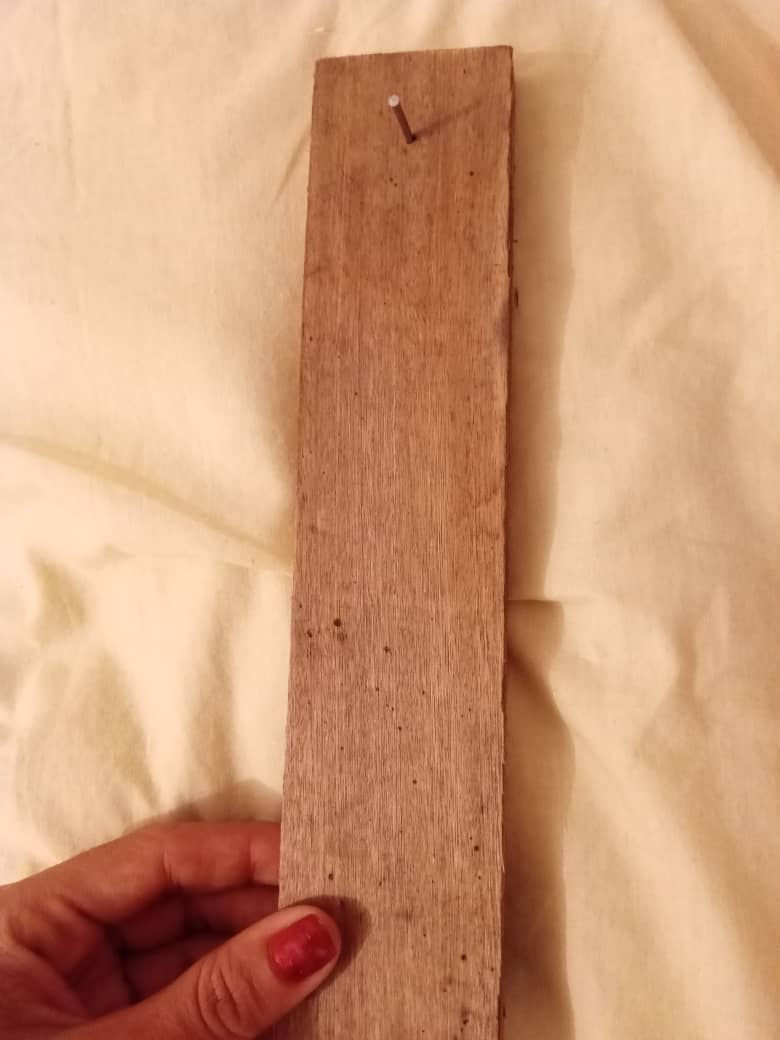
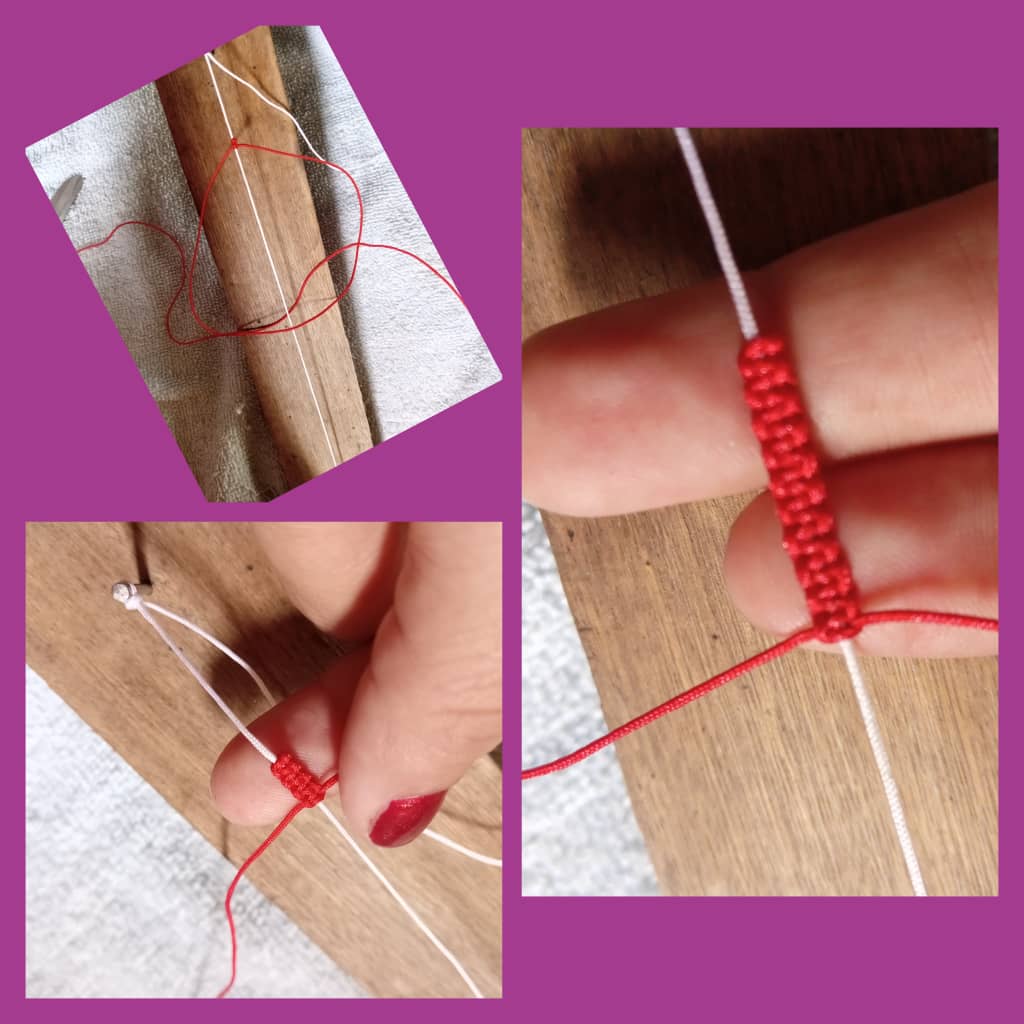
1er paso: Bueno mis amigos lo primero que vamos a necesitar una base para montar la base una tabla con un clavo, 2 metros de hilo chino del color de su preferencia en este caso elegí el color rojo y blanco amigos también puede elaborarlo con cola de ratón.
1st step: Well, my friends, the first thing we are going to need is a base to mount the base, a board with a nail, 2 meters of Chinese thread of the color of your choice, in this case I chose red and white, friends, you can also make it with glue mouse.
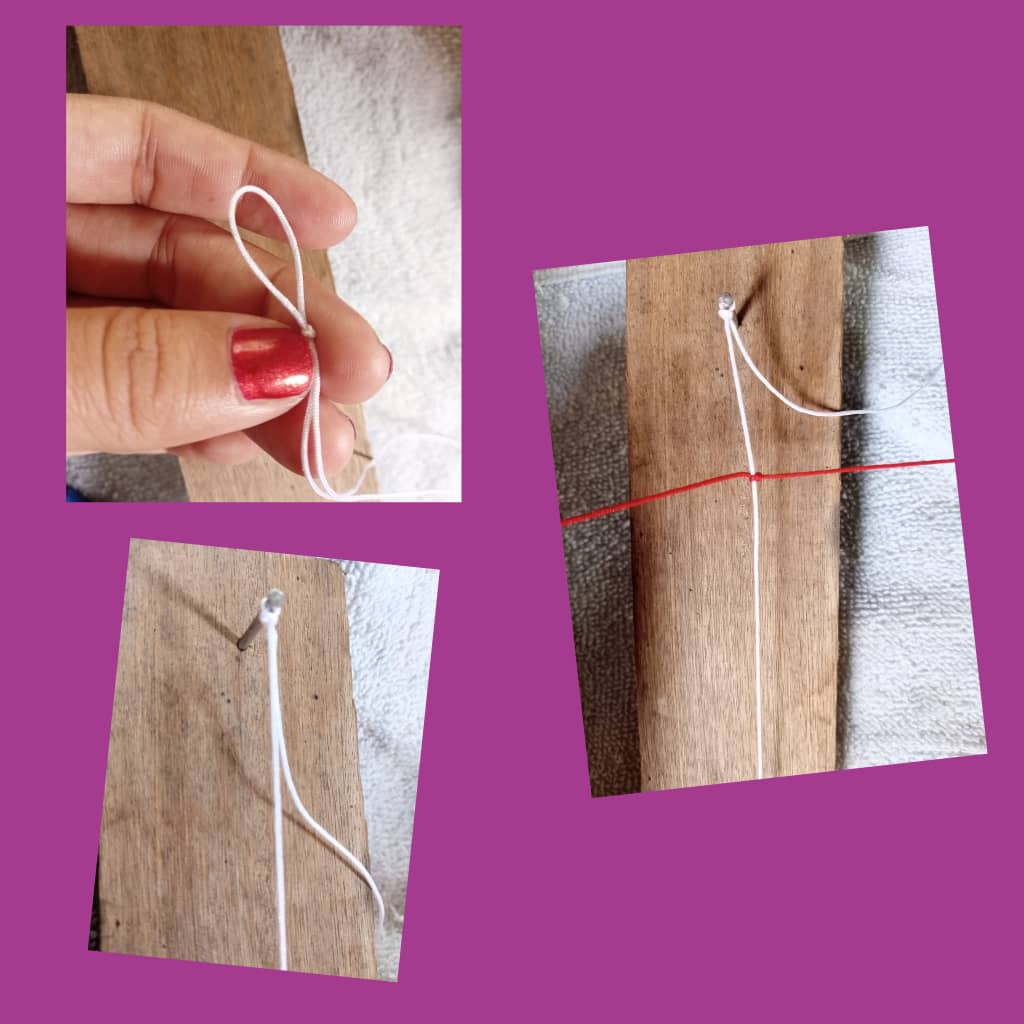
2do paso: Seguidamente tomaremos el hilo principal que este caso será de color blanco y hacemos un pequeño dobles dejando una distancia de 8 centrimetros de largo y sujetamos al clavo, tomaremos el hilo de color rojo y hacemos un nudo como se observa en las imágenes amigos.
2nd step: Next we will take the main thread, which in this case will be white, and we make a small double, leaving a distance of 8 centimeters long and attach to the nail, we will take the red thread and make a knot as seen in the images, friends. .
3er paso: Luego iniciamos tomando el hilo de color rojo del lado derecho y pasamos por encima del hilo de color blanco y luego del lado izquierdo lo cruzamos por sobre del mismo hilo rojo pasamos por debajo hacemos un poco de presión y listo, seguidamente repetimos el mismo procedimiento pero del lado izquierdo, porque si lo hacemos todo de un solo lado quedará torneada, y así sucesivamente hasta repetir el procedimiento por 20 veces.
3rd step: Then we start by taking the red thread from the right side and we go over the white thread and then on the left side we cross it over the same red thread we go under it we do a little pressure and that's it, then we repeat the same procedure but on the left side, because if we do everything on one side it will be turned, and so on until the procedure is repeated 20 times.
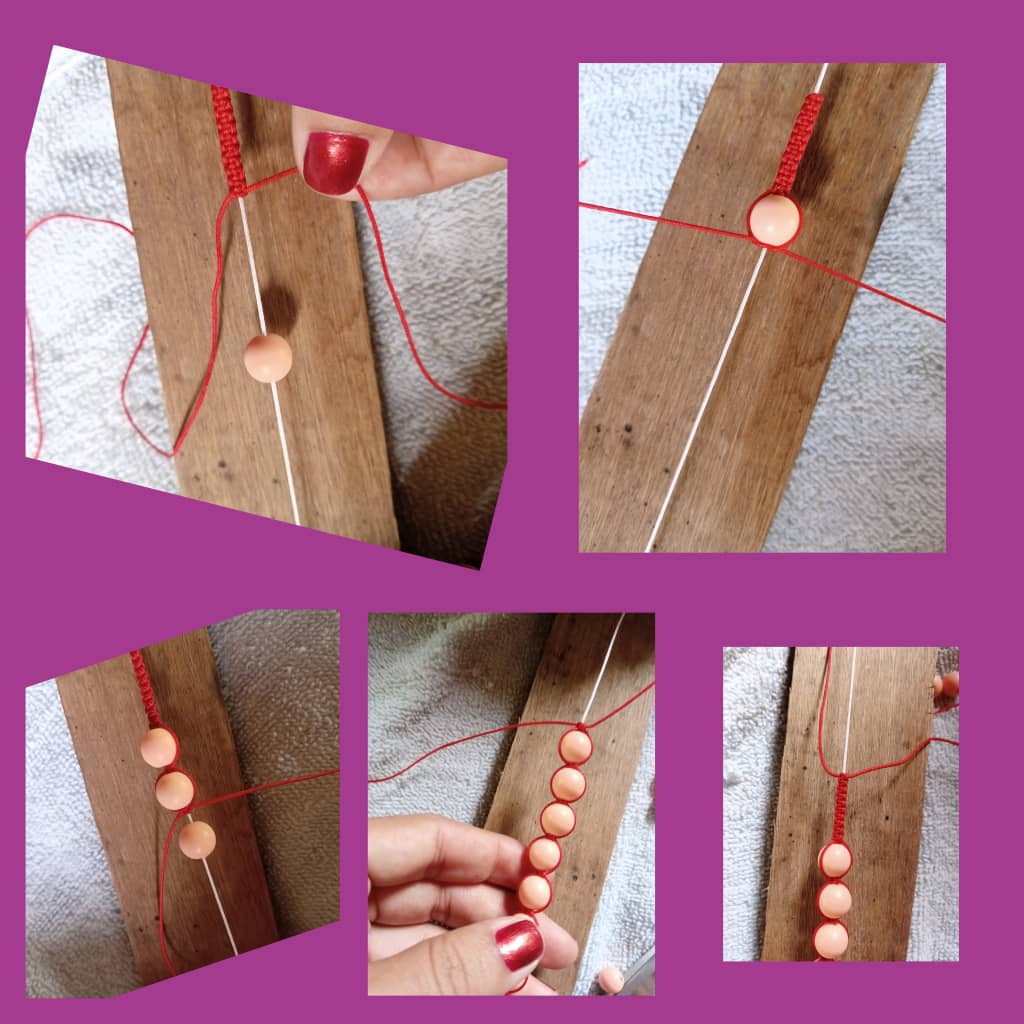
4to paso: Una vez listo anexamos las mostacillas por el hilo de color blanco de una a una hacemos un pequeño amarre con el hilo rojo como se puede observar en las imágenes realizamos el mismo procedimiento del tejido nuevamente para ir separando las mostacillas sucesivamente dependiendo el grueso de su muñeca hasta incorporarlas todas.
4th step: Once ready, we attach the beads by the white thread one by one, we make a small tie with the red thread as can be seen in the images, we carry out the same weaving procedure again to separate the beads successively depending on the thickness. of your wrist until you incorporate them all.
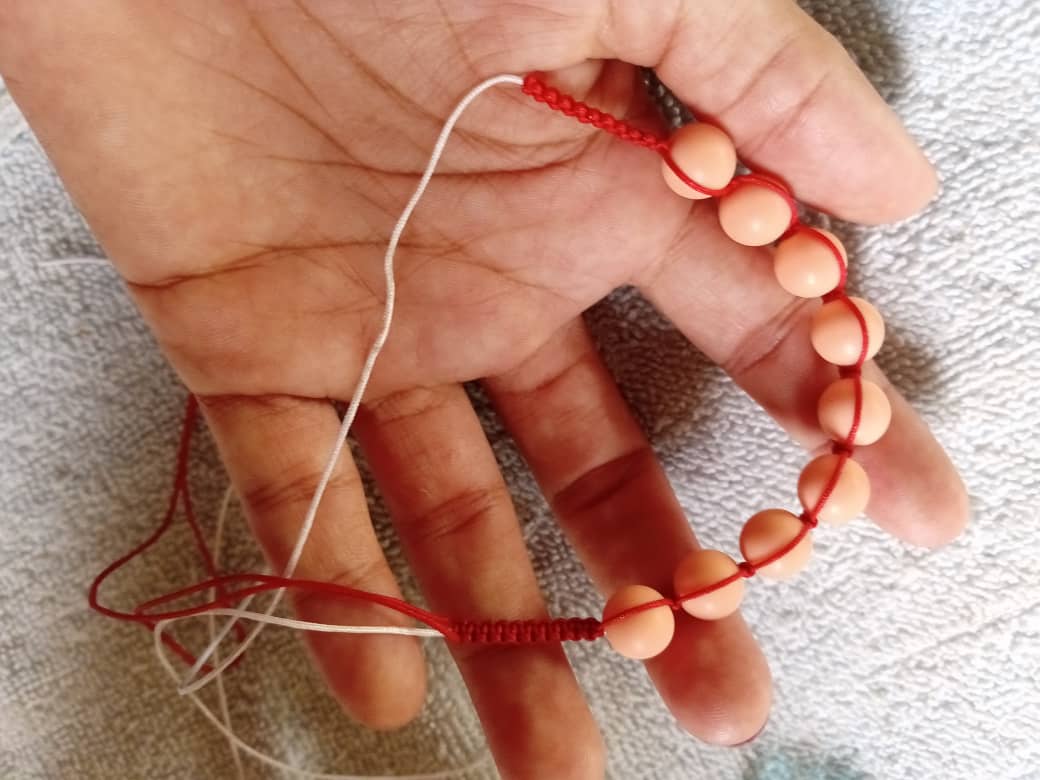
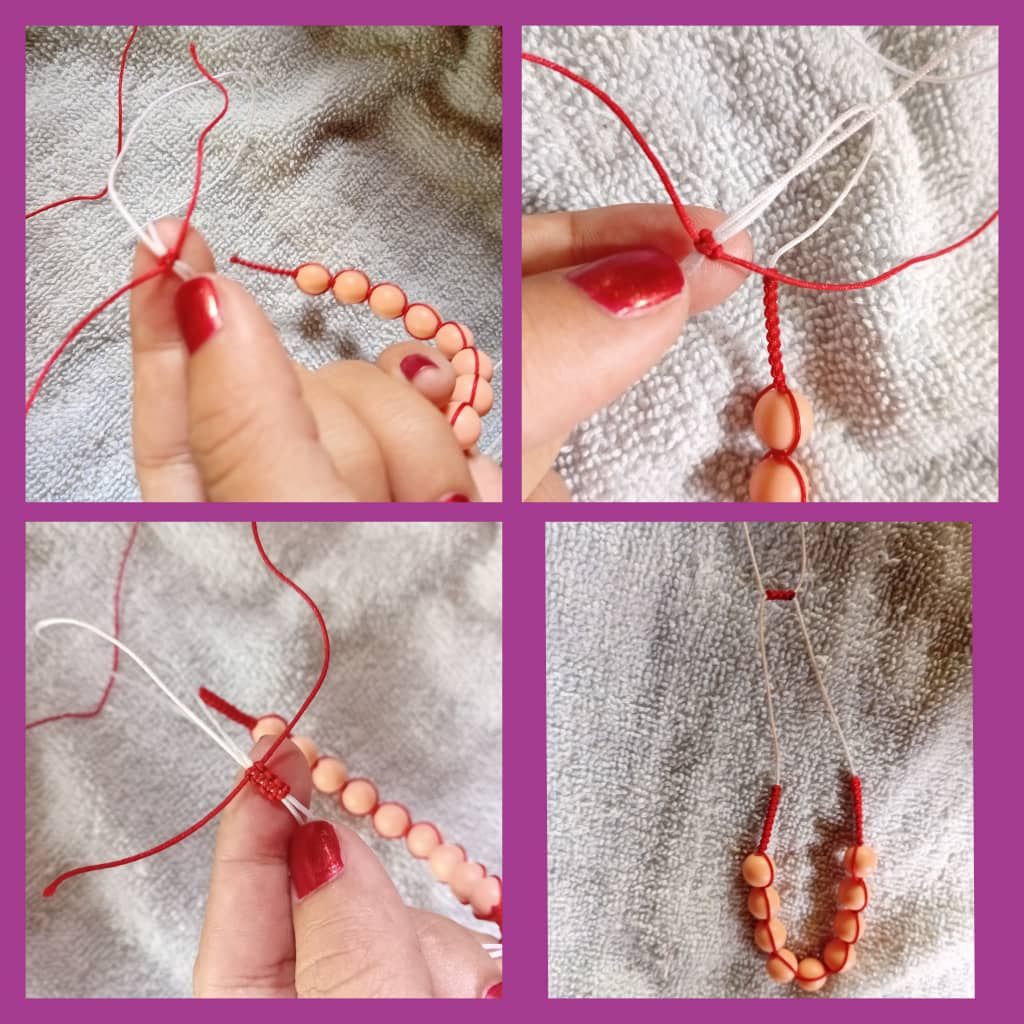
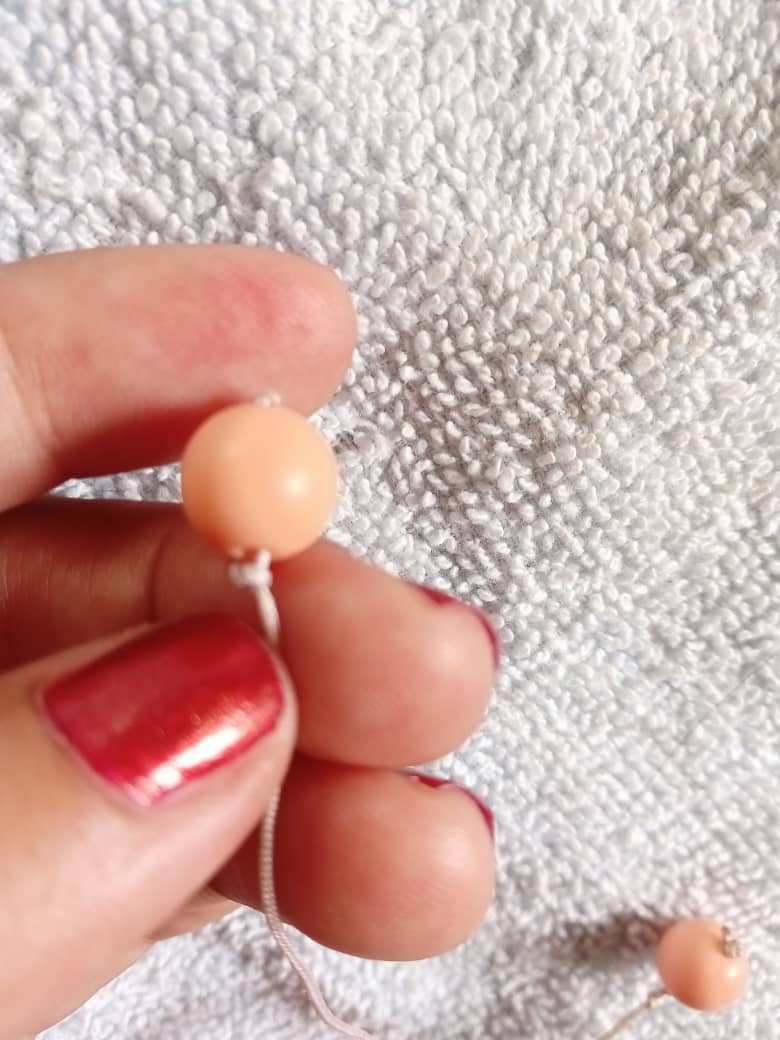
5to paso: A continuación repetimos el mismo procedimiento del inicio y listo para culminar, cortar y quemar los excedentes, nos quedarán las cuerdas de color blanco unimos y con el hilo rojo restante hacemos un pequeño nudo corredizo, en ambos extremos colgar unas mostacillas y listo amigos vieron que fácil quedó está linda pulsera.
5th step: Next we repeat the same procedure from the beginning and ready to finish, cut and burn the surpluses, we will have the white strings left together and with the remaining red thread we make a small slipknot, at both ends hang some beads and ready friends saw how easy it was this beautiful bracelet.
Espero les haya gustado este sencillo tutorial que le comparto el Día de hoy amigo y se animen a intentarlo, puedeq hacer las combinaciones con el color de tu preferencia y complementar tu Ouftis con un lindo y cómodo accesorios. Saludos a todos y Bendiciones es un gusto estar aqui en este pequeño espacio. Hasta la próxima!
I hope you liked this simple tutorial that I am sharing today, my friend, and you are encouraged to try it, you can make the combinations with the color of your choice and complement your Ouftis with cute and comfortable accessories. Greetings to all and Blessings, it is a pleasure to be here in this small space. Until next time!
Muchas gracias por visitar mi Blog
Thank you very much for visiting my Blog.

Hola feliz noche, que hermosa pulsera te quedó muy bonita te felicito.
Hola amigo, muchas gracias por la visita me alegra saber que te gusto. Un fuerte abrazo 🤗
Hi @delvallecedeno
Do you know you could have used #diy tag for this post to earn some BUIDL tokens?
In case you are not aware, read this post to know the kinds of content you could post using #diy tag.
Because most people are not aware of the potential of BUIDL token, it can still be bought at very cheap price now.
Que belleza, no había visto este tipo de pedrería, están preciosas, el entretejido es muy lindo y delicado.
Hermoso trabajo amiga.
Muchas gracias amiga, es grato para mi saber que te encantó. Un fuerte abrazo y bendiciones 🙏 Saludos 🤗💖
Hola amiga, te quedó muy linda, el tipo de tejido es bien bonito, y se ve fácil de realizar. Gracias por compartir
Muchas gracias por la visita amiga es un gusto compartir mis trabajos. Saludos 🤗💖💖
¡Felicidades! Esta publicación obtuvo upvote y fue compartido por @la-colmena, un proyecto de Curación Manual para la comunidad hispana de Hive que cuenta con el respaldo de @curie.
Si te gusta el trabajo que hacemos, te invitamos a darle tu voto a este comentario y a votar como testigo por La Colmena.
Si quieres saber más sobre nuestro proyecto, te invitamos a acompañarnos en nuestro servidor de Discord.
Gracias por el apoyo!
Excelente tutorial amiga, te ha quedado muy buen la.pulsera y has realizado un nudo muy prolijo.
Muchas Gracias amiga por visitar mi blog es grato saber que te gustó. Saludos 🤗💖