Minimalist Honey Bees Fixed Tendrils Quilling Technique ''PUD June'' [Eng-Esp]
Hello everyone... ⚡️🐝⚡️💕
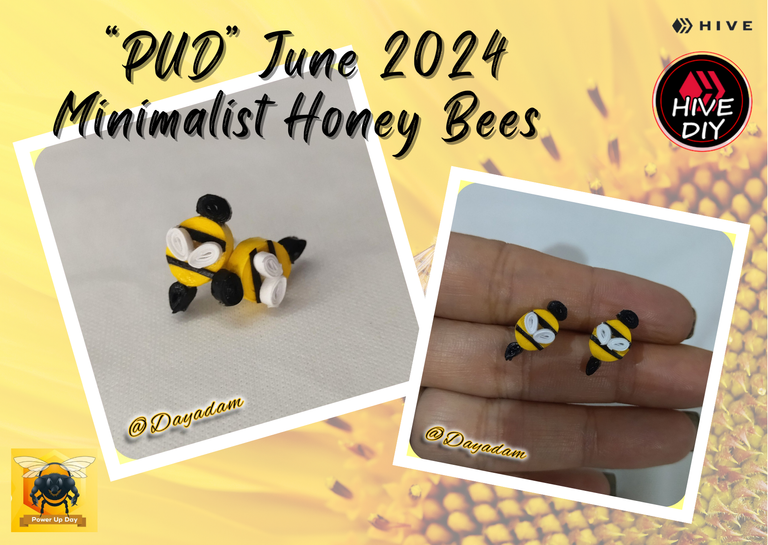
Hello to my dear Hivers and the dear community of artists #HiveDIY, as always very pleased and excited to be here again, showing you my work made with love and especially for you.
A new month begins corresponding to June in which we celebrate our PUD, I could not fail to do something to commemorate the day as I usually do every month, for more than a year.
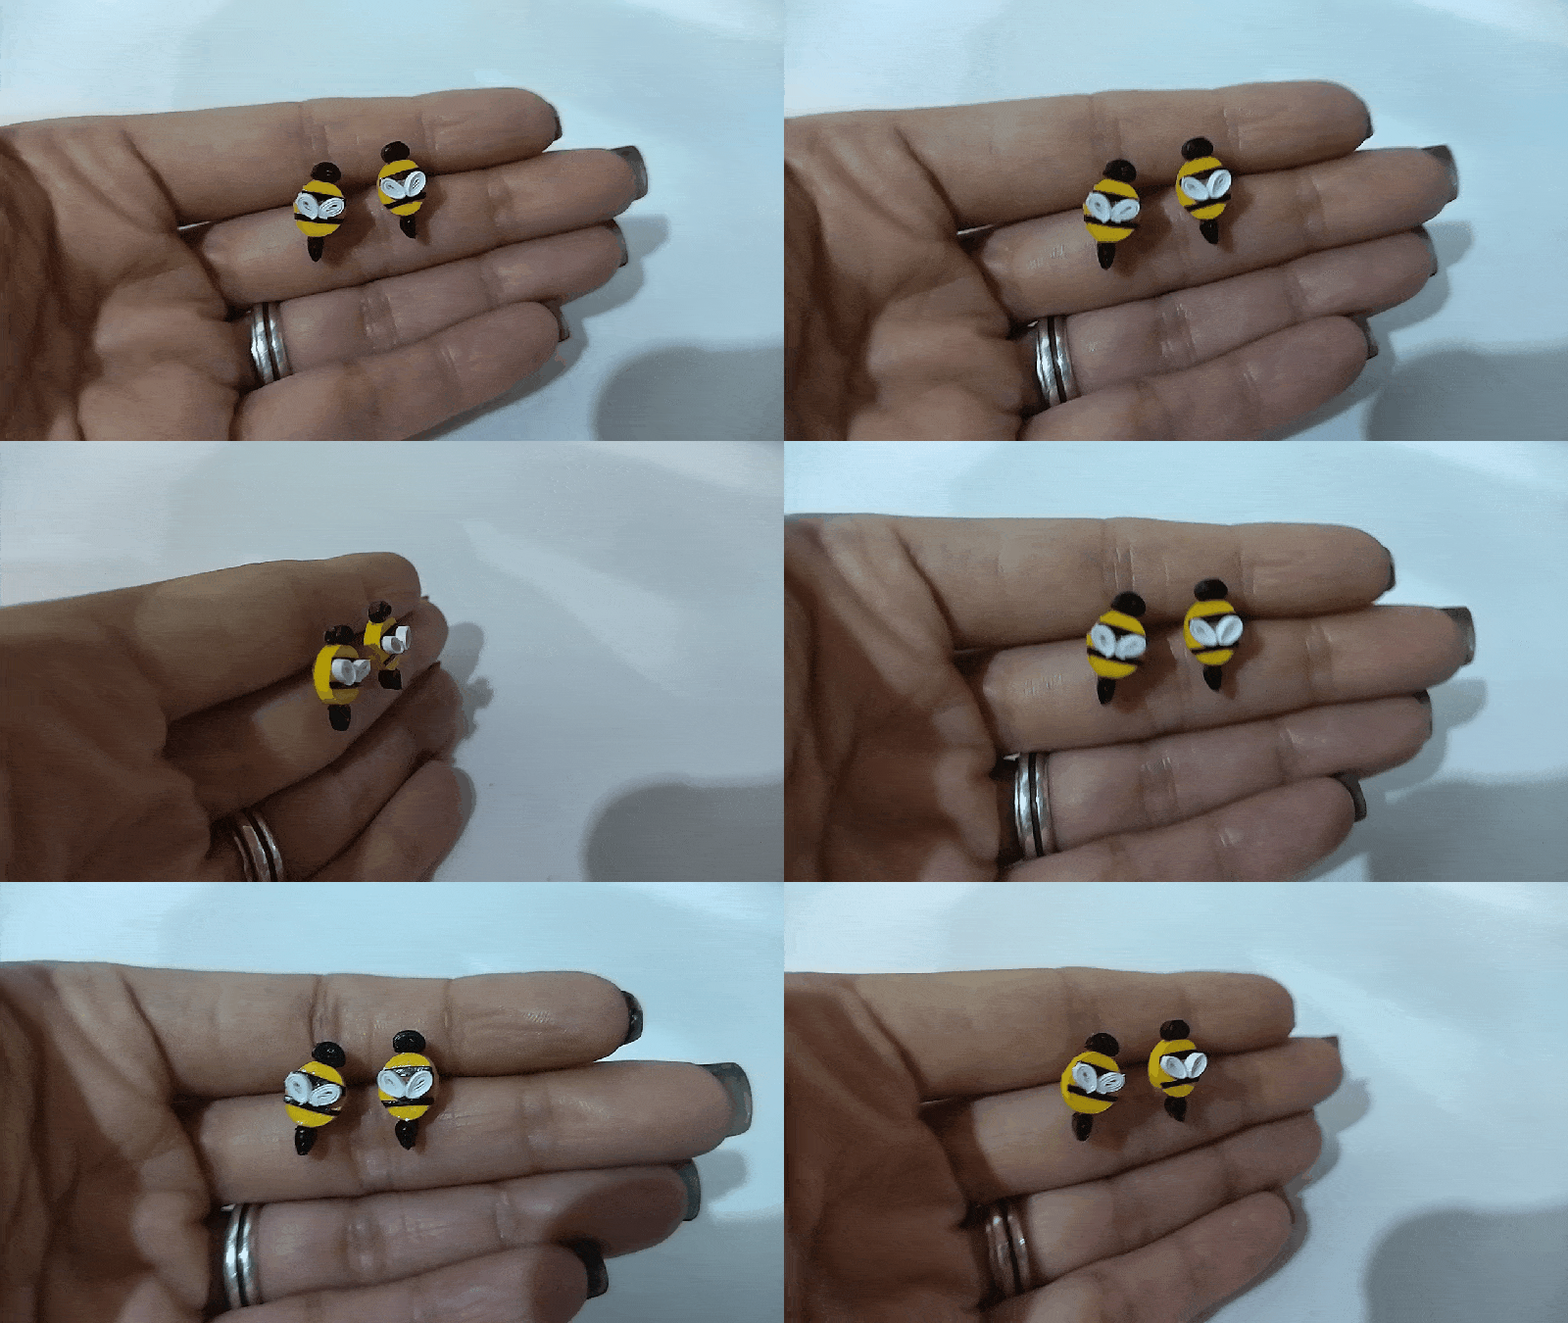
I decided to elaborate in this opportunity a pair of fixed tendrils, with some minimalist bees in the quilling technique, a work that cost me a little to make it because I made very small pieces.
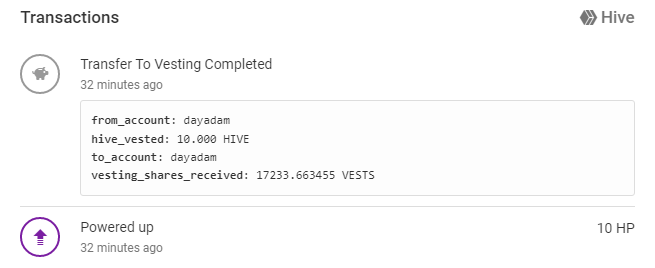
Below is an image of my respective PowerUp with a small contribution of 10 Hive.
Hoping you like it, I leave you my creative process:
Let's get started:😃

Hola a Todos... ⚡️🐝⚡️💕
Hola a mis queridos Hivers y a la querida comunidad de artistas #HiveDIY, como siempre muy complacida y emocionada de encontrarme por acá nuevamente, mostrándole mi trabajo hecho con mucho amor y especialmente para ustedes.
Un mes nuevo comienza corresponde a Junio en el que celebramos nuestro PUD, no podía dejar de hacer algo para conmemorar el día como acostumbro hacerlo mes a mes, desde hace mas de un año.
Decidí elaborar en esta oportunidad un par de zarcillos fijos, con unas abejitas minimalistas en la técnica de quilling, un trabajo que me costo un poco realizarlo debido a que hice piezas muy pequeñas.
Les hago una cordial invitación, a que participen en el PUD cada vez que puedan y si es posible lo hagan mes a mes, de esta manera haces que tu HP crezca y así vas de la mano para que nuestra maravillosa blockchain se fortalezca cada día más.
Más abajo les dejo una imagen de mi respectivo PowerUp con un pequeño aporte de 10 Hive,
Esperando que sea de su agrado, les dejo mi pequeño proceso creativo:
Comencemos:😃

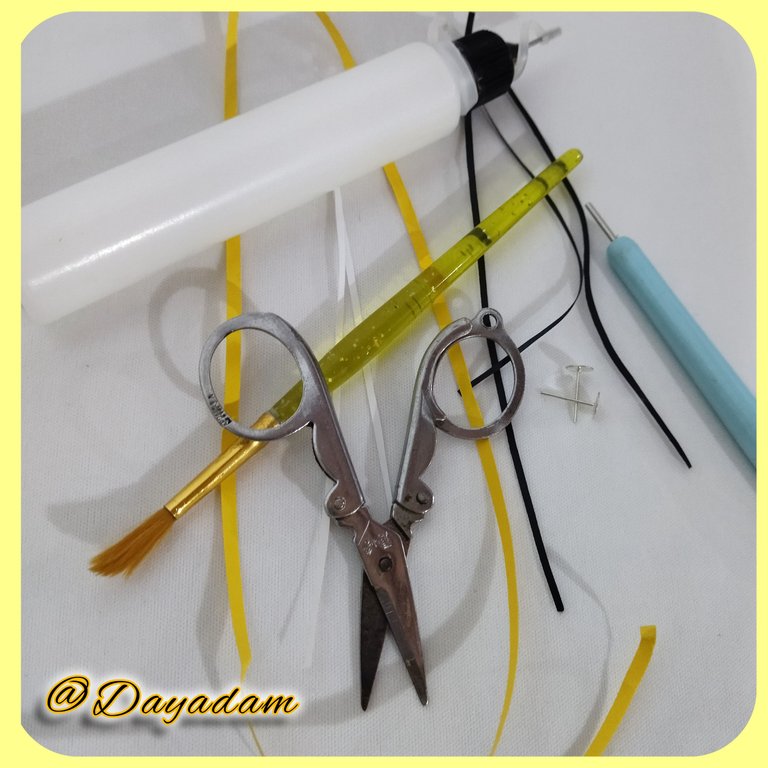
• Cintas de quilling de amarillo, negro y blancas.
• Aguja para quilling.
• Base para zarcillos fijas.
• Pega blanca extra fuerte (de carpintería).
• Tijera.
• Pincel.
- Yellow, black and white quilling ribbons.
- Quilling needle.
- Fixed tendril base.
- Extra strong white glue (carpentry glue).
- Scissors.
- Paintbrush.

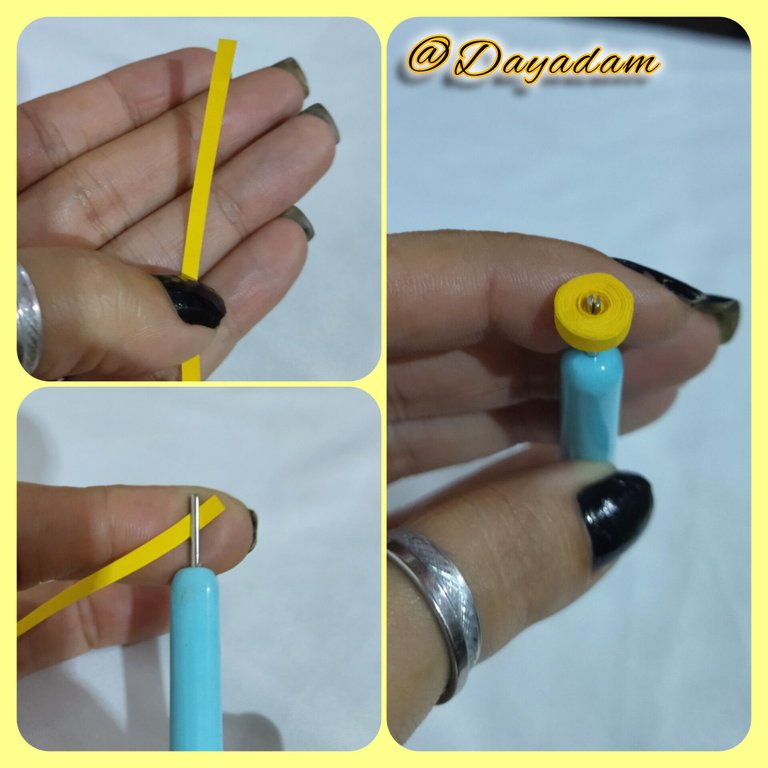
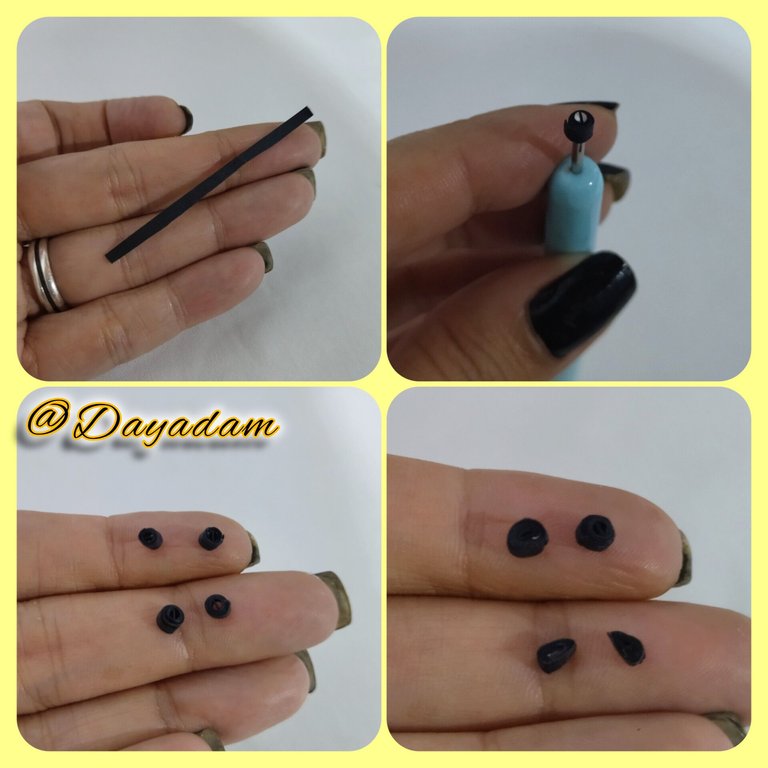
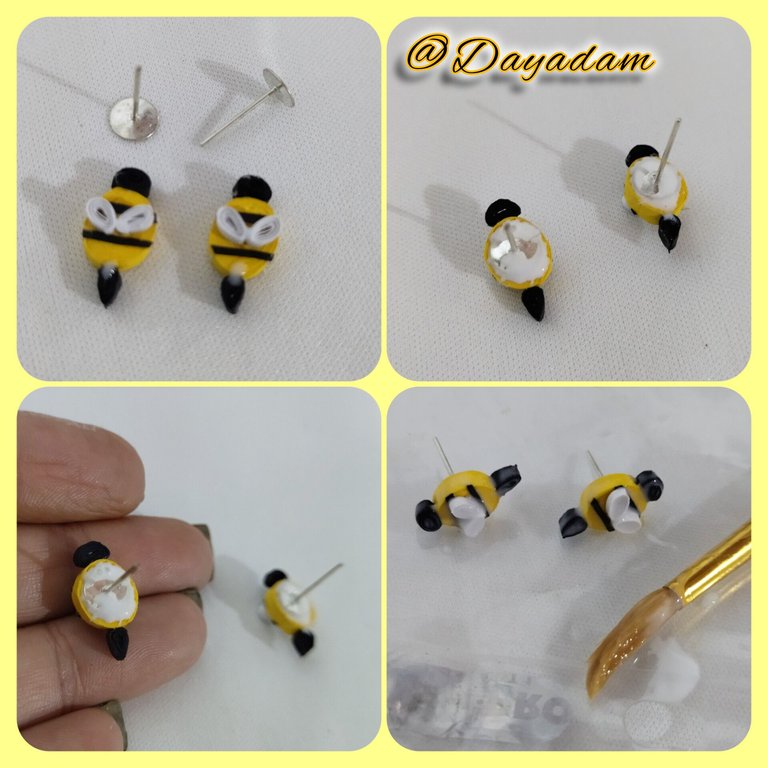
- We start by taking a 3mm wide yellow quilling tape with the quilling needle and we will make a closed circle, we take it out of the needle and seal it with extra strong white glue. We will need 2 equal circles, this will be the body of the bee.
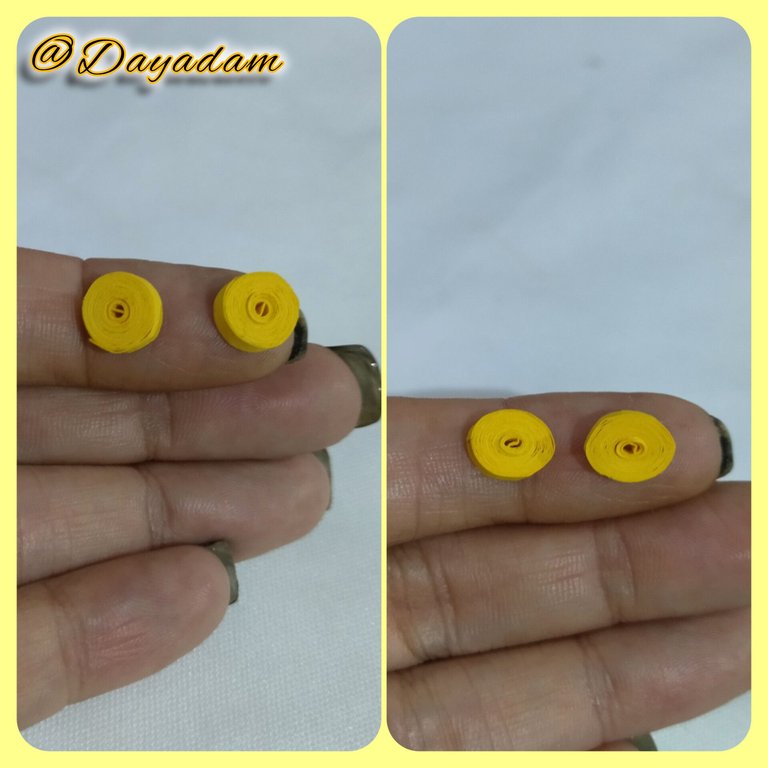
- We will mold the circles flattening them a little with our fingers (reserve).
- With 3mm wide quilling tape we will make 4 small closed circles. Two of the circles will be rounded and flat on one side (this will be the bee's head), the other two will be pointed (this will be the bee's sting).
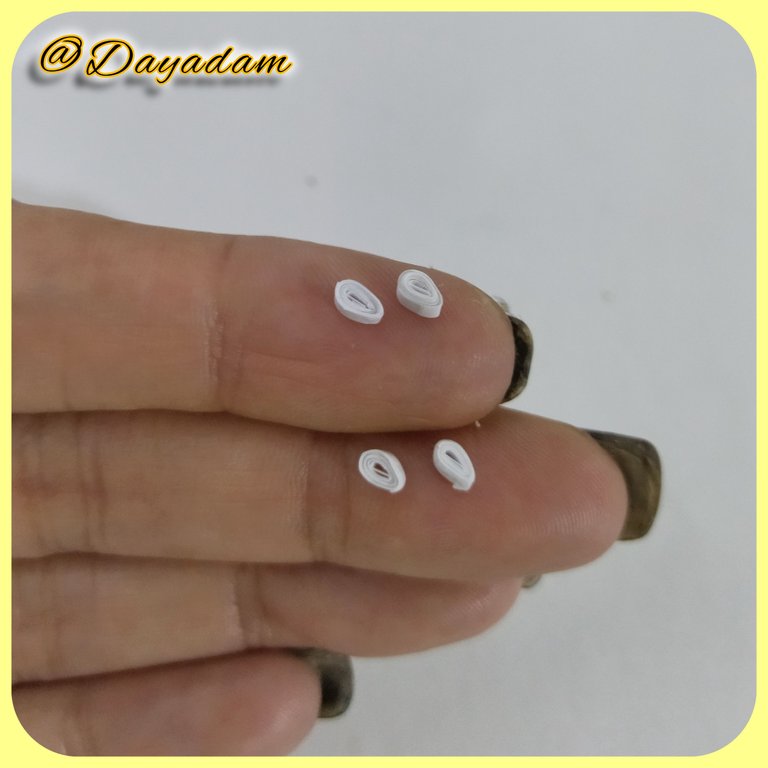
- With 1mm wide white ribbon we will make two very small circles which we will mold in the shape of a drop, these will be the wings of the bee.

• Vamos a comenzar tomando cinta para quilling de color amarillo de 3mm de ancho con la aguja para quilling enrollaremos y realizaremos un circulo cerrado, sacamos de la aguja sellamos con pega blanca extra fuerte. Necesitaremos 2 círculos iguales, este sera el cuerpo de la abeja.
• Moldearemos los círculos aplanandolos un poco con los dedos (reservamos).
• Con cinta para quilling de 3mm de ancho realizaremos 4 pequeños círculos cerrados. Dos de los círculos los moldearemos de forma redondeada y plana en un lado (esta sera la cabeza de la abeja), los otros dos de forma puntiaguda (este sera el aguijón de la abeja).
• Con cinta de color blanca de 1mm de ancho haremos dos círculos muy pequeños los cuales moldearemos en forma de gota, estas serán las alas de la abejita.
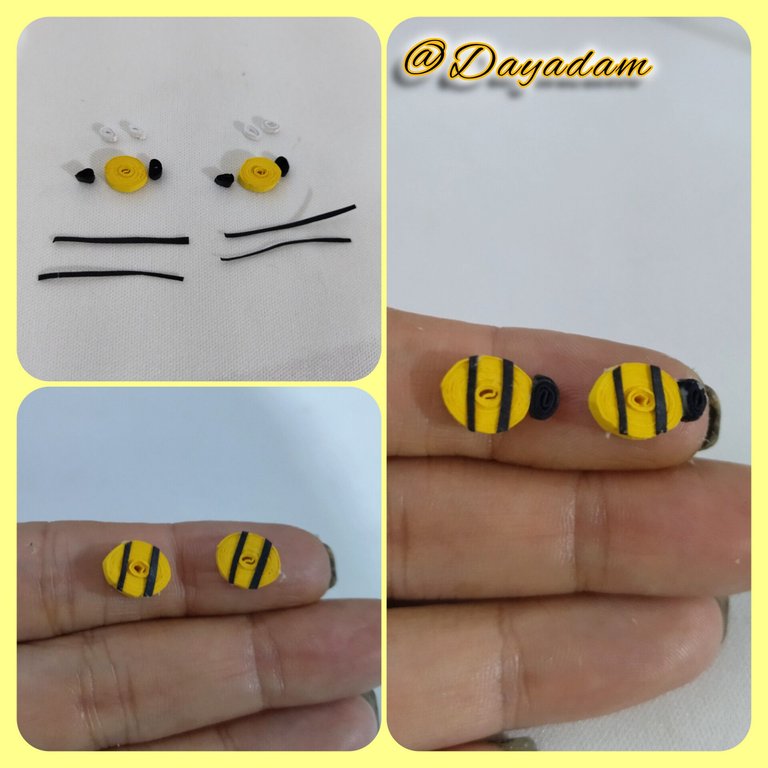
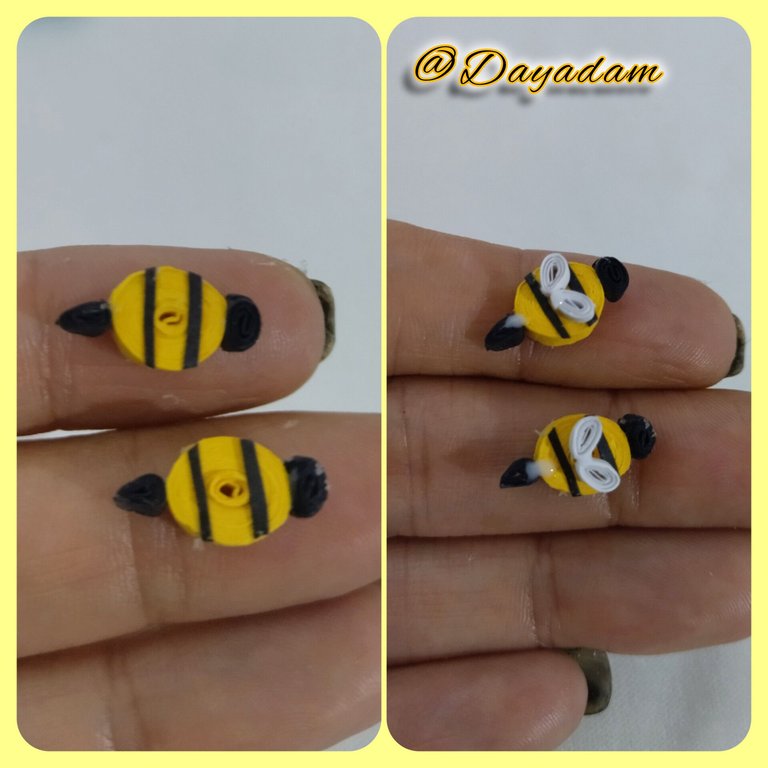
- Ready all the small pieces we are going to join in a harmonic way, additionally we will need two pieces of black quilling tape of 1mm wide that will be the lines of the bee's body, we will start gluing 2 black lines to the bee's body, then the head in the front corner, the stingers in the back corner, and the wings in the upper part of the bee's body between the two black lines.
- Once the little bee is formed, we will glue on the back of the bee a few bases for fixed tendrils with extra strong white glue, we will let it dry very well.
- Finally to protect, plasticize and give shine to the tendrils, we will apply several layers of extra strong white glue, letting dry between one layer and another.
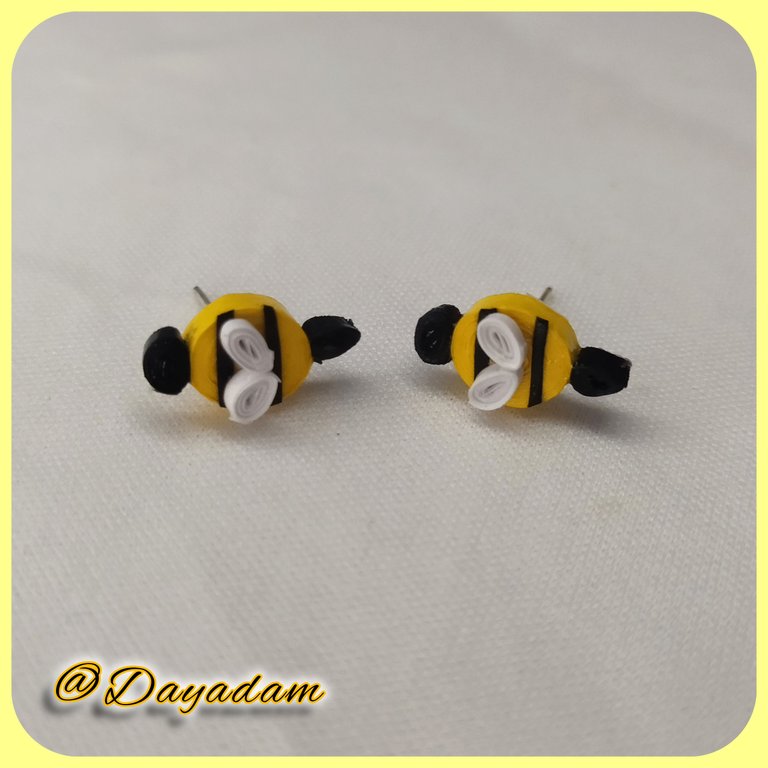
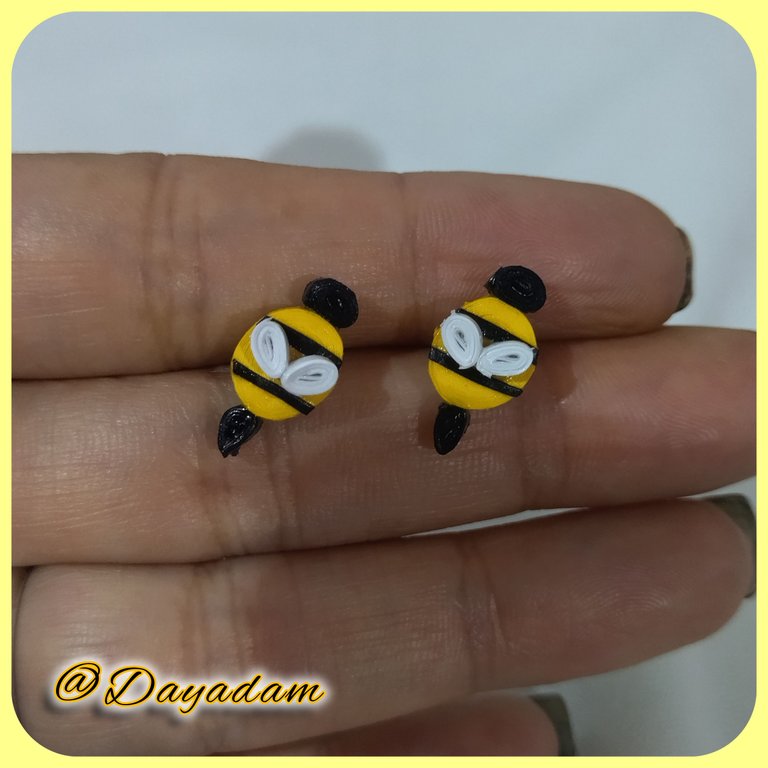
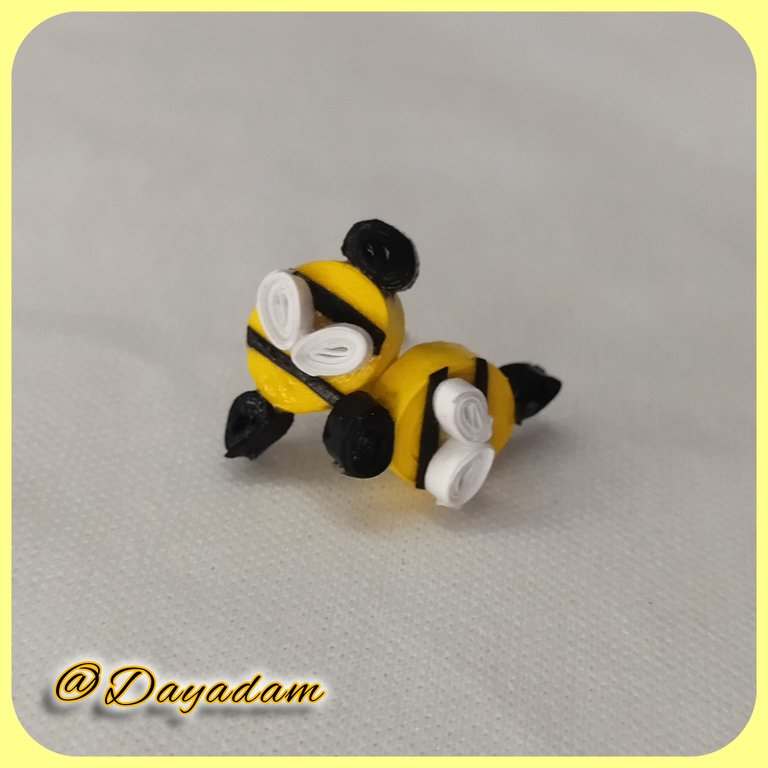
This way we have ready this pair of fixed tendrils of minimalist bees, that I made to commemorate our PUD of the month of June...⚡️🐝⚡️💕

• Listas todas las pequeñas piezas vamos a unir de manera armónica, adicionalmente necesitaremos dos trozos de cinta para quilling de color negra de 1mm de ancho que serán las lineas del cuerpo de la abeja, comenzaremos pegando 2 lineas negras al cuerpo de la abeja, luego la cabeza en la esquina delantera, los aguijones en la esquina trasera, y las alas en la parte de arriba del cuerpo de la abeja entre las dos lineas negras.
• Formada la pequeña abejita, le pegaremos por la parte de atrás unas bases para zarcillos fijas con pega blanca extra fuerte, dejaremos secar muy bien.
• Por ultimo para proteger, plastificar y darle brillo a los zarcillos, aplicaremos varias capas de pega blanca extra fuerte dejando secar entre una capa y otra.
De esta manera tenemos listo este par de zarcillos fijos de unas abejitas minimalistas, que realice para conmemorar nuestro PUD del mes de Junio...⚡️🐝⚡️💕

What did you think, did you like it?
I hope you did, I hope you liked my explanation, procedure and photos, I made them with love for you.
"Let out that muse that inspires you, and let your imagination fly".
Thank you all, see you next time. Happy PowerUpDay ⚡️🐝⚡️

¿Qué les pareció, les gustó?
Espero que sí, que les haya gustado mi explicación, procedimiento y fotos, los hice con mucho cariño por y para ustedes.
"Deja salir esa musa que te inspira, y deja volar tu imaginación".
Gracias a todos, nos vemos en la próxima. Feliz PowerUpDay ⚡️🐝⚡️

Todas las fotos usadas en este post son de mi autoría y han sido sacadas en mi celular personal un Redmi 9T, editadas en InShot y Canva Banner y separador hecho por mí en Canva Traducido con la ayuda de DeepL

Posted Using InLeo Alpha
Congratulations @dayadam! You received a personal badge!
Wait until the end of Power Up Day to find out the size of your Power-Bee.
May the Hive Power be with you!
You can view your badges on your board and compare yourself to others in the Ranking
Check out our last posts:
Gracias @hivebuzz 🐝💕
Wow! que abejitas tan tiernas, me imagino es un trabajo de paciencia al hacer piezas tan pequeñas, el resultado es hermoso, como siempre un gran trabajo @dayadam 🐝🐝 🌺🌻🌼
Saludos!
Gracias hermosa me alegra mucho que te haya gustado. Y si, es un trabajo de paciencia, no es fácil aunque se vea sencillo por el tamaño,pero gratifica obtener este tipo de resultado final para compartirlo con uds.
Abrazos y Feliz PowerUpDay 🐝✨
Wow, how impressive. To make something so small into something so big and overflowing with talent is worthy of admiration. All people who manage to create art with their hands are very special, but the ones who manage to do it and achieve such small and minute details are gods hahaha. Congratulations, this is beautiful and amazing ❤️
Muchísimas gracias de verdad, tu comentario hacia mi trabajo es muy gratificante para mí. Leer este tipo de cosas inspira a seguir adelante, aprender e impartir nuestros conocimientos a los que nos leen.
Bendiciones y gracias.
Feliz PowerUpDay @jesuslnrs 🐝✨
This is stunning, and I like what you've done there with Hive Powerup Day 🙌
Ainsssss thank you very much for your very tender and cute comment towards my work and for the support. It gratifies me a lot I will continue every day creating and showing the best of me. For more than a year it has become my custom to celebrate the PUD with a little bee. I hope ideas continue to come every month to continue commemorating it.Happy PowerUpDay @millycf1976 💗🐝
The idea resonates with me.
Have a great day further:)))
Que belleza!!
Gracias bella 💕🐝
Saludos amiga están muy cuchi esos zarcillos, me imagino que te costó mucho realizarlo por ser tan diminutos
Saludos bella. Si me costó bastante pero el resultado me encantó. Gracias por pasar y por tu apreciación.
Feliz PowerUpDay 🐝✨
Que lindura amiga 💕 me encanta son muy coquetos estos accesorios
Gracias mi bella @yolimarag. Un abrazo fuerte para ti. Feliz PowerUpDay 🐝💕
La técnica de filigrana de papel o quilling como haces mención, me parece tan hermosa y han creado majestuosa obras de arte con la misma. Me encantaron esas abejitas, un trabajo tan minucioso y delicado. 😊
The paper filigree or quilling technique, as you mention, seems so beautiful to me and you have created majestic works of art with it. I loved those little bees, such meticulous and delicate work. 😊
Gracias mi linda. Espero seguir mejorando y crear grandes cosas con la misma para seguir compartiendola con ustedes.
Fue un trabajo algo complicado, pero valió la pena.
Saluditos. Feliz PowerUpDay 🐝✨
Congratulations @dayadam! You received a personal badge!
Participate in the next Power Up Day and try to power-up more HIVE to get a bigger Power-Bee.
May the Hive Power be with you!
You can view your badges on your board and compare yourself to others in the Ranking
Check out our last posts:
https://x.com/hivediy47901/status/1797362125112738117
Hermosa elaboración amiga me gustó mucho la técnica que desarrollaste 👍
Que ternurita de abejitas @dayadam las ame, como siempre trayendo novedades amiga.
Gracias mi hermosa @karelysk89 . Besitos...
wow this very beautiful diy post I love it
Hola que hermoso queso tu trabajo...se ve que esa tecnica que utilizas es un poco complicada par quien no sabe manejarla, pero se que con mucho esfuerzo se logran grandes cosas...me encantaron esas mini abejitas...felicitaciones.🐝🐝🐝