Flame Mephit Set of Accessories Quilling Technique [Eng-Esp]
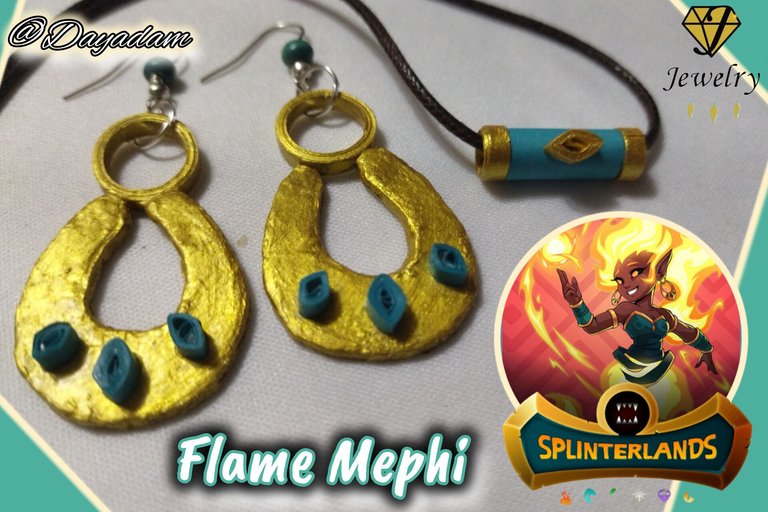
Hello everyone... ✨
Hello to my dear Hivers and the dear community of artists #Jewelry, as always very pleased and excited to be here again, showing you my work made with love and especially for you.
Greetings to the Splinterlands community, and everyone who lives there, I'm here to join the Splinterlands Social Media Challenge!
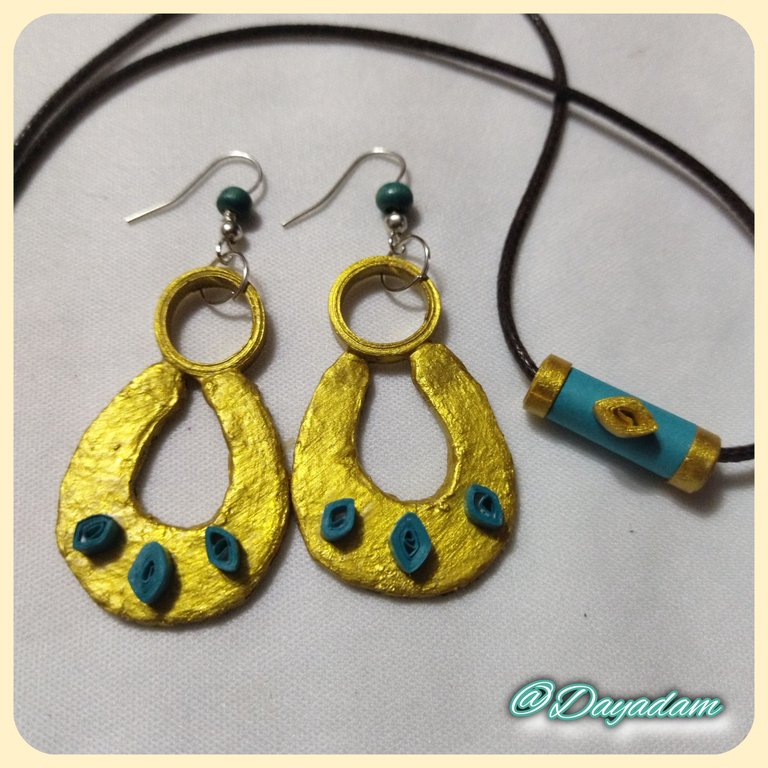
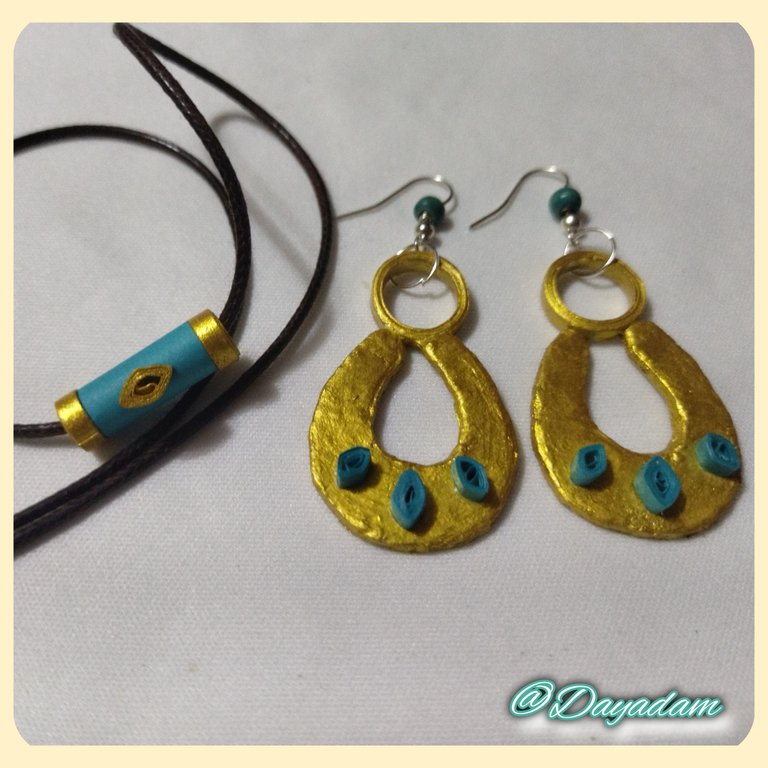
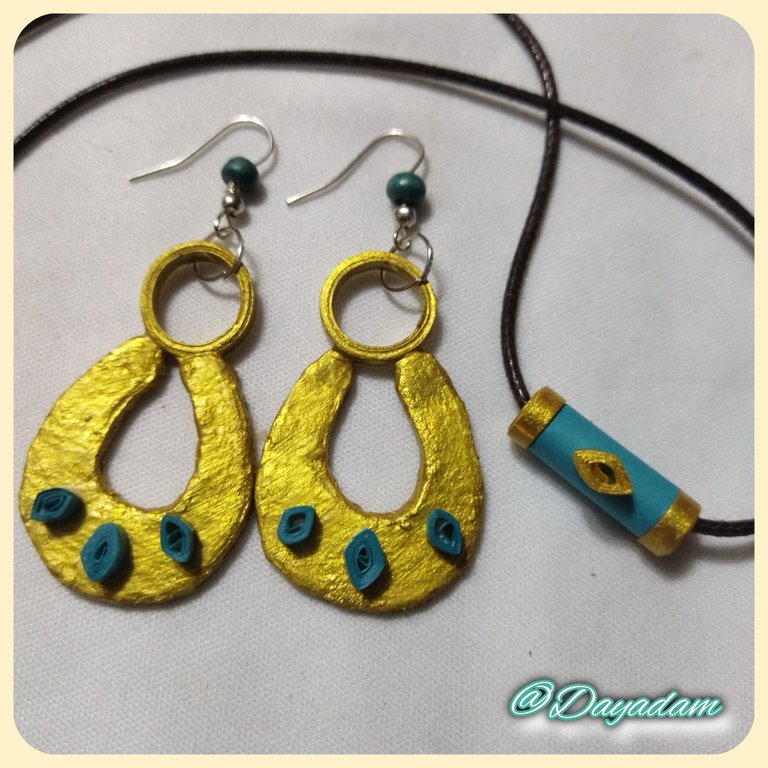
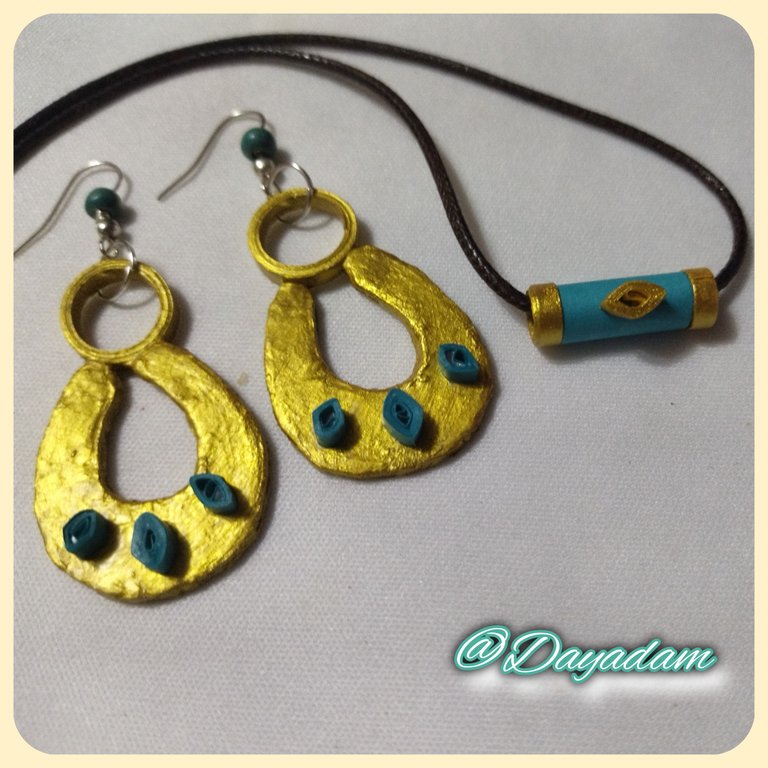
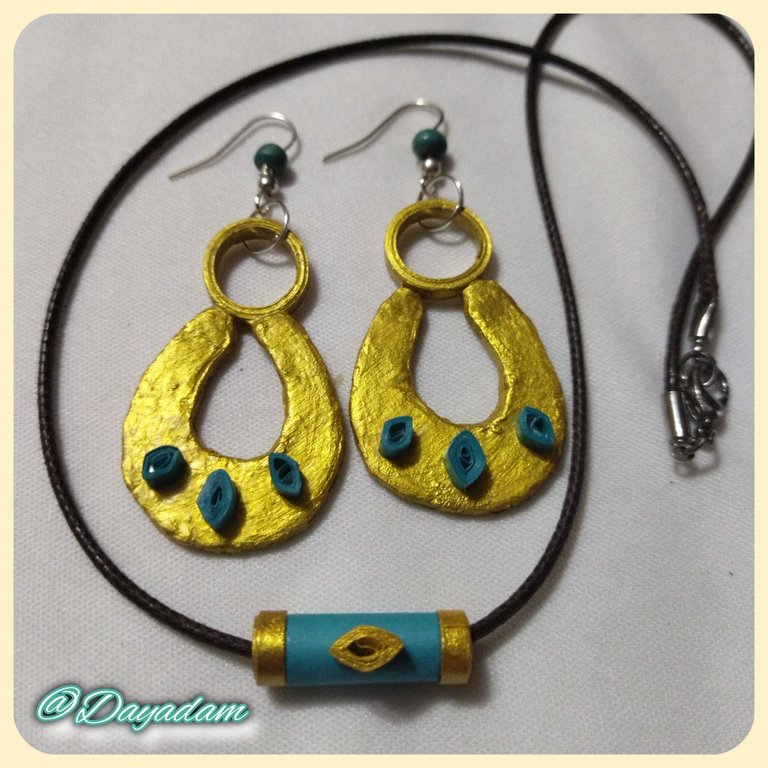
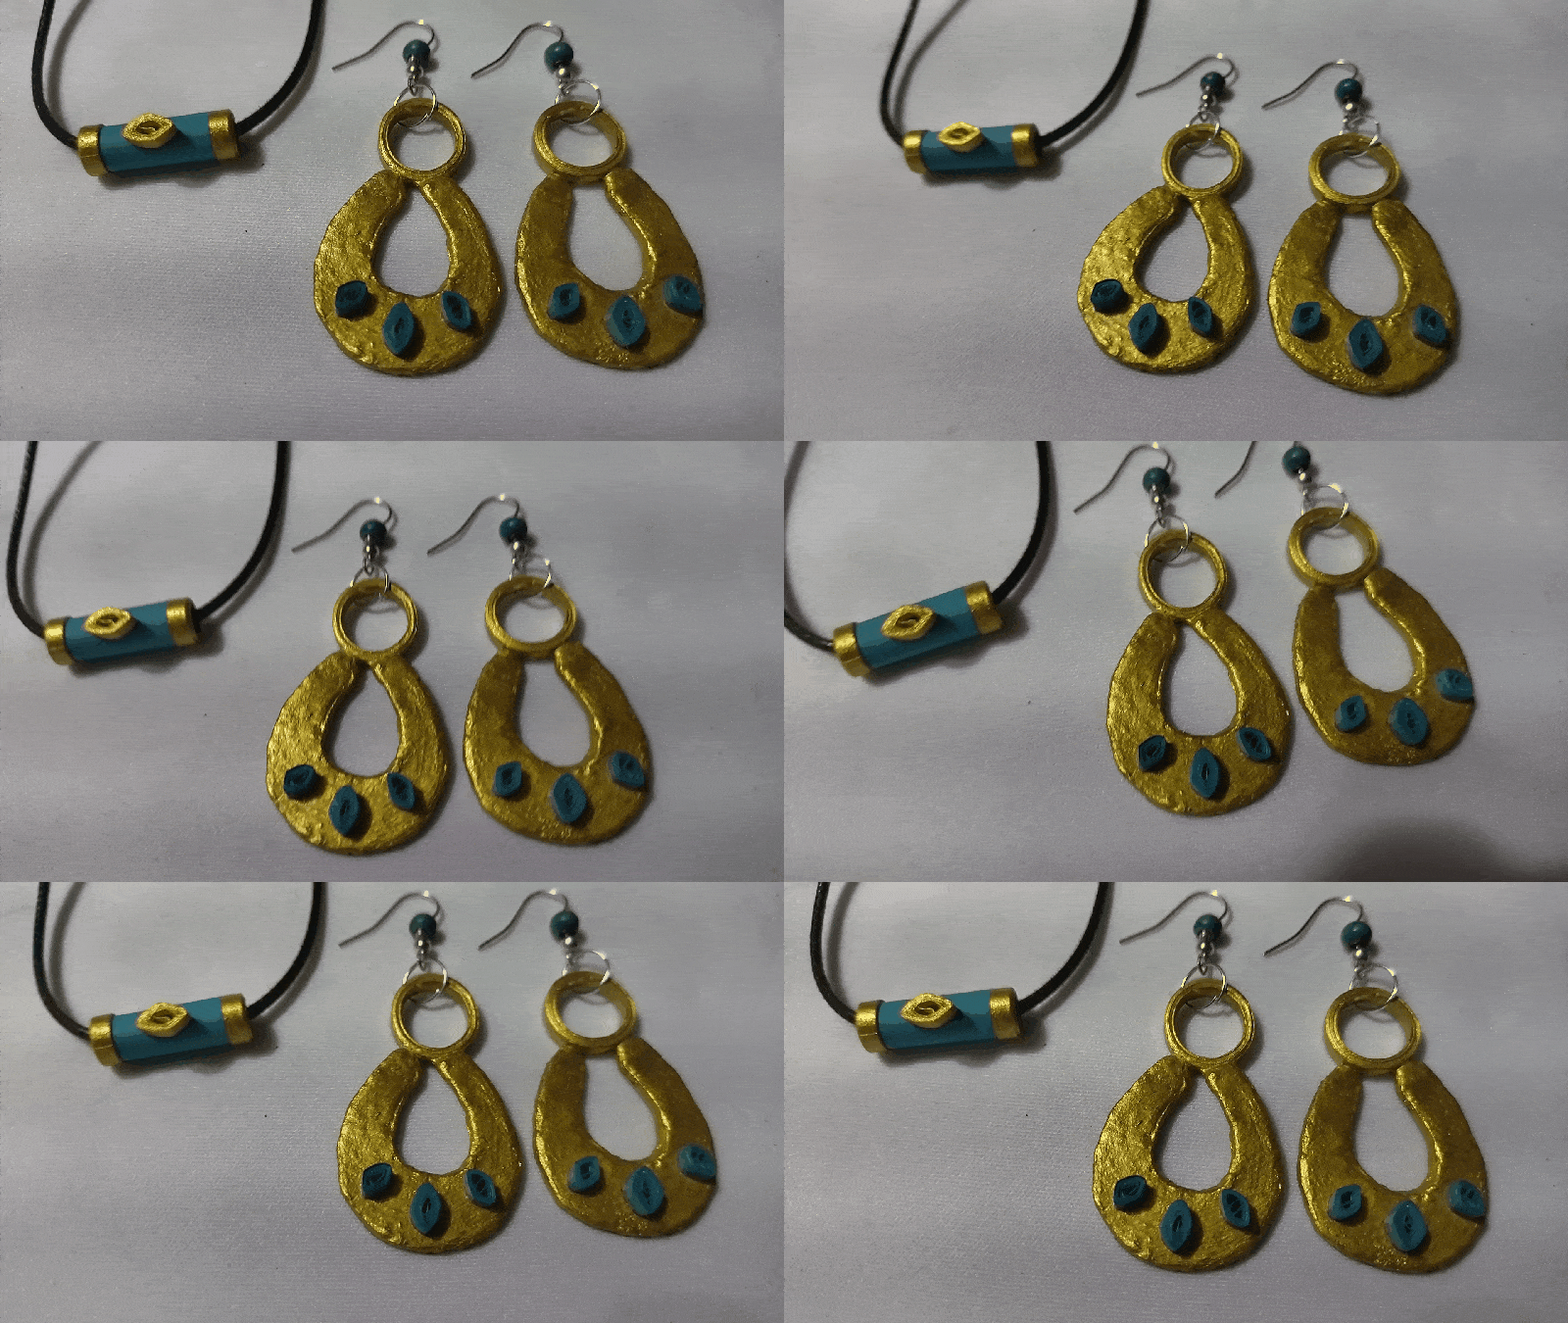
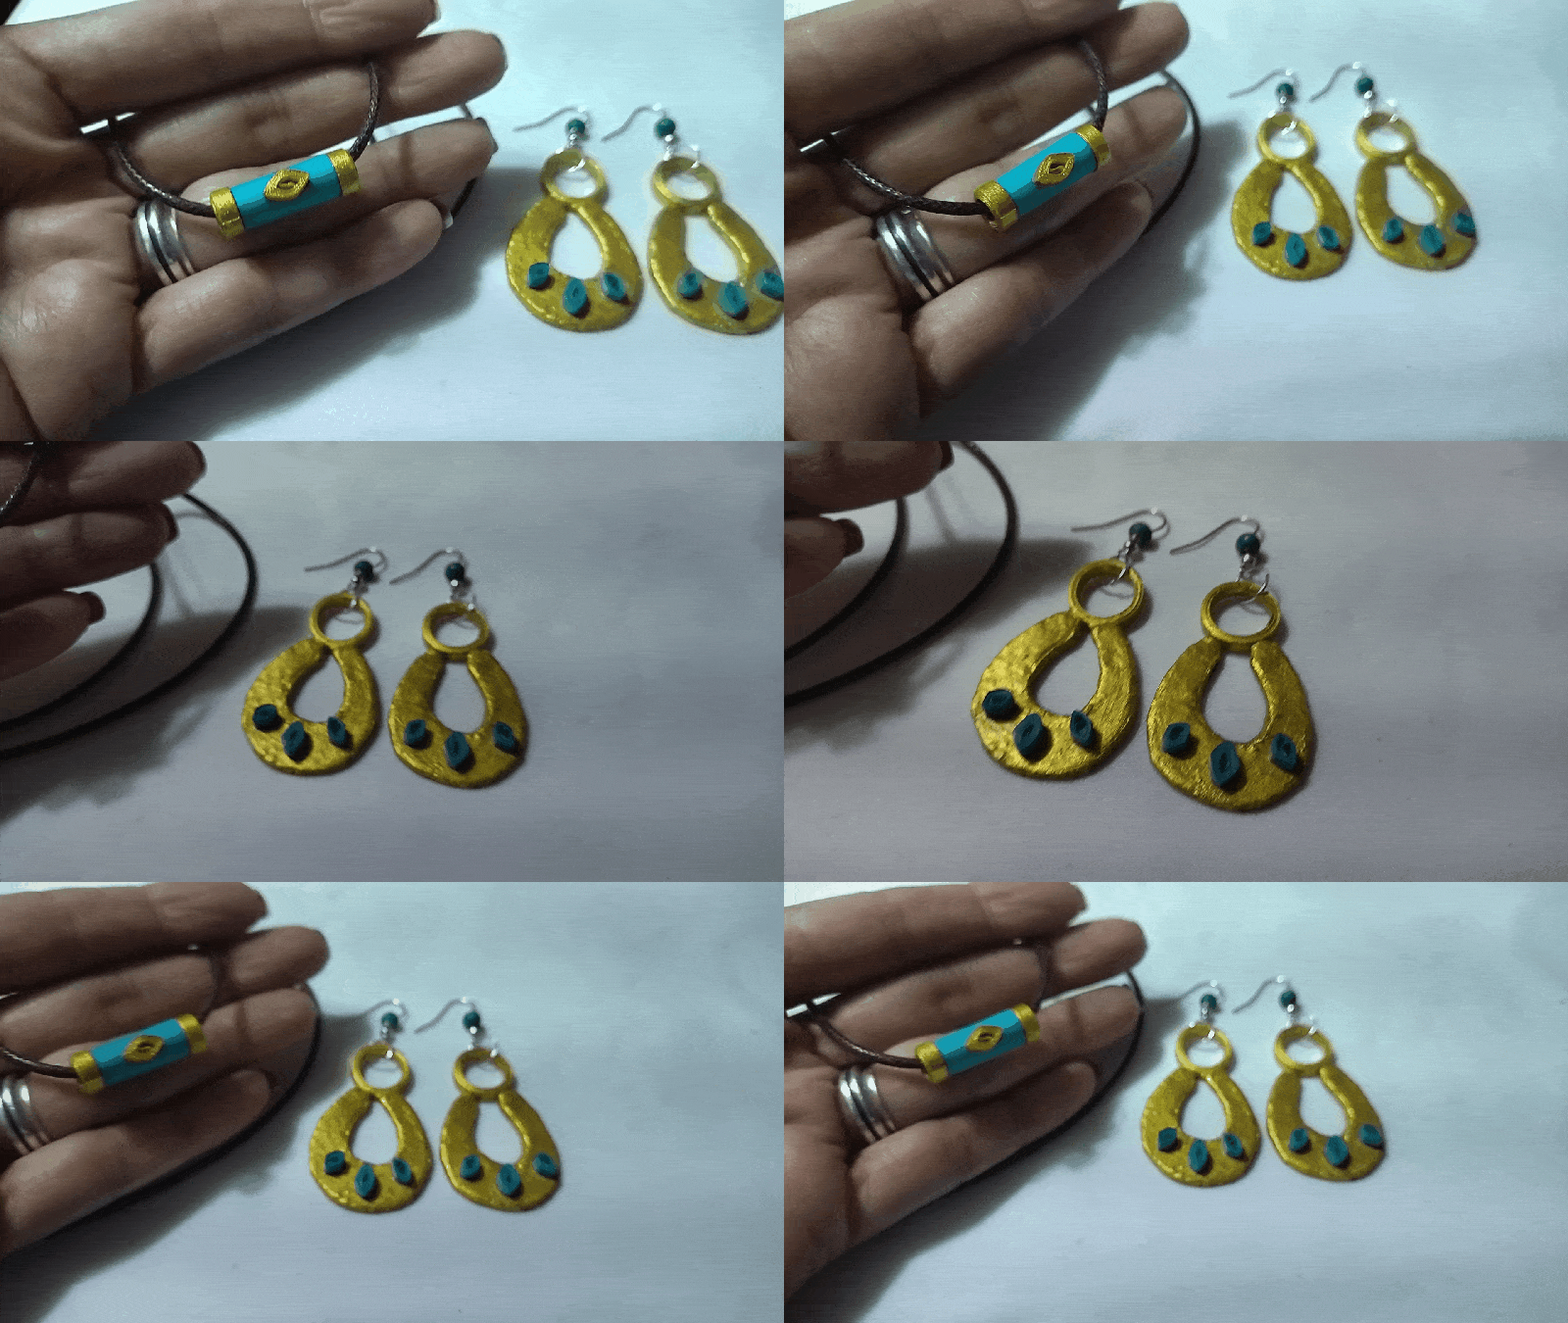
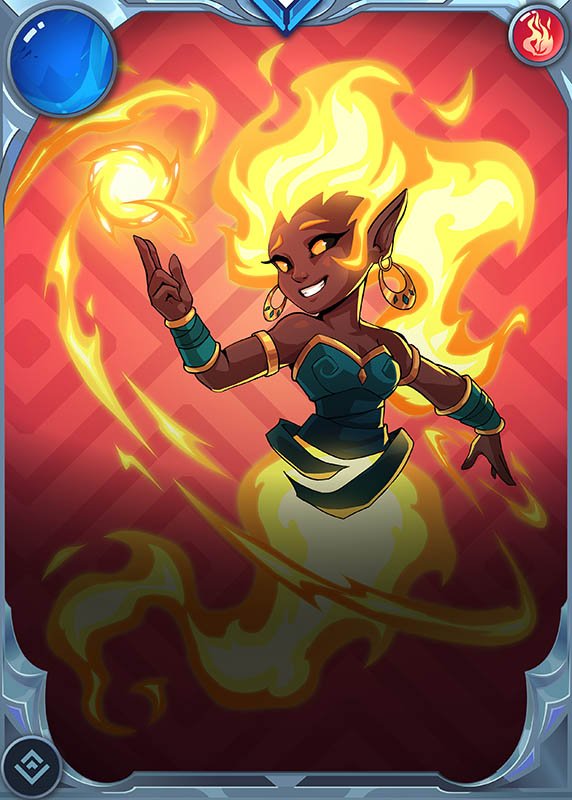
For today I bring you a work inspired by the Rebellion card of the character "Flame Mephit " I materialized a set of accessories, pendant earrings and necklace pendant, based on elements of the same, in the quilling technique.
If you want to know more about the game, I leave you my reference link to enter it and navigate through this wonderful world: https://splinterlands.com?ref=dayadam
Hoping you like my work, without further ado, I leave you with my creative process.
Let's start:😃

Hola a Todos...✨
Hola a mis queridos Hivers y a la querida comunidad de artistas #Jewelry, como siempre muy complacida y emocionada de encontrarme por acá nuevamente, mostrándole mi trabajo hecho con mucho amor y especialmente para ustedes.
Un saludo para la comunidad de Splinterlands, y todos los que hacen vida por allí, estoy por acá para unirme al reto Splinterlands Social Media Challenge!.
Para hoy les traigo un trabajo inspirado en la carta de Rebellion del personaje "Flame Mephit" materialice un conjunto de accesorios, zarcillos colgantes y dije para collar, basados en elementos de la de la misma, en la técnica de quilling.
Si quieren saber más con respecto al juego les dejo mi enlace de referencia para que ingresen en él, y naveguen por este maravilloso mundo: https://splinterlands.com?ref=dayadam
Esperando les guste mi trabajo, sin más preámbulos, les dejo mi proceso creativo.
Comencemos:😃

• Cartón 2 en kilo..
• Hoja blanca.
• Lapiz.
• Cintas de quilling.
• Bases para zarcillos colgantes (anzuelos).
• Perlas de madera.
• Argolla de bisutería.
• Pintura al agua color oro.
• Pega blanca extra fuerte (de carpintería).
• Tijera.
• Pincel.
- Cardboard 2 in kilo.
- White sheet.
- Pencil.
- Quilling ribbons.
- Bases for hanging tendrils (hooks).
- Wooden beads.
- Jewelry ring.
- Gold-colored water-based paint.
- Extra strong white glue (carpentry glue).
- Scissors.
- Paintbrush.

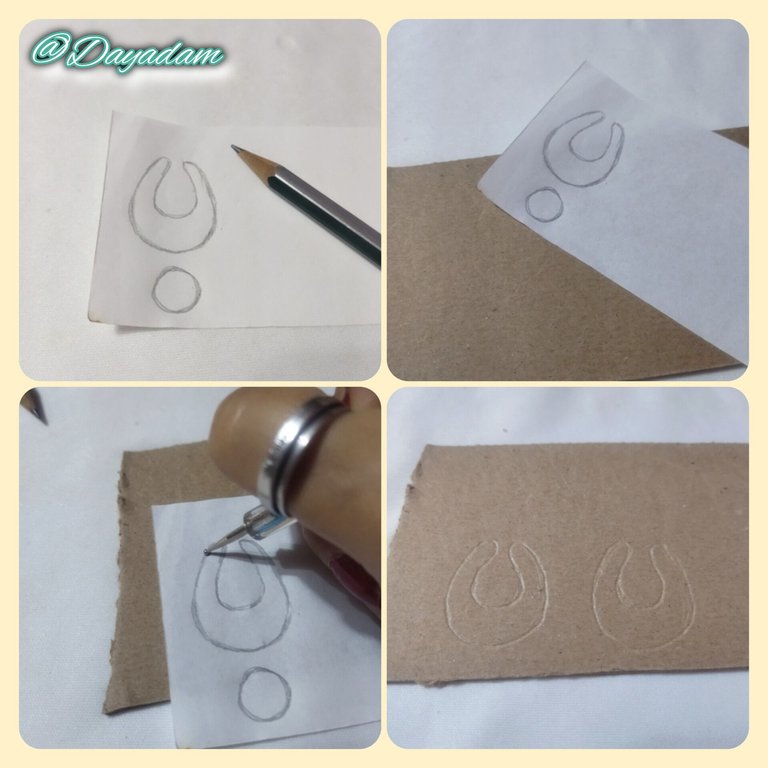
- We started by making a sketch on a piece of white paper, with a pencil of the figure of the bottom of the tendrils. Then I cut that figure twice on a piece of cardboard 2 in kilo, that is a somewhat thick cardboard style, I chose it to make the tendrils more resistant.
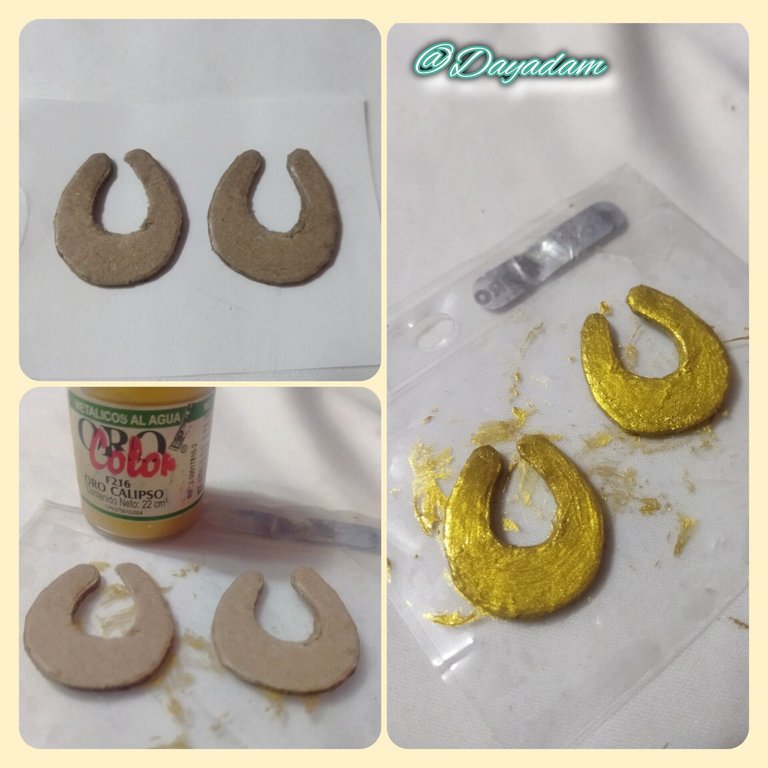
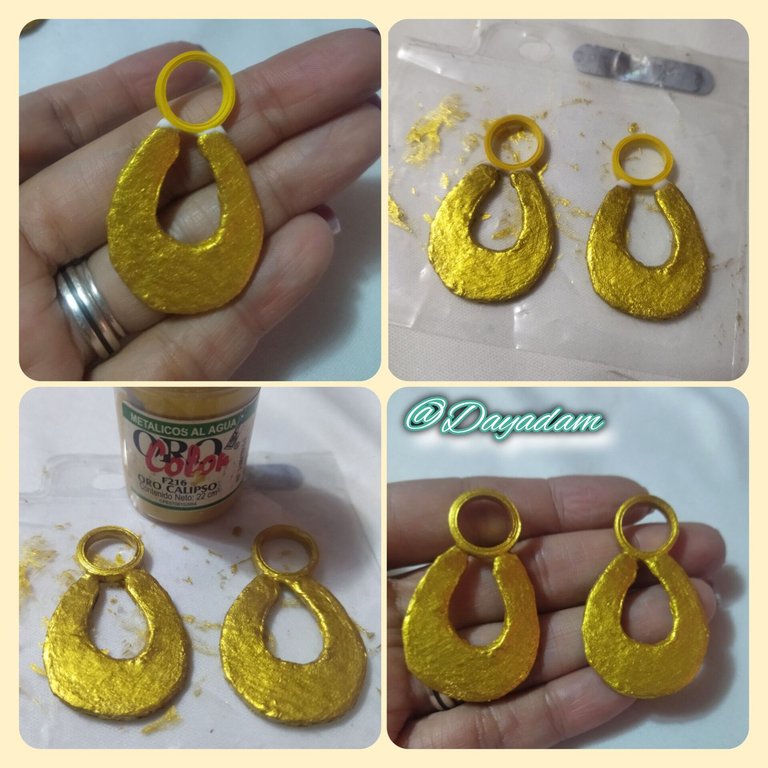
- I proceeded to paint the figures with gold colored water-based paint, applying several coats and letting it dry between coats.
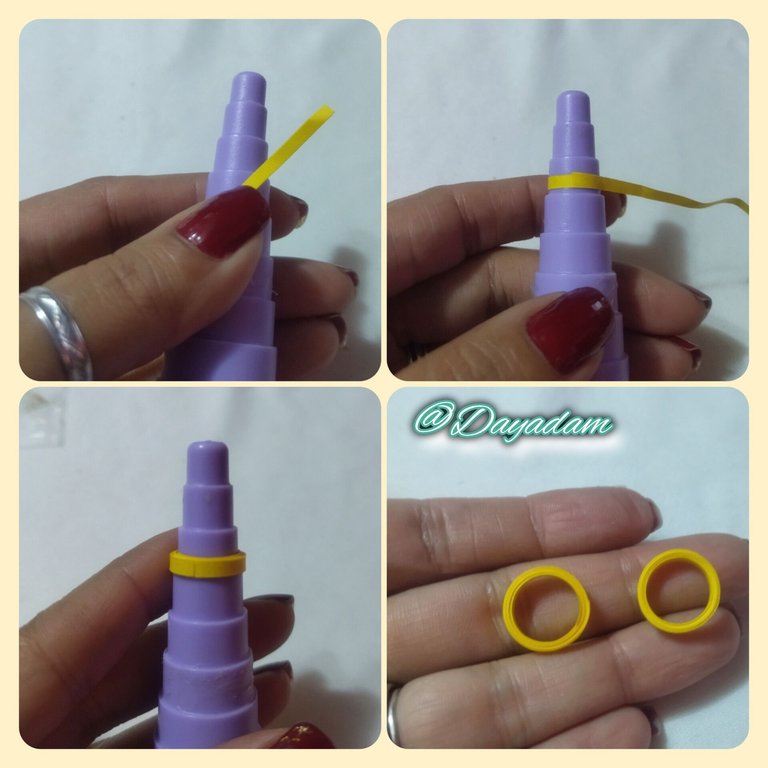
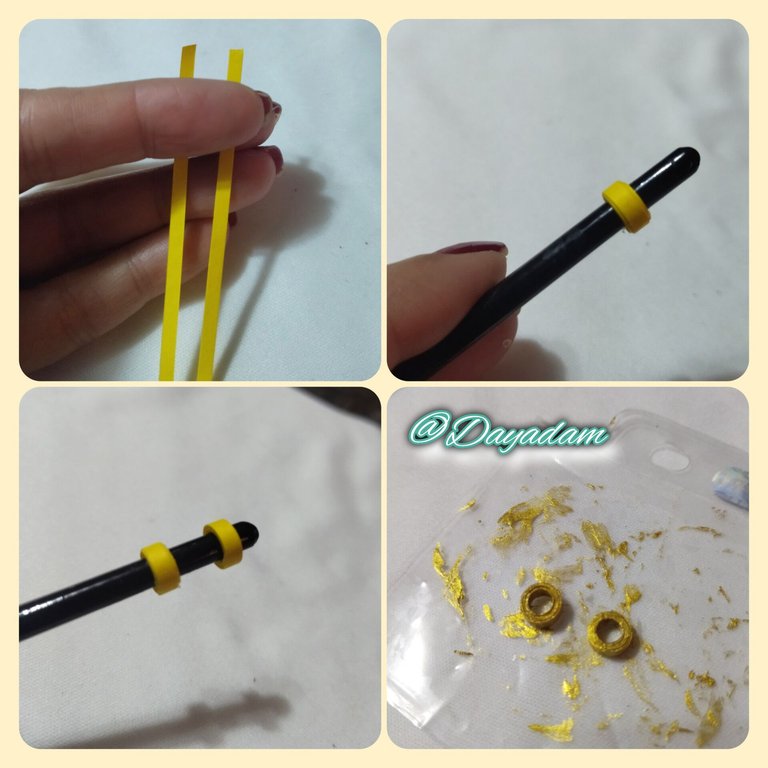
- To make the top ring of the tendril, I took yellow quilling tape 3 mm wide, I passed in the measure number 3 from top to bottom of a cone to mold circles.
- Once ready, I glued them to the piece I had previously made with a touch of extra strong glue and once dry, I proceeded to paint the ring with gold colored paint.

• Inicié realizando un boceto en un trozo de hoja blanca, con un lápiz de la figura de la parte de abajo de los zarcillos. Luego recorte esa figura dos veces en un trozo de cartón 2 en kilo, ese es un estilo de cartón algo grueso, lo escogí para hacer el zarcillo más resistente.
• Procedí a pintar las figuras con pintura al agua color oro, aplicando varias capas dejando secar entre una capa y otra.
• Para realizar el aro de arriba del zarcillo, tome cinta para quilling de color amarillo de 3 mm de ancho, pasé en la medida número 3 de arriba hacia abajo de un cono para moldear círculos.
• Una vez listos los pegué de la pieza que elabore con anterioridad con un toque de pega extra fuerte al secar procedí a pintar el aro con pintura color oro.
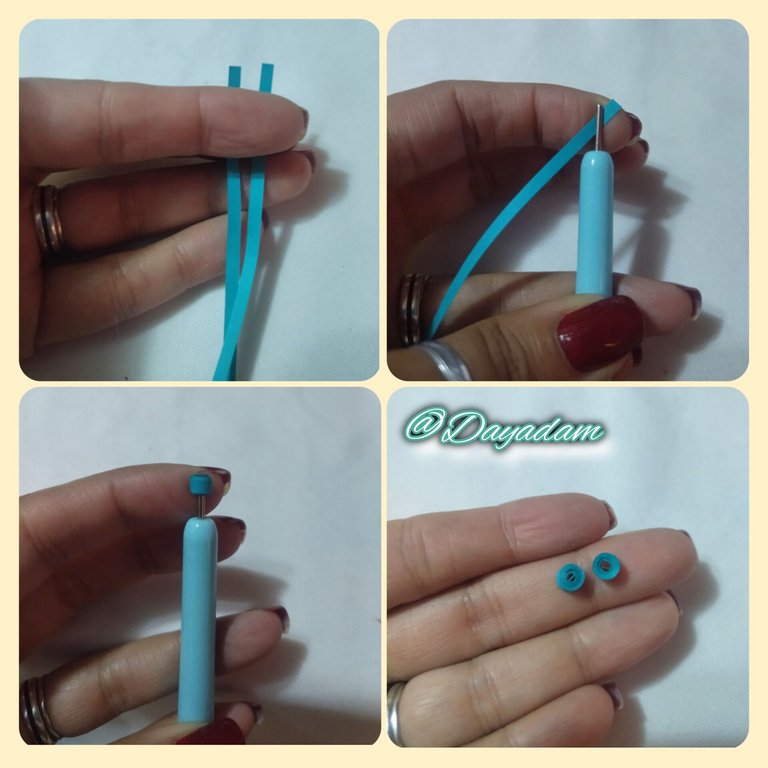
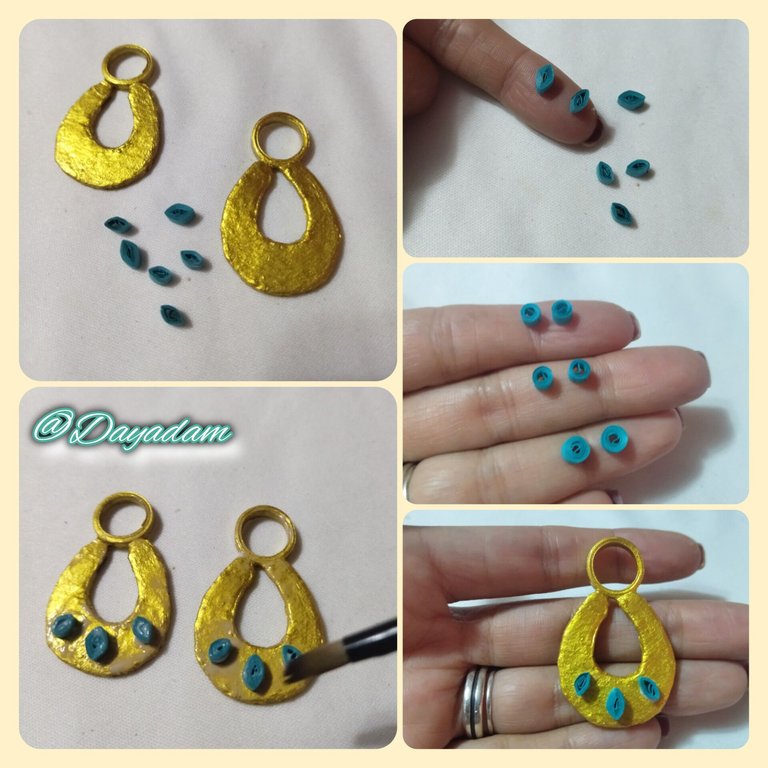
To make the details of the tendril, with aquamarine ribbon I made six small open circles 2 a little larger, I molded them in the shape of diamonds. I glued them harmoniously on the tendrils, applied a little extra strong white glue on the top and let it dry very well.
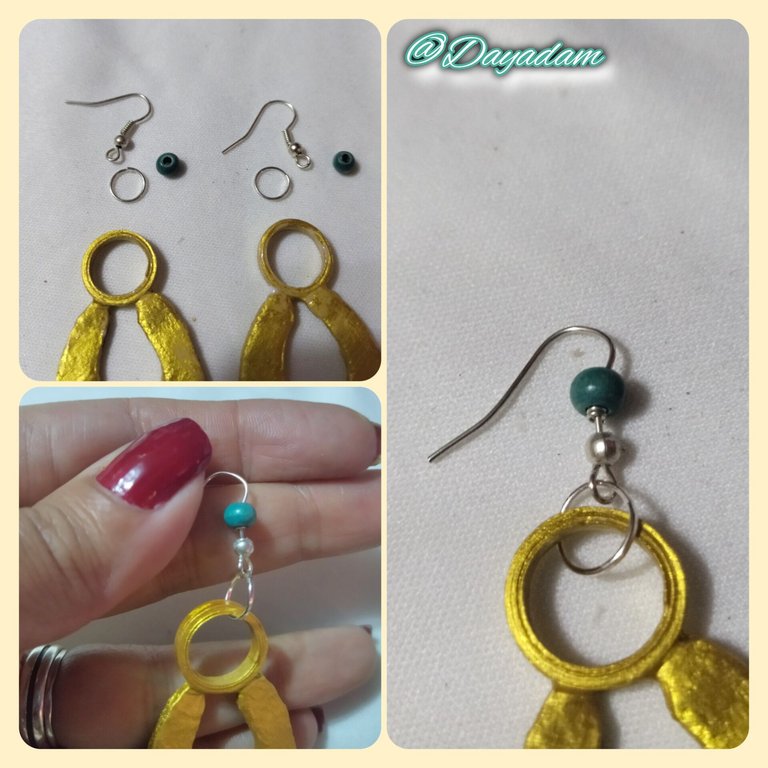
To finish the tendrils, I placed their base for hanging tendrils (hooks), to which I added a wooden pearl to make it more attractive, I also incorporated a medium-sized costume jewelry ring.

• Para realizar los detalles del zarcillo, con cinta de color aguamarina realicé seis pequeños círculos abiertos 2 un poco más grandes, los moldee en forma de rombos. Los pegué de manera armónica en los zarcillos, le apliqué un poco de Pega Blanca extra fuerte por la parte de arriba deje secar muy bien.
• Para finalizar los zarcillos, les coloqué su base para zarcillos colgante (anzuelos), a la cual le coloqué para darle mayor vistosidad una perla de madera, también les incorporé una argolla mediana de bisutería.
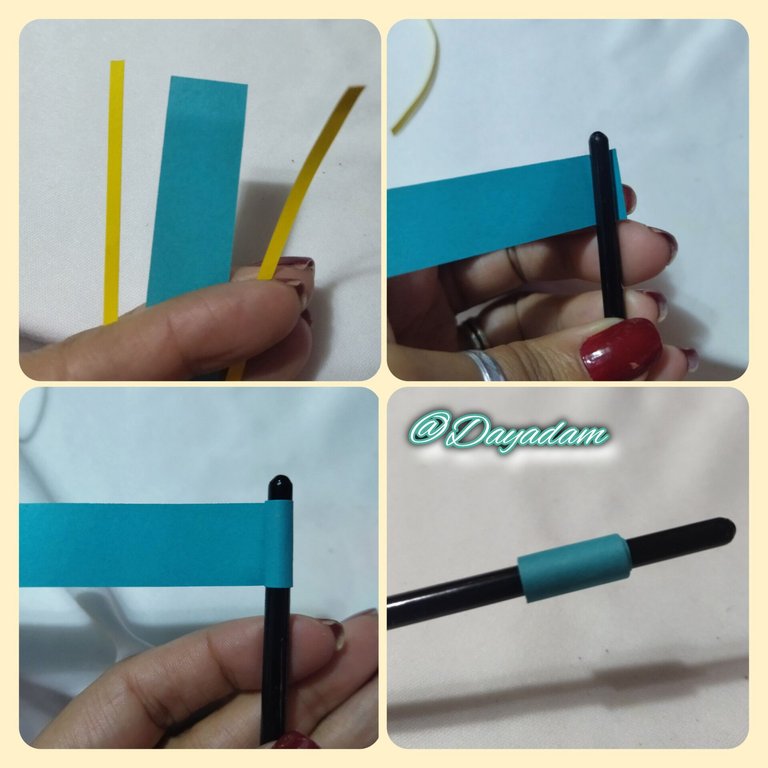
- To complete the set of accessories I decided to make a pendant for necklace with an element that is on the arm of the character, I started by taking a piece of quilling tape 18 mm wide which color is aquamarine, I took a brush and rolled from its tip until the end with all the tape, I removed the brush.
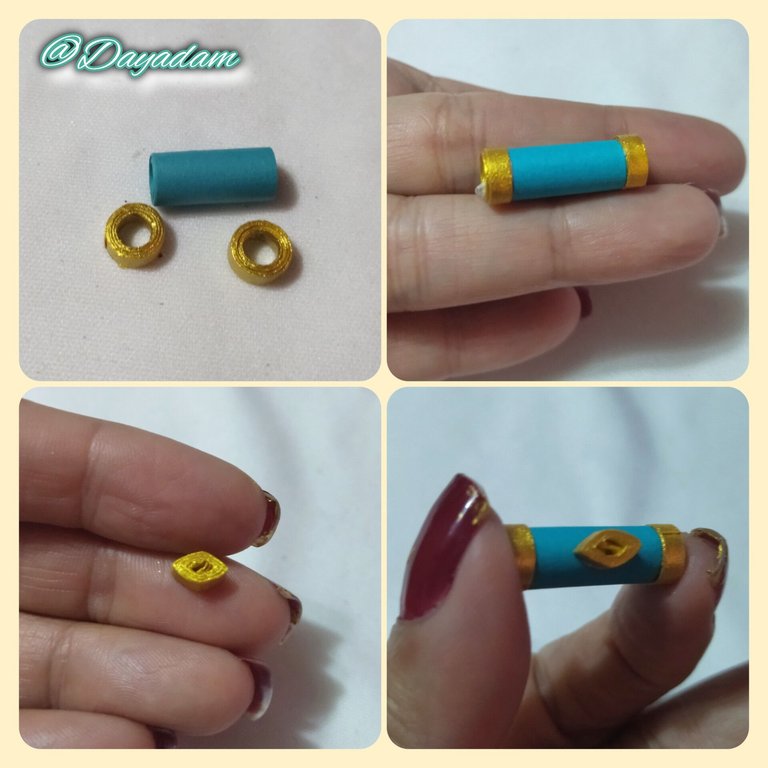
- Then I made 2 hollow circles with yellow ribbon 3 mm wide, which I rolled under the same parameters above, these circles I painted with gold paint, when they were dry I joined them to the previous piece, placing one on each side with extra strong white glue.
- Finally I made a small open circle which I molded as a rhombus, painted with gold paint and glued to the center of the pendant which resulted from the previous process.
*** - This way we have ready this set of accessories, which I materialized inspired by the letter "Flame Mephit ".

• Para completar el conjunto de accesorios decidir realizar un dije para collar con un elemento que está en el brazo del personaje, inicié tomando un trozo de cinta para quilling de 18 mm de ancho qué color de color aguamarina, tomé un pincel y enrollé de su punta hasta finalizar con toda la cinta, saqué del pincel.
• Luego realicé 2 círculos huecos con cinta amarilla de 3 mm de ancho, la cual enrollé bajo los mismos parámetros anteriores, estos círculos los pinté con pintura color oro, al estar secos los uni a la pieza anterior, colocando uno de cada lado con pega Blanca extra fuerte.
• Para finalizar realicé un pequeño círculo abierto el cual moldee como un rombo pinté con pintura color oro y pegué al centro del dije qué resultó del proceso anterior.
• De esta manera tenemos listo este conjunto de accesorios, que materialice inspirada en la carta "Flame Mephit".

What did you think, did you like it?
I hope you did, I hope you liked my explanation, procedure and photos, I made them with love for you.
"Let out that muse that inspires you, and let your imagination fly".
Thank you all, see you next time.

¿Que les pareció, les gustó?
Espero que sí, que les haya gustado mi explicación, procedimiento y fotos, los hice con mucho cariño por y para ustedes.
"Deja salir esa musa que te inspira, y deja volar tu imaginación".
Gracias a todos, nos vemos en la próxima.


Thank you for the support @splinterboost ✨
This is so creative 😍
Thank you my heart 🤗
This looks really beautiful. What an impressive project this is.
Thank you very much for your support @amiegeoffrey a d @ecency. I am very glad that you liked my project. 🤗
You are welcome
Great job 👍
Thanks a lot 😊
Que genial te ha quedado estos accesorios amiga, me encanta tu ingenio y cómo lo sabes proyectar, un trabajo hermoso 💚 😉
!DIY
Gracias mi linda, valoro muchísimo tus palabras y tu apoyo muchísimas. Bendiciones para ti mi bella @yolimarag ✨
You can query your personal balance by
!DIYSTATSThanks ✨
Muy buen trabajo, felicidades
Muchísimas gracias por pasar y por apreciar mi trabajo.
Me gustó la idea de hacer la base de cartón. Es una excelente opción para hacer joyería y accesorios de personajes. Muy bien pensado ☺️👍🏽.
Un abrazo bella.
!discovery 40
Gracias mi reina me alegro muchísimo que te haya gustado. Y sí es una buena manera de reciclar pero también de hacer algo bonito a bajo costo. Gracias por tu apoyo un abrazote inmenso para ti...
!HUG
This post was shared and voted inside the discord by the curators team of discovery-it
Join our Community and follow our Curation Trail
Discovery-it is also a Witness, vote for us here
Delegate to us for passive income. Check our 80% fee-back Program
Thank you for the support @chacald.dcymt and @discovery-it 🤗
Me parecio muy lindo y la explicación fenomenal, se ve muy fácil de hacer.... Te quedó hermoso....
You are really creative. I love wat you create here. Thanks for sharing