Enchanted Pixie // 3D Necklace Charm Quilling Technique [Eng-Esp]
Hello everyone... ✨
Hello to my dear Hivers and the dear community of artists #Jewelry, as always very pleased and excited to be here again, showing you my work made with love and especially for you.
Greetings to the Splinterlands community, and everyone who lives there, I'm here to join the Splinterlands Social Media Challenge!
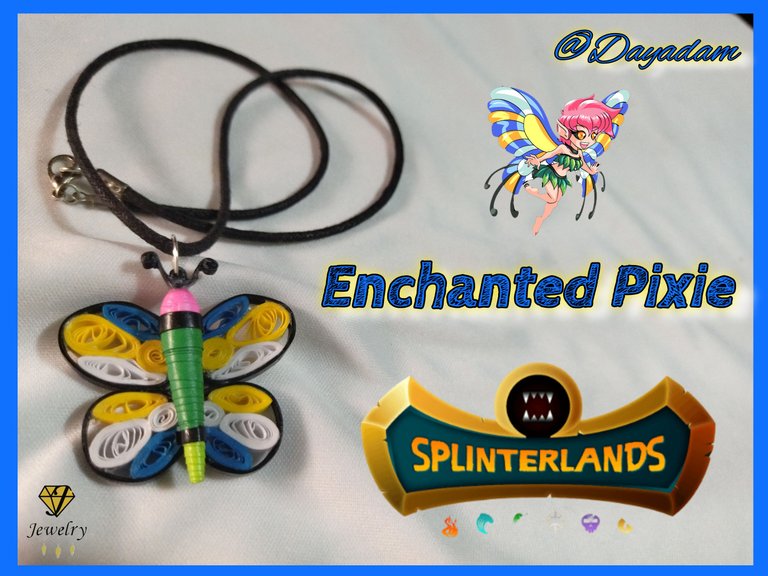
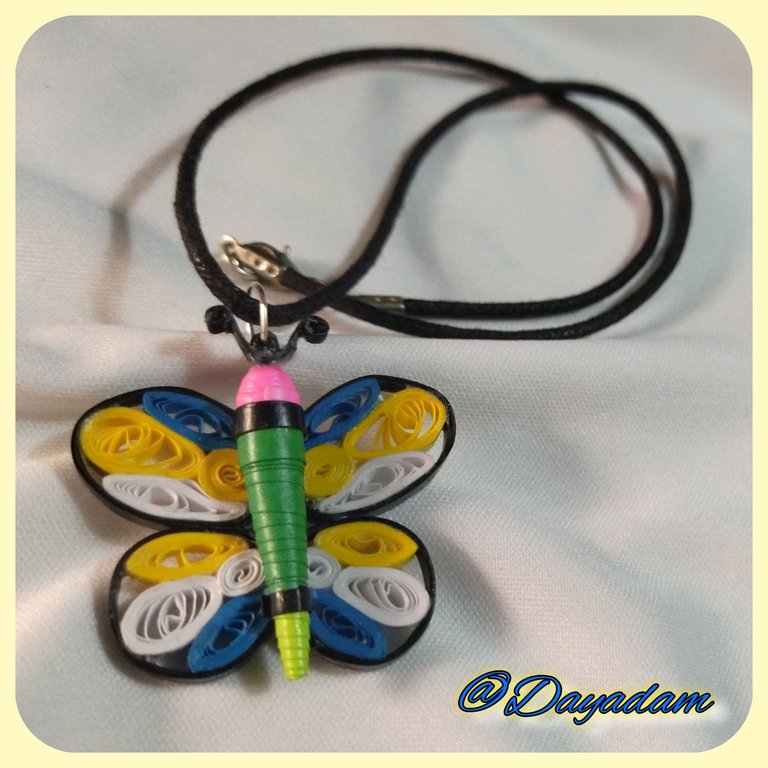
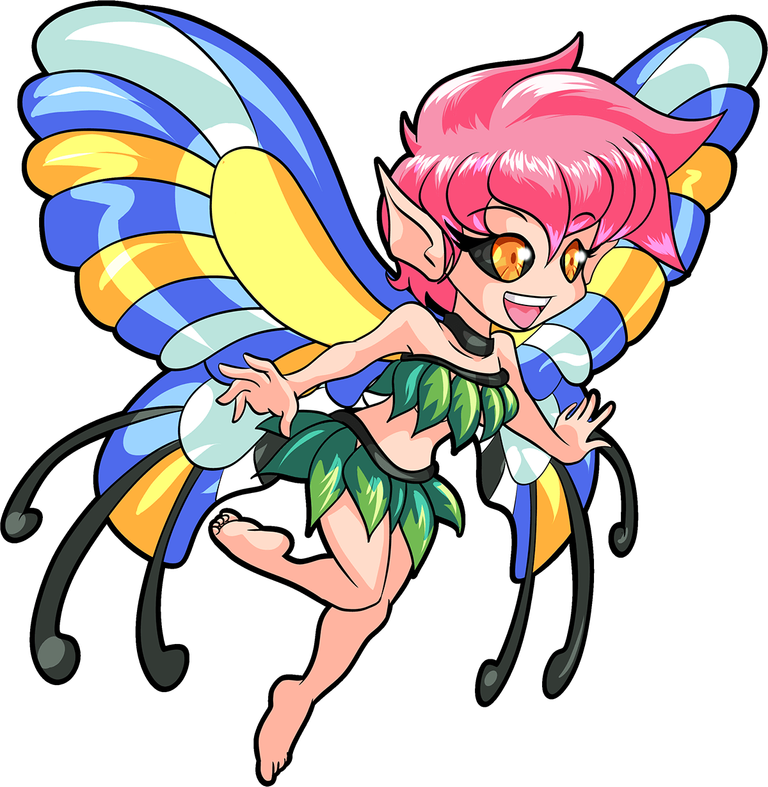
For today I bring you a work inspired by the beautiful letter of the character "Enchanted Pixie” materialize a fantart of her figure and use her colors, to make a 3D necklace charm in the quilling technique.
If you want to know more about the game, I leave you my reference link to enter it and navigate through this wonderful world: https://splinterlands.com?ref=dayadam
Hoping you like my work, without further ado, I leave you with my creative process.
Let's start:😃

Hola a Todos...✨
Hola a mis queridos Hivers y a la querida comunidad de artistas #Jewelry, como siempre muy complacida y emocionada de encontrarme por acá nuevamente, mostrándole mi trabajo hecho con mucho amor y especialmente para ustedes.
Un saludo para la comunidad de Splinterlands, y todos los que hacen vida por allí, estoy por acá para unirme al reto Splinterlands Social Media Challenge!.
Para hoy les traigo un trabajo inspirado en la hermosa carta del personaje "Enchanted Pixie" materialice un fantart de su figura y utilice sus colores, para realizar un dije para collar en 3D en la tecnica de quilling.
Si quieren saber más con respecto al juego les dejo mi enlace de referencia para que ingresen en él, y naveguen por este maravilloso mundo: https://splinterlands.com?ref=dayadam
Esperando les guste mi trabajo, sin más preámbulos, les dejo mi proceso creativo.
Comencemos:😃

• Cintas de quilling de diversas medidas y colores.
• Aguja para quilling.
• Plantilla para moldear círculos.
• Pega blanca extra fuerte (de carpintería).
• Tijera.
• Pincel.
• Repujador.
• Argolla de bisutería.
- Quilling ribbons of different sizes and colors.
- Quilling needle.
- Template to mold circles.
- Extra strong white glue (carpentry glue).
- Scissors.
- Brush.
- Scissors.
- Jewelry ring.

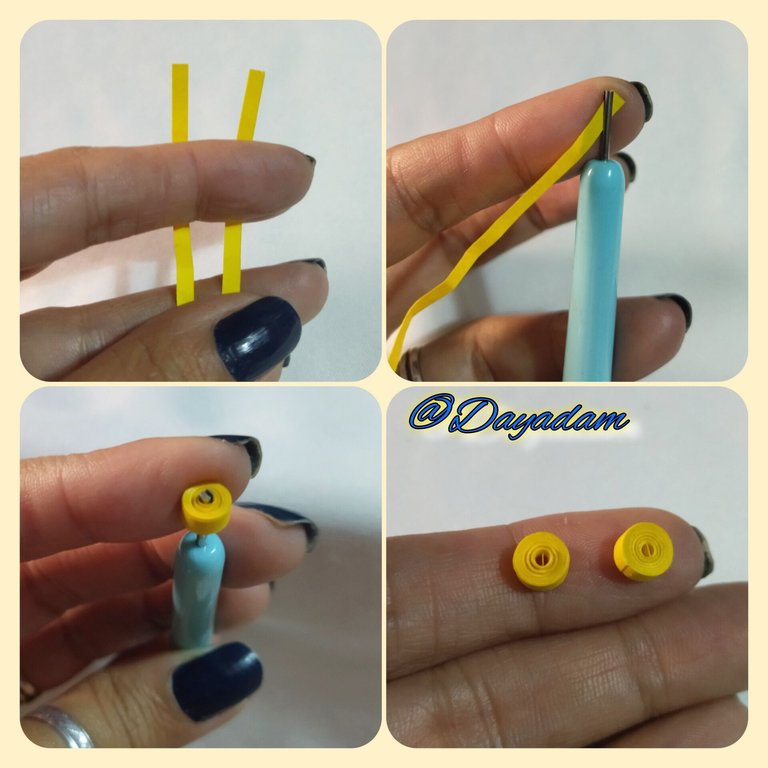
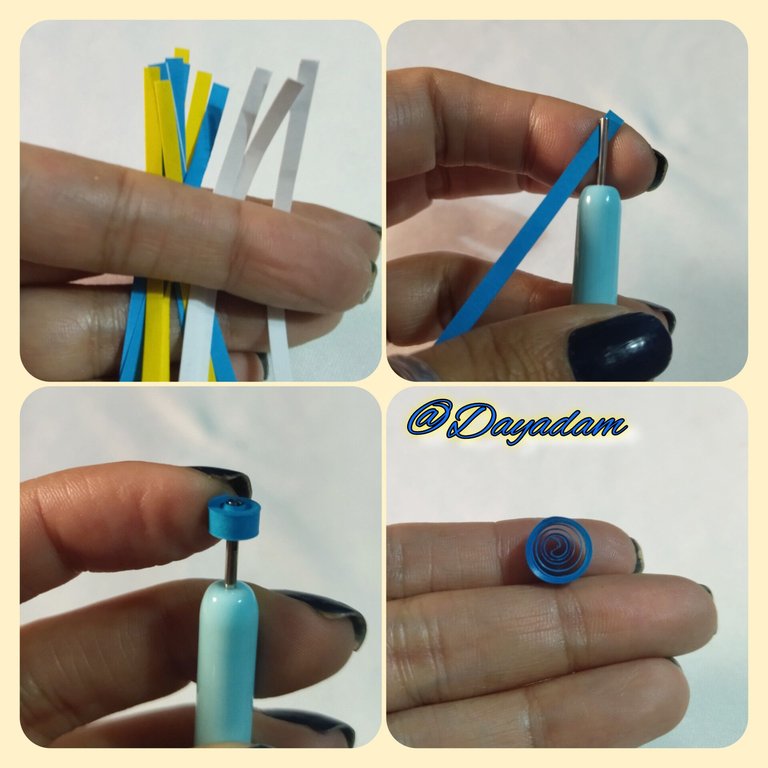
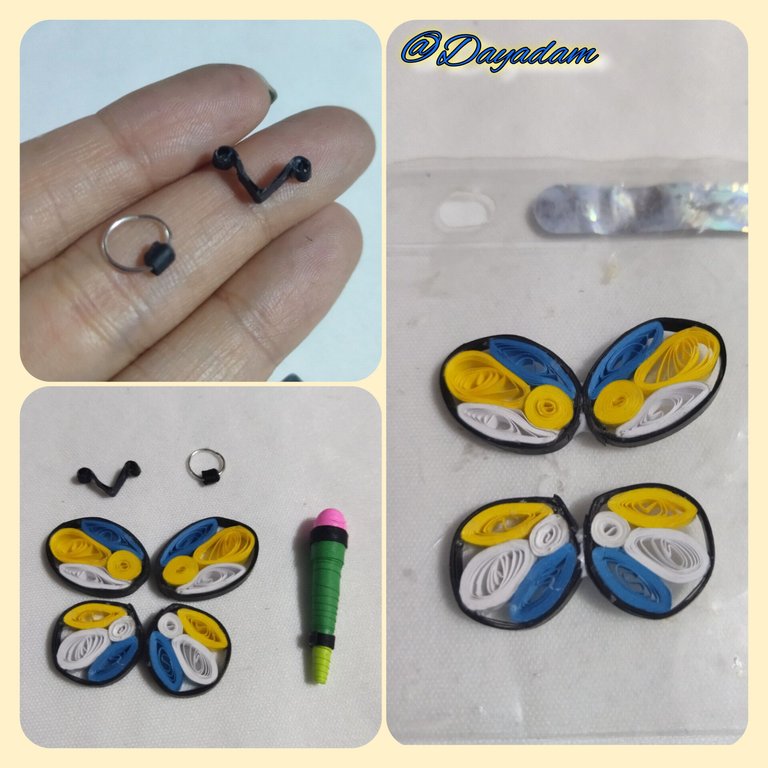
- Take yellow quilling ribbon 3mm wide, with the quilling needle we will roll up to the end of it, take it out of the needle, seal with extra strong white glue to obtain a closed circle. We will need 2 of the same.
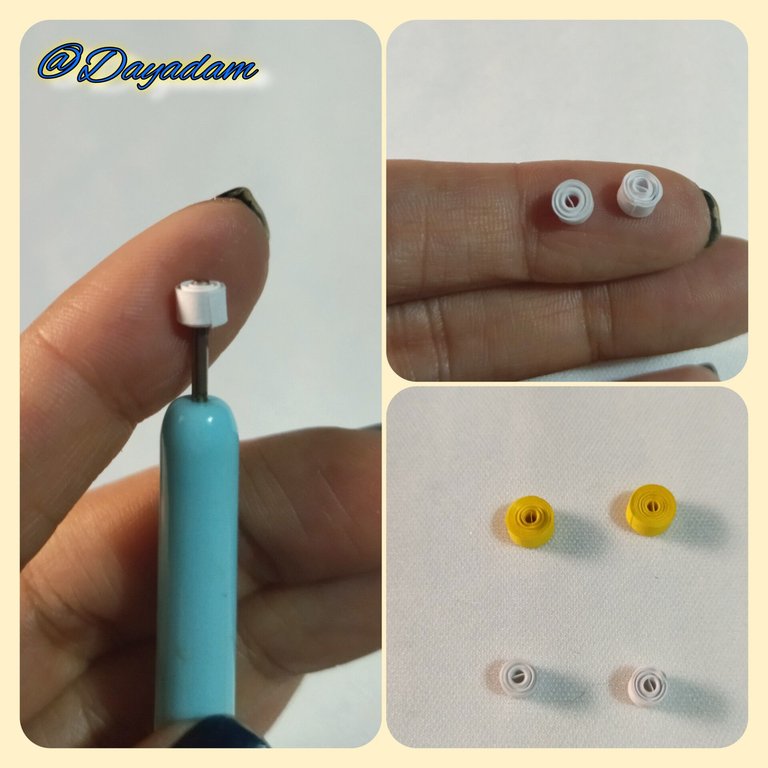
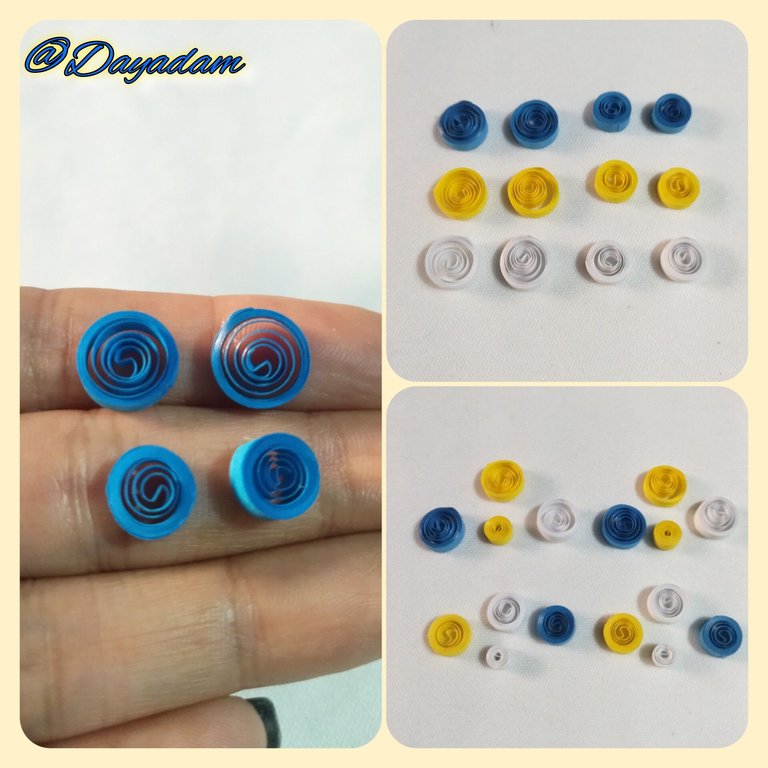
- Under the same parameters as above we will make 2 smaller closed circles, with 3mm wide white ribbon.
- We are going to take 3mm wide quilling tape, blue, yellow, white and we will do the following: With each color we are going to make 4 open circles, 2 medium and 2 smaller, each ribbon we roll it with the needle until we reach the end of it, we take out of it, we loosen a little until we get the size of our preference, we seal with glue.
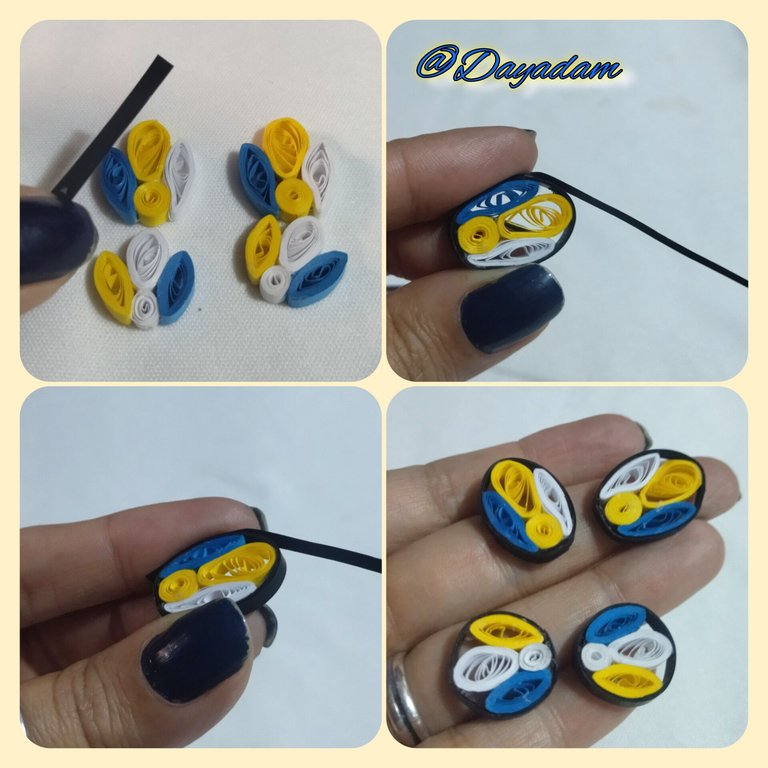
- We are going to organize the circles as you can see in the image, each group will be to make a wing of the butterfly.

• Comenzamos tomando cinta de quilling de color amarillo de 3mm de ancho, con la aguja para quilling enrolaremos hasta llegar al final de la misma, sacamos de la aguja, sellamos con pega blanca extra fuerte para obtener un circulo cerrado. Necesitaremos 2 iguales.
• Bajo los mismos parámetros anteriores haremos 2 círculos cerrados mas pequeños, con cinta de color blanco de 3mm de ancho.
• Vamos a tomar cinta para quilling de 3mm de ancho color, azul, amarillo, blanco y haremos lo siguiente: Con cada color vamos a elaborar 4 círculos abiertos, 2 medianos y 2 mas pequeños, cada cinta la enrollamos con la aguja hasta llegar al final de la misma, sacamos de la misma, soltamos un poco hasta conseguir el tamaño de nuestra preferencia, sellamos con pega.
• Vamos a organizar los círculos como pueden ver en la imagen,cada grupo sera para elaborar un ala de la mariposa.
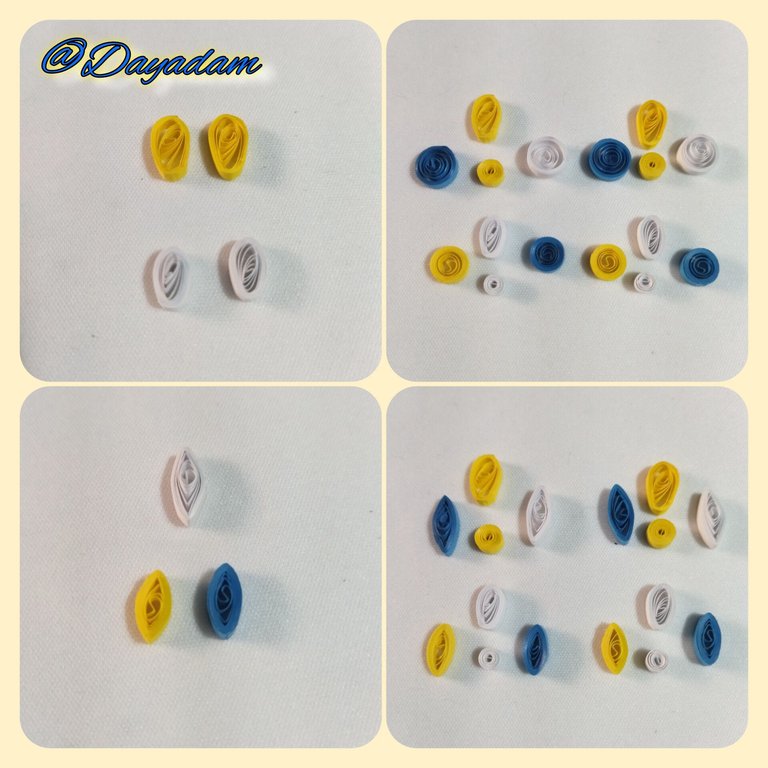
- We will mold the circles, the one on the sides in the shape of a rhombus, the one on the top in the shape of a leaf.
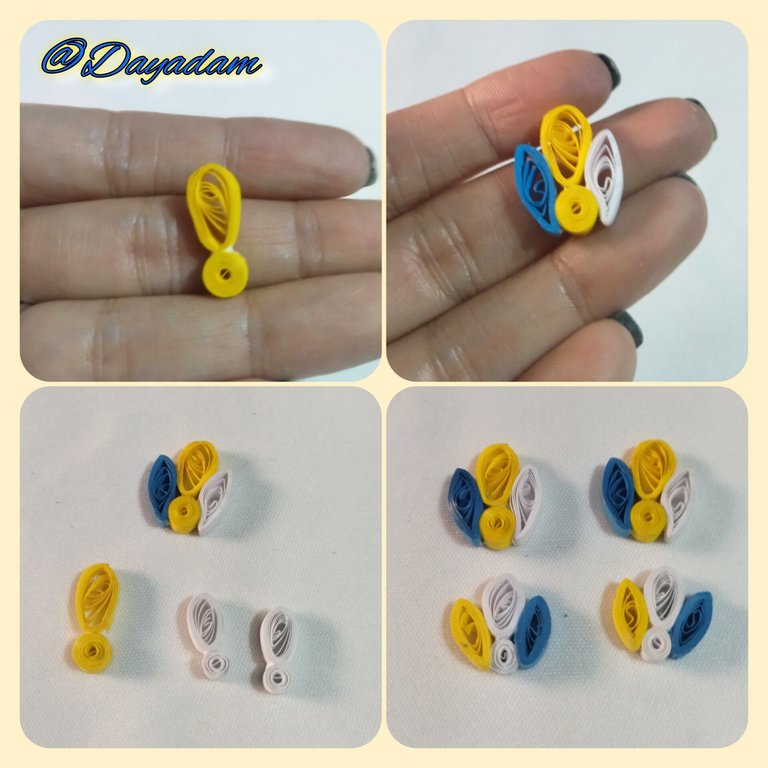
- Then we begin to join the pieces according to the image, once joined we will pass a 3mm wide black ribbon around the pieces, to make the edge of the wing.
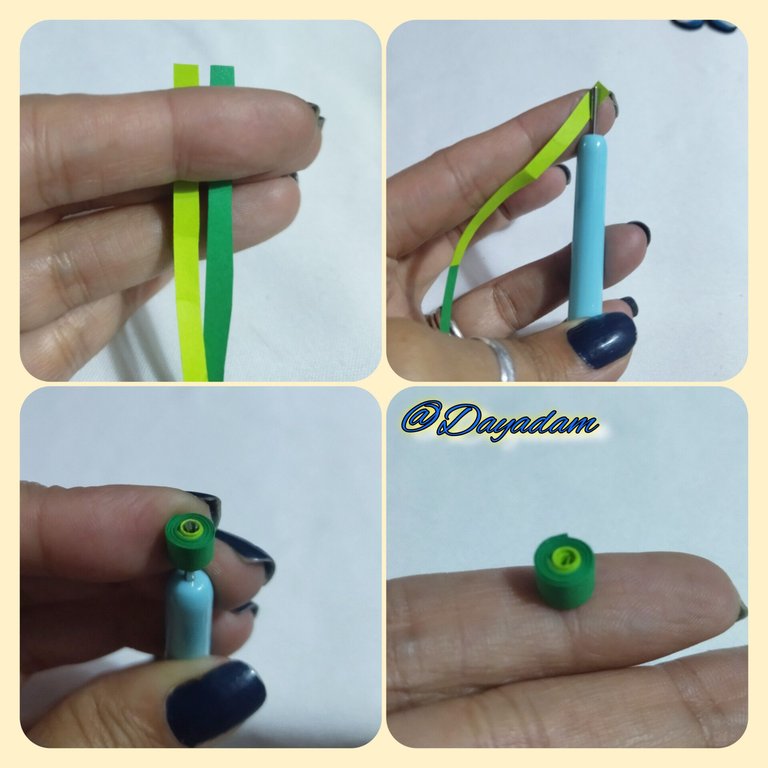
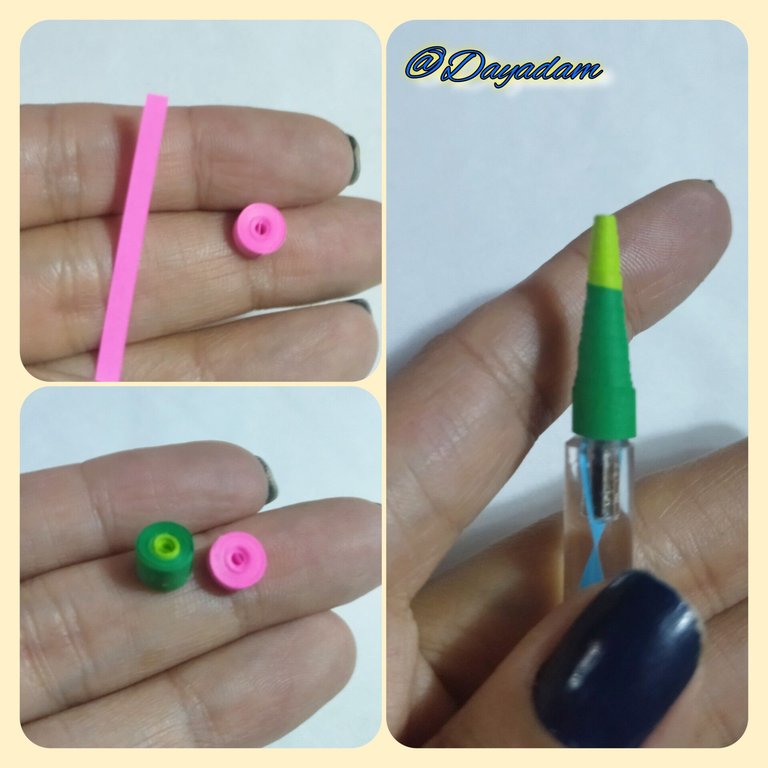
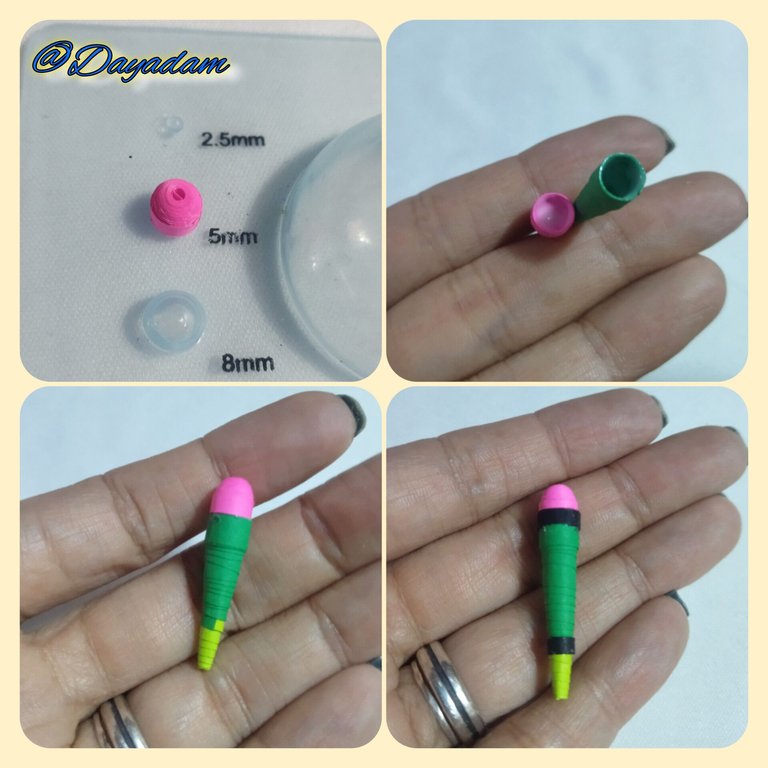
- For the body of the butterfly we will make 2 closed circles of the same size, one combining 5mm wide ribbon of 2 shades of green, and the other with 3mm wide fuchsia ribbon. With the green circle we will form a kind of long cone with the help of an embosser, and the green circle we will mold it in a template to form a semicircle. We will apply glue on the inside of them to prevent them from deforming, and then we will join both, passing black tape around them.
- The antennae will be made with black tape 3mm wide, making with the needle two circles at the tips. We will also make a small black closed circle to which we will place a medium size costume jewelry ring in the middle.
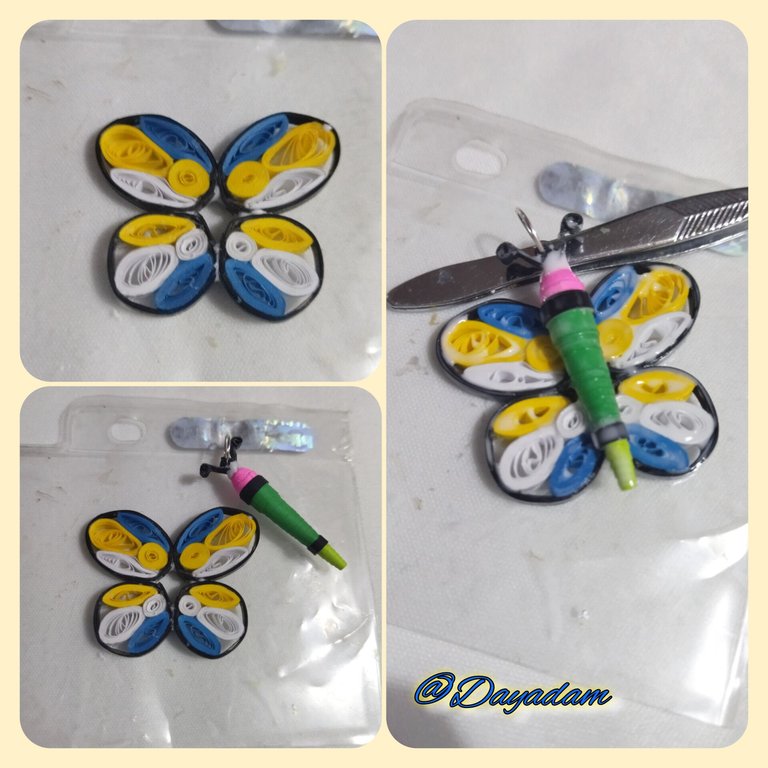
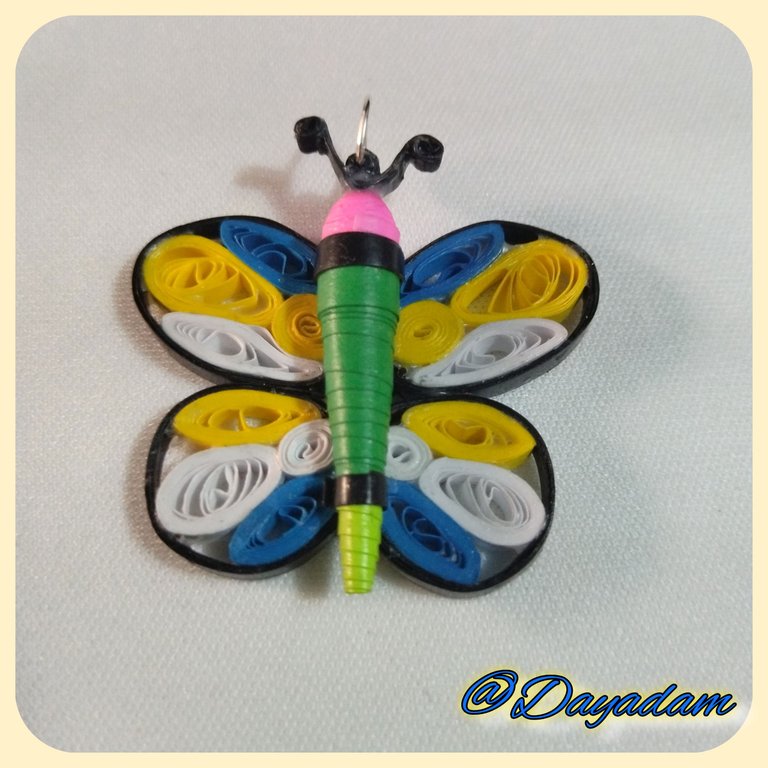
- We proceed to join all the pieces in a harmonic way as you can see in the images.
- Finally we will apply extra strong white glue to the whole butterfly, letting it dry between one layer and another, to give it protection, shine and plasticity.
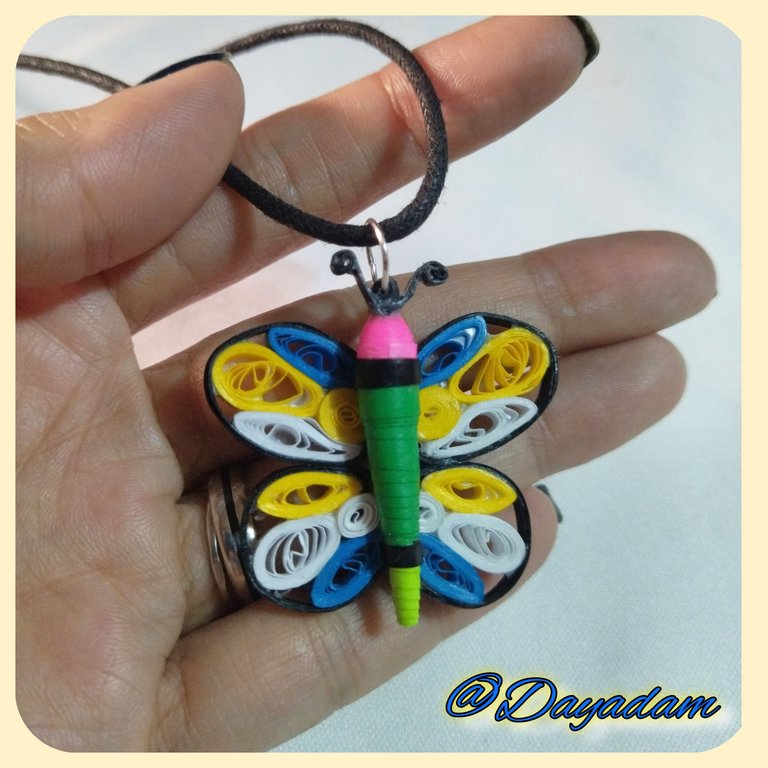
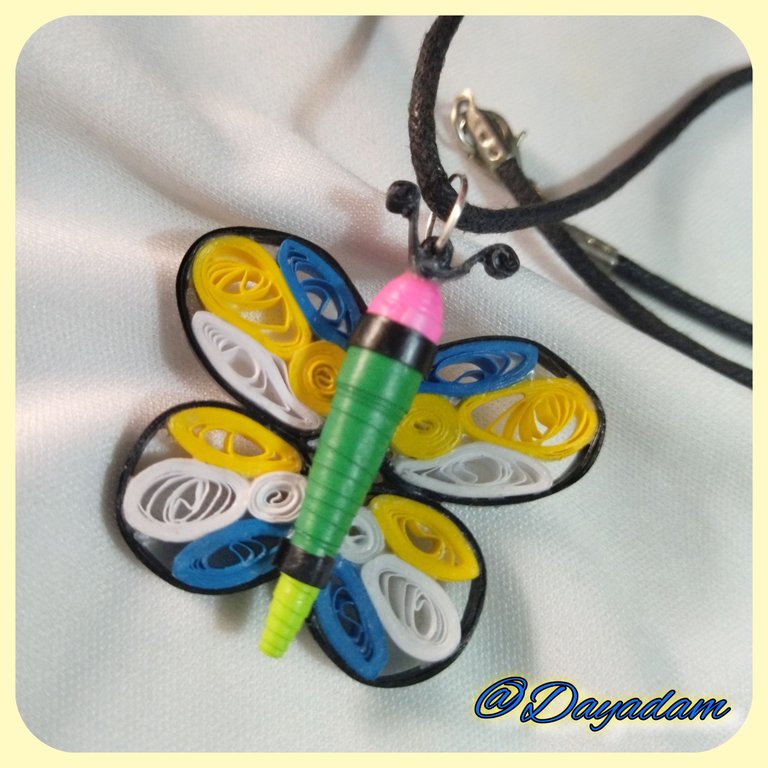
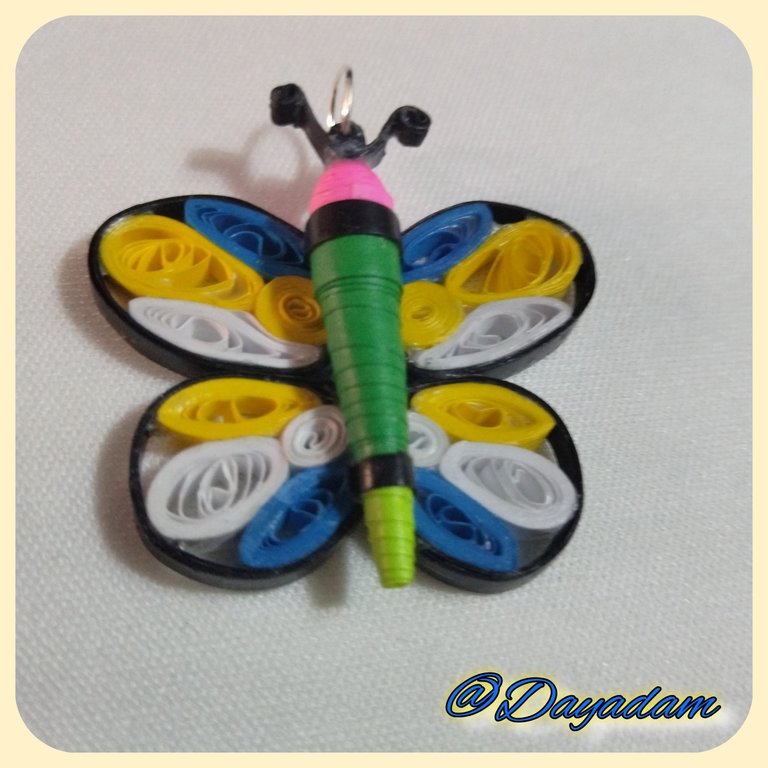
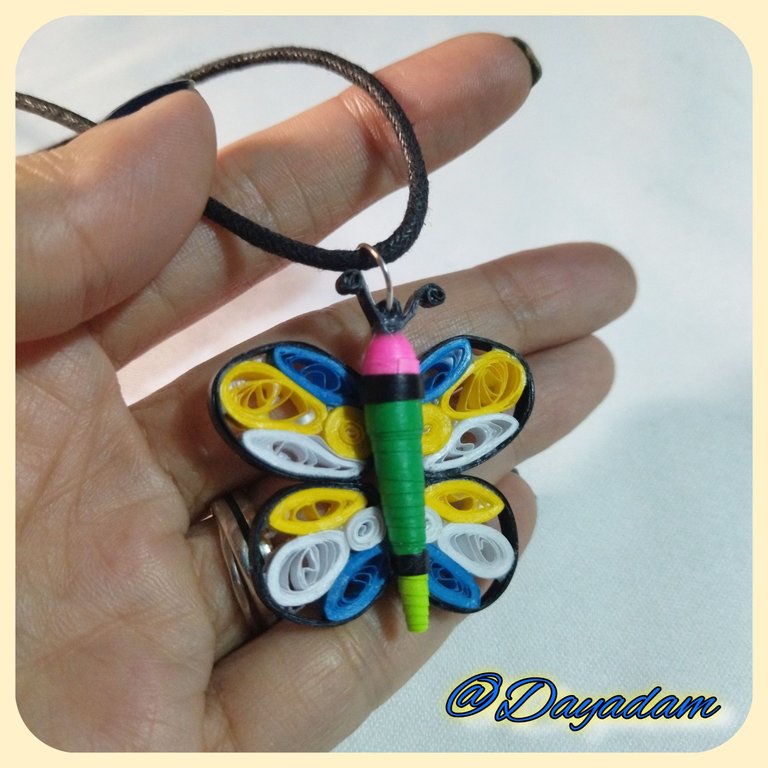
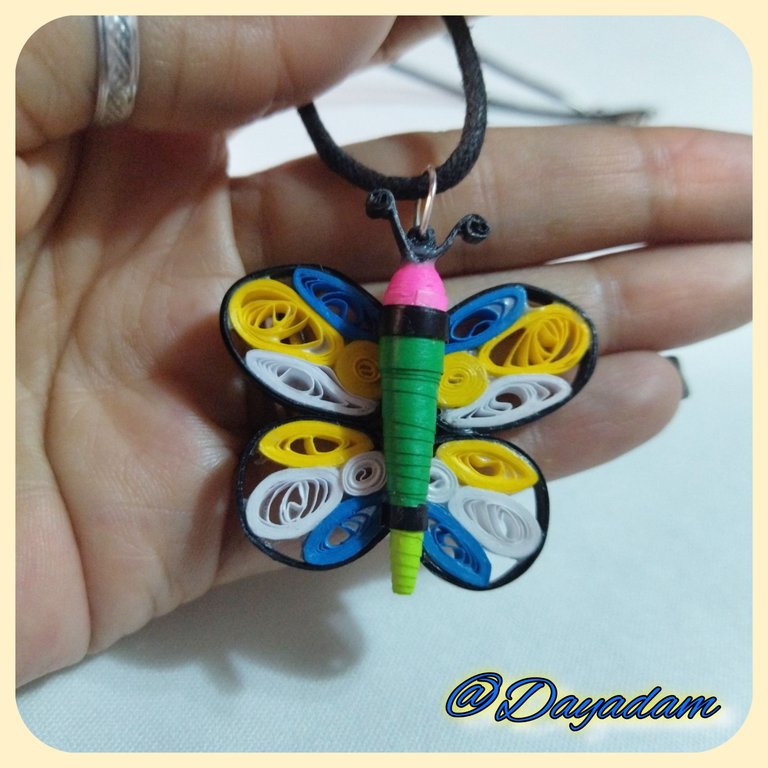
•This way we have ready this pendant for necklace, which I materialized inspired by the card “Enchanted Pixie”..

• Moldearemos los círculos, lo de los lados en forma de rombo, el de arriba en forma de hoja.
• Luego comenzamos a unir las piezas acorde a la imagen, una vez unidas pasaremos una cinta negra de 3mm de ancho alrededor de las piezas, para hacer el borde del ala.
• Para el cuerpo de la mariposa realizaremos 2 círculos cerrados del mismo tamaño, uno combinando cinta de 5mm de ancho de 2 tonalidades de verdes, y otro con cinta fucsia de 3mm de ancho. Con el circulo verde formaremos una especie de cono largo con la ayuda de un repujador, y el circulo verde lo moldearemos en una plantilla para formar un semicírculo. Aplicaremos pega por la parte interna de los mismos para evitar que se deformen, y luego uniremos ambas, pasando cinta negra a su alrededor.
• Las antenas las haremos con cinta negra de 3mm de ancho realizando con la aguja dos círculos en las puntas. También haremos un pequeño circulo cerrado negro al cual le colocaremos una argolla mediana de bisutería en el medio.
• Procedemos a unir todas las piezas de manera armónica como ven en las imágenes.
• Por ultimo aplicaremos pega blanca extra fuerte a toda la mariposa, dejando secar entre una capa y otra, para darle protección, brillo y plasticidad.
• De esta manera tenemos listo este dije para collar, que materialice inspirado en la carta "Enchanted Pixie".


What did you think, did you like it?
I hope you did, I hope you liked my explanation, procedure and photos, I made them with love for you.
"Let out that muse that inspires you, and let your imagination fly".
Thank you all, see you next time.

¿Que les pareció, les gustó?
Espero que sí, que les haya gustado mi explicación, procedimiento y fotos, los hice con mucho cariño por y para ustedes.
"Deja salir esa musa que te inspira, y deja volar tu imaginación".
Gracias a todos, nos vemos en la próxima.


Thank you for the support @splinterboost 💞
wow.. never seen this type of creativity before. loved it..
Thank you for your support and for your always so nice words about my work @diyhub 💞
🫂
Thank you very much for supporting my work @bhattg and @ecency 💞
@dayadam
!giphy welcome
!PIZZA
via Inbox
Via Tenor
Delegate Tokens and HP to Fallen Angels to earn weekly rewards!
Delegate | Join to the guild
Thank you for the support @fallen.angels 💞
Wow, this is so creative
Thanks I'm glad you liked it @georgeenting 💞
Está muy hermoso 👍
Gracias mi corazón 💞
Como siempre un diseño hermoso amiga, espectacular esta mariposa, me encanta las capas de colores como se ven, un hermoso trabajo, mucho éxito en el concurso 😉
Gracias amiga bella, por tus palabras hacia mi trabajo. Me contenta muchísimo que te haya gustado. Gracias por tus buenos deseos bendiciones @yolimarag 💞🫂
Cute pixie..
You can put up a store for your crafted stuff hehe...
!LADY
Your LOH token balance is not sufficient to send tips. Please hold a minimum of 25 LOH tokens to send tips.
Thank you my beauty, I'm so glad you liked it. You always mention the store to me hahaha.Have a beautiful and blessed Sunday @jane1289 💞🌈
!LADY
!HUG
Your LOH token balance is not sufficient to send tips. Please hold a minimum of 25 LOH tokens to send tips.
Siempre es tan bonito lo que logras con esa técnica...sorprendente. linda semana.
Gracias mi linda, aprecio mucho tus palabras y me alegra de verdad que te guste mi trabajo. Que tengas un maravilloso día @mdrguez 💞
You really did a great job here ,thanks for sharing
Thank you for appreciating my work. Have a nice day @patience2 💞
This looks great, is it fragile though? I'd be scared of breaking it
I am very happy that you liked my work, and despite being paper, once I finish the pendant I put several layers of extra strong white glue to laminate it. Give it shine and protection.It is not fragile at all, it is completely hard.The only thing that cannot be done is to get the piece wet, but otherwise it can be used safely without being damaged.Thank you for visiting my blog, you will always be welcome here and if you have any questions, I am at your service 🤗
Have a nice day @snowboarderpete 💕
Wow, wow wow this is so beautiful, you did a very nice work, I love it, thanks for sharing
What a nice creativity, you had a beautiful skill, welldone
Thank you my dear for your nice comment. I'm glad you liked my work 💕
Congratulations, your post has been curated by @dsc-r2cornell. You can use the tag #R2cornell. Also, find us on Discord
Felicitaciones, su publicación ha sido votada por @ dsc-r2cornell. Puedes usar el tag #R2cornell. También, nos puedes encontrar en Discord
Hermoso trabajo! no he visto una persona que maneje mejor esta técnica que tú, cada trabajo te queda perfecto. Felicitaciones!!👏🌻
$PIZZA slices delivered:
@bhattg(11/15) tipped @dayadam
Thanks for sharing! - @alokkumar121
