EMERGENCY LAMP WITH RECYCLED MATERIALS .//LÁMPARA DE EMERGENCIA CON MATERIALES RECICLADOS.[EN-ES]
ENGLISH
Hello my friends, today I want to share here in the community the recovery process of a LED projector that was in bad condition, and then I modified it for use as an emergency lamp during prolonged power outages (blackouts) that we have here in my country, also can also be used for use in the car during situations of breakage on the road at night, as the lamp is prepared to work with a 12 volt battery.
Without further ado, let's get started....
MATERIALS AND TOOLS USED
- LED projector (I had the driver and LEDs in bad condition )
- Spare LEDs ( I recycled the ones from an unused LED lamp )
- Soldering iron for soldering and desoldering LEDs
- Cautín soldering iron
 |  |  |
|---|
STEP BY STEP
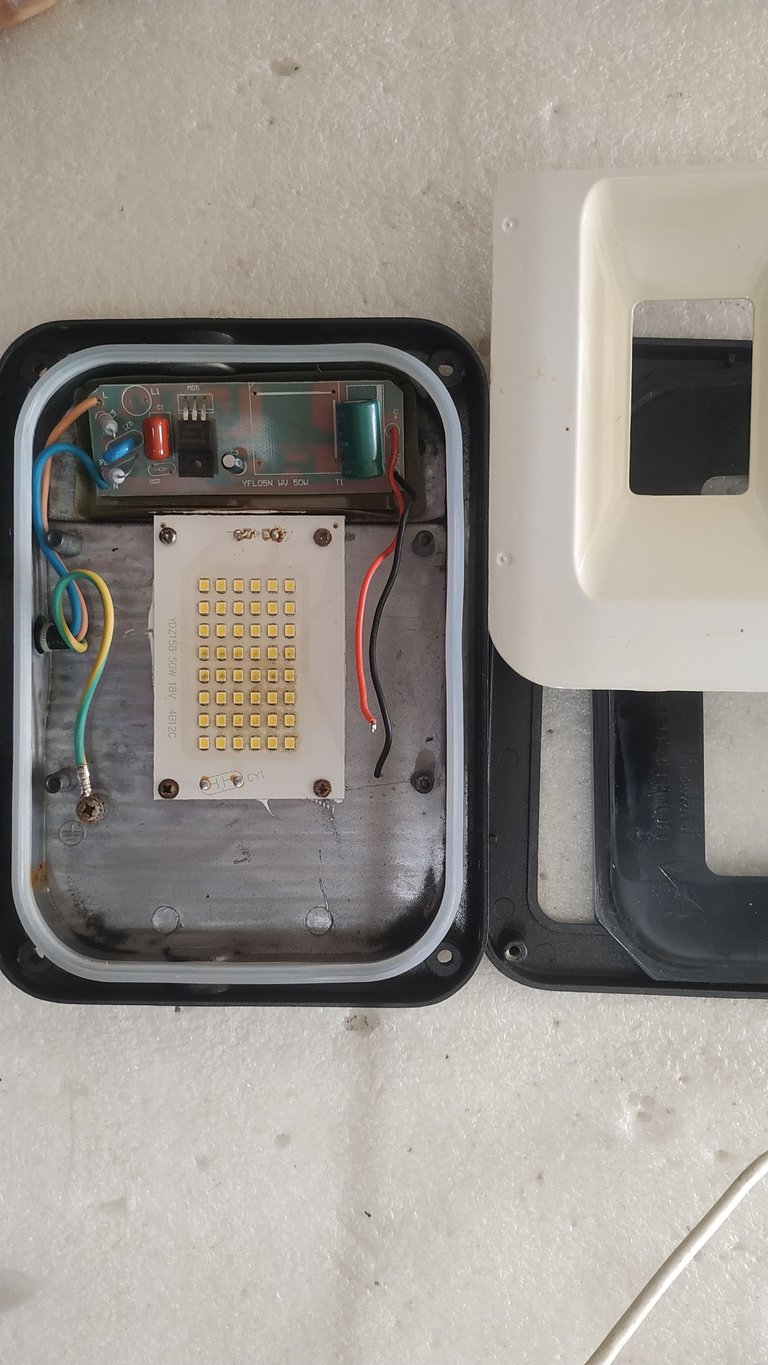
As I told you the projector was in poor condition and lying in a corner, so I decided to give it another use and that was useful in these times in which we are living, where there are more hours without power than with power, so the first thing was to open the projector remove the driver and the metal plate with the defective LEDs and then unsolder them and replace them with other recycled LEDs that were in good condition.
- Opening the projector is easy, just remove the four corner screws and separate the mechanical parts that make up the projector.

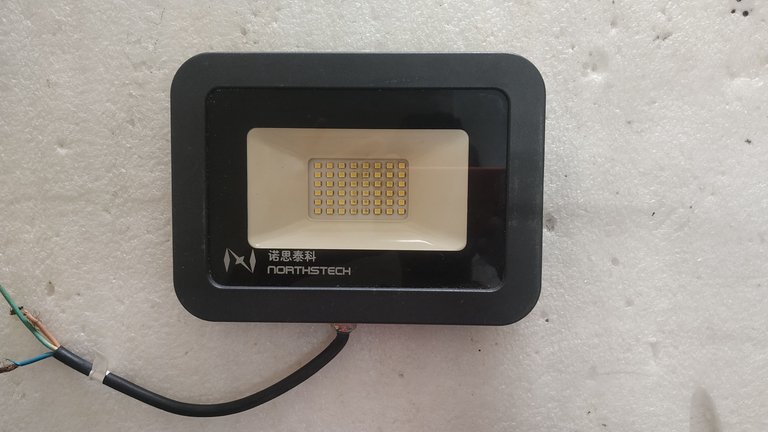
This projector is model NST-FL-50-3 , which allows the LEDs to be connected directly to a 12-14 volt source without the need to modify the board connections after removing the Driver circuit.
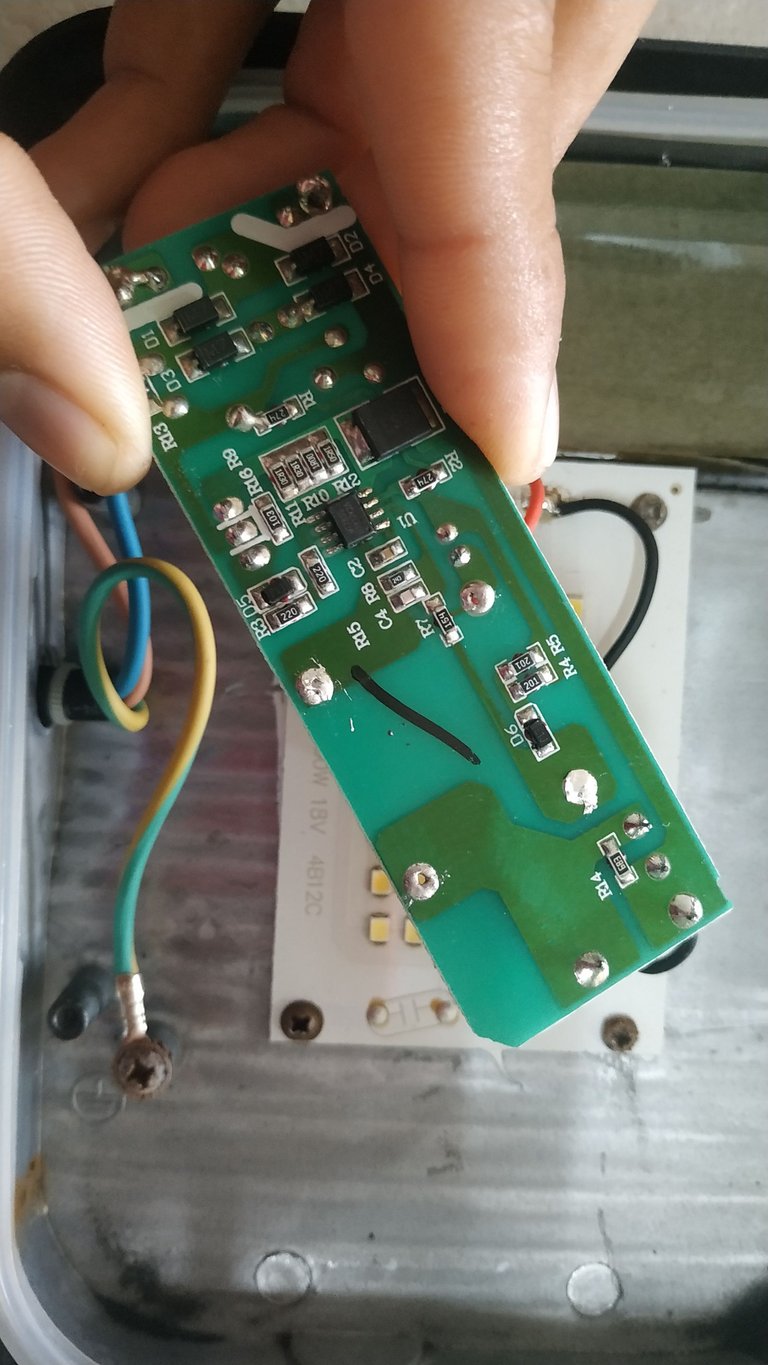
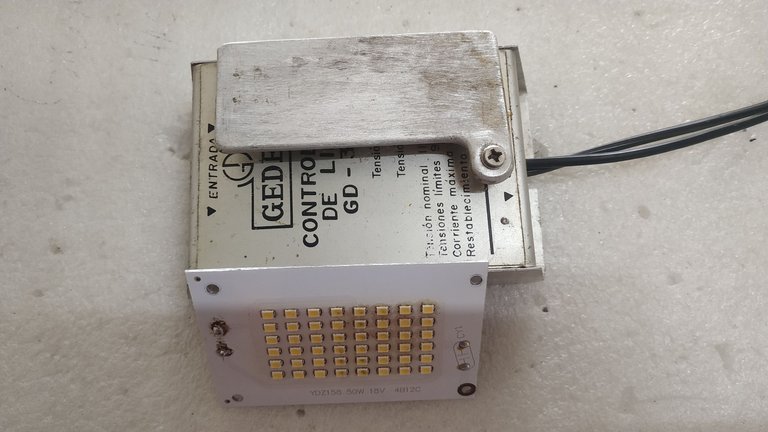
Removing the bad driver

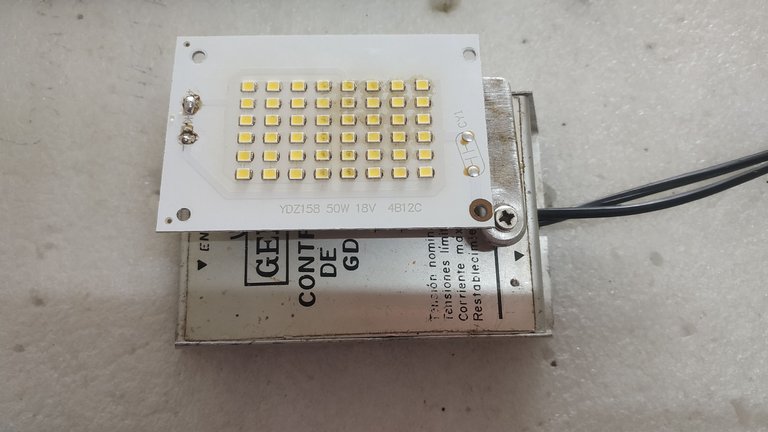
LEDs in bad condition
- Next was desoldering the bad LEDs with the use of the Hot Plate that in a previous post I already told you how to build.
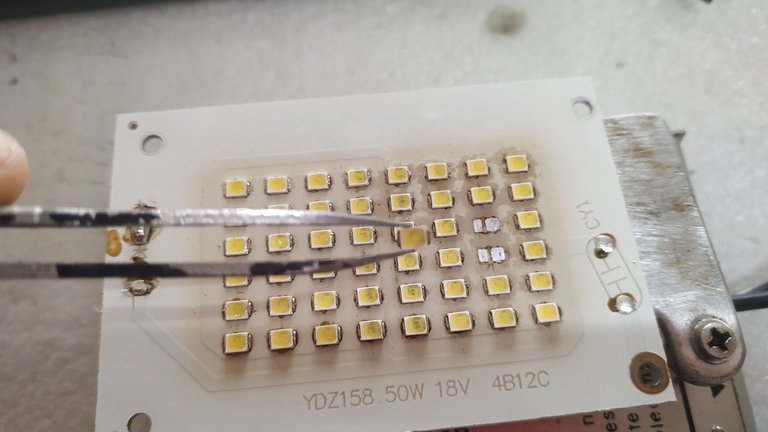
Desoldering bad LEDs

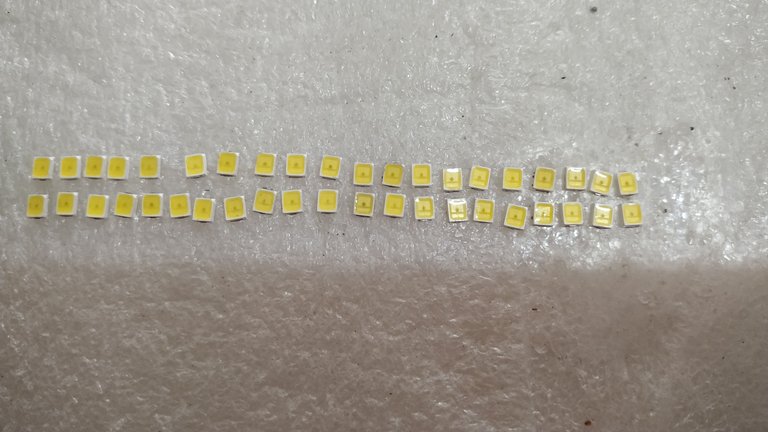
After removing the LEDs from the projector, the next step was to desolder the LEDs from the recycled lamp strips (LED tube).
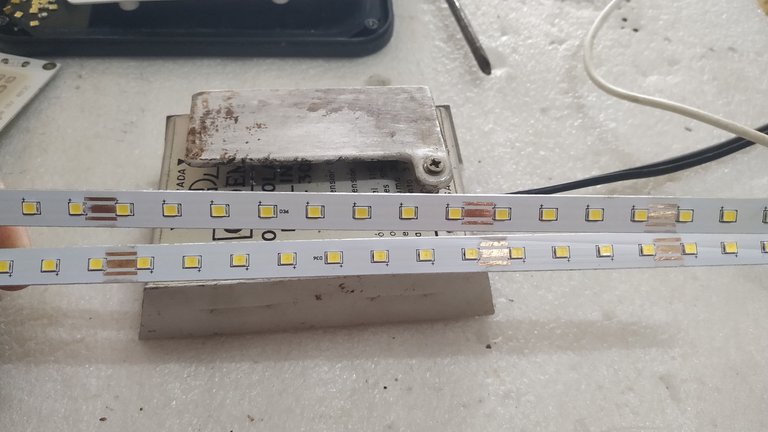

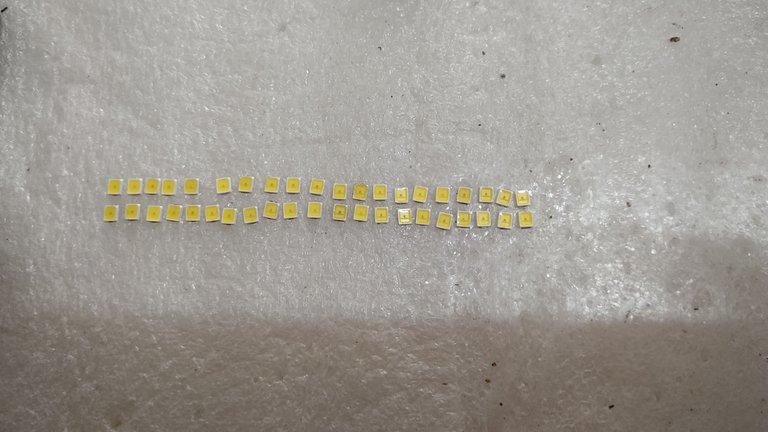
Recycled LEDs to be used as spare parts
- The next step was to solder the LEDs on the projector board, taking into account that they must be soldered in the same position as the ones previously removed, the anode (positive) and cathode (negative) are matched with their corresponding connections on the board.
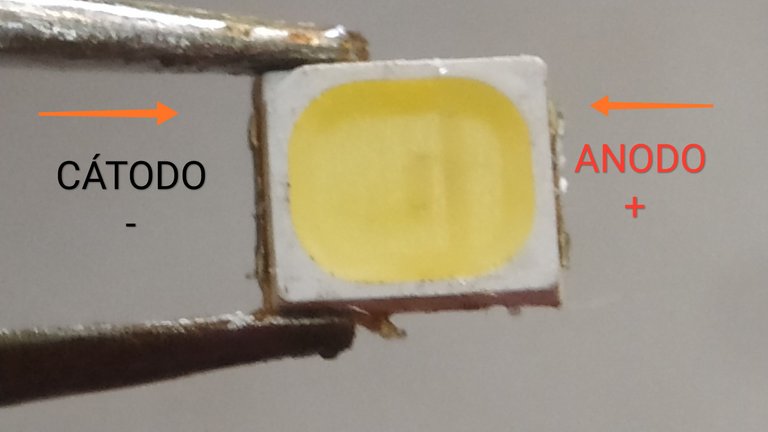
Top view of the LED with the polarity represented on its terminals.
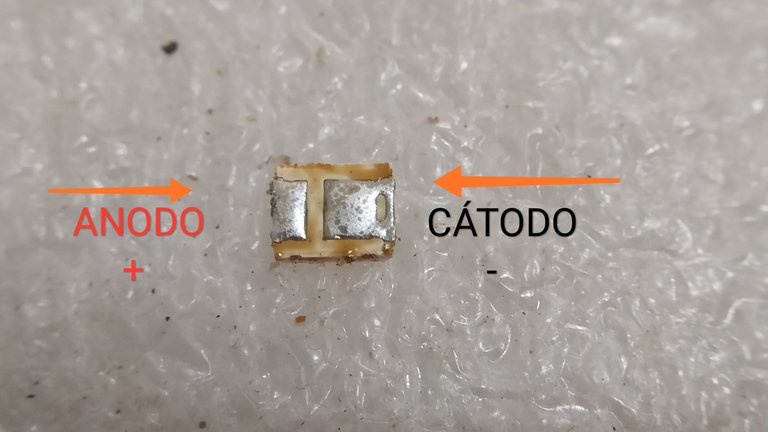
Bottom view of the LED with the polarity represented in its terminals, note that the positive terminal corresponds to the narrower side and the negative to the wider one.
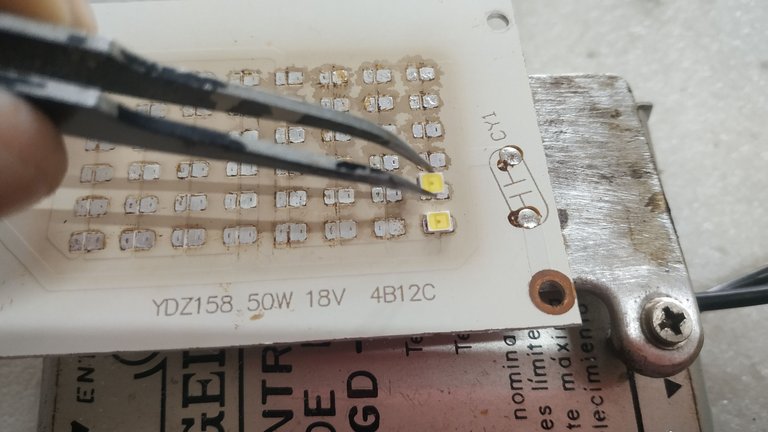
Soldering recycled LEDs on the projector board
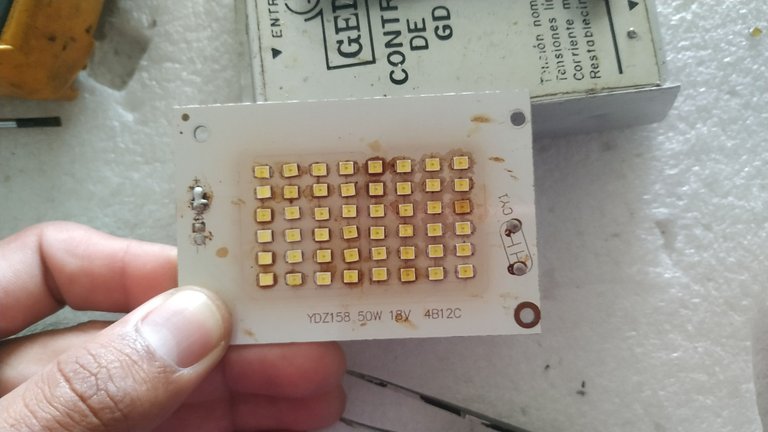
Final result after soldering the LEDs again, as you can see they are already used but you can still take advantage of them.
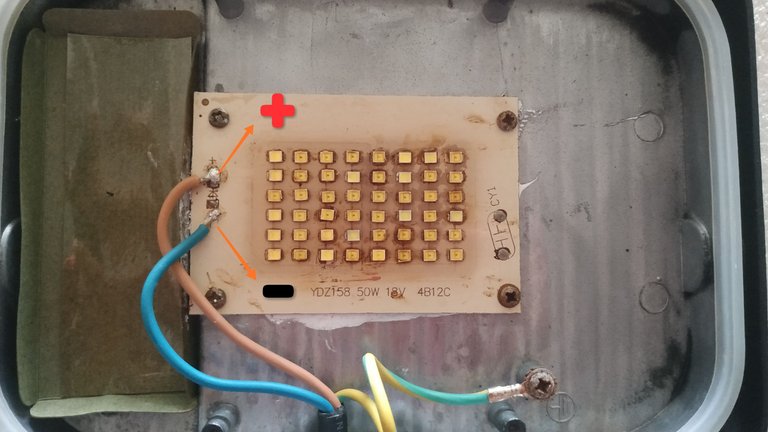
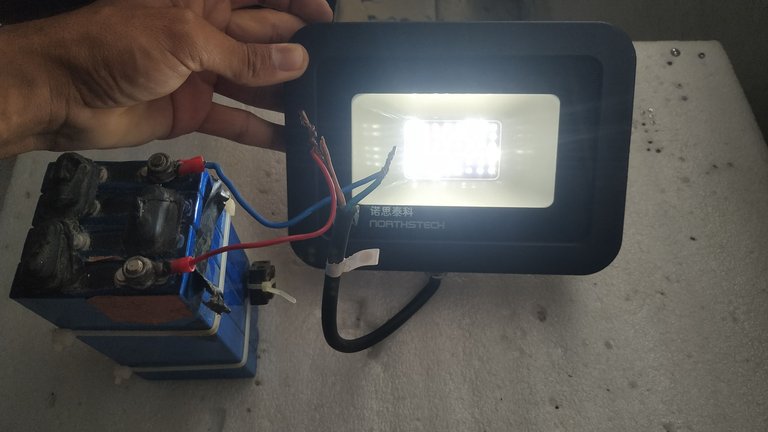
I then screwed the plate to the projector chassis and soldered the wires to the positive and negative connection as shown in the picture.
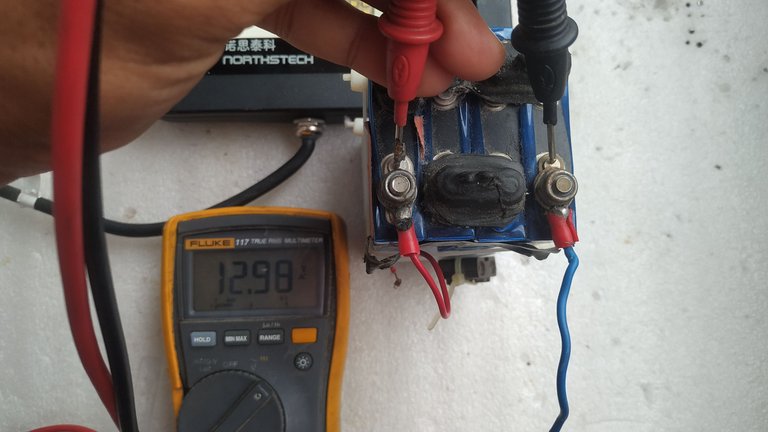
FINAL TESTS WITH A 12 VOLT BATTERY.
After closing the projector I used a 12 volt battery to do the tests, here are some images.
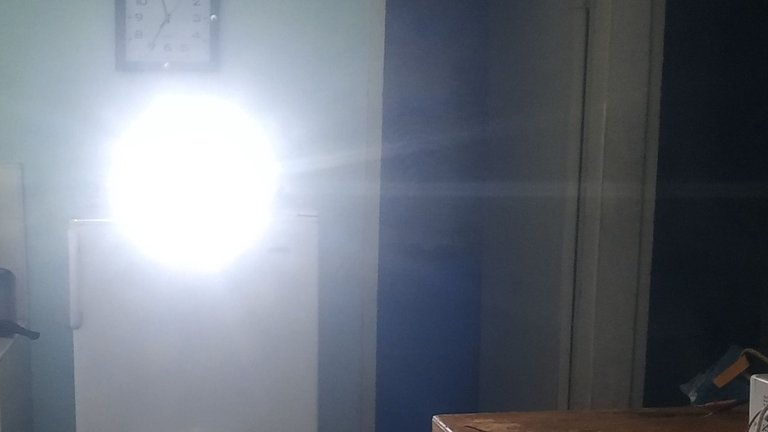
It did not take me long to use it because, as usual, at this time of day we had no current.
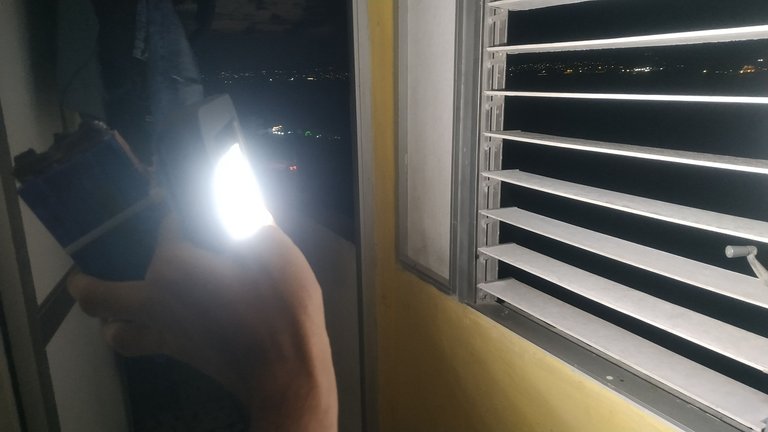
Well after testing this emergency lamp I decided to give it to a friend of mine, to illuminate a food outlet during blackouts because unscrupulous people have tried to rob him on other occasions taking advantage of the darkness. With a good car battery and this lamp he will be able to scare those kind of people, or at least I hope so.
I'll say goodbye now wishing you all a good day, until next time.😉
The photos were taken with my Xiaomi Redmi Note 6 pro cell phone.
Cover edited in "Canva ".
You can see me on Facebook
Text translated to English in Deepl translator.
ESPAÑOL
Hola mis amigos, hoy quiero compartir acá en la comunidad el proceso de recuperación de un proyector LED que se encontraba en mal estado, y que luego modifiqué para su uso como lámpara de emergencia durante los prolongados cortes de energía eléctrica (apagones) que tenemos acá en mi país, además podrá emplearse también para el uso en el auto durante situaciones de rotura en carretera en condiciones nocturnas, ya que la lámpara está preparada para trabajar con una batería de 12 volt.
Sin más, comencémos....
MATERIALES Y HERRAMIENTAS EMPLEADOS
- Proyector LED (Tenía el driver y los LED en mal estado )
- LEDs de repuesto ( Yo reciclé los de una lámpara LED que no se estaba usando )
- Plancha de calor para soldar y desoldar LED
- Soldador Cautín
| | |
|---|
PASO A PASO
Cómo les comenté el proyector estaba en malas condiciones y tirado en un rincón, así que decidí darle otro uso y que fuera de utilidad en estos tiempos en los que estamos viviendo, donde son más las horas sin corriente que con corriente, así que lo primero fue abrir el proyector retirar el driver y la placa metálica con los LED defectuosos para posteriormente desoldarlos y sustituirlos por otros LEDs reciclados que se encontraban en buen estado.
- Abrir el proyector es fácil, solo se retiran los cuatros tornillos de las esquinas y se separan las partes mecánicas que lo conforman.
Este proyector es el modelo NST-FL-50-3 , que permite conectar los led directamente a una fuente de 12-14 volt sin necesidad de modificar las conexiones de la placa después de haber retirado el circuito Driver
Retirando el driver en mal estado
LEDs en mal estado
- Lo siguiente fue desoldar los LED malos con el empleo de la Plancha de calor que en una publicación anterior ya te comenté como construir.
Desoldando los LEDs en mal estado
Después de haber retirado los LEDs del proyector, lo siguiente fue desoldar los de las tiras recicladas de la lámpara (tubo LED).
LEDs reciclados que servirán de repuesto
- El siguiente paso fue soldar los LEDs en la placa del proyector, teniendo en cuenta que se deben soldar en la misma posición que estaban soldados los que se retiraron anteriormente, el anodo (positivo ) y cátodo (negativo ) se hacen coincidir con sus correspondientes conexiones en la placa.
Vista superior del LED con la polaridad representada en sus terminales
Vista inferior del LED con la polaridad representada en sus terminales, nótese que el terminal positivo corresponde al lado más estrecho y el negativo al más ancho
Soldando los LEDs reciclados en la placa del proyector
Resultado final después de soldar nuevamente los LEDs, como se puede apreciar estos ya están de uso pero aún se les puede sacar provecho
Luego atornille la placa al chasis del proyector y soldé los cables a la conexión positivo y negativo como se señala en la imagen
PRUEBAS FINALES CON UNA BATERÍA DE 12 VOLT.
Luego de cerrar el proyector utilicé una batería de 12 volt para hacer las pruebas, a continuación te dejo algunas imágenes.
No tardé mucho en emplearla pues como de costumbre a esta hora no teníamos corriente
Bueno después de probar esta lámpara de emergencia decidí regalarsela a un amigo mío, para que ilumine un punto de venta de comida durante los apagones ya que personas inescrupulosas han intentado robarle en otras ocasiones aprovechando la oscuridad. Con una buena batería de auto y esta lámpara podrá asustar a ese tipo de personas, o por lo menos eso espero.
Ya me despido deseándoles a todos un buen día, hasta la próxima.😉
Las fotos fueron tomadas con mi celular Xiaomi Redmi Note 6 pro
Portada editada en "Canva".
Puedes verme en Facebook
Está genial el trabajo de reciclaje, lamento mucho haber llegado tarde esta vez, amigo.
Hola hermano, gracias por comentar, no hay problema alguno, siempre son bienvenidas tus palabras. Sí, es muy útil, sobre todo en estos tiempos acá con la crisis energética por la que estamos pasando. Saludos
Excelente trabajo y de muchísima utilidad, me encanta como detalles el proceso para poderlo seguir de manera sencilla.
Gracias por compartir este tipo de ideas.
!discovery 40
Muchas gracias amiga, la verdad ideas como esa son necesarias acá, porque la situación energética acá está en crisis y son duros los apagones con los que estamos sufriendo. Gracias por comentar, feliz noche. 🌃
Excellent work and very useful for many people, there is nothing like being able to do this type of things ourselves. Thank you for letting us have such a good process.
Thank you very much for the support, it is a pleasure to share some ideas with others and at the same time be nourished by those shared by others. Greetings
Thank you very much for the support, greetings to the entire team.
This post was shared and voted inside the discord by the curators team of discovery-it
Join our Community and follow our Curation Trail
Discovery-it is also a Witness, vote for us here
Delegate to us for passive income. Check our 80% fee-back Program
Thank you very much for the support, greetings.
¡Felicidades! Esta publicación obtuvo upvote y fue compartido por @la-colmena, un proyecto de Curación Manual para la comunidad hispana de Hive que cuenta con el respaldo de @curie.
Si te gusta el trabajo que hacemos, te invitamos a darle tu voto a este comentario y a votar como testigo por La Colmena.
Si quieres saber más sobre nuestro proyecto, te invitamos a acompañarnos en nuestro servidor de Discord.
Thank you very much for the support, greetings to the entire team.
@darknapol, I paid out 0.224 HIVE and 0.062 HBD to reward 5 comments in this discussion thread.
Congratulations @darknapol! You have completed the following achievement on the Hive blockchain And have been rewarded with New badge(s)
Your next target is to reach 900 comments.
You can view your badges on your board and compare yourself to others in the Ranking
If you no longer want to receive notifications, reply to this comment with the word
STOPCheck out our last posts:
Wow!
¡Gracias!
Gracias por comentar. Saludos
Un placer.
¡Saludos!