✨🚀🛸🪐Al infinity and beyond! Buzz Lightyear ⭐️🚀Al infinito y más allá! Buzz Lightyear!!🪐🛸 By Danhyelita24
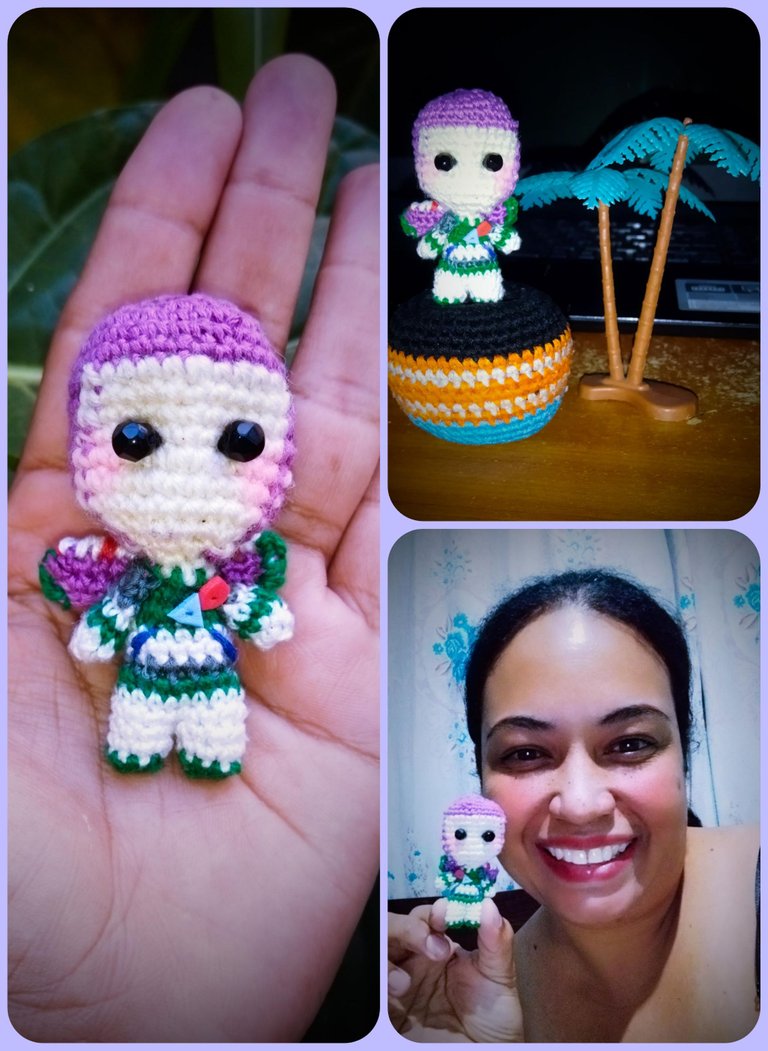
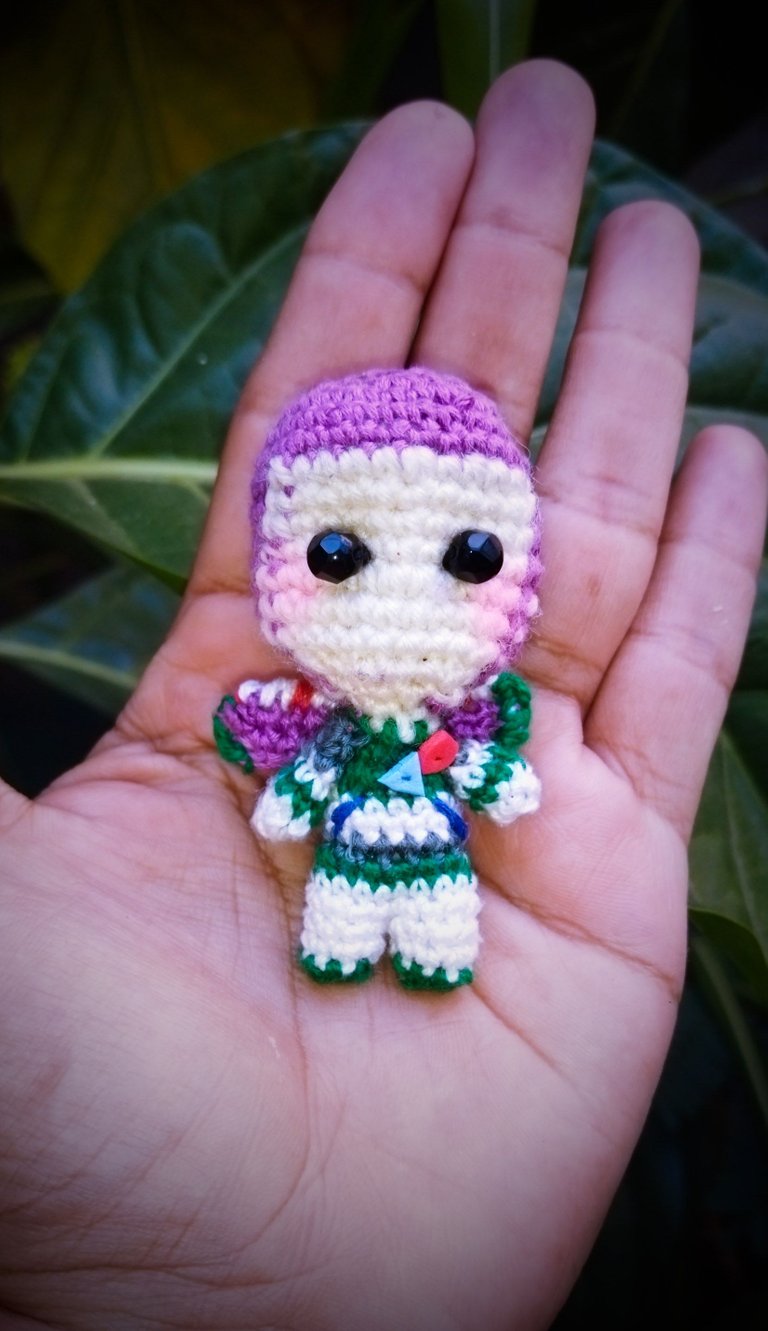
⭐️🚀Al infinito y más allá! Saludos amigos, en esta oportunidad paso por esta maravillosa comunidad Para dejarle un bonito post creativo de tejido crochet en amigurumi, que realicé el día de hoy de uno de los personajes principales de la película toy story, "el muñeco Buzz Lightyear" en su versión mini. Un Muñeco amigurumi tejido a crochet es un producto artesanal hecho a mano, perfecto para un regalo especial y En este Tutorial de Crochet aprenderás cómo hacer paso a paso este Amigurumi de Buzz Lightyear 🥰 Por su tamaño queda perfecto como llavero 💕 y se ve super tierno ☺️
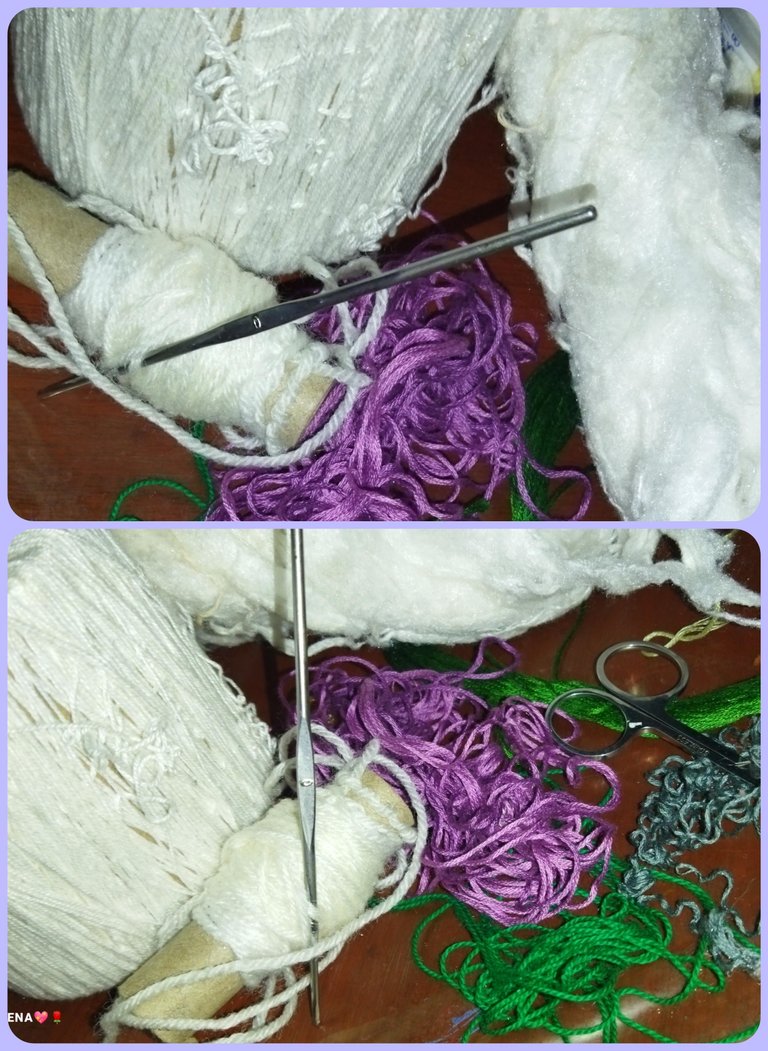
Los materiales a utilizar son hilos de seda en tonos morado, piel, blanco, verde, gris y rojo, relleno hipoalergénico, aguja,tijera, un crochet número 0 y trocitos de foami en tonos rojo y azul.
first we are going to start with the elaboration of the head taking the purple yarn and making a magic ring of 8 single crochet stitches, we close with a slip stitch, a chain and we are going to make the sequence of one increase in each stitch for a total of 16 stitches, in the third row we are going to make the sequence of one single crochet, one increase, to have a total of 24 single crochet stitches, in the fourth row we are going to make the sequence of two single crochets, one increase, for a total of 32 single crochets, which we are going to repeat in rows five and six the same 32 single crochets, that is, one crochet in each stitch, and for row number 7 we are going to make 20 single crochets in purple color and change to skin color making 12 single crochets and cut.
Y ahora sí vamos al paso a paso: en primer lugar vamos a comenzar con la elaboración de la cabeza tomando el hilo morado y realizando un anillo mágico de 8 puntos bajos, cerramos con un punto deslizado, una cadena y vamos a realizar la secuencia de un aumento en cada punto para un total de 16 puntos, en la vuelta número tres vamos a hacer la secuencia de un punto bajo, Un aumento, para tener un total de 24 puntos bajo, en la cuarta vuelta vamos a hacer la secuencia de dos puntos bajos, Un aumento, para un total de 32 puntos bajos, los cuales vamos a repetir en la vuelta cinco y seis los mismos 32 puntos bajos, es decir, un punto en cada punto, ya para la vuelta número 7 Vamos a realizar 20 puntos Bajos en color morado y cambiamos al color piel realizando 12 bajos y cortamos.
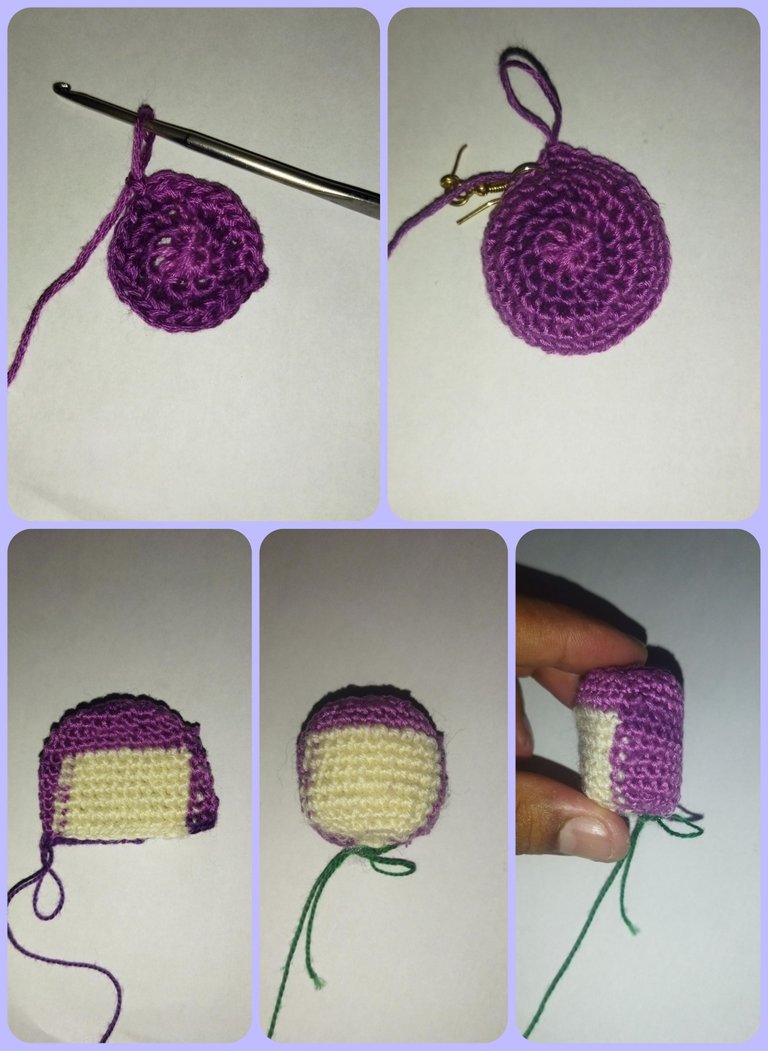
En color morado vamos a repetir 6 vueltas de la misma manera es decir realizando 20 puntos Bajos en color morado y los 12 puntos Bajos en color piel, luego vamos a realizar la secuencia de dos puntos bajos, una disminución, en tono morado que vamos a repetir cinco veces y la secuencia de dos puntos bajo, una disminución en blanco que vamos a repetir tres veces.
Con hilo morado vamos a realizar la secuencia de un punto bajo, una disminución y con el hilo blanco un punto bajo una disminución y ya para culminar en las disminuciones vamos a realizar la secuencia dos puntos bajo, una disminución, repitiéndolo 2 veces dos puntos bajo, una disminución en color piel cerramos y rellenamos. Teniendo lista así la parte de la cabeza que vendría siendo la capucha del traje espacial.
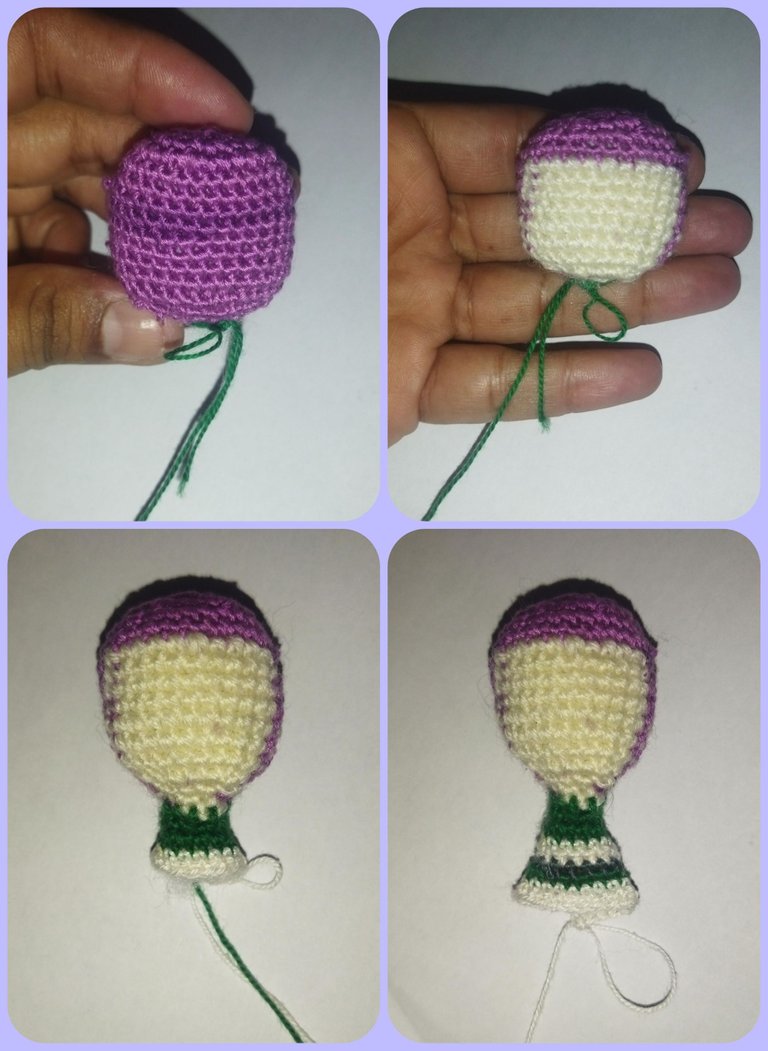
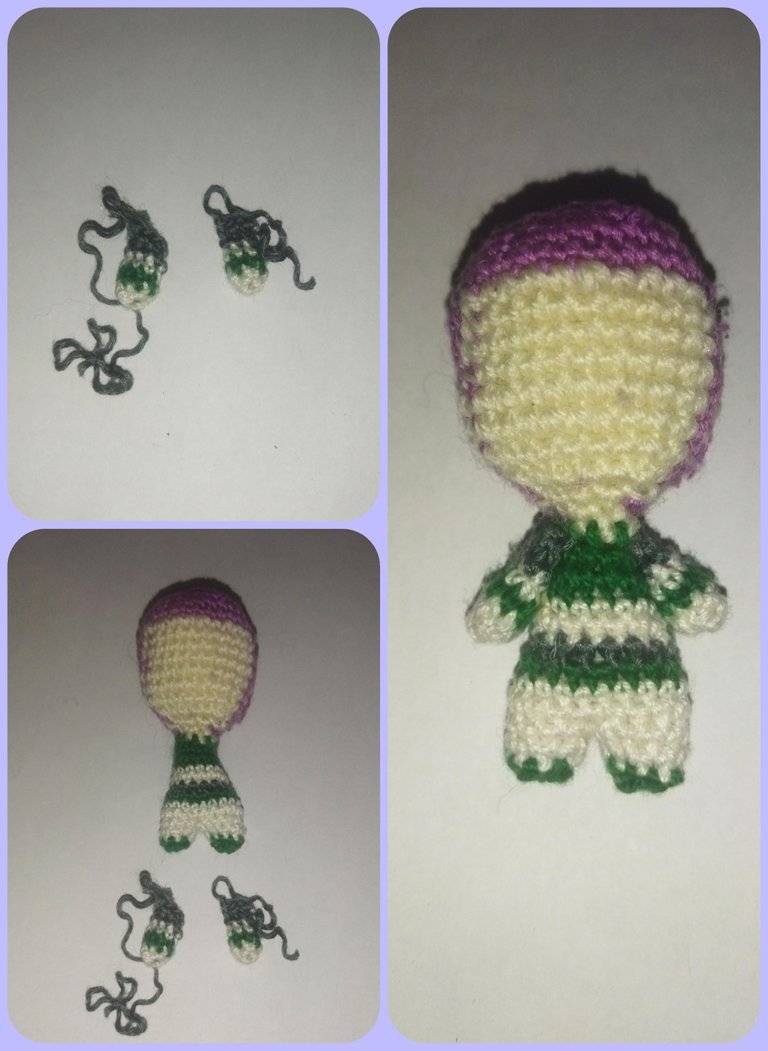
Vamos a proceder a crear el resto del cuerpo y para ello vamos a cambiar el color a verde, realizando 2 vueltas de 12 puntos bajos, luego realizamos la secuencia de dos puntos bajo, Un aumento para tener un total de 16 puntos, vamos a ir rellenando a medida que vamos terminando las vueltas, cambiamos a color blanco realizando 2 vueltas de 16 puntos bajo, la próxima vuelta cambiamos a color gris realizando una vuelta de los mismos 16 puntos bajos, la próxima vuelta vamos a cambiar al color verde, realizando la secuencia de tres puntos Bajo, Un aumento, para tener un total de 20 puntos, lo cambiamos al color blanco realizando una vuelta de 20 puntos bajos y en este punto vamos a dividirlo en el medio, que nos va a quedar como una especie de un infinito es decir vamos a tener 8 puntos de un lado y los 8 puntos del otro lado para ir formando las piernitas por cada lado vamos a hacer dos vueltas de 8 puntos Bajos en blanco, Luego cambiamos al tono verde realizando una vuelta de los mismos 8 puntos bajos, cortamos y cerramos con un anillo mágico vamos a repetir el mismo procedimiento con la otra piernita.
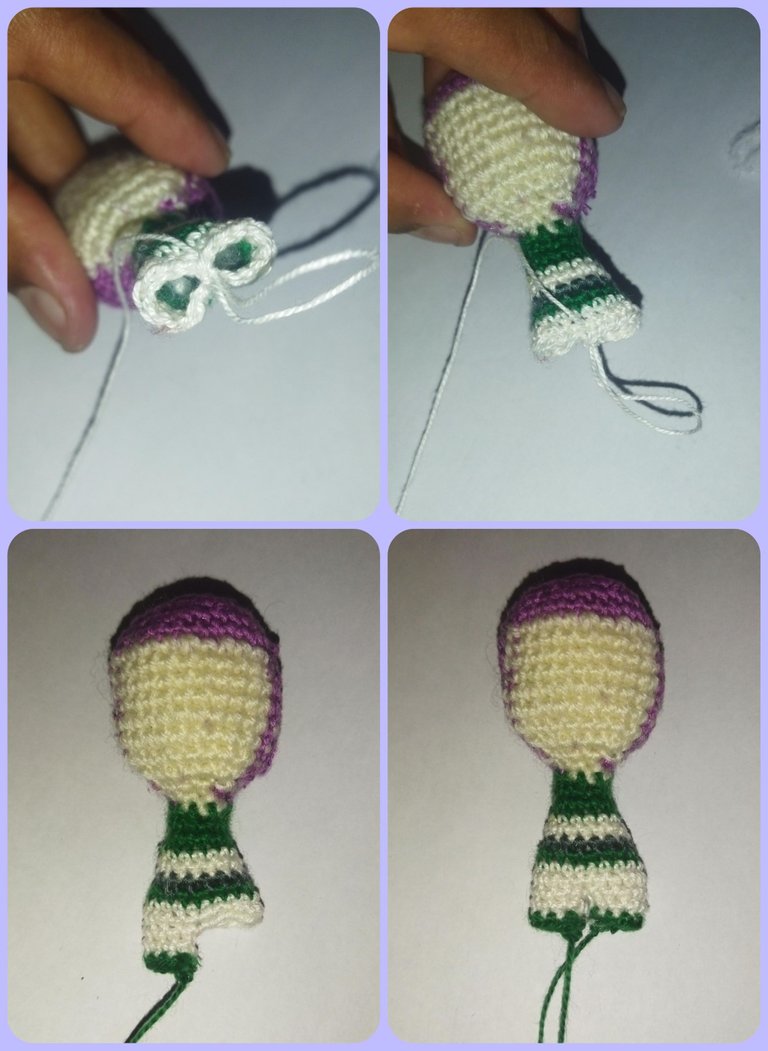
glue on both ends of the body.
Para realizar los brazos vamos a tomar el color blanco y realizamos un anillo mágico de 3 puntos bajo, la segunda vuelta vamos a hacer un aumento por cada punto, Es decir 6 puntos bajo, luego vamos a cambiar el color al tono verde, realizando una vuelta de los mismos 6 puntos bajos, en color blanco realizamos los mismos puntos bajos, Luego cambiamos al tono gris realizando 6 puntos bajos, cortamos y hacemos una cadena de tres puntos bajos por el medio para cerrar, en el caso de los bracitos como son tan pequeñitos no hay necesidad de rellenarlos, hacemos dos piezas iguales y pegamos en ambos extremos del cuerpito.
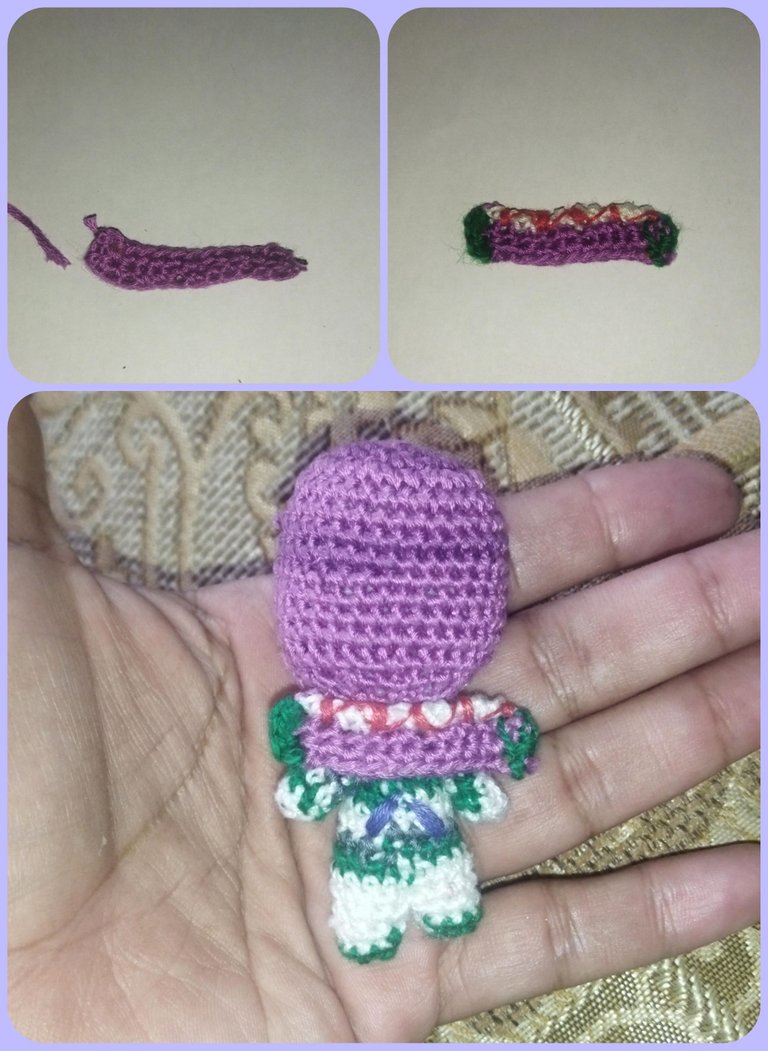
Para la parte de las alas, en color morado realizamos una cadena de 13 puntos por dos vueltas de 12 puntos bajos cortamos y cerramos. Pasamos elgancho de izquierda a derecha realizando el punto cangrejo en color blanco por el borde inferior, luego vamos a cambiar a verde y vamos a realizar el mismo punto Cangrejo por los laterales y con el hilo rojo hacemos las rayitas de adelante hacia atrás en la parte blanca que previamente habíamos tejido.
Para colocar los ojitos lo vamos a hacer entre las filas 4 y 5 con 7 puntos de separación podemos pegarlo con pegamento pero en mi caso preferí cocerlos con hilo negro,y ya con el foami vamos a realizar los detalles de los botones que tiene el muñeco en el pecho como un círculo y un triángulo y como elemento decorativo para darle ese toque más cute, un poco de rubor en ambas mejillas para darle color a esa linda carita.
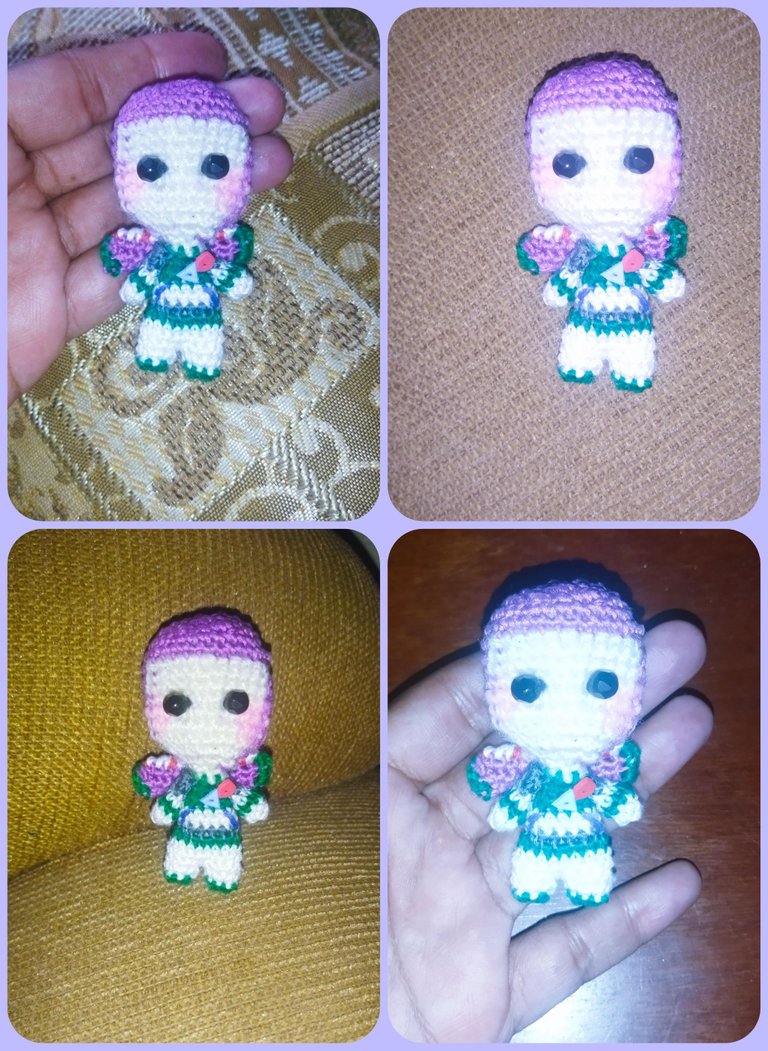
Y de esta manera ya tenemos culminado a nuestro mini Buzz Lightyear, el resultado súper bonito y tan delicado. Me encantó cómo quedó, esperando que de igual manera haya sido de su agrado me despido hasta una nueva oportunidad.
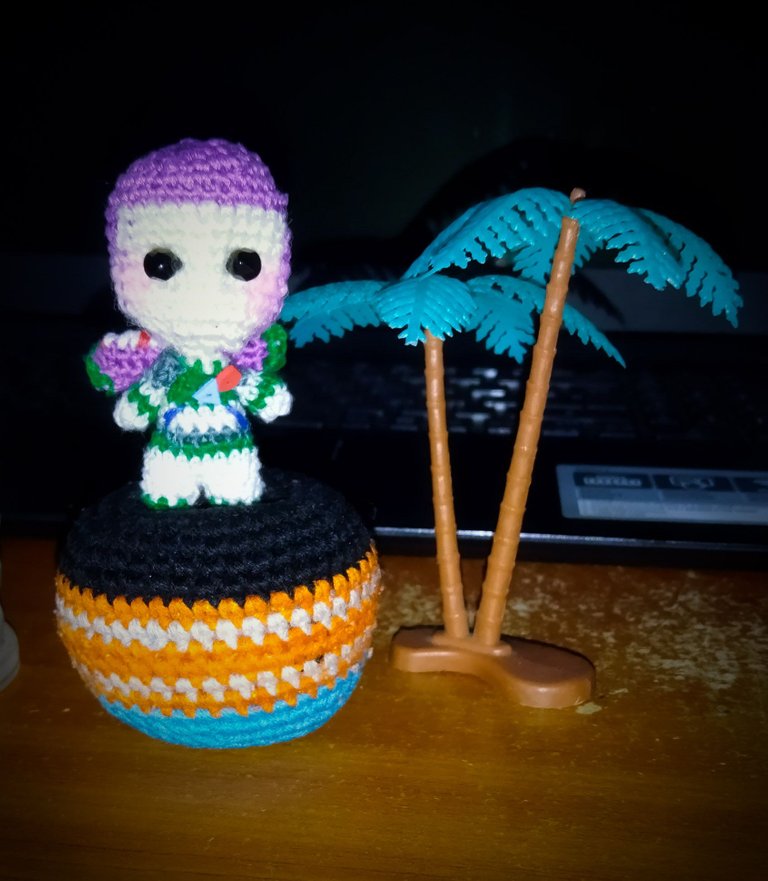
¡Muchas gracias por pasar por mi blog! ❤️
Nos vemos pronto! 👋
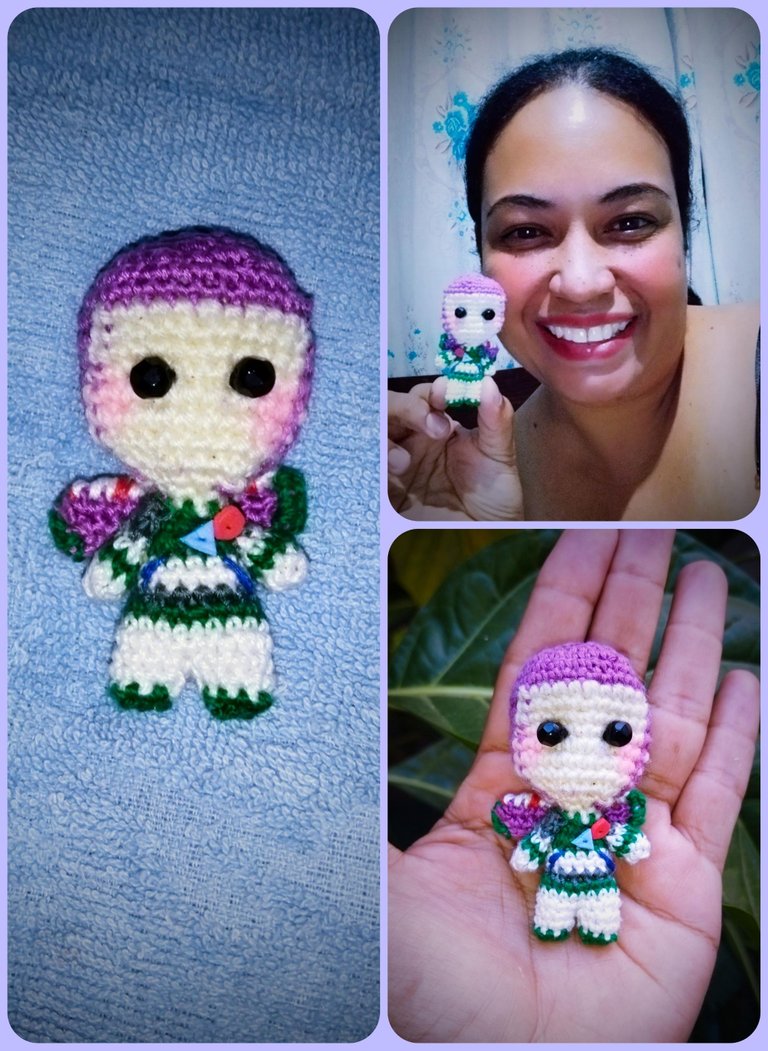
De verdad te felicito, eso debe ser difícil de tejer por lo pequeño de la pieza, te quedó bello.
!discovery 35
Gracias 😊😊
Very cool work 🍷👌👌😊
Thanks ❣️❤️
Npe 🤗🍷👌... I be soon more back to see what you next make, I see here in your hive pages you have maid them lot here 😅
This post was shared and voted inside the discord by the curators team of discovery-it
Join our community! hive-193212
Discovery-it is also a Witness, vote for us here
Delegate to us for passive income. Check our 80% fee-back Program
Thanks @discovery-it ❣️❣️✨
Thank you for sharing this post on HIVE!
Your content got selected by our fellow curator semarekha & you just received a little thank you upvote from us for your great work! Your post will be featured in one of our recurring compilations which are aiming to offer you a stage to widen your audience within the DIY scene of Hive. Stay creative & HIVE ON!
Please vote for our hive witness <3
Demasiado hermoso, Guao y es bastante chiquito, te felicito no debe ser fácil hacerlo así, saludos 😊
https://twitter.com/1327070381216309249/status/1621981949081391104
The rewards earned on this comment will go directly to the people( @edwing357 ) sharing the post on Twitter as long as they are registered with @poshtoken. Sign up at https://hiveposh.com.