This is how we design and build the Bonfire Zone. 🔥VIDA VERDE ENG |ESP
Hello Hive Lovers, I hope you are doing well! Greetings from Venezuela. Some time ago I went into several landscaping courses and I was delighted and I already had some notions of what I wanted but seeing these courses certainly gave me the knowledge I was looking for in terms of space and distribution, there I started the design of this area of enjoyment in the garden with low budget, this is part of other spaces that I will also show you in my blog .
This campfire area is a space for joy and enjoyment that makes us see that with little we can create changes and greater harmony in the environment. Today I will share with the community this project that I loved to do and especially for the result where we gave life to this space.
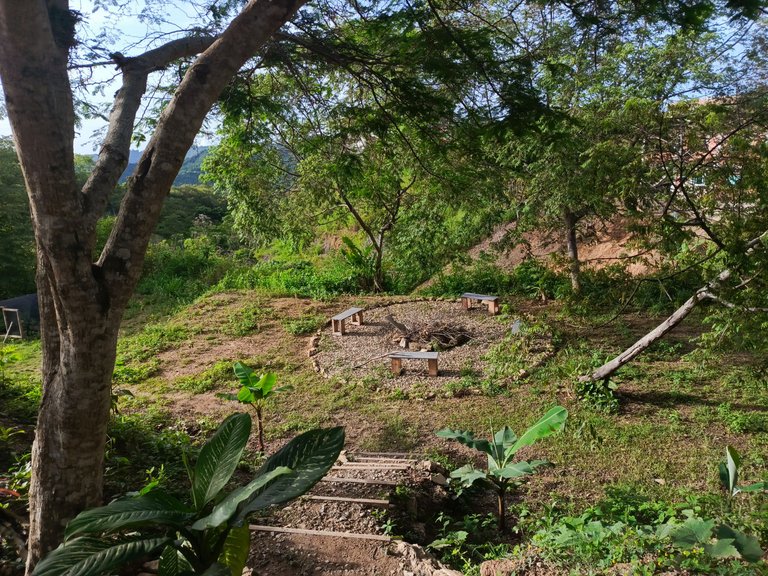
We built it in this recreation area that was in disuse, in this area we shared with friends and family barbecues in an improvised way, since there are 3 young trees that give good shade and makes the area cozy.
So we decided to place it in this area that was already a meeting place, where to enjoy under these trees was even more pleasant.
Design
Although it is not something elaborate, it is always important to think that anything new that is going to be incorporated into an environment must be in accordance with the rest of the environment, so that each designed space becomes part of the existing and even improvements to that environment, as you know the Green Home we are building is a Container House a rectangular shape as well as the grounds that are also rectangular and to warn this I am giving shape to these areas in a softer way with curved walkways and circular areas like this garden area where the fire pit is.
Let's get to work
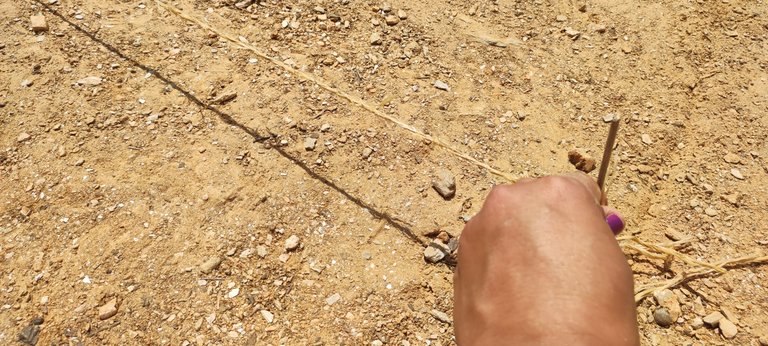
After selecting and evaluating which was the best place and shape we started with the cleaning and marking of the area, once we had the ideal size we wanted we placed the insulating mesh and did some tests to see how it would feel to be there around the fire pit.
Recycling
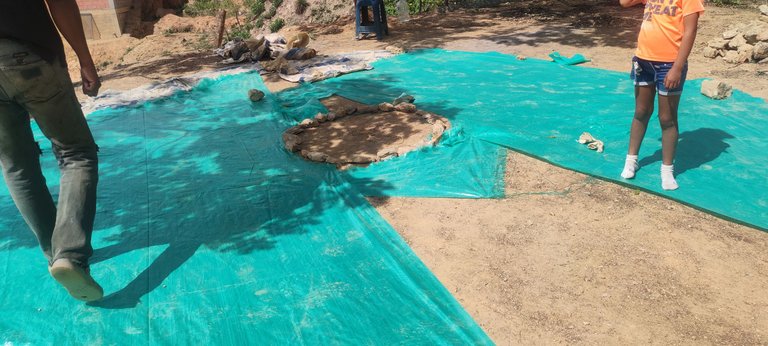
Here we realized that we had too little mesh for the size of the area we marked for the campfire, we quickly looked for some empty cement bags to complete the area of mesh that we were missing, thus covering the entire area.
These were placed next to the insulating fabric to demarcate the space for the campfire and thus help us to avoid that the weeds grow so quickly since we are in a mountainous area where the climate is cloud forest, this makes everything very green and also that the weeds grow to where you do not want.

In the center where the campfire goes we decided to make a 50 cm deep hole.
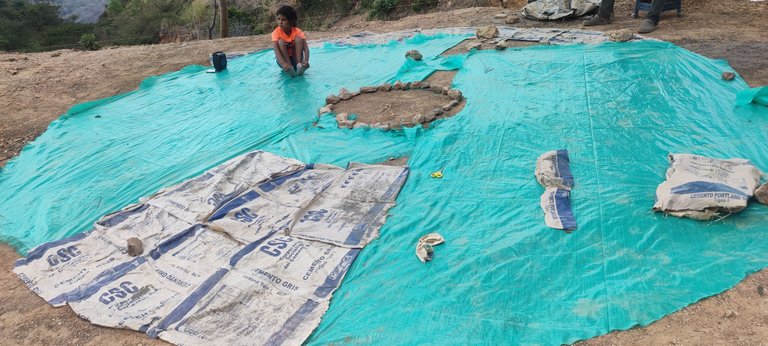
Then it was time to place the stones, we used the ones we had available from the construction and marked the area with large stones from the area.

These larger stones came out when we did the excavation of the bases.
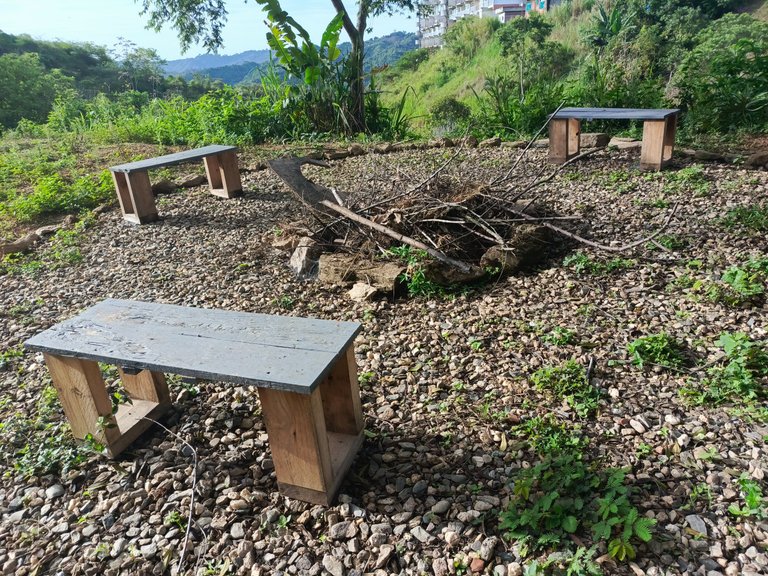
The campfire area was ready but we needed more chairs to enjoy the campfire, so we made use of some wood that we had left over.
 |  |
|---|
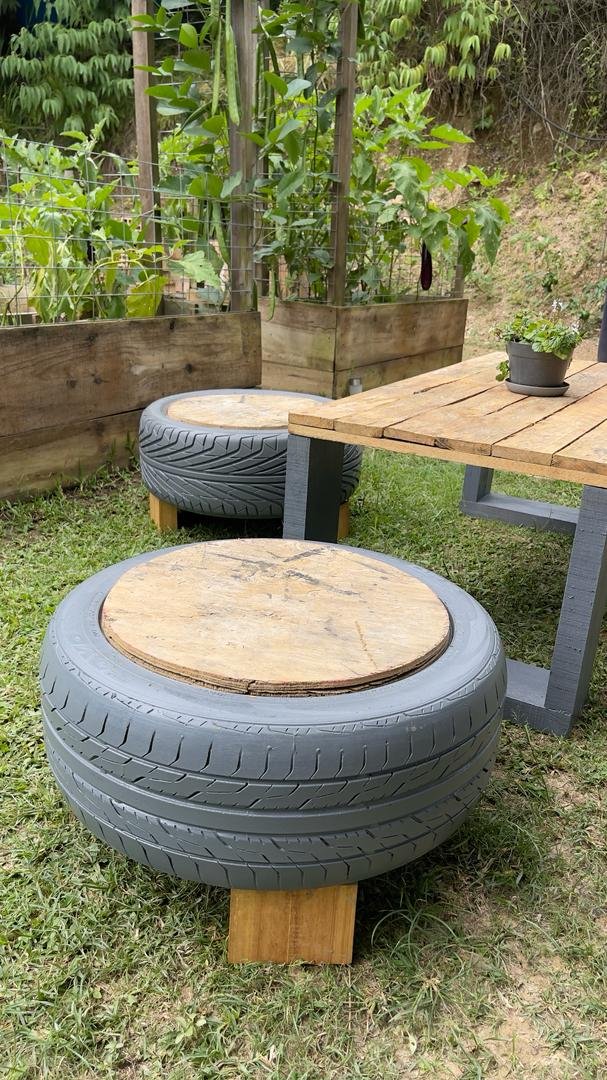
But we also made use of some rubber and construction boards to make tables and chairs.
Many times we make extra expenses, without realizing that many of the things we have we can reuse them. I love these project challenges where I give use to waste like these rubbers and to give them a new use.
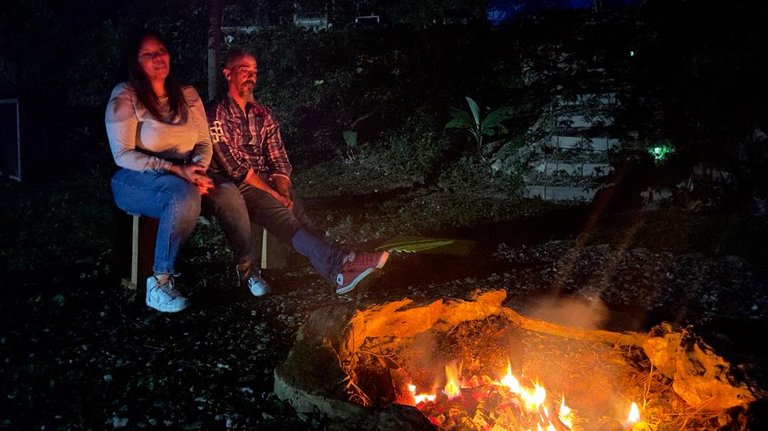
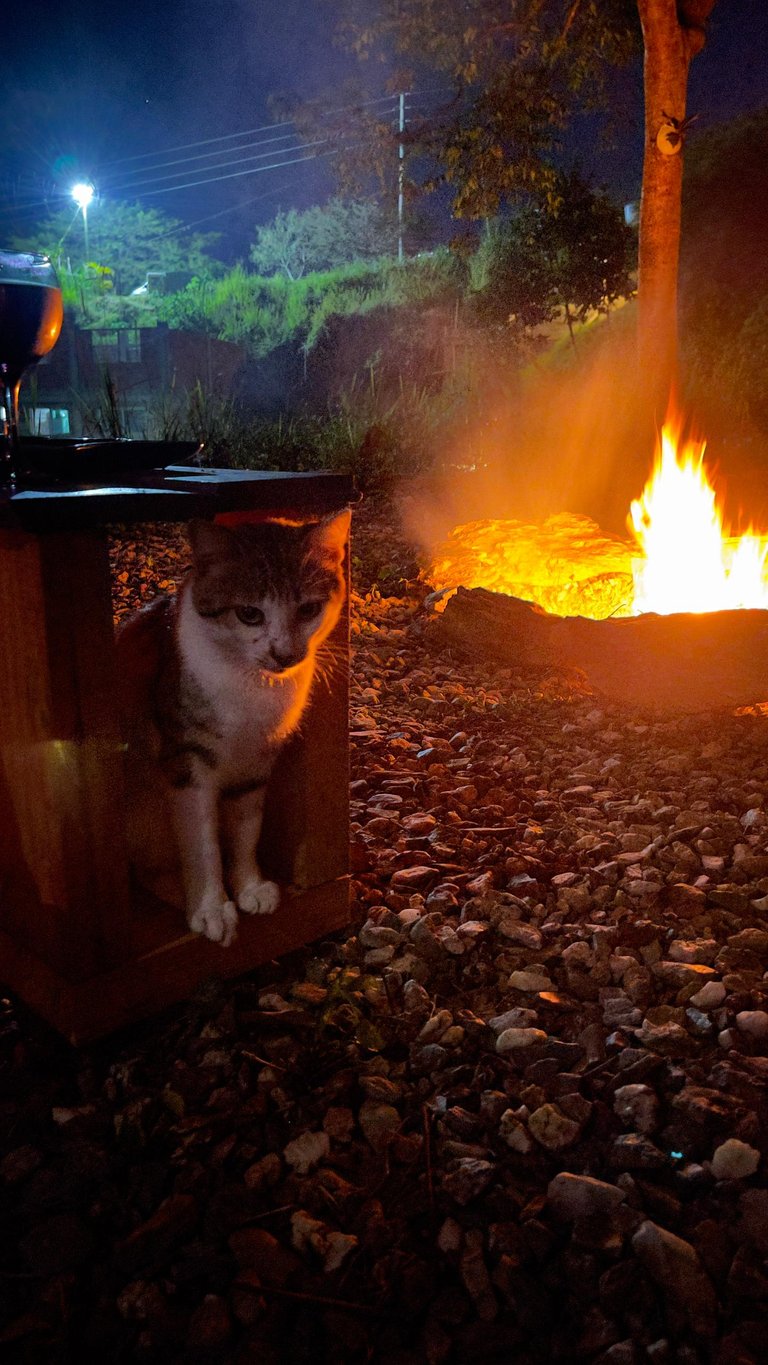
The result has been good times there, from just having a coffee under the trees sitting on the benches, admiring and listening to the birds singing to barbecues at the campfire.
Now that it is growing some plants surrounding it will make this place even more cozy and inviting to enjoy.
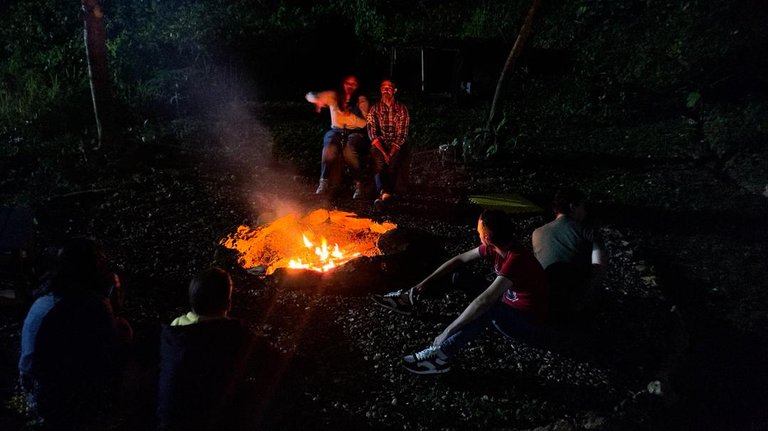
This is the premiere with a group of friends at home, we have already used it several times and it has really been a success.
Here I leave this link for you to enjoy it in video.
https://www.instagram.com/reel/C1QofaTNV25/?igsh=MTFibW5yeDVzdzh3OA==
Así diseñamos y construimos la| Zona de Fogata 🔥VIDA VERDE
Hola Hive Lovers espero estén muy bien!! Saludos desde Venezuela. Hace algún tiempo me adentre en varios cursos de paisajismo y quede encantada ya tenia algunas nociones de lo queria pero ver estos cursos sin duda me dieron el conocimiento que buscaba en cuanto a espacio y distribución , alli inicie el diseño de esta area de disfrute en el jardin con bajo presupuesto, esta es parte de otros espacios que también les iré mostrando en mi blog .
Esta area de fogata es un espacio para el gozo y disfrute que nos hace ver que con poco podemos crear cambios y mayor armonía en el entorno. Hoy compartire con la comunidad este proyecto que me encantó hacer y sobre todo por el resultado donde le dimos vida a este espacio.
Esta la construimos en esta zona de esparcimiento que estaba en des uso, en esta area compartíamos con amigos y familiares parrillas de manera improvisada, ya que en ella hay 3 arboles jovenes que dan buena sombra y hace el area acogedora.
Así que decidimos colocarlo en esta area que ya era un lugar de encuentro, donde disfrutar bajo estos árboles fuera aun mas agradable.
Diseño
Aunque no es algo elaborado, siempre es importante pensar que cualquier cosa nueva que se va a incorporar en un entorno debe de estar acorde al resto del entorno, para que cada espacio diseñado se haga parte de lo ya existente e incluso de mejoras a ese entorno, como saben el Hogar Verde que estamos construyendo es una Casa Container una forma rectangular al igual que los terrenos que tambien son rectangulares y para avisar esto estoy dandole forma a estas areas de una manera mas suave con caminerias curvas y areas las circulares como esta area de jardin donde esta la fogata.
Manos a la Obra
Luego de seleccionar y evaluar cual era el mejor lugar y forma iniciamos con la limpieza y marcaje del area, ya al tener la medida ideal que queríamos pasamos a colocar la malla aislante y hacer pruebas para ver como se sentiria estar alli al rededor de la fogata.
Reciclaje
Aquí nos dimos cuenta que teníamos muy poca malla para el tamaño del área que marcamos para la fogata, rapidamente buscamos unos sacos de cemento vacios para completar el area de malla que nos faltaba, asi logrando cubrir toda el área.
Estos los colocándolos junto a la tela aislante para demarcar el espacio de la fogata y asi nos ayuda a evitar que la maleza crezca tan rápidamente ya que estamos en una zona de montaña donde el clima de de bosque nublado, esto hace que esté todo muy verde y también que crezca la maleza hasta donde no quieres.
En el centro donde va la fogata decidimos hacer un agujero de 50 cm de profundidad.
Luego llegó el momento de colocar las piedras, usamos las que teníamos disponibles de la construcción y de marcamos la zona con piedras grandes de la zona.
Estás piedras mas grandes salieron al hacer la excavación de las bases.
Ya el área de la fogata estaba lista pero hacía falta más ya que para disfrutar de la fogata se necesitaban sillas, así que le dimos uso a maderas que nos quedaron de otros proyectos y otras que reutilizamos para construimos unos 4 bancos que colocamos al rededor de la fogata.
| |
|---|
Pero también hicimos uso a unos cauchos y tablas de construcción con las que hicimos unas mesas y sillas.
Muchas veces hacemos gastos extras, sin darnos cuenta que muchas de las cosas que tenemos podemos reutilizarlas a mi me encantan estos retos de proyecto donde le doy uso a desecho como estos cauchos y para darle un nuevo uso.
El resultado hemos pasado buenos momentos allí , desde solo tomar un café bajo los árboles sentados en los bancos, admirando y escuchando el canto de las aves hasta parrillas en la fogata.
Ahora que está creciendo unas plantas que la rodean aran aún más acogedor este lugar para el disfrute.
Está la estrenamos con un grupo de amigos en casa, ya la hemos usado en varias oportunidades y realmente a sido un éxito.
Aquí les dejo este link para que lo disfrutes en video.
https://www.instagram.com/reel/C1QofaTNV25/?igsh=MTFibW5yeDVzdzh3OA==
Carmen Victoria Turmero
| I am audiovisual producer, nature lover, creator of the Ecovillage and Community Vida Verde , passionate about travel and architecture. |  |
|---|
Gracias 🙏🏽💚
This space is simply incredible, I could see myself spending hours under those trees and enjoying such tranquility. I particularly loved the table and chairs you made with the rubbers, they were really beautiful, a simple way to show that by reusing materials we can build something beautiful.
Hello @maitt87 it is really a cozy place !!! Glad you liked it, now that the plants are growing because of the rainy season everything is getting nicer. If you come to Caracas and want to know it you are welcome we love to share this experience with other Hive Lovers 😃♻️💚
Excelente!!! Espero prontito tener la oportunidad de visitarlos, estoy segura que me encantará.
Seguro que si !! 🙂😊
That space is really cool to have! thanks for giving me an inspiration on what to add into my space.
Thank you 😊, how nice and nice to be able to inspire !!!! I already want to see your space for sure it will look great 💚.
I already want to see this project finished, it will look amazing.
Hi @doriangel! Thanks you are welcome to know the process. 😃
Que emoción ver nuestros avances en una publicación, lo más reconfortante es luego poder disfrutar de estos espacios y que otros también lo disfruten, jajajajaja sobre todo porque me gusta invitar amigos a la casa!
What a nice project, I hope you can finish it soon, the rubber chairs look great.
Cheers!