[ENG-ESP] Decorate a Headband with Recycled Button Flowers / Cintillo con flor de botones reciclados
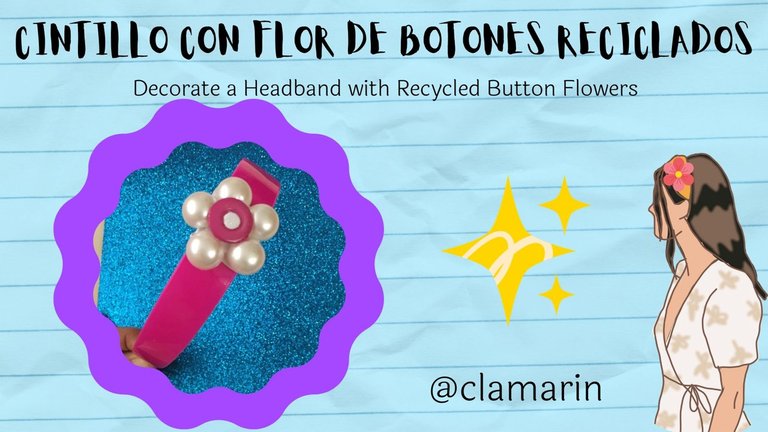
Hello friends of #DIYHub. In this article, we will learn how to create a beautiful headband decorated with a flower made from recycled buttons. This craft is an excellent way to add a unique and personalized touch to your accessories. Additionally, by using recycled buttons, you will also be contributing to the care of the environment. So let's get to work and create something beautiful together!
Hola amigos de #DIYHub. En este artículo, aprenderemos a crear un hermoso cintillo decorado con flor hecha de botones reciclados. Esta manualidad es una excelente manera de darle un toque único y personalizado a tus accesorios. Además, al utilizar botones reciclados, también estarás contribuyendo al cuidado del medio ambiente. ¡Así que pongámonos manos a la obra y creemos algo hermoso juntos!
Materials to use:
•Headband
•Recycled buttons of different colors and sizes (5 white buttons and 1 fuchsia button)
•Scissors
•Foam scraps
•Glue silicone
Materiales a utilizar:
•Cintillo
•Botones reciclados de diferentes colores y tamaños (5 blancos y 1 fucsia)
•Tijera
•Retazos de foami
•Silicón
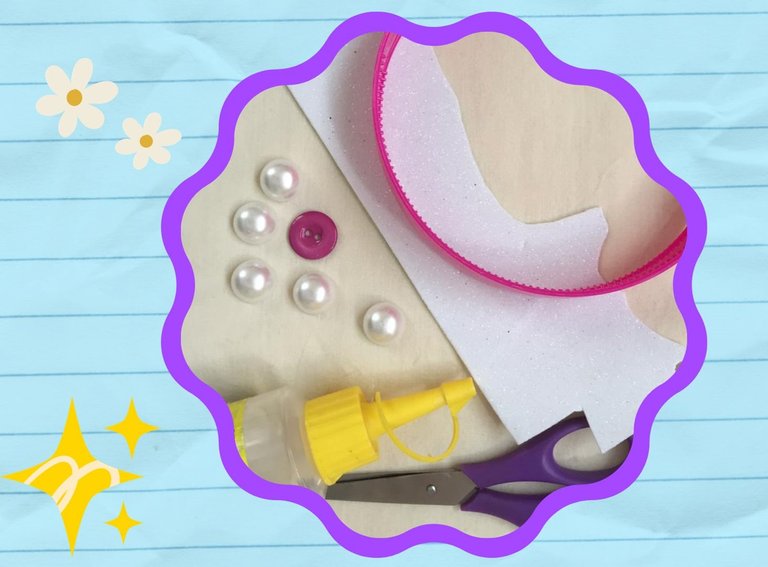
Step 1:
Before you begin, make sure you have all the materials on hand. Organize the buttons by color and size to facilitate the decoration process. You can also choose to combine different shades to create a more eye-catching effect.
Paso 1:
Antes de comenzar, asegúrate de tener todos los materiales a mano. Organiza los botones por colores y tamaño para facilitar el proceso de decoración. También puedes elegir combinar diferentes tonalidades para crear un efecto más llamativo.
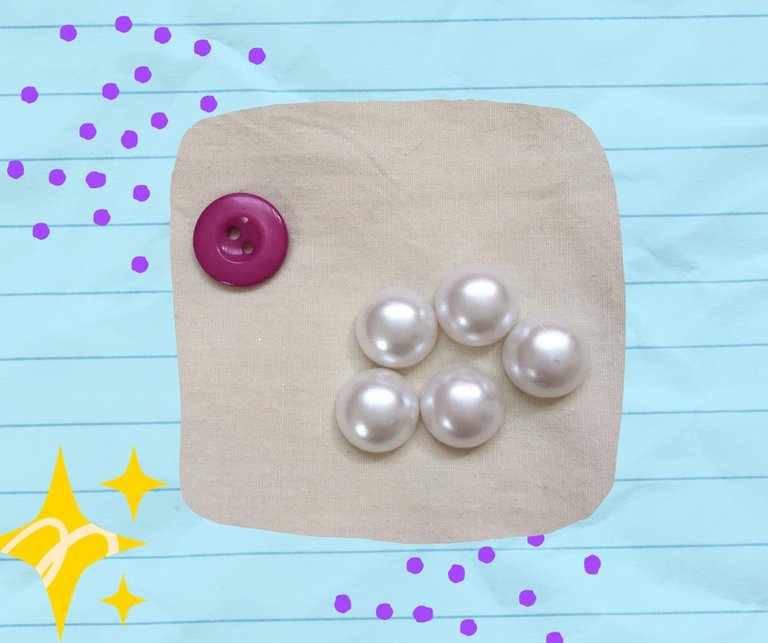
Step 2:
Creation of the flower: To make the flower, cut out a foam circle as a base and glue 5 white buttons next to each other in a circular shape. Then, glue the fuchsia button on top of the circle. To enhance the design, you can add some additional details by placing a small glittery foam circle on top of the fuchsia button.
Paso 2:
Creación de la flor: Para hacer la flor, recorta un círculo de foami como base y pega 5 botones blancos uno al lado del otro en forma circular. Luego, pega en la parte superior del círculo el botón fucsia, para realzar el diseño puedes agregar algunos detalles adicionales colocando sobre el botón fucsia un pequeño círculo de foami escarchado.
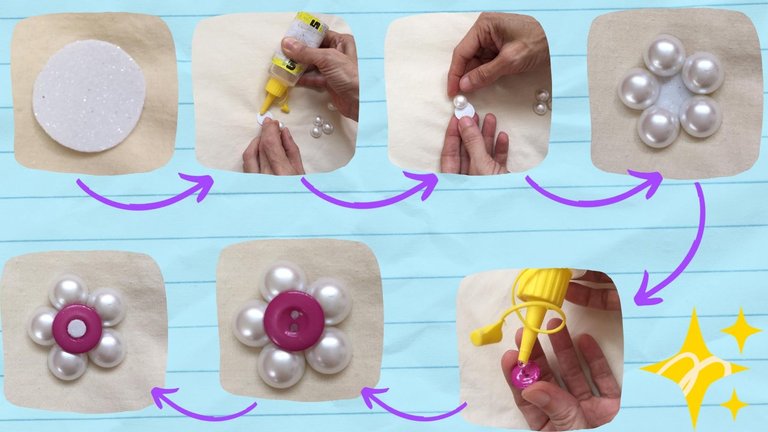
Step 3:
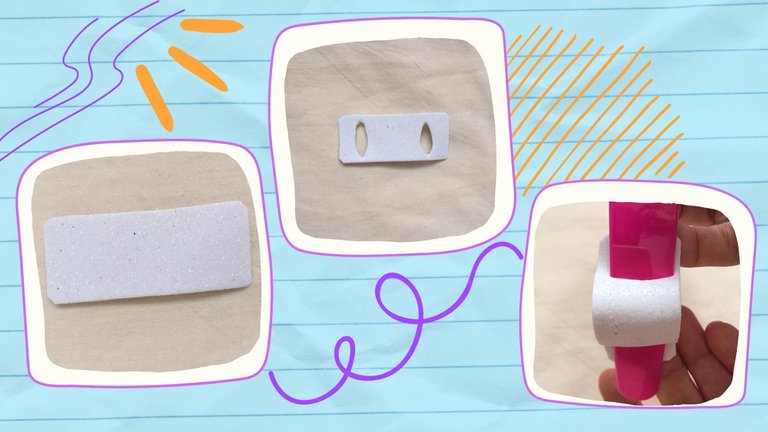
Cut out a foam rectangle and make two cuts near the ends using scissors. Insert the headband through the openings of the rectangle, as shown in the image.
Paso 3:
Recorta un rectángulo de foami y con ayuda de la tijera, realiza dos cortes cerca de los extremos. Introduce por las aberturas del rectángulo el cintillo, tal como se muestra en la imagen.
Step 4:
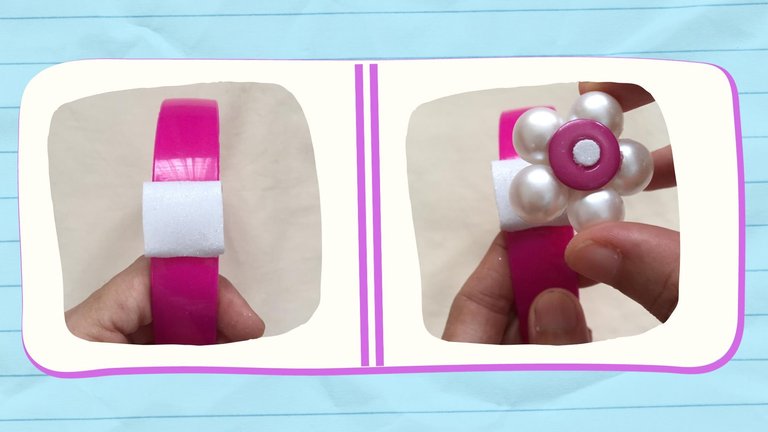
Once you have positioned the rectangle in the desired position, glue the flower to it. Make sure to check all the glue details to ensure that everything is securely attached. If necessary, make any adjustments needed to ensure the durability of your creation.
Paso 4:
Una vez que hayas ubicado el rectángulo en la posición deseada, pega la flor a este. Asegúrate de revisar todos los detalles de pegamento para asegurarte de que todo esté bien sujeto. Si es necesario, realiza los ajustes necesarios para garantizar la durabilidad de tu creación.
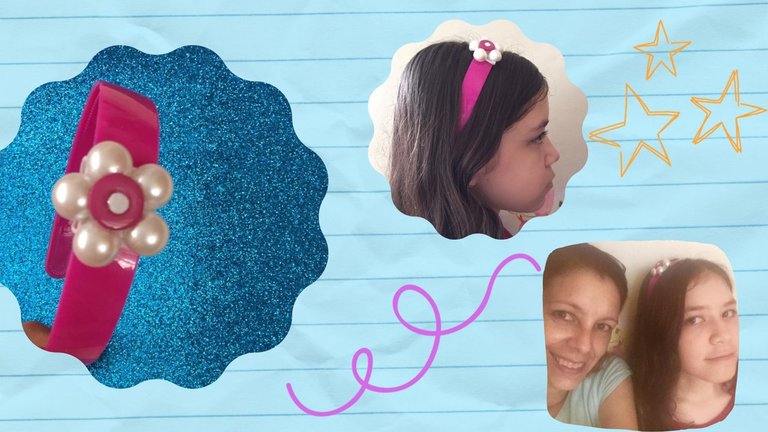
Decorating a headband with recycled button flowers is a fun and creative way to liven up your accessories. In addition to being an enjoyable activity, you are also contributing to environmental care by reusing materials. So don't hesitate to try this craft and let your imagination soar to create unique and original designs. Enjoy the process and proudly show off your decorated headband!
Decorar un cintillo con flores de botones reciclados es una forma divertida y creativa de darle vida a tus accesorios. Además de ser una actividad entretenida, también estás contribuyendo al cuidado del medio ambiente al reutilizar materiales. Así que no dudes en probar esta manualidad y deja volar tu imaginación para crear diseños únicos y originales. ¡Disfruta del proceso y luce tu cintillo decorado con orgullo!
The photos were taken by myself with my iPhone 6
The design of the photos were made on canvas
Translation: Google Translation
Las fotografías fueron tomadas por mi con mi teléfono celular iPhone 6
El diseño de las fotos fueron hechas en canvas
Traducción: Google Translation

Wao! This is amazing, I should try this for my little sister
What a beautiful headband and it suits great on the girl. It's a great way to stand out with a handmade accessory that showcases your creativity, keep it up.