More about Christmas cookie decorating / Snowman and something else.
One of the magical things about Christmas is that it awakens creativity in all of us, and food is no exception.
I love making cookies, but I like to give them a personal touch. Every time you decorate a cookie, you transfer part of your personality to it. It is a tangible way to beautify the food that will be the visual and gustatory enjoyment of those we love the most.

Today I want to continue sharing with you how to decorate in snowman and offer you other simple designs.
There are still some holidays left, so let's get down to work so you can make these cookies at home and surprise your family.

The purpose of this tutorial is to provide you with techniques and designs that are easy to make. This way, you can incorporate several members of the family in its realization. Cookie decorating can become a fun activity for the family to enjoy and share quality time.

To decorate cookies, you must make good icing and cookies that resist humidity. You can visit this link I share my recipes for butter cookies and icing for decorating.

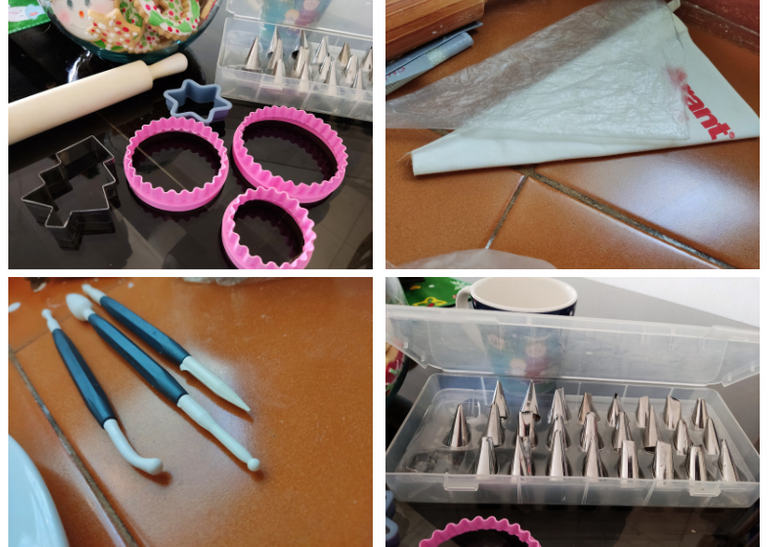
Cookie Cutters
Piping bags
Modeling Stick
Nozzles for piping bags
Liquid and powder edible coloring
Fine brushes

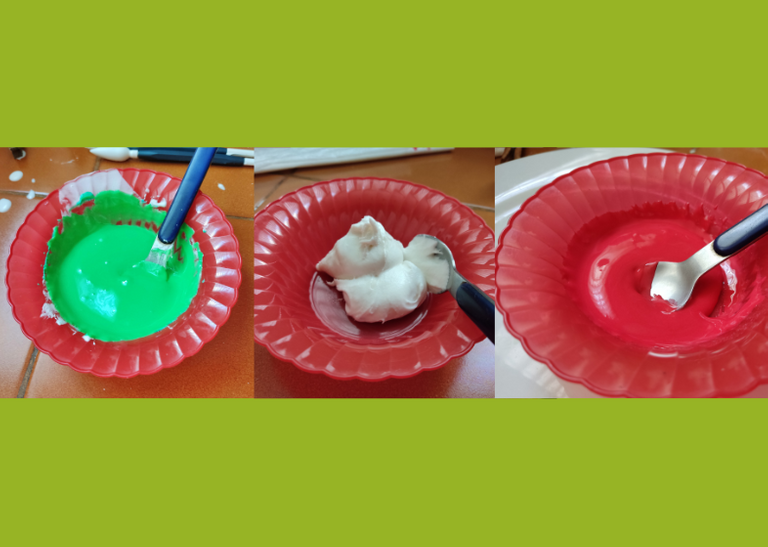
The first thing to do to start decorating our cookies is to color the icing. As the decoration is with Christmas designs, we will have green, white and red icing.

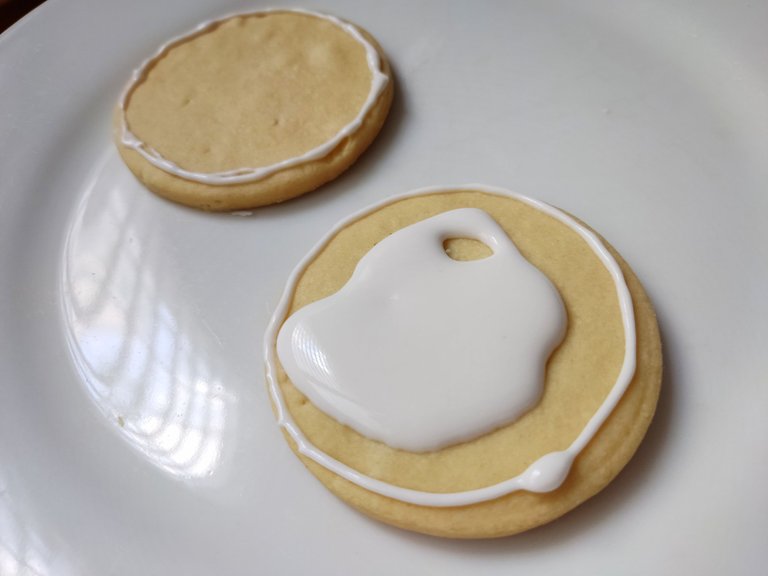
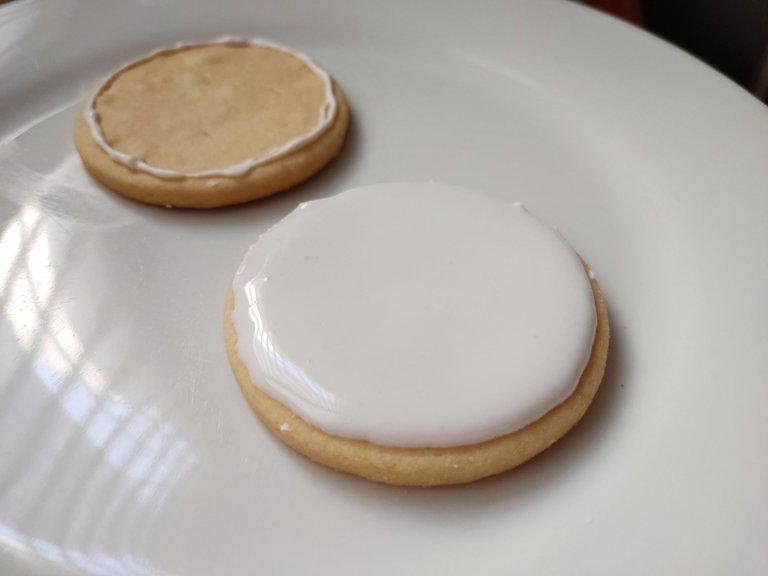
Take a circular cookie and line the outside with frosting. Then place more amount of the frosting in the center of the cookie.
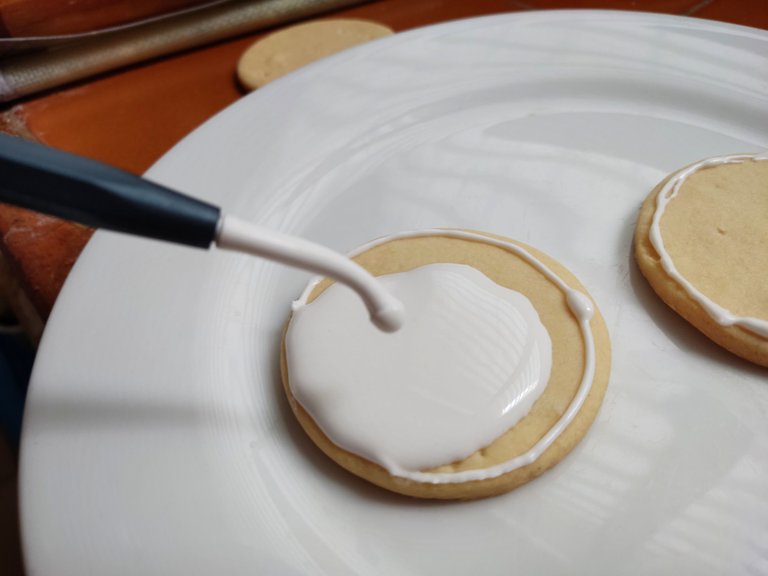
With the help of a round-tipped modeling stick, spread the glaze in gentle circular motions.
Let the cookie dry while you continue decorating other cookies.
On the border of the cookie, make a half-moon with green or red icing.
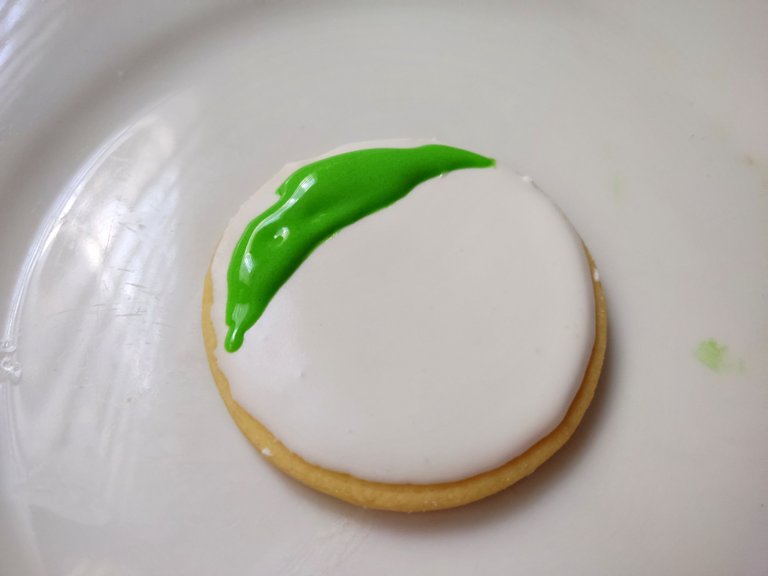
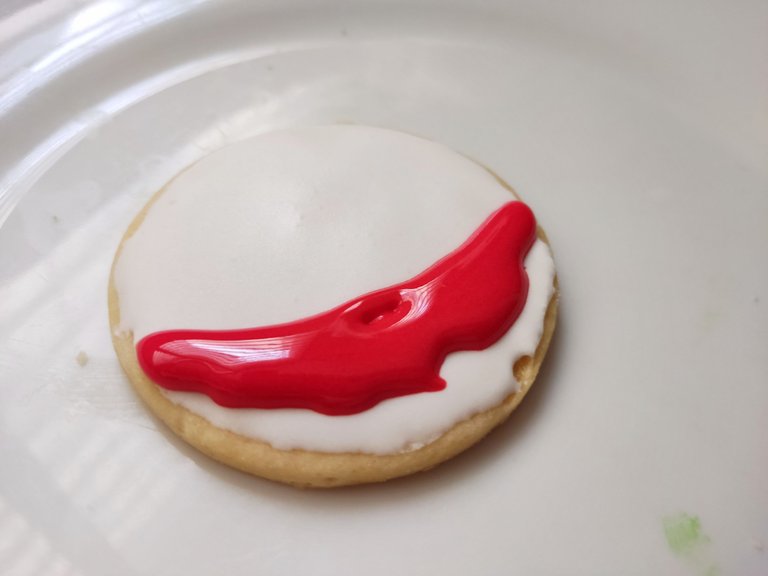
With the help of the round-tipped modeling stick, spread the colored icing until the surface is well-covered. This part will be the snowman's hat.
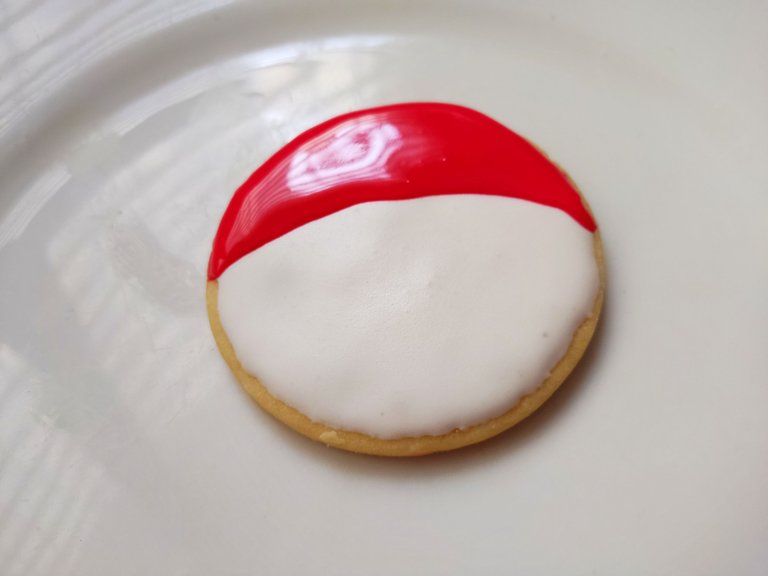
With a fine smooth-tipped nozzle, you can make a border on the hat and place a dot in the middle to simulate a pompom.
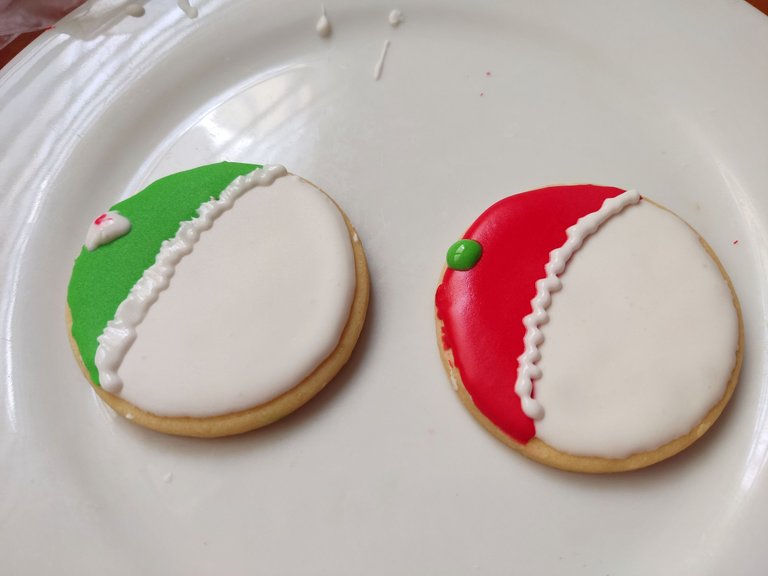
Moisten the tip of a modeling stick with black coloring and place a couple of dots on the white part of the cookie. These will be the eyes. You can do the same with orange color to make the nose.
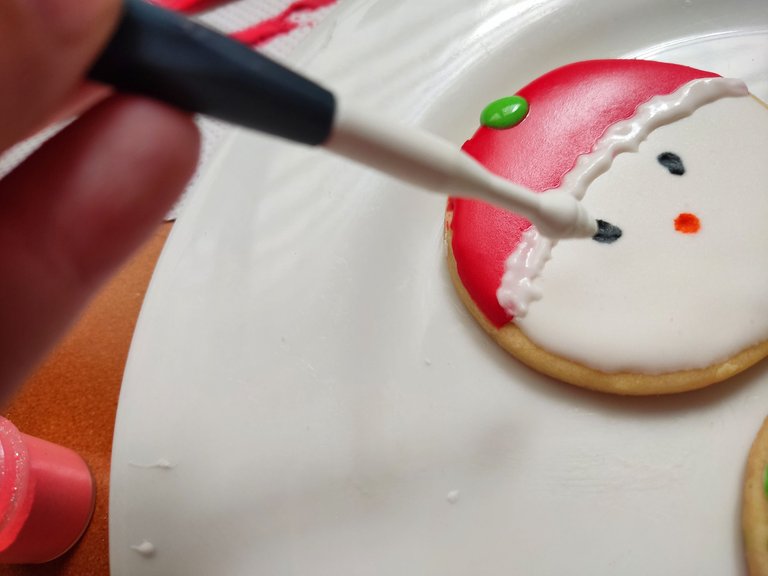
Take a fine brush and color the snowman's cheeks with pink powder coloring.
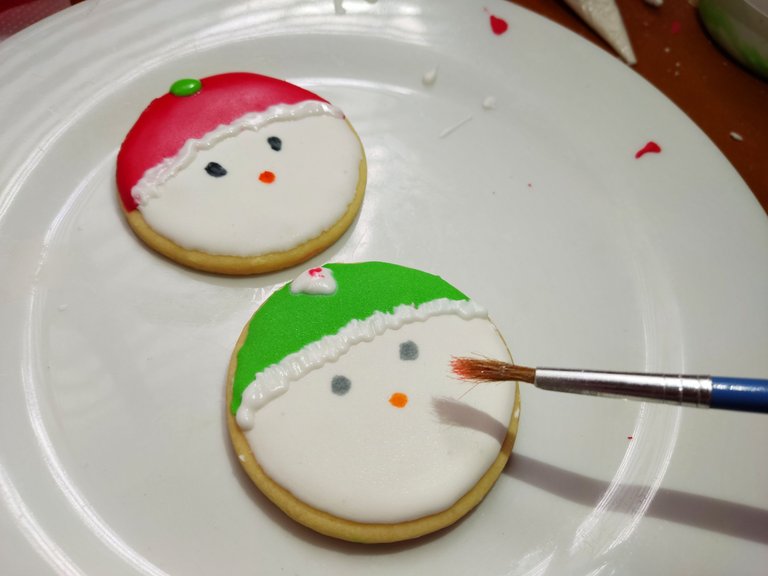
With a fine-tipped piping bag, make a curved line to draw the Christmas figure's smile. You can also make points on the hat to make it more eye-catching.
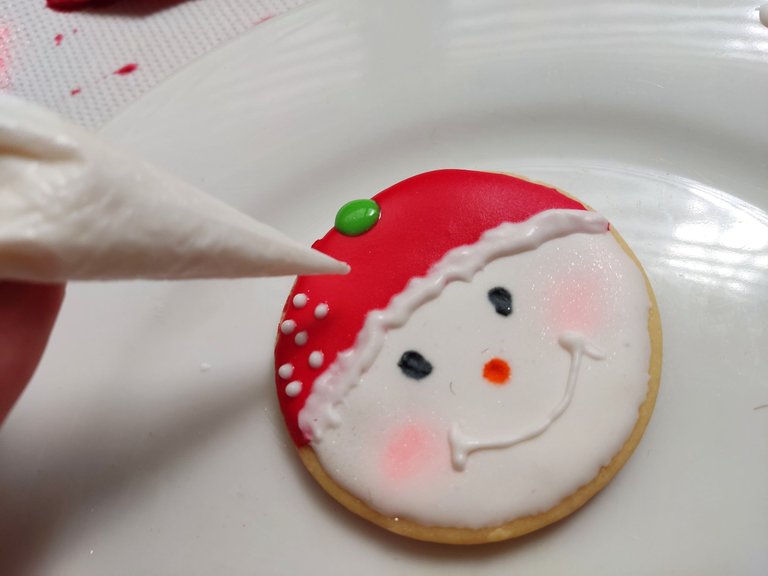
Dip the blunt-tipped modeling stick into the green icing and carefully place dots on the soft border of the cap.
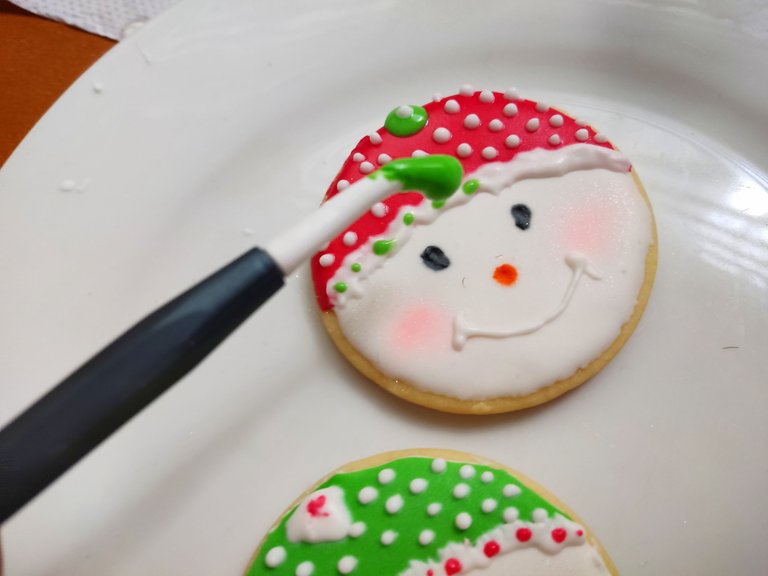
The result is cute and funny snowman.
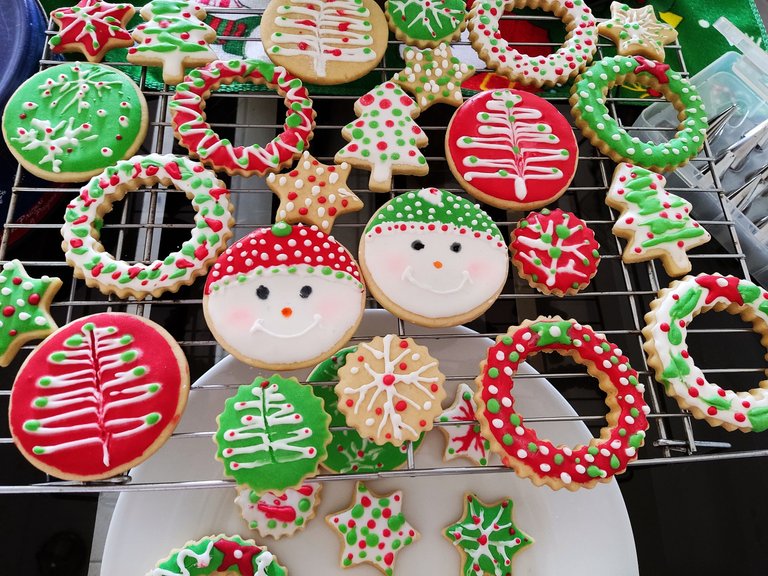

The fun thing about decorating cookies is that you can make different patterns. I like to alternate between medium and small cookies. Small cookies are great for sharing at an afternoon tea party.
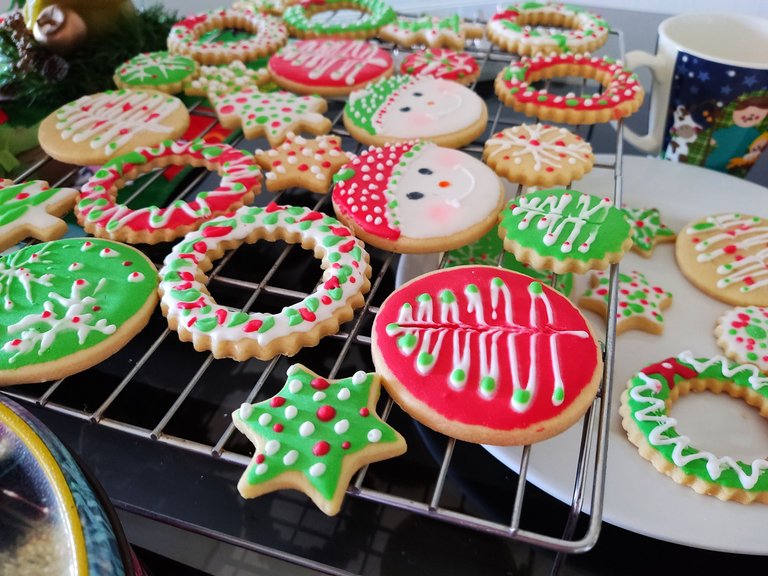
Here are some ideas for decorating more cookies with Christmas designs.
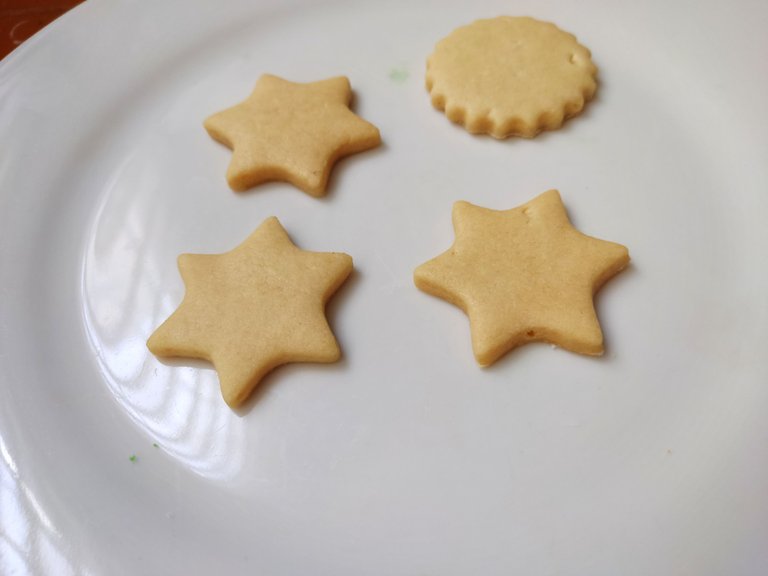
Cut out different cookie shapes and bake them.
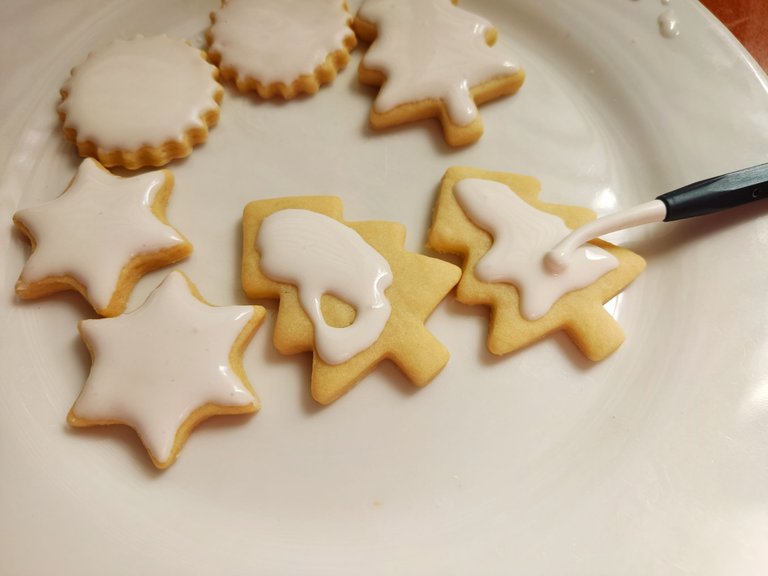
Once the cookies are cooled, apply white or green icing. Spread the icing with circular movements. Use the modeling stick with a round blunt tip.
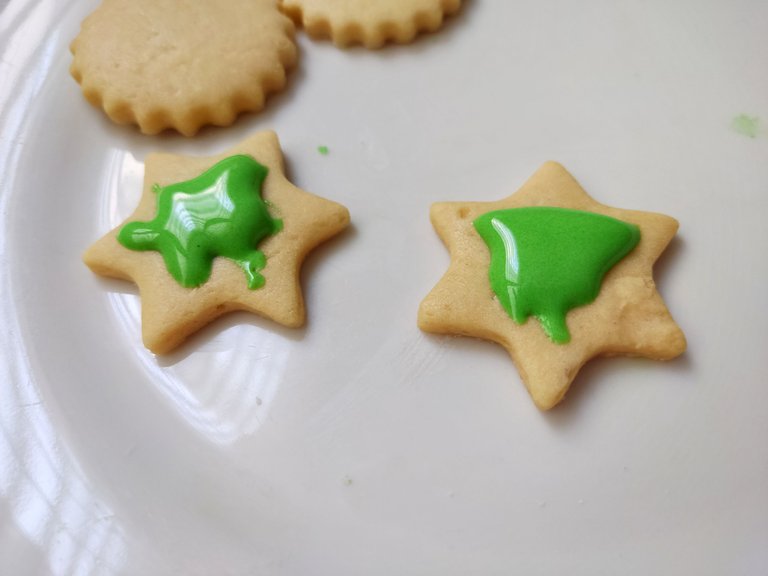
Once the base icing is dry, you can simply decorate the cookies by making lines and dots. Use a contrasting color of icing.
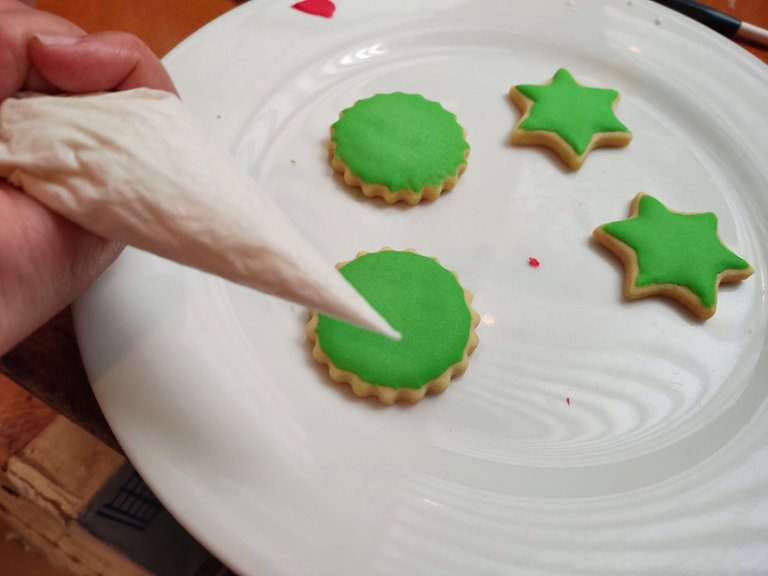
My favorite cookies to decorate are those that do not have icing as a base. That is, they are decorated on their original colored. The brown color of the cookies gives them a rustic touch, and I love that!
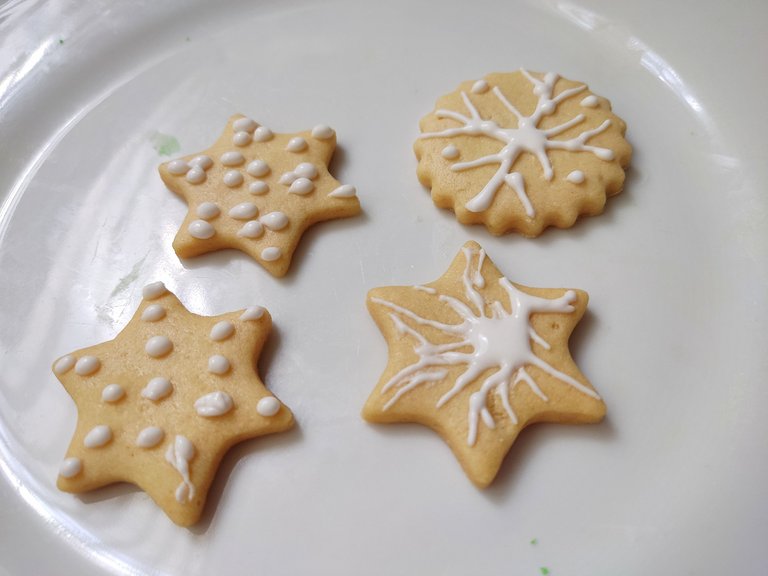
You can decorate with lines and dots. Combine with a few touches of red icing. The cookies look very pretty.
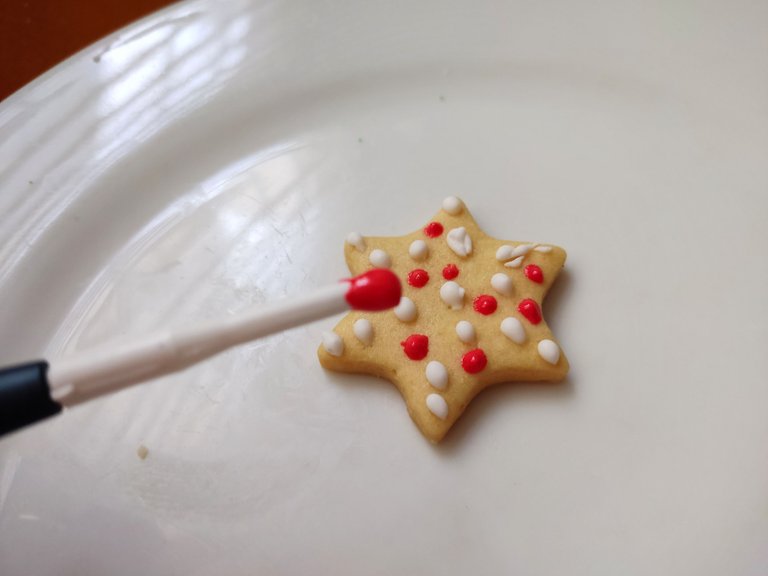
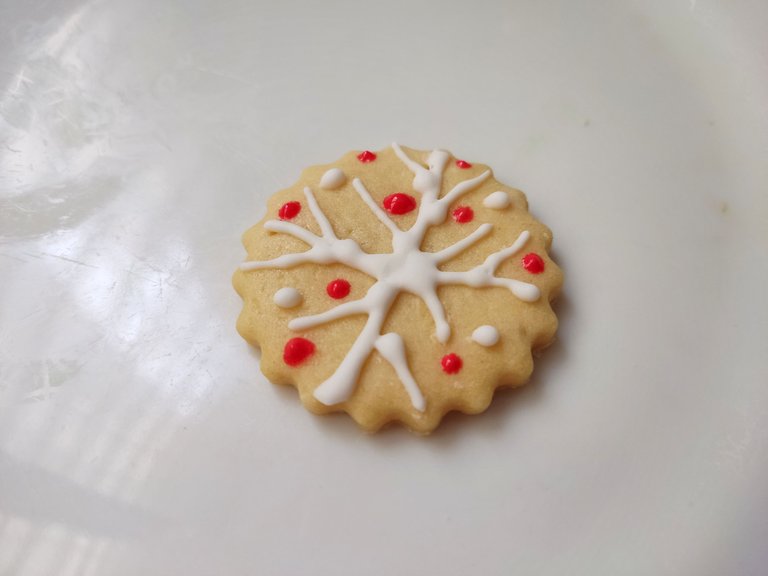
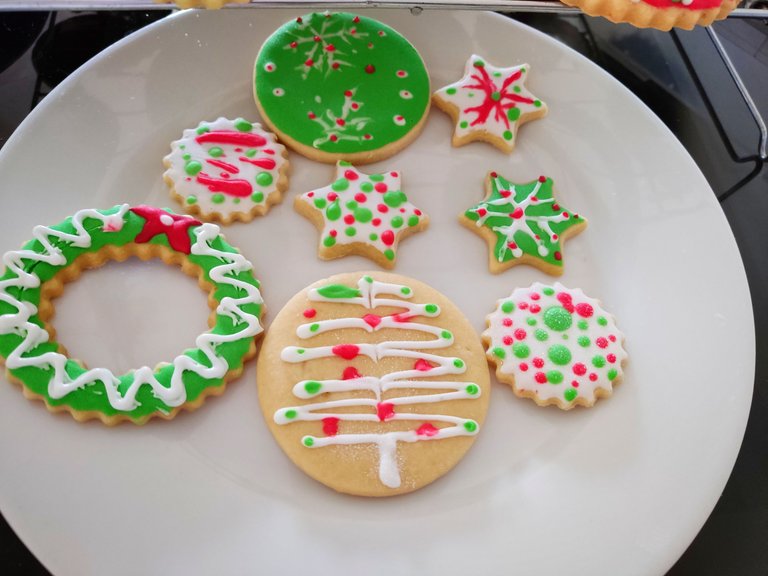
The small decorated cookies remind me of when I played as a child having tea with my dolls 😁.
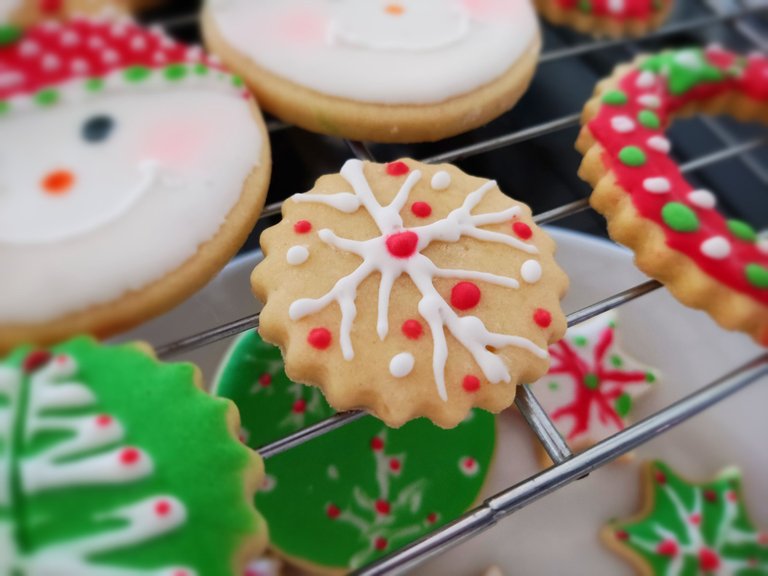
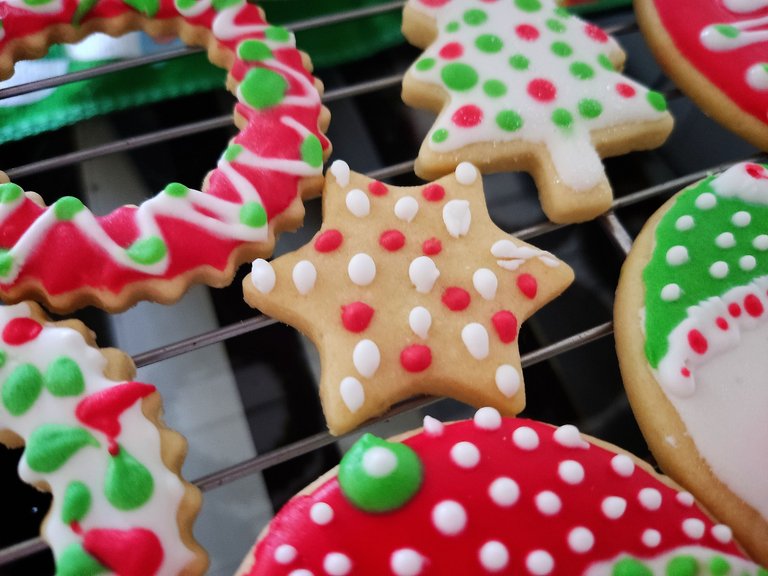

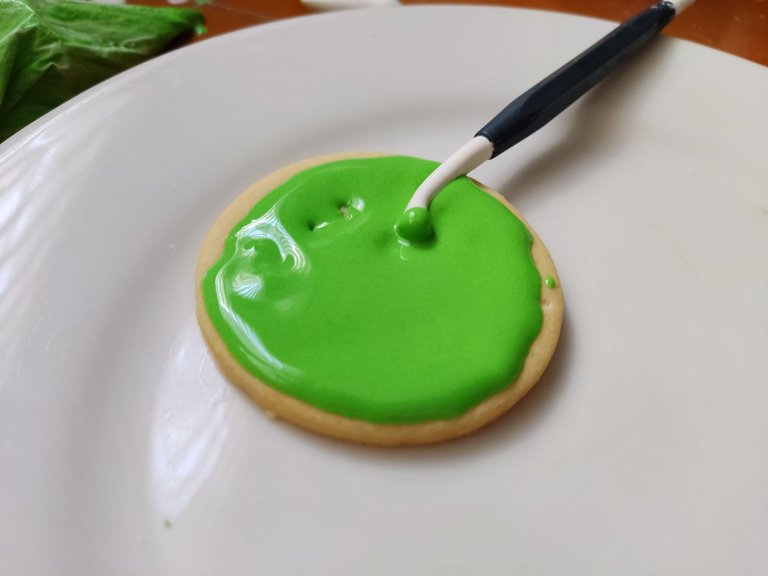
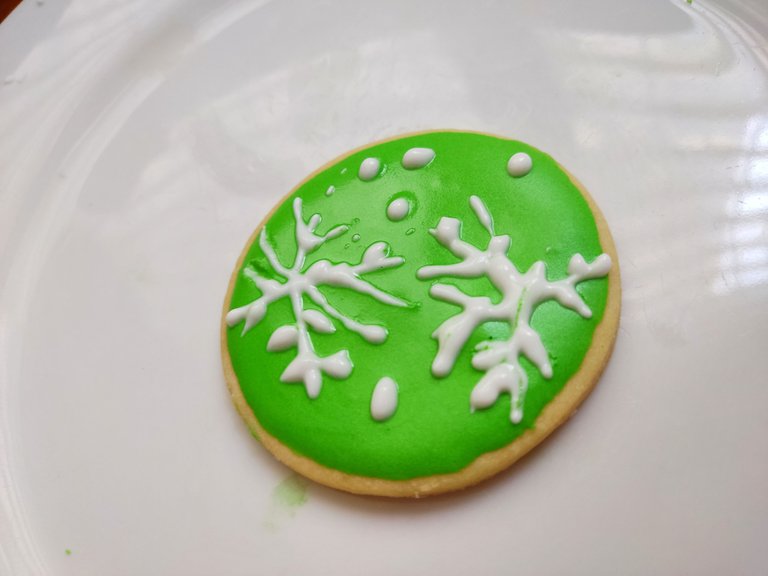
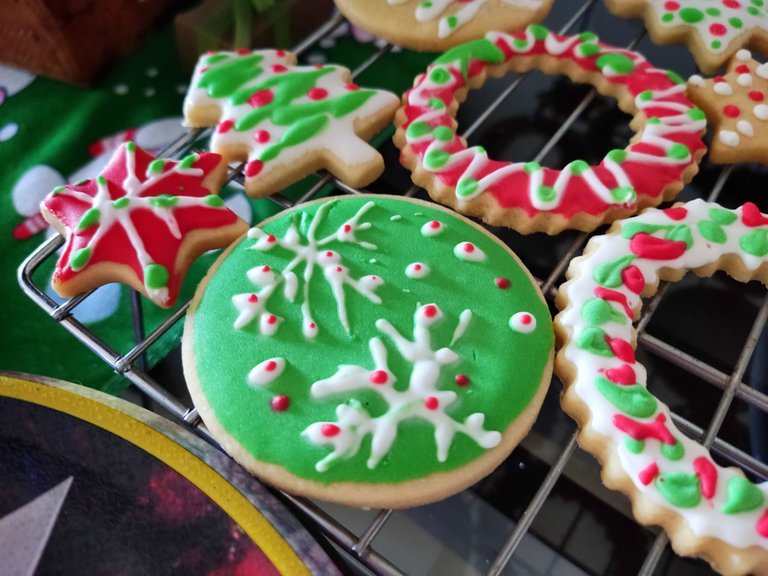
When I decorate cookies, I let inspiration guide me. You can take a circular cookie and cover it with green icing. You can make lines that resemble branches. They don't have to be symmetrical lines.
Another idea is to decorate with Christmas tree drawings. It is an easy design to make.
Cover a circular cookie with red icing and spread it evenly over the entire surface using the round blunt-tipped modeling stick.
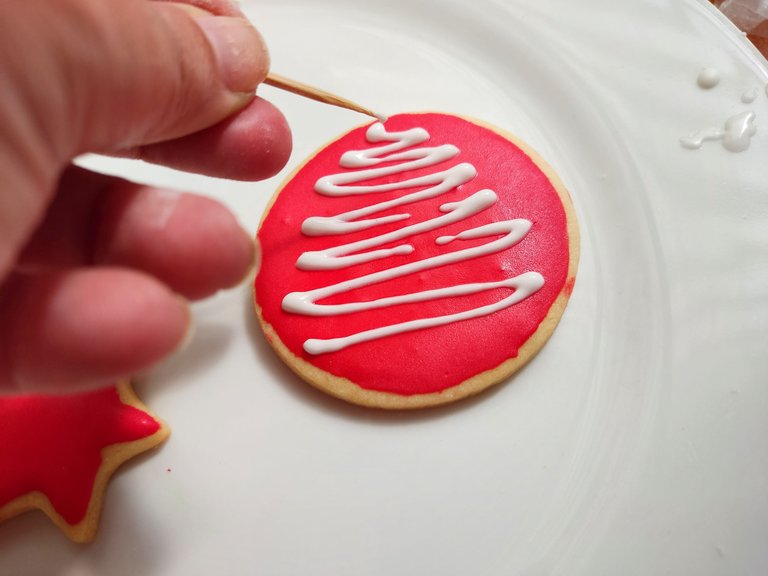
Using a fine pastry nozzle, make zig-zag lines with white icing.
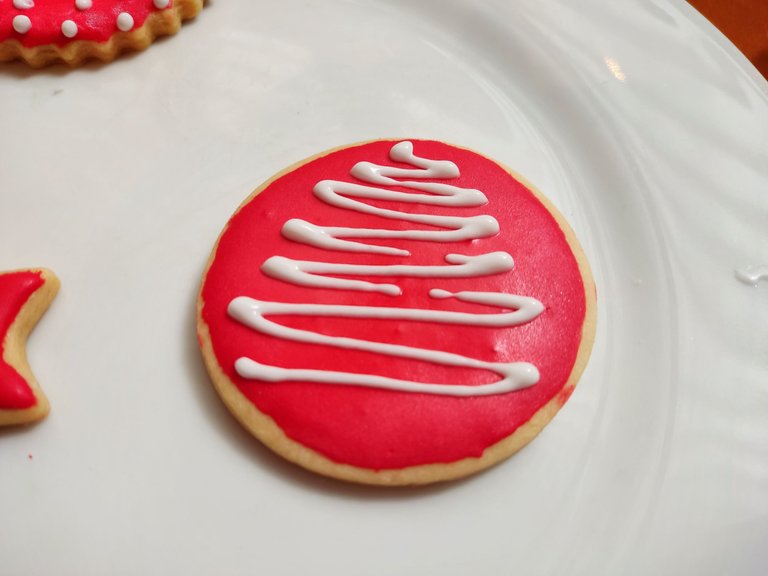
Using a wooden toothpick, drag the white icing up and down the center of the tree design.
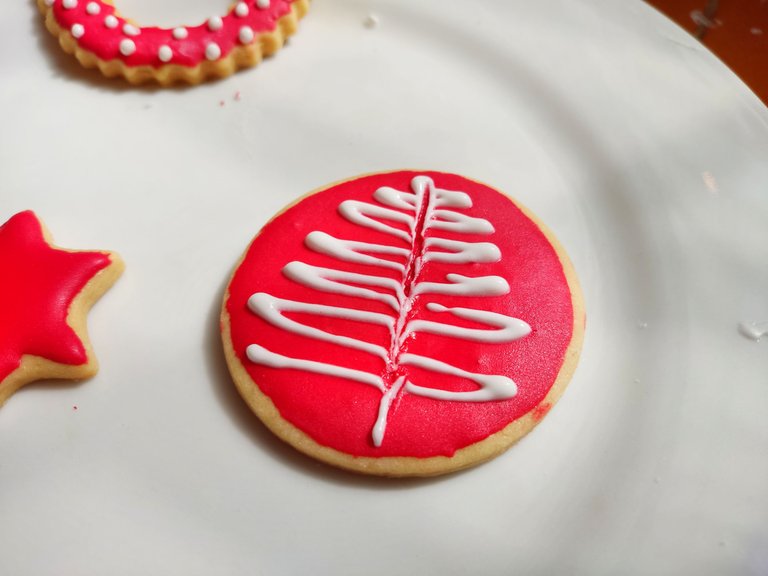
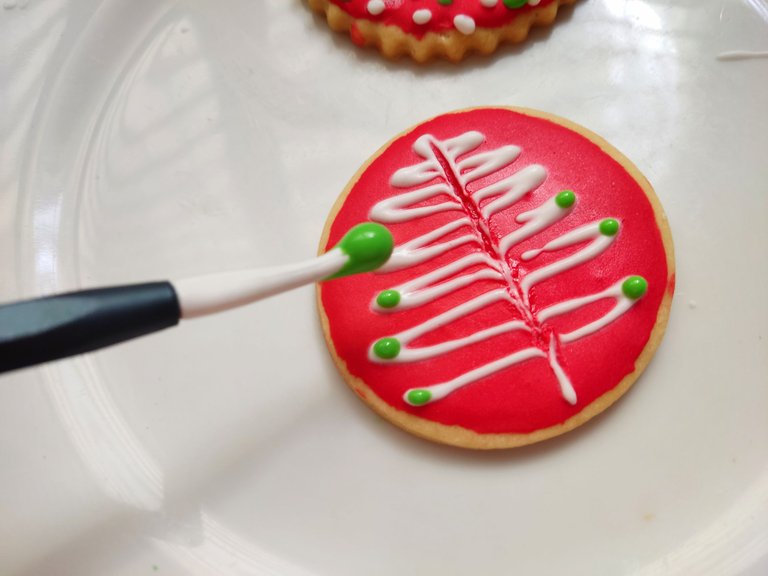
You can decorate the ends of the tree with green dots. It looks very cute!
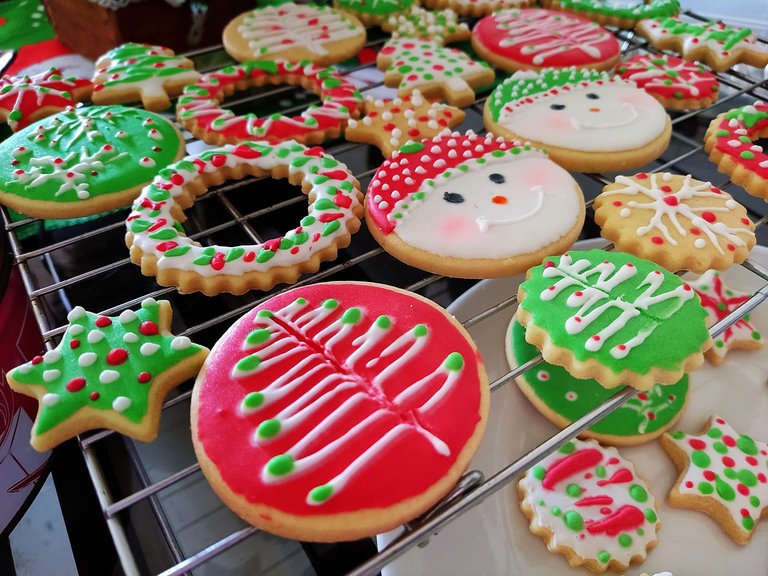

Decorating cookies is easy. It is a relaxing and fun activity. The best thing about decorating cookies is that you can make beautiful designs that will surprise anyone who wants to eat them.
I hope this tutorial has been helpful to give you some ideas and you can encourage you to make your designs at home.

All images are property of the author
(Camera cell phone: POCO X3 Pro, Xiaomi)


https://twitter.com/252821528/status/1608225550841118726
The rewards earned on this comment will go directly to the people( @chaodietas ) sharing the post on Twitter as long as they are registered with @poshtoken. Sign up at https://hiveposh.com.
Thank you for sharing this post in the DIYHUB Community!
Your content got selected by our fellow curator desro & you just received a little thank you upvote from us for your great work! Your post will be featured in one of our recurring compilations which are aiming to offer you a stage to widen your audience within the DIY scene of Hive. Stay creative & HIVE ON!
Please vote for our hive witness <3
Thank you for your support, I feel honored 😃
Que lindas decoraciones de navidad en las galletas provoca guardarla y no comerla .
Jajaja sí parecen unas galletas de juguete. Me ha tocado ir a lugares donde la comida tiene detalles tan hermosos que no provoca comérlas. En una oportunidad me sirvieron una crema de vegetales con un paisaje del ocaso en una playa con palmera y todo. Créeme no podía arruinar eso con el cubierto! Miel gracias por tus palabras amables y visitar mi post!
me gustaría probar unas jejej. Quedaron geniales!
Hola me encantaría que sí, son crocantes y muy coquetas. Gracias por tu amables palabras 😃
Nice and delicious