(ESP/ENG)TUTORIAL| ¿CÓMO CONFECCIONAR UN COJÍN PARA NIÑOS EN FORMA DE BALÓN DE FÚTBOL?/TUTORIAL| HOW TO MAKE A CUSHION FOR CHILDREN IN THE SHAPE OF A SOCCER BALL?
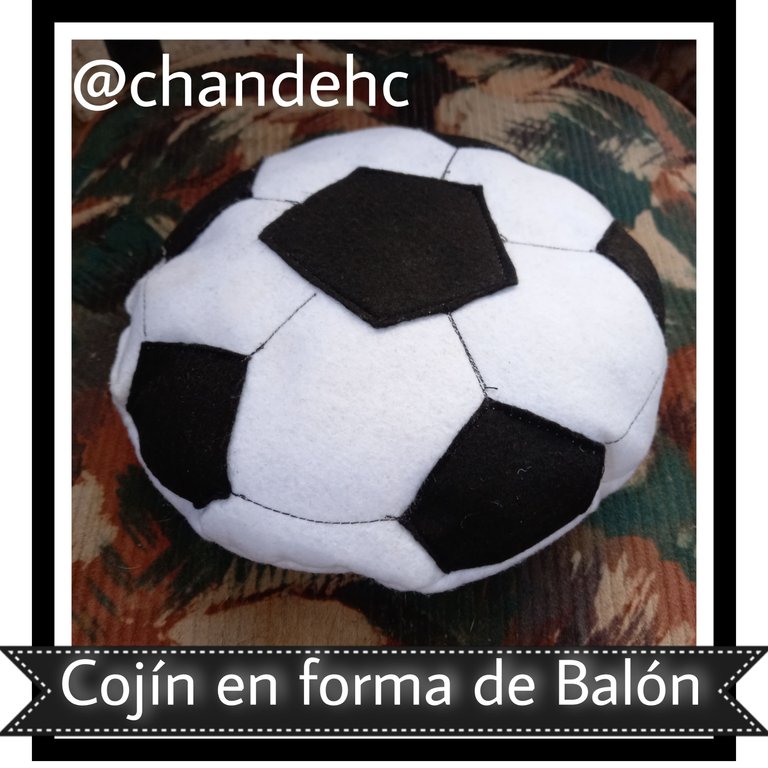
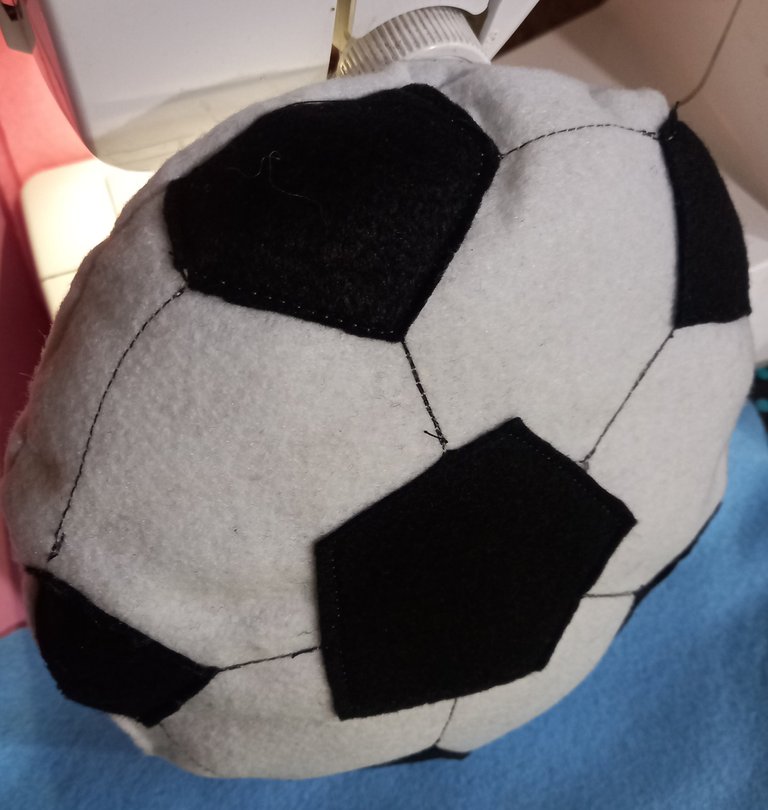
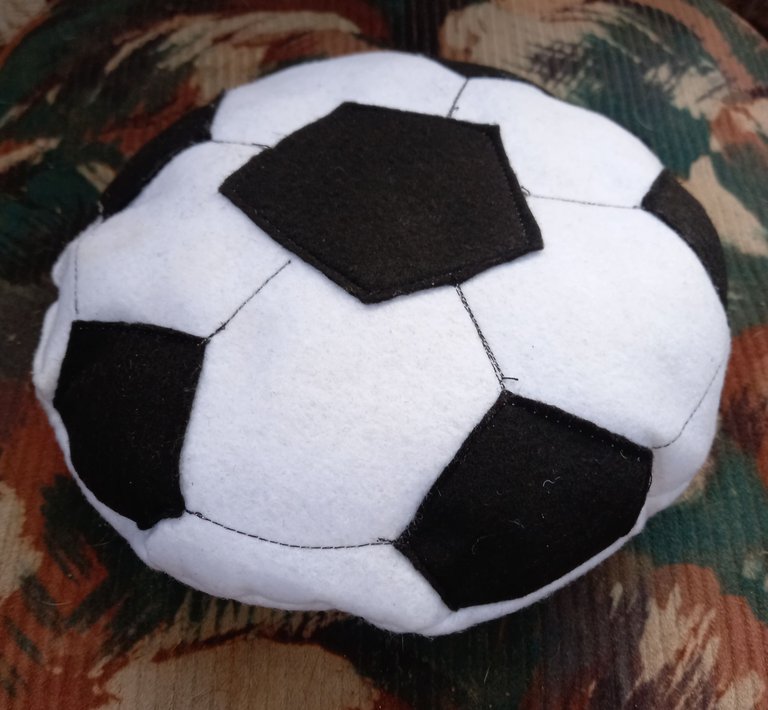
Feliz y bendecido lunes mi gente linda de #NeedleWorkMonday, espero que hoy sea un grandioso día para todos, que estén disfrutando de buena salud y mucha paz con la bendición de Dios. Hoy lunes de costura, les traigo un nuevo tutorial de Cómo confeccionar un Cojín para niños en forma de Balón ⚽ de fútbol con fieltro. Es una bonita idea para obsequiar.
Happy and blessed Monday my beautiful people of #NeedleWorkMonday, I hope today is a great day for everyone, may you are enjoying good health and lots of peace with God's blessing. Today Sewing Monday, I bring you a new tutorial of How to make a Cushion for kids in the shape of a Soccer Ball ⚽ with felt. It is a nice gift idea.
- 2 Fieltros blancos y 1 negro tamaño A4
- Relleno.
- Patrones de pentágono grande y pequeños.
- agujas.
- Maquina de coser.
- Hilo negro y blanco.
- Tijeras.
- 2 white and 1 black felt A4 size.
- Filling.
- Large and small pentagon patterns.
- Needles.
- Sewing machine.
- Black and white thread.
- Scissors.
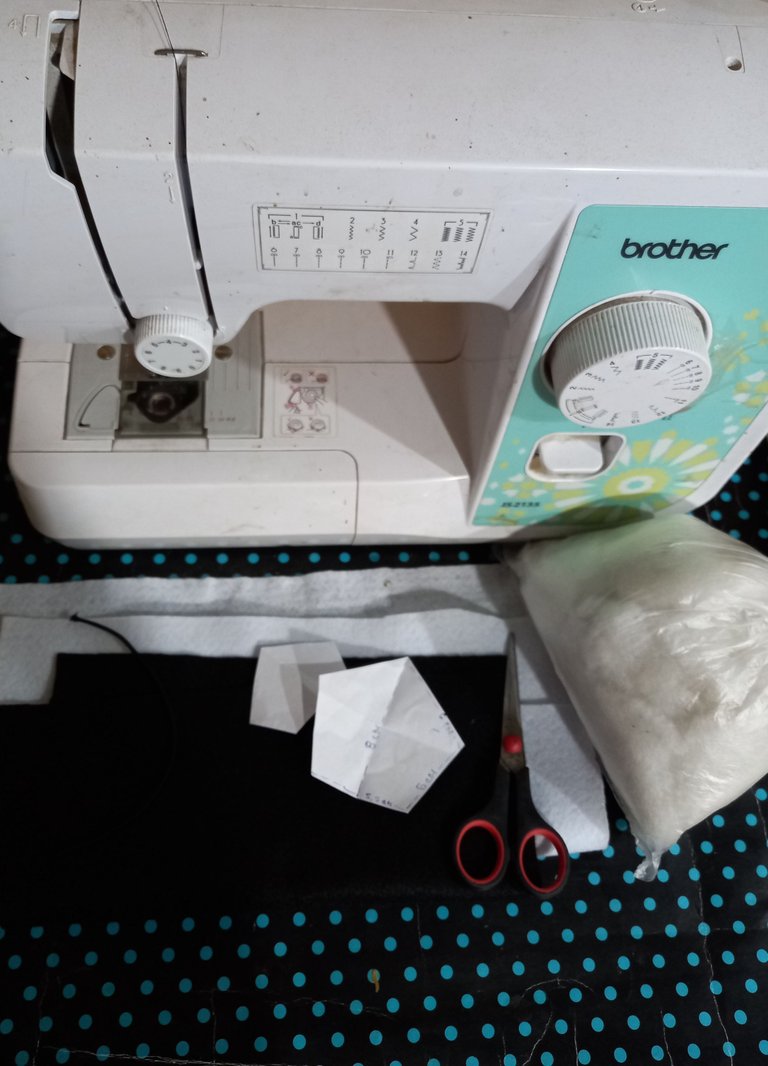
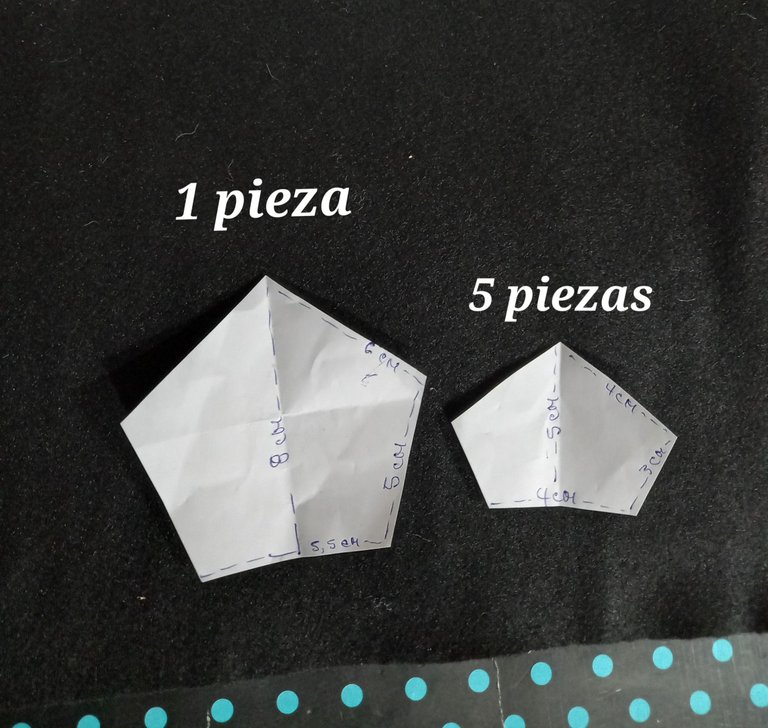
Comenzamos sacando los patrones de los pentágonos en fieltro negro.
We start by drawing the pentagon patterns on black felt.
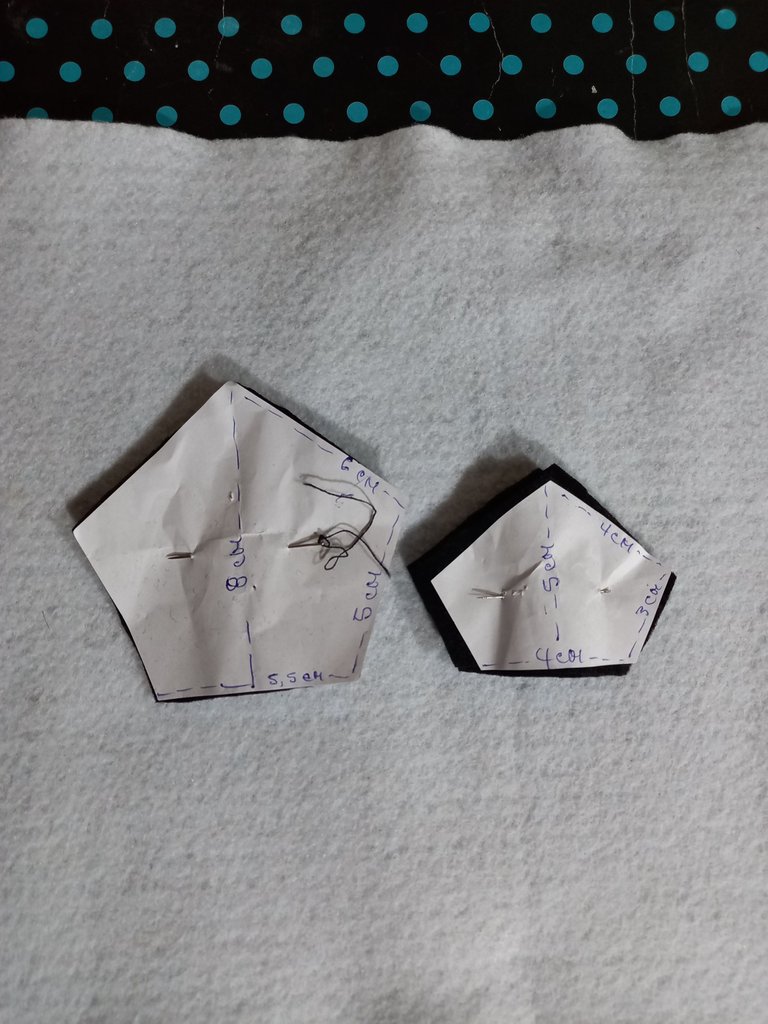
Luego utilizamos cualquier objeto redondo según el tamaño que querramos, lo montamos sobre los dos fieltros blancos y cortamos siguiendo la forma de éste. En éste caso el círculo que saque es de 24 cm de Diámetro.
Then we use any round object according to the size we want, we mount it on the two white felts and cut following the shape of it. In this case the circle is 24 cm in diameter.
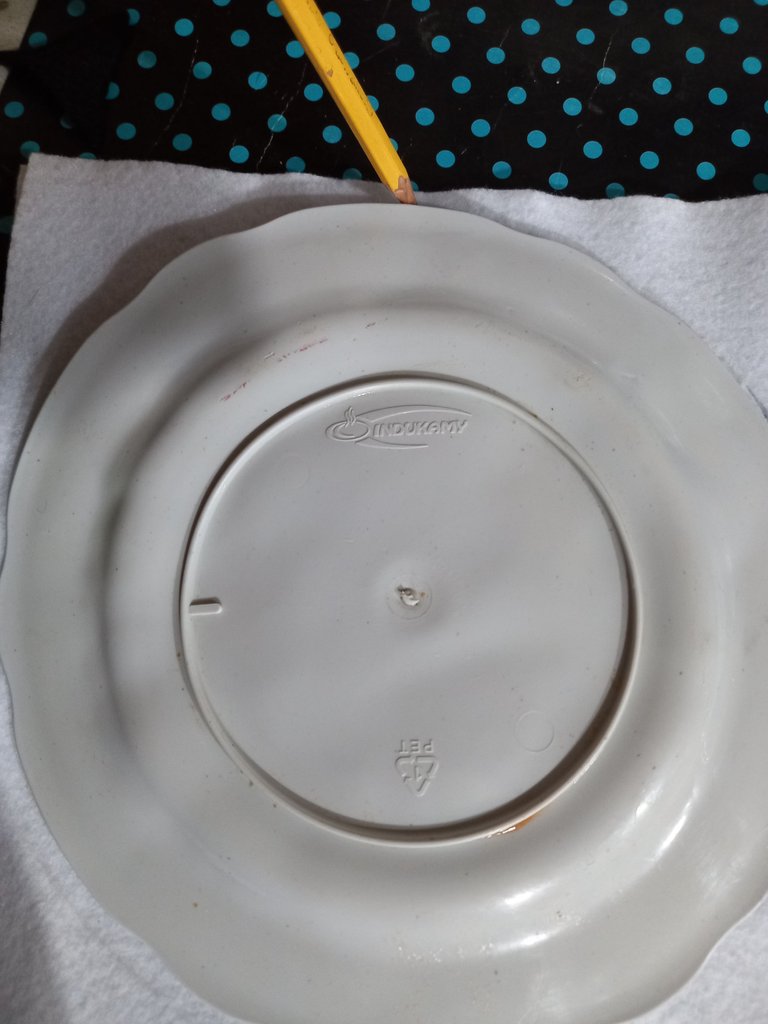
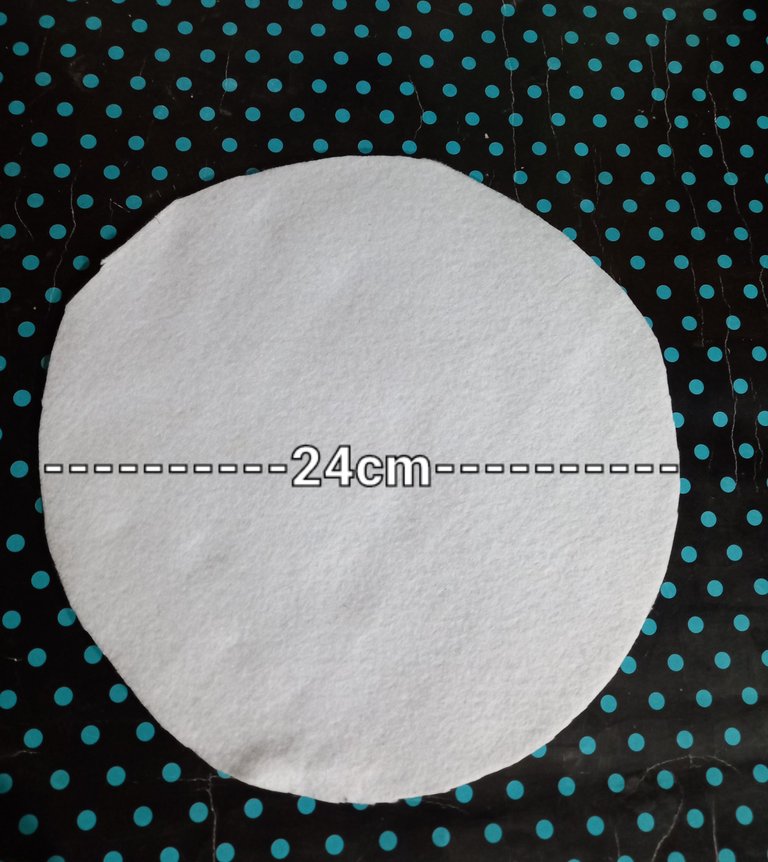
Posteriormente cosemos con la máquina el pentágono grande en el centro de uno de los dos círculos de fieltro blanco.
Then we sew with the machine the large pentagon in the center of one of the two white felt circles.
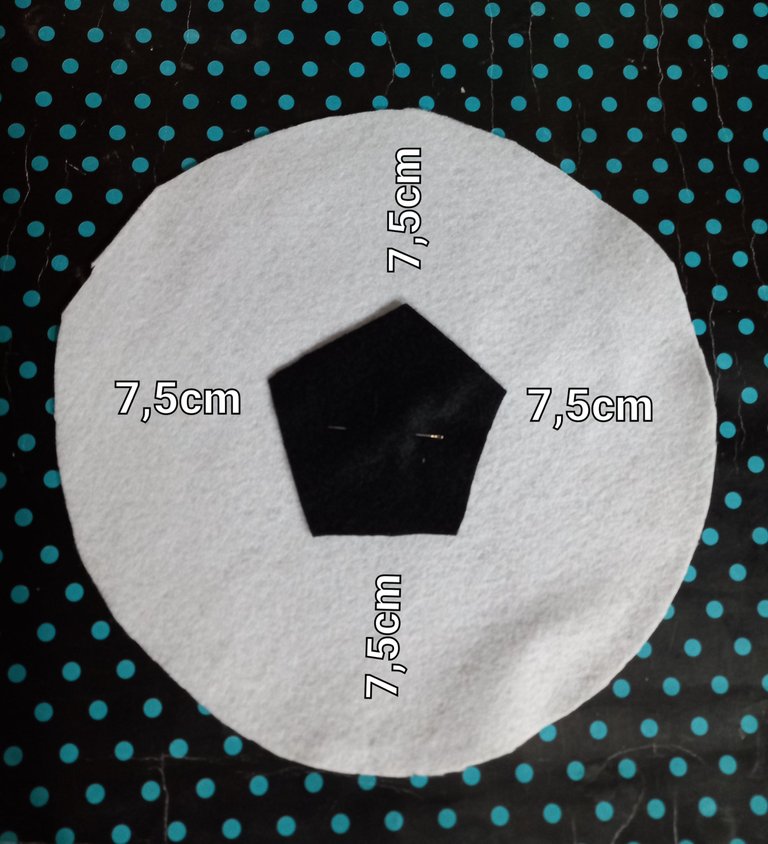
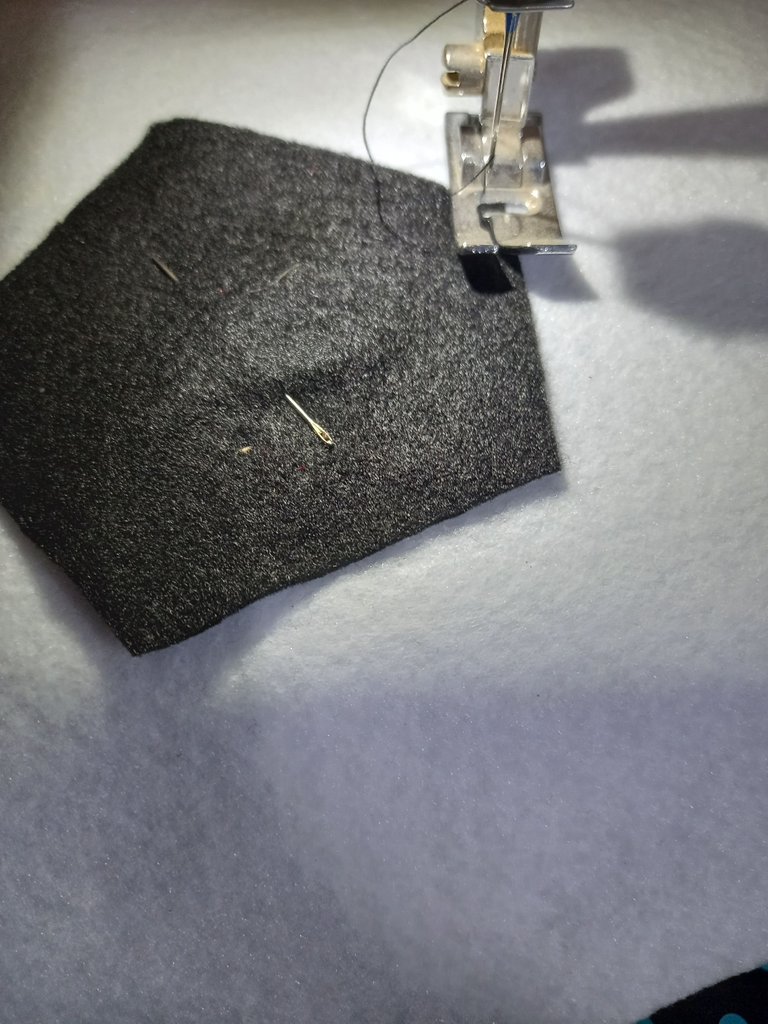
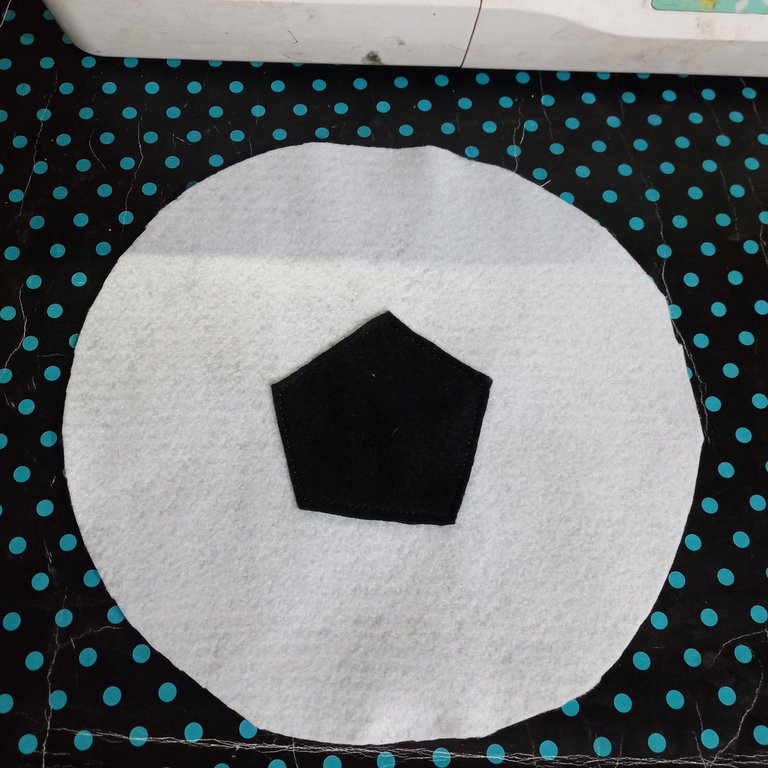
Después cosemos en el borde del círculo los 5 pentágonos pequeños, tratando que las puntas queden en dirección hacia las caras planas del pentágono grande. Es recomendable asegurar con agujas para que nuestras piezas no se rueden al momento de coser.
Then we sew on the edge of the circle the 5 small pentagons, trying that the points are in the direction of the flat faces of the large pentagon. It is advisable to secure with needles so that our pieces do not roll when sewing.
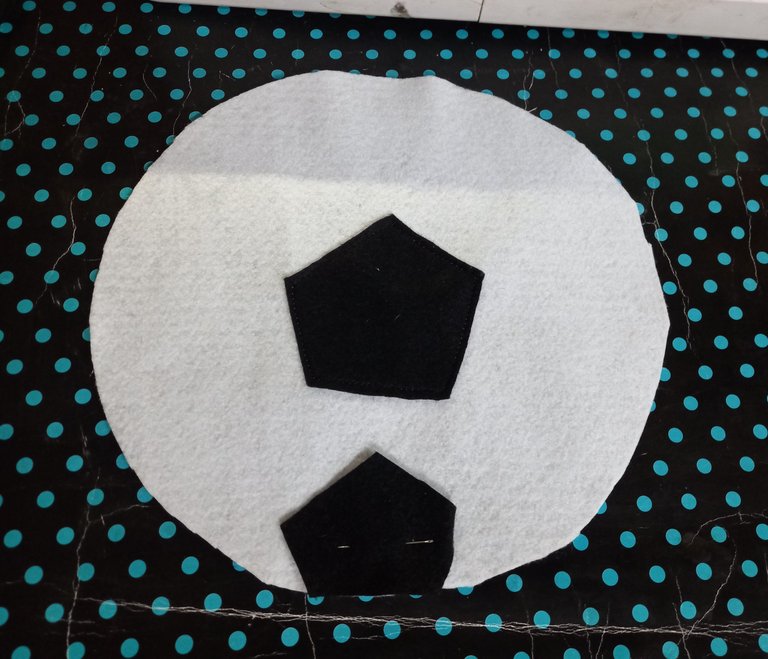
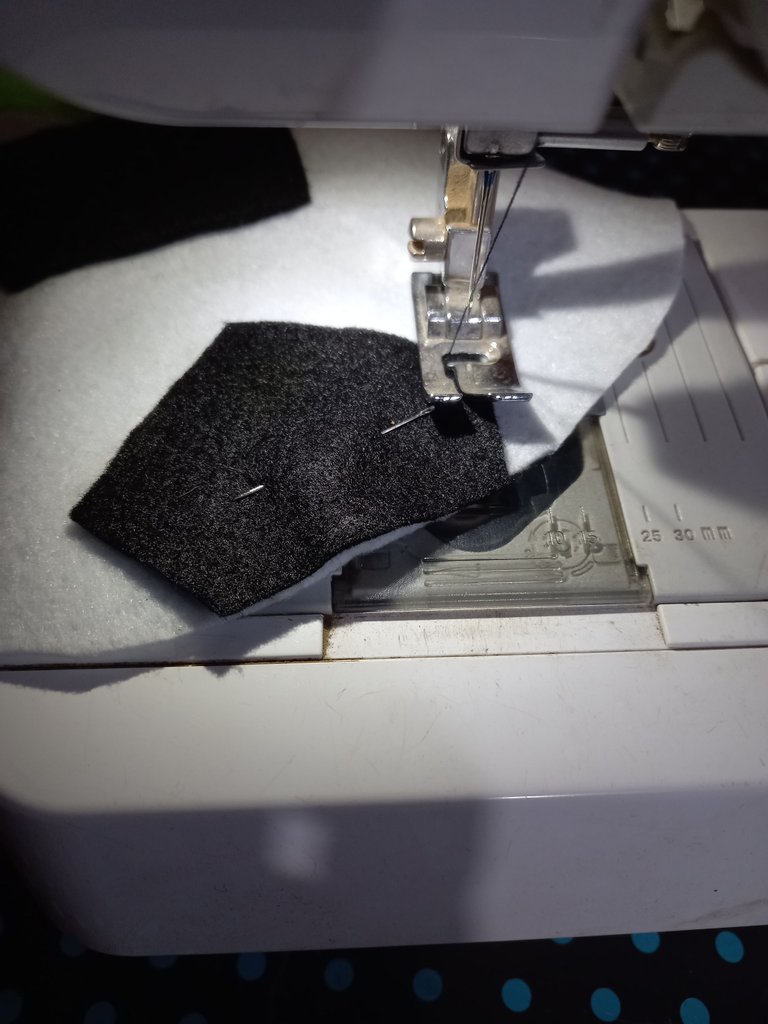
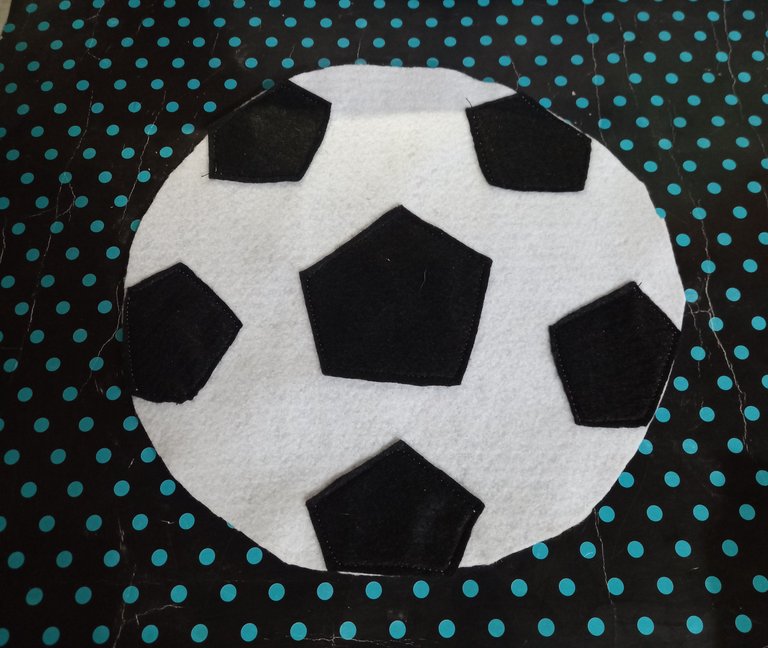
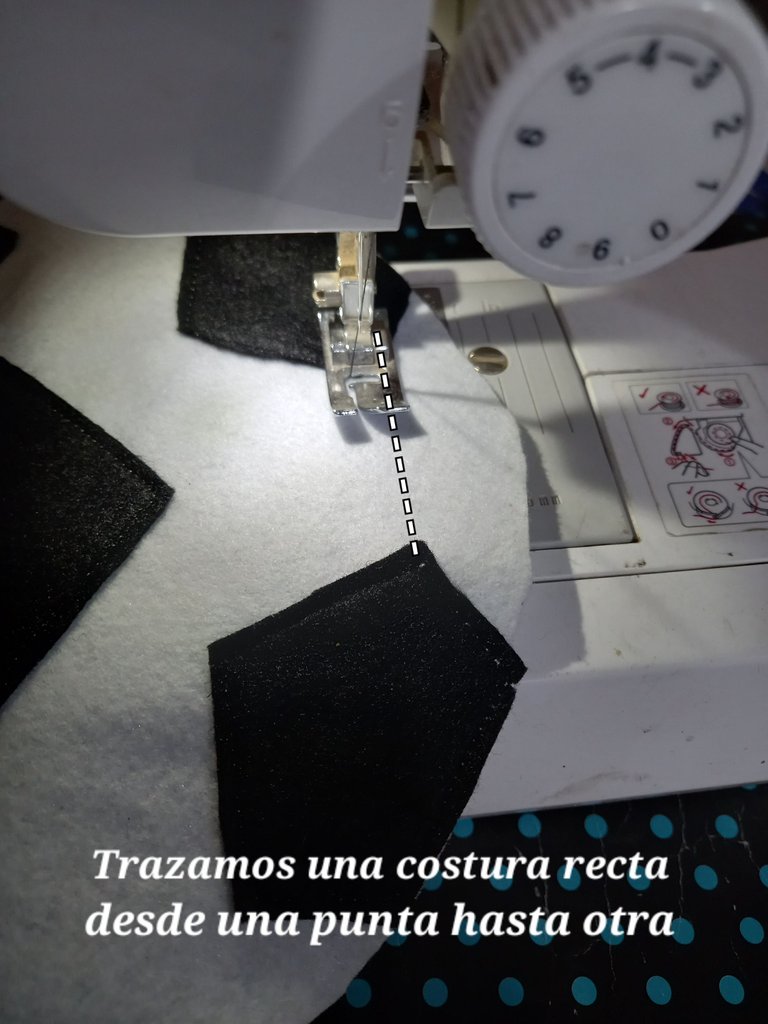
Luego haremos costuras rectas desde la punta lateral de los pentágonos pequeños hacia otra, esto lo haremos por todo el borde sin coser encima de ellos, hasta que se forme una figura circular.
Then we will make straight seams from the lateral point of the small pentagons towards the other, this will be done along the entire edge without sewing on top of them, until a circular figure is formed.
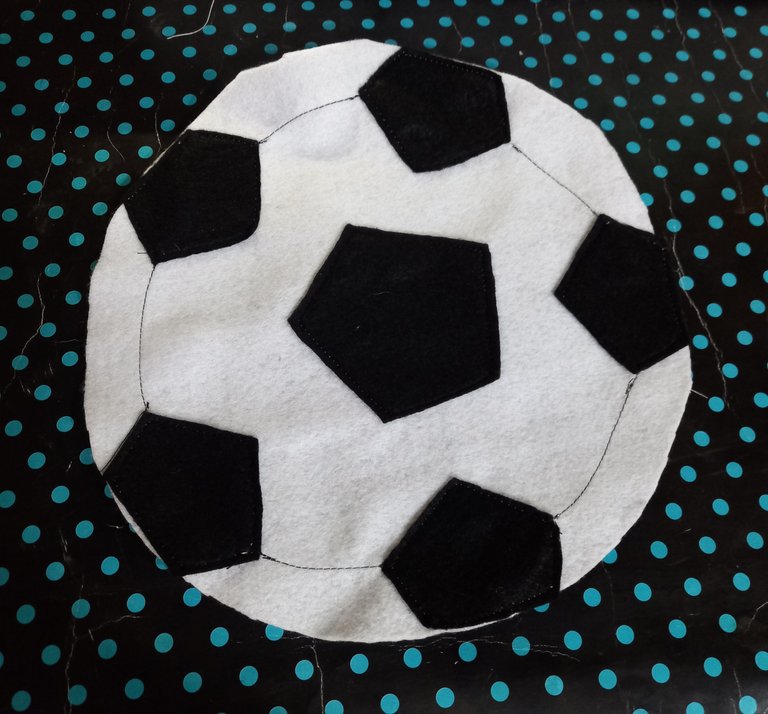
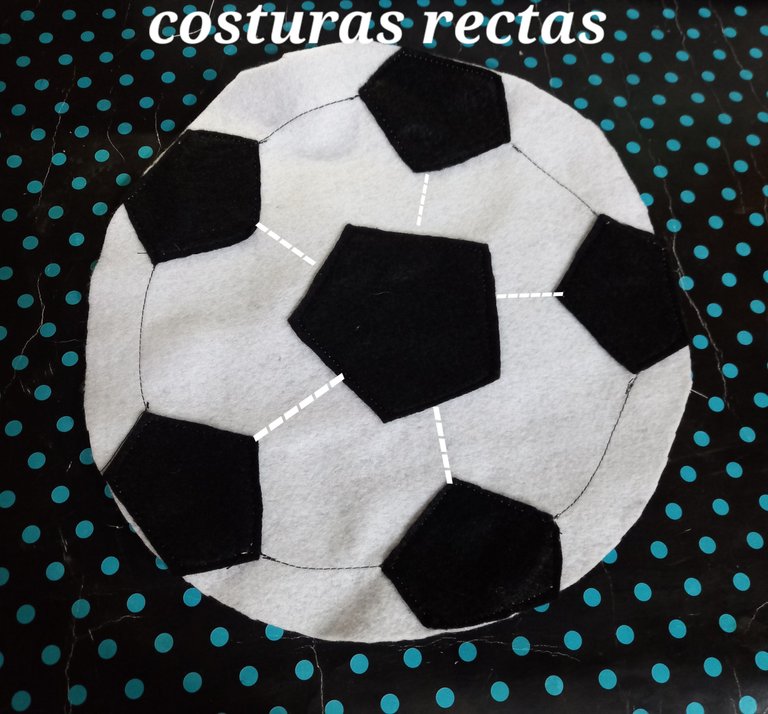
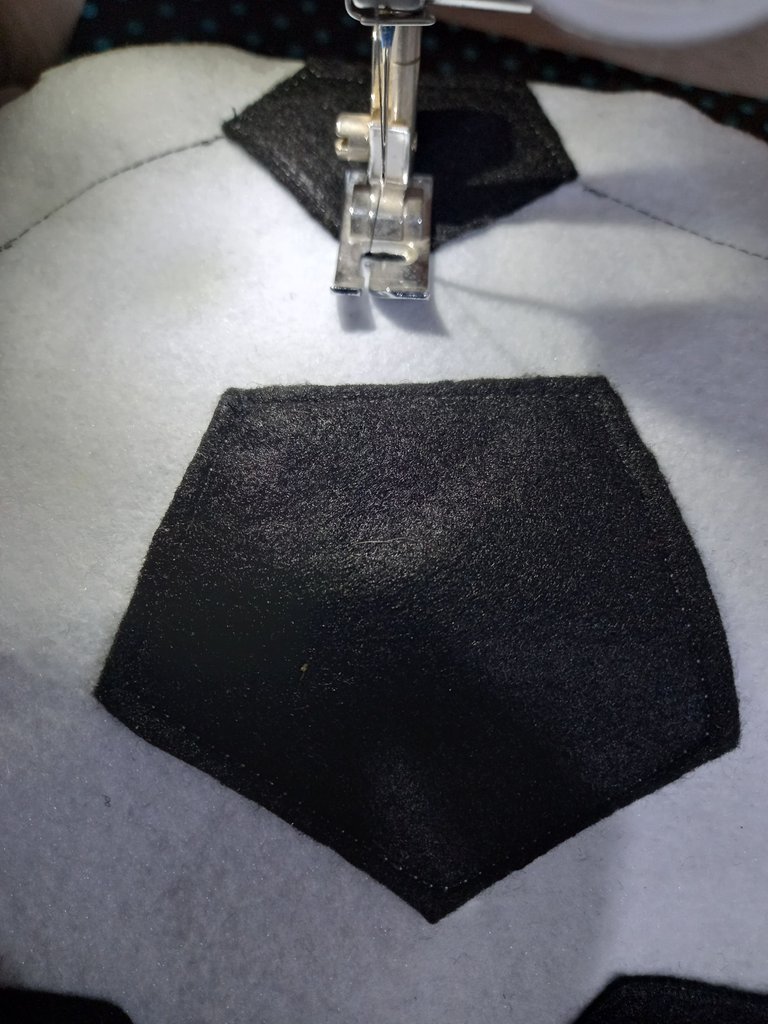
Una vez realizado el proceso anterior, procedemos a realizar otras costuras rectas que saldrán desde la punta de arriba del pentágono pequeño, hacia el centro de las caras del pentágono grande, esto lo haremos en cada uno de ellos.
Once the previous process is done, we proceed to make other straight seams that will go from the top of the small pentagon, towards the center of the faces of the large pentagon, we will do this in each of them.
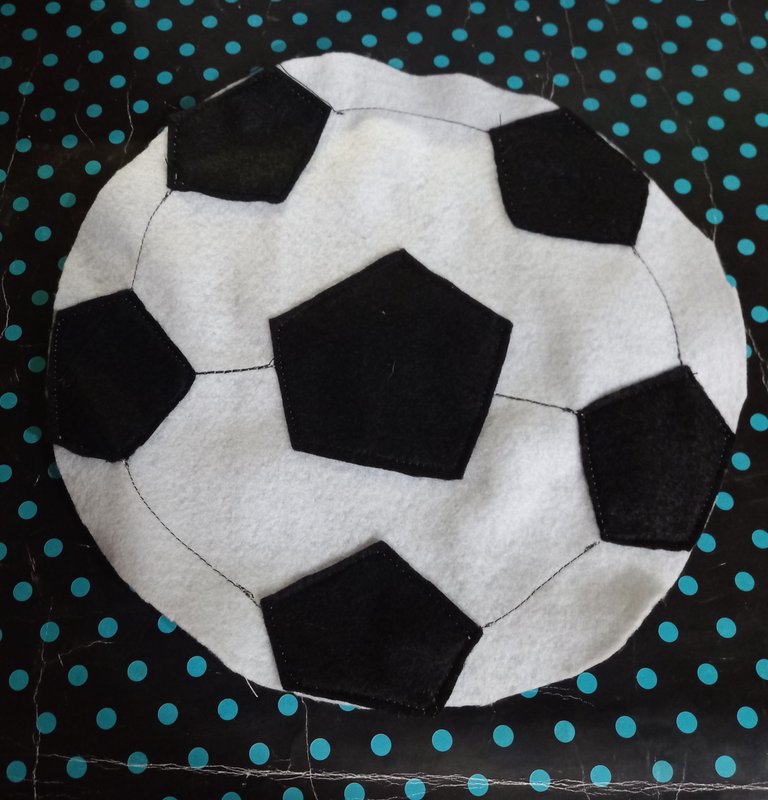
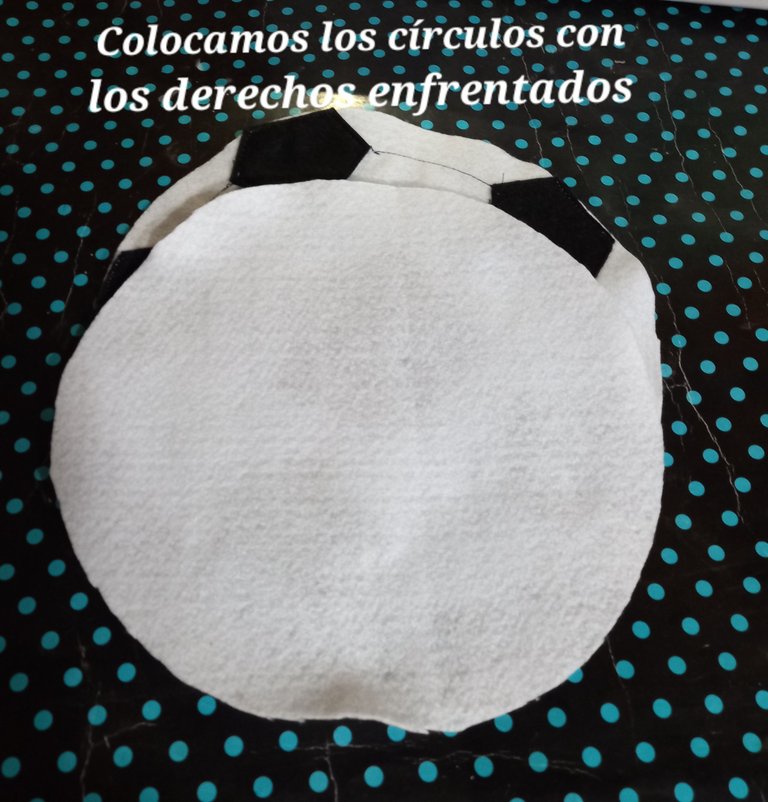
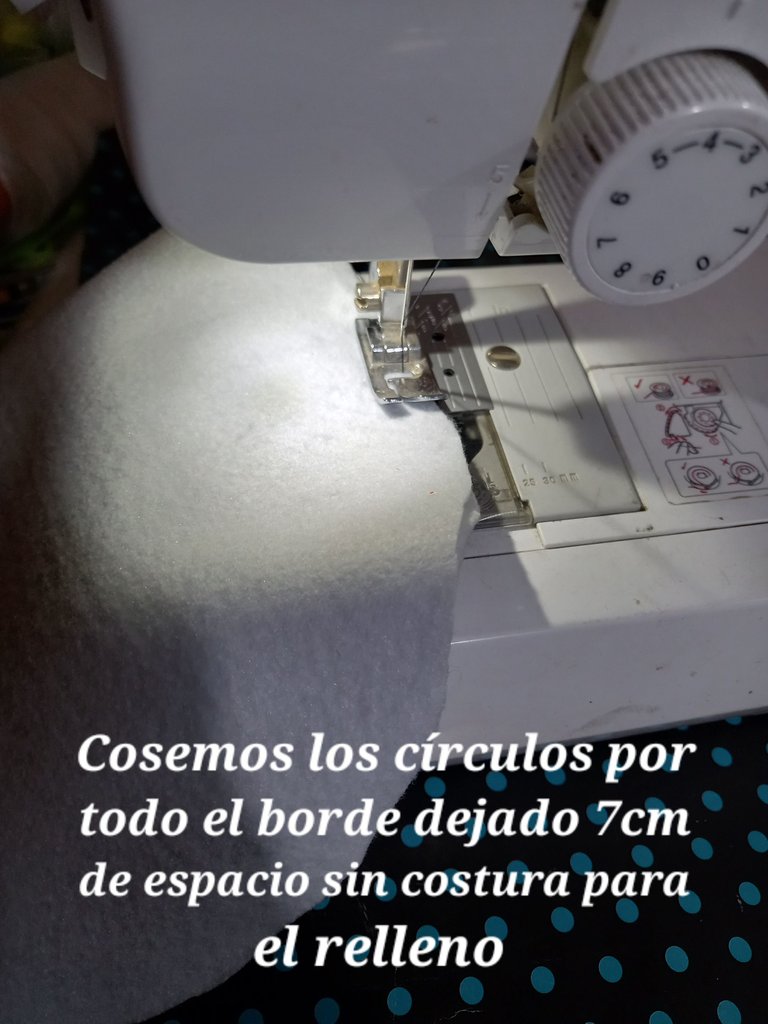
Ahora colocaremos los círculos con los derechos enfrentados y cosemos todo el borde, dejando un espacio de 7cm para meter el relleno.
Now place the circles right sides together and sew all around the edge, leaving a space of 7cm for stuffing.
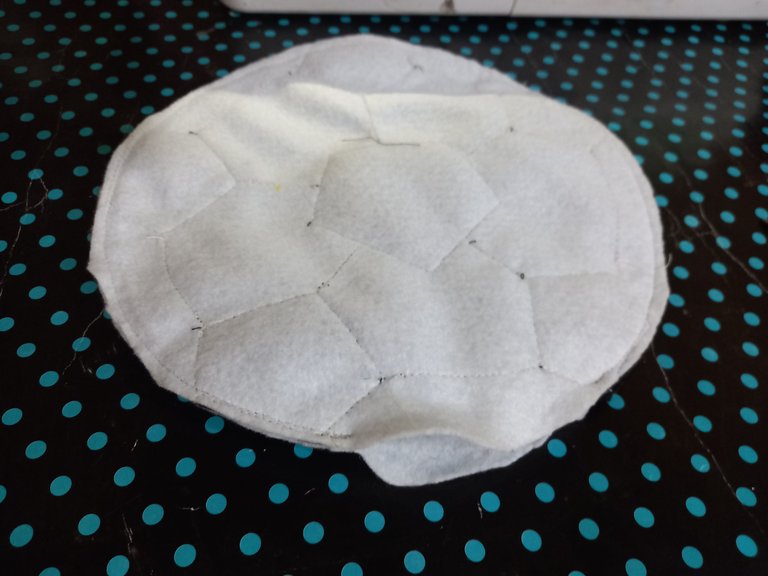
Desdoblamos la pieza y rellenamos.
Unfold the piece and fill it.
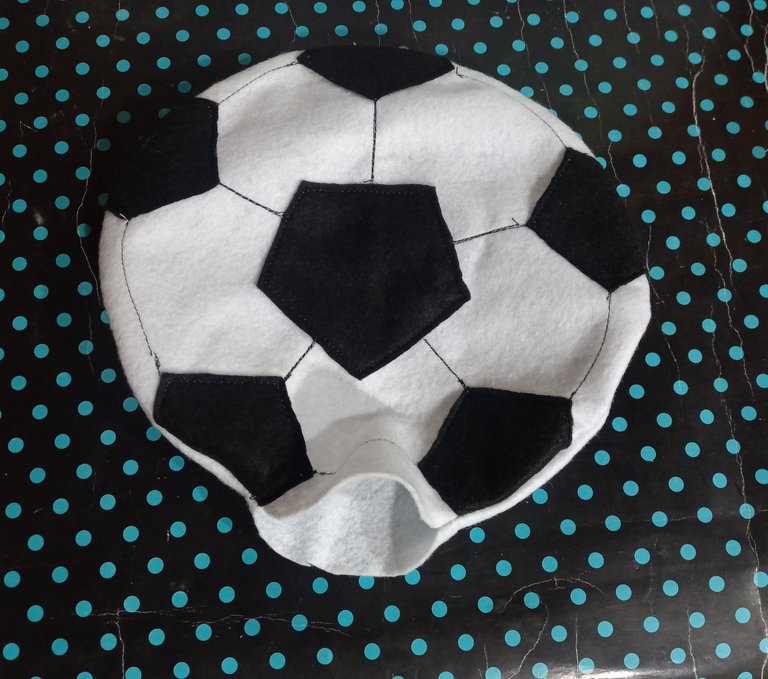
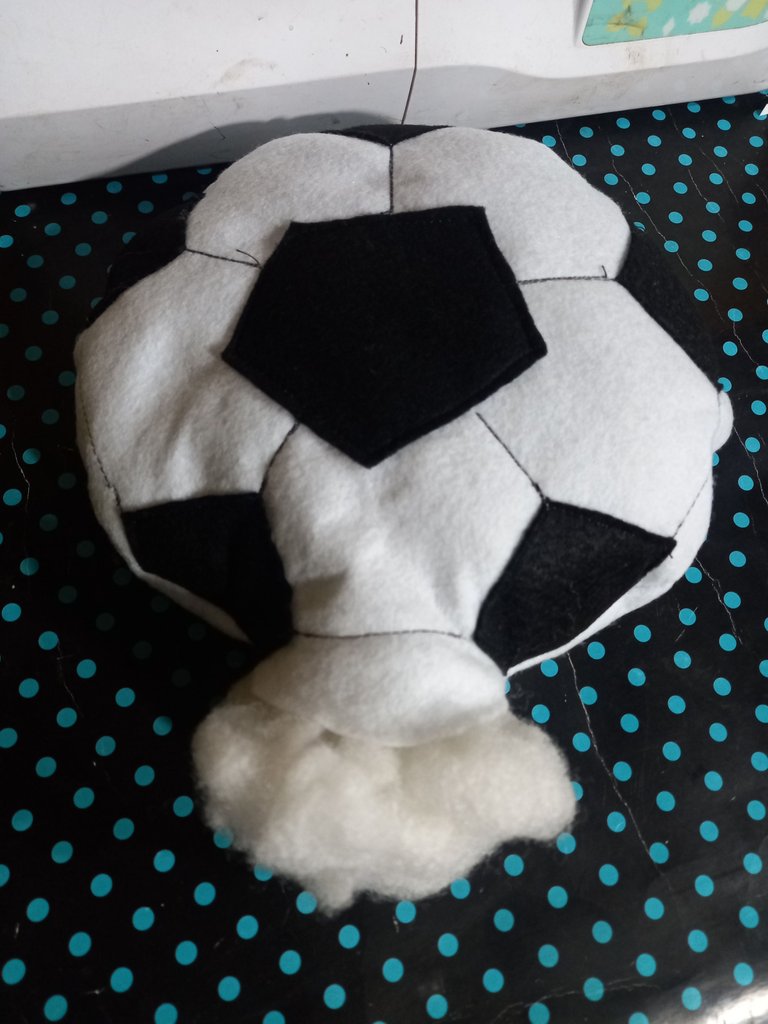
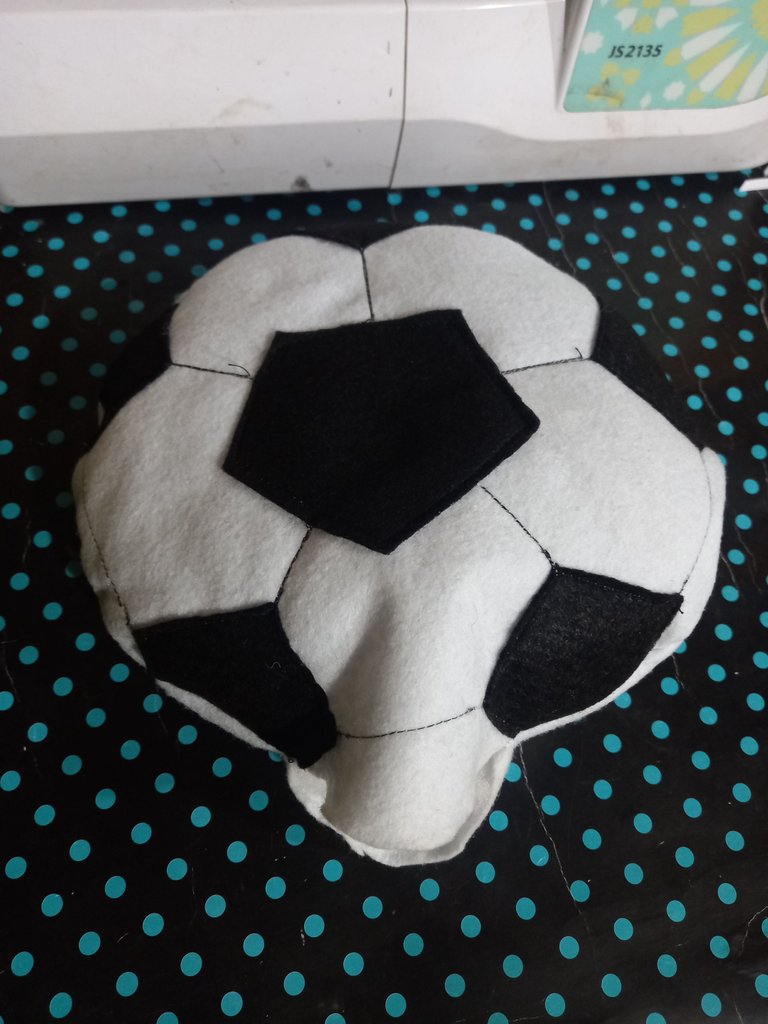
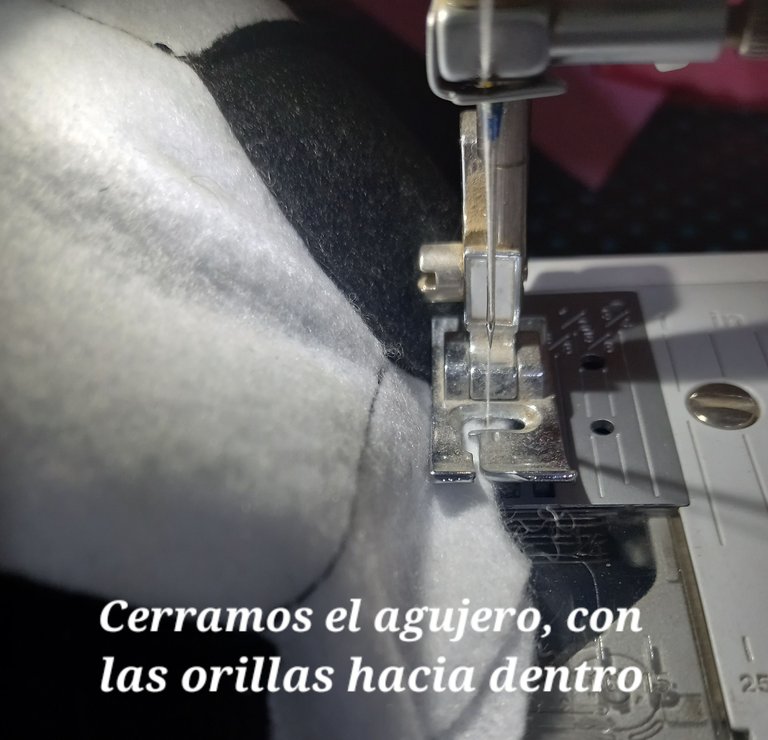
Cerramos con la máquina de coser, el agujero por donde introducimos el relleno y listo.
We close with the sewing machine, the hole where we introduce the stuffing and that's it.

Gracias estimado amigo lector por quedarte hasta el final de éste tutorial. Espero te haya gustado. DIOS LOS BENDIGA.
Thank you dear reader friend for staying until the end of this tutorial. I hope you liked it. GOD BLESS YOU.
Wao! amigo esto quedo casi real, me encanta este tipo de proyecto. Felicidades! gracias por compartirlo.
Gracias a ti estimada amiga por tu motivador comentario. Saludos 🖐🏻
Me encanto tu proyecto, te felicito
Gracias mi estimada amiga, saludos 🖐🏻, que tengas un bonito día 😊
Muy lindo. Voy a tomar esta idea para hacer un par de estos bellos cojines par ami nieta. Gracias por compartir.
Gracias a ti estimada amiga por comentar, saludos y bendiciones 😊