(ESP/ENG) TUTORIAL|¿CÓMO CAMBIAR EL ELÁSTICO DE NUESTROS MONOS O CALENTADORES?/TUTORIAL|HOW TO CHANGE THE ELASTIC OF OUR COVERALLS OR LEG WARMERS?
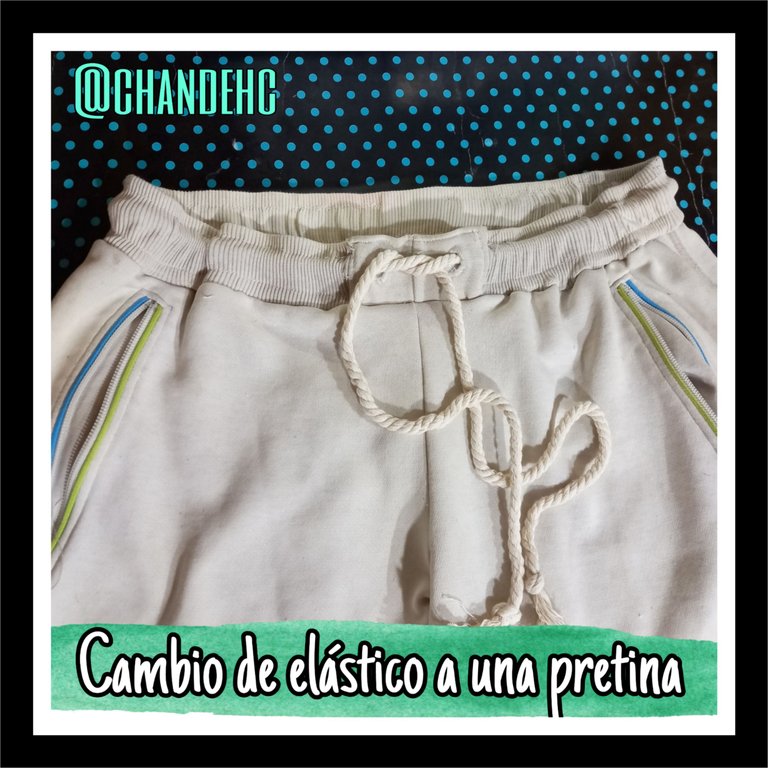
Saludos y bendiciones mi gente linda de #NeedleWorkMonday, es un gusto saludarlos y desearles que estén pasando un grandioso día, hoy quiero compartir con ustedes un tutorial de cómo cambiar el elástico a una pretina de monos o calentadores, ya que muchas veces dejamos de utilizar algunos de ellos por el motivo de que el elástico se estira y ya no tiene el mismo soporte o agarre en el cuerpo.
Greetings and blessings my beautiful people of #NeedleWorkMonday, it is a pleasure to greet you and wish you are having a great day, today I want to share with you a tutorial on how to change the elastic to a waistband of overalls or legwarmers, as many times we stop using some of them for the reason that the elastic stretches and no longer has the same support or grip on the body.
- Calentador o mono a reparar.
- Elástico de 3cm de ancho.
- Cordón.
- Máquina de coser.
- Tijeras.
- Heater or overalls to be repaired.
- Elastic 3cm wide.
- Drawstring.
- Sewing machine.
- Scissors.
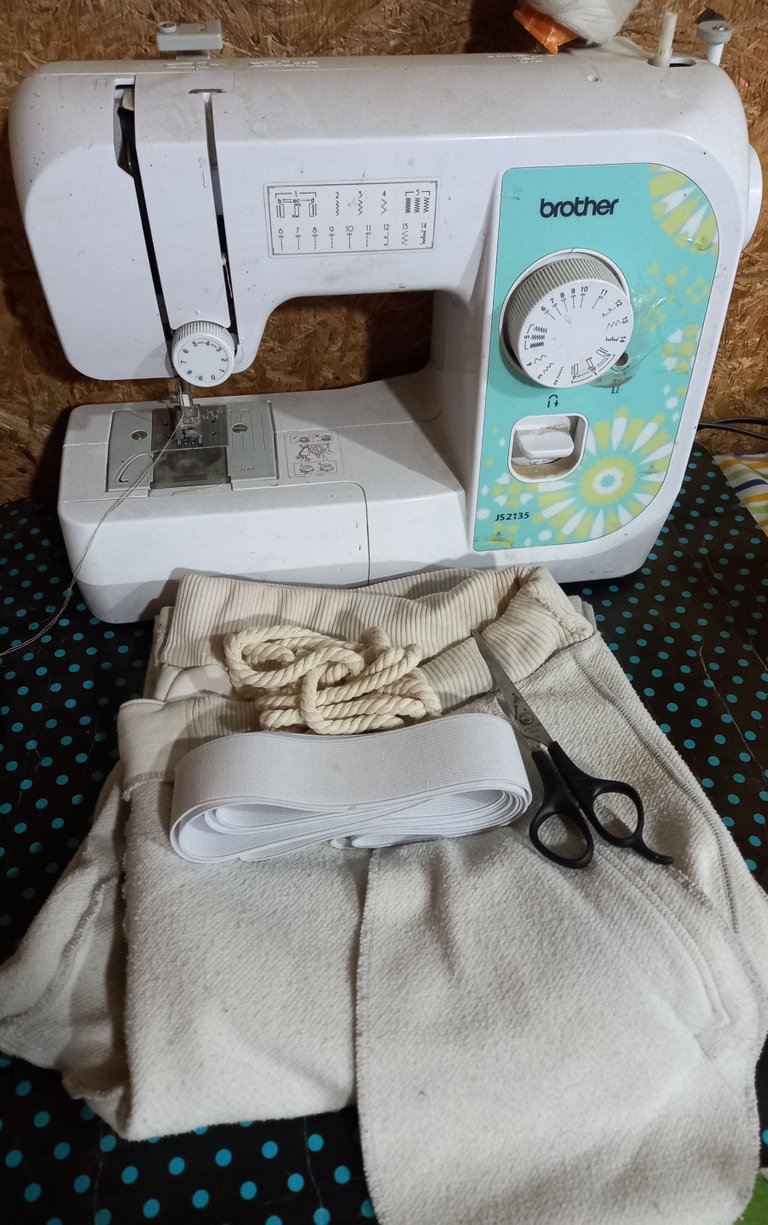
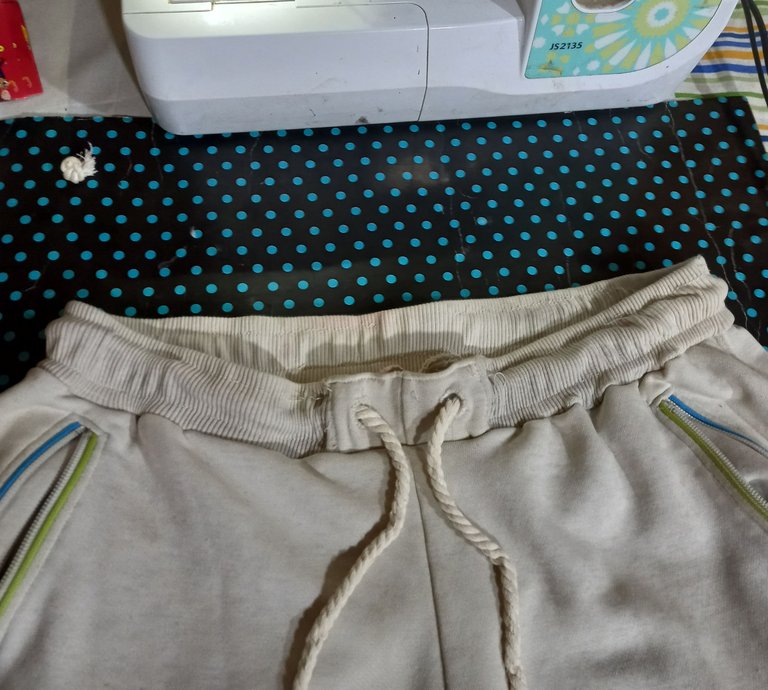
Comenzaremos despegando la pretina del mono y el elástico.
We start by peeling off the waistband of the overall and the elastic.
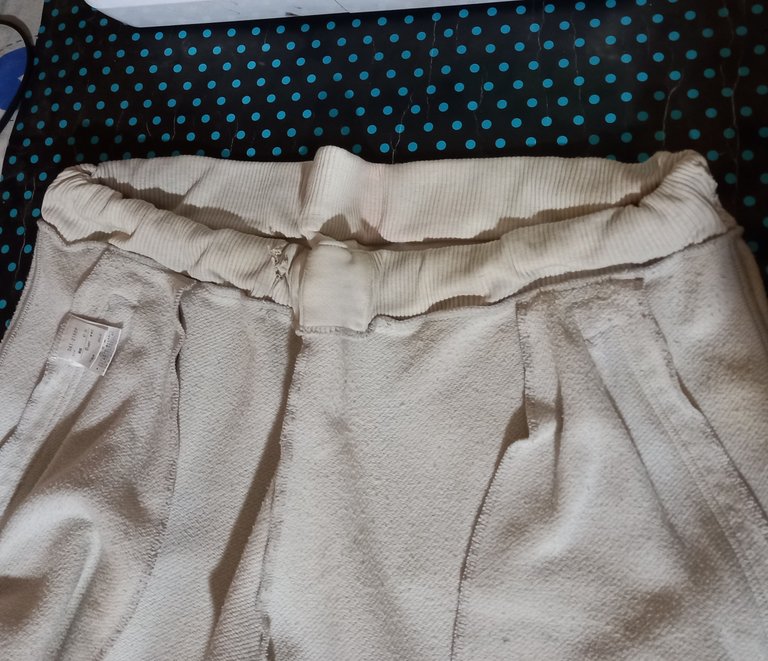
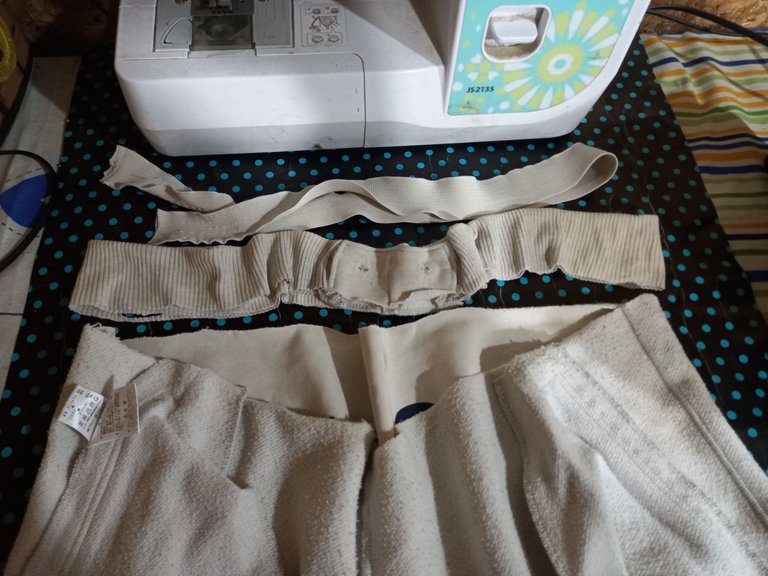
Cosemos todo el borde de los dos agujeros por donde entra y sale la trenza, con una costura en Zig Zag para darle un mejor acabado.
We sew all around the edge of the two holes where the braid enters and exits, with a Zig Zag stitch to give it a better finish.
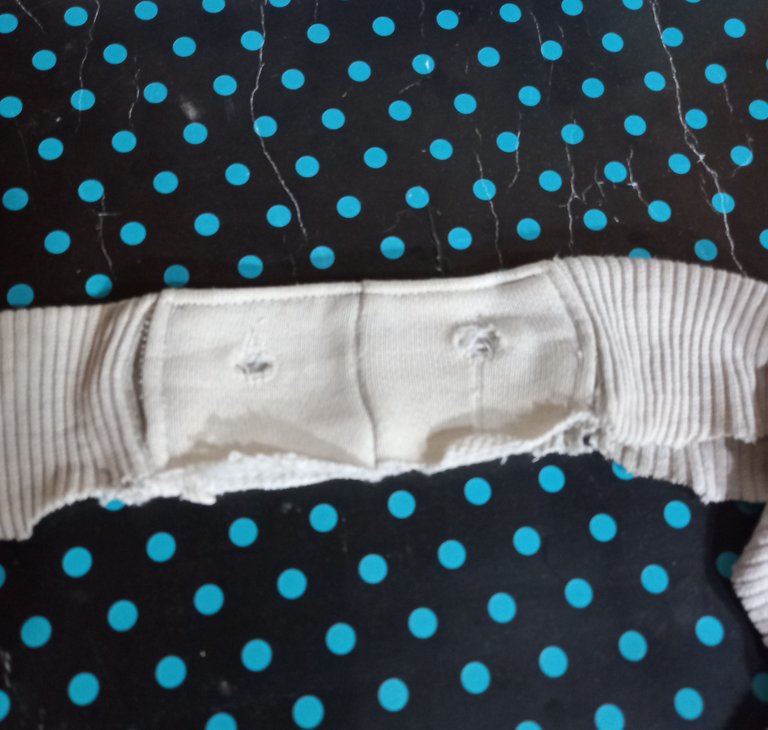
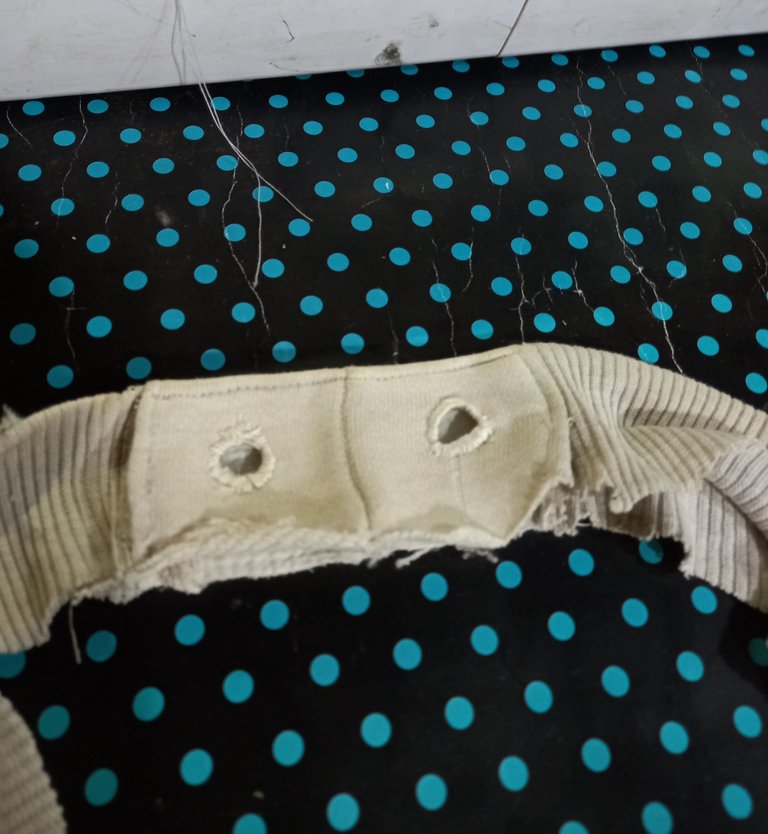
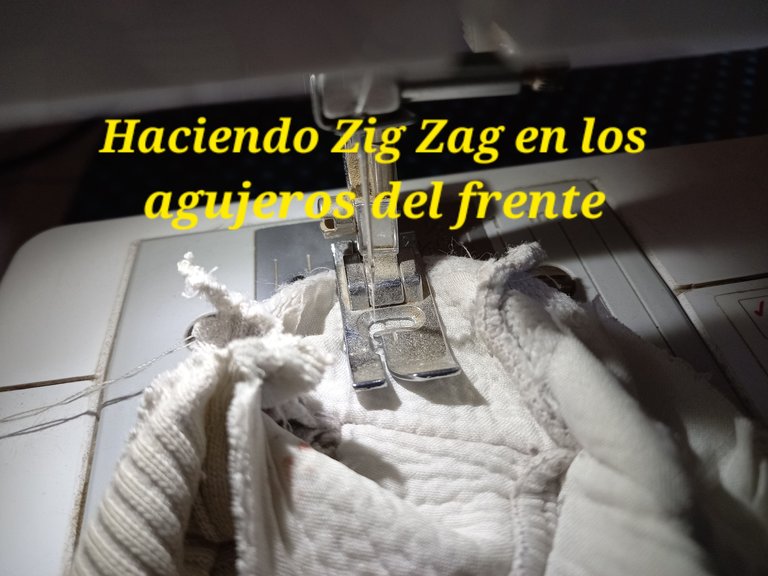
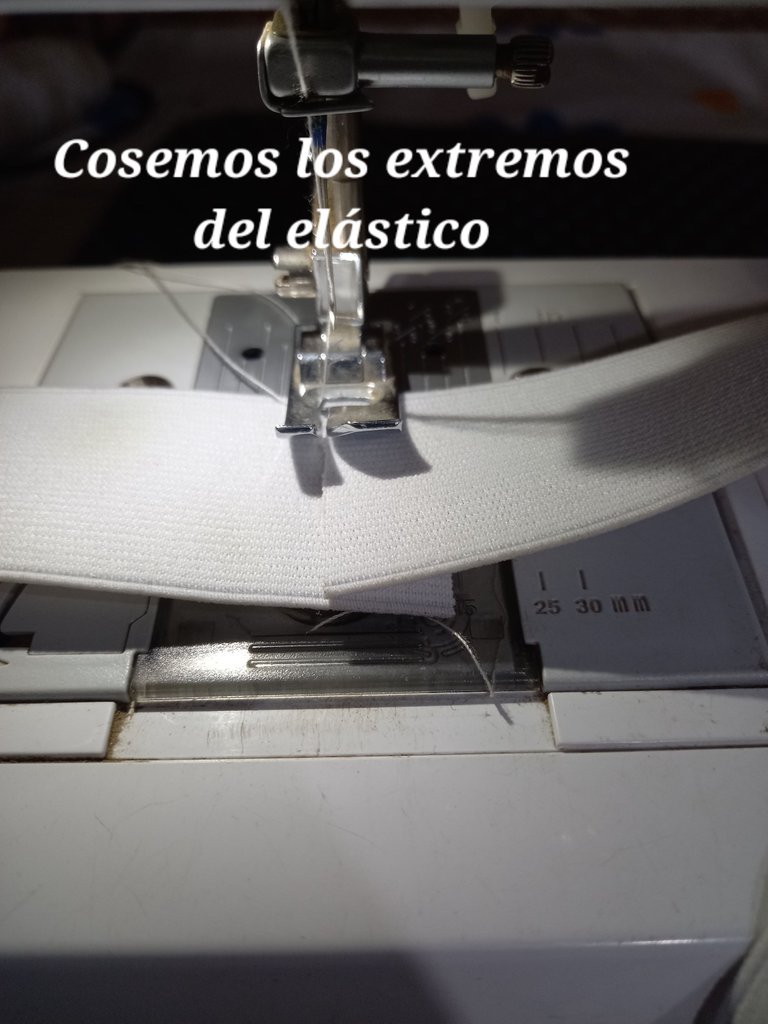
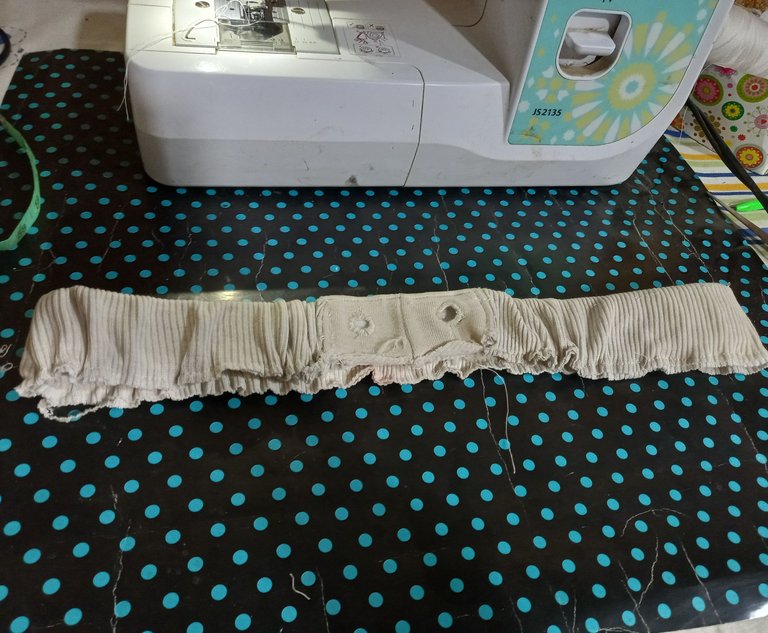
Luego tomaremos un pedazo de elástico de 75cm de largo, y unimos con costura sus extremos, esto lo haremos montando un extremo sobre el otro y cosemos.
Then we will take a piece of elastic 75cm long, and we will sew the ends together, mounting one end over the other and sew.
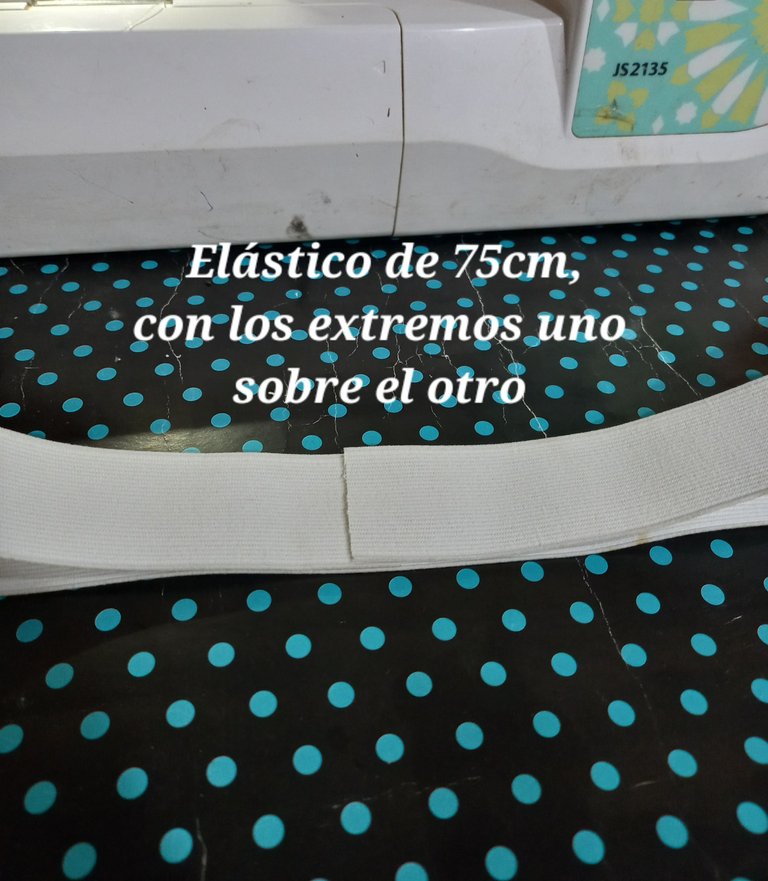
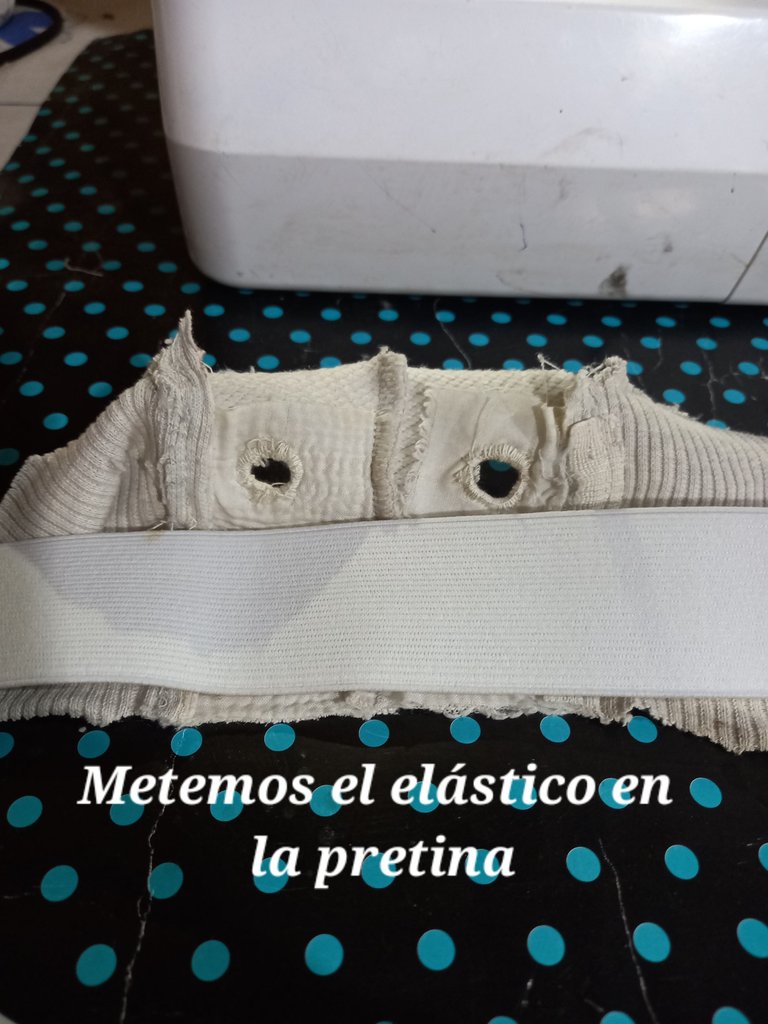
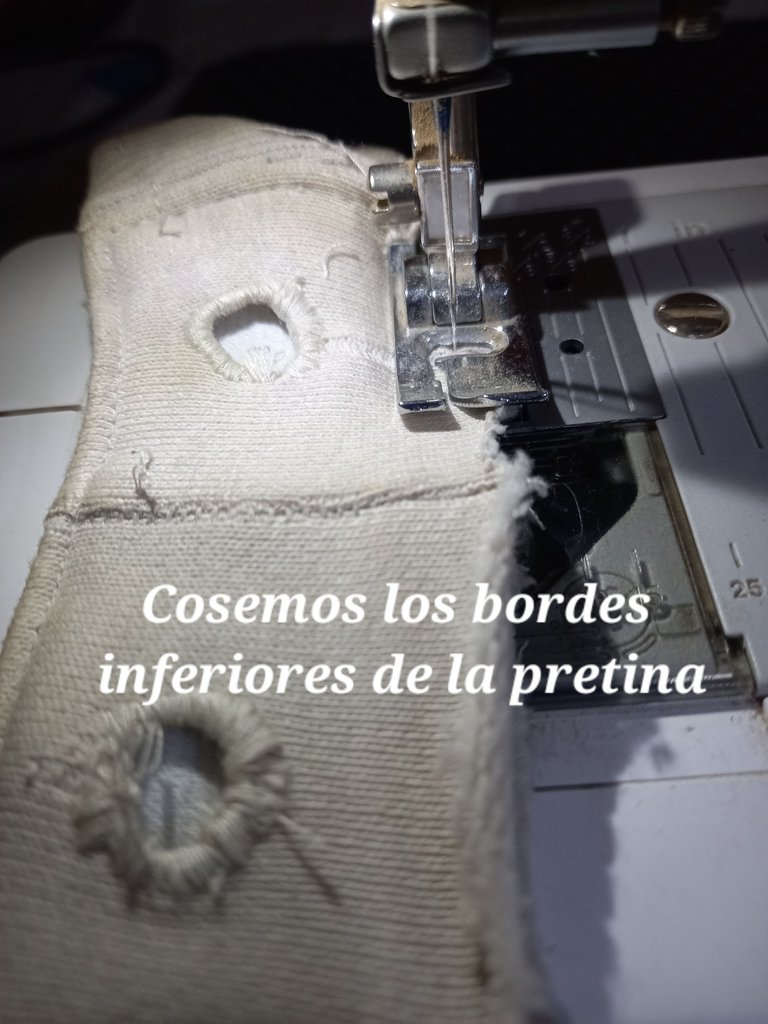
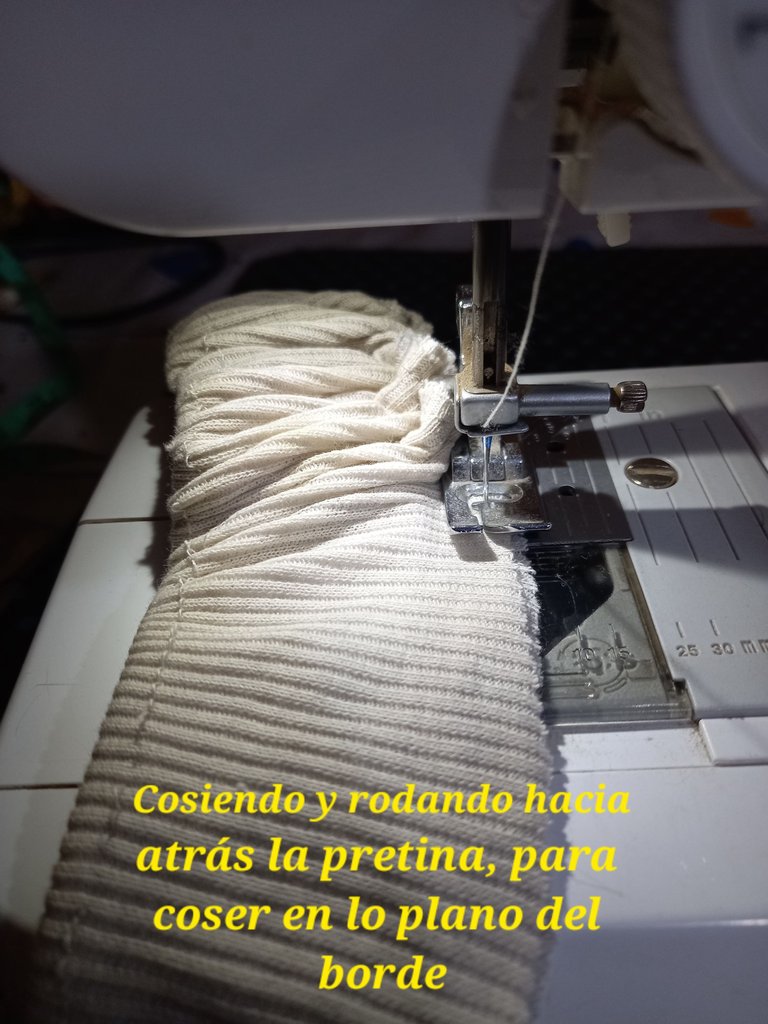
Después metemos el elástico en la pretina y comenzaremos a cocer por todo el borde inferior, a medida que vamos cosiendo, iremos rodando el elástico para que no se frunsa la orilla.
Then we put the elastic in the waistband and start sewing all along the lower edge. As we sew, we will roll the elastic so that the edge does not pucker.
Cuando la pretina esté lista la colocaremos por el borde del mono colocando las orillas derecho con derecho y le hacemos cuatro puntos de costura con la mano, para marcar el frente, los laterales y la parte trasera.
When the waistband is ready, we will place it along the edge of the overall, placing the edges right sides together and we will make four hand stitches to mark the front, sides and back.
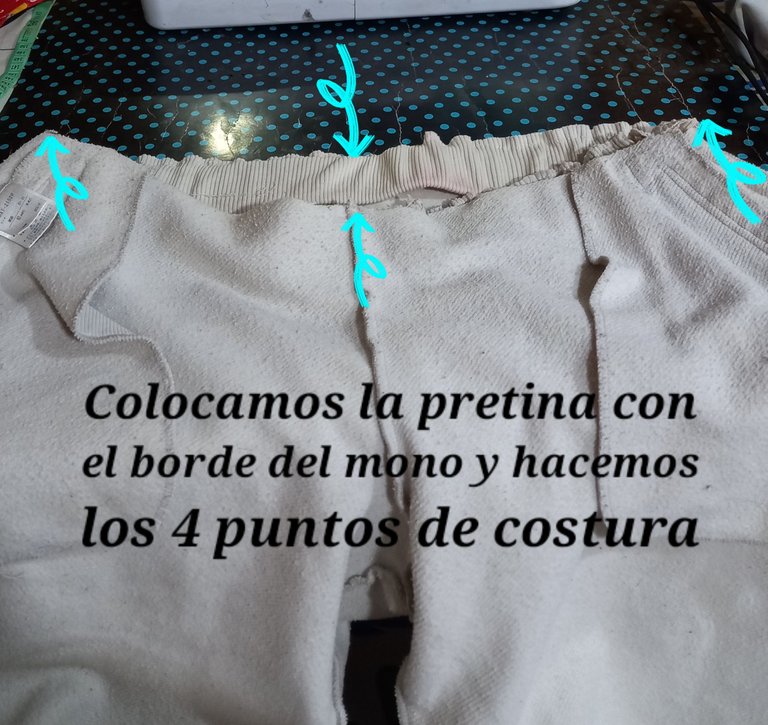
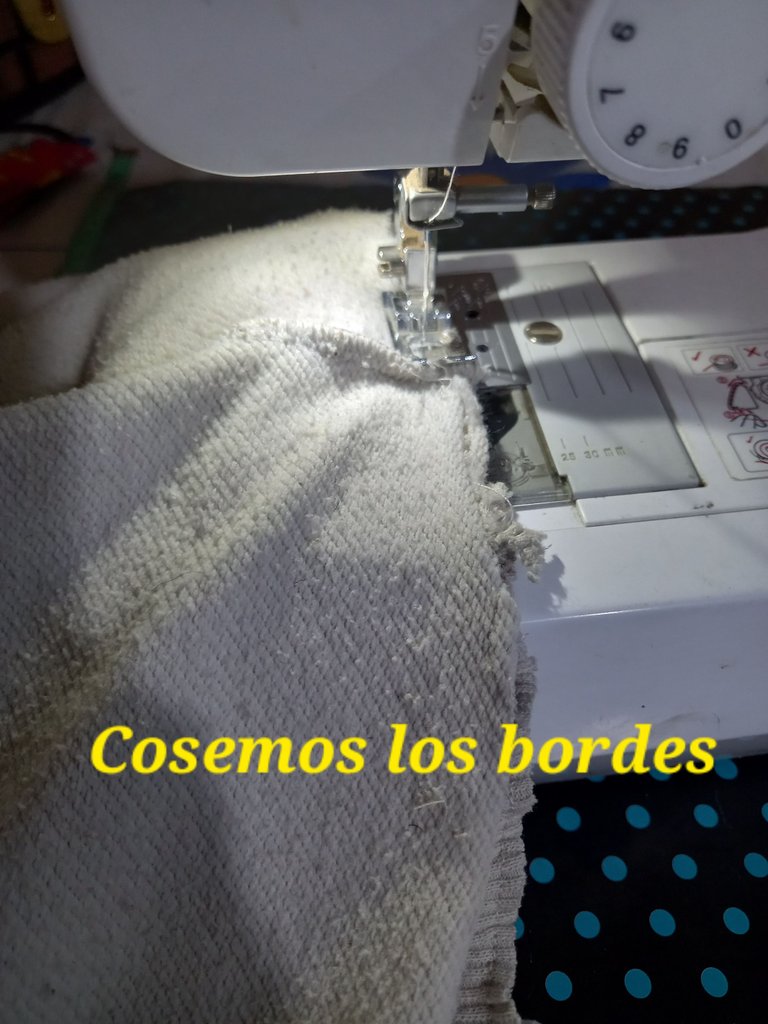
Una vez que hayamos realizado los cuatro puntos de costura llevaremos nuestro mona la máquina y comenzaremos a cocer todo el borde de la pretina con el borde del mono iremos estirando la pretina a medida que vayamos corriendo para que nos quede todo parejo.
Once we have made the four stitches, we will take our jumpsuit to the machine and start sewing the entire edge of the waistband with the edge of the jumpsuit, stretching the waistband as we go along so that everything is even.
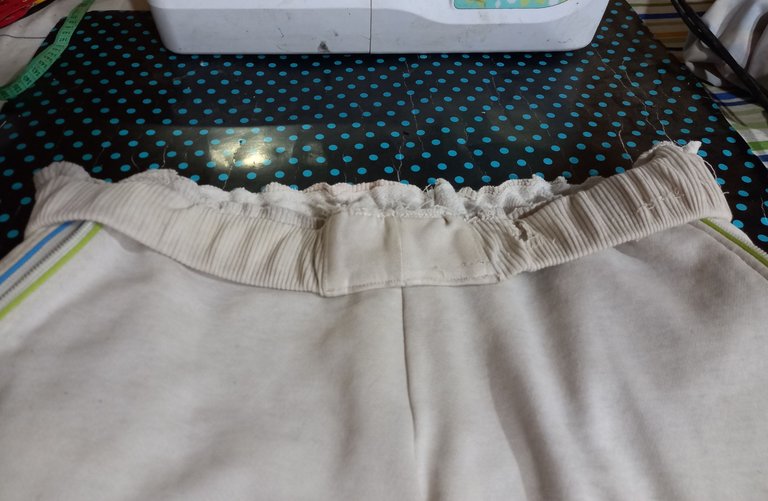
Desdoblamos el mono y colocamos toda la pieza entera por el derecho.
Unfold the overalls and place the whole piece on the right side.
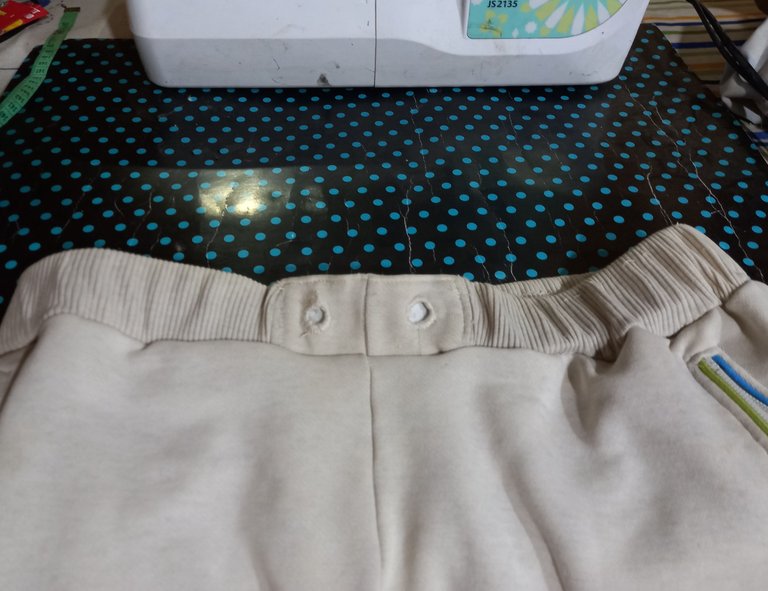
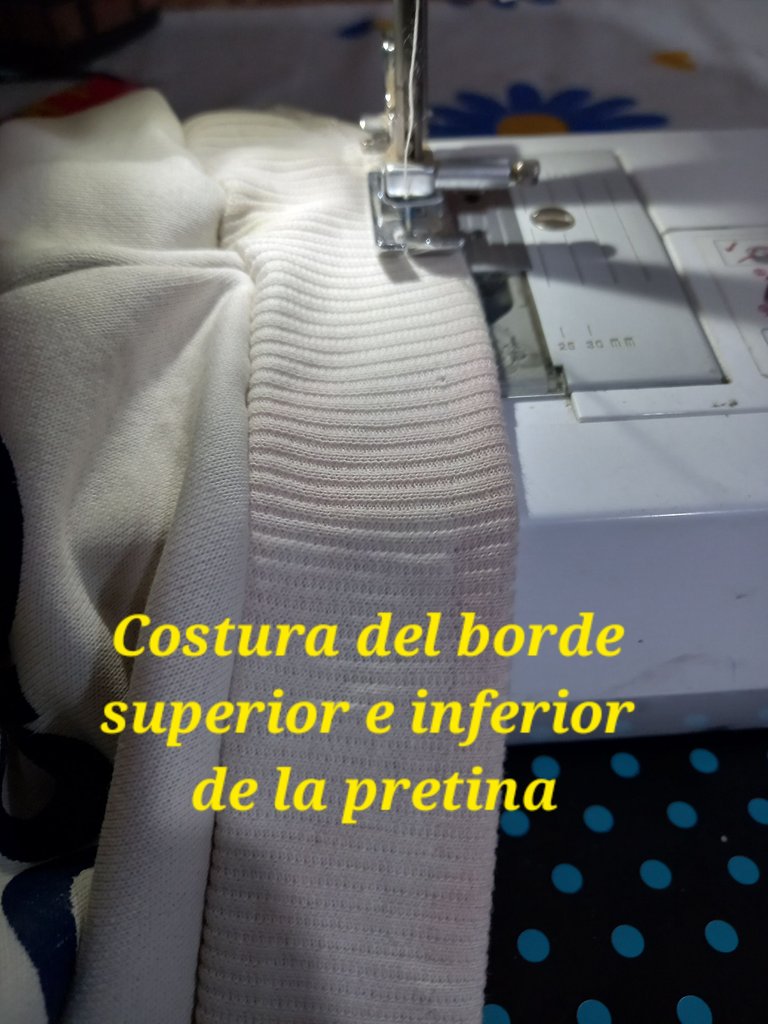
Realizamos una costura recta, cerca del borde superior e inferior de la pretina.
We make a straight seam, near the top and bottom edge of the waistband.
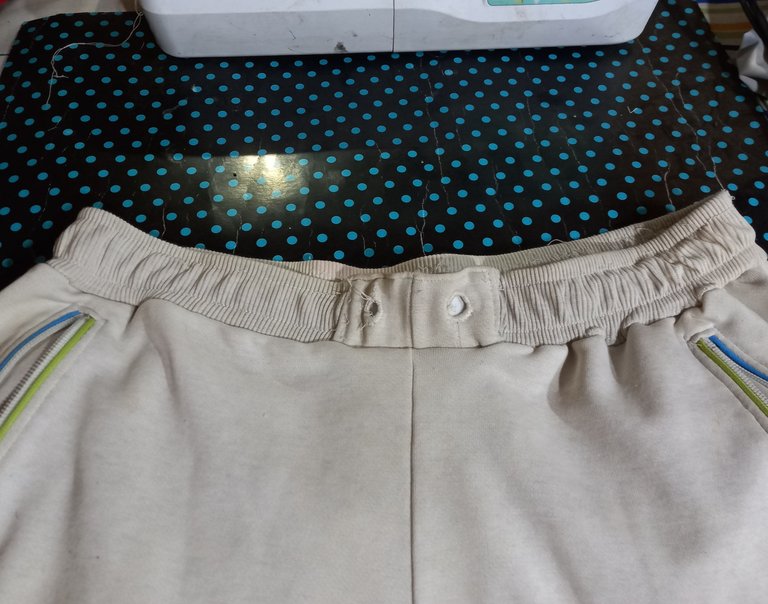
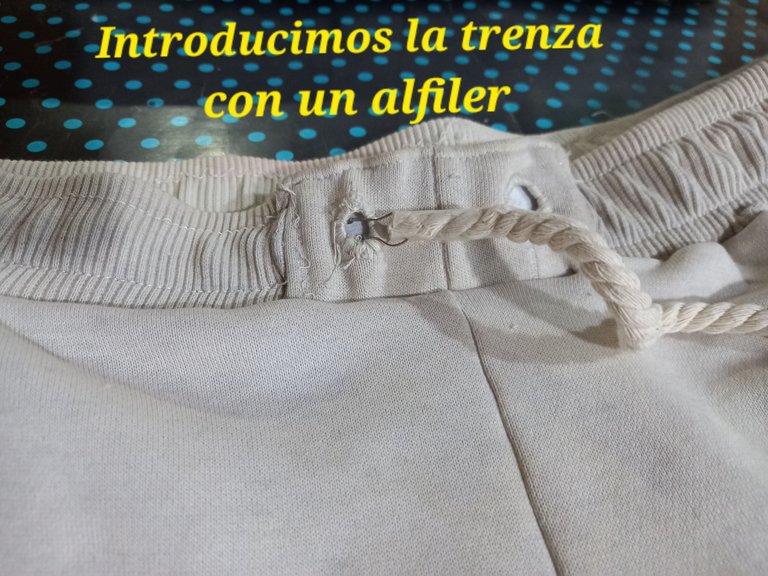
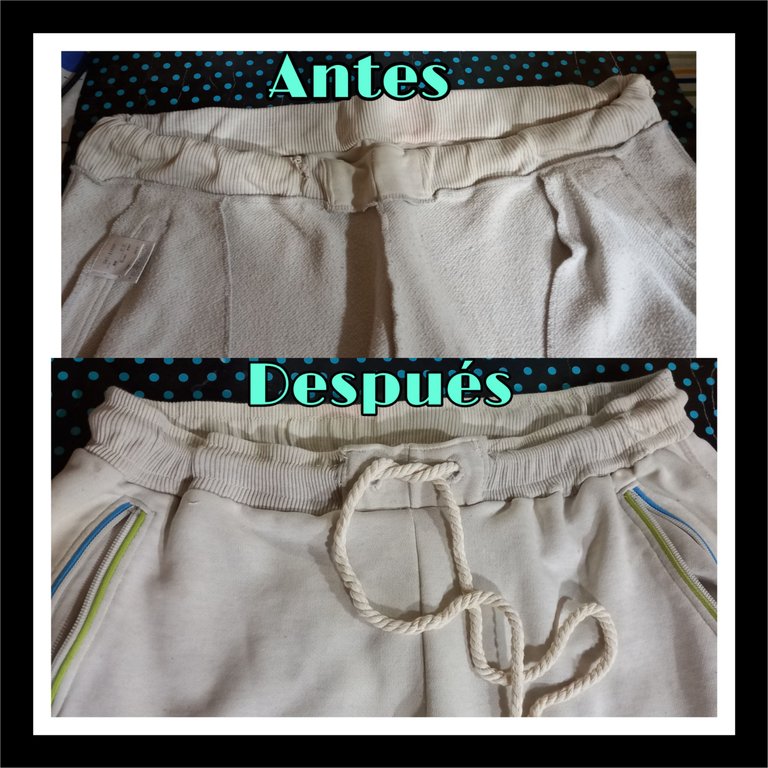
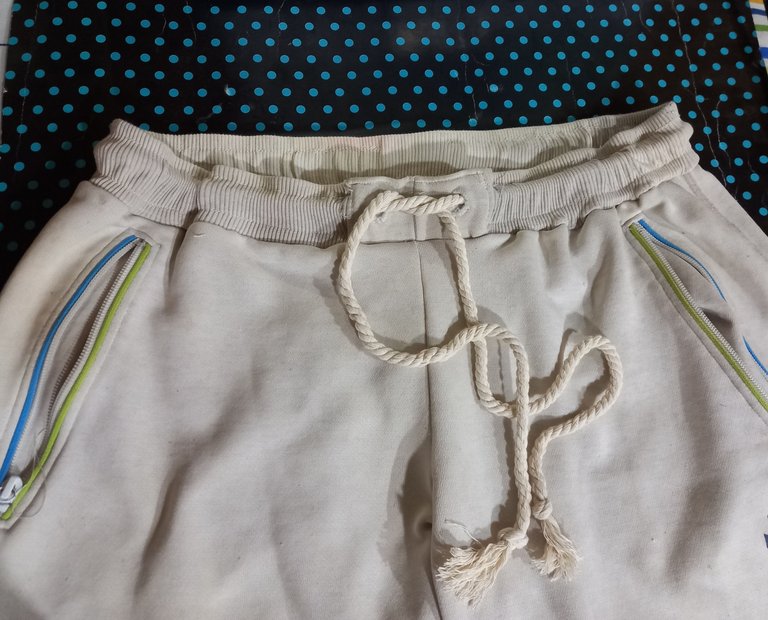
Utilizando un alfiler introduciremos la trenza por los agujeros a los que le hicimos el Zig Zag y listo, ya nuestro mono está como nuevo.
Using a pin we will introduce the braid through the holes where we made the Zig Zag and that's it, our monkey is as good as new.
Gracias estimado amigo lector por quedarte hasta el final de este tutorial. Espero que te haya gustado y sea de gran utilidad para reparar tus monos o calentadores. Muchas bendiciones 🙏🏻 👍🏻.
Thank you dear reader friend for staying until the end of this tutorial. I hope you liked it and it will be of great use in repairing your overalls or heaters. Many blessings 🙏🏻 👍🏻.
Muy útil este tutorial. Gracias por compartir.
Gracias a usted por el comentario estimada. Que tenga un bonito día 😊
Hey Alexander, que bien que pudiste recuperar esta prenda. Es cierto que no hay nada más molesto que cuando el elástico está estirado jajaja. Es un trabajo algo laborioso pero vale la pena hacer el reemplazo. Gracias por compartirnos tu paso a paso ❣️
Gracias a ti amiga @lauramica por tan grato comentario. Con experiencia lo certifico, es algo incómodo andar subiéndose a cada rato los monos por causa del elástico estirado, jajaja. Y si, requiere un poco de tiempo y algo de trabajo, pero vale la pena. Saludos amiga 😊👍🏻
Sencillo y practico, gracias por compartir