DIVINE SORCERESS🌟 Splinterlands Art Contest SPT W-245
Saludos mis queridos amigos, siempre deseándoles estén muy bien. Dándoles las bienvenida a este nuevo post que comparto.😊🌹💖
Greetings my dear friends, always wishing you to be very well. I welcome you to this new post that I share.😊🌹💖
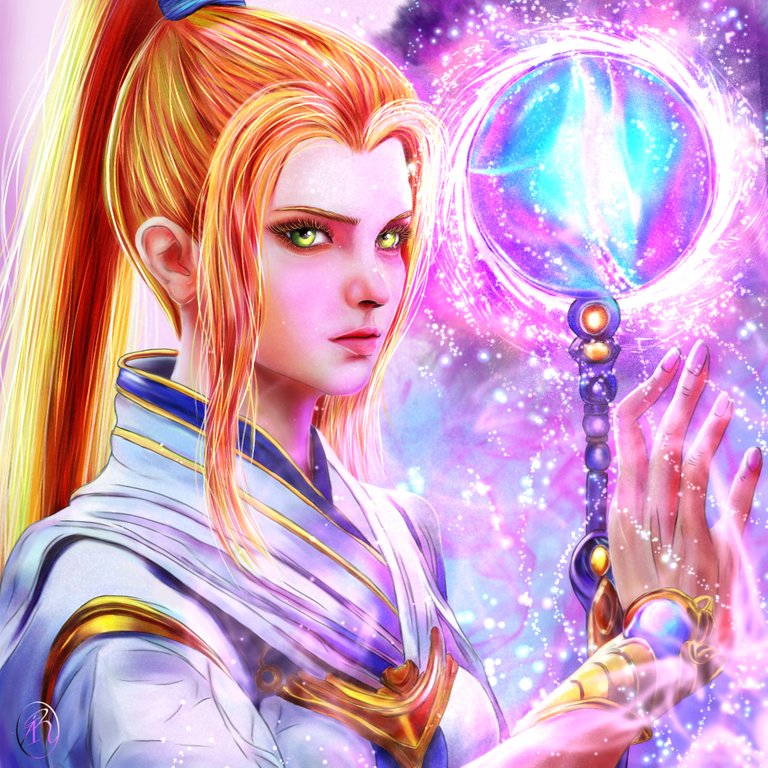
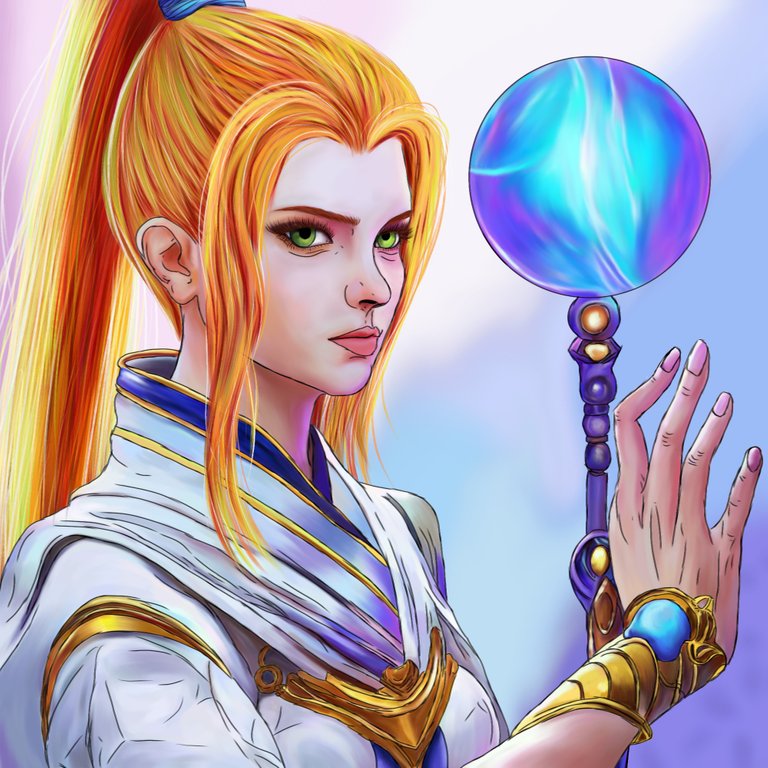
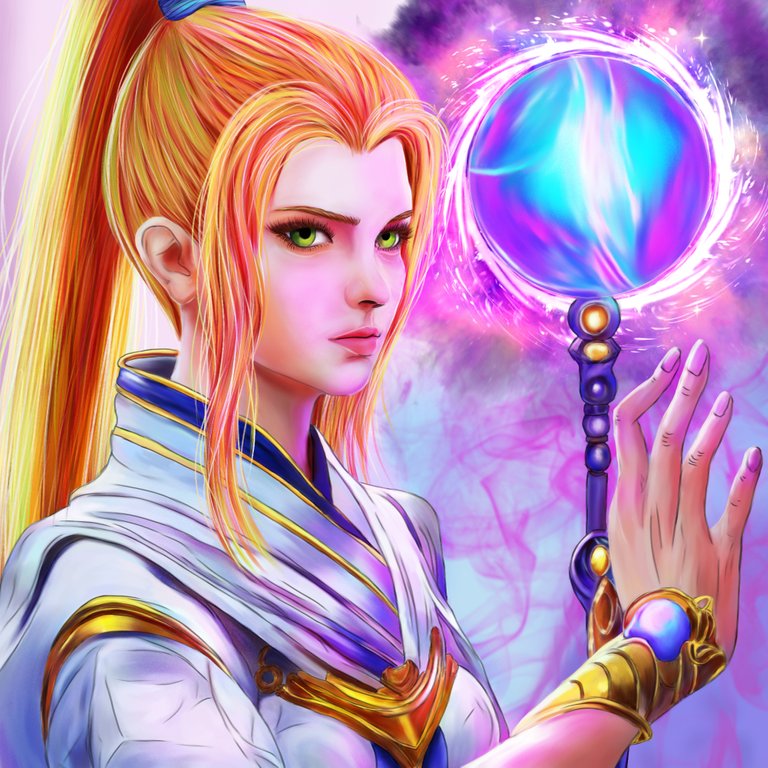
Para esta semana de concurso para Splinterlands he seleccionado para mi entrada, la carta de DIVINE SORCERESS con la que salgo un poco de piezas lúgubres a una con más luz y tonos más claros. Representando a esta divina sacerdotisa a un estilo semi realista y con características de samurái, envuelta en su aura de magía con su vaculo, su ideal herramienta de lucha. Esta pieza pude culminarla en unas diez horas, un poco forzado en medio de malestares de salud, pero me enfoque en cada sección para culminar por parte. Disfruten esta pieza que espero les guste como representación a esta carta. 🙂🌹
For this week of contest for Splinterlands I have selected for my entry, the DIVINE SORCERESS card with which I go from a bit of gloomy pieces to one with more light and lighter tones. Depicting this divine priestess in a semi-realistic style and with samurai features, enveloped in her aura of magic with her vaculus, her ideal fighting tool. I was able to finish this piece in about ten hours, a bit forced in the midst of health problems, but I focused on each section to finish by part. Enjoy this piece that I hope you like as a representation of this letter. 🙂🌹
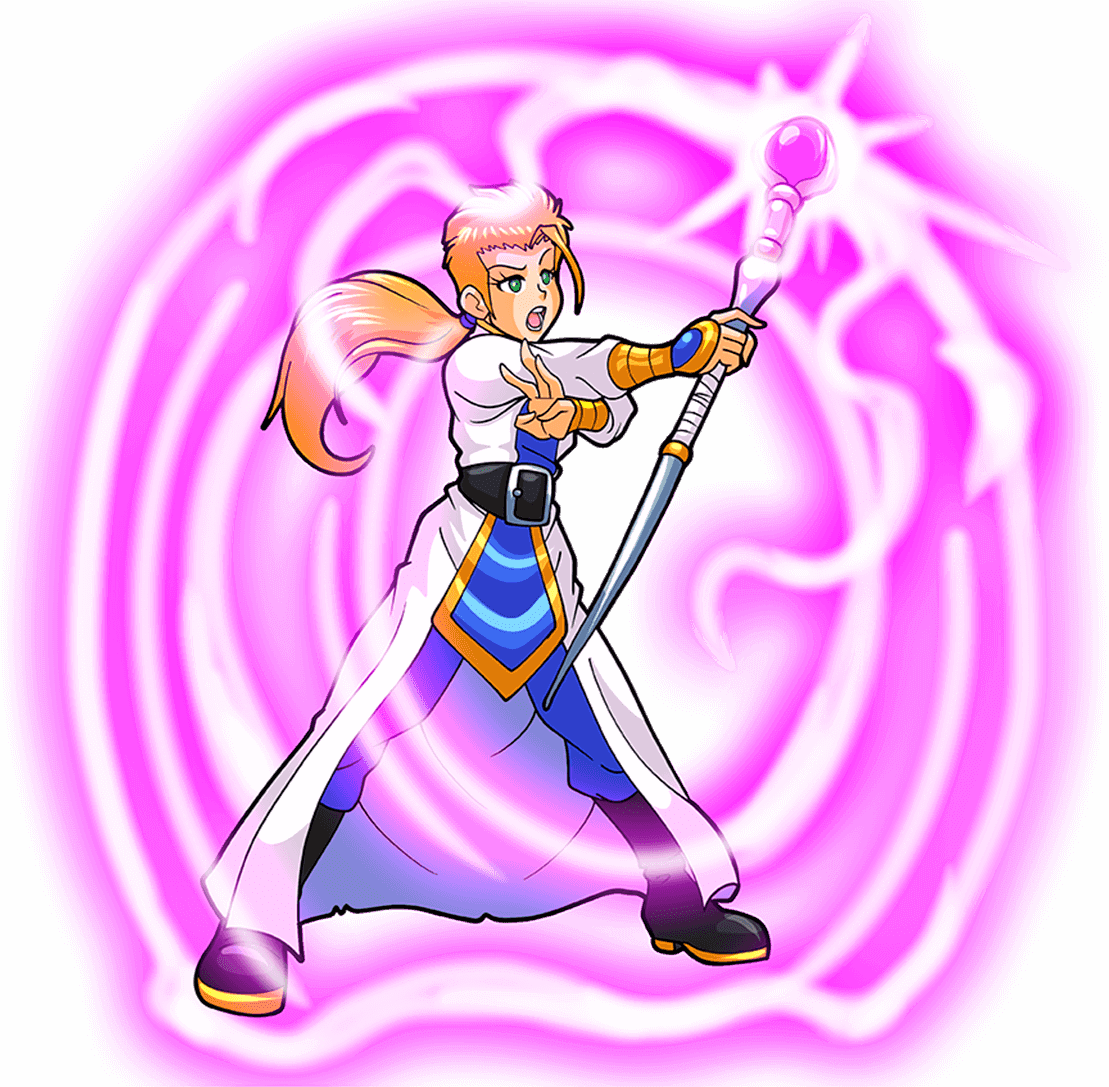
Link de la Imagen de Referencia/Reference Image Link

Etapas del Dibujo/Drawing Stages
Inicie con el boceto del delineado usando la pluma tipo pincel abanico, donde después pase a la capa de color aplicando una base usando el pincel plano real y luego fui trabajando por partes dándole matizados usando el mismo pincel plano real, fui mezclando y suavizando los trazos, usando una capa con método de mezcla norma. En cada sección trabajada fui difuminando y borrando lo excedente fuera del delineado.
For this week of contest for Splinterlands I have selected for my entry, the DIVINE SORCERESS card with which I go from a bit of gloomy pieces to one with more light and lighter tones. Depicting this divine priestess in a semi-realistic style and with samurai features, enveloped in her aura of magic with her vaculus, her ideal fighting tool. I was able to finish this piece in about ten, a bit forced in the midst of health problems, but I focused on each section to finish by part. Enjoy this piece that I hope you like as a representation of this letter. 🙂🌹
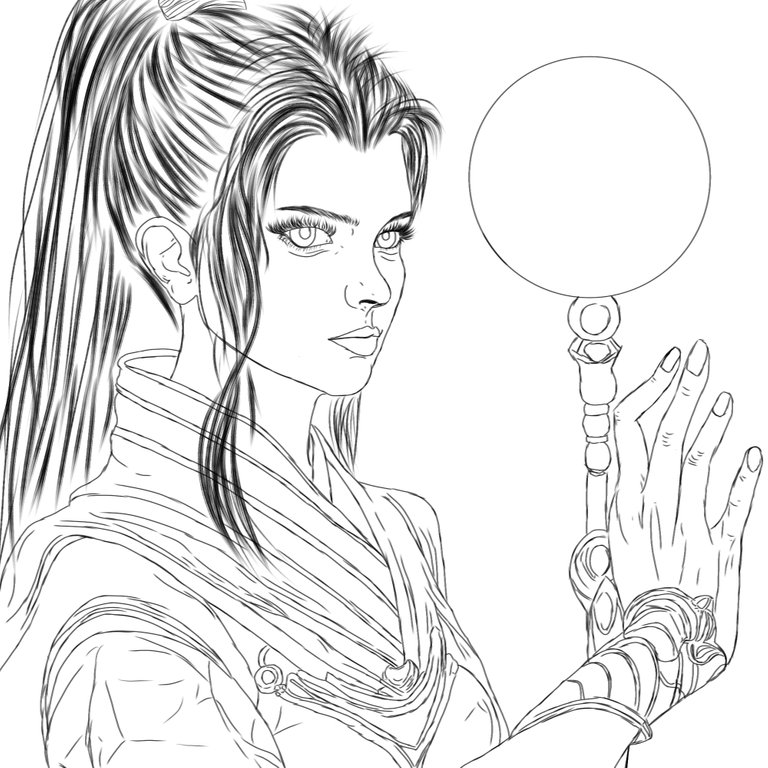
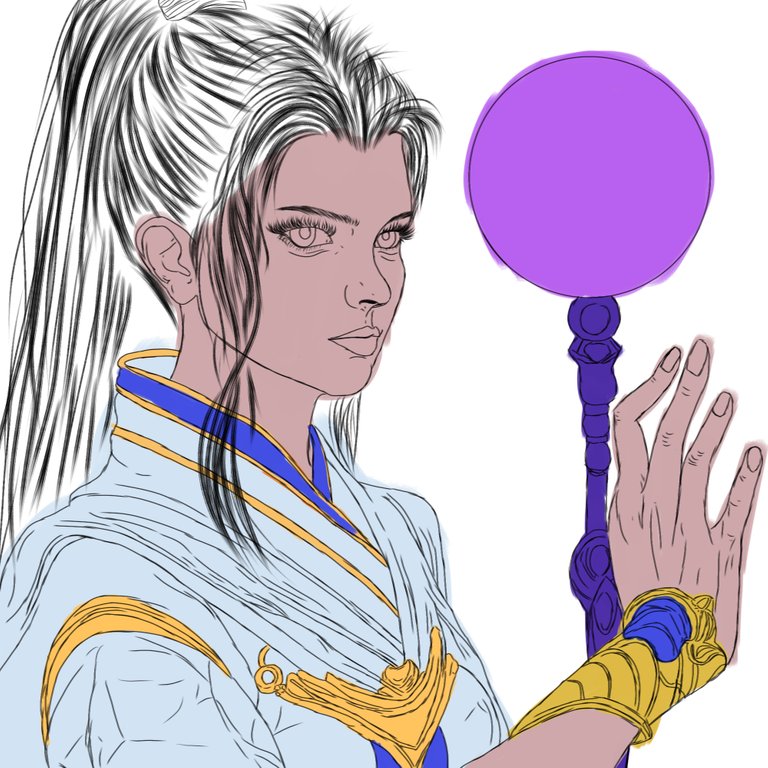
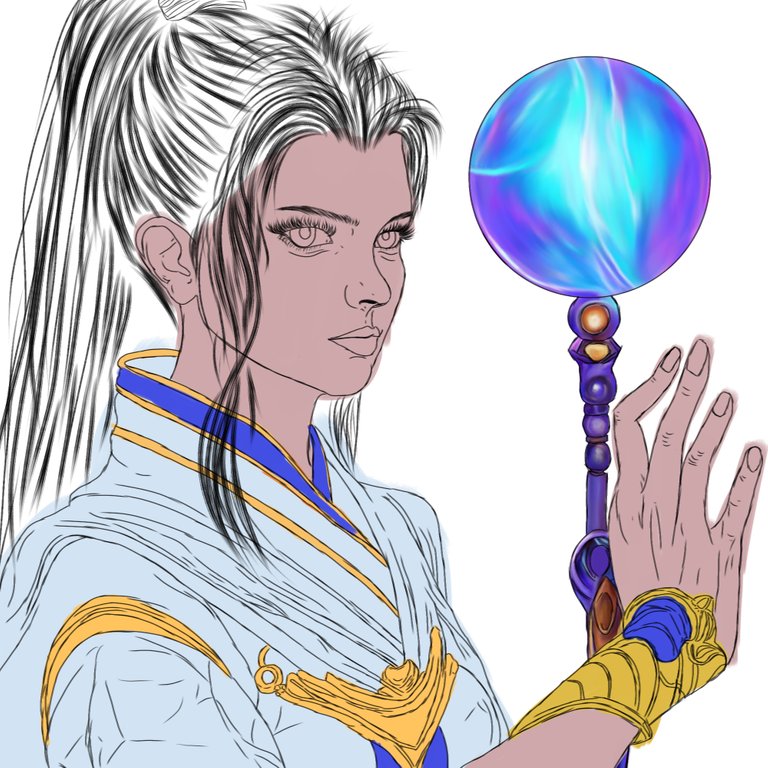
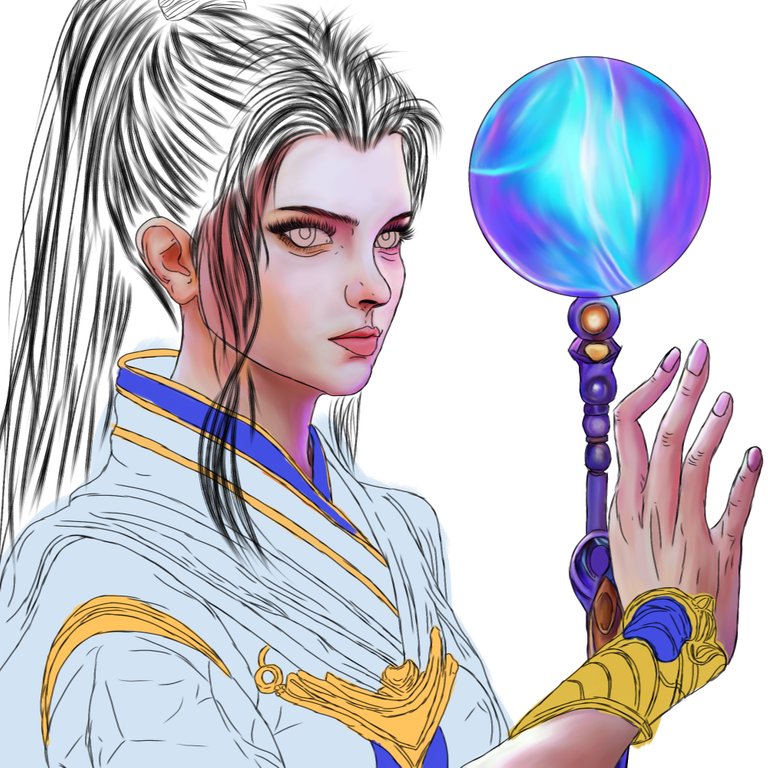
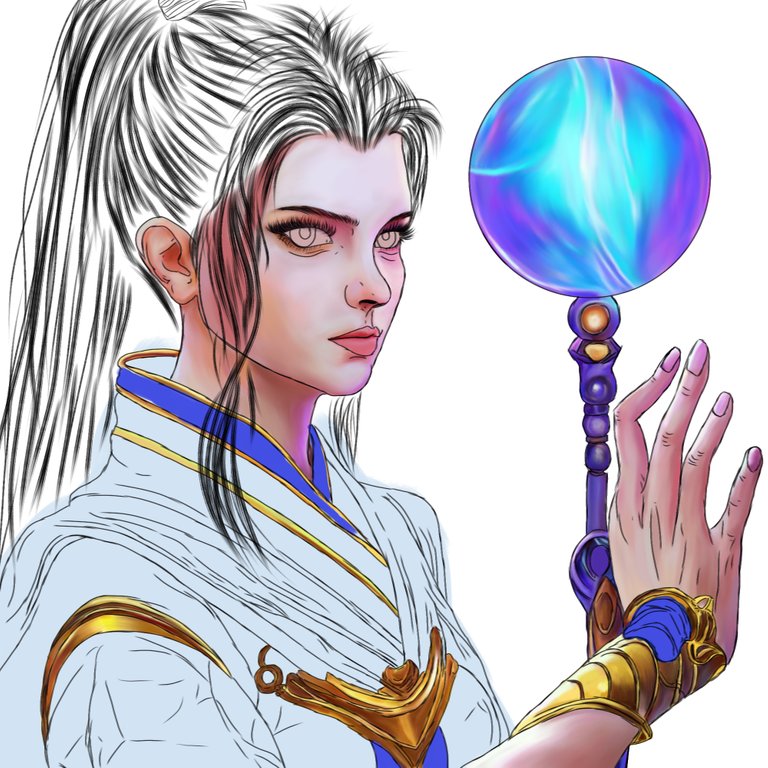
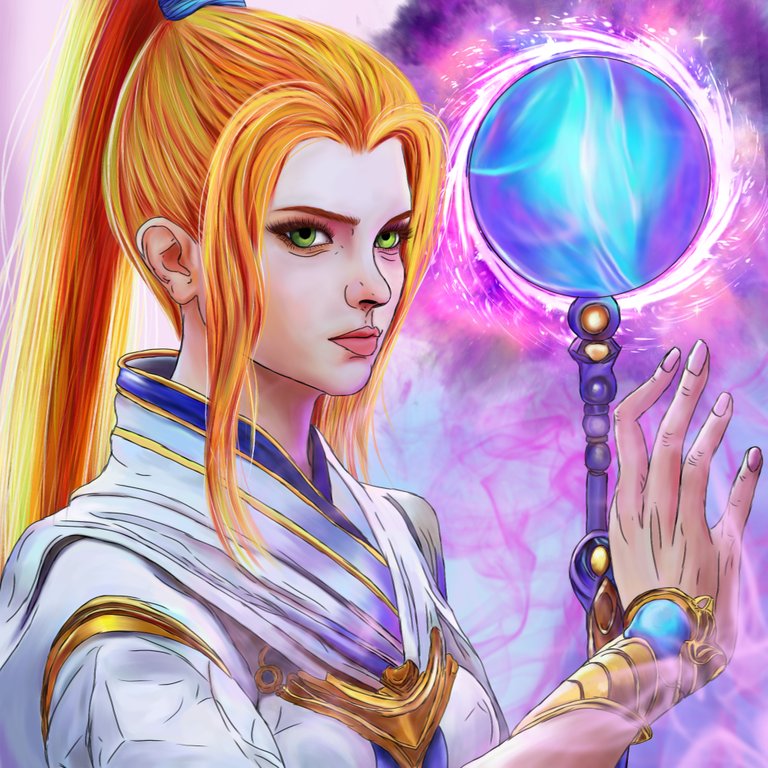
Para esta etapa, fui terminando de matizar la túnica y luego me fui a los ojos utilizando la misma brocha y el mismo método de mezcla normal. De seguido, fui trabajando el cabello con la brocha tipo pelo y con el método de mezcla normal usando una nueva capa , empecé con cejas y pestañas y luego el cabello, usando capas para mechones delanteros y para los de fondo, aumentando y disminuyendo el grosos de la misma brocha, y cambiando a varios tonos de naranja.
For this stage, I finished toning the tunic and then went to the eyes using the same brush and the same normal blending method. Next, I worked the hair with the hair brush and with the normal blending method using a new layer, I started with eyebrows and eyelashes and then the hair, using layers for the front and bottom strands, increasing and decreasing the thickness. of the same brush, and changing to various shades of orange.
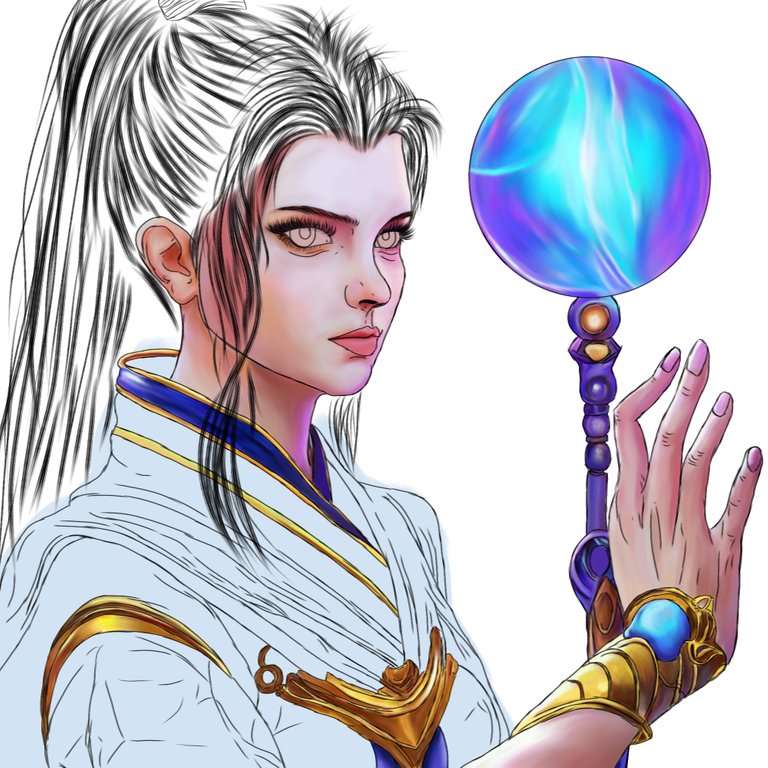
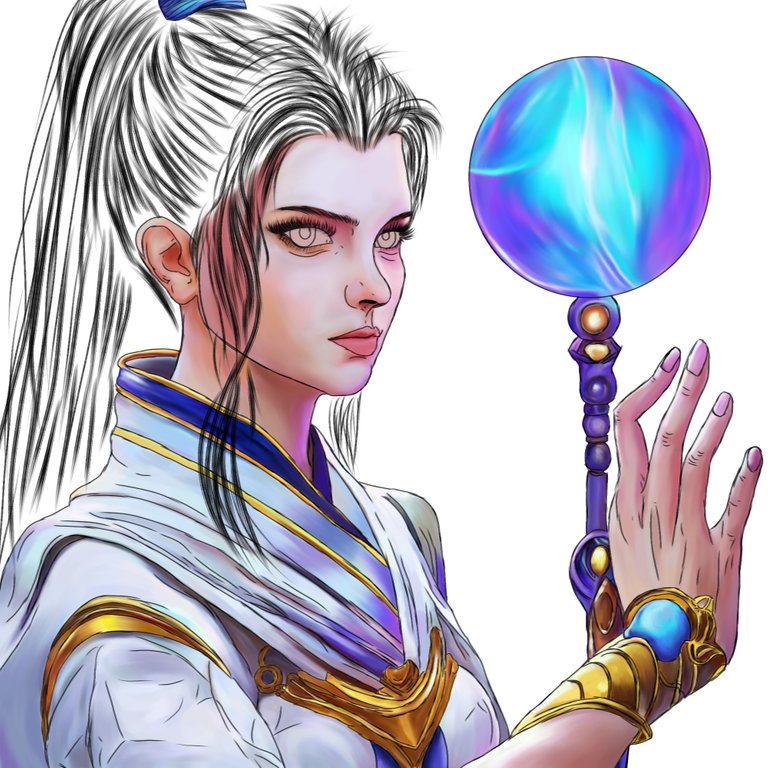
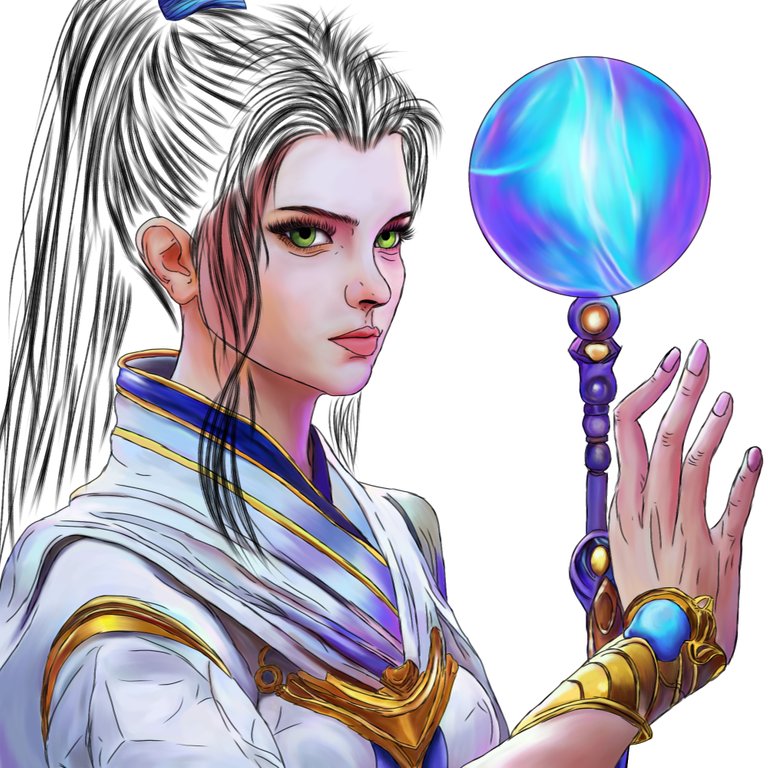
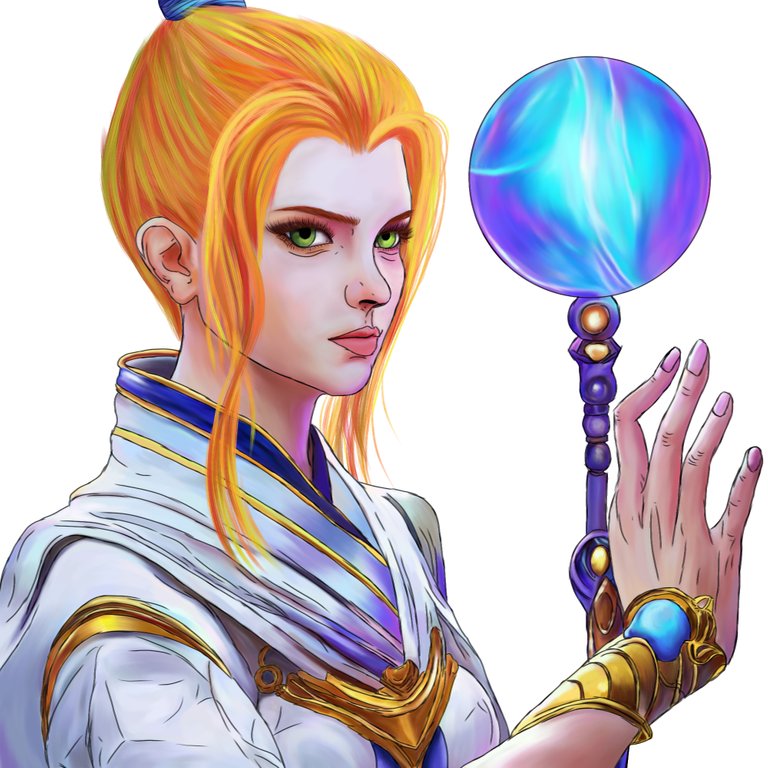
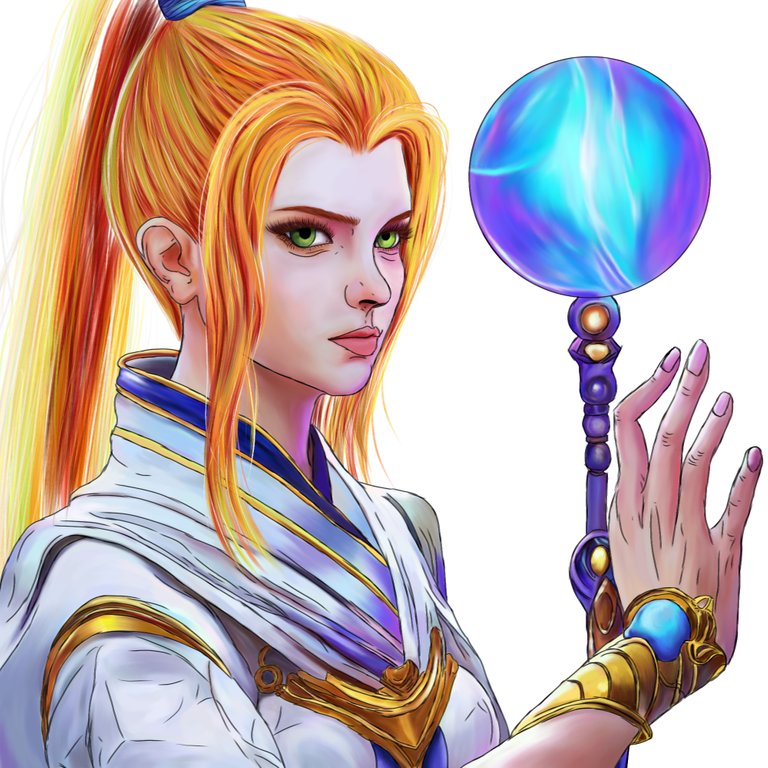
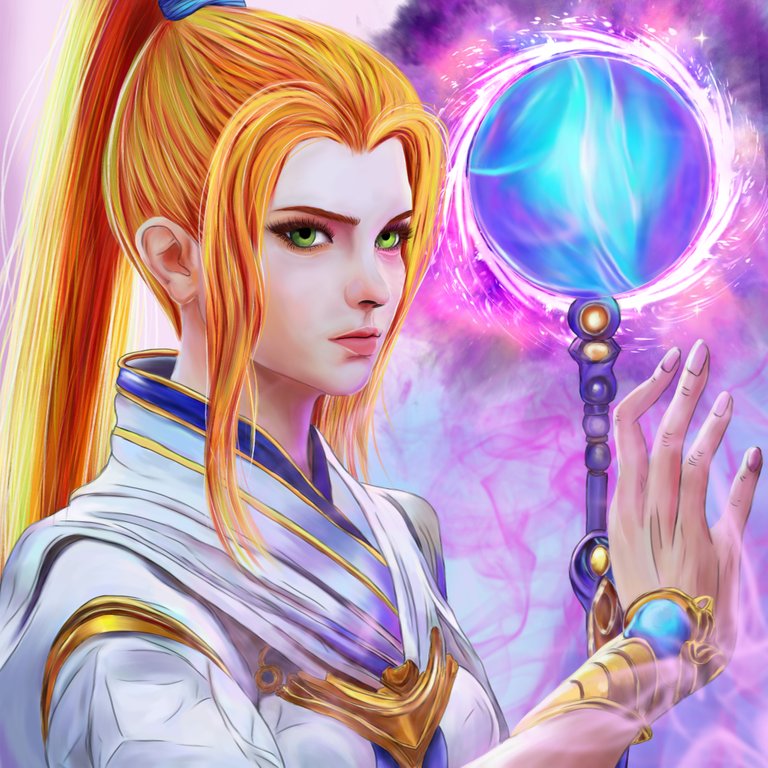
Para esta fase, fui trabajando el fondo con método de mezcla normal y usando el aerógrafo de partículas agregando varios tonos suaves, y difuminando, luego use en una nueva capa con método de mezcla normal y con la brocha tipo nube donde fui agregando varios tonos entre fucsia rosa y morado lila, para recrear esa aura procedente del vaculo mágico, agregue algunos brillos tipos luz con capa añadir y con la brocha tipo pelo con opacidad máxima lineas en espiral que difumine con gauseano. Luego en una nueva capa agregué un poco de neblina color lila oscuro y en otra capa por encima de las otras capa agregué una neblina un poco más clara de color lila. Pase a difuminar el delineado y con el a aplicar iluminación en la misma con método añadir, luego con capa en superposición agregue en algunas zonas un poco de iluminación para resaltar algunas partes y algunas sombras, usando el aerógrafo de partículas. Para finalizar, agregue los brillos en una capa con añadir usando el aerógrafo de partículas en la piel y otras zonas, agregue mechones iluminados en su cabellos y en ojos use la purpurina opacidad baja y el punto de brillo, también con el Rotulador fuerte agregue brillo a los mismos. Use la brocha tipo Puntillismo para el vaculo y la brocha tipo punto de brillo para agregar esa magia brillante, y con la brocha tipo Aerógrafo de partículas fui a una capa en añadir y con opacidad baja agregue textura y a la vez particulas de iluminación a la pieza entera. Espero esté proceso les haya gustado, me gusta saber sus opiniones y recomendaciones para avanzar en mi aprendizaje. Mil gracias por sus apoyos y el querer compartir junto a mi! ❤️💖😊👋
For this phase, I was working on the background with the normal blending method and using the particle airbrush adding several soft tones, and blurring, then used in a new layer with the normal blending method and with the cloud type brush where I was adding various tones between fuchsia pink and purple lilac, to recreate that aura coming from the magic vacuum, add some light type glitters with add layer and with the hair type brush with maximum opacity spiral lines that blend with Gaussian. Then on a new layer I added some dark lilac haze and on another layer above the other layers I added a little bit lighter lilac haze. Go on to blur the outline and with it to apply lighting in it with the add method, then with an overlapping layer add a little lighting in some areas to highlight some parts and some shadows, using the particle airbrush. To finish, add the glitters in a layer with add using the particle airbrush on the skin and other areas, add illuminated strands in your hair and in the eyes use the low opacity glitter and the shine point, also with the Strong Marker add shine to the same I used the Pointillism brush for the vacuum and the glow point brush to add that shiny magic, and with the Particle Airbrush brush I went to a layer on add and with low opacity I added texture and lighting particles to the piece. whole. I hope you liked this process, I like to know your opinions and recommendations to advance my learning. Thank you very much for your support and wanting to share with me! ❤️💖😊👋


Redes Sociales/ Social Networks
Sigueme en/ Follow me in:
👉Instagram: @catrynart
👉 Twitter: @catrynart
Herramientas Usadas/Used Tools
- Tablet Android/ Android Tablet
- Programa Ibis Paint X/ Ibis Paint X Program
- Traductor Deepl/ Deelp Translator
- Servidor de Imagenes Imgbb/ Imgbb Image Server
- Dactilopintura Digital/ Digital Fingerprint Painting

🌺¡HASTA EL PRÓXIMO POST!🌺

Detenerse es Retroceder
To Stop is to go Backwards
its beautiful😊
!luv
@catrynart, @petterch(2/10) sent you LUV. | tools | discord | community | HiveWiki |
  NFT | <>< daily
Thanks 🌷💗
Very nice artwork, I am big fan of fantasy and i love everything what is connected to this genre 😊 !BBH !ALIVE !PIZZA
@catrynart! Your Content Is Awesome so I just sent 1 $BBH (Bitcoin Backed Hive) to your account on behalf of @robertonis. (1/50)
@catrynart! You Are Alive so I just staked 0.1 $ALIVE to your account on behalf of @robertonis. (1/10)
The tip has been paid for by the We Are Alive Tribe through the earnings on @alive.chat, feel free to swing by our daily chat any time you want.

Thank You so much 🥰@robertonis
$PIZZA slices delivered:
@robertonis(1/15) tipped @catrynart
Congratulations @catrynart! You have completed the following achievement on the Hive blockchain And have been rewarded with New badge(s)
Your next target is to reach 80 posts.
You can view your badges on your board and compare yourself to others in the Ranking
If you no longer want to receive notifications, reply to this comment with the word
STOPTo support your work, I also upvoted your post!
Check out our last posts:
¡Felicitaciones!
1. Invierte en el PROYECTO ENTROPÍA y recibe ganancias semanalmente. Entra aquí para más información.
3. Suscríbete a nuestra COMUNIDAD, apoya al trail de @Entropia y así podrás ganar recompensas de curación de forma automática. Entra aquí para más información sobre nuestro trail.
4. Creación de cuentas nuevas de Hive aquí.
5. Visita nuestro canal de Youtube.
Atentamente
El equipo de curación del PROYECTO ENTROPÍA
Gracias comunidad 😊🥰
Do you know you can win a Chaos Legion pack and many other things just by following some simple steps ?? Check out our Latest Daily Showcase and Participate our latest Giveaway. Thanks
She's so beautiful, welldone
Thanks so My beautiful 🥰
Contáctenos para saber más del proyecto a nuestro servidor de Discord.
Si deseas delegar HP al proyecto: Delegue 5 HP - Delegue 10 HP - Delegue 20 HP - Delegue 30 HP - Delegue 50 HP - Delegue 100 HP.
Thanks for sharing! - castleberry#6859

Thank You so much @castleberry 🥰❤️