Altering the Sleeves of my Flannel Shirt
Hey guys! Today I want to tell you about a quick project I did today. I found an old flannel today and made the sleeves more fitted and added a button. It ended up making the sleeves very puffy, which I liked.
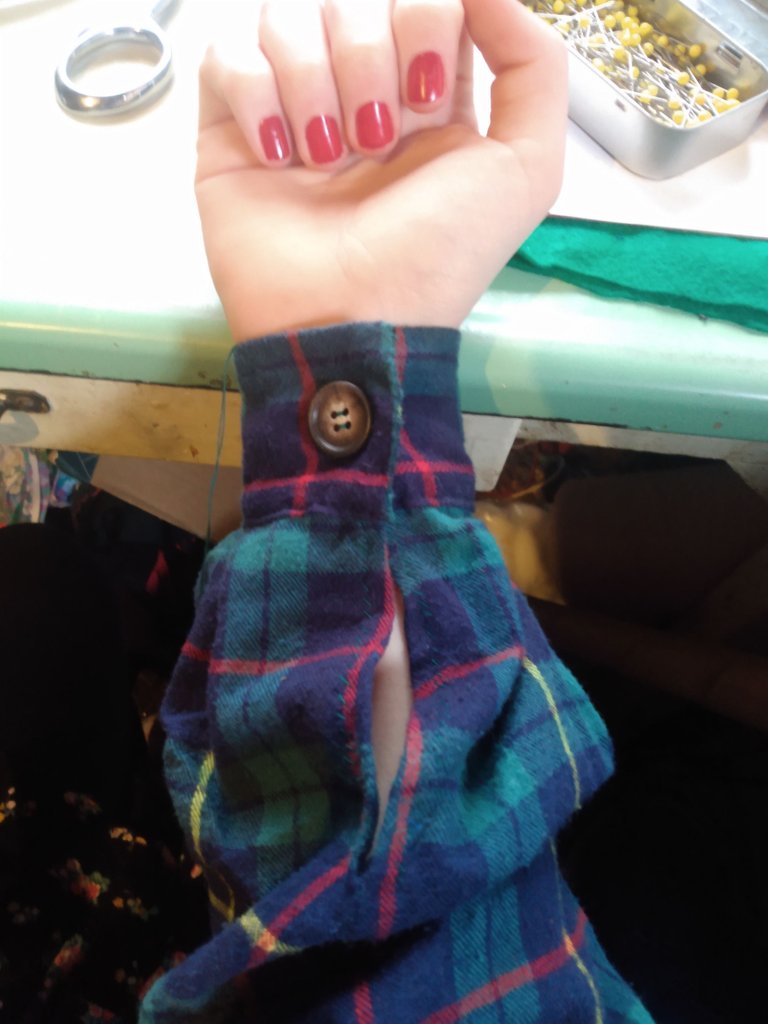
First I took apart the seam holding the edge of the sleeve on, and split the side seam of the sleeve about 4 inches up the sleeve. I use a razor blade for this, but a safer option is a seam ripper.
Next I measured around my wrist, added about 2in and cut the fabric from the sleeve edging to be that length (it ended up being 8in).
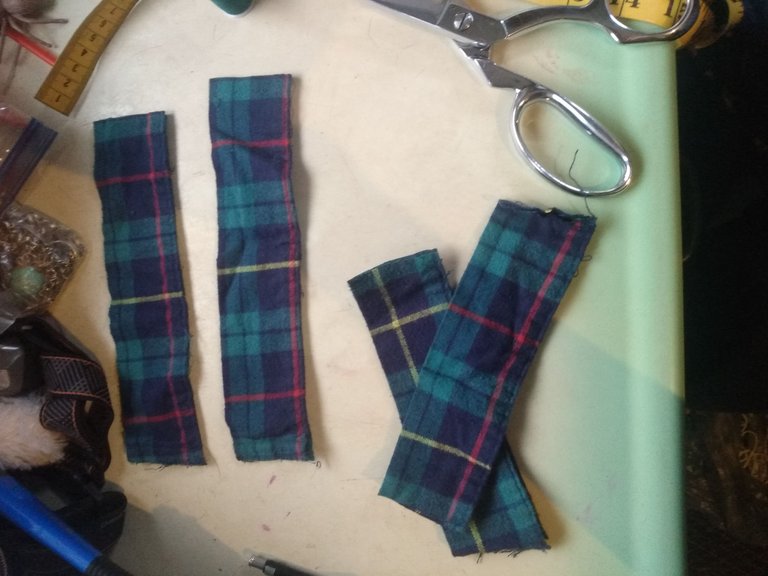
Next I folded and pinned the raw edges of the sleeve edge fabric.
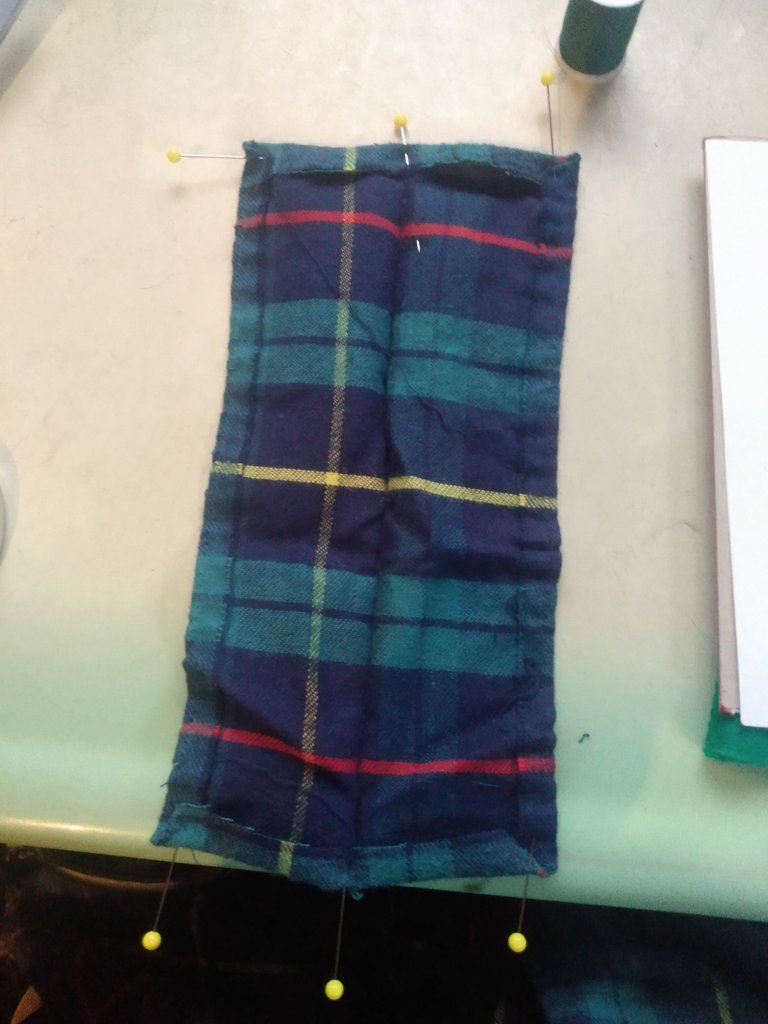
Next I whip-stitched the seam allowance for the 4in opening into a nice hem.
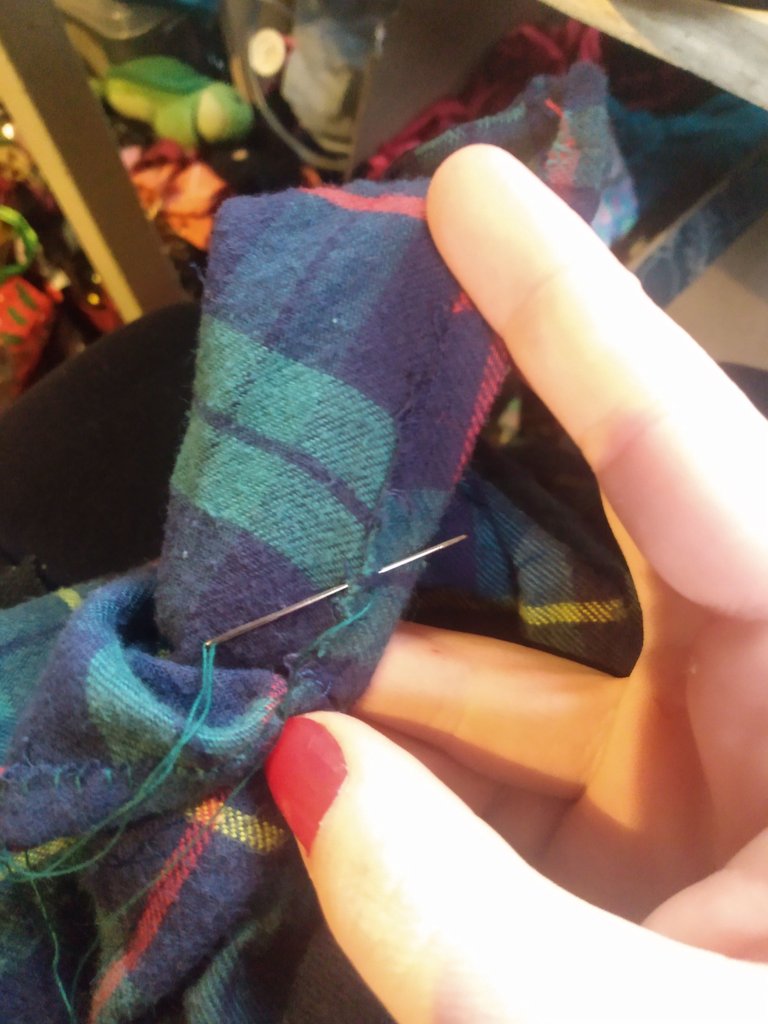
Next I pinned both sides of the very end of the sleeve to the sleeve edge, and started making pleats in it until the length fit, and I pinned them together.
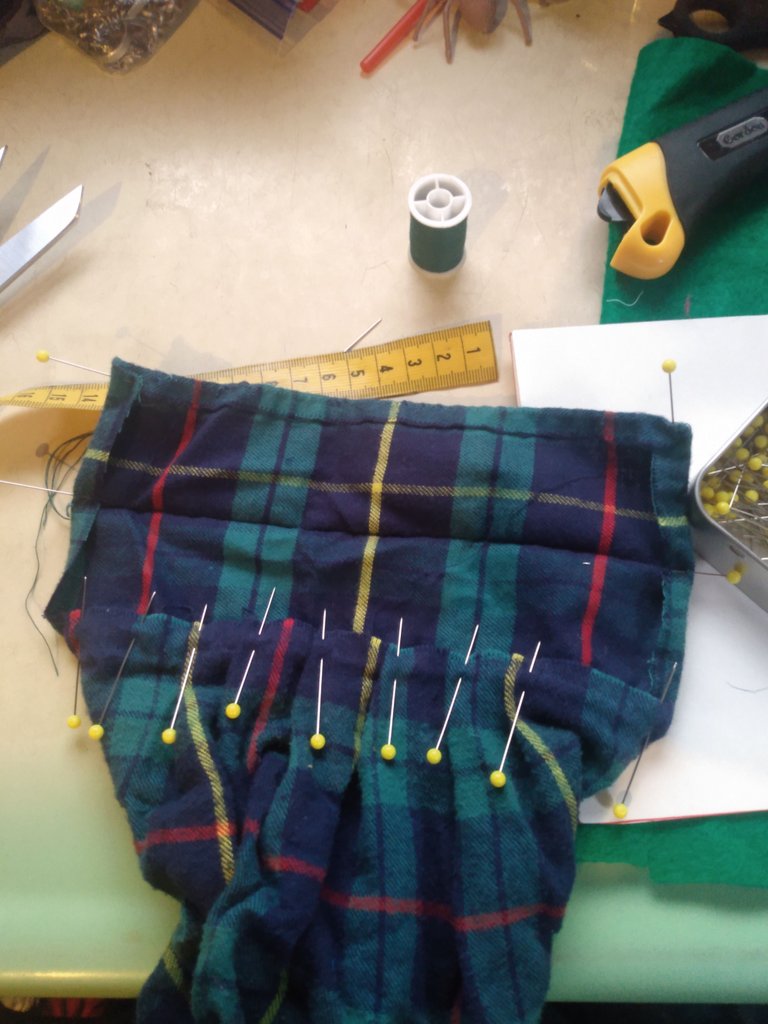
Then I folded over the top of the sleeve edge, and pinned it into place. After that I used a backstitch to secure where the sleeve meets the pleats, and a whipstich to close the edges.
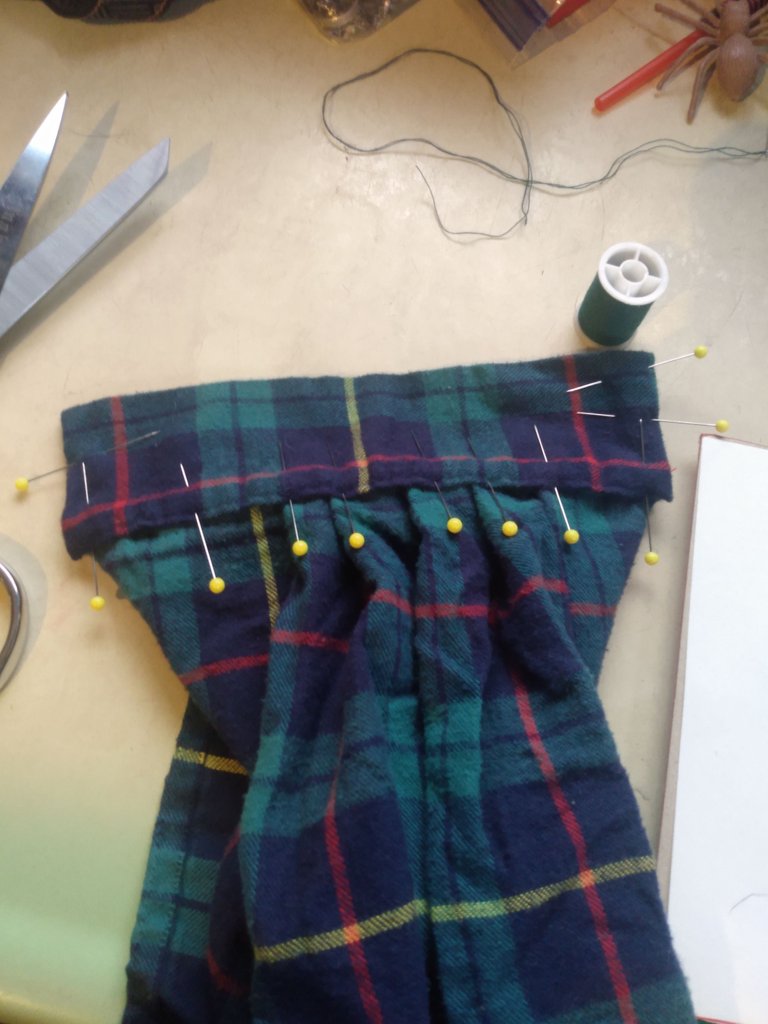
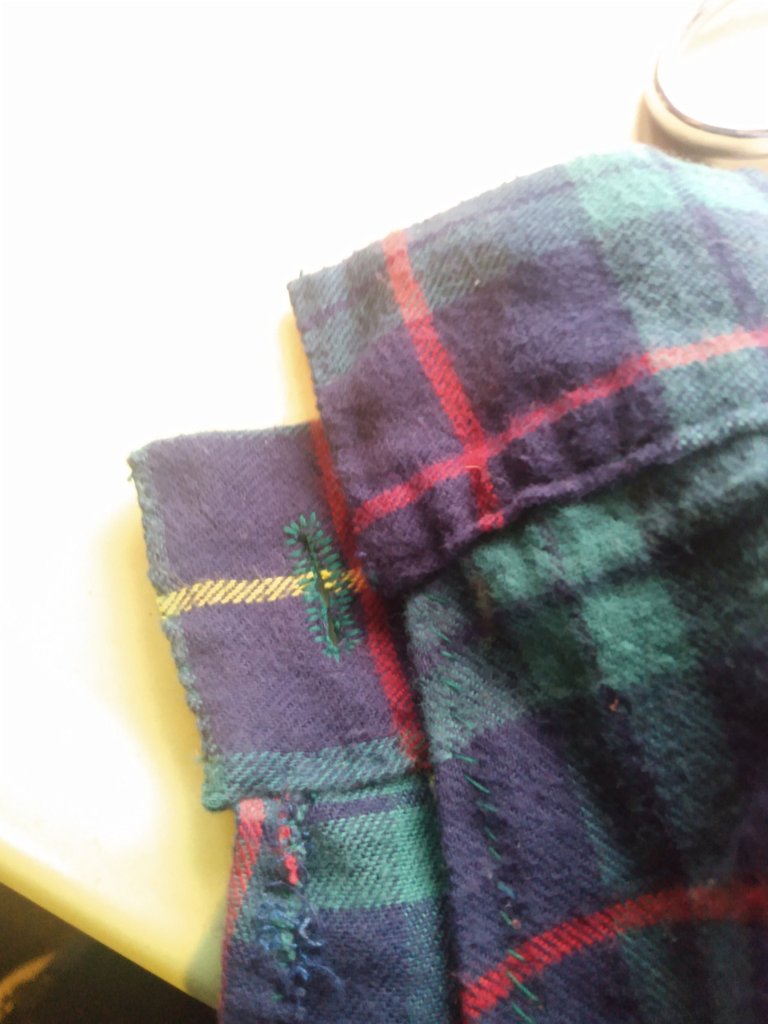
Then I added a button and a button hole, and they were done!
If you are interested in seeing more of my work, I post pictures of them semi-regularly on my Instagram, which is @sid_the_raccoon. All of the photos I use (unless otherwise specified) belong to me. Also, please leave a comment, I really appreciate them. I wish peace, love, and world domination to all of you, and I hope you have a great next 24 hours.
Hallo Leute! Heute möchte ich euch von einem schnellen Projekt erzählen, das ich heute gemacht habe. Ich habe heute einen alten Flanellstoff gefunden und die Ärmel enger gemacht und einen Knopf hinzugefügt. Dadurch wurden die Ärmel sehr bauschig, was mir gut gefallen hat.

Zuerst habe ich die Naht, die den Rand des Ärmels hält, aufgetrennt und die Seitennaht des Ärmels etwa 5 cm über dem Ärmel aufgetrennt. Ich benutze dafür eine Rasierklinge, aber sicherer ist ein Nahttrenner.
Als Nächstes habe ich um mein Handgelenk herum gemessen, etwa 5 cm hinzugefügt und den Stoff vom Ärmelrand auf diese Länge zugeschnitten (am Ende waren es 5 cm).

Als nächstes habe ich die Schnittkanten des Ärmelrandstoffs gefaltet und festgesteckt.

Als Nächstes habe ich die Nahtzugabe für die 4-Inch-Öffnung mit einem Peitschenstich zu einem schönen Saum verarbeitet.

Als Nächstes steckte ich beide Seiten des Ärmelendes an die Ärmelkante und begann, Falten zu legen, bis die Länge passte, und steckte sie zusammen.

Dann faltete ich den oberen Rand des Ärmels um und steckte ihn fest. Danach habe ich die Stelle, an der der Ärmel auf die Falten trifft, mit einem Rückstich gesichert und die Kanten mit einem Peitschenstich geschlossen.

Dann fügte ich einen Knopf und ein Knopfloch hinzu, und schon waren sie fertig!

Wenn ihr mehr von meiner Arbeit sehen wollt, poste ich halb regelmäßig Bilder davon auf meinem Instagram-Account @sid_the_raccoon. Alle von mir verwendeten Fotos (sofern nicht anders angegeben) gehören mir. Bitte hinterlasst auch einen Kommentar, ich freue mich sehr darüber. Ich wünsche euch allen Frieden, Liebe und die Weltherrschaft, und ich hoffe, dass ihr die nächsten 24 Stunden genießen könnt.

Übersetzt mit www.DeepL.com/Translator (kostenlose Version)
I gifted $PIZZA slices here:
@pixresteemer(1/5) tipped @cassidydawn (x1)
Join us in Discord!
Great job! I like your step-by-step demo! ✨
Thank you!
oh cooles Projekt, ist schön geworden :)
Danke!
Congratulations @cassidydawn! You have completed the following achievement on the Hive blockchain And have been rewarded with New badge(s)
Your next target is to reach 6000 upvotes.
You can view your badges on your board and compare yourself to others in the Ranking
If you no longer want to receive notifications, reply to this comment with the word
STOPCheck out our last posts:
Support the HiveBuzz project. Vote for our proposal!