Makeup with tear extension and glitters ✨🧡| Maquillaje con extensión lagrimal y brillos ✨🧡

ESPAÑOL
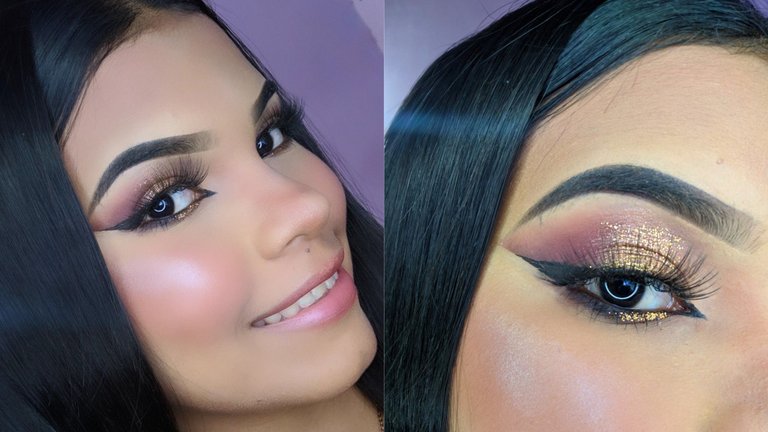
¡Hola amigos de Hive!🌸💛 Les voy a mostrar un maquillaje que estuve mucho tiempo pensando hacer porque la verdad aún no entiendo la diferencia entre la técnica de Foxy eye o siren eyes, solo sé que quería algo con un delineado largo con extensión en el lagrimal y es lo que estuve haciendo ayudándome de cinta adhesiva para mayo precisión aunó ya había intentado hacerlo antes pero por mi tipo de párpados no se me veía bien, así que decidí colocarlo más inclinado y me quedó muy lindo la verdad amo los tonos café en el maquillaje y los brillos se me hace que es una muy buena combinación en el maquillaje así que lo complementé con el delineado inclinado y la extensión en el lagrimal, les dejaré el paso a paso a continuación 💜
ENGLISH
Hello friends of Hive! 🌸💛 I'm going to show you a makeup that I was thinking about doing for a long time because the truth is I still don't understand the difference between the Foxy eye or siren eyes technique, I just know that I wanted something with a long eyeliner with extension on the tear trough and that's what I was doing helping me with masking tape for precision even though I had tried to do it before but because of my type of eyelids it didn't look good on my eyelids, so I decided to place it more inclined and it was very nice the truth is that I love brown tones in makeup and glitter, I think it is a very good combination in makeup so I complemented it with the inclined eyeliner and the extension in the tear trough, I will leave the step by step below 💜
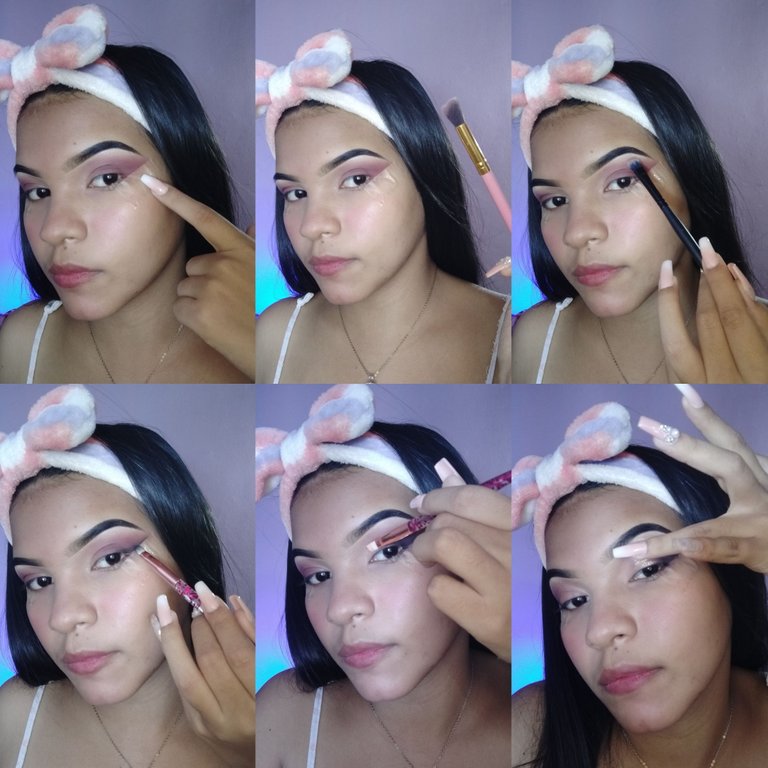
Comenzamos aplicando en dirección a el final de nuestra ceja una cinta adhesiva luego de haber preparado nuestro párpado con corrector, seguimos aplicando un tono marrón en la parte exterior del párpado a toquesitos para potenciar el color muy pegado de la línea que marca la cinta adhesiva y con una brocha más pequeña para difuminar nos aseguramos de desvanecer los bordes del color anteriormente aplicado, cambiamos a una brocha más pequeña y densa para aplicar el color negro en la parte externa del párpado específicamente dónde está la cinta adhesiva, simulando un delineado con la sombra y con la misma brochita pequeña de difuminar integramos el negro y el marrón difuminando poco a poco. Seguido de esto con una brochita plana tomaremos un poco de corrector y lo aplicaremos en todo el centro del párpado y éste lo difuminaremos con el dedo a toquecitos para posteriormente aplicar en el párpado el corrector húmedo y difuminado, una sombra metálica dorada.
We start by applying in the direction of the end of our eyebrow an adhesive tape after having prepared our eyelid with concealer, we continue by applying a brown shade on the outer part of the eyelid in small touches to enhance the color very close to the line that marks the adhesive tape and with a smaller brush to blur we make sure to fade the edges of the previously applied color, We switch to a smaller and denser brush to apply the black color on the outer part of the eyelid specifically where the tape is, simulating an outline with the shadow and with the same small blending brush we integrate the black and the brown blending little by little. Then with a flat brush we take a little bit of concealer and apply it all over the center of the eyelid and blend it with the finger and then apply the wet concealer and previously blurred, a golden metallic shadow.
Con un delineador matte vamos a hacer un delineado pegado a la cinta adhesiva para que nos quede más prolijo, y lo extendemos en el lagrimal, luego con glitter prensado, vamos a colocarlo en todo el centro donde colocamos la sombra metalizada para potenciarla muchísimo más. Procedemos a preparar la piel para aplicar el maquillaje en el rostro, como soy de piel grasa apliqué un gel hidratante de Aloe Vera para controlar la grasa ya que es de fácil absorción, luego comencé aplicando una base con una brocha para lograr mayor cobertura, y el corrector lo apliqué en el área de las ojeras y lo difuminé con una esponjita húmeda, para no excederme de producto en la zona de las ojeras, utilizando un tono muy parecido al de mi piel ya que no necesito neutralizar las ojeras.
With a matte eyeliner we are going to make an eyeliner glued to the adhesive tape so that it is more neat, and we extend it in the eyelid, then with glitter pressed, we are going to place it in the center where we place the metallic shadow to enhance it much more. We proceed to prepare the skin to apply the makeup on the face, as I have oily skin I applied an Aloe Vera moisturizing gel to control the oil as it is easily absorbed, then I started applying a foundation with a brush to achieve greater coverage, and the concealer I applied it in the area of dark circles and blended it with a damp sponge, so as not to overdo the product in the area of dark circles, using a tone very similar to my skin since I do not need to neutralize the dark circles.
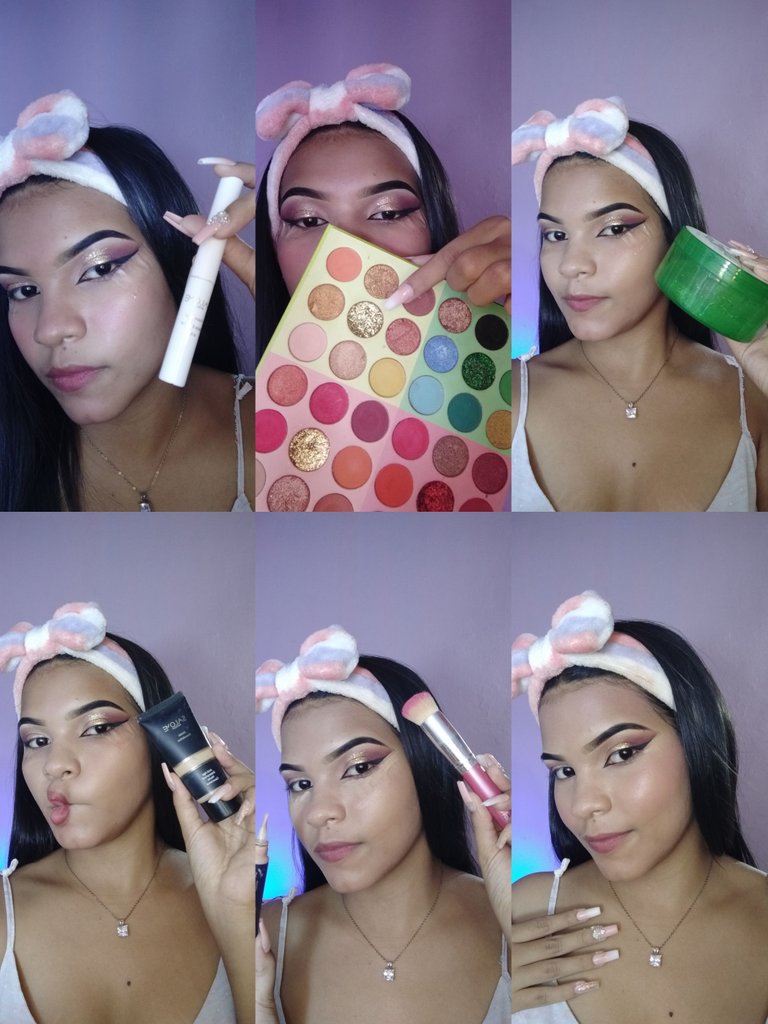
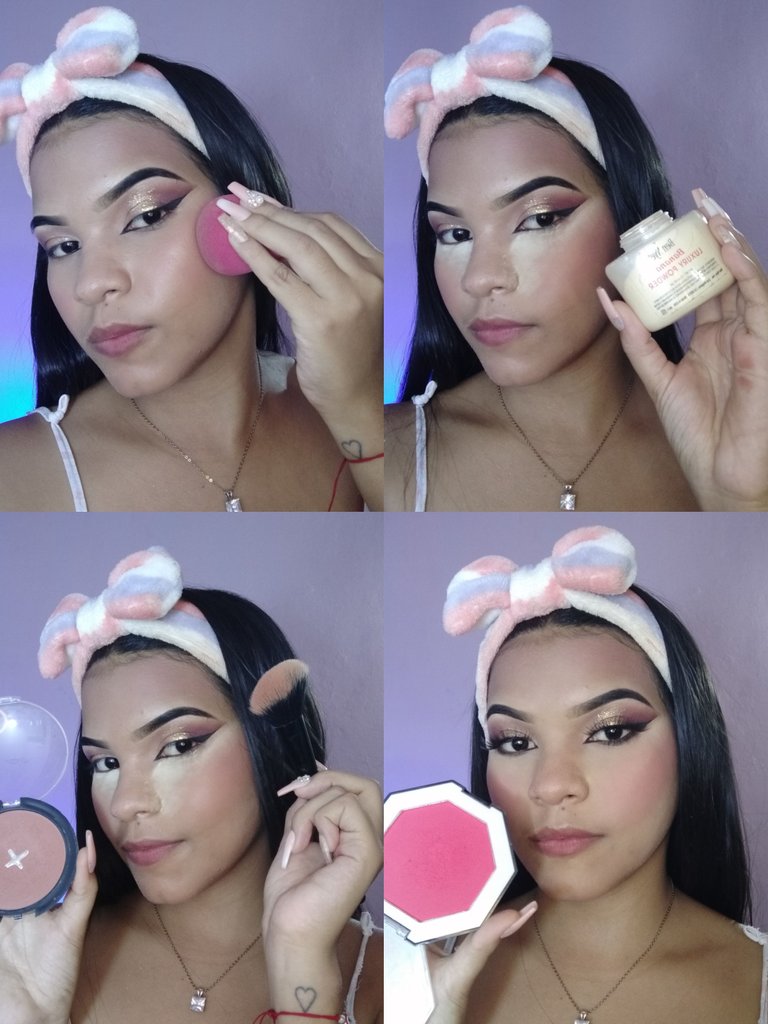
Seguí con la aplicación de contorno en crema con la piel aún húmeda, en áreas como el pómulo, la frente, la nariz y la mandíbula, es decir las partes que quiero disimular, y las partes que quiero resaltar como las mejillas y el área de las ojeras, el centro de la frente y la barbilla lo sellé con polvo suelto banana, lo dejé durante unos minutos y el resto del rostro lo sellé con polvo compacto al igual que los contornos en crema, los sellé con un polvo más obscuro y por último el rubor, iluminador y los labios ✨
I followed with the cream contour application with the skin still wet, in areas such as the cheekbone, forehead, nose and jawline, that is to say the parts I want to conceal, and the parts I want to highlight such as the cheeks and the area of the dark circles under the eyes, the center of the forehead and chin I sealed with loose banana powder, I left it for a few minutes and the rest of the face I sealed with pressed powder as well as the cream contours, I sealed them with a darker powder and finally the blush, highlighter and lips ✨.
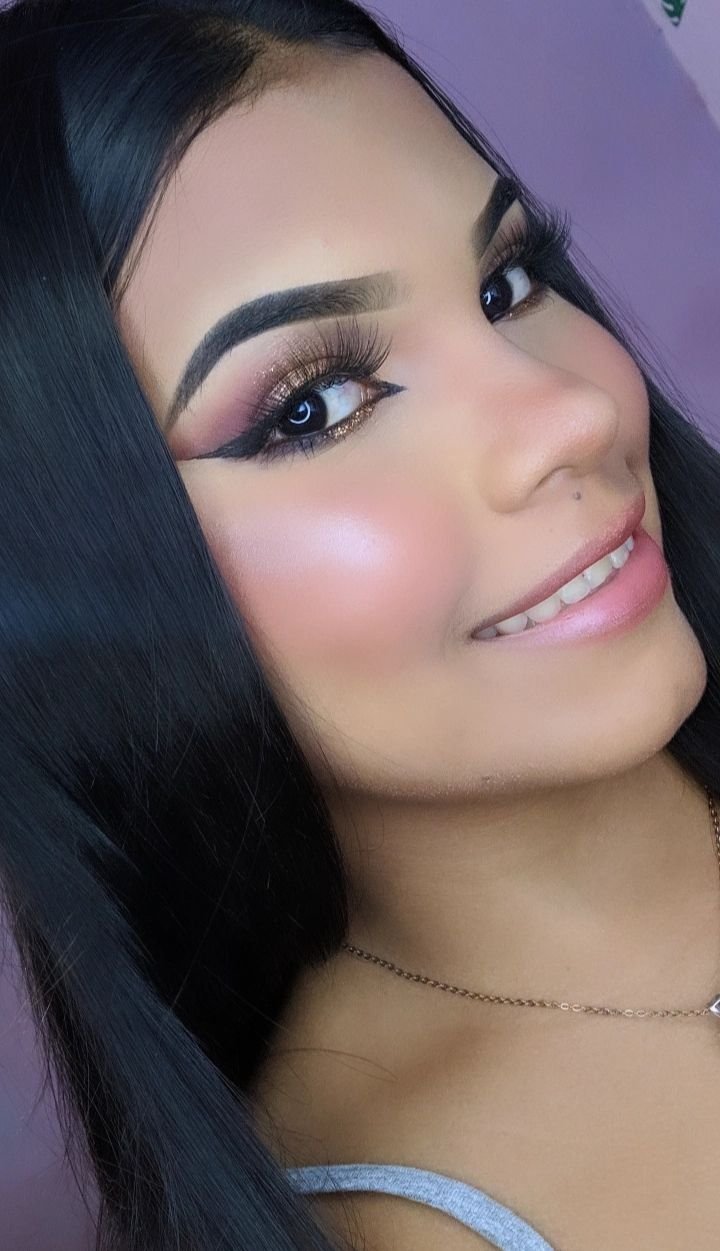
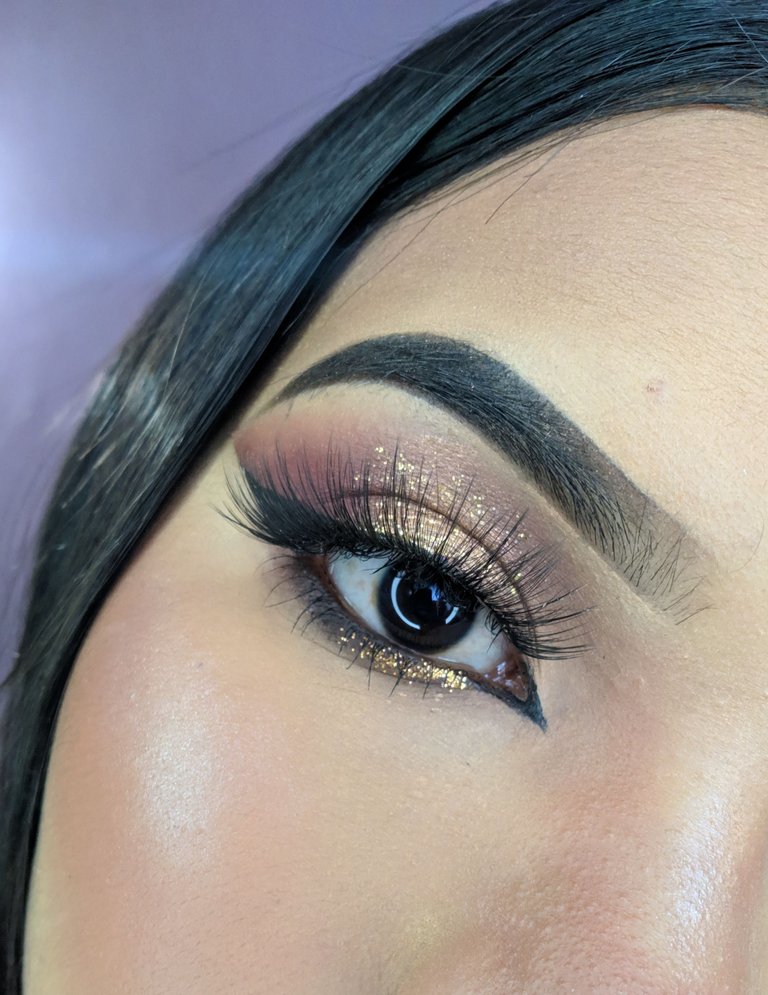
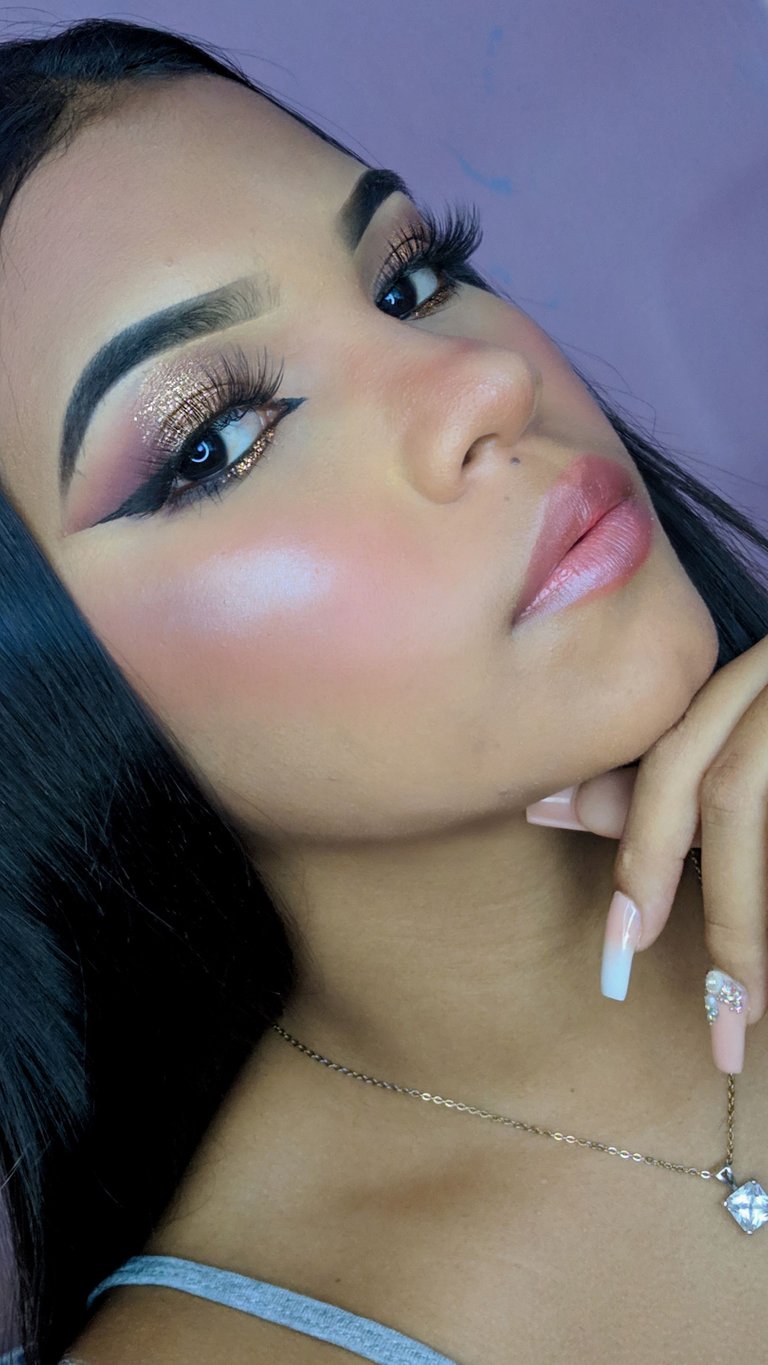
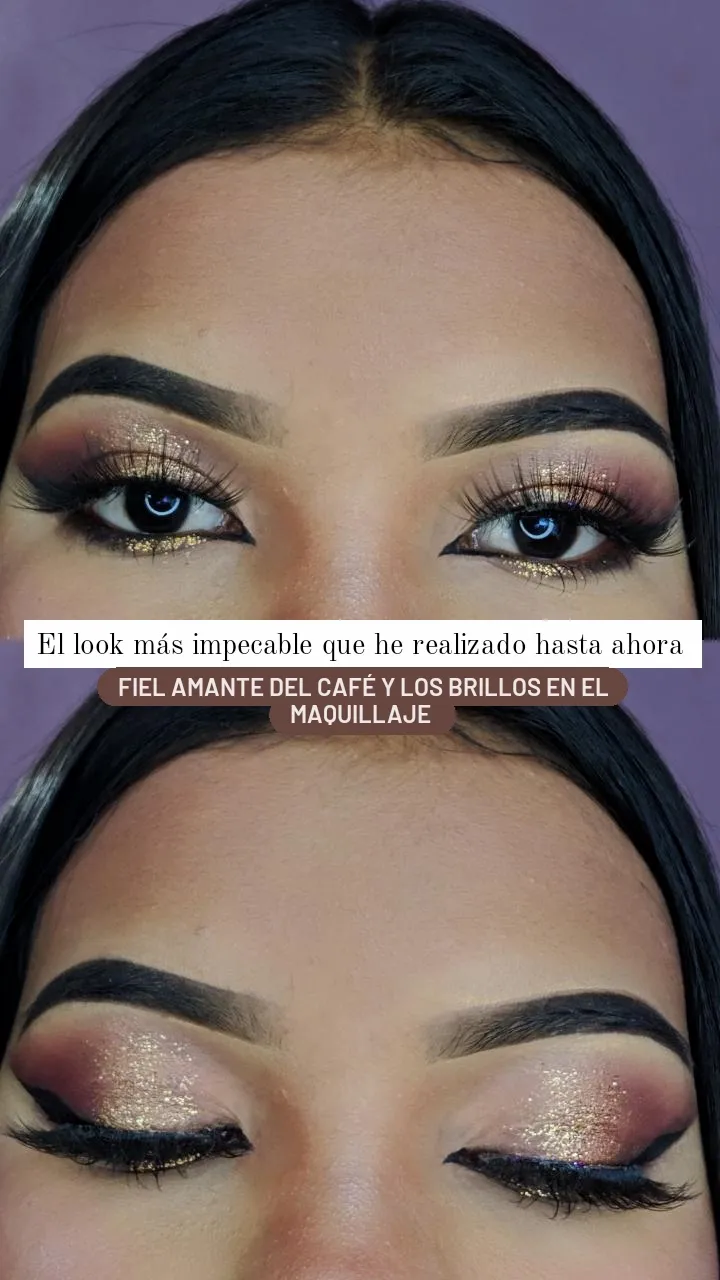
Este es el resultado ✨
This is the result ✨



Thank you for sharing this amazing post on HIVE!
Your content got selected by our fellow curator @rezoanulvibes & you just received a little thank you via an upvote from our non-profit curation initiative!
You will be featured in one of our recurring curation compilations and on our pinterest boards! Both are aiming to offer you a stage to widen your audience within and outside of the DIY scene of hive.
Join the official DIYHub community on HIVE and show us more of your amazing work and feel free to connect with us and other DIYers via our discord server: https://discord.gg/mY5uCfQ !
If you want to support our goal to motivate other DIY/art/music/homesteading/... creators just delegate to us and earn 100% of your curation rewards!
Stay creative & hive on!
!discovery 25
This post was shared and voted inside the discord by the curators team of discovery-it
Join our community! hive-193212
Discovery-it is also a Witness, vote for us here
Delegate to us for passive income. Check our 80% fee-back Program
Congratulations, your post has been upvoted by @dsc-r2cornell, which is a curating account for @R2cornell's Discord Community. We can also be found on our hive community & peakd as well as on my Discord Server
Felicitaciones, su publication ha sido votado por @dsc-r2cornell. También puedo ser encontrado en nuestra comunidad de colmena y Peakd así como en mi servidor de discordia
Wow! Your brows are so nice. I'm still learning to draw brows and soon I'll get it right. I also love your eyeshadow color, it's beautiful
With a lot of practice you will achieve beautiful eyebrows 💜.
muy buenas imagenes, muy buena fotografia, un tutorial, realmente genial.
Gracias por compartirlo.
Exitos 😀👍
Muchas gracias a usted por el apoyo ☺️