[ESP-ENG]- ¿Cómo restaurar una esponja de baño para nuestro cuerpo? // How to restore a bath sponge to our body?
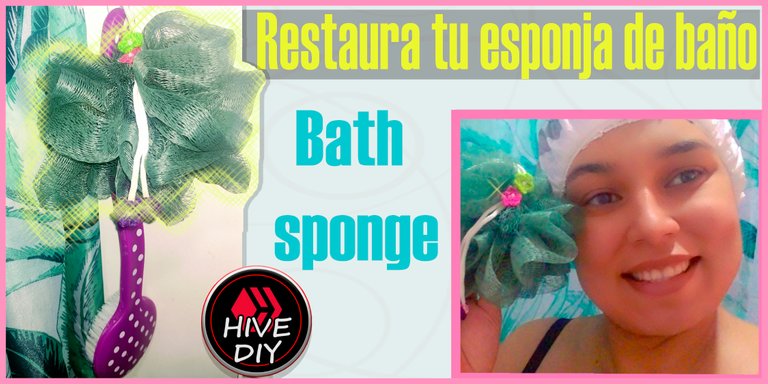

¿Cómo restaurar una esponja de baño para nuestro cuerpo?
El aseo personal es muy importante en nuestras vidas para mantener una buena higiene y salud, si usas una esponja de baño para ducharte diario, seguramente te ha pasado que las esponjas de mallas se desarman todo el tiempo (incluso cuando están nuevas), o ya con el uso van perdiendo su forma original y a la hora del baño es más difícil de manejarla.
En este post te enseño cómo restauré mi esponja de baño. Por lo general me gusta reciclar y darles un segundo uso a mis productos para lograr extender su vida útil y así ahorrar un poco de dinero para no volver a comprar tan rápido otra vez el mismo producto, ni contaminar tanto el medio ambiente, pues como saben las cosas hechas con material de plástico son un alto contaminante para nuestro ecosistema y el de otros seres vivos.

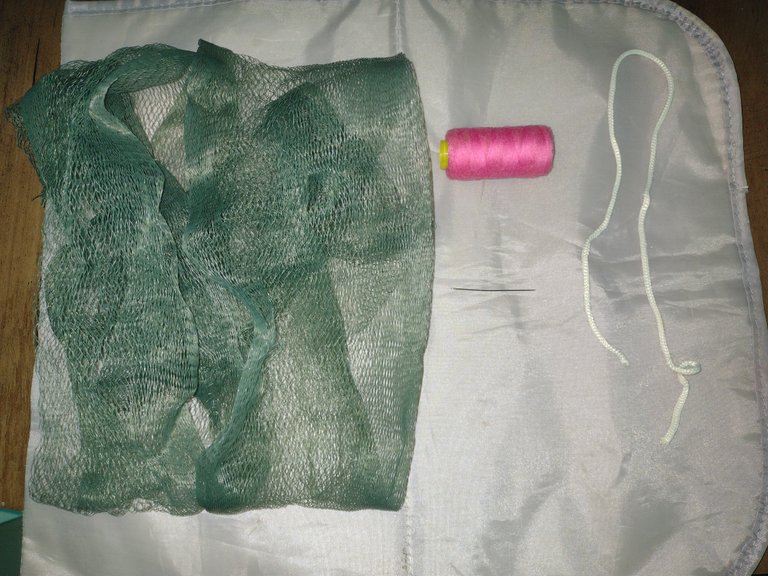
Para reparar o restaurar mi esponja de baño necesitaré:
• Hilo
• Aguja
• Malla
• Flores tejidas
• Cordón de tela

Procedimiento
• Les muestro mi esponja de baño desarmada, todos los días intentaba no frotarme tan duro para que no terminará por desenrollar por completo el material, era muy incómodo no poder frotarse con seguridad.
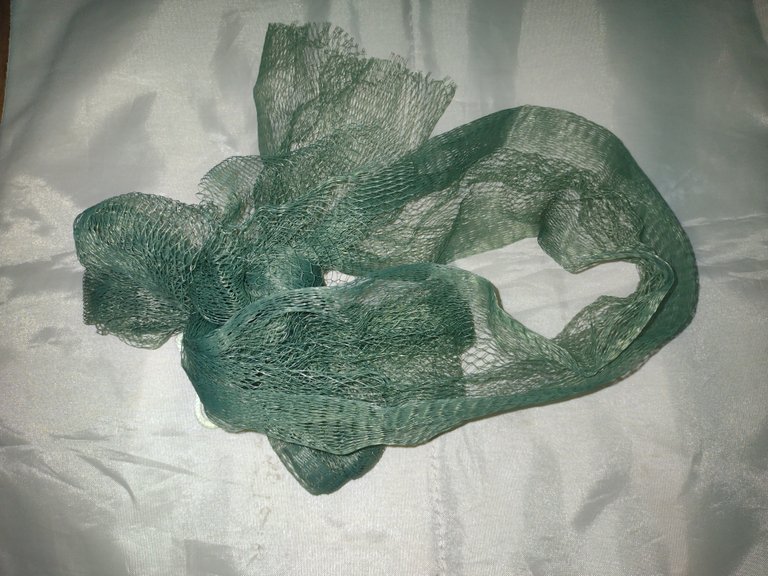
• Primero desenredamos nuestra esponja, y le quitamos el cordón de tela que generalmente trae desde que la compramos.
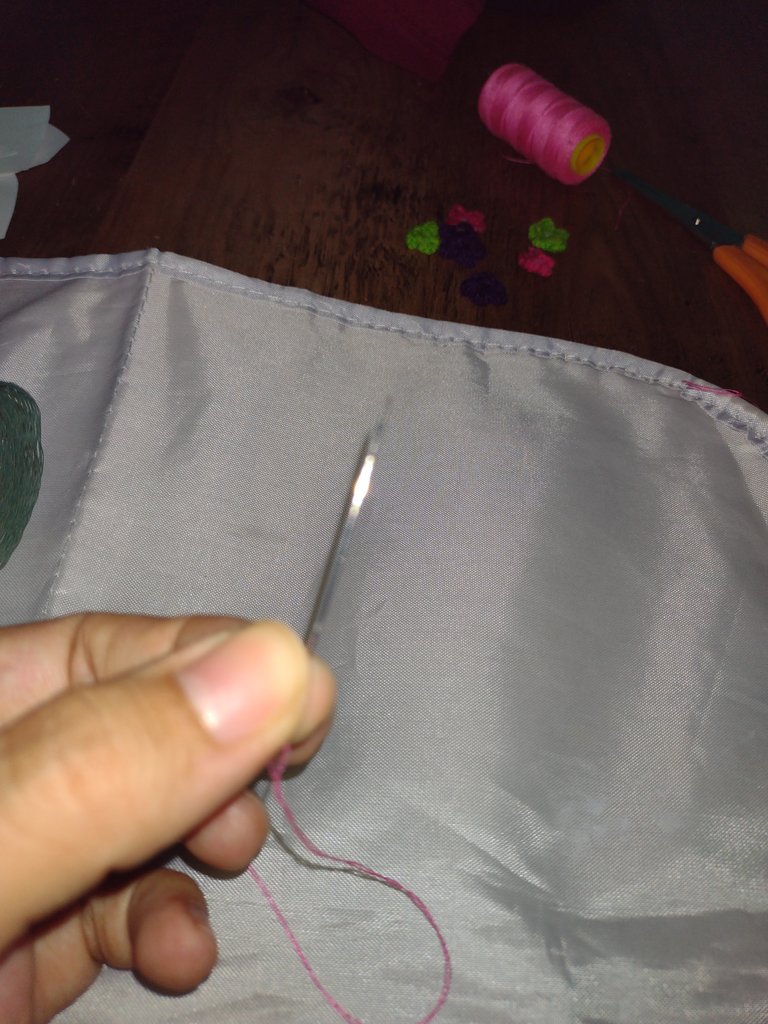
• Insertamos el hilo en la aguja y comenzamos a coser el inicio de la malla, lo aseguramos con un nudo y cosemos la boca de la malla para un mayor agarre.
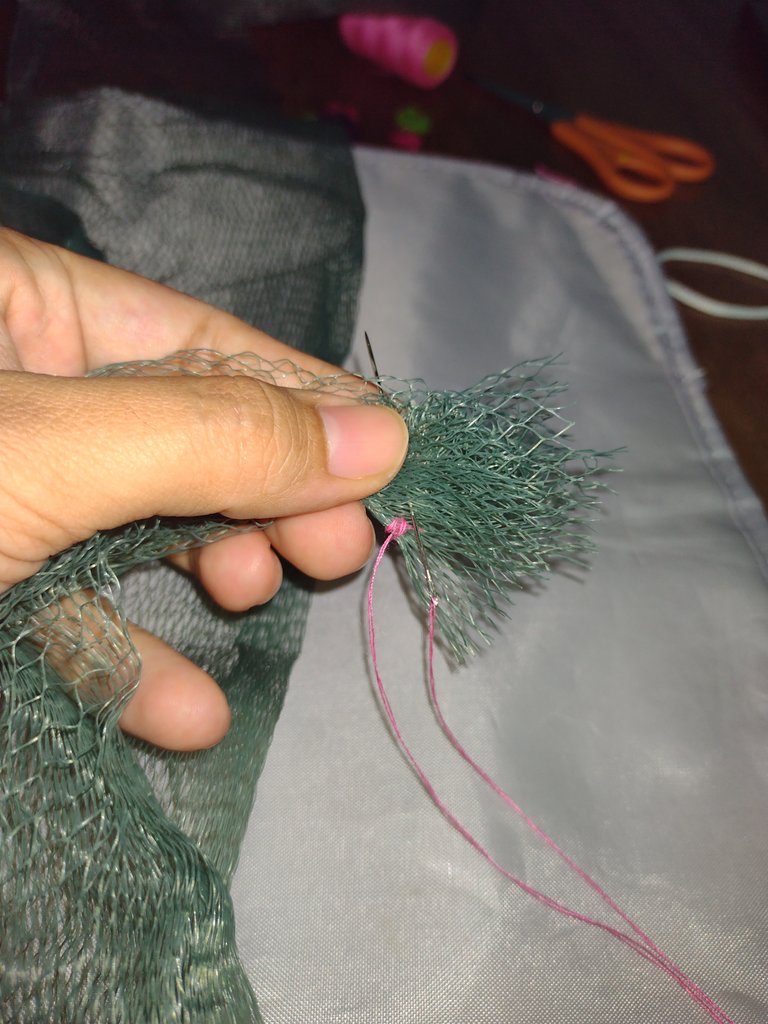
• Una vez cerrado ese lado de la malla, procedemos a hacer unas puntadas por el medio aproximadamente con una separación de 1 cm a 1,5 cm.
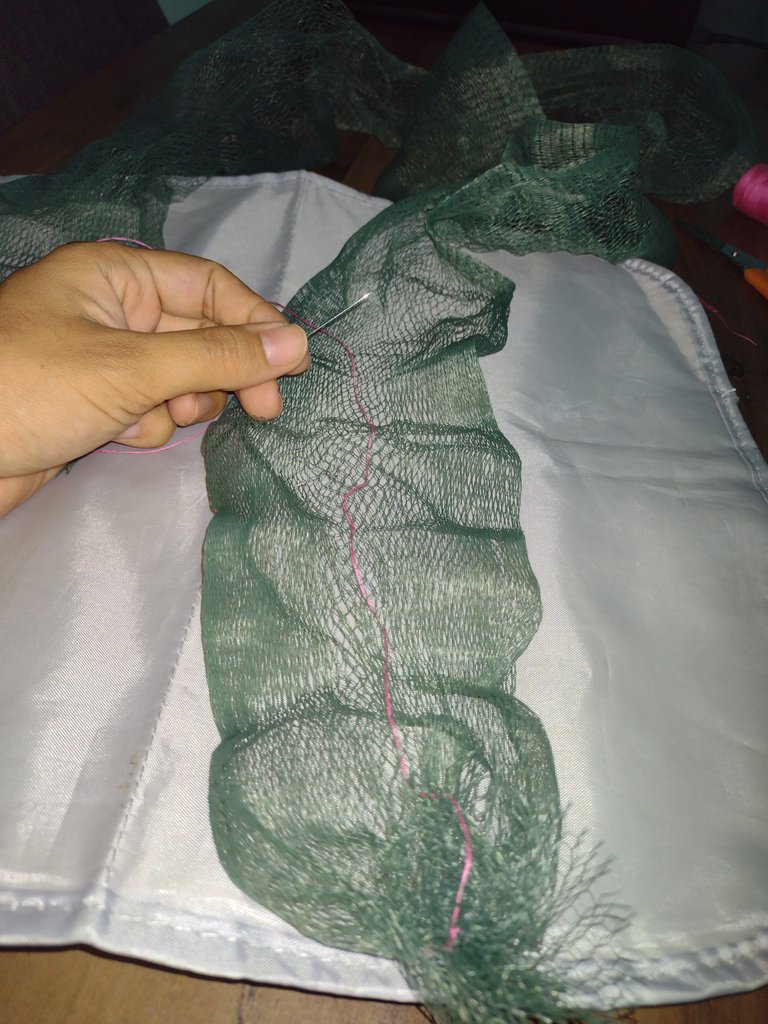
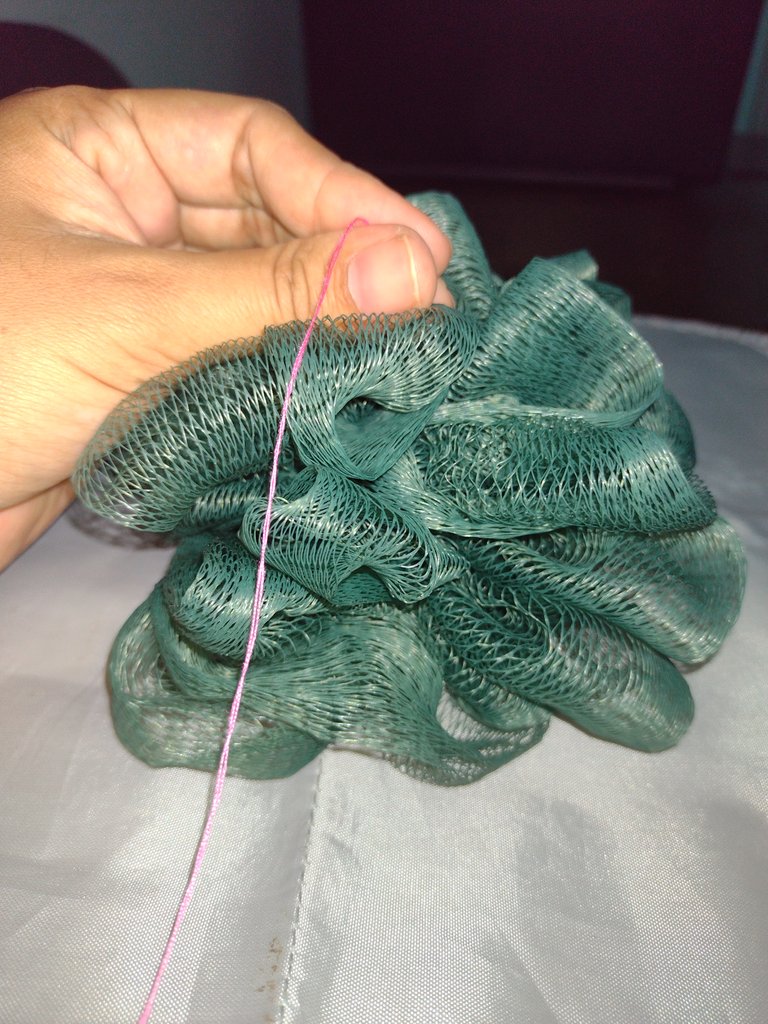
• Terminamos de coser por todo el medio de la esponja hasta llegar al otro extremo dónde finaliza la malla, realizamos igualmente un nudo para cerrar por completo la malla.
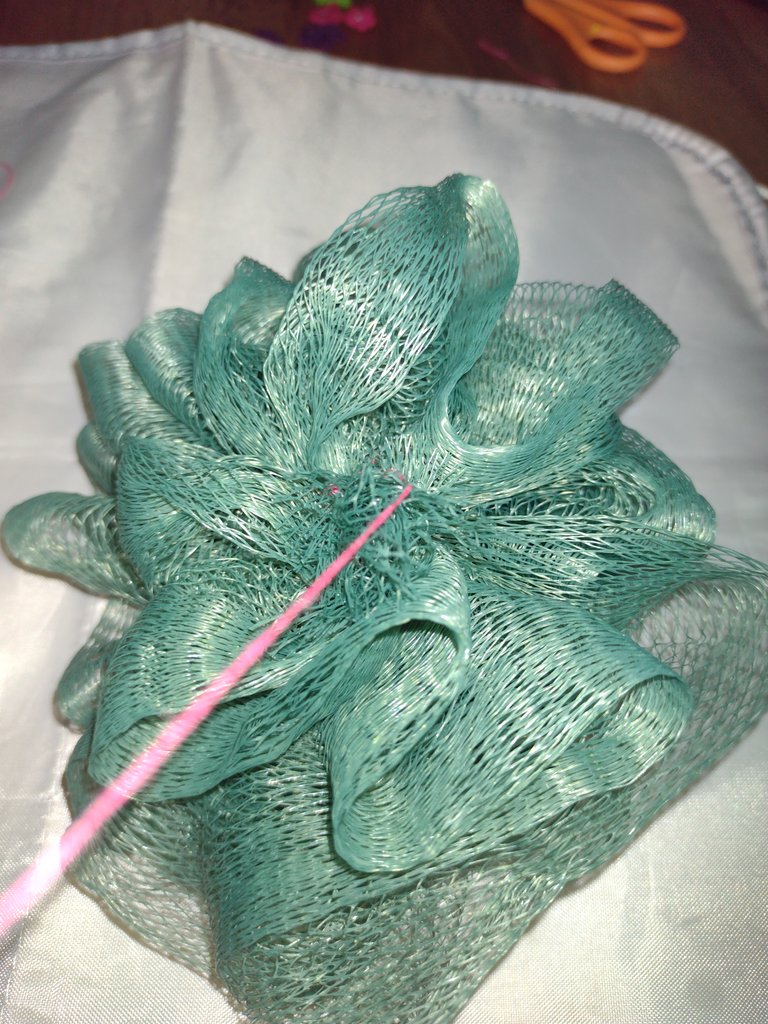
• Luego unimos los dos extremos y cosemos varias veces para fijar la unión y asegurar que en el futuro nuestra esponja no se vaya a desarmar de nuevo. Fijamos el cordón de tela que nos permite guindar la esponja en el baño, para que se mantenga siempre seca y libre de humedad.
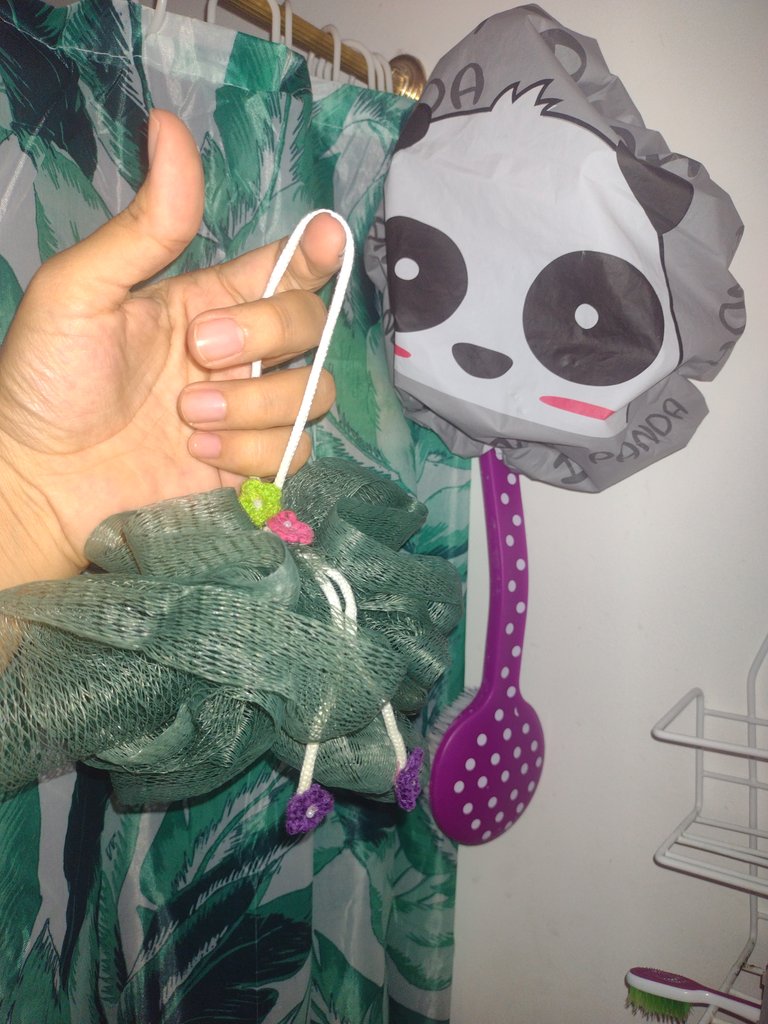
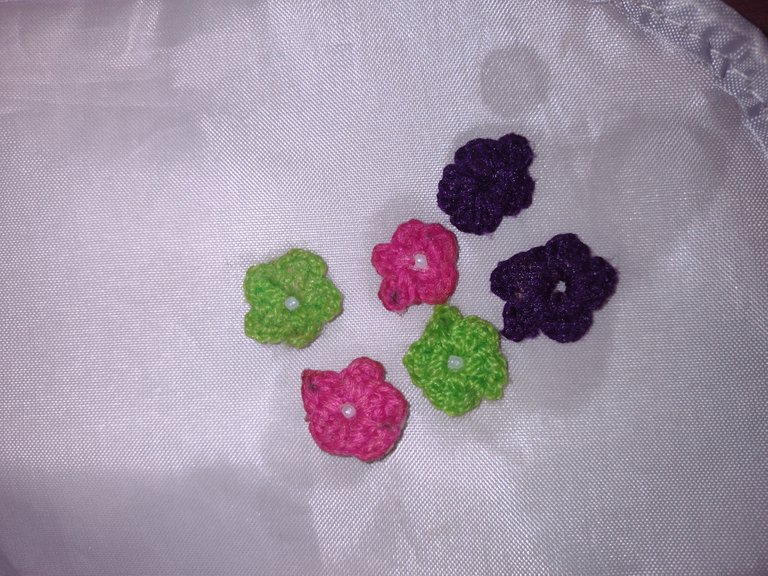
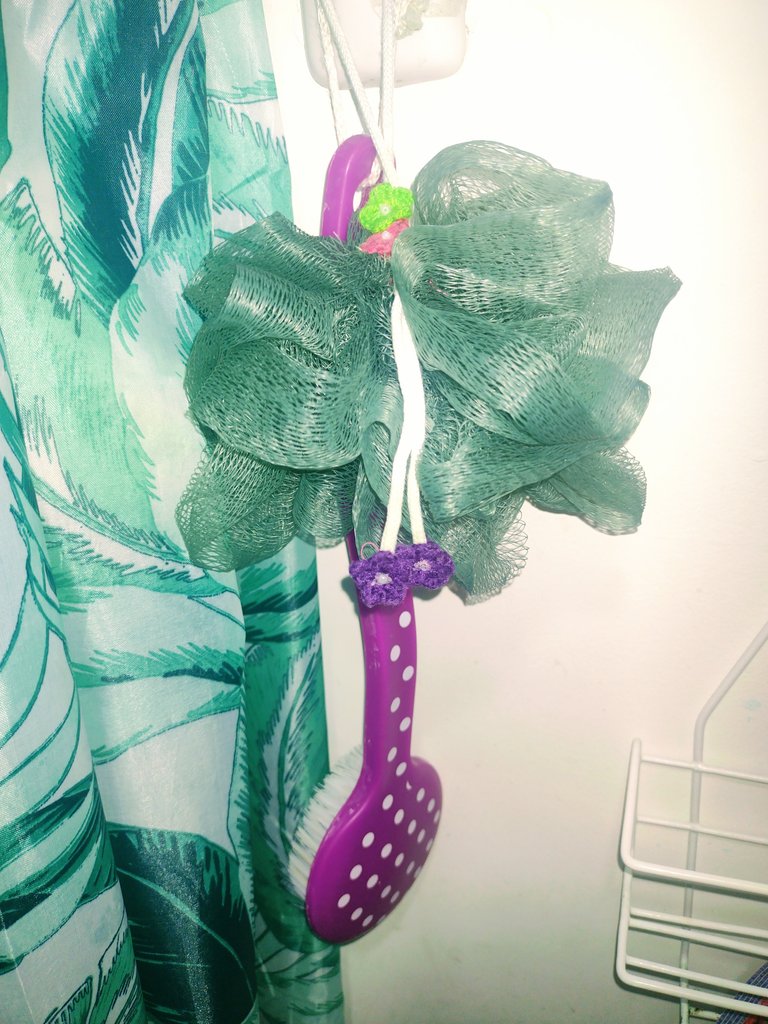
• Podemos decorarlo para darle nuestro toque personal, en mi caso le coloqué unas flores que tenía de unos aretes tejidos que ya no usaba.
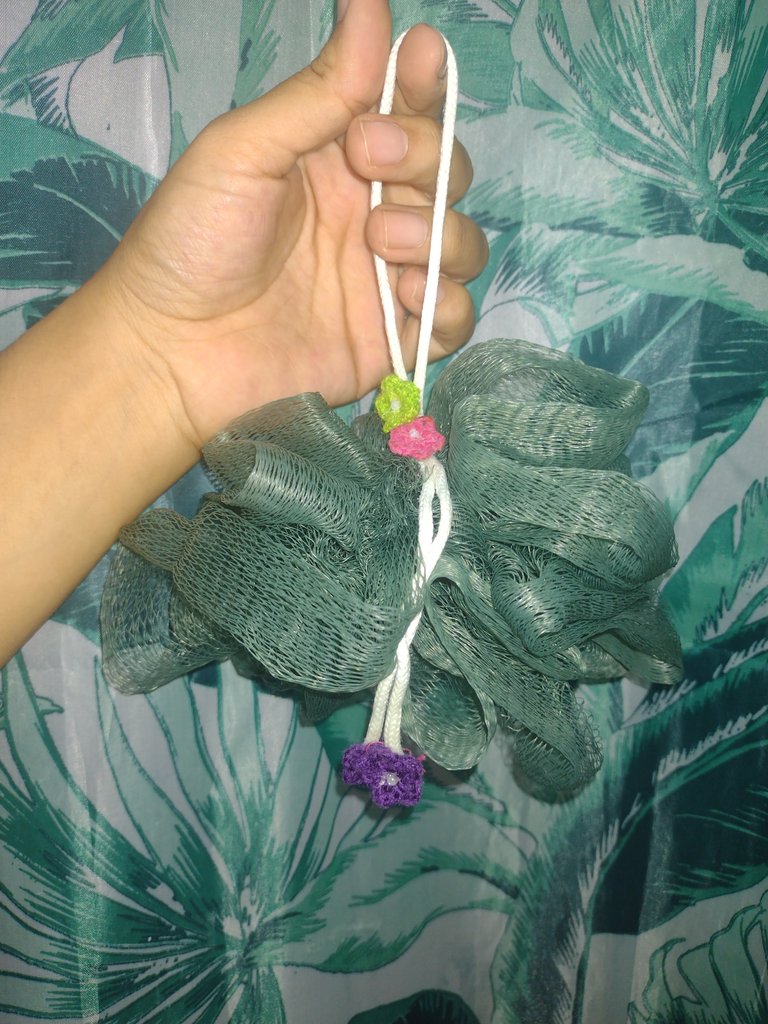
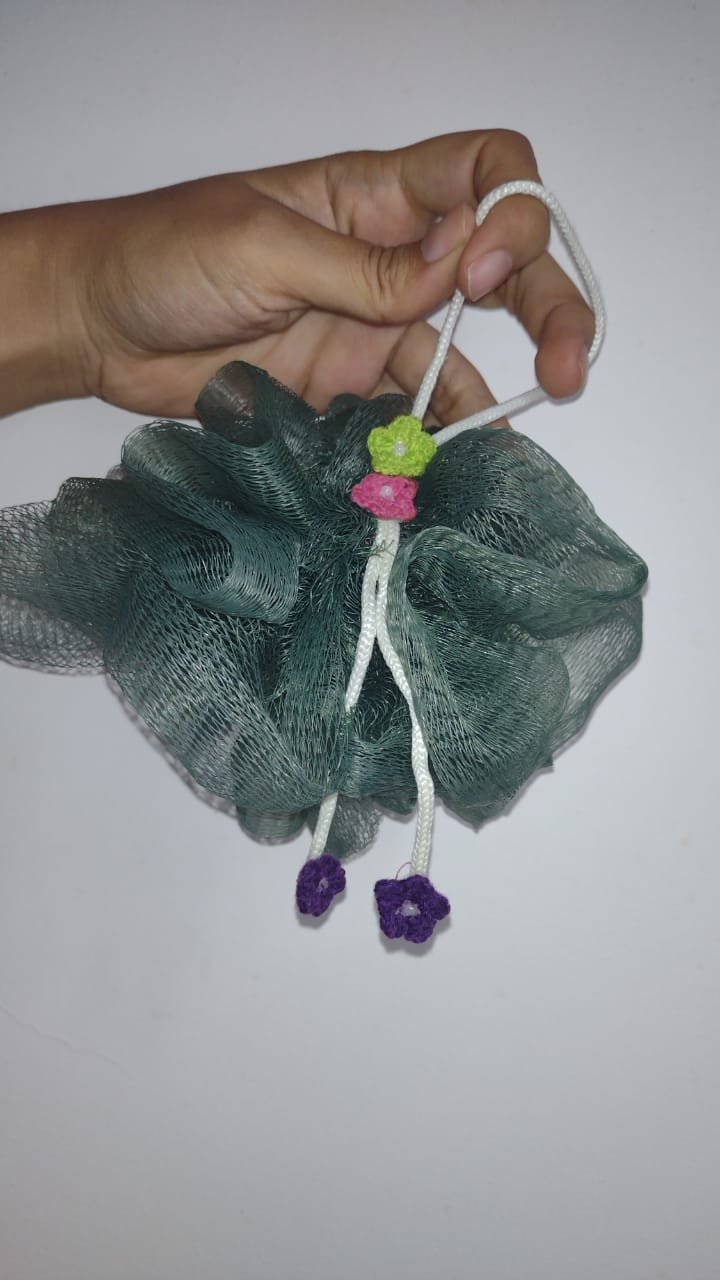
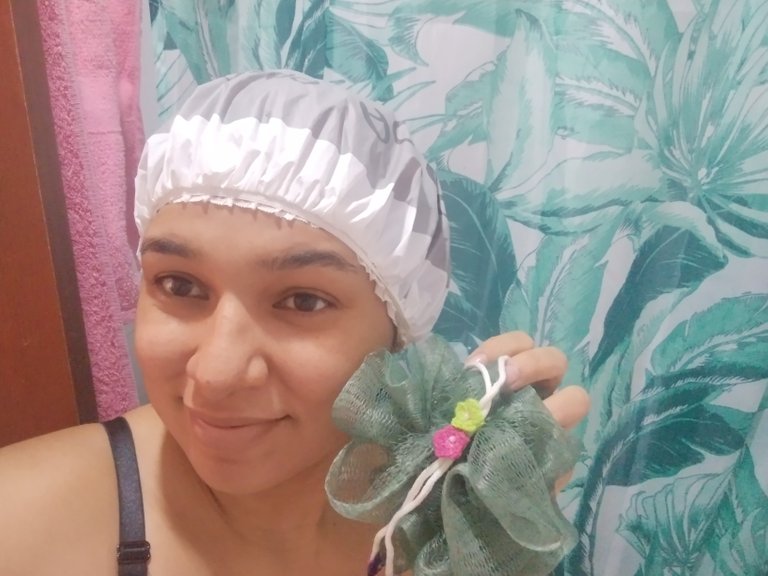
• Listo así quedó nuestra esponja, fuerte y con mi estilo personal, recordemos que debemos hacer agradable nuestro momento del baño. Es importante frotar la piel para eliminar la piel muerta y exfoliarnos correctamente. No en exceso para que la piel recupere sus nutrientes, pero si es necesario por ejemplo a la hora de ducharnos para finalizar el día y quedemos renovados de todas las impurezas del día.
Gracias amigos por leerme, apoyarme y comentarme; siempre agradecida por sus recomendaciones y sus buenos deseos. Saludos. Hasta un próximo post. Bendiciones


How to restore a bath sponge to our body?
Personal hygiene is very important in our lives to maintain good hygiene and health, if you use a bath sponge to shower daily, surely it has happened to you that the mesh sponges disarm all the time (even when they are new), or already With use they lose their original shape and at bath time it is more difficult to handle.
In this post I show you how I restored my bath sponge. In general, I like to recycle and give my products a second use to extend their useful life and thus save a little money so as not to buy the same product again so quickly, nor pollute the environment so much, well, as you know things made with plastic material are a high pollutant for our ecosystem and that of other living beings.

To repair or restore my bath sponge I will need:
• Thread
• Needle
• Mesh
• Woven flowers
• Fabric cord

Process
• I show you my disassembled bath sponge, every day I tried not to rub so hard so that it would not end up completely unrolling the material, it was very uncomfortable not being able to rub safely.

• First we untangle our sponge, and we remove the cloth cord that it usually has since we bought it.

• We insert the thread in the needle and begin to sew the beginning of the mesh, secure it with a knot and sew the mouth of the mesh for a better grip.


• Once that side of the mesh is closed, we proceed to make some stitches in the middle approximately with a separation of 1 cm to 1.5 cm.


• We finish sewing through the middle of the sponge until we reach the other end where the mesh ends, we also make a knot to completely close the mesh.

Then we join the two ends and sew several times to fix the union and ensure that in the future our sponge will not come apart again. We fix the fabric cord that allows us to hang the sponge in the bathroom, so that it is always kept dry and free of moisture.

• We can decorate it to give it our personal touch, in my case I placed some flowers that I had from some woven earrings that I no longer used.


• That's how our sponge was ready, strong and with my personal style, let's remember that we must make our time in the bath pleasant. It is important to rub the skin to remove dead skin and exfoliate properly. Not in excess so that the skin recovers its nutrients, but if it is necessary, for example, when we shower to end the day and we are renewed from all the impurities of the day


Thank you Hiverians for reading me, supporting me and commenting on me, always grateful for your recommendations and your good wishes. Greetings. Until a next post. Blessings

