[ESP-ENG]- Como hacer un agarrador de ollas con retazos de tela? // How to make a pot holder with scraps of fabric?
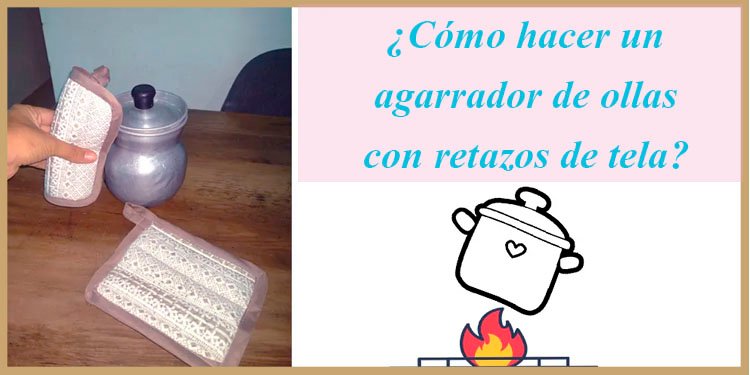
Mi suegra por ser costurera tiene muchos retazos de telas, sin embargo muy poco les da uso, ya que mantiene trabajando en un taller de confección de ropa. Y en casa me hacían falta unos agarradores olla para el uso diario. Ya que son muy útiles y evitan que nos quememos o hayan accidentes al poder sostener con más firmezas y seguridad nuestras ollas calientes sin el riesgo de quemarnos.
Es muy fácil de realizar, en esta oportunidad mi suegra me guió a realizarlos y les voy a explicar el paso a paso de como lo elaboramos.

- Retazos de telas gruesos
- Una espuma delgada
- Un vivo o sesgo para el borde
- Hilo
- Tijeras
- Maquina de coser (opcional para el que la tenga)
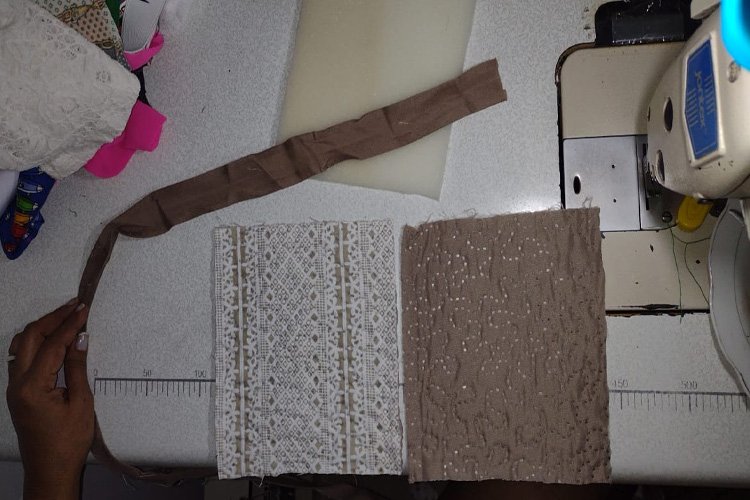
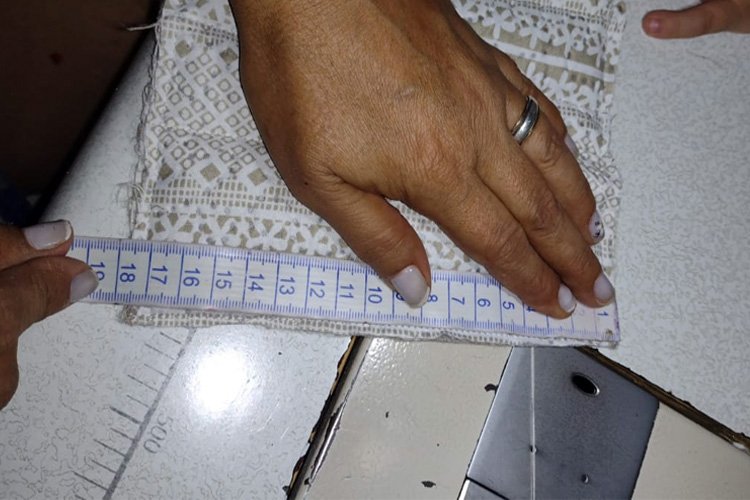
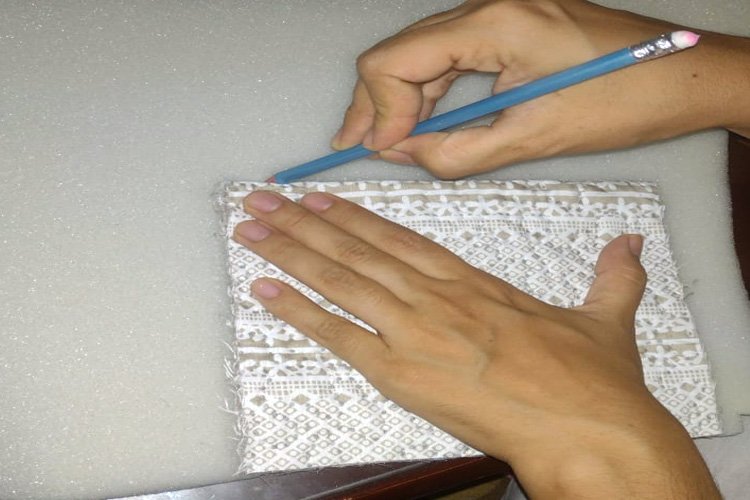
En primer lugar ya ubicada nuestra tela haremos 2 cuadros aproximadamente de 15 a 18 cm de ancho y largo para un mejor área de agarre de nuestras ollas.
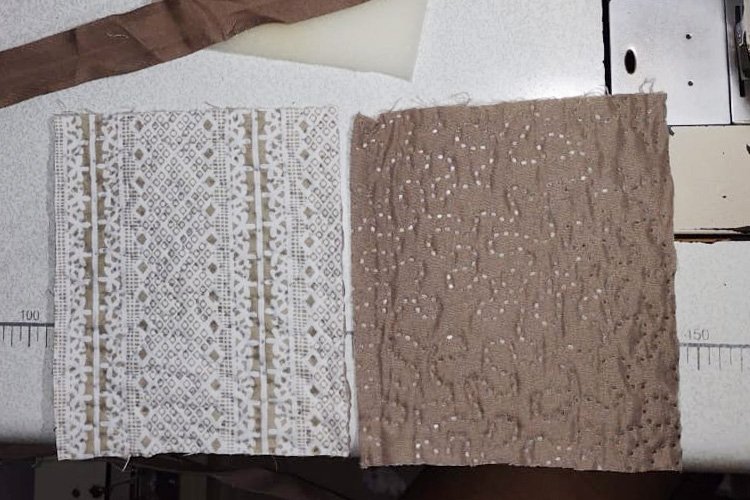
Luego copiaremos esa misma medida en la espuma, ya que está es la que nos apartará más el calor de nuestras manos y le dará firmeza a nuestro agarrador.
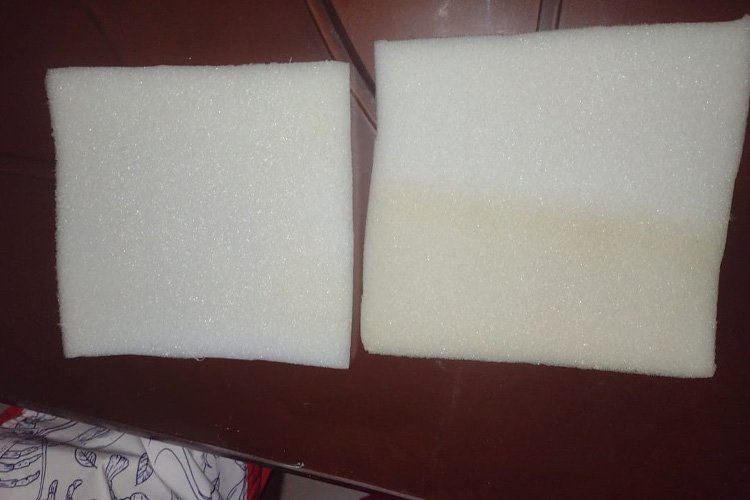
Ubicaremos los materiales de la siguiente manera para coserlos: primero la tela gruesa, espuma y finalizaremos de nuevo con la tela gruesa, estilo un sandwich.
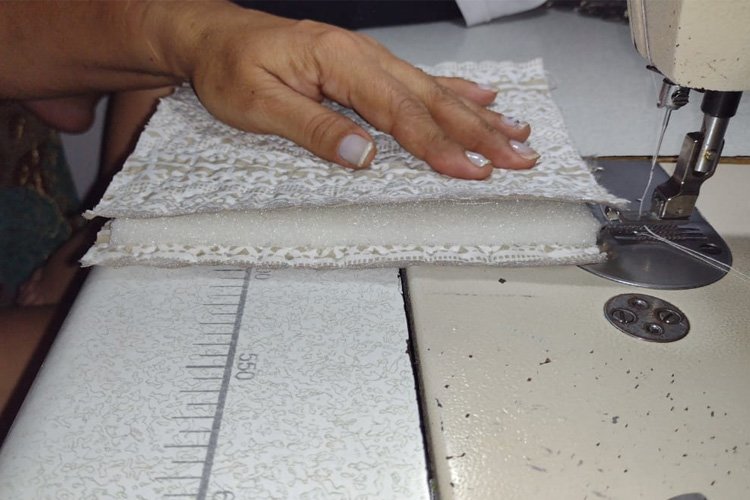
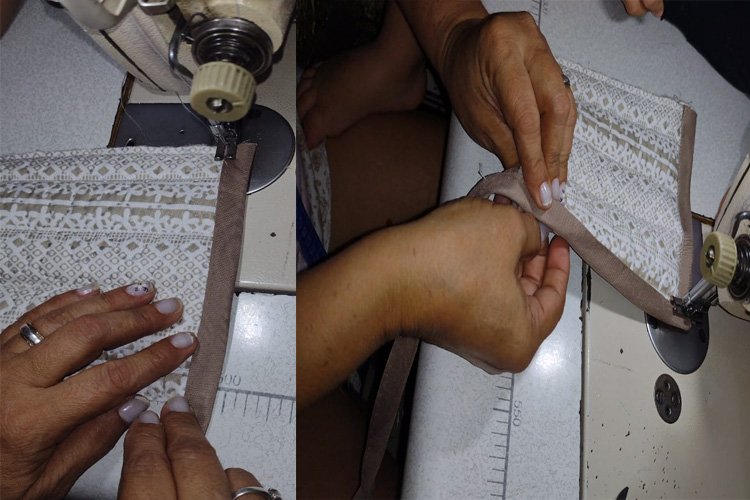
Repito lo pueden coser manual o con una máquina de coser, en mi caso mi suegra me prestó su máquina e iba poco a poco realizando el borde.
Una recomendación, para darle textura y lograr que la espuma se adapte con la tela podemos coser unas 4 líneas paralelas sobre nuestro agarrador.
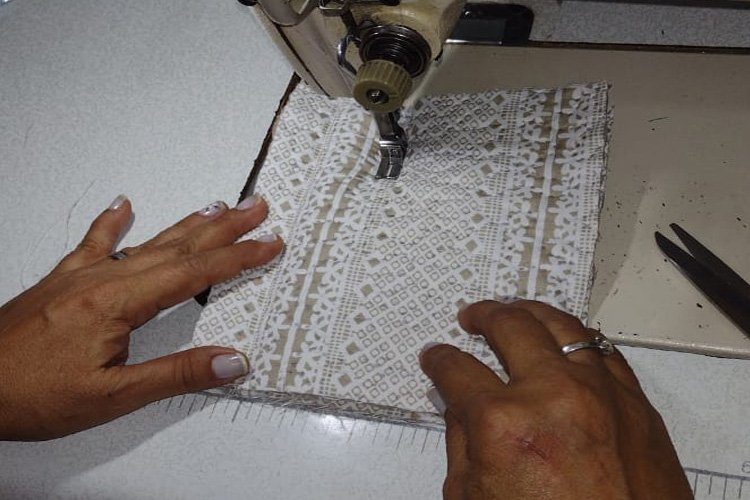
Finalmente colocamos el borde para decorar y tener un mejor acabado, con un vivo o sesgo (también pueden utilizar unas tiras de tela), vamos cosiéndolo por todo el borde de nuestro
agarrador. Y para luego guindarlo en cualquier área de nuestra cocina le hacemos un círculo con la misma tira al finalizar.

Este fue mi resultado final, quede muy contenta, primera vez que hago algo para mí cocina con materiales reciclados, antes lo compraba o utilizaba cualquier cosa que estuviera a mi alcance para agarrar mis ollas calientes.
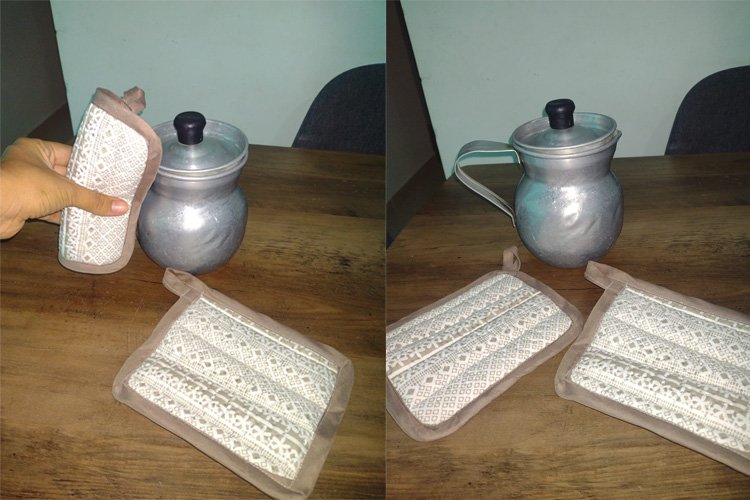

Esto me facilita mi día a día, ya que soy madre de un hermoso niño que le gusta bañarse diariamente con agua tibia debido al clima donde nos encontramos donde permace el agua fría en la ducha por las constantes lluvias. Y este práctico agarrador de ollas me permite tomar el aza de la olla sin quemarme y llevarlo con seguridad hasta el baño donde le caliento su agua en la bañera. Ya que por los momentos no cuento con sistema de ducha calentadora de agua.
Así como también me sirve para cocinar diariamente de manera segura.
Queridos amigos de Hive, gracias una vez más por su apoyo, por dedicar un tiempo para visitarme, leerme y darme sus opiniones. Un abrazo desde la distancia. Feliz día . Hasta un próximo Post.

Hello my dear Hive Diy community. On this occasion I want to share with you a entrepreneurship that I am carrying out from home, since I am pregnant and I have not been able to work in another medium.
My mother-in-law, because she is a seamstress, has many scraps of fabric, however, she puts them to very little use, who keeps working in a clothing workshop. And at home I needed some pot holders for everyday use. Since they are very useful and prevent us from burning or having accidents by being able to hold our hot pots more firmly and safely without the risk of burn us It is very easy to do, this time my mother-in-law guided me to do it and I am going to explain the step by step of how we make it.

- Thick fabric scraps
- A thin foam
- A live or bias for the edge
- Thread
- Scissors
- Sewing machine (optional for those who have it)

In the first place, once our fabric is located, we will make 2 squares approximately 15 to 18 cm wide. width and length for a better grip area of our pots.


Then we will copy that same measurement in the foam, since this is the one that will separate us the most.warmth of our hands and will give firmness to our grip.


We will place the materials in the following way to sew them: first the thick fabric, foam and we will finish again with the thick fabric, sandwich style.

I repeat you can sew it manually or with a sewing machine, in my case my mother-in-law lent me her machine and little by little making the edge.
A recommendation, to give it texture and make the foam adapt to the fabric we can sew about 4 parallel lines on our pot holder.

Finally we place the edge to decorate and have a better finish, with a live or bias (you can also use some strips of fabric), we sew it around the edge of our gripper. And to later hang it in any area of our kitchen we make a circle with the same strip at the end.


This was my final result, I am very happy, the first time I do something for myself, I cook with recycled materials, before I bought it or used anything that was within my reach to grab my hot pots.


This makes my day-to-day easier for me, since I am the mother of a beautiful boy who likes to bathe daily with warm water due to the climate where we are where the cold water remains in
the shower due to the constant rain. And this handy pot holder lets me grab the handle of the pot without burning myself and take him safely to the bathroom where I warm his water in the tub. Since at the moment I do not have a water heating shower system.
As well as it also helps me to cook daily safely.
Dear friends of Hive, thank you once again for your support, for taking the time to visit me, read me and give me your opinions. A hug from a distance. Happy day . Until a next Post.

Programa Photoshop Cs6.
Traductor de google.
 )
)