Simple process of making a cash pouch for my friend to replace the old one
Hello creative friends
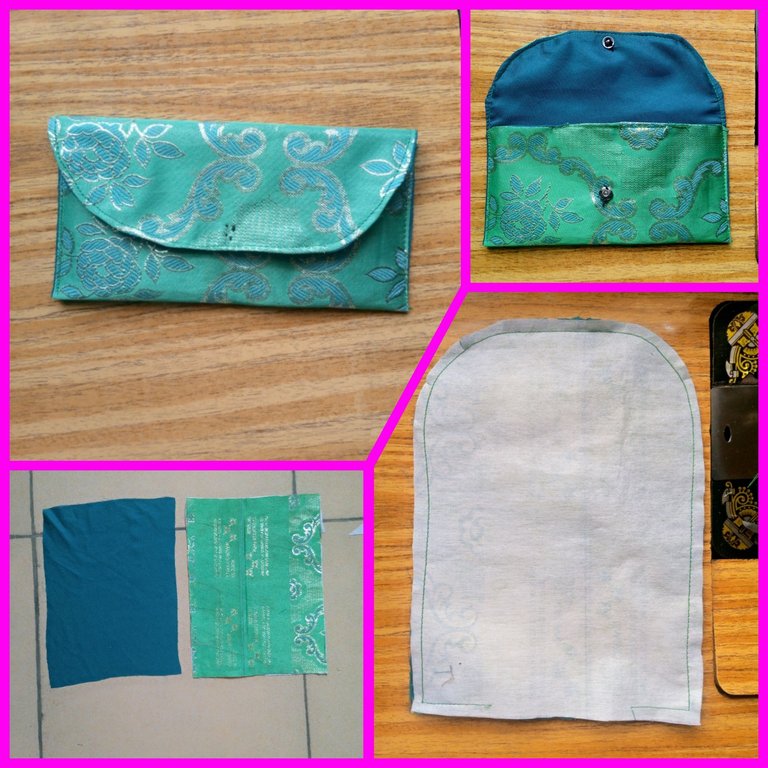
Greetings to you all on this beautiful day in this great community, I hope you all are doing great just as I am doing here, it is with great pleasure that I bring to you today the cutting and sewing process of this simple cash pouch I made for a friend, it is made from I small piece of fabric with just few steps by step process, it has a little pressing button attached to it to clip it together for safe keeping of the cash and other items that can be kept in it.
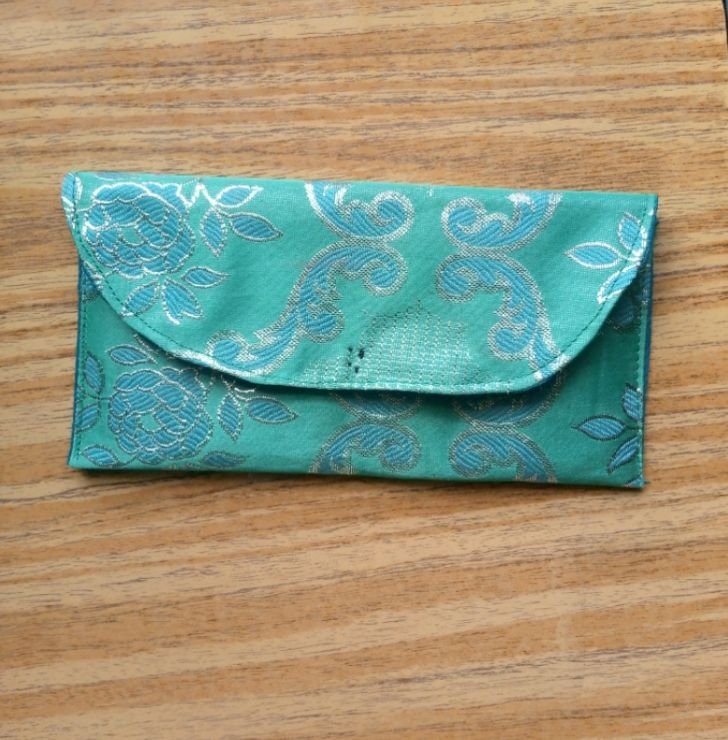
A friend of mine approached me that she needed a small cash pouch with she can use to replace the old one she had, well, she had a small leather cash pouch which she bought and has been using for a long time, it has become so old that she needed to replace it, she was aware that I make different types of bags, pouch and purse so she came to me that I should help her make something simple just to put her cash in, well as a friend, I had no option than to help a friend in need out, so I went ahead to help her make this just as she wanted.
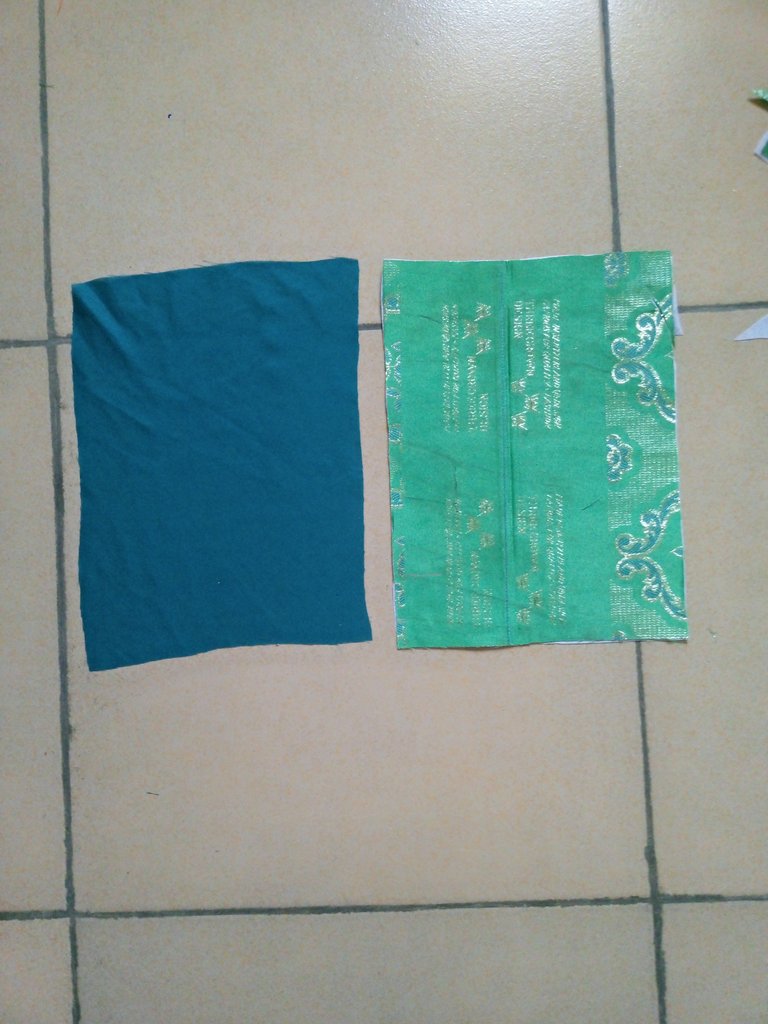
From the pieces of fabric I have left from my previous project, I decided to cut this little piece from it since the pouch is intended to be a small one and regardless of the color, my friend wouldn't mind, all she wanted is just a pouch for her cash.
Let me take you through the cutting and sewing process
From the pieces of fabric, I measured and cut out 10.5 x 8" of the main fabric and lining. I cut out same shape of interfacing and ironed it on the main fabric.
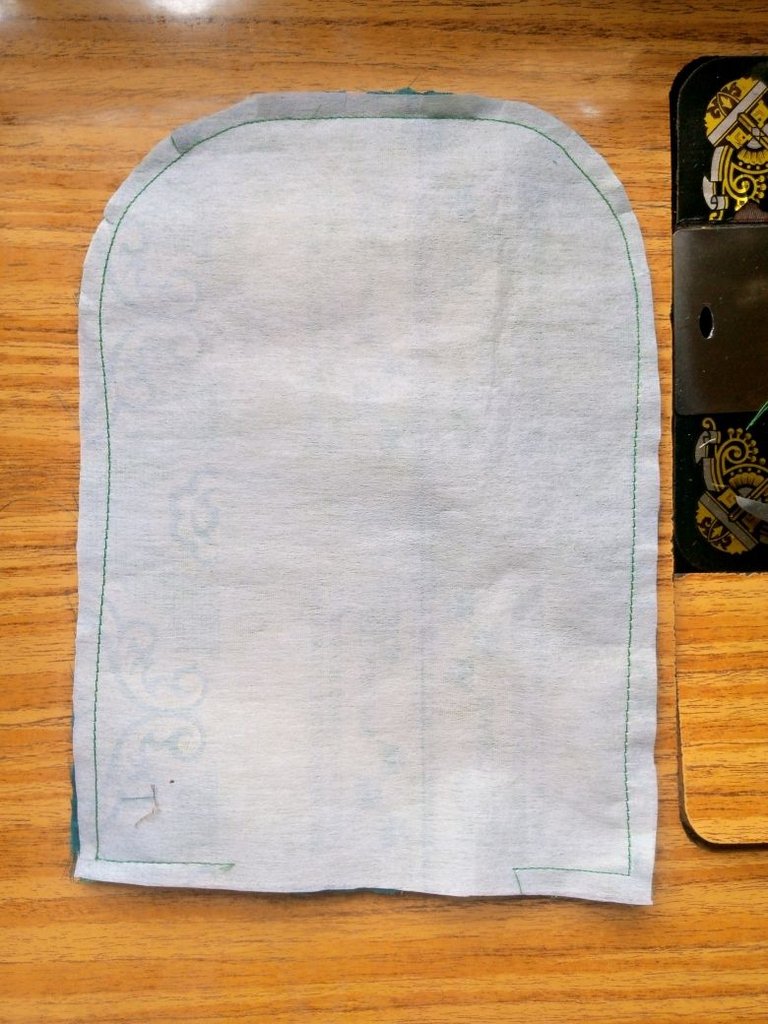
The main fabric was folded in two vertically and I made a little curve at the top, it was placed on the lining as I sew it round following the shape of the main fabric and leaving an opening at the base where it can be turned inside out.
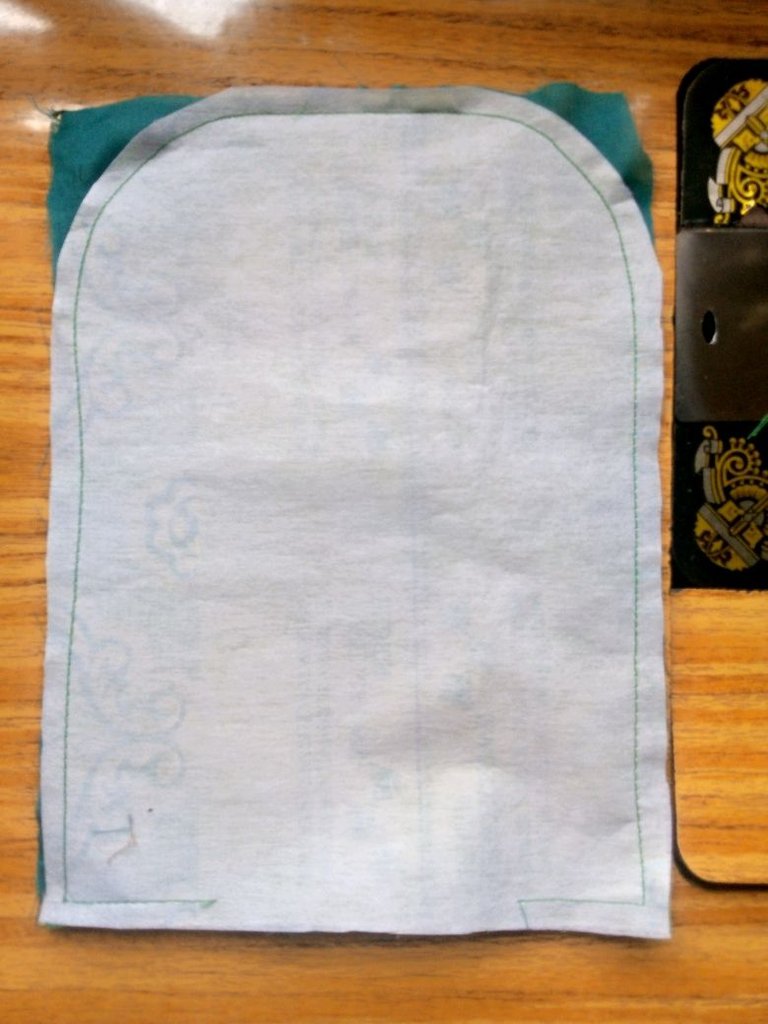
The excess were trimmed off then I made notches around the edges before it was turned inside out and I top stitched on the opening.
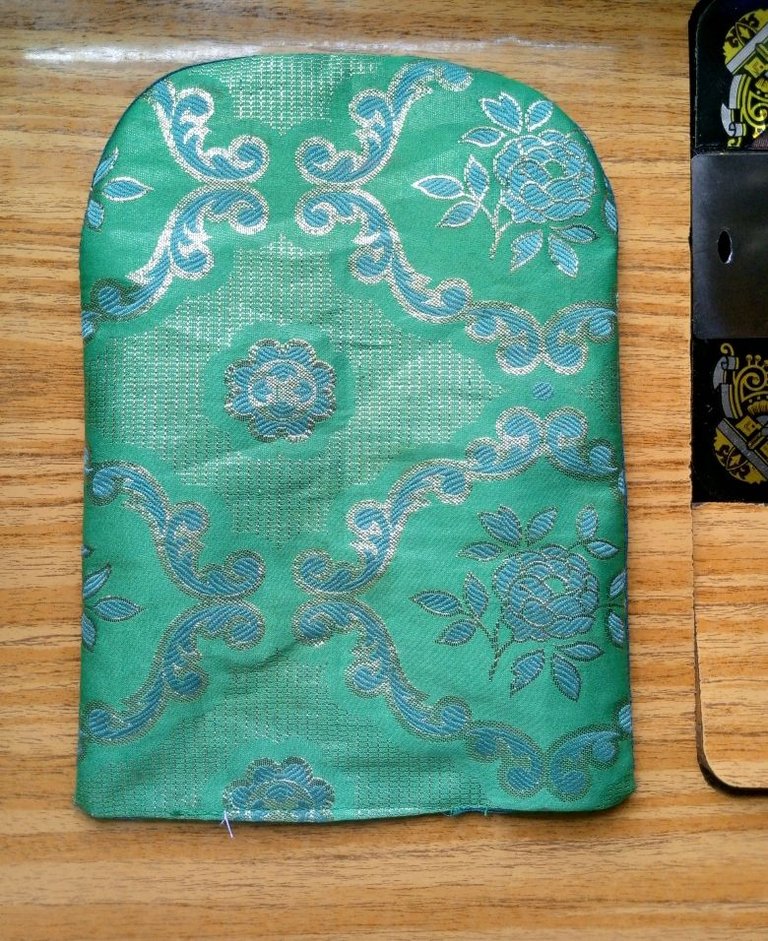
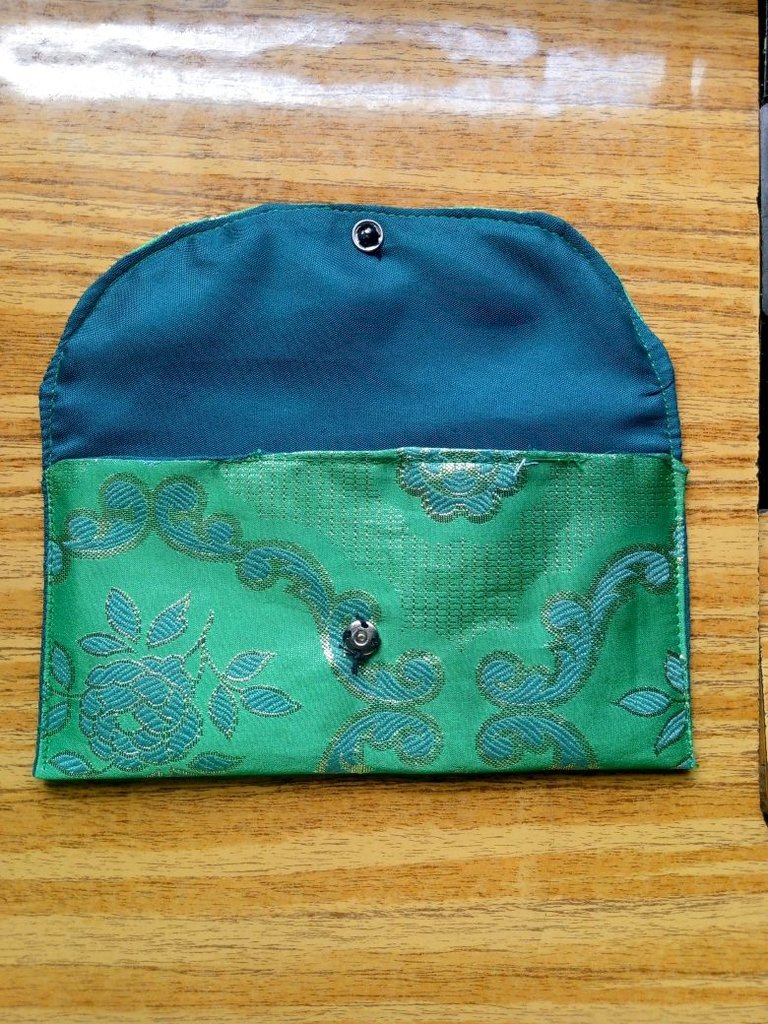
I measured 3.5" from the base, folded it up and sew on both sides from one end to the other there by top stitching on the top as well
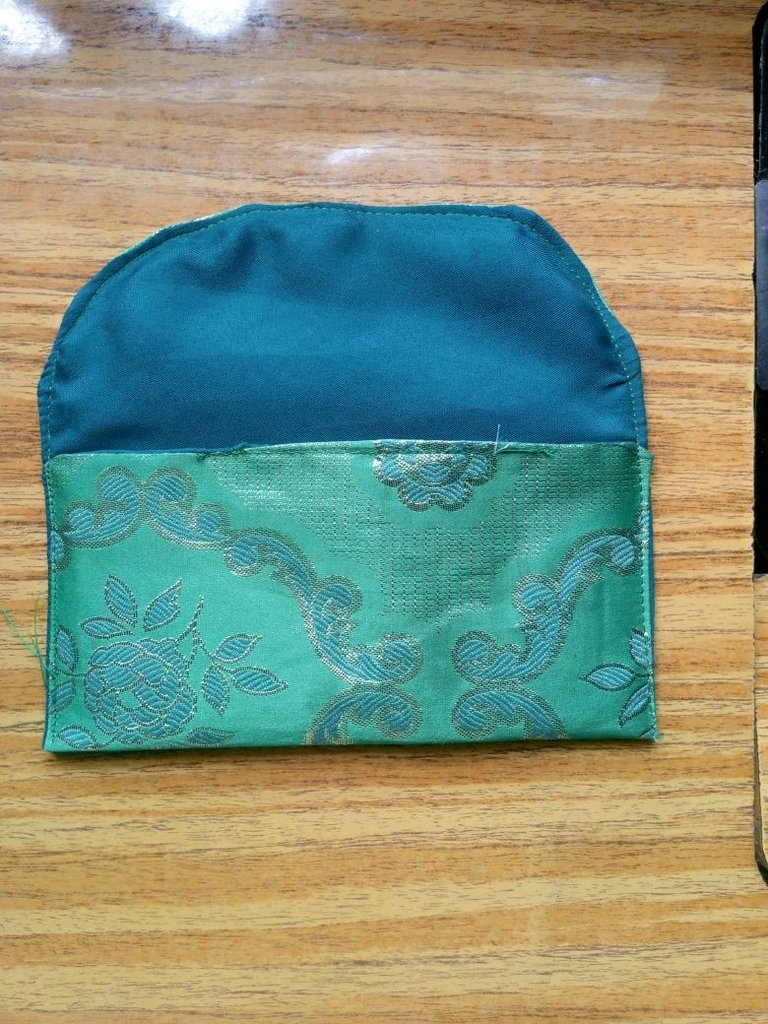
Finally, it was folded in two to locate the mid point where I can attach the pressing button, the pressing button was fixed on the appropriate place and that was all.
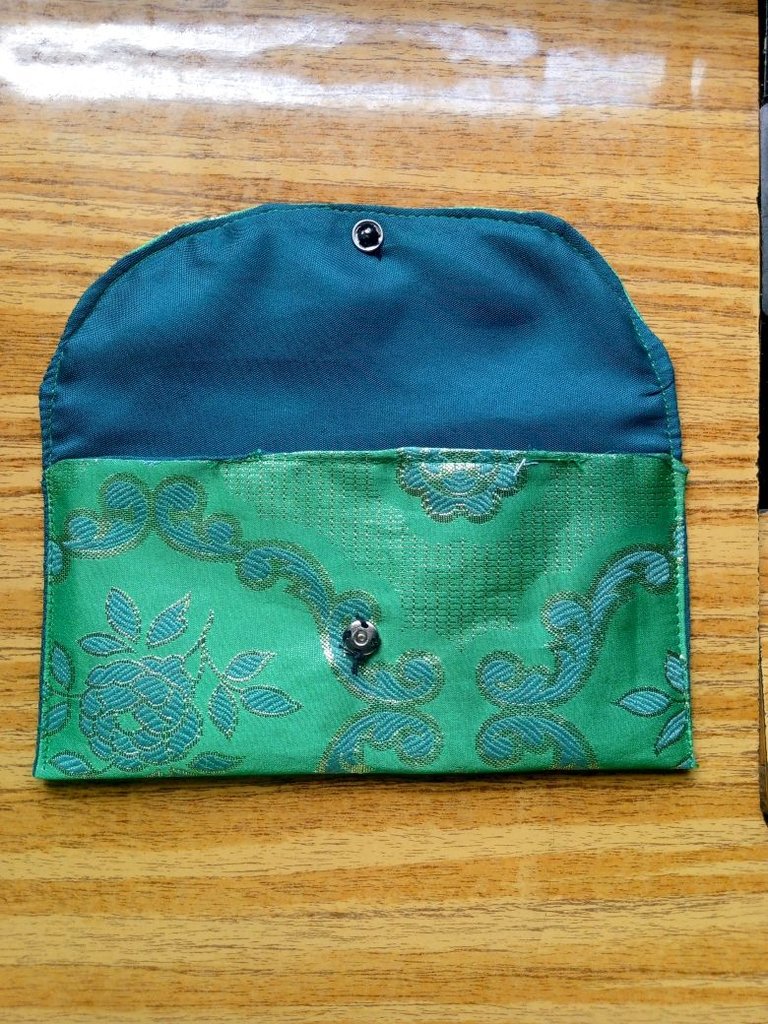
This is the final outcome and my friend was very happy to have it, I'm equally happy to make this for her.
The good thing is that it is simple, easy and very useful.
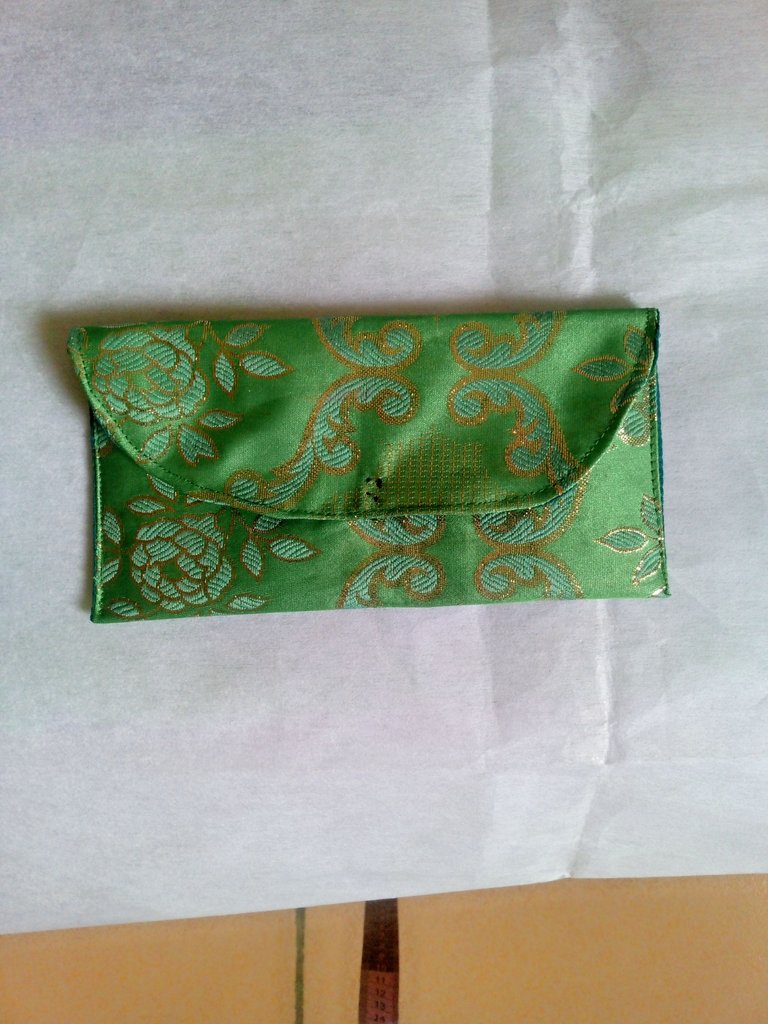
Wow this is really beautiful and unique weldone.
Am sure your friend will be excited
Oh yes, she was extremely happy and grateful for it. Thanks for stopping by.
Simple and nice. Good job, thanks for sharing.
Thanks so your comment.
It is elegant and stylish. Love this cash pouch. Your friend will be delighted to see this. Well done!
Thanks for your comment and support.
cute and simple. Thanks for sharing it❤️
Thanks so much @alejandrabm1
It looks great on you. The design of the cloth is beautiful.
Thanks so much my friend, I'm glad the outcome is nice.