Making a useful boxy pouch for safe keeping my sewing thread
Hello beautiful people
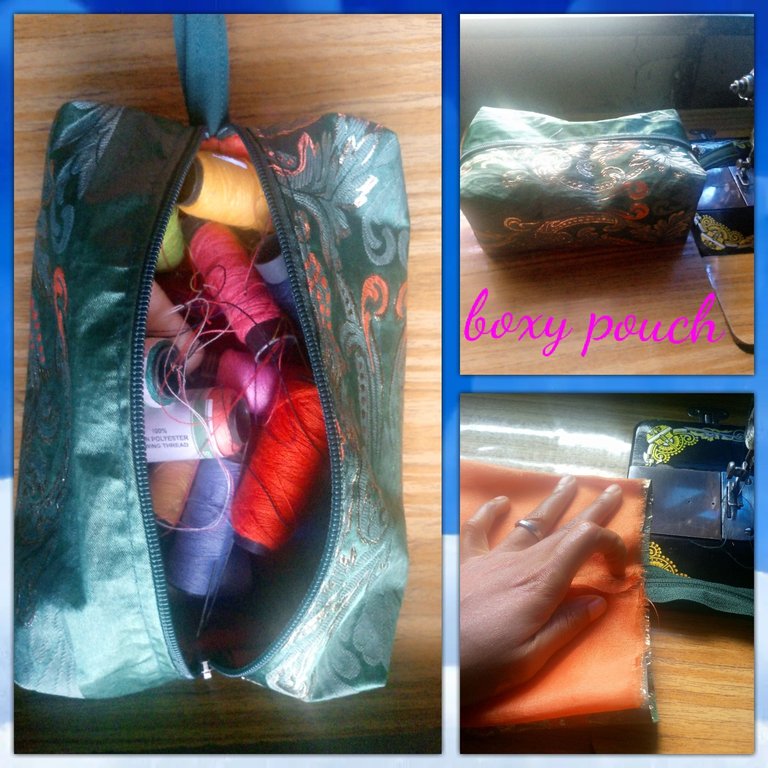
Greetings to you all on this beautiful day, I hope you are all doing great, it's my pleasure to share with youin this community @needleworkmonday the making of this beautiful boxy pouch for my sewing thread and I hope you will like it as well, it is very easy, simple and most especially it is very useful, not just for thread but for other things you so desire.
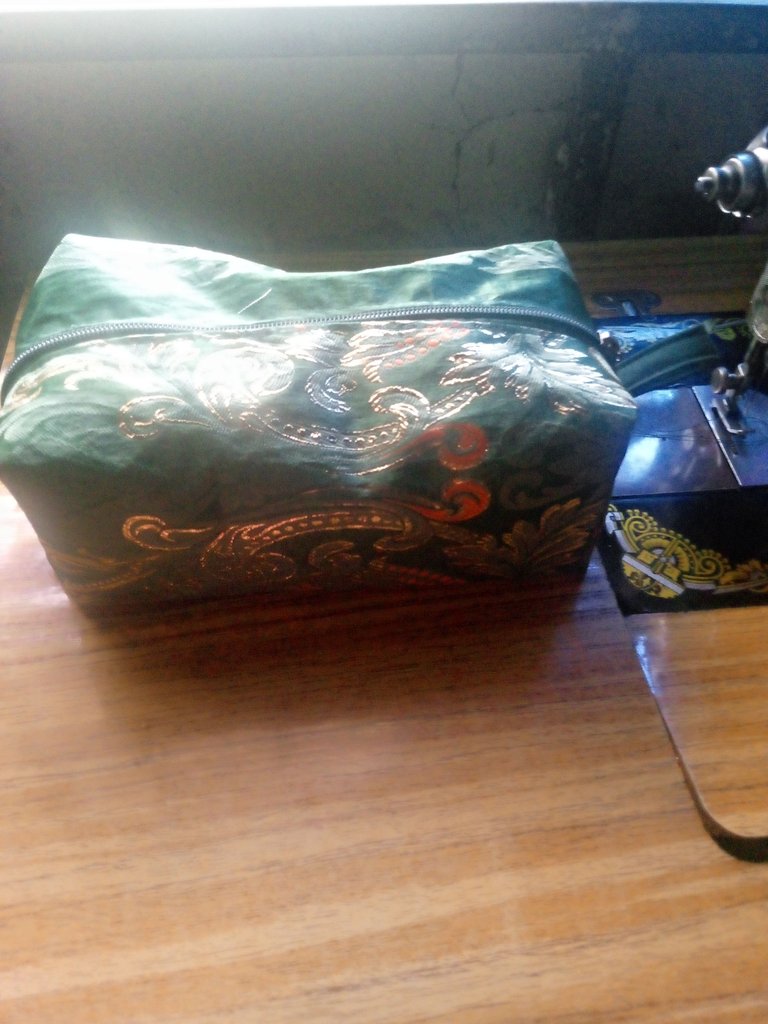
I made a scissors keeper recently and it has been very useful to me, it has been where I usually kept my scissors after use for easy access, after making the scissors casing, then my attention was drawn to my sewing thread, they were all kept in a nylon bag without a specific place to put them and my sewing thread were so looking untidy, then I decided to make a pouch for my thread for safe keeping.
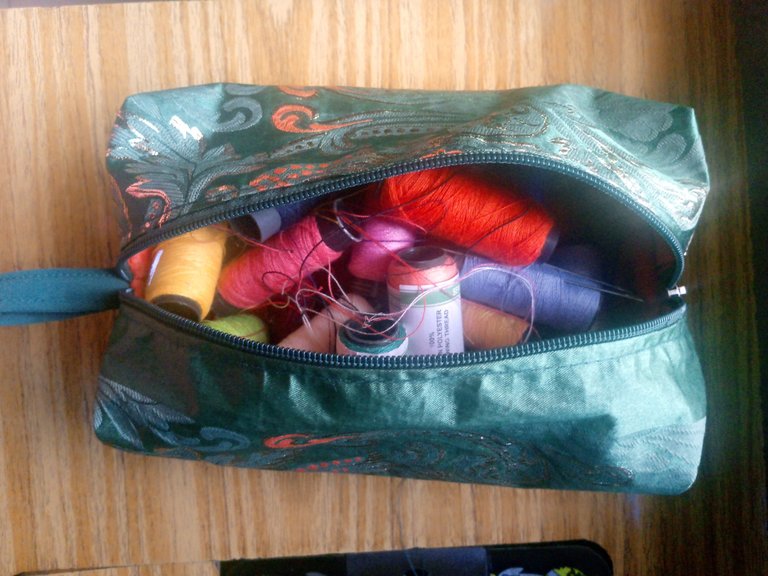
Let's get started with the cutting and sewing process.
To start with, I measured 12 x 8" on the lining I intend to use and cut it out in two places.
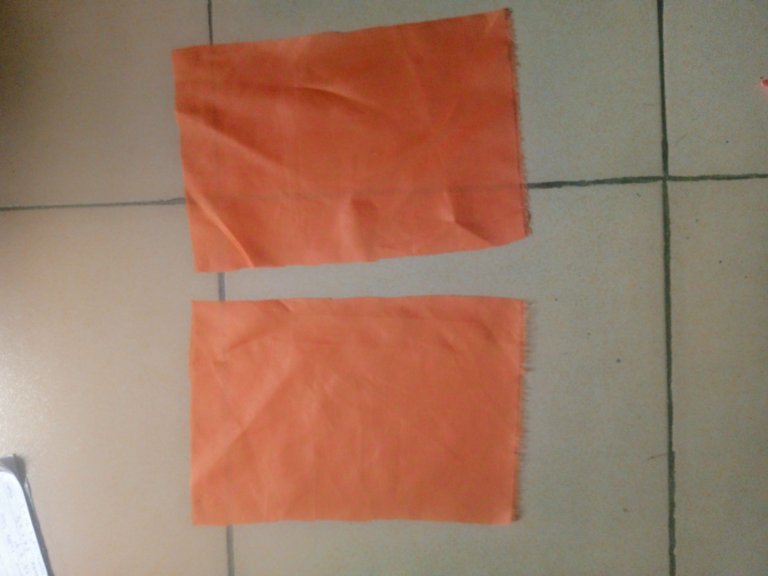
It was sewn together on the 12" leaving an opening in the middle for it to be turned inside out.
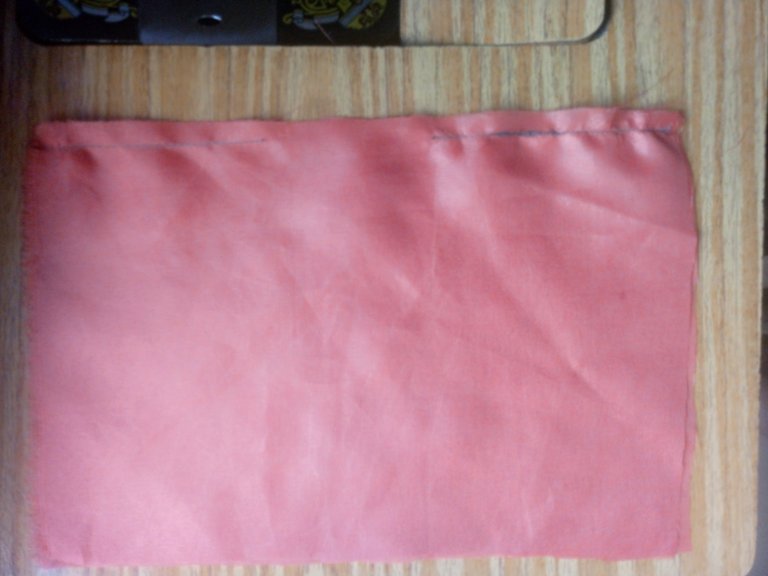
I set that aside as I made a small handle on the boxy pouch as I cut out 4 by 2" on another fabric.
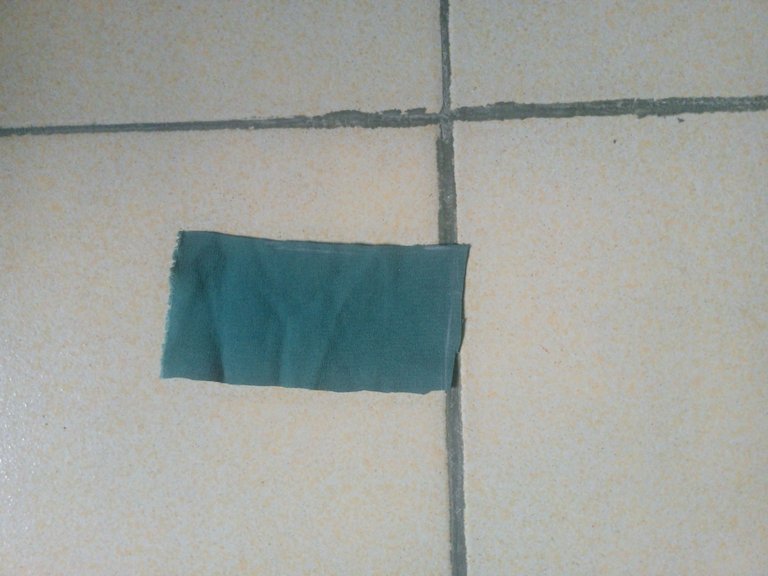
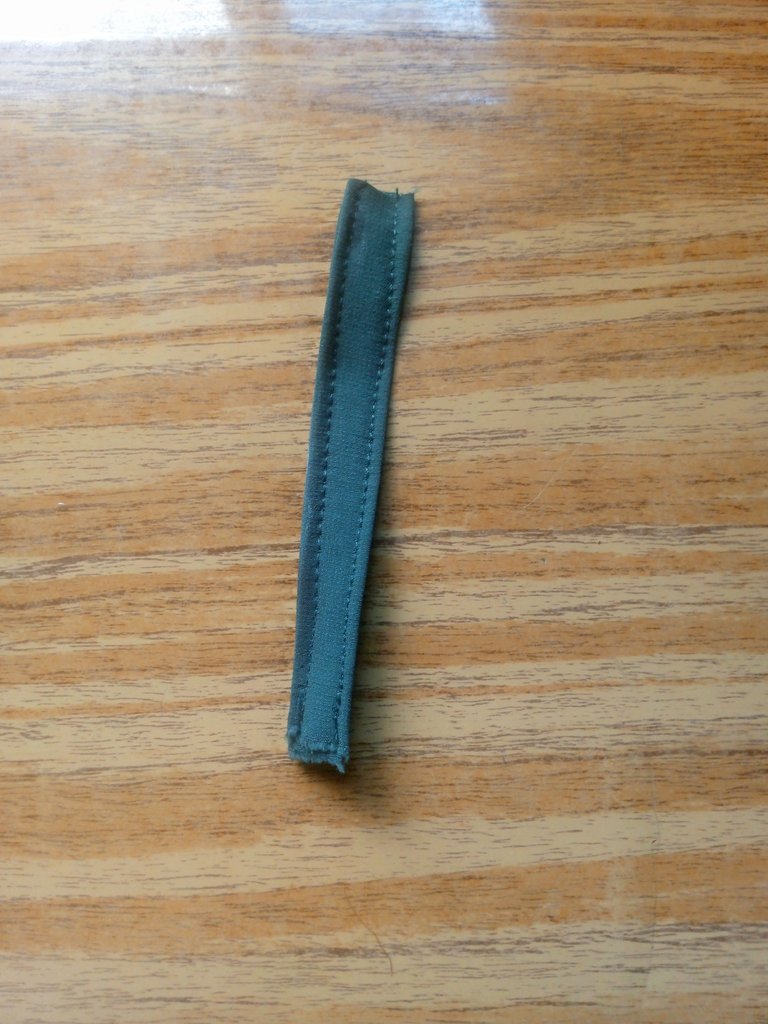
It was folded in two from the edges before being folded in two and taken to the sewing machine to be sewn on the two edges.
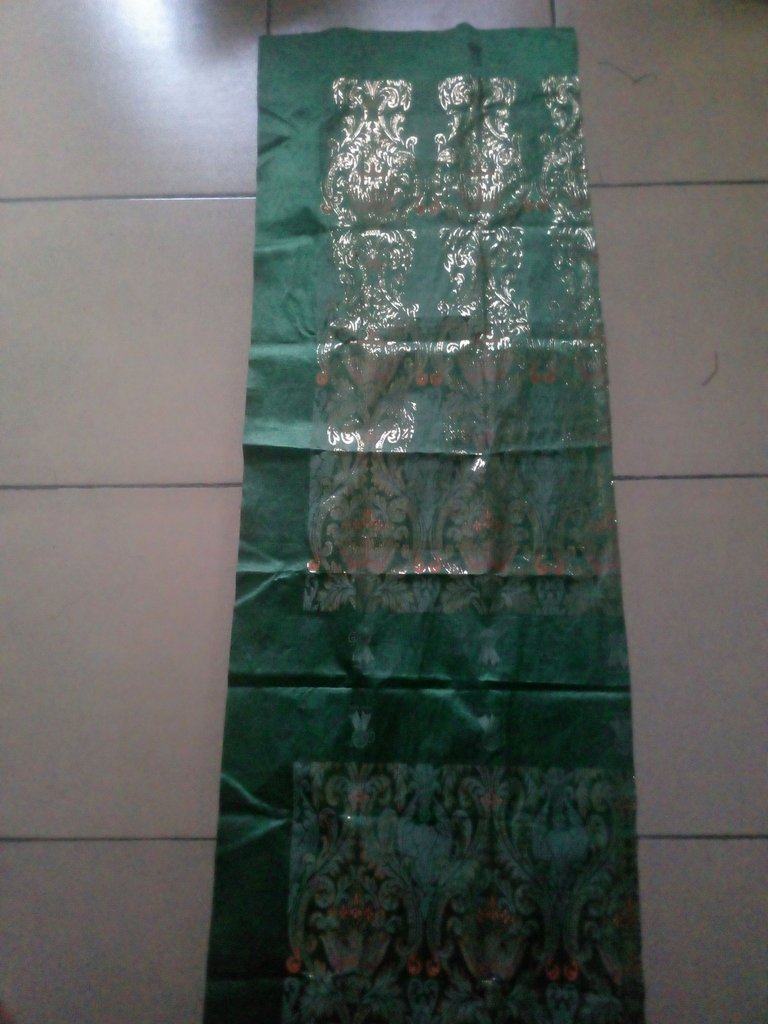
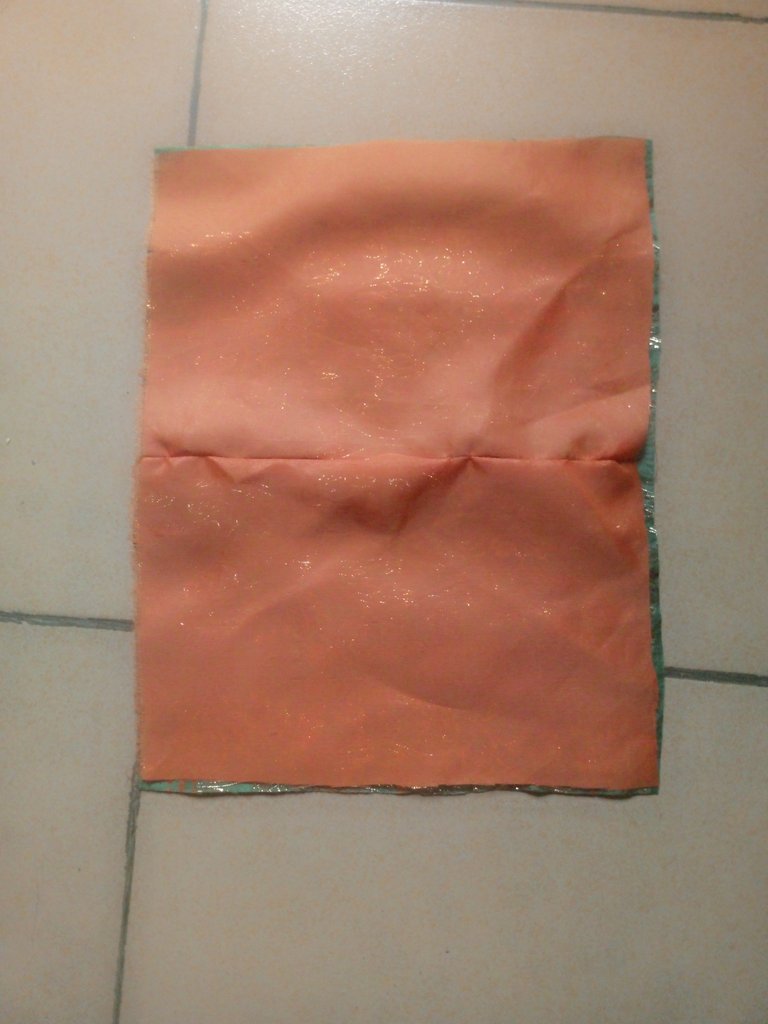
The lining was placed on the main fabric to cut out same shape.
I brought out my zipper and placed it on the right side of the main fabric with the zipper head facing down then I placed the lining on it, the 3 were sewn together on my sewing machine.
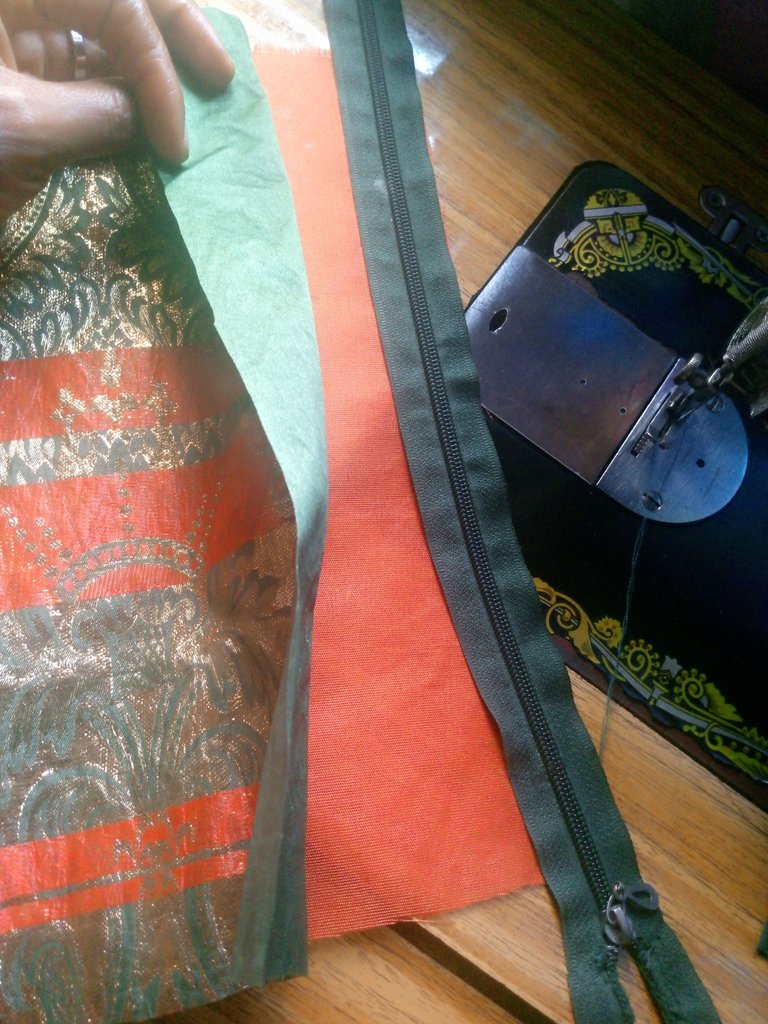
After sewing, it was turned to the right side as I top stitch on the side of the zipper.
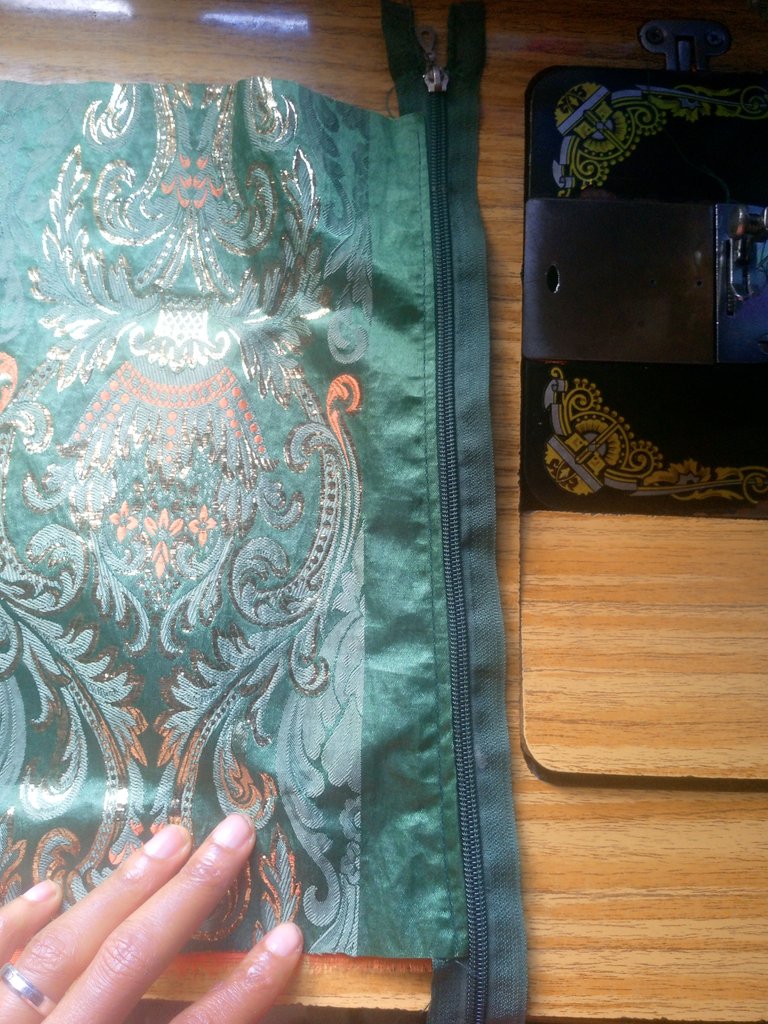
It was turned over again while I opened the zipper to the middle with the main fabric to the main fabric and lining to lining , I sew together with the zipper.
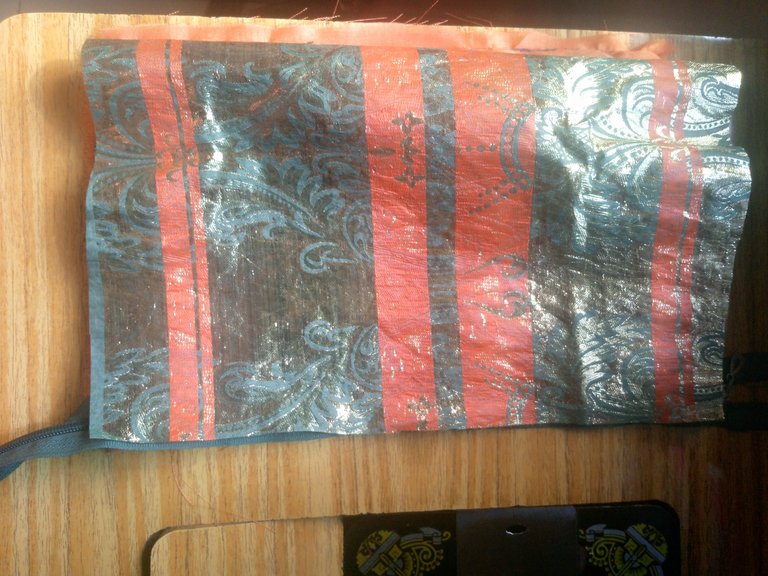
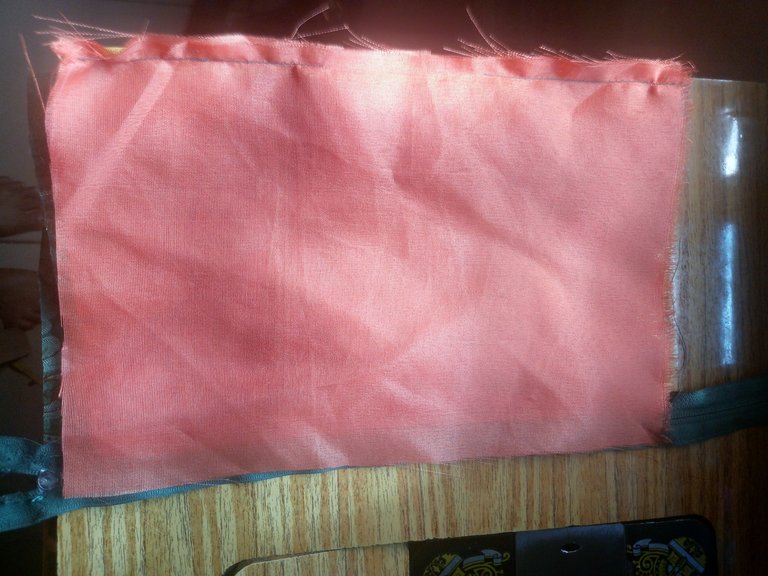
I turned it inside out and top stitch on the zipper, it was turned to the wrong side with the zipper in the middle as I sew the handle on the zipper edge.
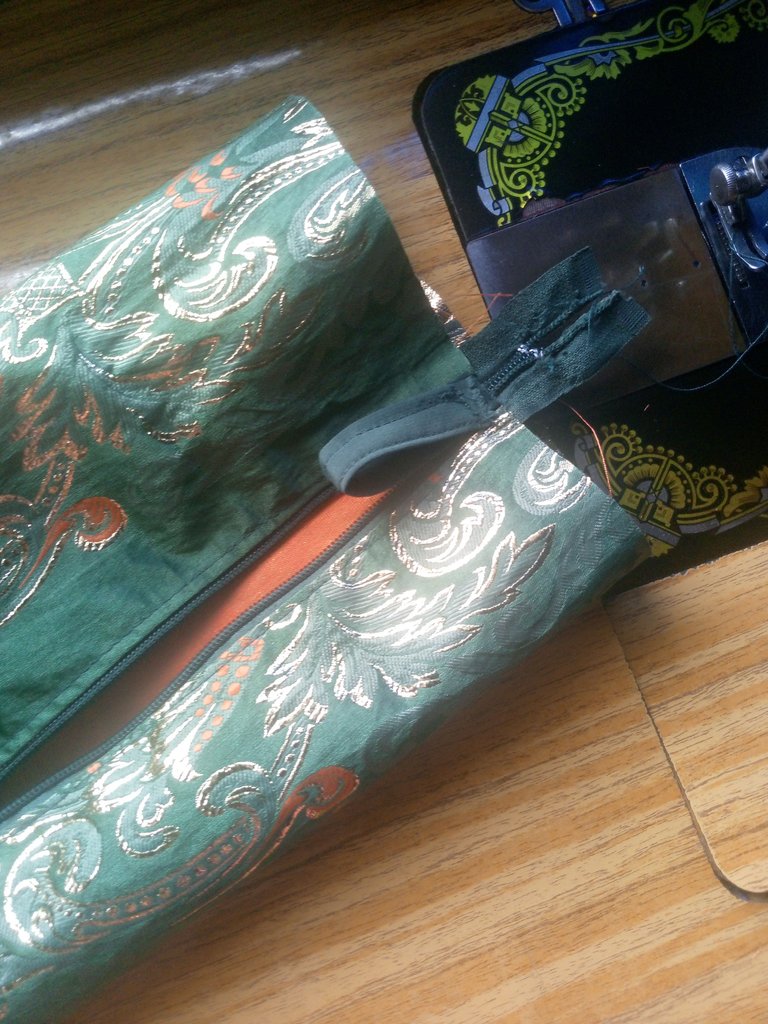
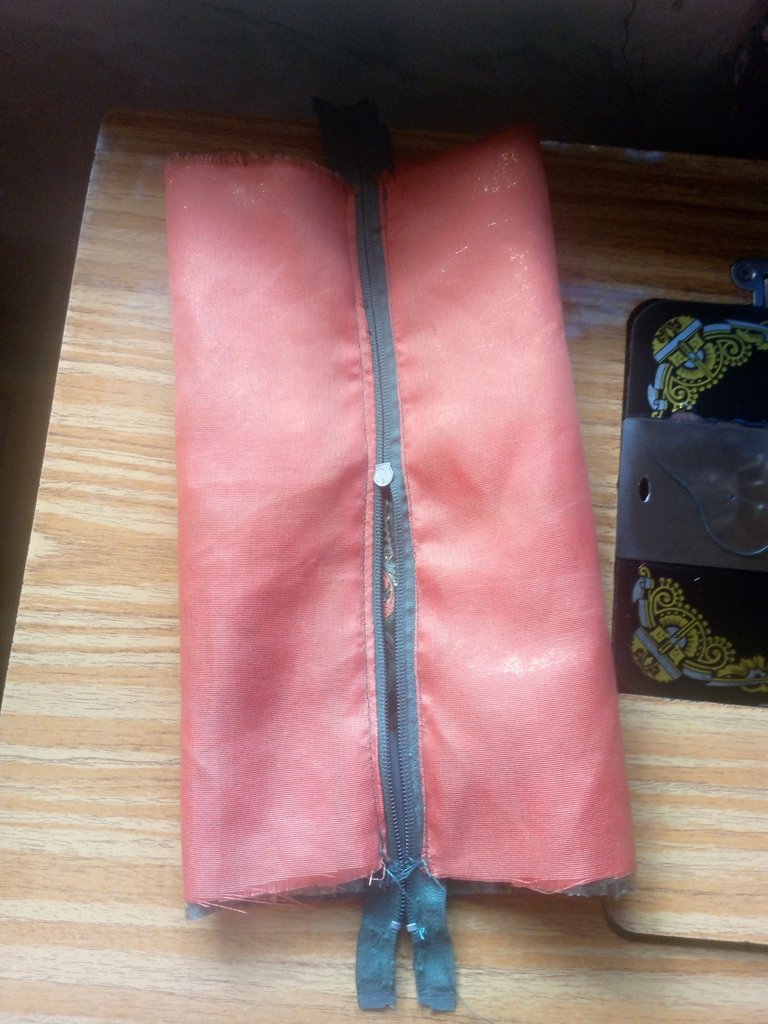
Locating the middle by notching the main fabric, I matched the center of the main fabric to the zipper and the center of the lining together and sew, I repeated same on the other side.
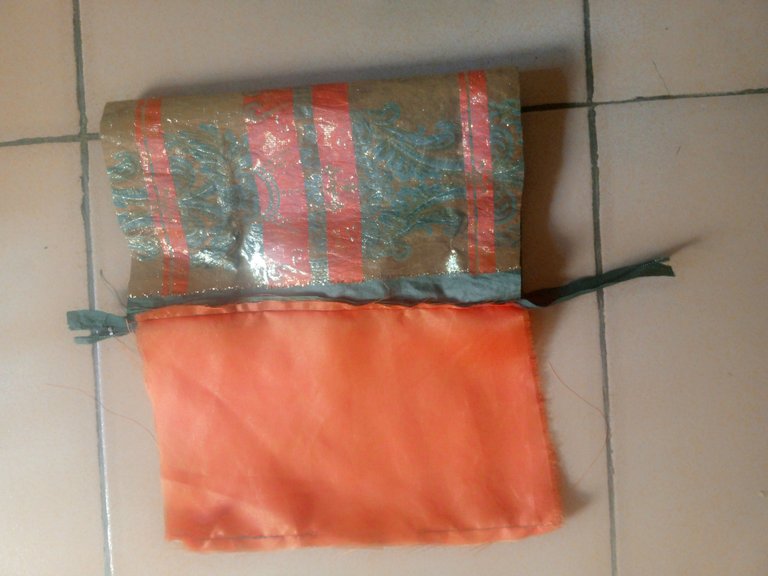
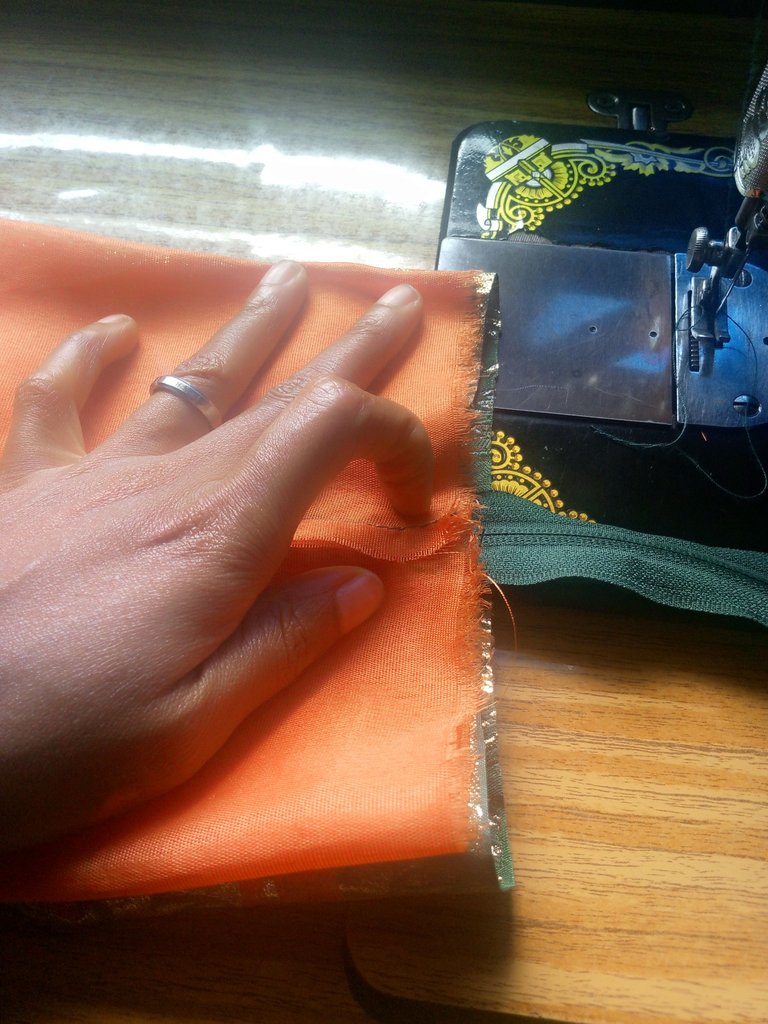
It was turned inside out through the opening I left on the lining then the opening was sewn close.
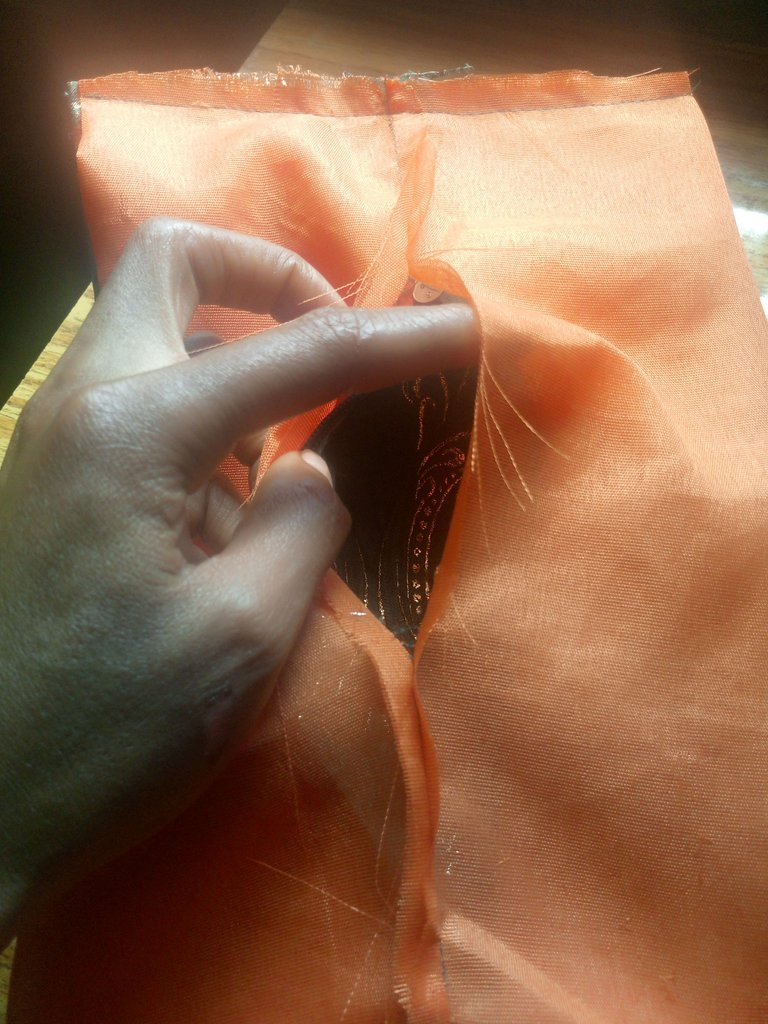
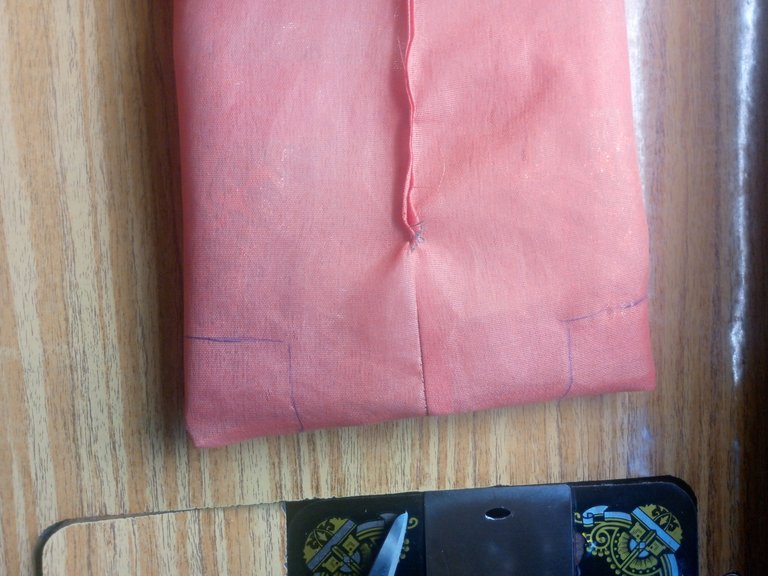
It's looking nice already but this is not the shape I wanted, I wanted it to be inform of a box.
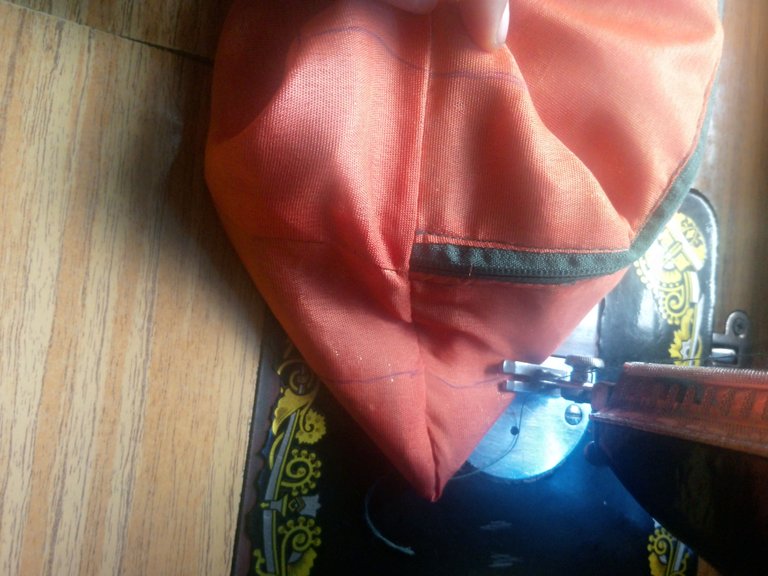
It was turned to the wrong side as I measured 1.5" on all the sides in a square shape.

The sides were folded in a triangle form with the side seam facing up and I sew it on all the sides.
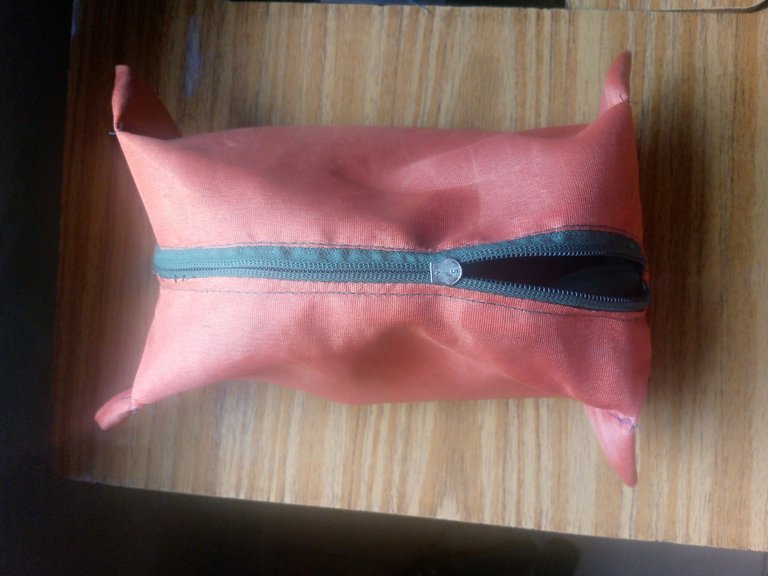
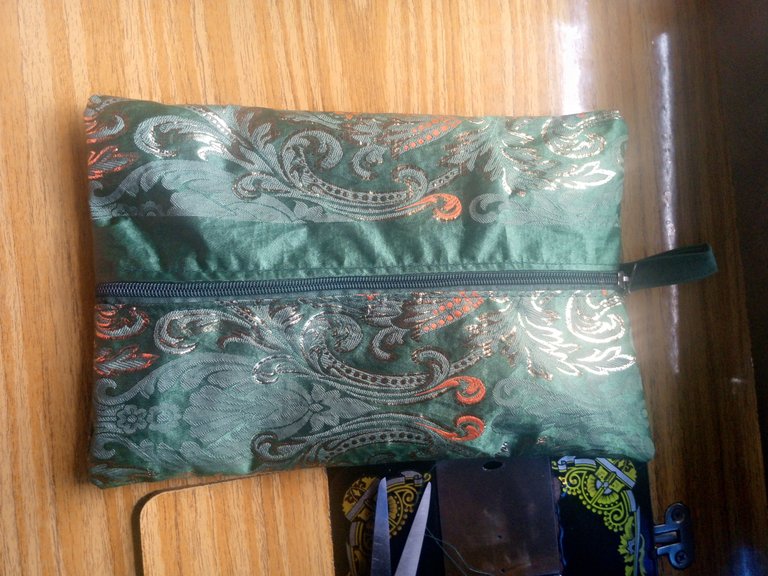
Finally, it was turned inside out and I have this boxy pouch for my threads.
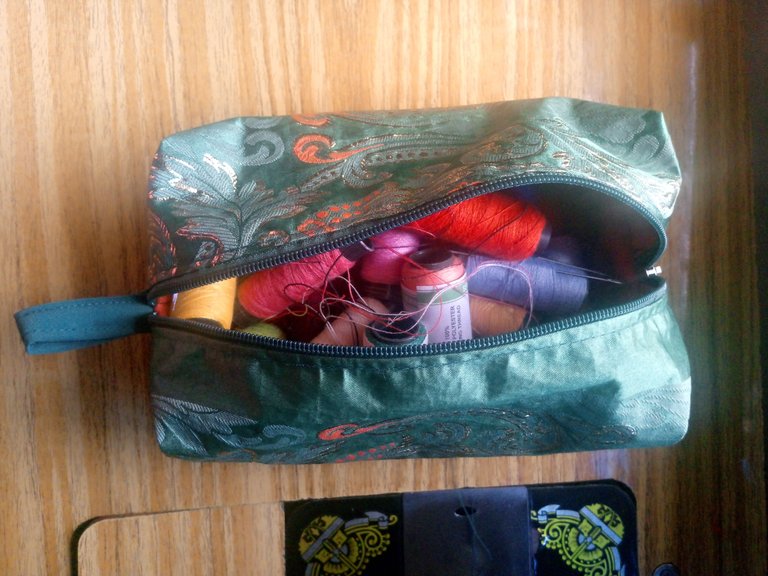
I hope you like the beautiful outcome of my boxy pouch

This will really come in handy and I think I’ll need this for myself because I always can’t find my thread. Great job and thank you for sharing.
You are welcome
aha that looks great, thanks for sharing.
Thanks @diyhub for your comment and support.
Omg, this is so nice and neatly sown, but I'd rather put my threads in a basket or thread rack because they usually tangle.
Anyways, This is so really nice and thoughtful, and more organized.
Well, you are right but I only thought of using what I could make to create what I needed, as far as it serves my purpose, I am good to go. Thanks for stopping by.
Ikr, thanks for sharing
Very beautiful, useful and practical bag, I congratulate you, thank you for sharing.
Thanks so much @gladymar1973
This is really useful and can keep our sewing tools intact. Thanks for sharing this tutorial with us.
Thanks for your comment @monica-ene
Ha! Very useful box, I had to use wood and nails to safe keep mine.
Wow! That's nice, this is another way I felt I could keep mine and it's so useful.
This is nice, you had a nice talent, and you recently posted a scissors case and water bottle holder, I wish I had seen you, I would have loved to learn from you, well done dear friend.
Beautiful project Bimpcy, it's always useful to have a place to keep all our sewing supplies, congratulations 💕.
Oh! Thank you so much, I appreciate your comment.
Wow, @bimpcy you always feed my eyes with beauty design, this so great, keep it up dear
I will so much love to try sawing someday beacsuw what is this beauty. Weldone dear.
That will be very nice, thanks for your comment.
What a very good way to safeguarded your sawing tools. Thanks God it came out well.
Thanks so much, I appreciate your comment.
You are welcome.