DIY// tutorial on how I made a water bottle holder from fabric
Hello everyone
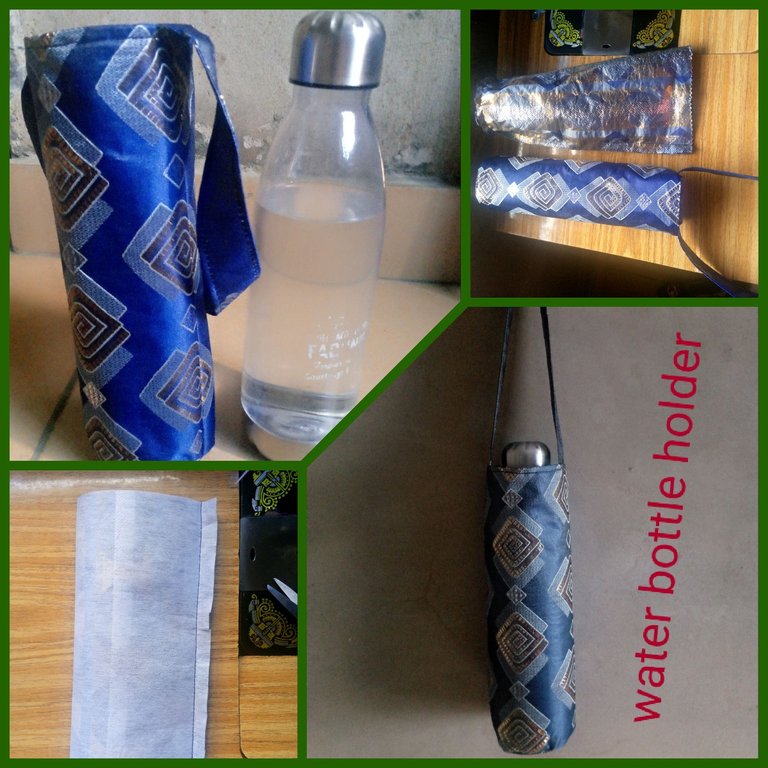
I bring you greetings from this part of the world on this beautiful day, I hope you are all have great time out there, I want to say a big thank you to you all for your time and support to my blog, it's nice to have you around.
Today @hivediy, I will be sharing with you the making of this simple and useful creativity of a bottle holder I made for myself.
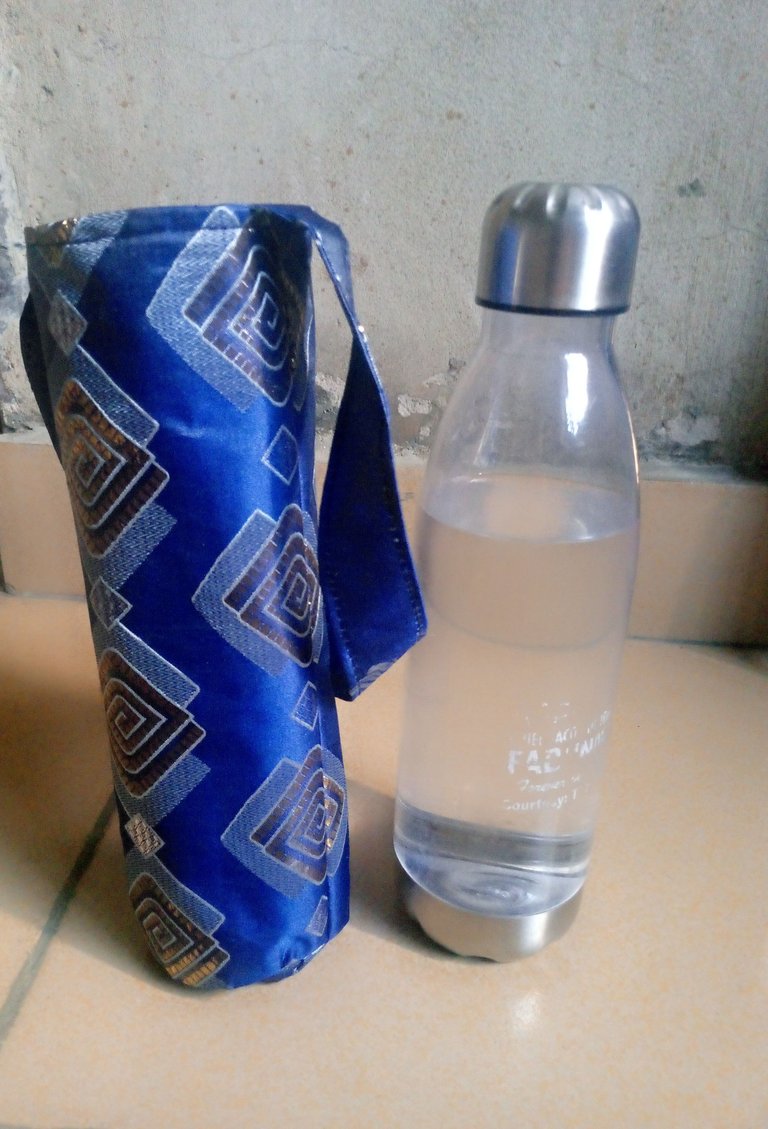
I have this water bottle that was given to me as a gift by my late uncle, I love it so much and I kept it to myself even when my friends and family members wanted to take it away from me, I didn't allow them but the challenge with the bottle is that, it's transparent and doesn't have handle, anytime I want to go out with it, I had to go along with my handbag which something I don't like, I'm not really a fan of hand bag, so I thought of a possible way a could just carry only my water bottle without my bag,then I remembered I saw someone with a bottle holder which I liked, then I decided to make one for myself.
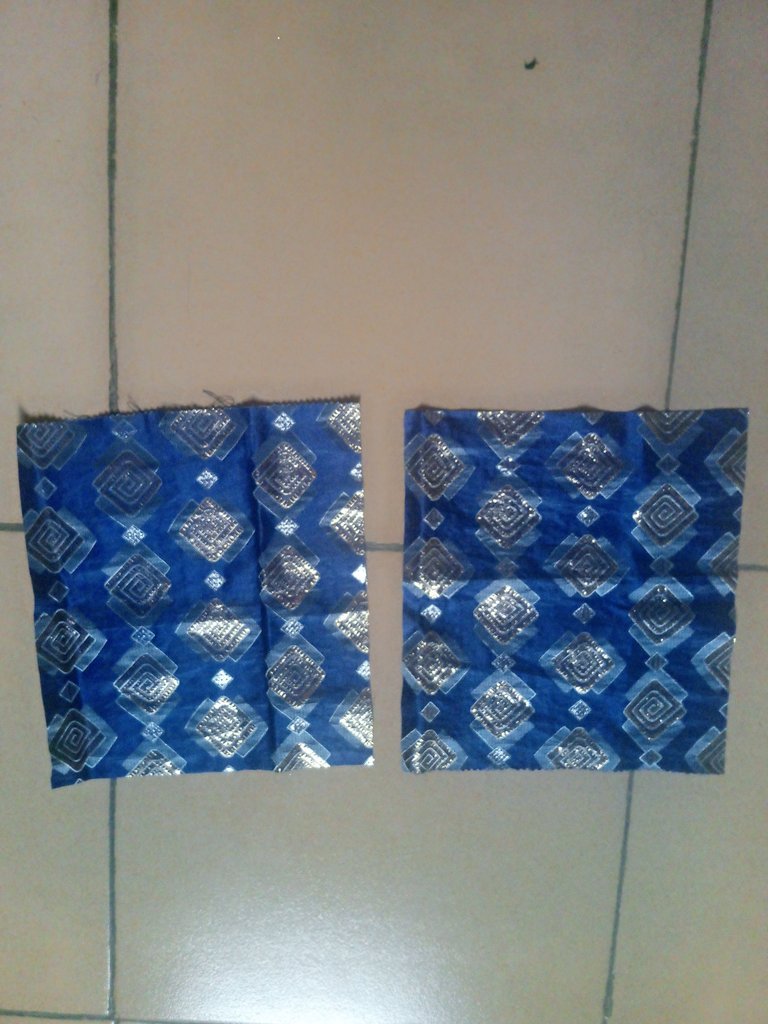
Let's get started with the cutting and sewing process.
On my fabric, I measured 10 x 10" and cut out 2 pieces, one for the main bottle holder and the other for the lining.
I cut out interface of the same shape and ironed it on one of the pieces.
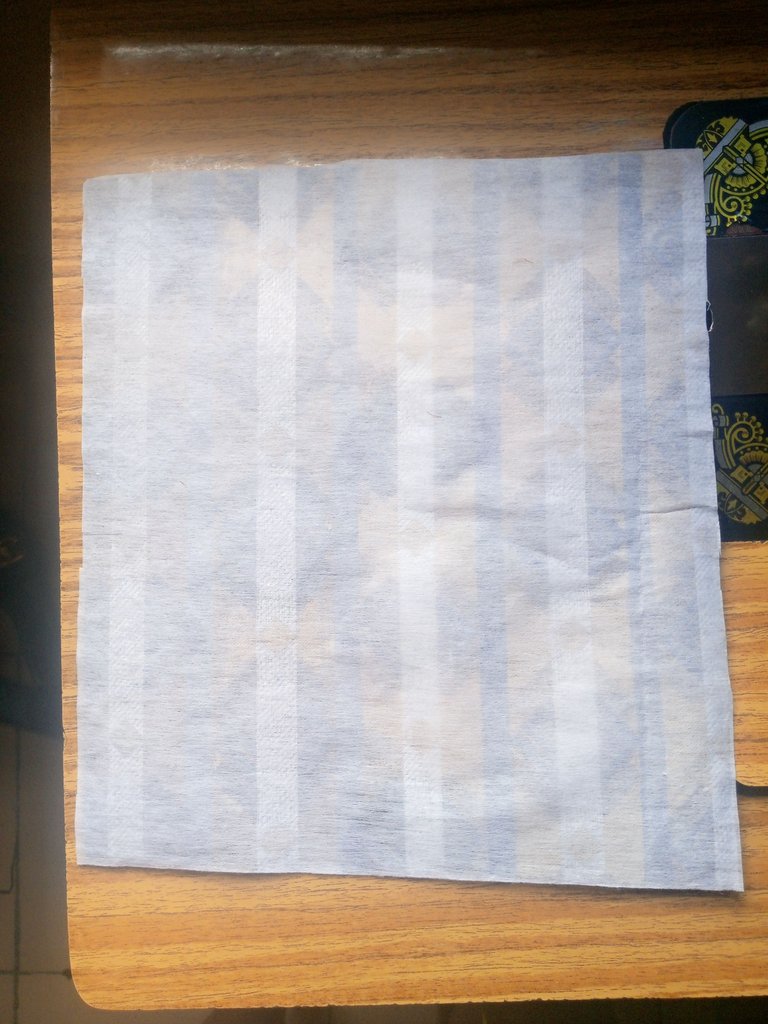
For the handle, I measured 20 x 4" and cut it out.
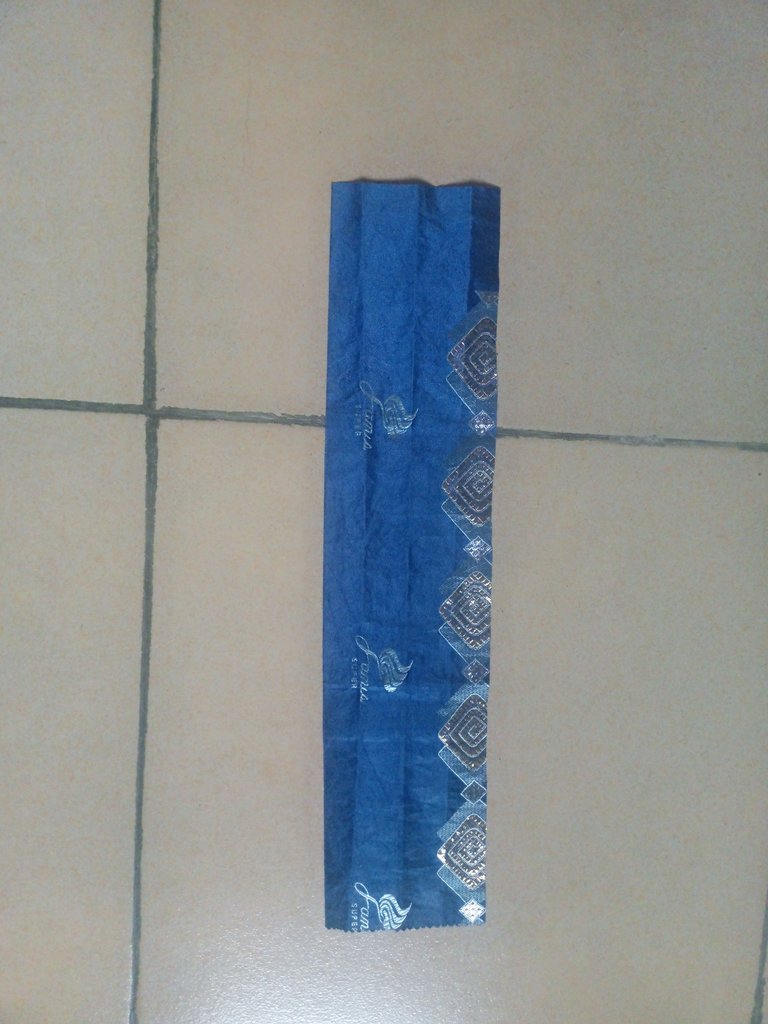
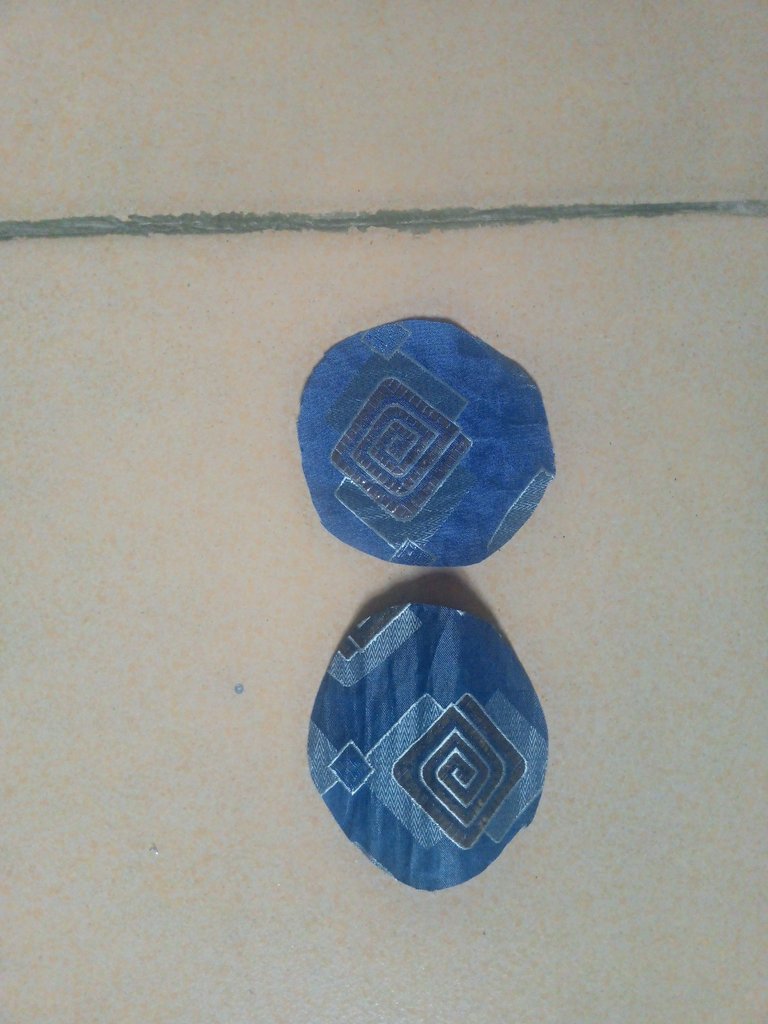
For the base, I folded the fabric in form of cutting out a circle, I measured 1.5" round and cut it out, when opened, I have 3.5", 2 pieces of it was cut out as well.
I cut out an interface and ironed it on one of the circle.
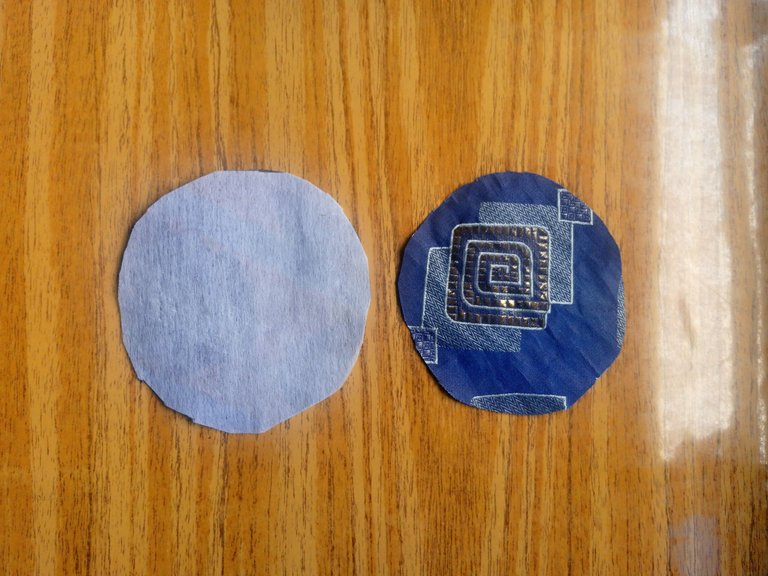
All these were taken to the sewing machine for the sewing process.
I folded the piece with interfacing into 2 and sew with ½" down.
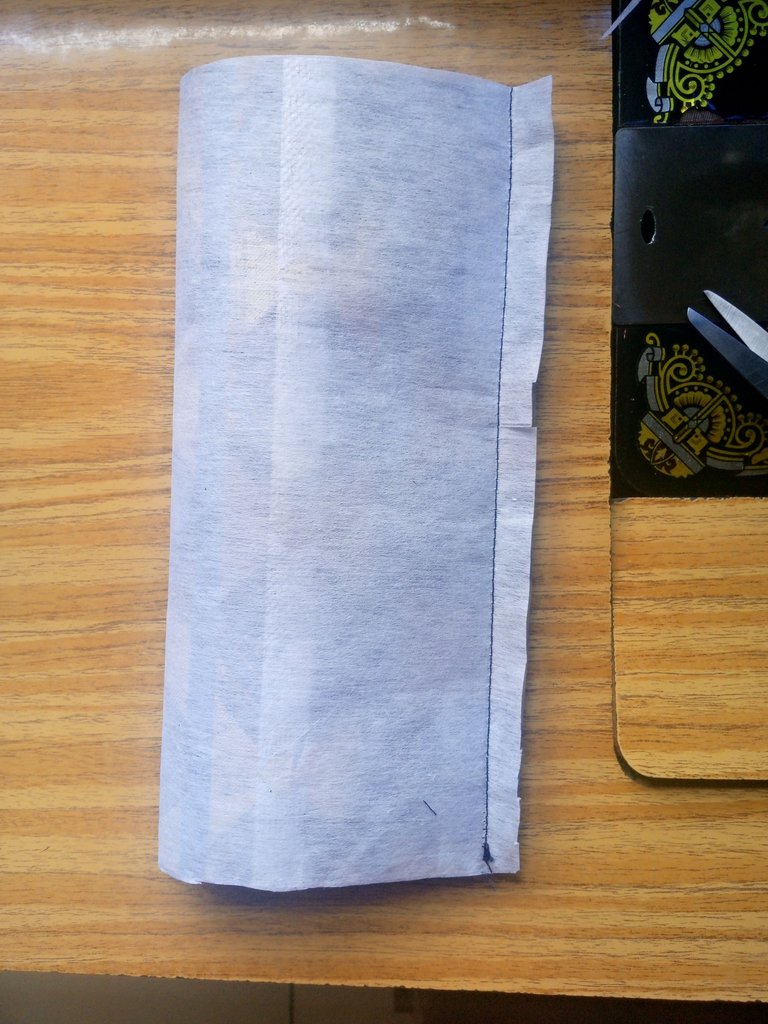
The circle with interface was sewn to the base wrong side to wrong side
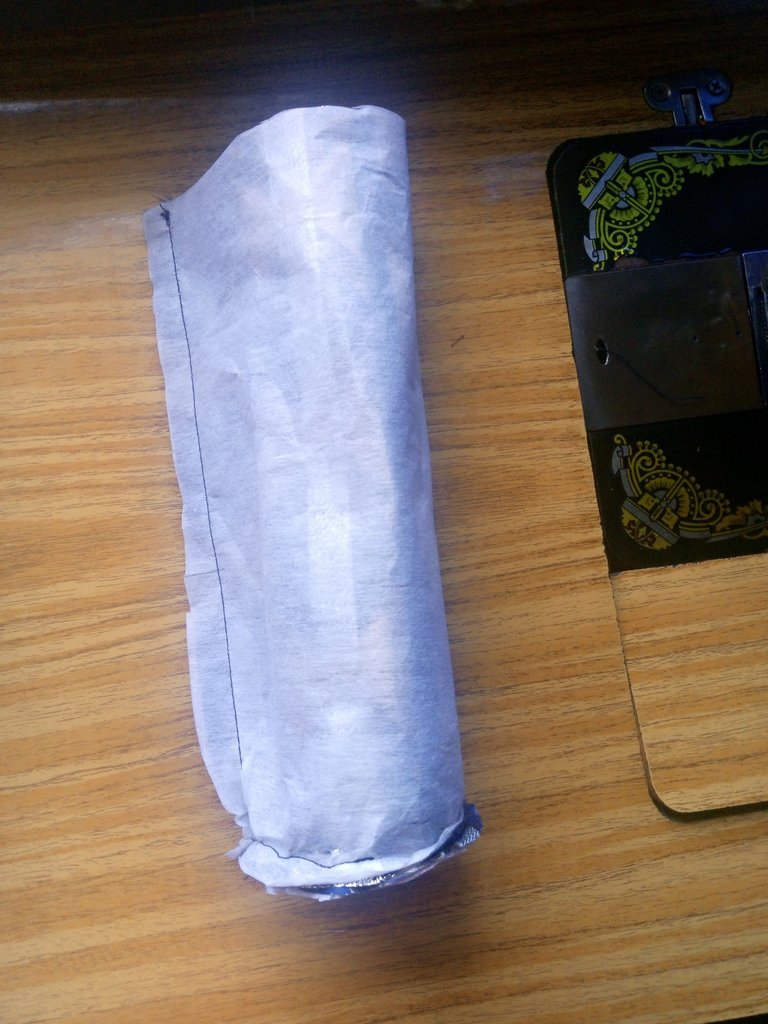
It was turned inside out
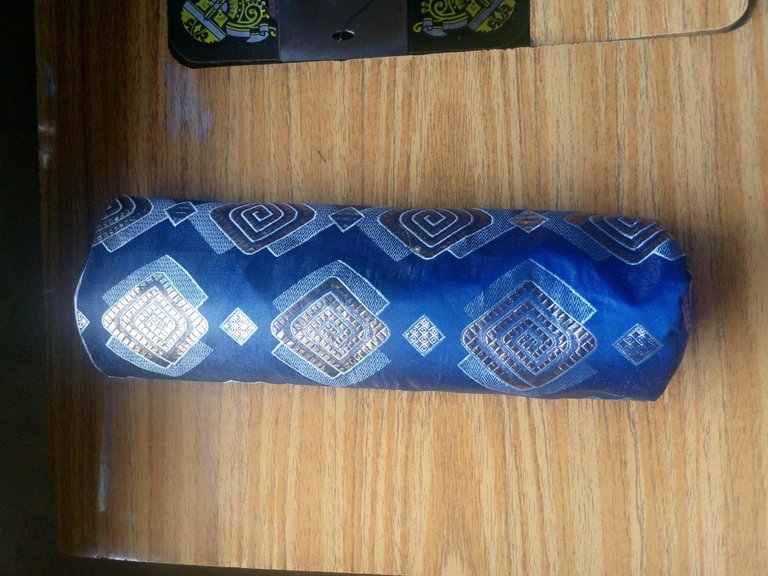
The same process was repeated on the lining, leaving an opening by the side.
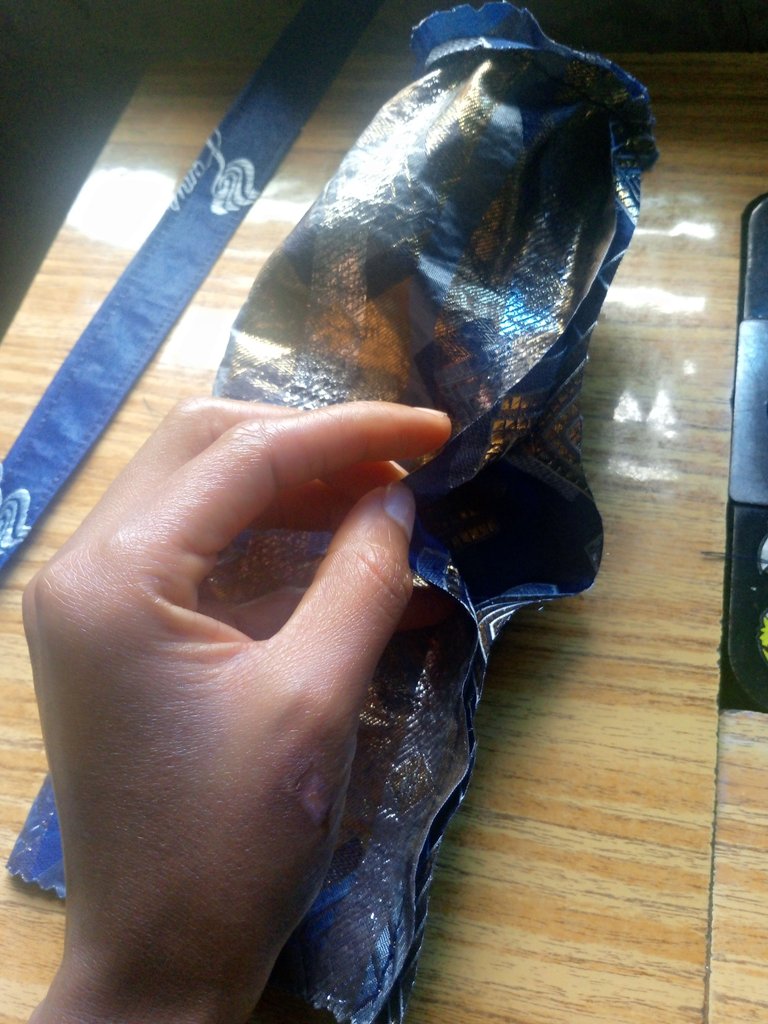
For the handle, I folded the two edges to the middle then folded in two before sewing it downward on both sides.
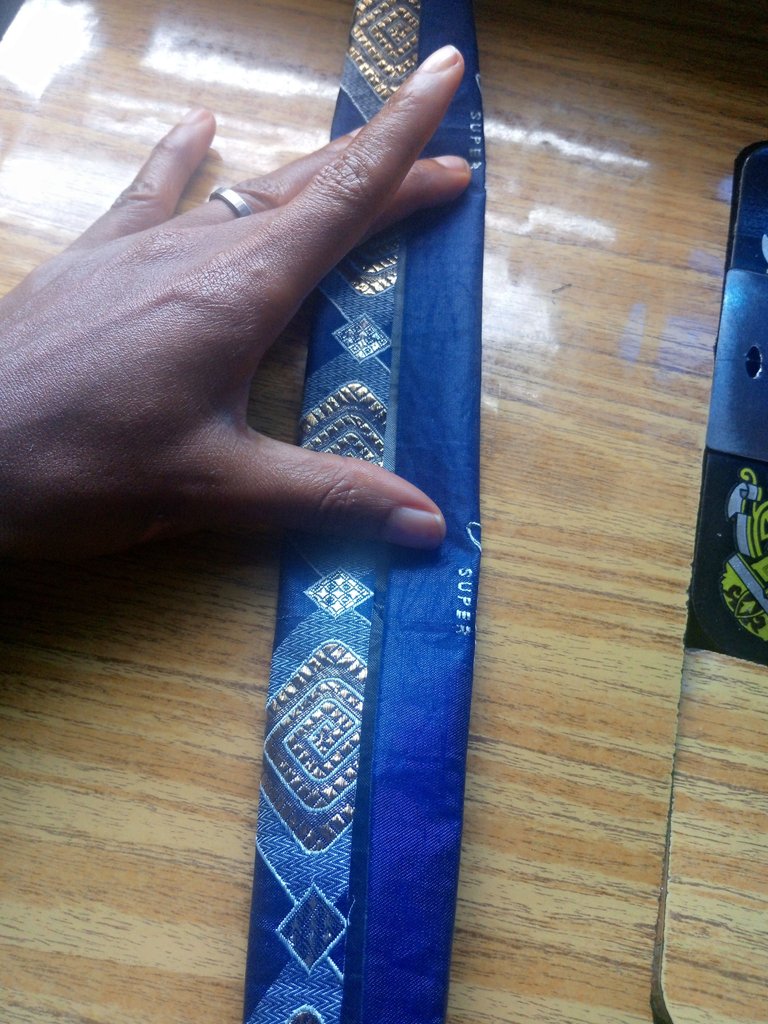
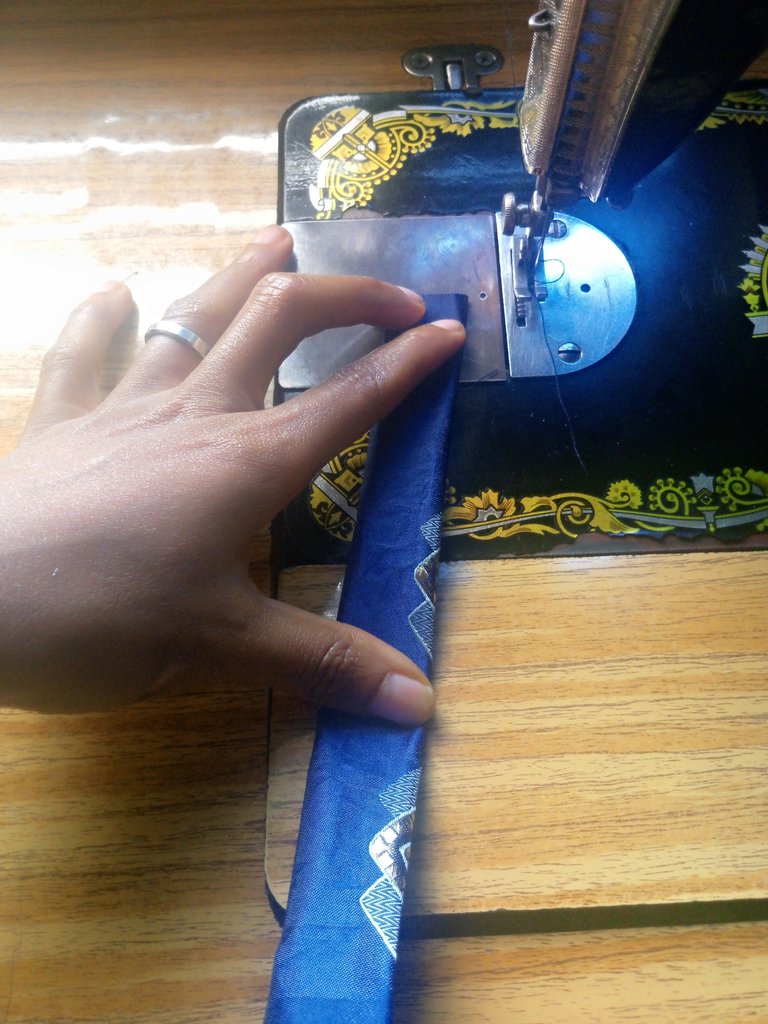
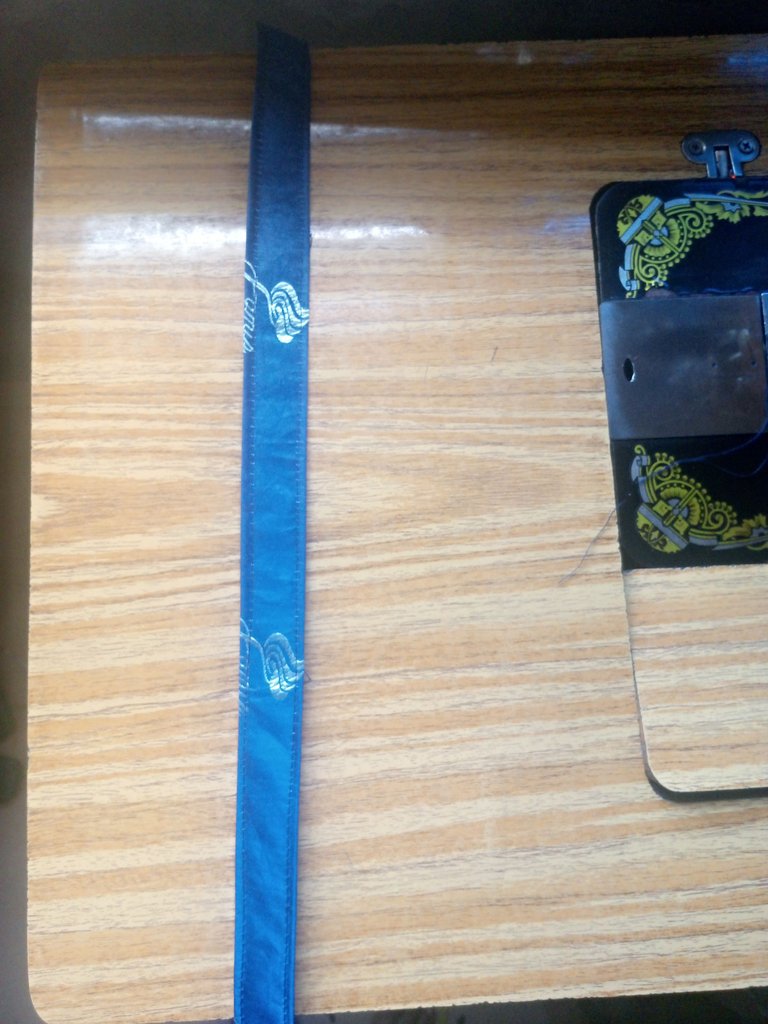
The handle was sewn to both sides of the main bottle holder with interfacing.
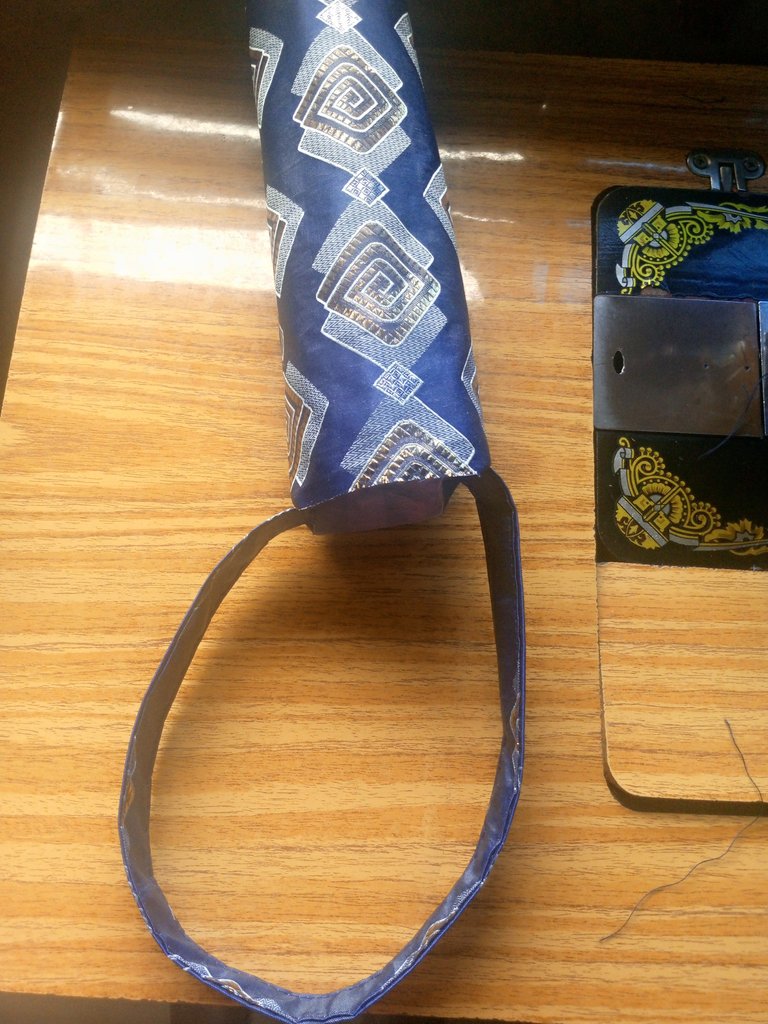
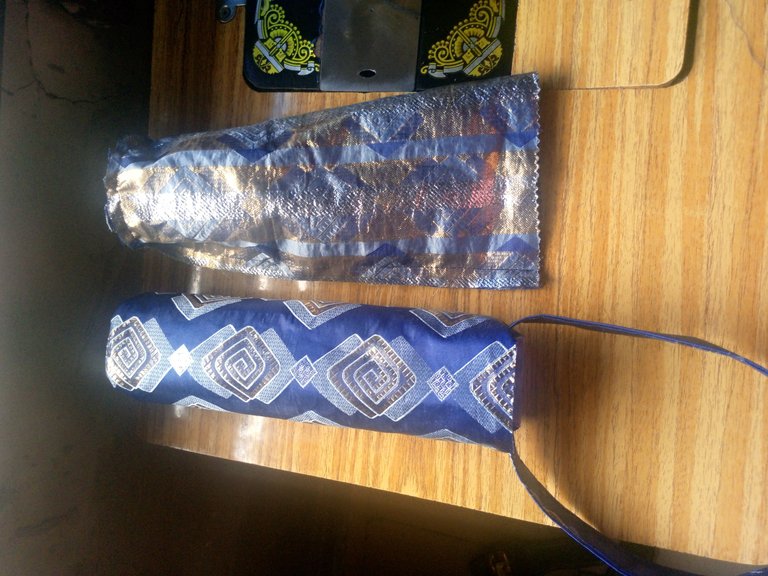
The main bottle holder was inserted into the lining and it was sewn together at the tip.
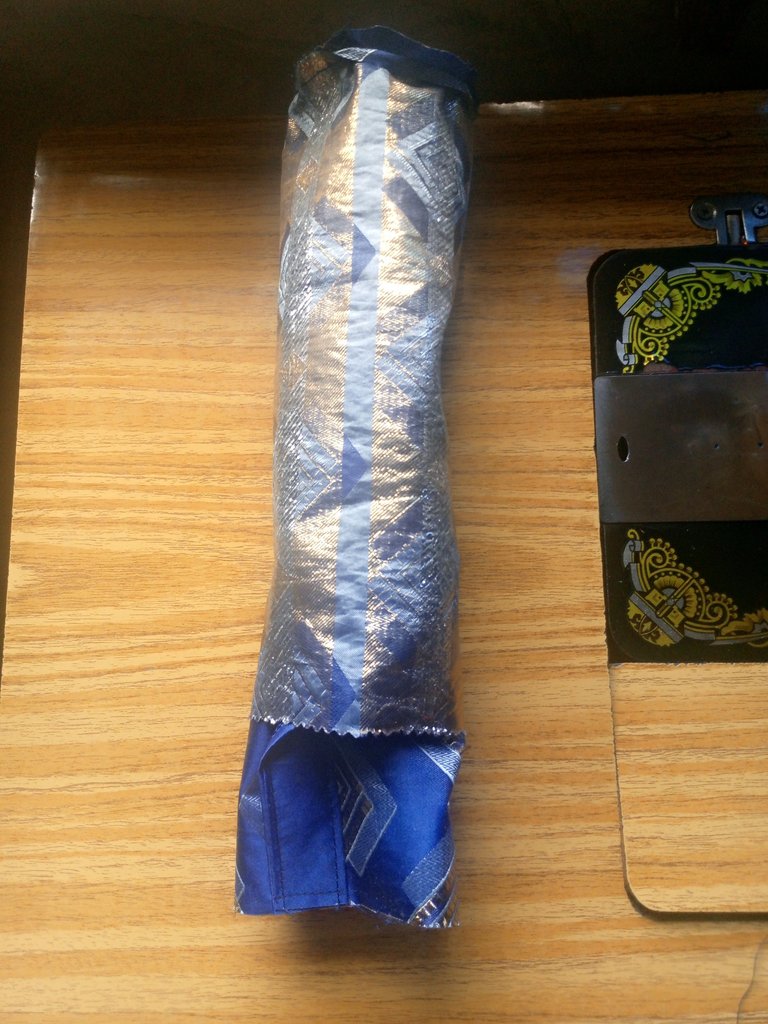
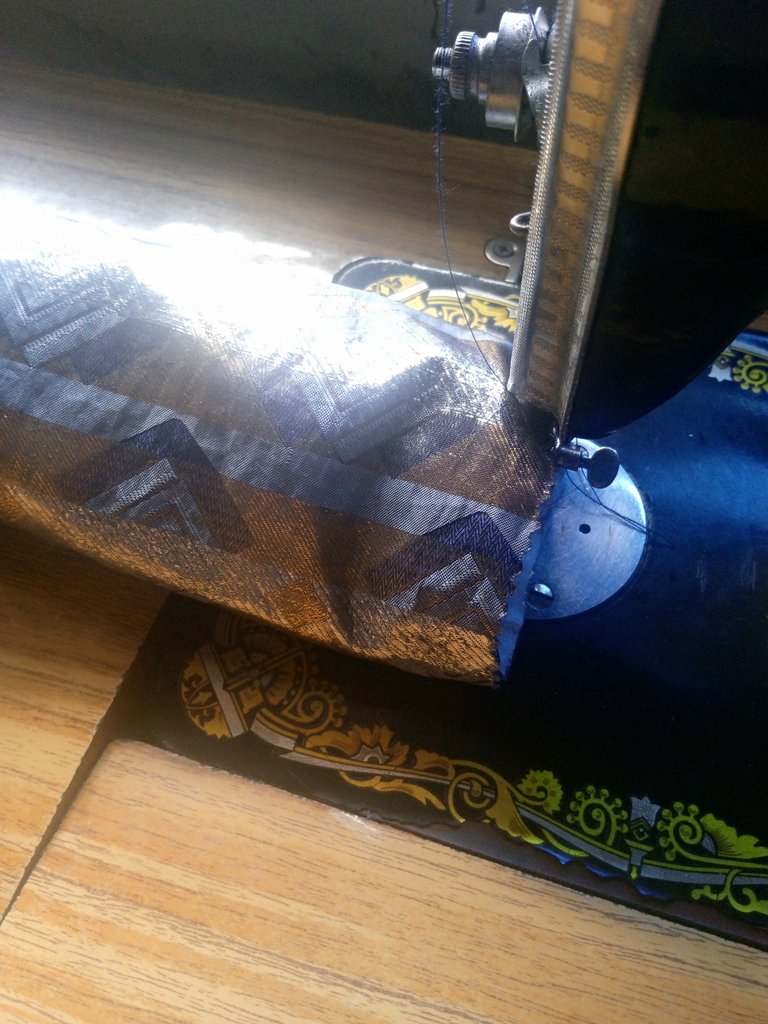
I turned it inside out from the opening on the lining and sew it up just as seen below
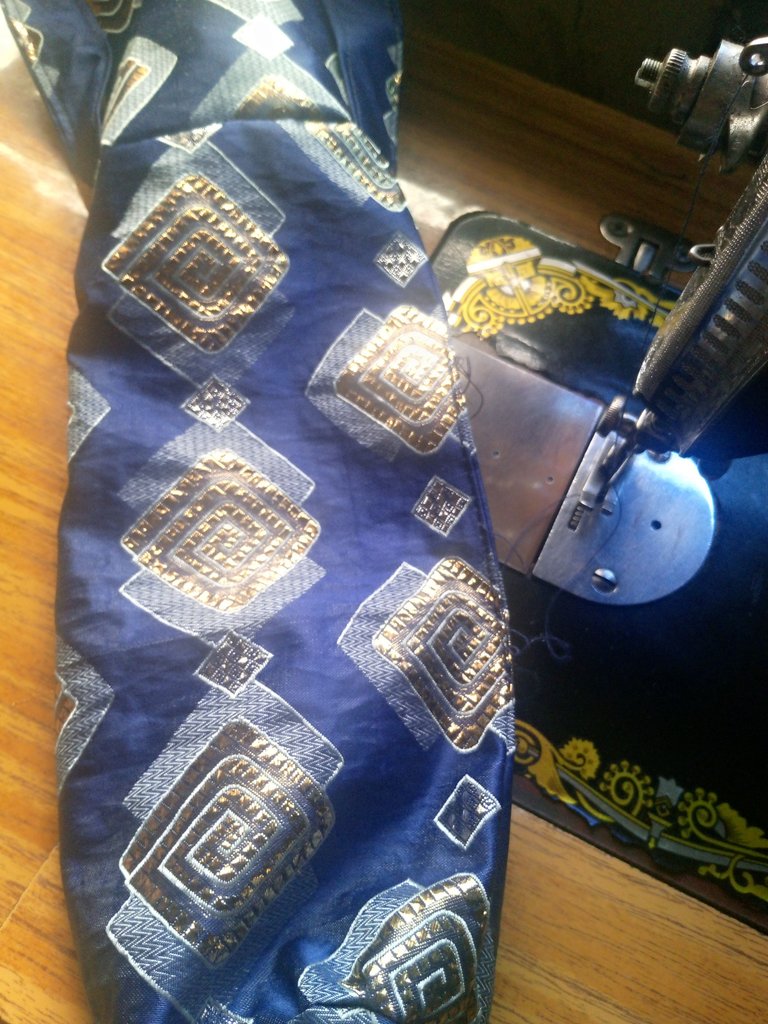
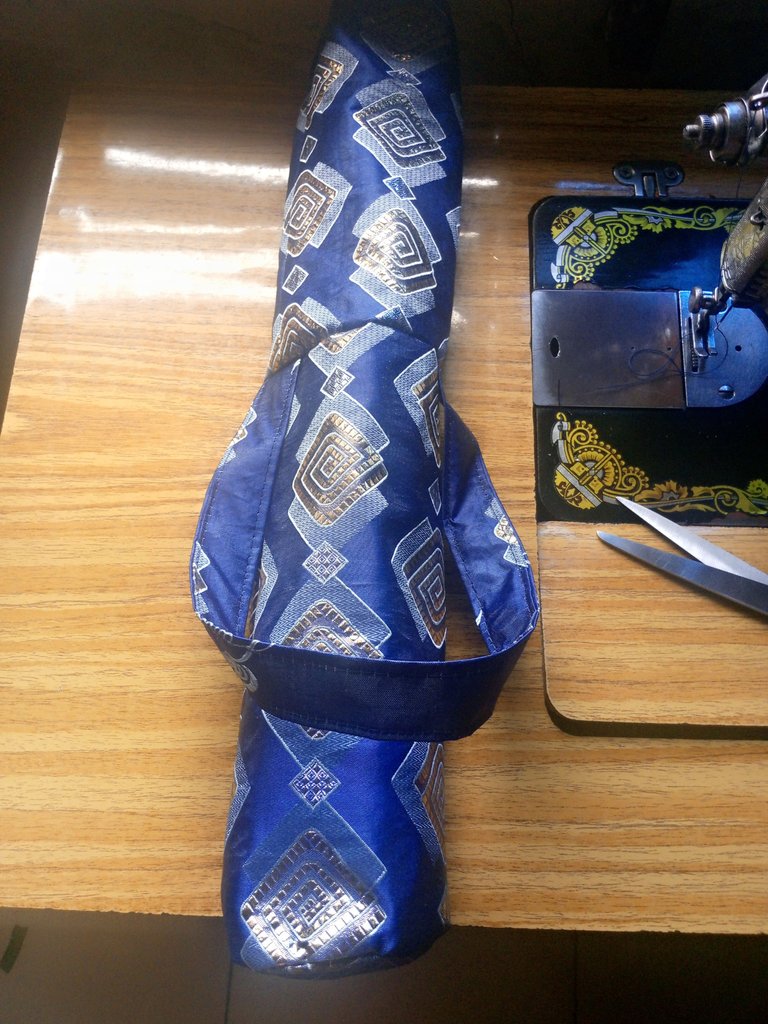
The lining was pushed into the main bottle holder and I top stitch on the edge round.
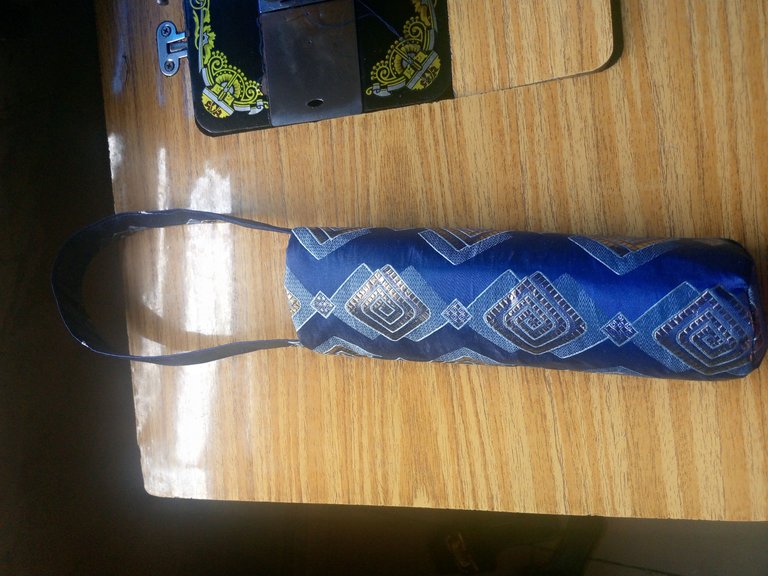
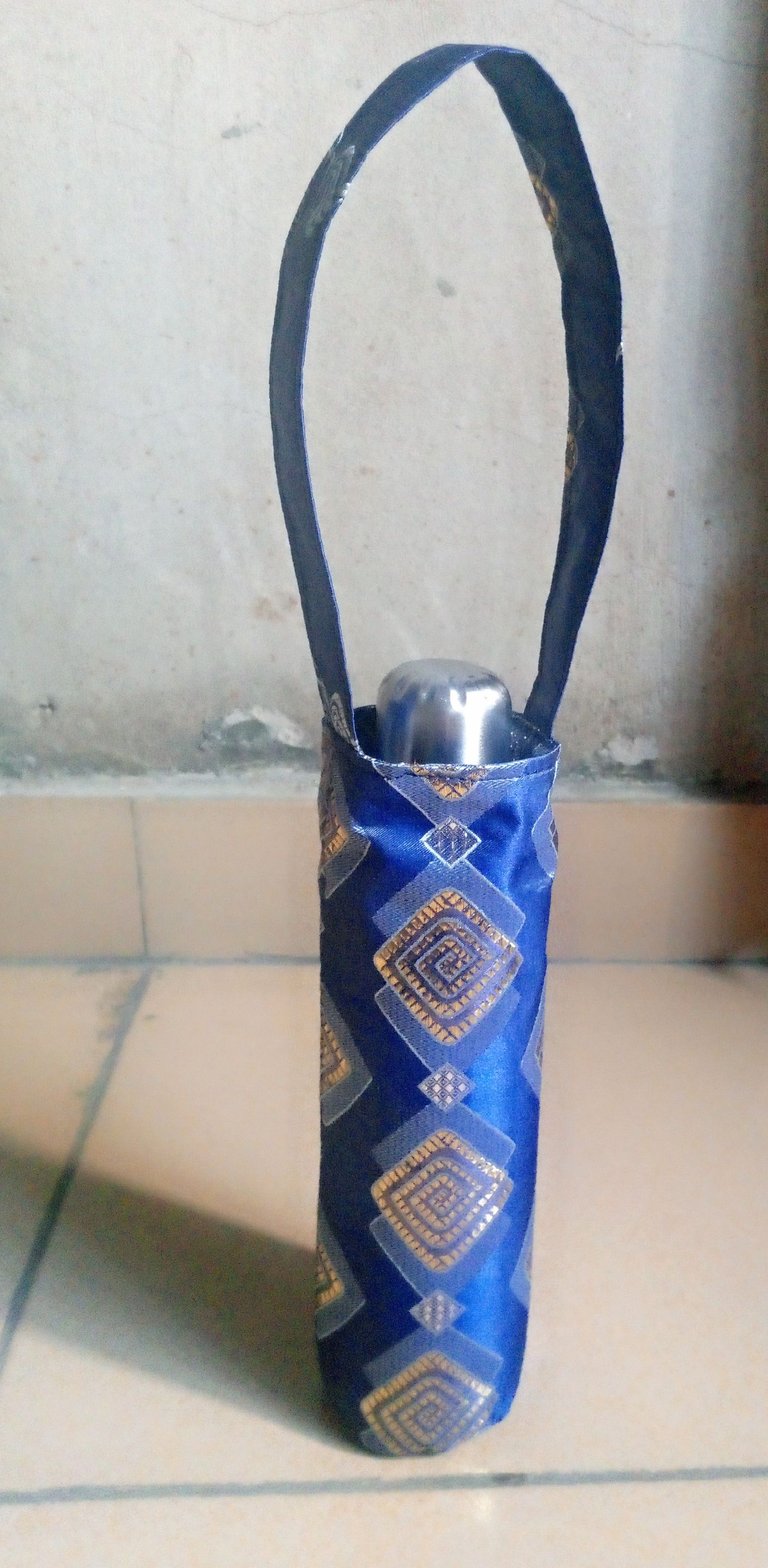
This is the final outcome of the water bottle holder with handle I made for myself.

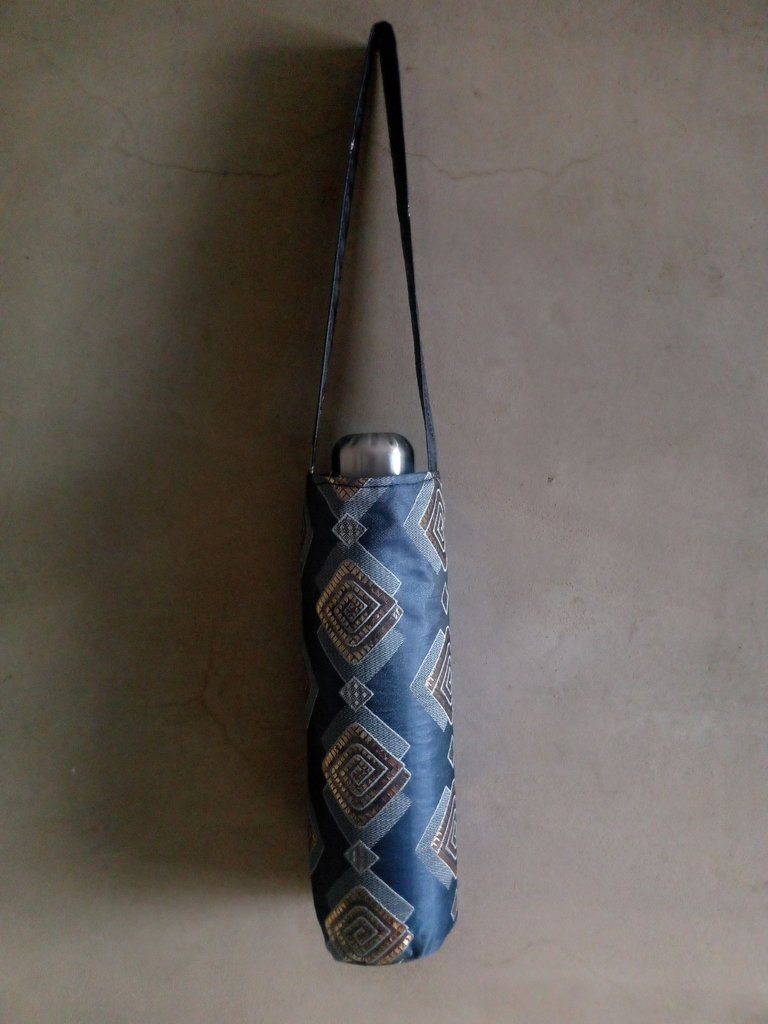
I put my water bottle in it and it was just so perfect for it.

You truly had a nice talent, this is very nice, making this water bottle holder is nice, and good work, well done dear
Thanks so much for stopping by and for your nice comment.
I didn't know I wanted one until I saw it. I really need something like this to keep my metal water bottle from scratching at the gym.
I'm glad you now know, It will be very useful if you can get one for yourself. Thanks for reading through my post and for your comment.
This is really a very creative thing. It's beautiful for the flask. And it's make it very safe.