DIY// step by step process on how to make a phone charging holder from pieces of fabric
Hi everyone

This is another beautiful day here as the weather here is so cool, it has been raining and I had to make use of the weather to do something creative, I hope you all are doing great.
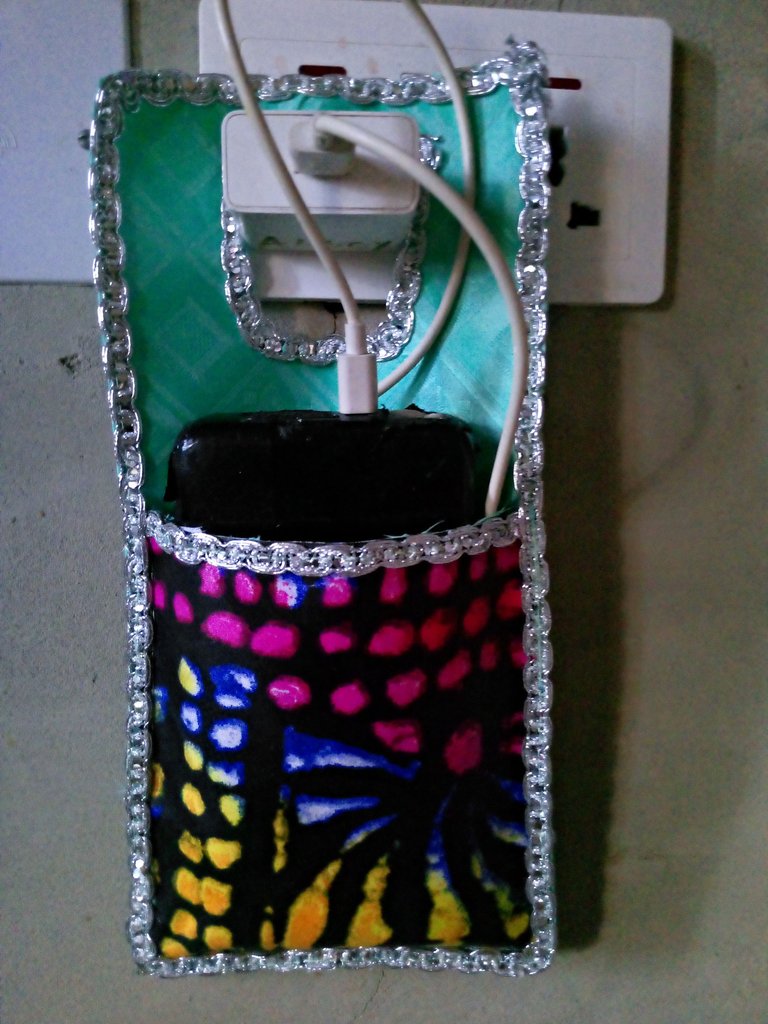
It is with great pleasure that I bring to you today in the lovely community @diyhub the making of this cell phone charging holder . This is one of my recent creativity, it can be used to hang your phone when charging, if your charger is not long enough or if you want to protect your phone from an object falling on it mistakenly.
This is a simple DIY that can be easily achieved with pieces or left over fabric, it is one of the simplest and useful project, join me as I take you through the step by step process of making this.
Cutting and sewing process.

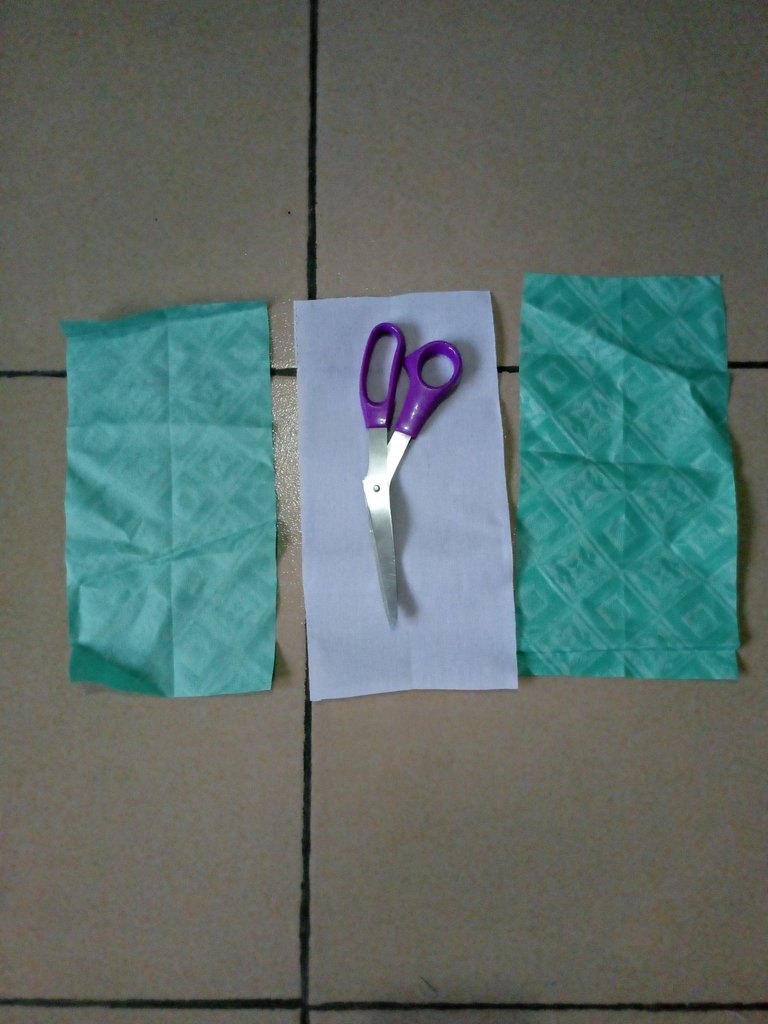
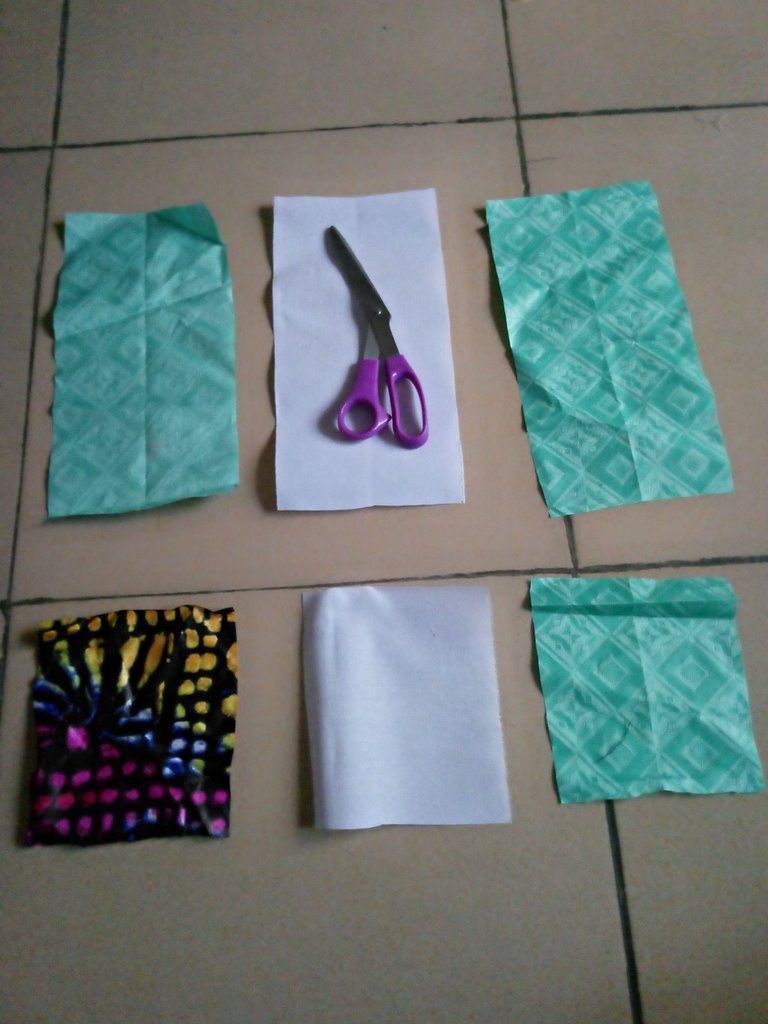
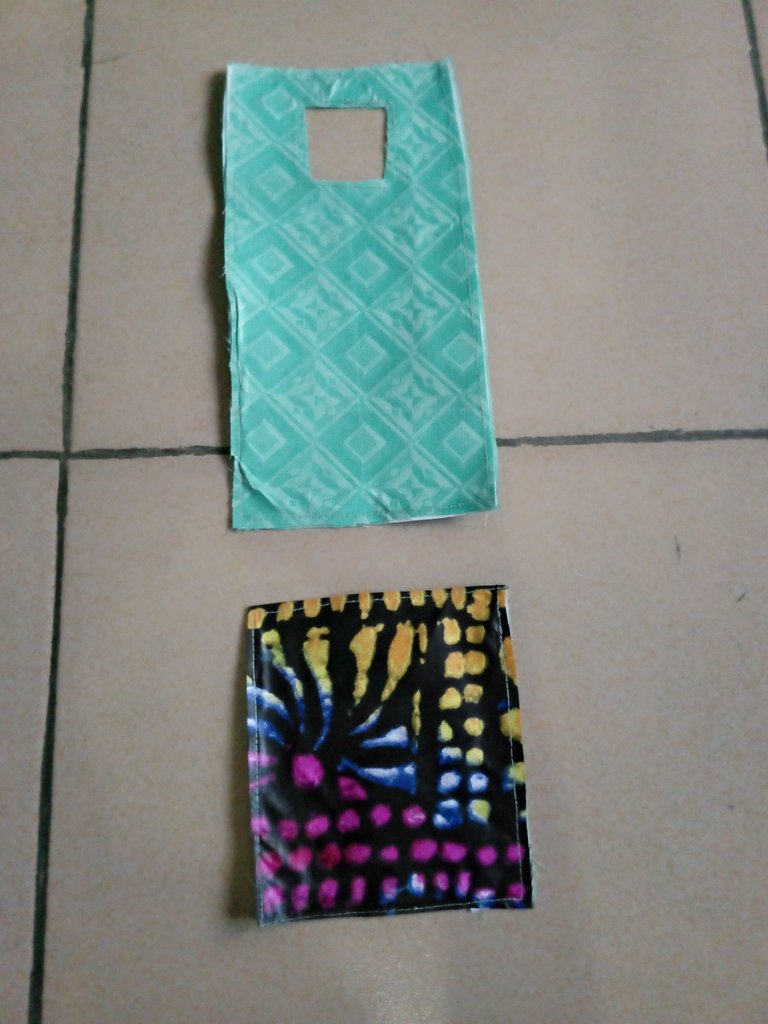
From my pieces of fabric, I measured 10 x 5" for the base of my work and cut out 2 pieces and I cut out same shape on my hard stary to make it firm.
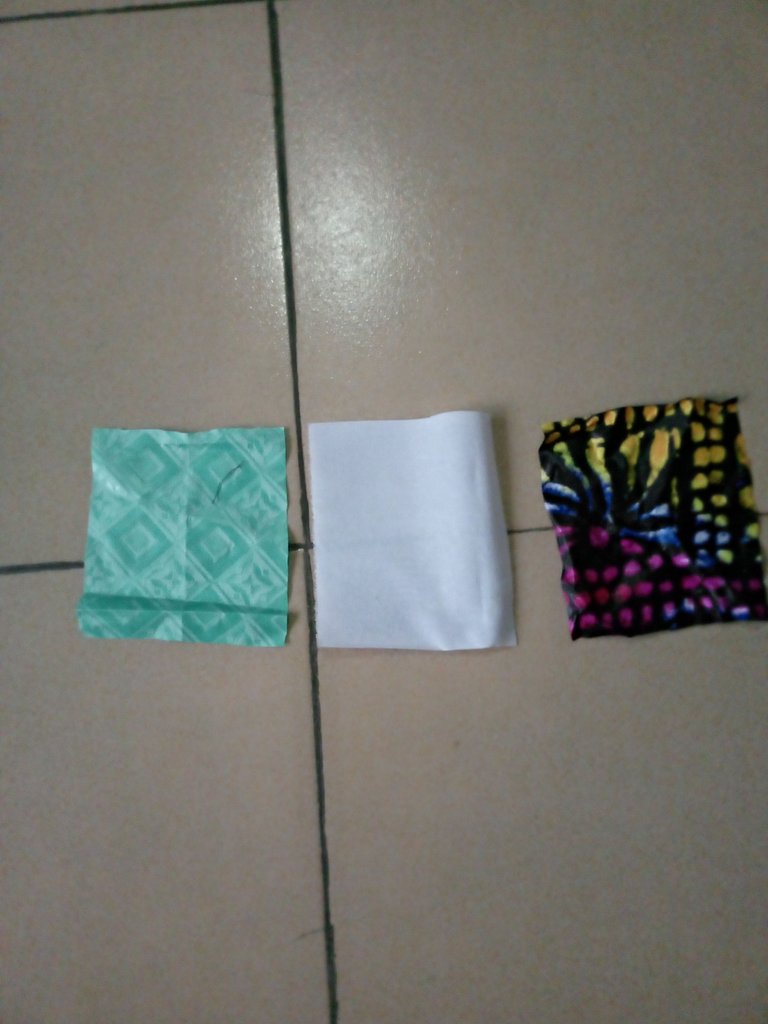
On another pieces of fabric, I measured 6 x 5" as I cut out 2 shapes from the measurement and same was cut out from the hard stary as well.
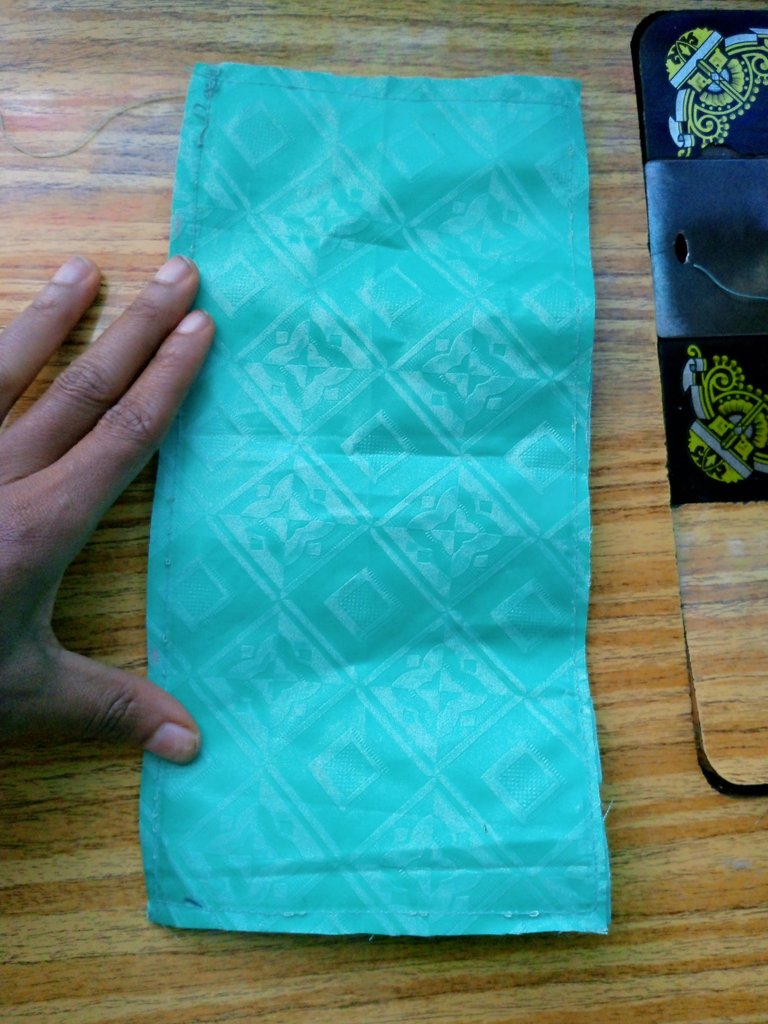
I placed one piece of the long fabric I cut out on the table, placed the stary in the middle and the other piece of fabric on it then it was taken to the sewing machine to be sewn together.
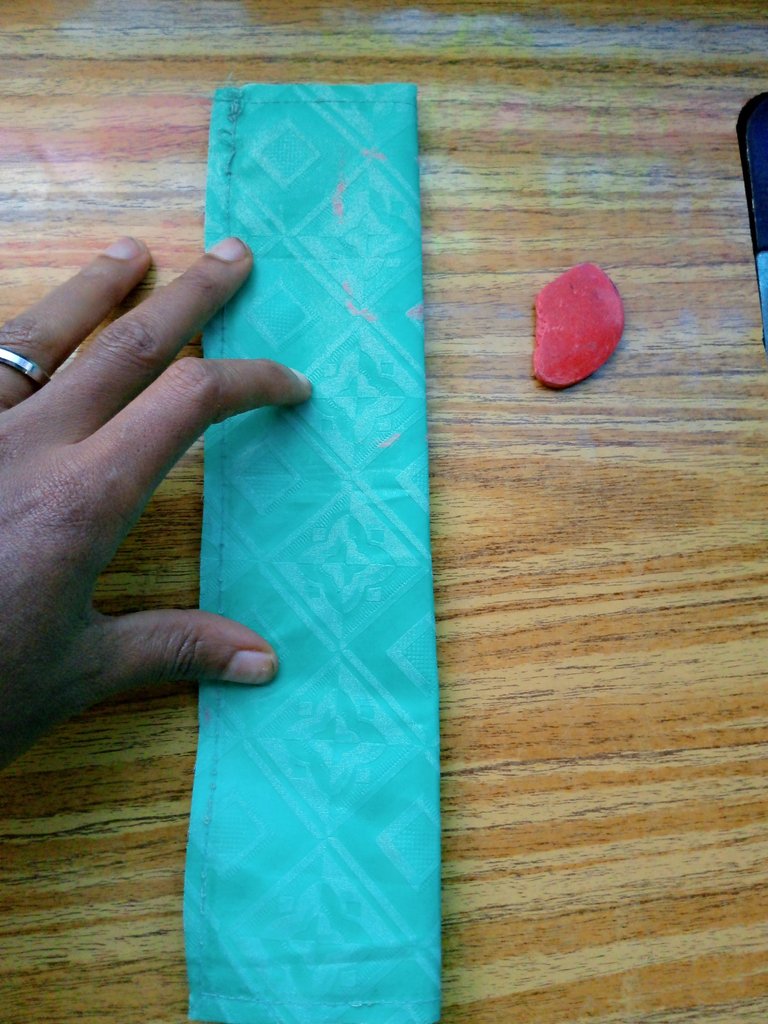
After sewing, I measured 1" downard at the middle as I fold in two, which was marked, from where I marked, I measured 2" downward again and inward, I measured 1", this was cut out to make an opening on the hanger
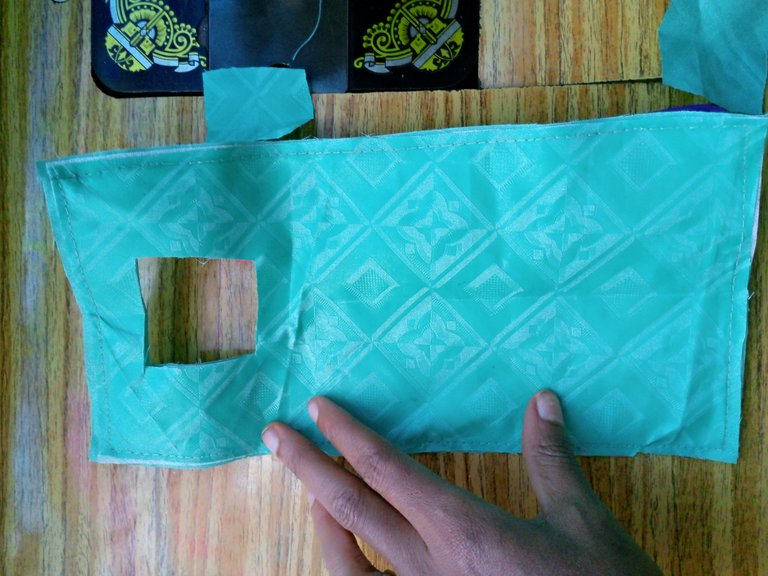
What I did on the long piece was repeated on the other small pieces I cut out as well.
The two rectangular shapes were iron and was flat and firm because of the stary I sew in the middle.
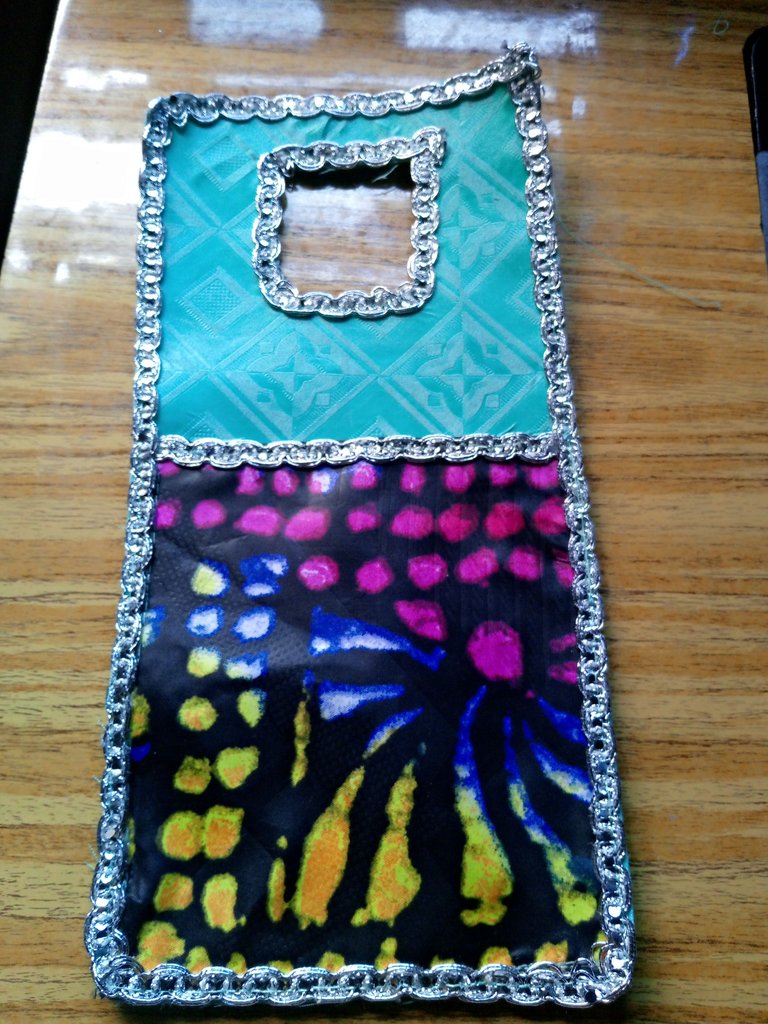
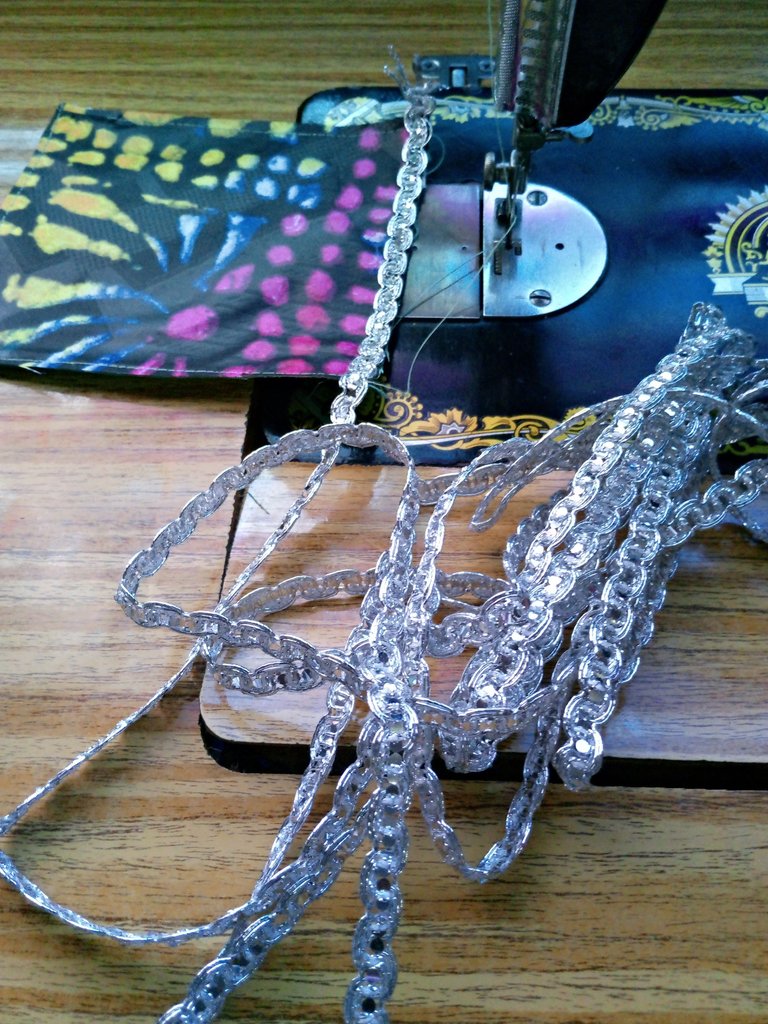
On the small rectangle, I got a long strip to decorate the the top which was sewn on it as seen below.
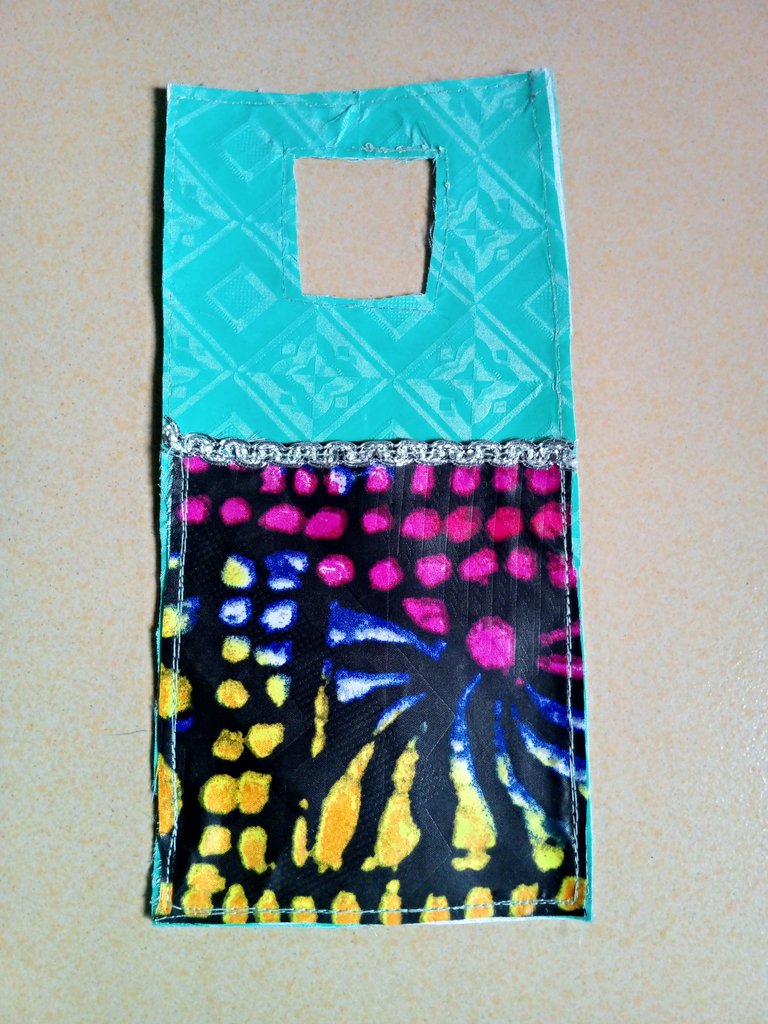
The small rectangle was placed on the long one as I sew the sides and bottom, leaving an opening at the top where I can put my phone for charging.
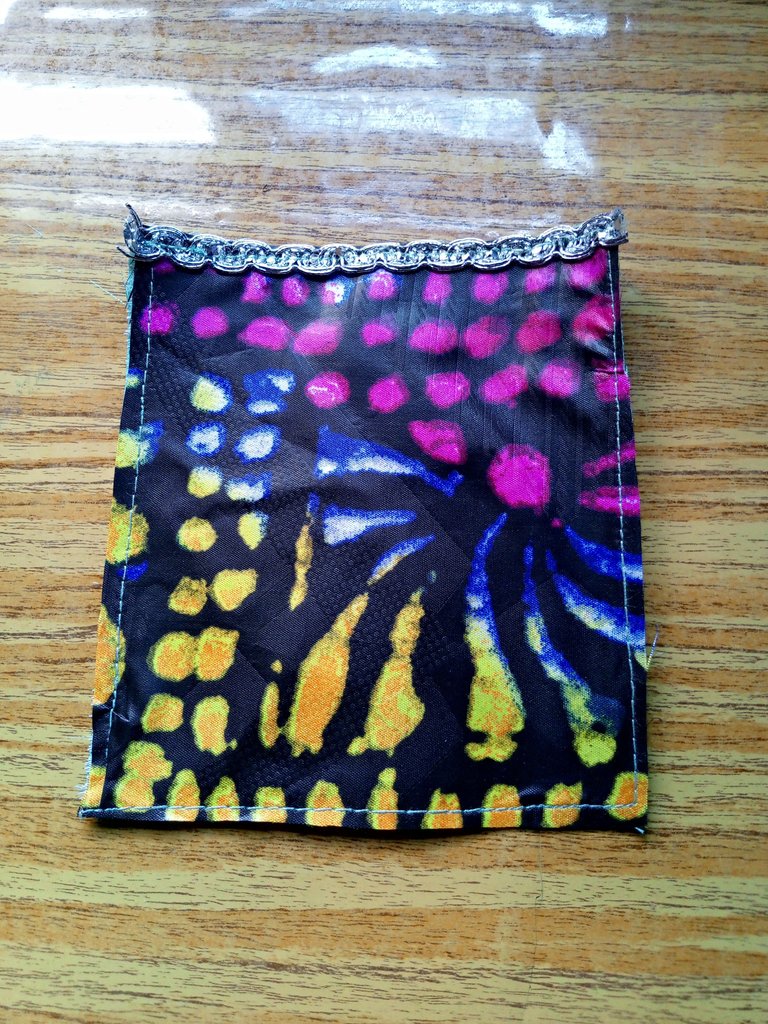
Finally, I sew the decorative strip on the edges of the rectangle and the opening made for my charger.

This is the final outcome of my cell phone charging holder. I hope you like it.
muy bonito y original!
very nice and original!
Thanks so much.
This is super useful. Very sellable idea too
Thanks so much @diyhub, I really appreciate your comment and support.