DIY// Making a simple round pencil pouch for my nephew's friend
Hello creative friends
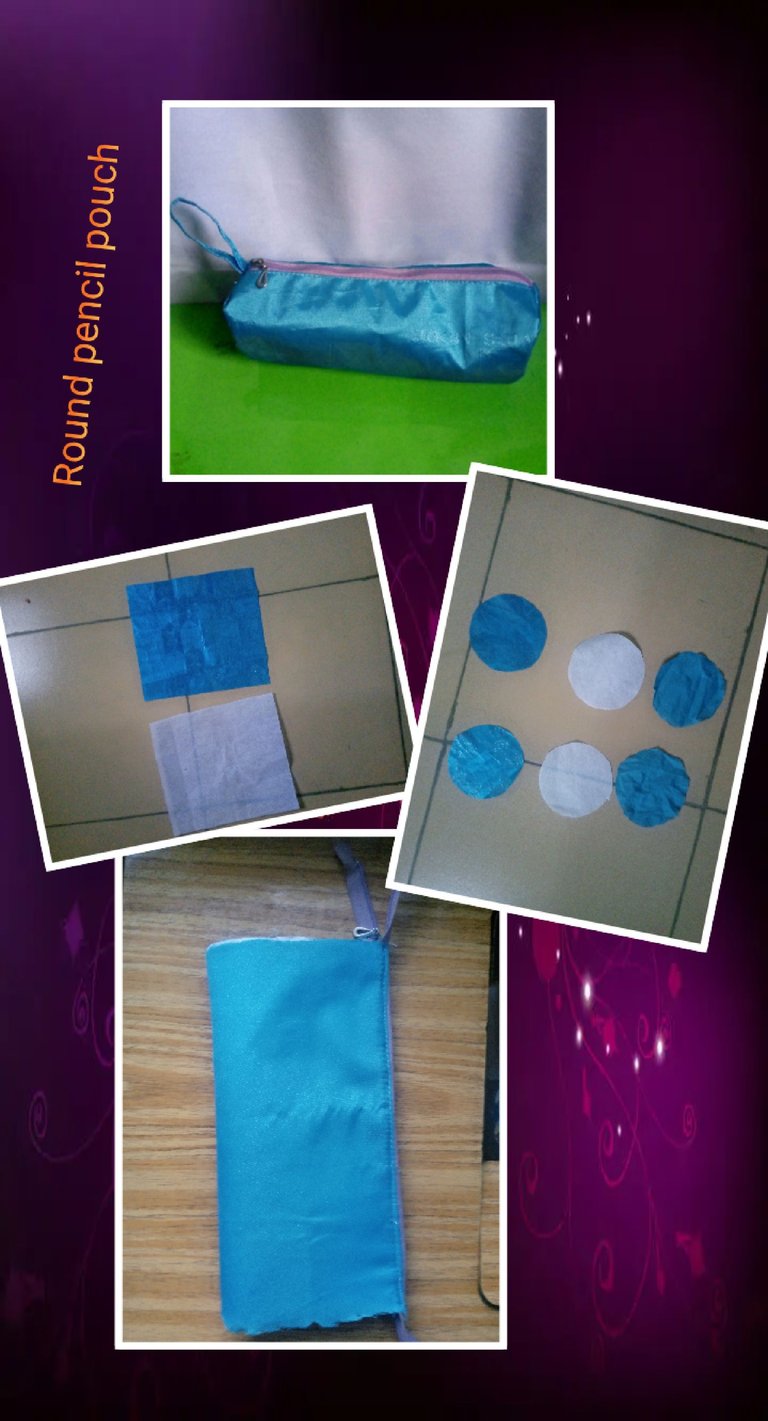
Greetings to you all in this great community @diyhub, I hope you are all doing great, it is my pleasure to bring to you today the making of this simple round pencil pouch for my nephew's friend, it is a very easy and useful project for safe keeping of your pencil, pen, eraser and other things you can think of using it for.
Pencil pouch can be of different sizes and shapes, I could remember I made a circle pencil pouch for my niece sometimes ago and it was so beautiful, after which I made another for my nephew which was in round shape as this, when friend saw it, he told my nephew that he will also tell his aunt to make his for him, you know how little children can be, we all laughed when the story was narrated to me knowing fully well that his aunt is not in sewing line, I promised to make one for him since he's my nephew's friend and it will be nice to let him have one too. I made similar shape as the one I made for my nephew just in different color.
This is the simple steps taken to achieve the pencil pouch
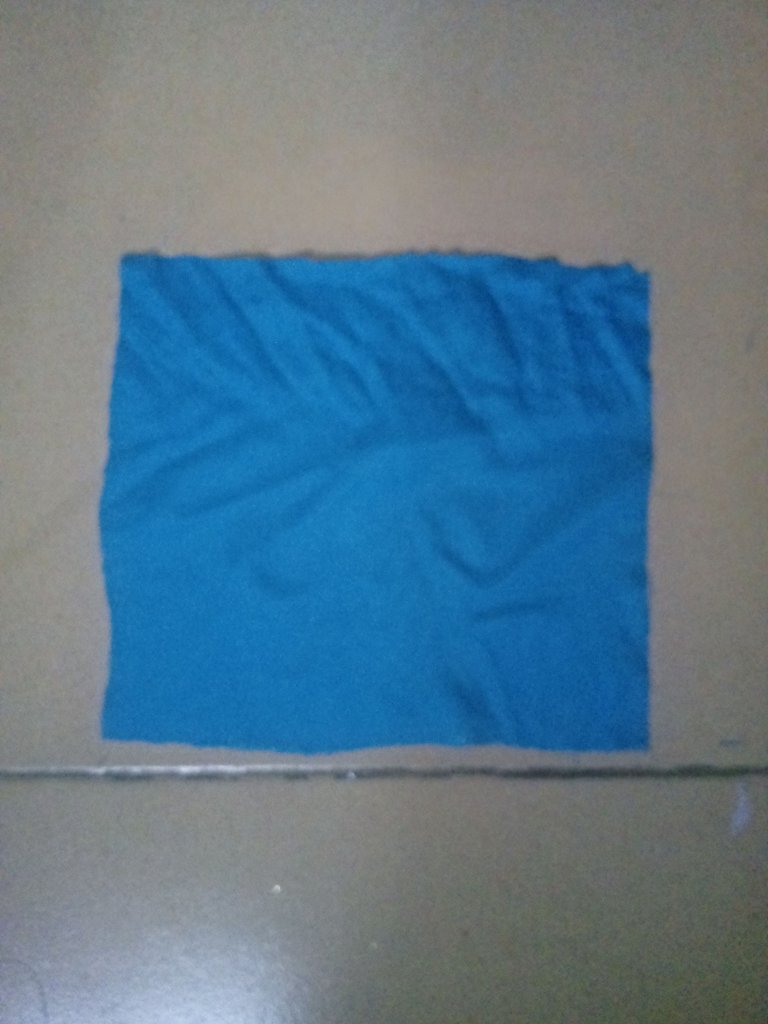
From the fabric I used, I cut out 9 x 10" and the same was cut on the lining and interfacing.
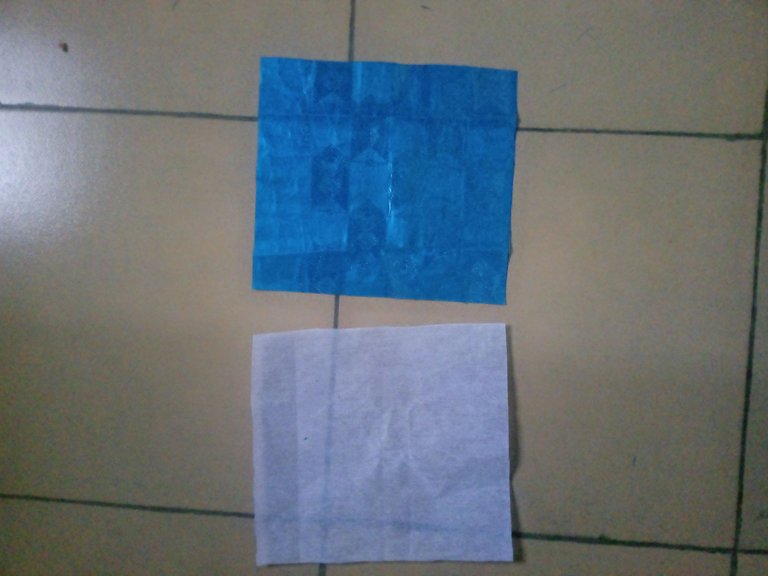
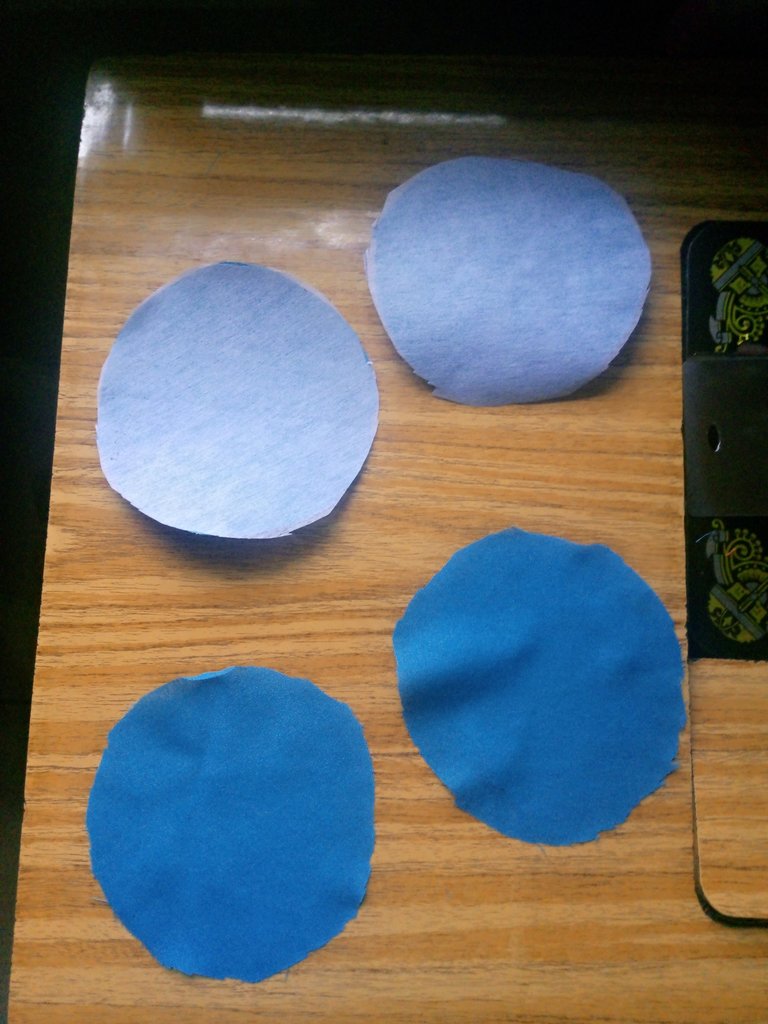
For the circle, I cut out 3.5" circumference on the main fabric, lining and interfacing 2 pieces each
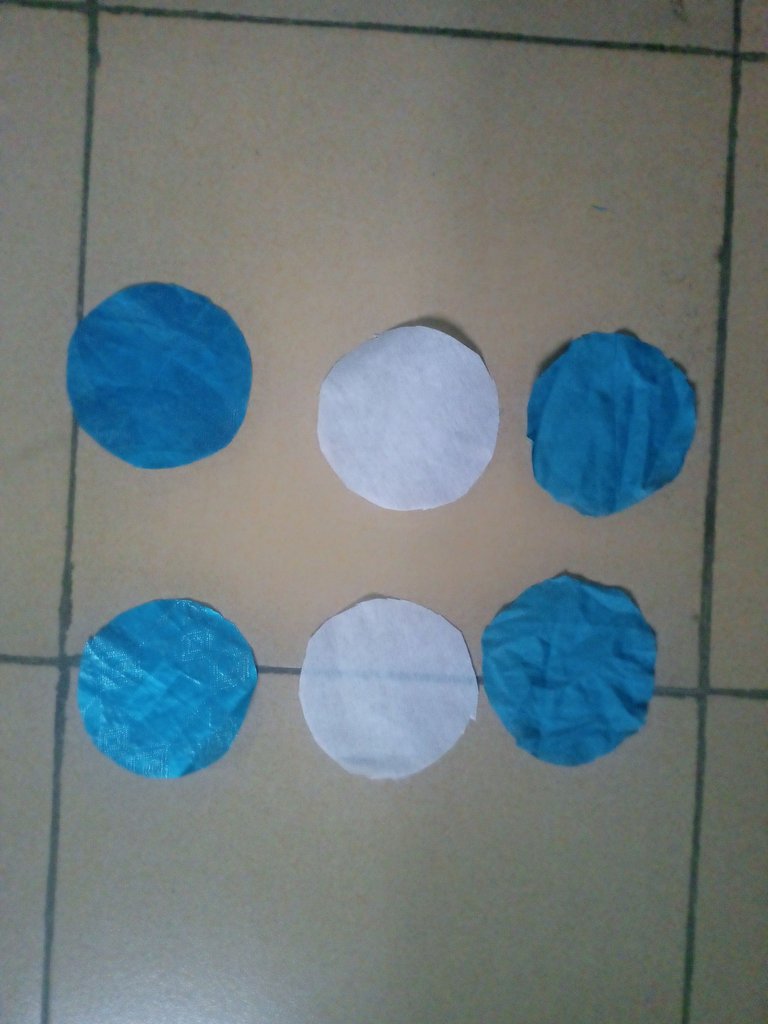
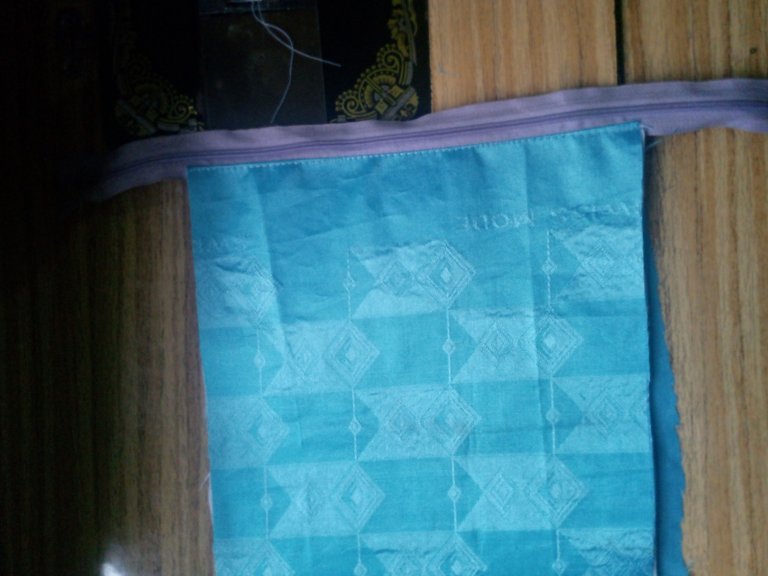
The interfacing was ironed on the main fabric and was taken to the sewing machine with the lining to be sewn together. I placed my zipper on the main fabric and the lining was placed on the zipper. It was sewn on both sides and top stitched on.
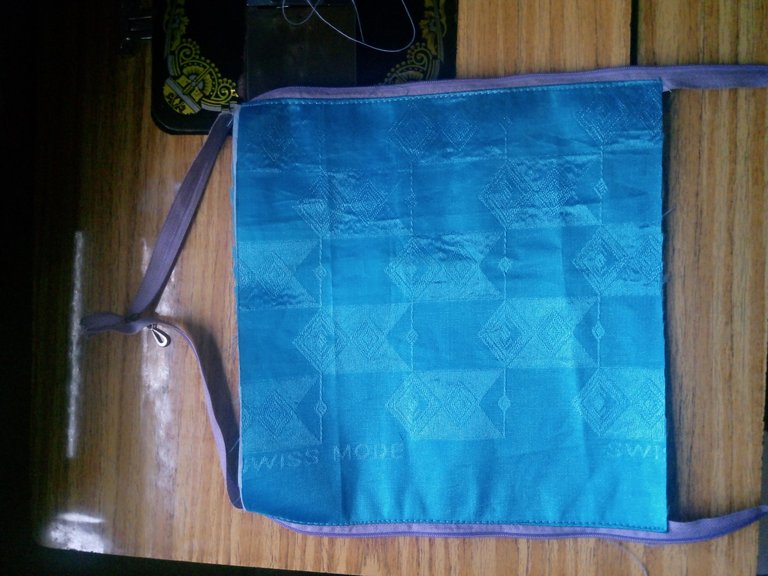
The interfacing was also ironed on the circles and it was sewn together with the lining.
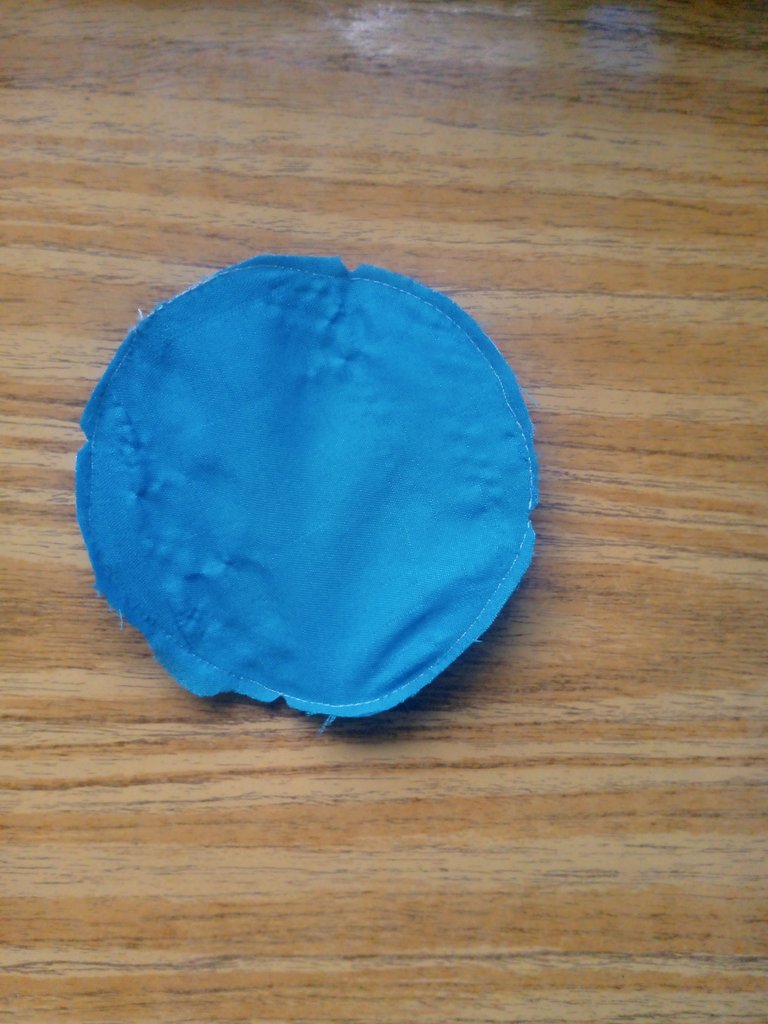
For the handle, I measured and cut out 2 x 6" which was folded to the middle then folded in half and sewn on both sides.
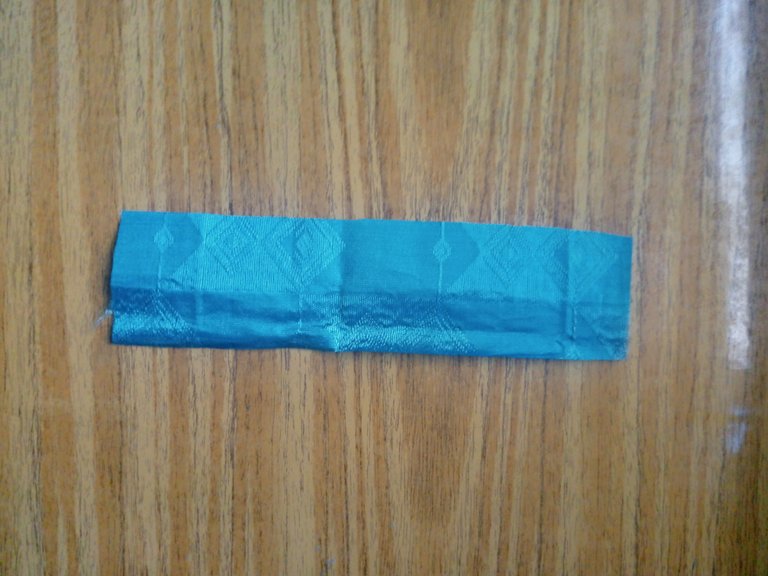
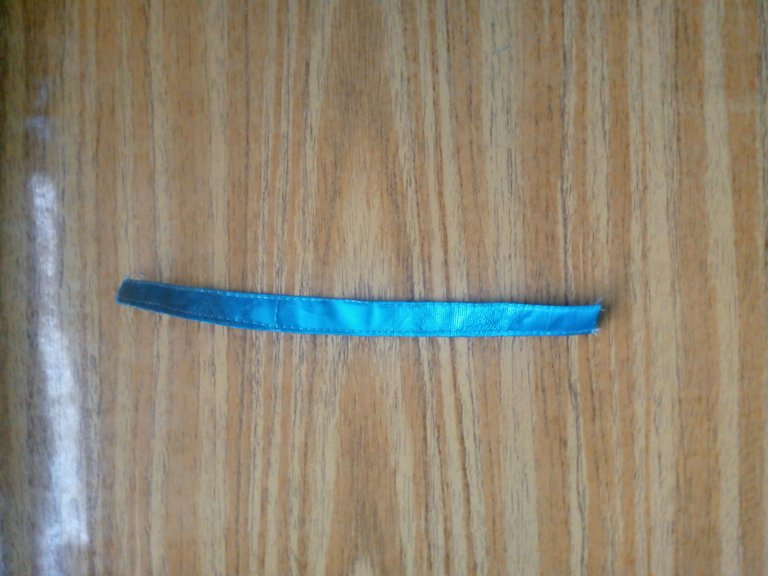
The main pouch was zipped to the middle and the handle was folded in two and sewn on the zipper, after which the excess zipper was trimmed off on both sides.
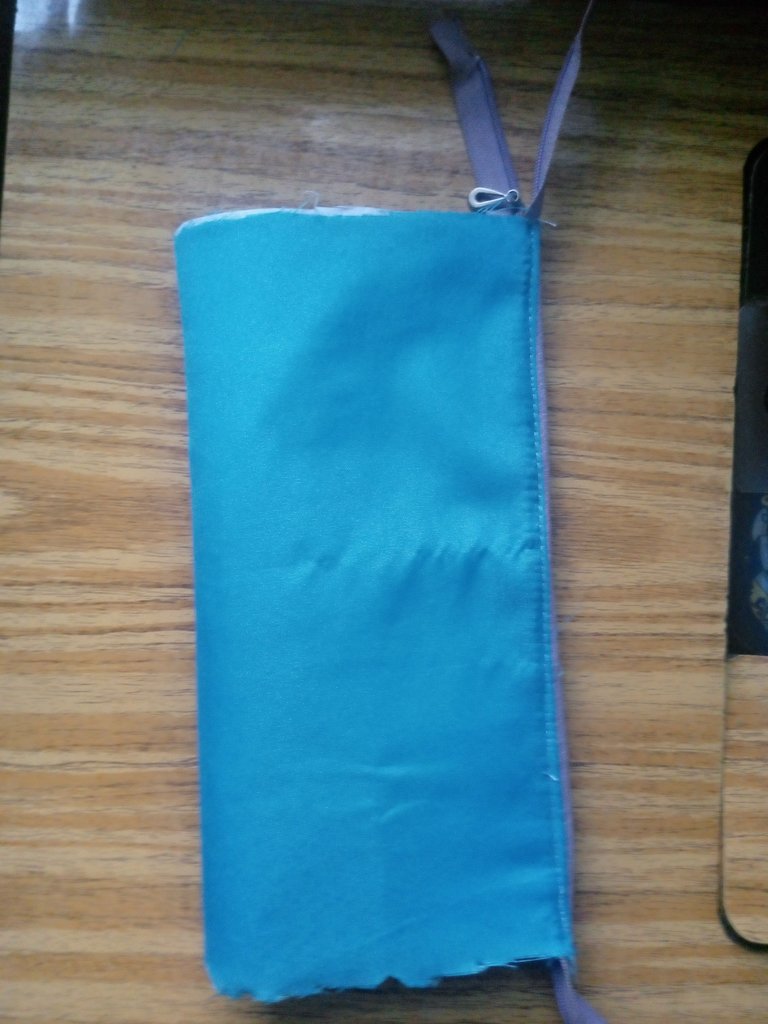
Finally the circle shape was sewn to both sides of the main pouch with the right side to right side.
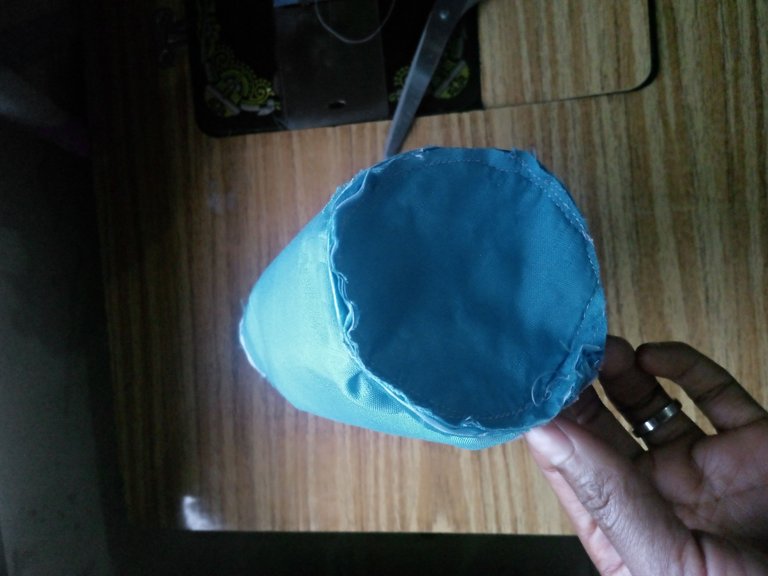
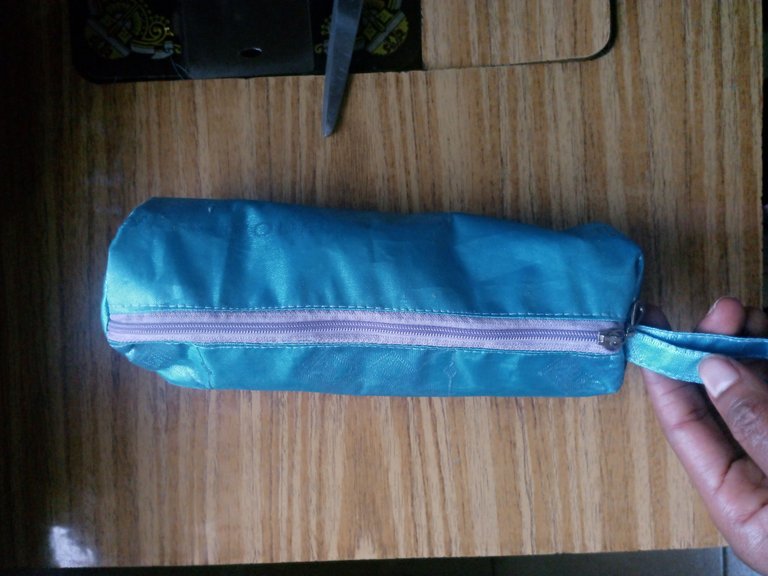
It was turned inside out and this is the final outcome.
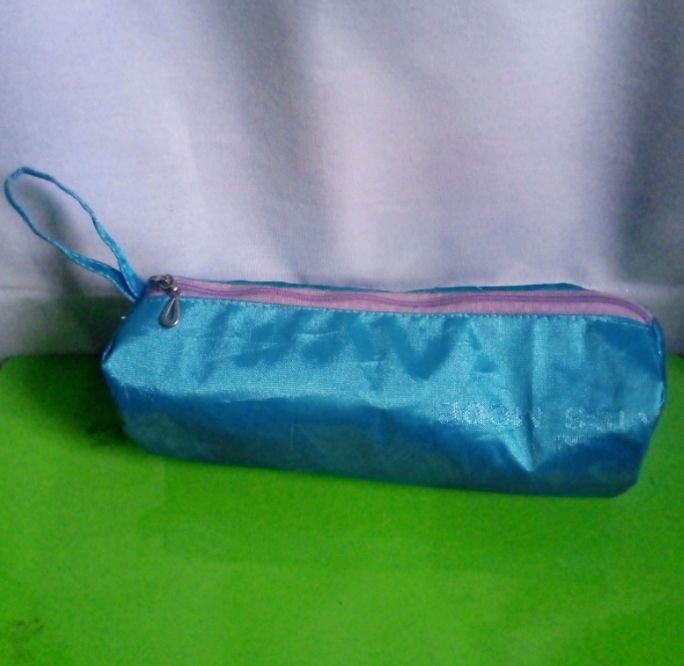
Another great piece of recycling work. The pouch looks good.
Thanks @diyhub for your comment and support.
This is actually very beautiful
Your little effort has bestowed you with a beautiful and useful purse
Thanks so much @ukrajpoot for your comment.
Your nephew’s friend must be so happy, you did an amazing job with the pouch friend😃