DIY// making a body cross bag for my niece for her phone and other little items.
Hello creative friends

A lovely day to you all on this beautiful day, I'm glad to be here today sharing my creativity with you again after awhile, I have been very busy with other activities aside sewing and that has really taken much of my time but it's good to be back again, I hope you all are doing great, I missed hive as a whole and this time, I'm here to bring more of my beautiful work here to share with you the cutting and sewing process of these useful project.
Despite my busy schedule, I have a lot of requests that I have to meet up with and trust me, I will be sharing them with you as soon as I'm done, last week I got a call from one of my niece that I had to make a body cross bag for her as well just as I did for one of my niece recently, I make a fancy ladies bag for her to a birthday party of her friend and most people really love the outcome and when my other nice saw it, she also demanded for hers and I just really had to get it done for her. Below is the one I made for glory my niece and I also fell in love with it as well.
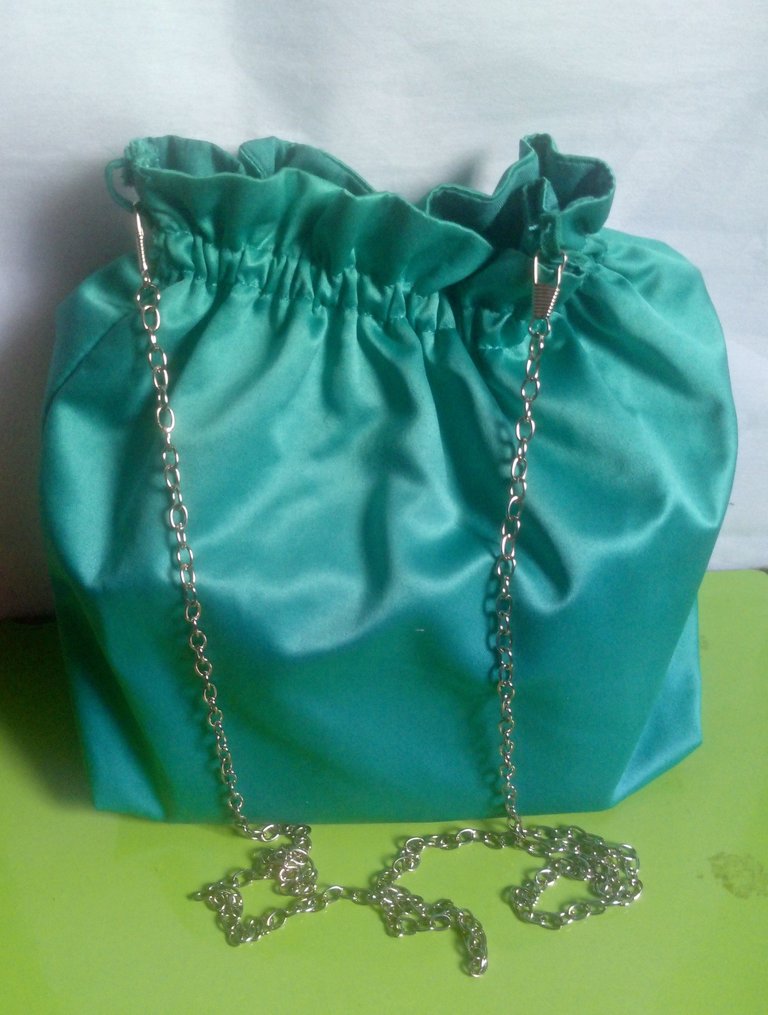
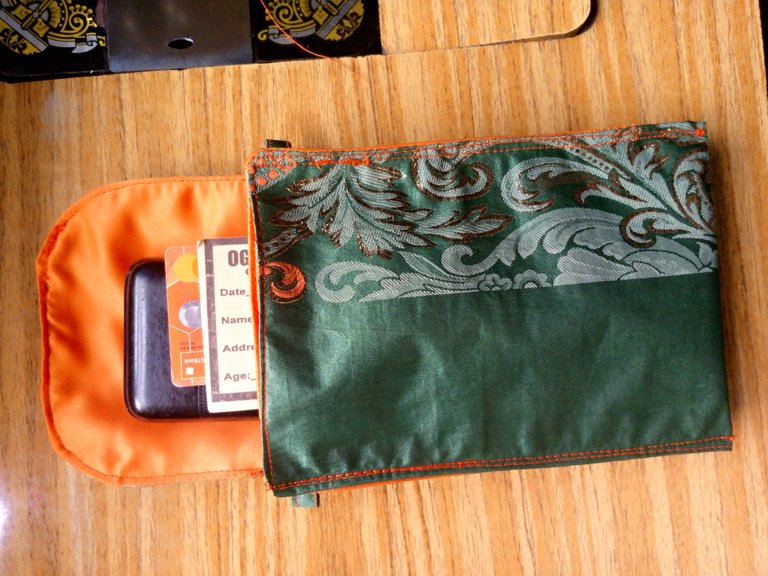
Well this very one might look very far from the one I made for glory but, it's actually what my other niece prefer, she needed something simple that she can put her phone, money and cards which she can easily cross on her body and that is exactly what I made for her.

let's get started with the cutting and sewing process
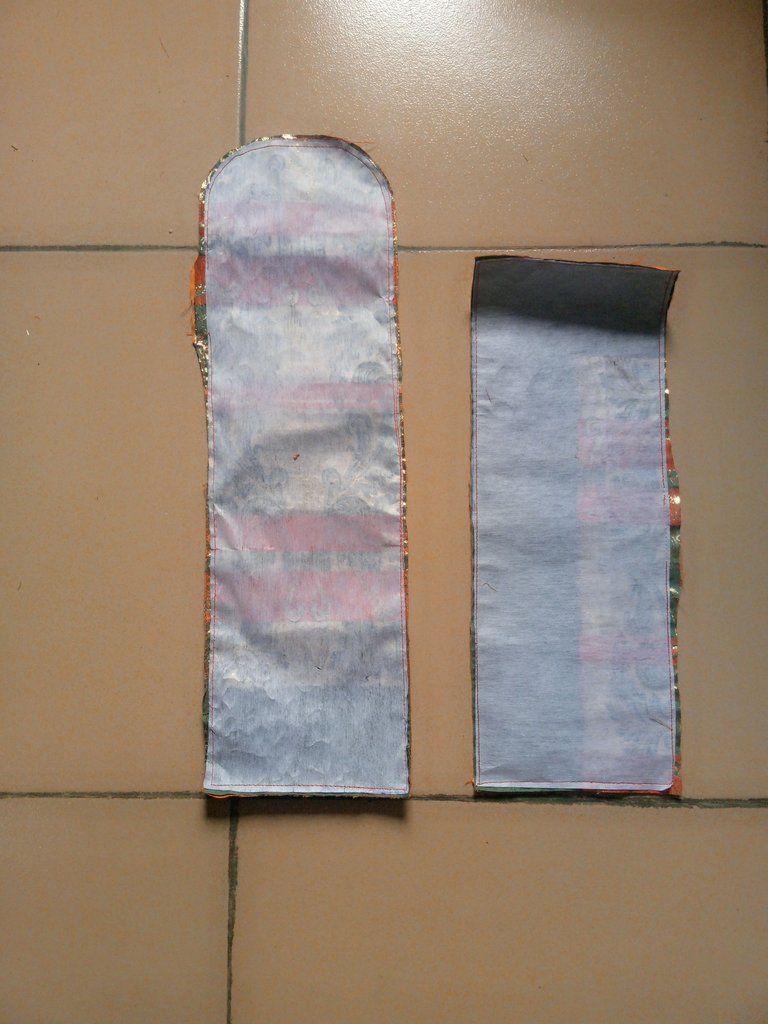
From my main fabric, I cut out 6 x 20" with lining
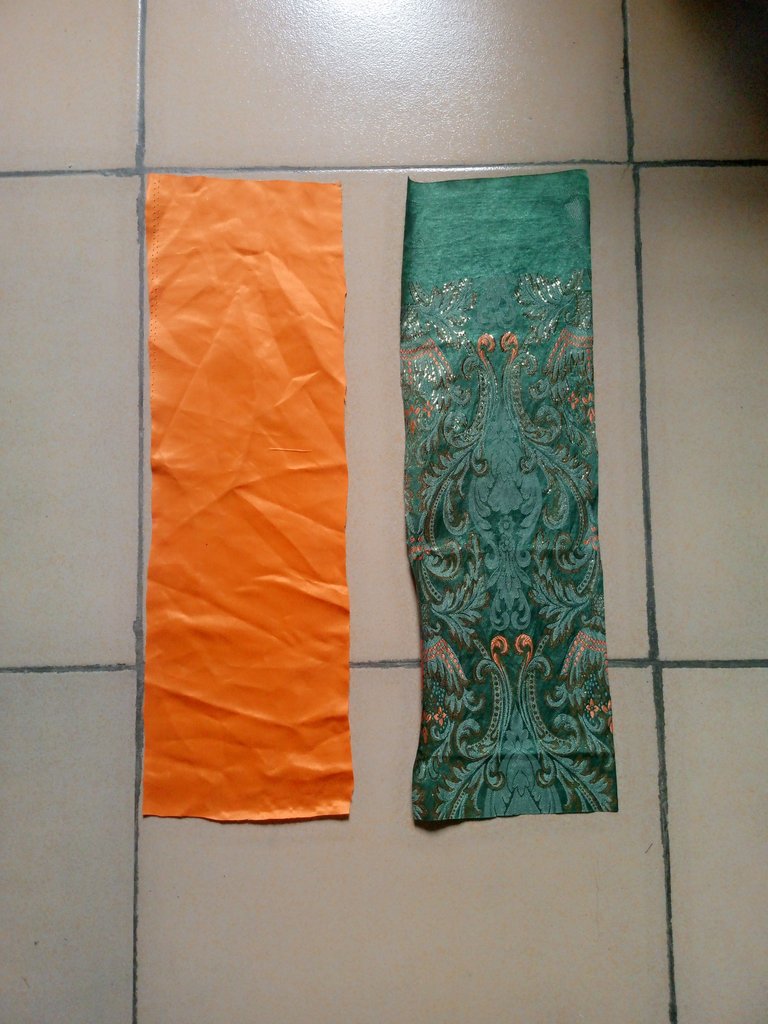
I cut out another piece of 16 x 6"
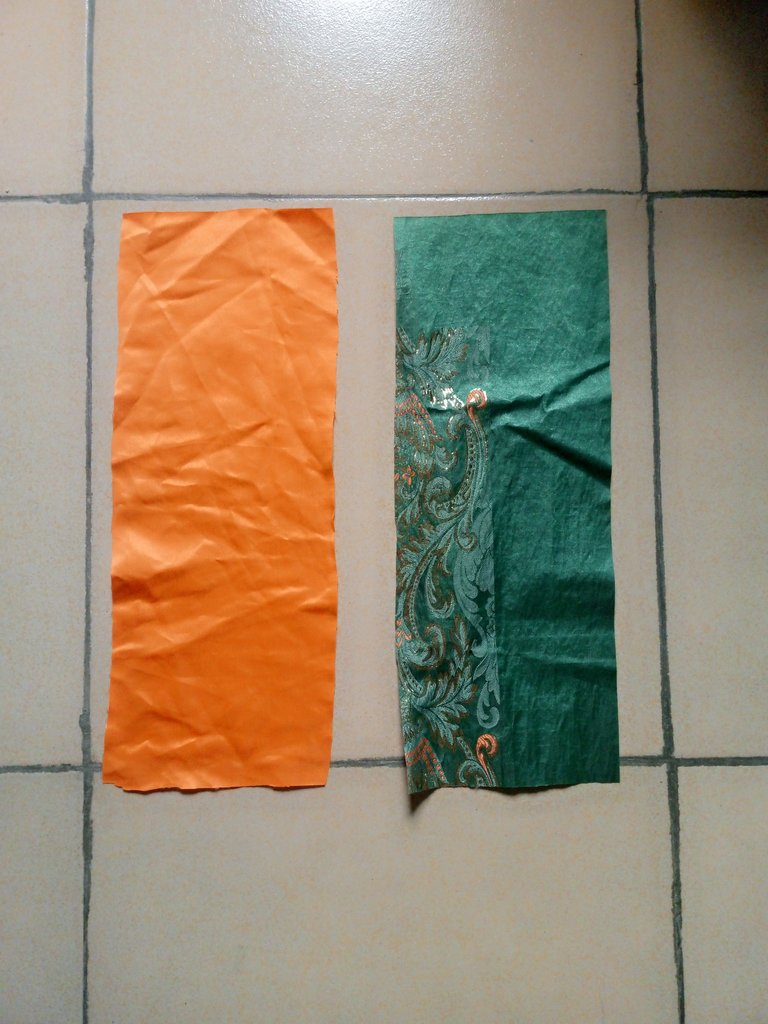
I added interfacing to the two main fabric to make it firm as it was to light.
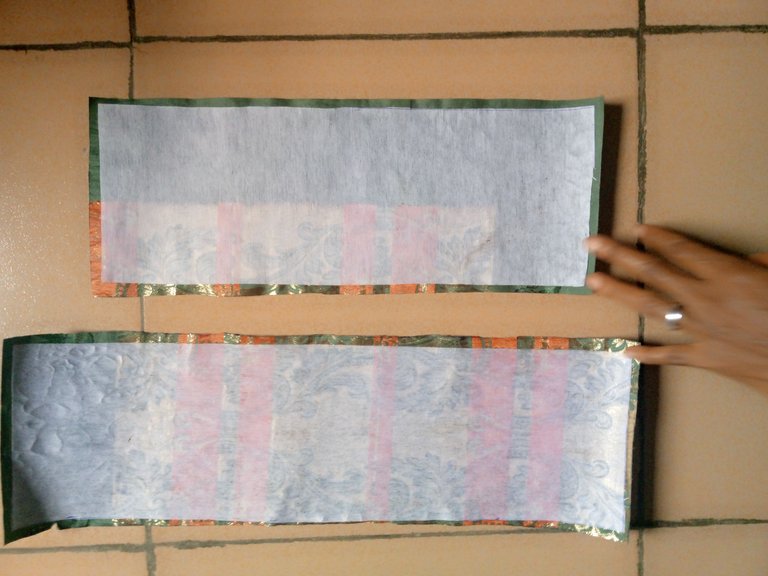
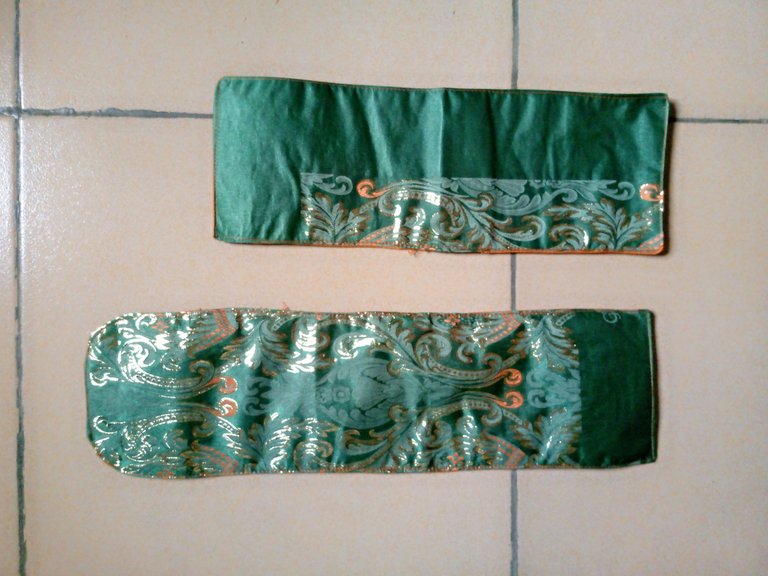
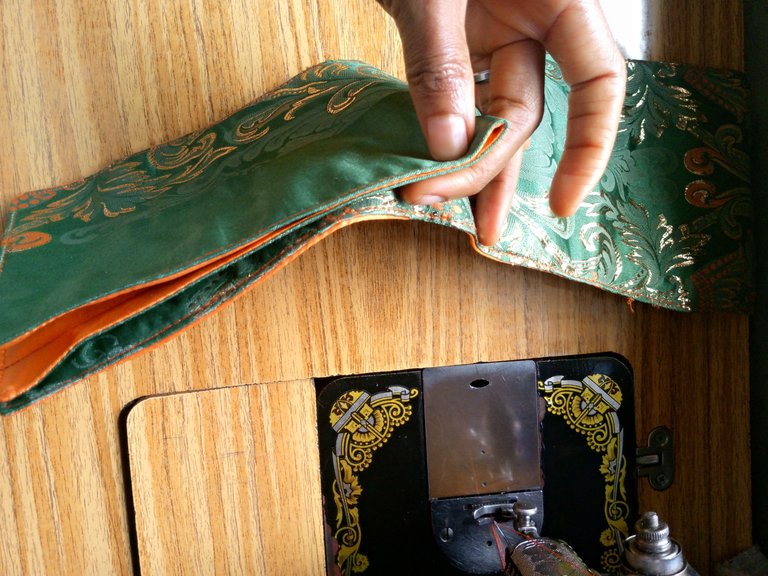
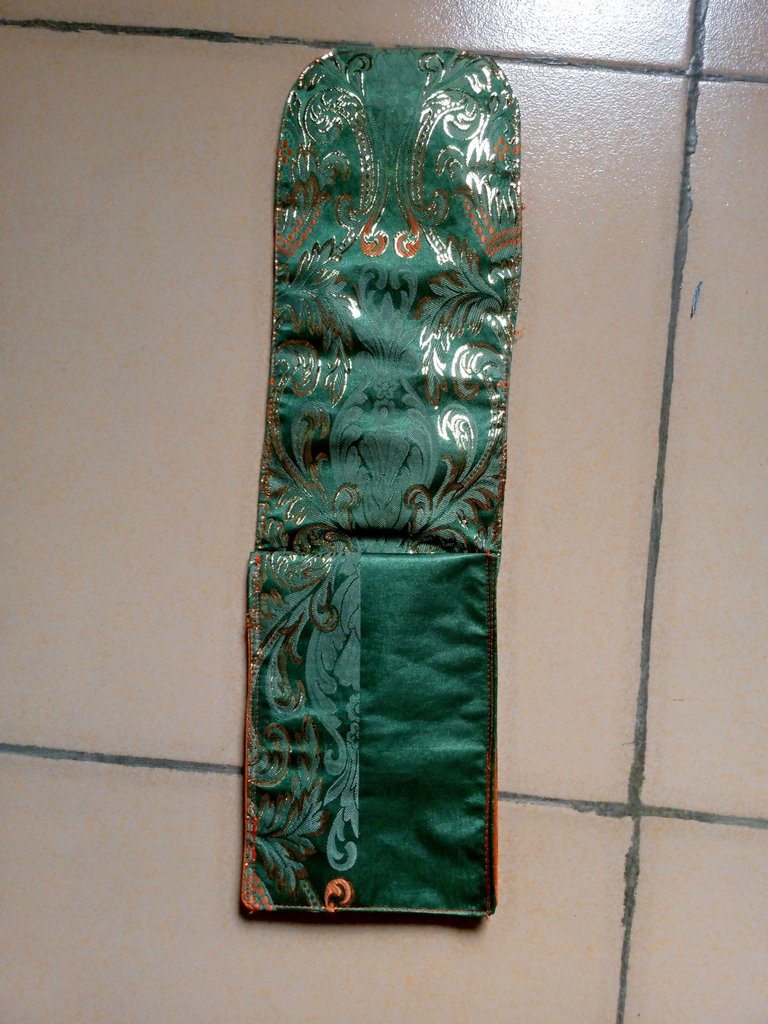
I placed the lining on the main fabric and sew it together which I made a little curve at the top leaving an opening to be turned inside out
It was turned inside out and ironed nearly, after which it was top stitched round.
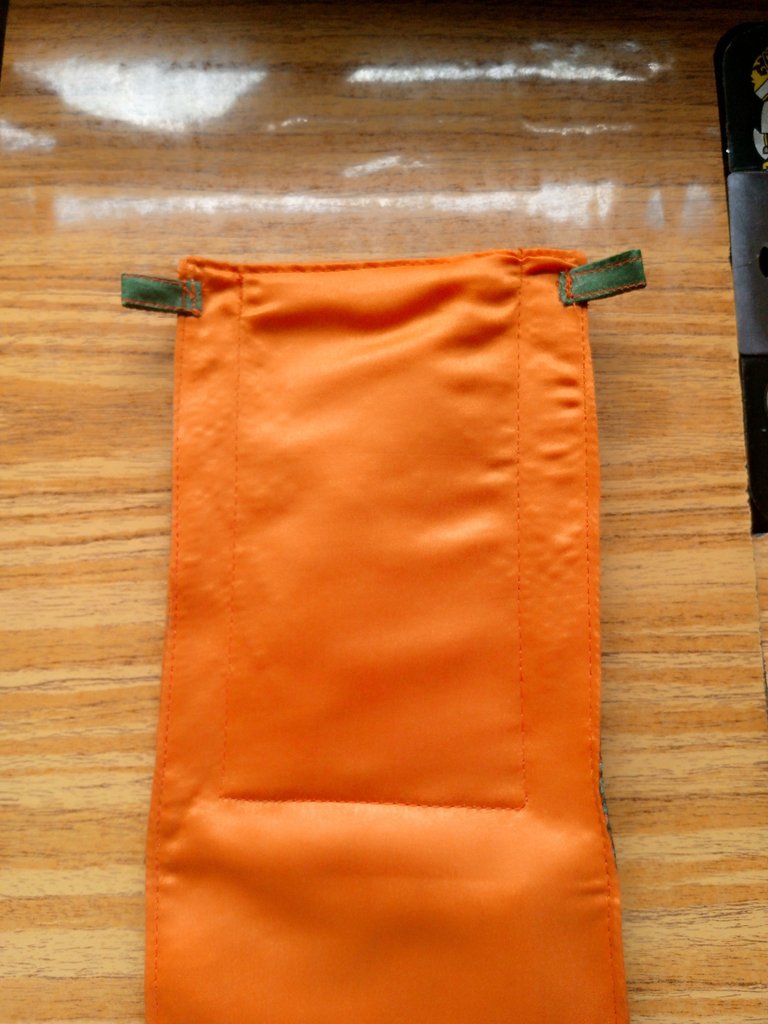
The smaller rectangle was placed on the bigger one right side to right side as I measured 1" round from the middle and I sew on the lines.
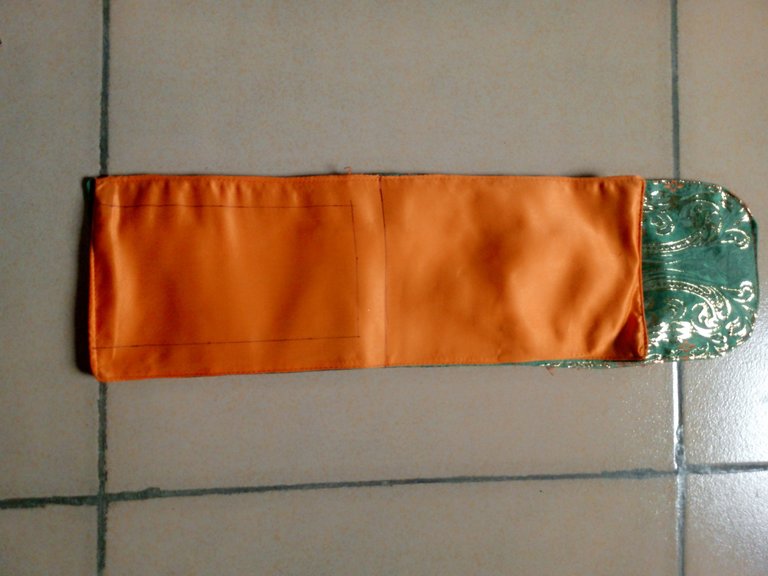
It was turned to the other side as I sew the two sides together.
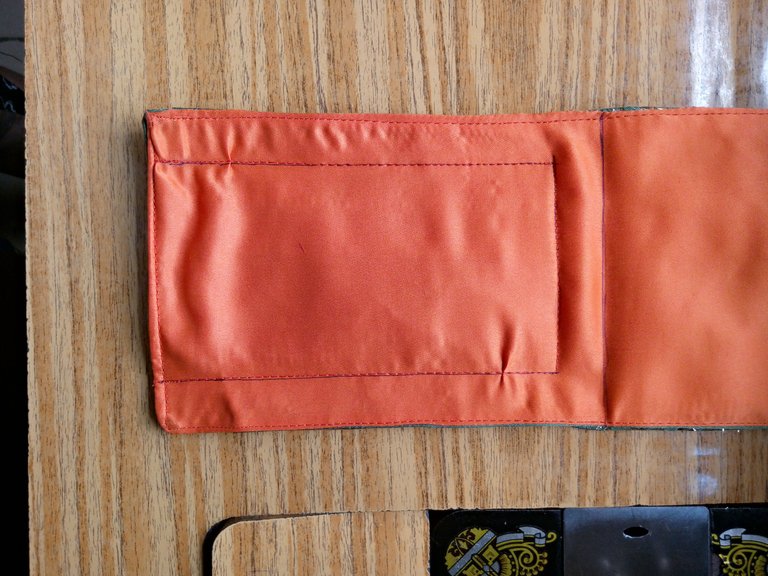
The same was repeated on the other side and I have this as seen below with a little handle inserted to both sides.
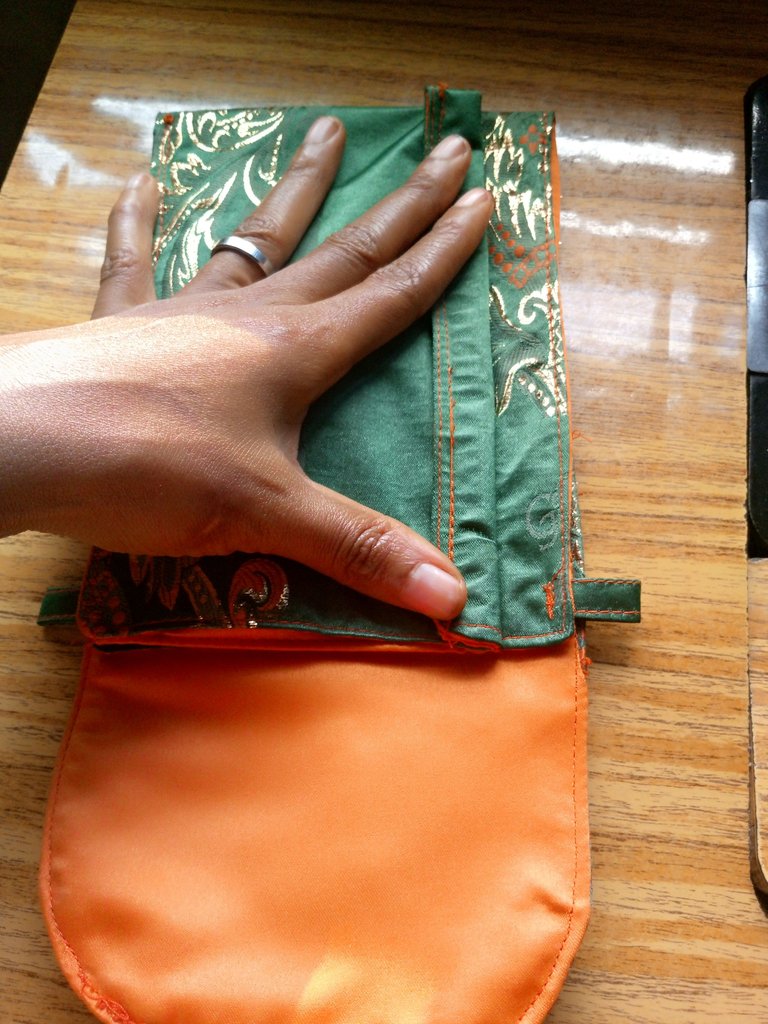
After sewing the sides together, I have 3 pocket for the cross body cross.
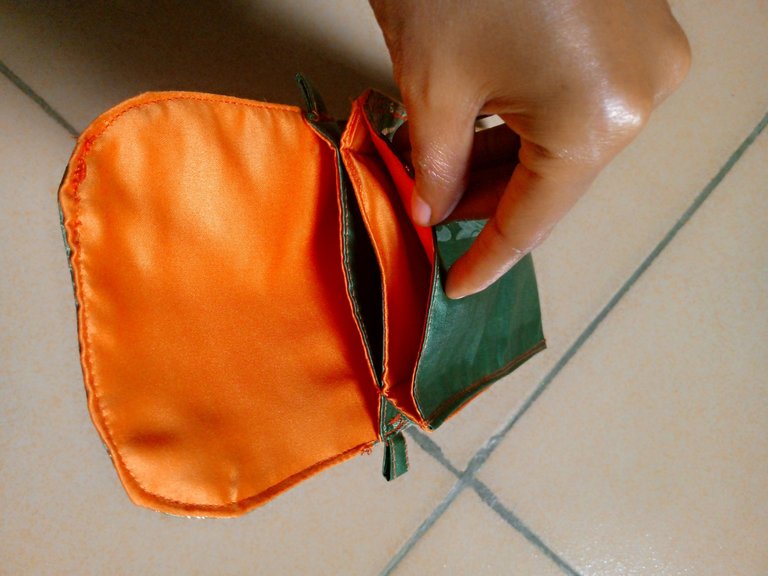
I attached a pressing buttons to the appropriate places as well on the bag.
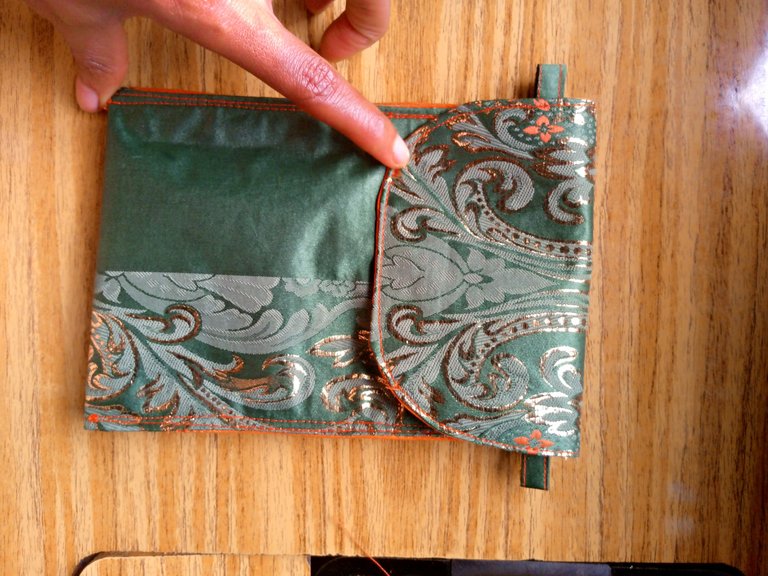
Finally, I attached an adjustable rope by the sides and this is the final outcome.
I hope you like the beautiful outcome, and I know my niece will love it as well.
Wow this is beautiful and unique
Thanks so much, I appreciate your comment.
🎉 Upvoted 🎉
❤️ @bhattg suggested sagarkothari88 to upvote your post ❤️
Thecross bag for your niece loos real mature and cool. She must be really happy. Very thoughtful of you
Thanks so much @diyhub, I'm sure she will, I really appreciate your comment and support.
Girlfriend, your cutting and sewing techniques are impeccable 👍❤️ love using this type of phone bag, they are quite comfortable and practical.
Yes, you are right, they are very easy to carry around with your items inside. Thanks so much for your beautiful comment, it's so encouraging.
🤗💙