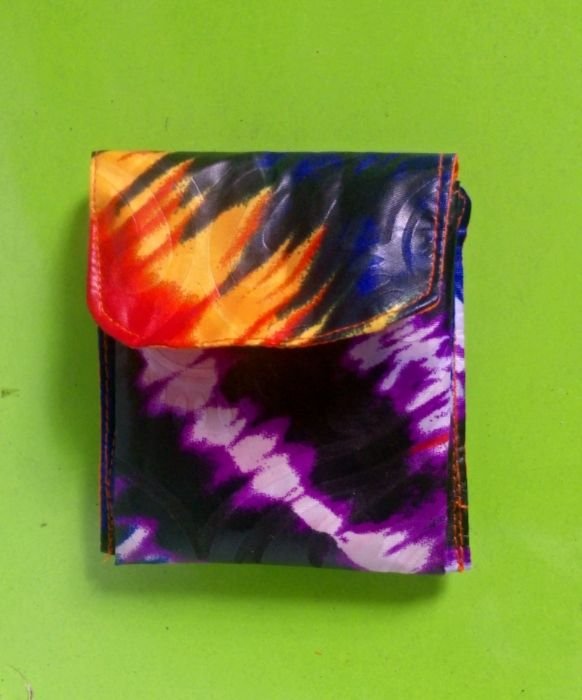
DIY// cutting and sewing process of a simple card wallet for my friend
Hello creative friends
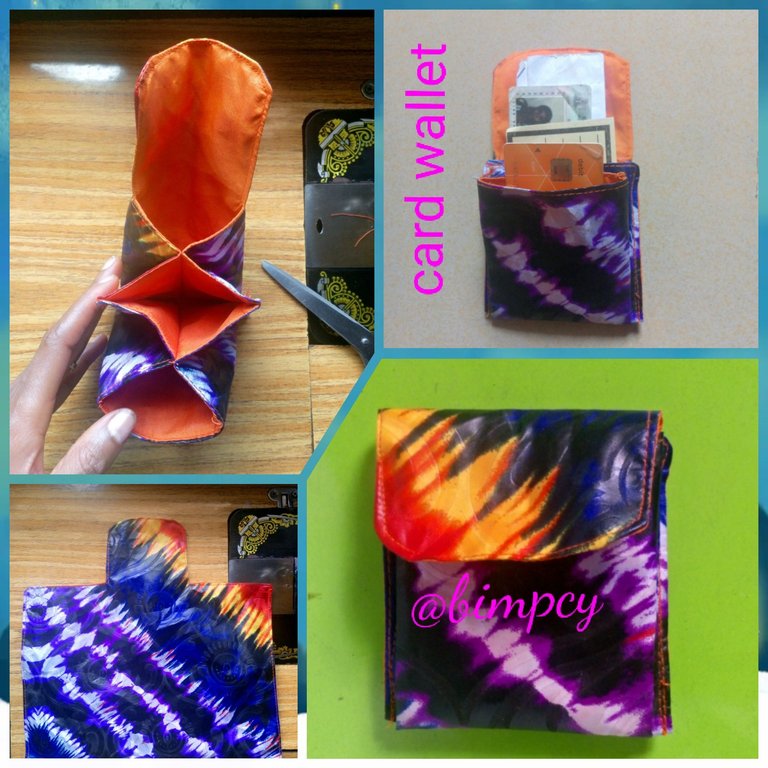
It's another beautiful day out here and I hope you are all doing great, I have being making different types of creativity which most people fell in love with and encouraged me to do more moreso the comments and support I get here has really kept me going, some of these projects were meant to be for my personal use but fortunately or unfortunately, it get taken away by family and friends that I had to do another one for myself, same with the hand bags I make, they all ended up with someone else, well it's a thing of joy for me to see people wear and use what I make. Yesterday I made a cross body bag for my niece and it came out really nice, this has actually made a friend of hers to request for her own as well which I will be making soon, most of these projects are in my blog and you can check them out to see beautiful creativity I make for people, before granting the request of my niece's friend, I quickly decided to make this simple card for my friend.
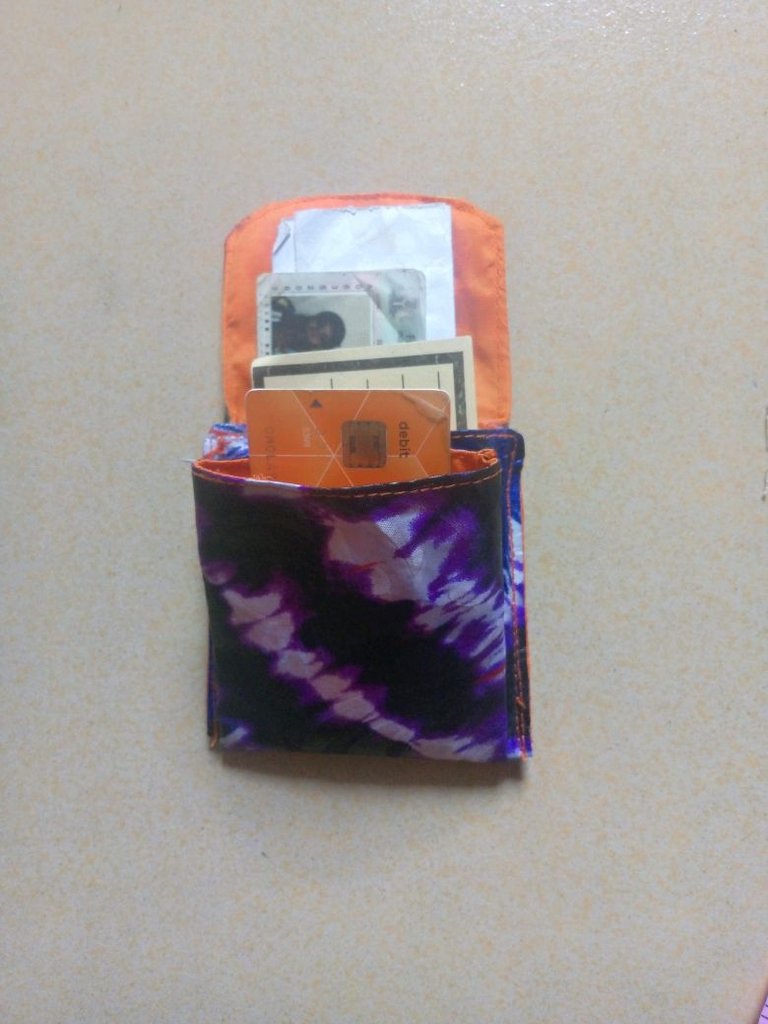
Getting most of this simple project from the store are really expensive and instead of spending more on little things like this, I decided to use my creativity to create them as far as they can serve the same purpose and my friend also thought the same way when she saw the wallet I made for myself sometimes ago, she told me she needed one for myself just for her cards to prevent them from scratching before she can put it in her bag, since that was what she wanted, I decided to make this small wallet with 3 space and a pressing buttons for her just for her cards alone.
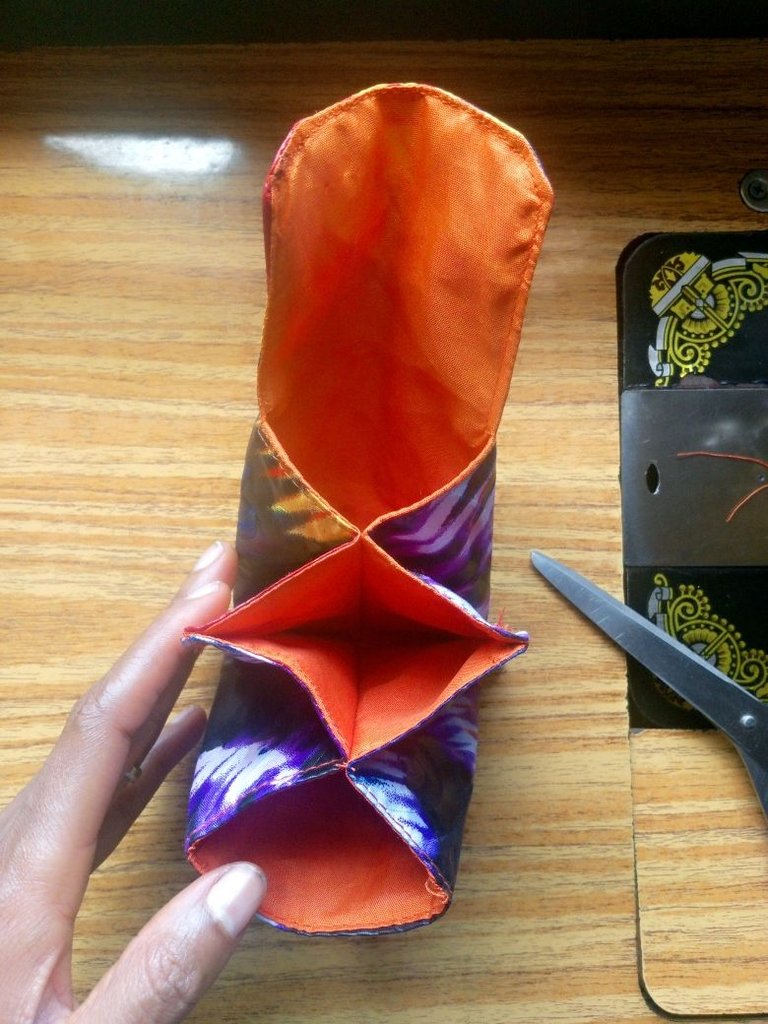
Let me take you through the cutting and sewing process
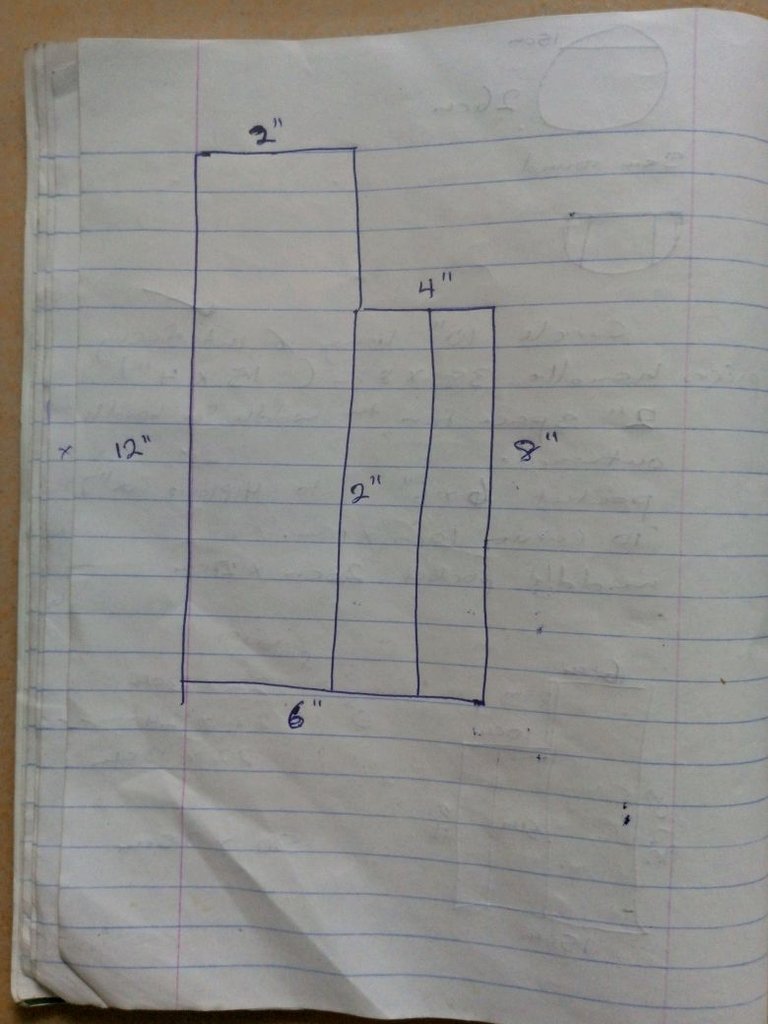
From my leftover fabric, I measured 12 x 6" on fold, went up by 8" connect to 4" and I divided it into 3 just as seen in the diagram below.
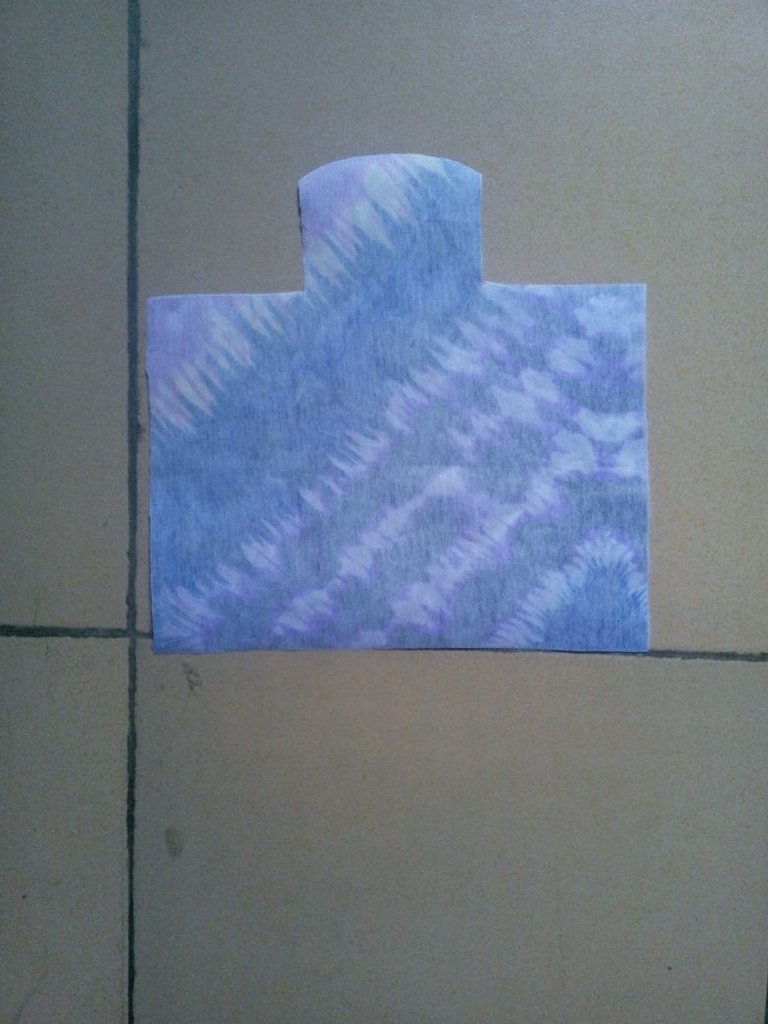
I cut out a matching lining and interfacing was ironed on the main fabric
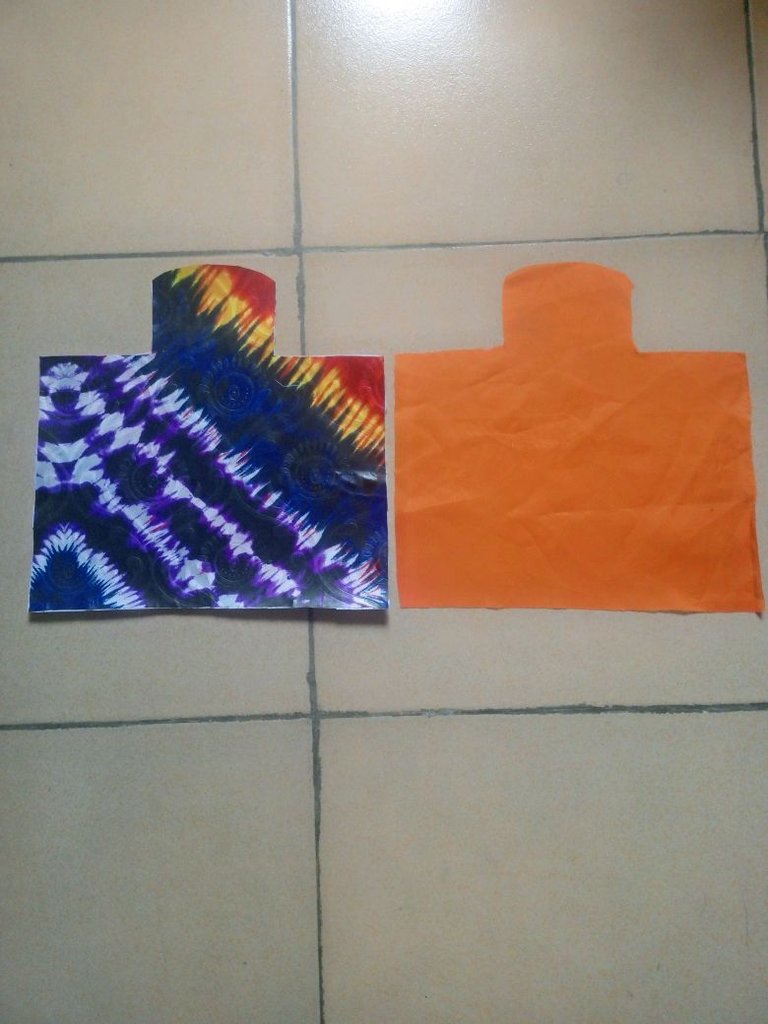
The lining was placed on the main fabric with a little curve at the top and it was sewn together leaving an opening at the bottom for it to be turned inside out.
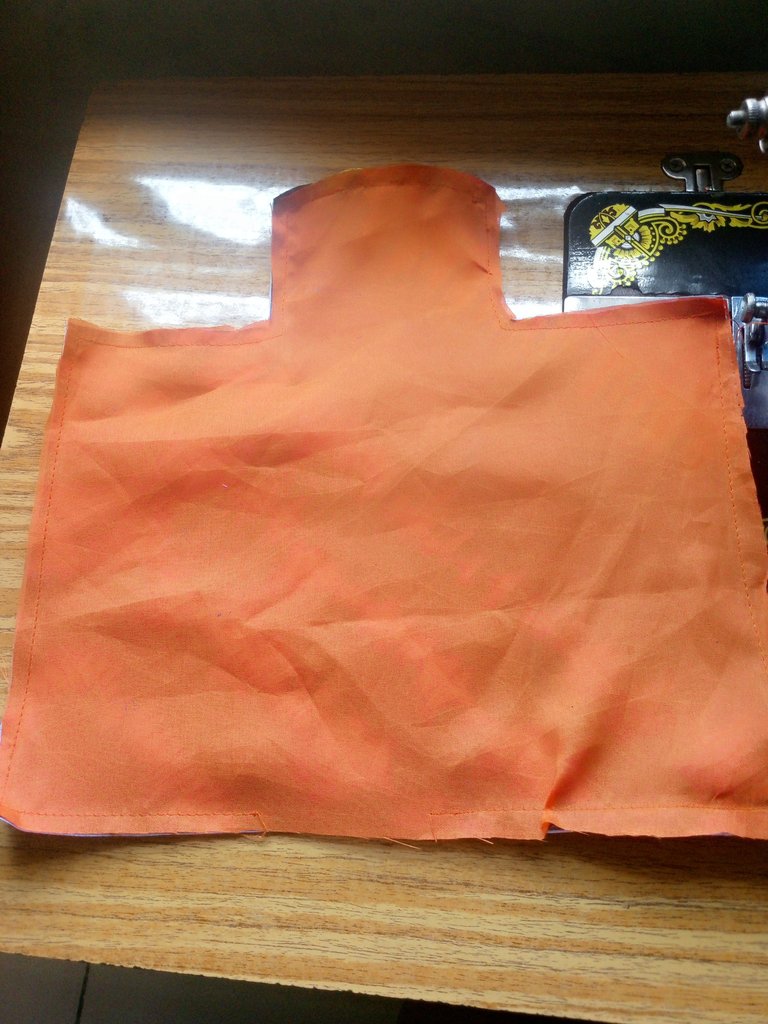
It was turned inside out and top stitched
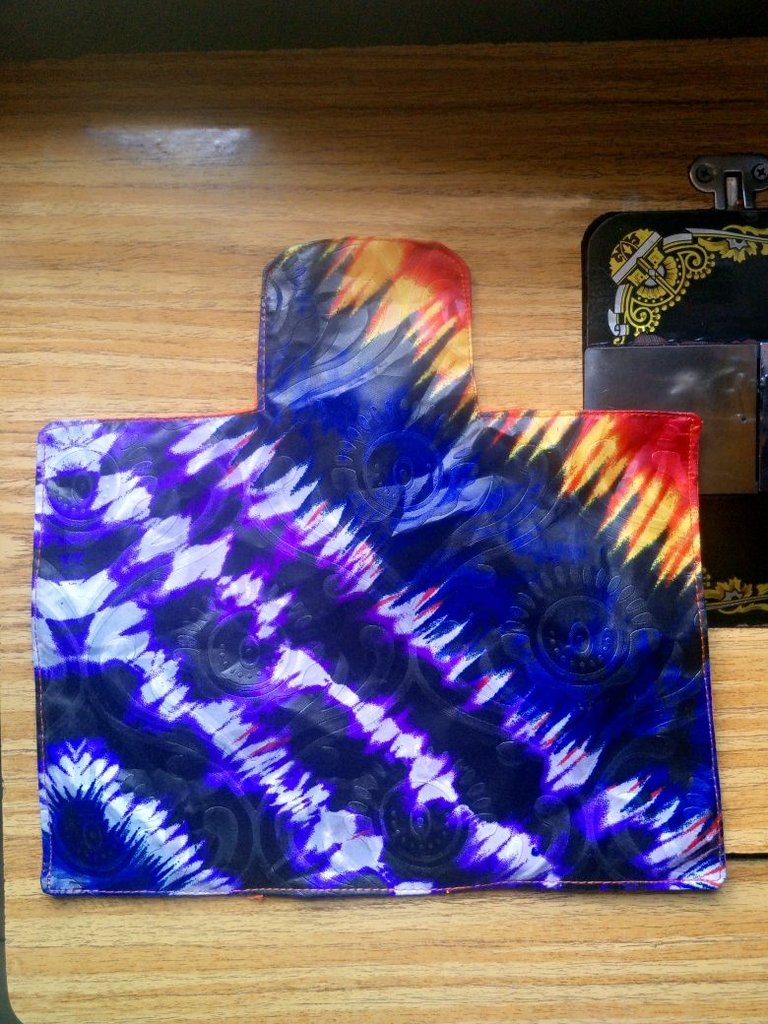
It was folded in two then I measured 2" from the side and sew it down.
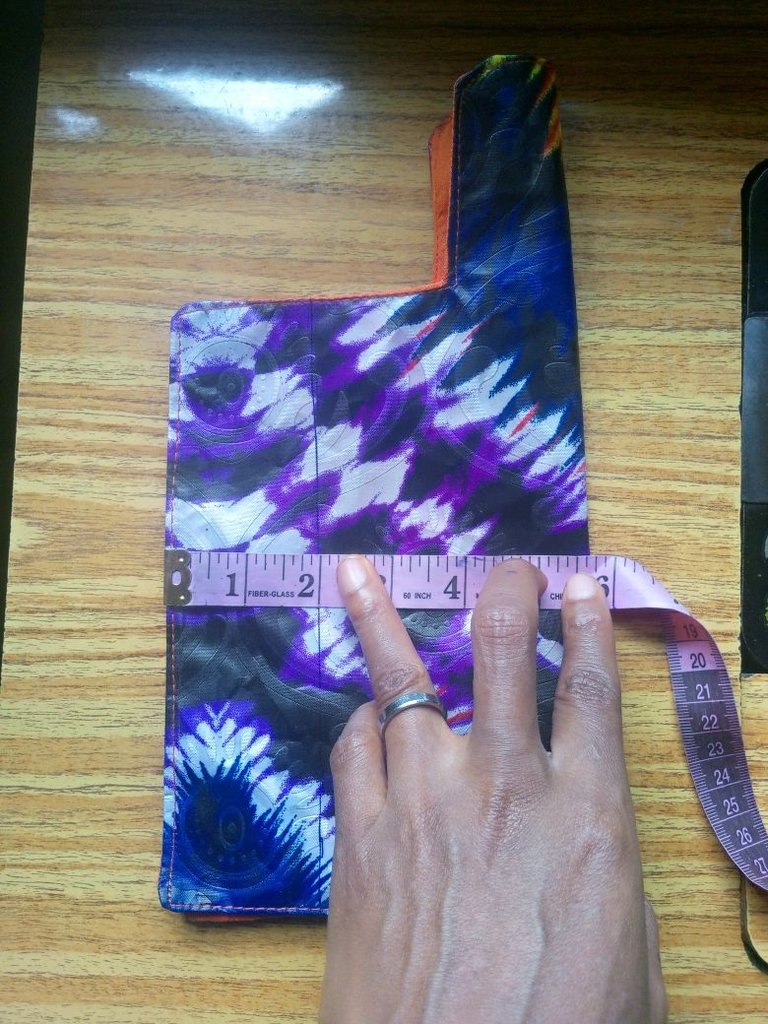
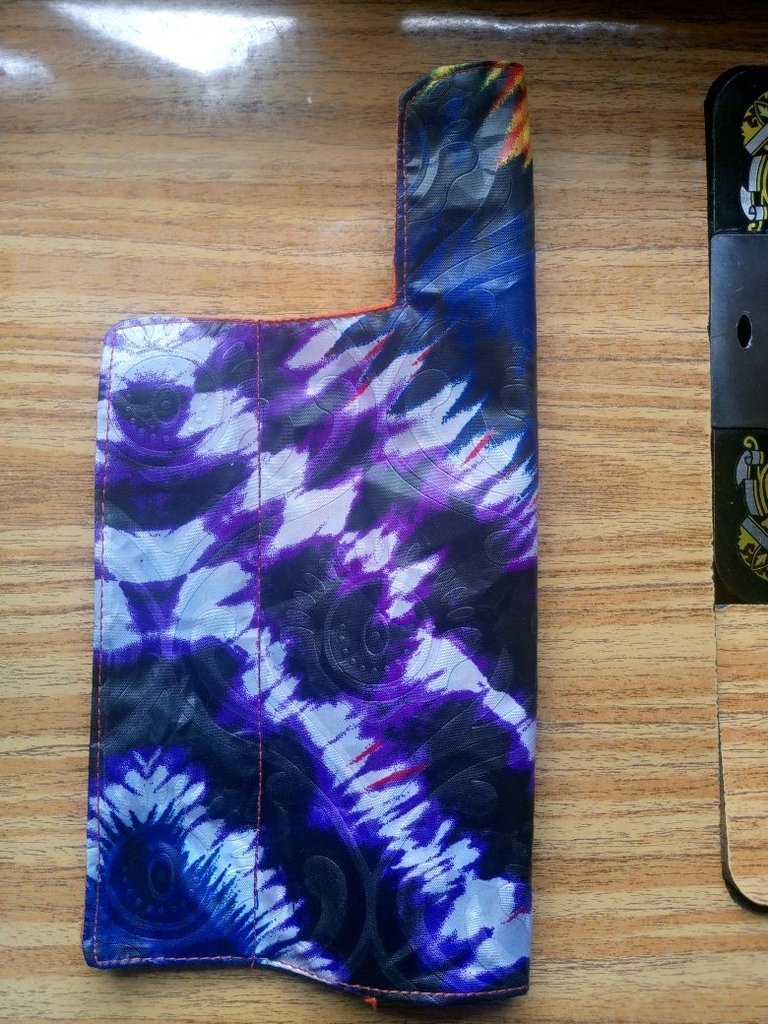
The 2" was opened and I folded it together and sew on both sides.
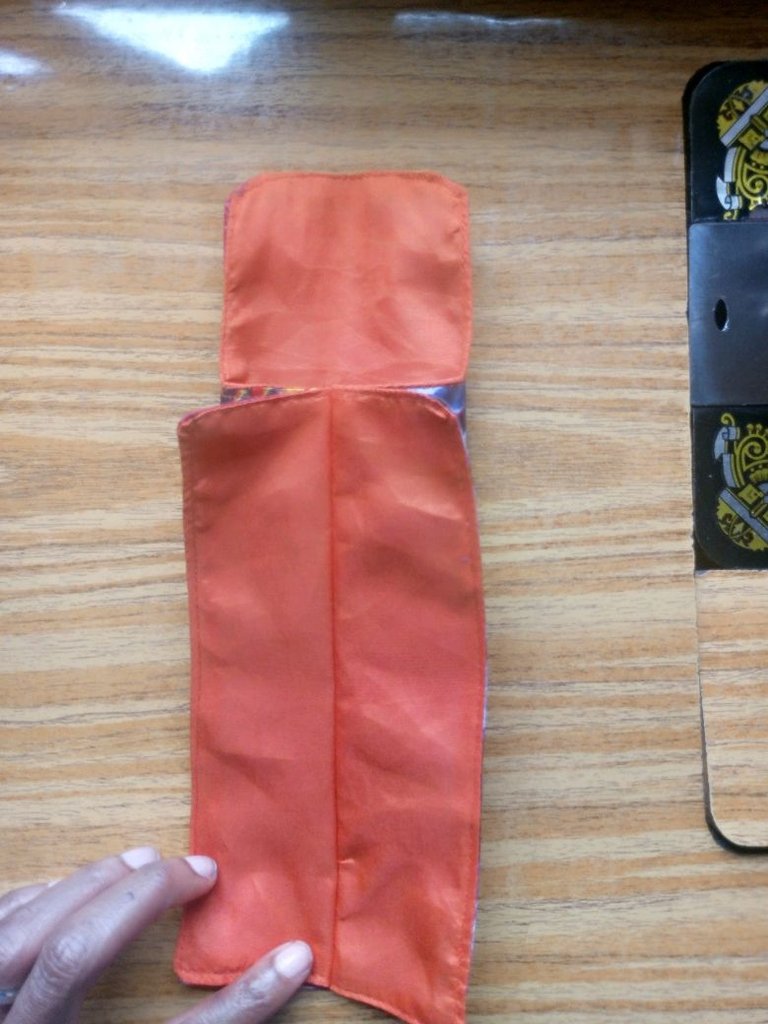
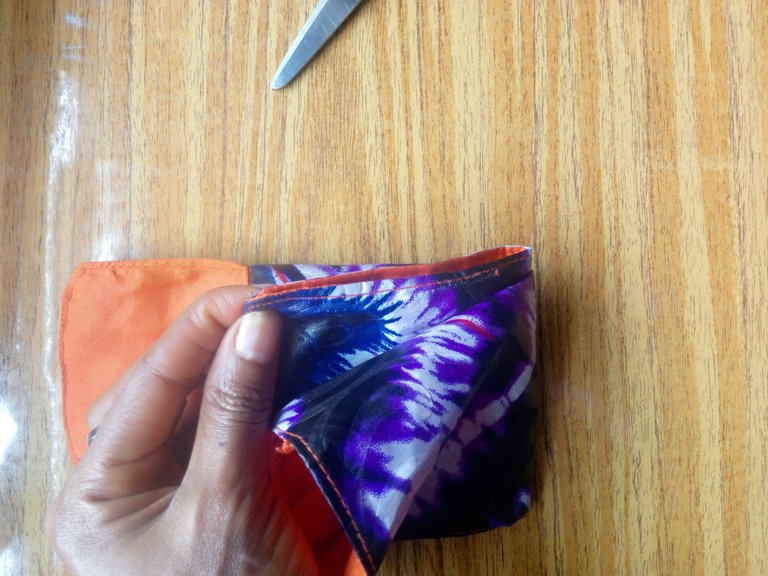
Finally, I sew a pressing buttons on it at the appropriate place and my friend's card wallet is ready.
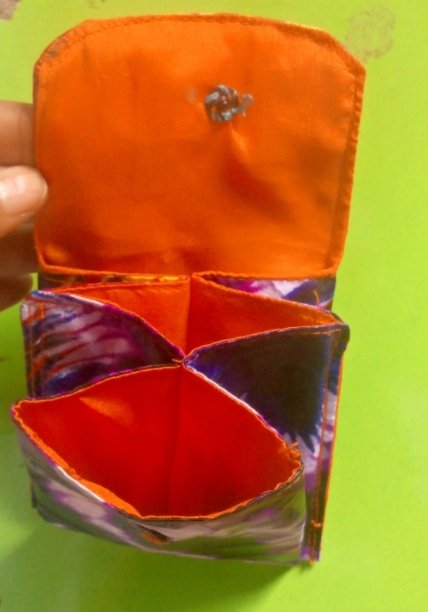
This is the card wallet for my friend with my cards in it just to see how it will look like. I hope you like the beautiful outcome.

