DIY// creative design of 3 compartments cross body bag I made for my niece
Hello creative friends
Happy day to you all in this creative community @hivediy and on this beautiful day, I hope you are all doing great, it has been a lovely day for me since the beginning of the week and I wish you are having great time as well.
Today, I will be sharing with you the making of this cross body bag I made for my beautiful niece for her Sunday outfit to church, as you may know, I am a seamstress who make beautiful outfit for both male and female, I didn't just stop there, I also got interested in making other accessories that can compliment the outfit I make for people so I decided to go into bags, pouch and most creativity that can be done with fabrics, that has really helped me a lot in my sewing skills and I am happy with who I have become, I make this outfit and accessories mostly for my family and friends and also people who admire and wanted me to do something creative for them, I find great joy in doing this as it put smiles on people's face and make me happy as well, I really love to see people wear or use what I make for them, I fill fulfilled seeing those things I made on people around me.
If you go through my blog, you will find most of my creativity there and I'm sure you will like them.
I made this bag for my niece who insisted that she also will need a bag she can put her things to church after seeing the ones I made for her sisters, I didn't have to decline because I actually had it in mind to make one for her as well. When making this bag, I thought she only had few things to put in it and so I decided to make this for her but unfortunately, it was small to contain her things but I promised to make her another one when she told me the bag was small for the purpose she wanted it for but it's a bonus to her, she can use it for other purpose like for her phone and cards.
let's get started with the cutting and sewing process.
I drafted out the pattern I used on my interfacing before I ironed it to the main fabric and cut it out.
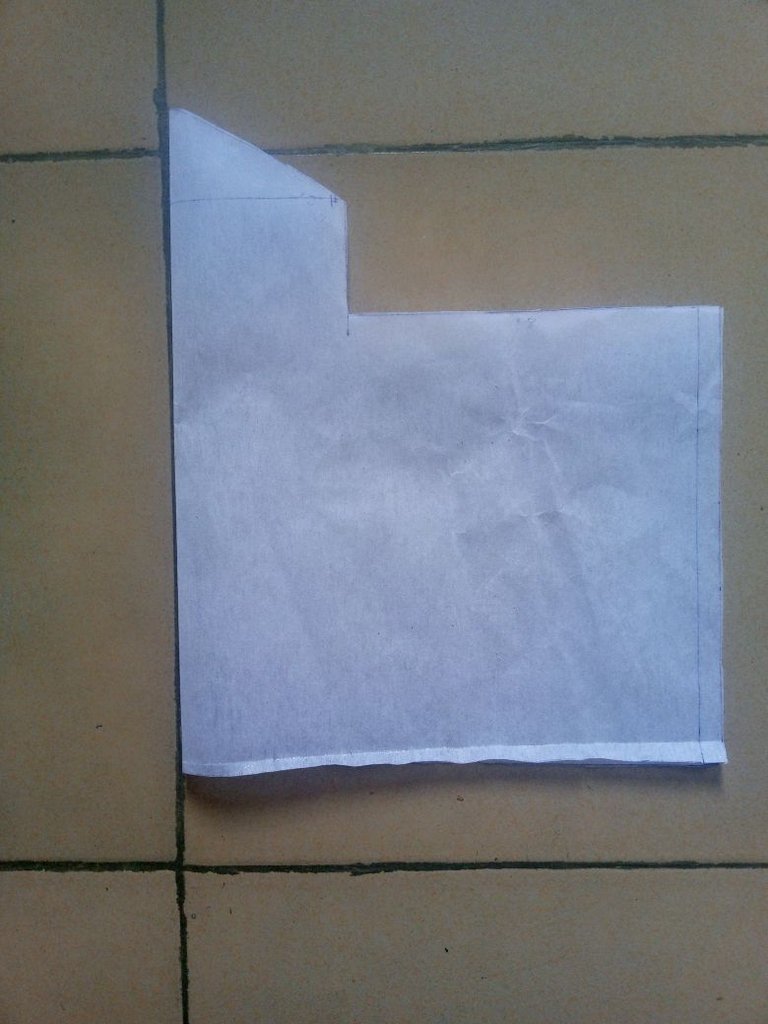
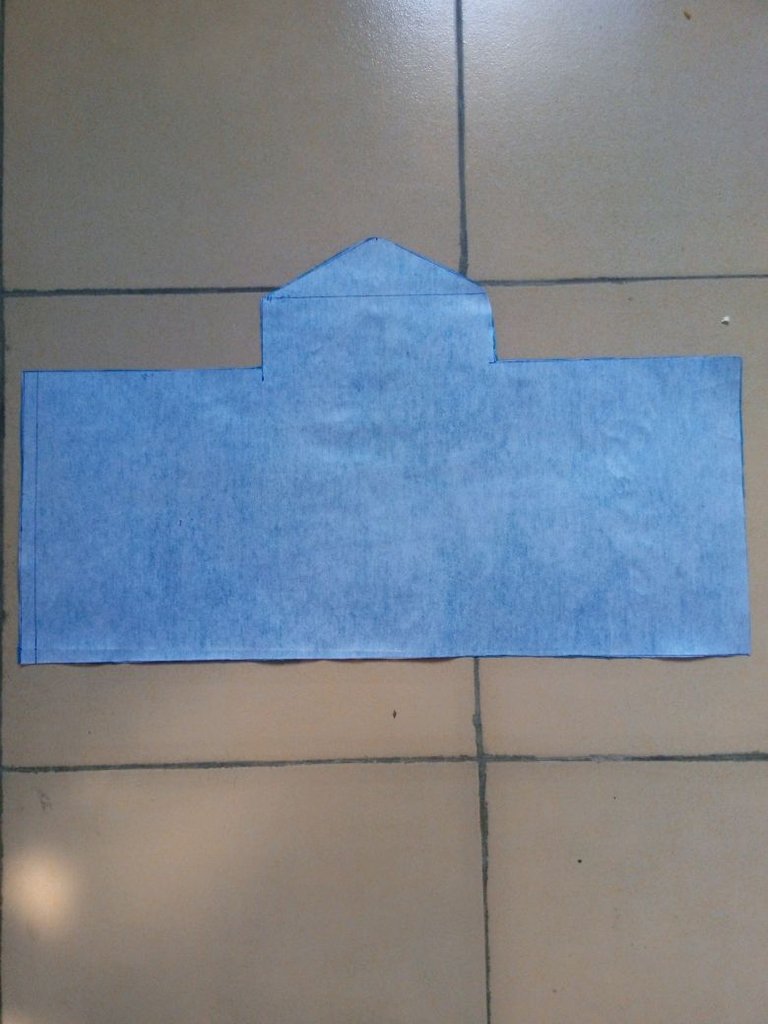
I also cut out a matching color lining and sew it to the main fabric leaving an opening where it can be turned inside out, after which it was top stitched on
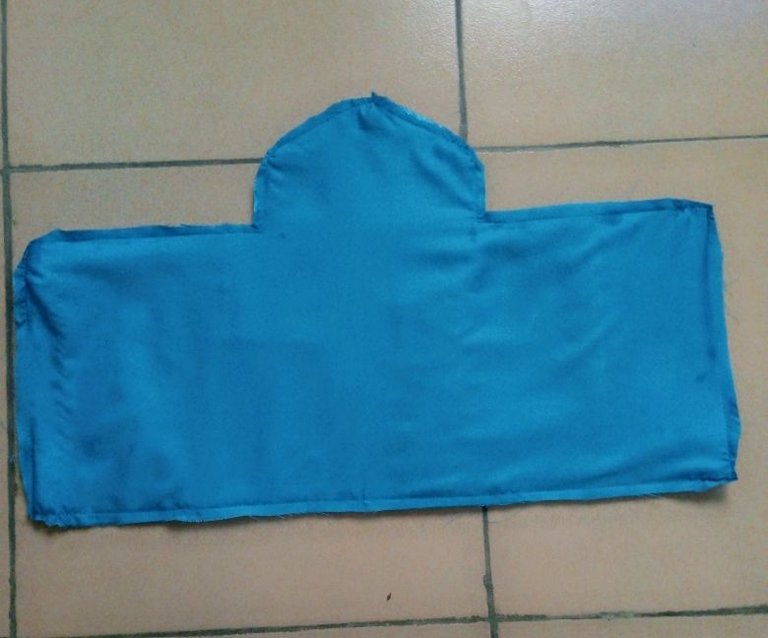
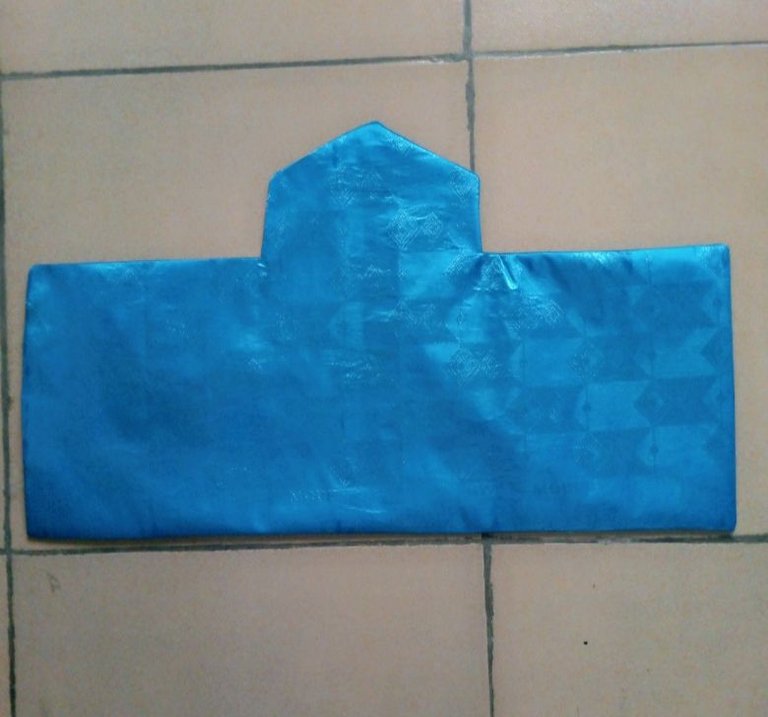
It was folded in two and I marked 4" from the side and sew on it down.
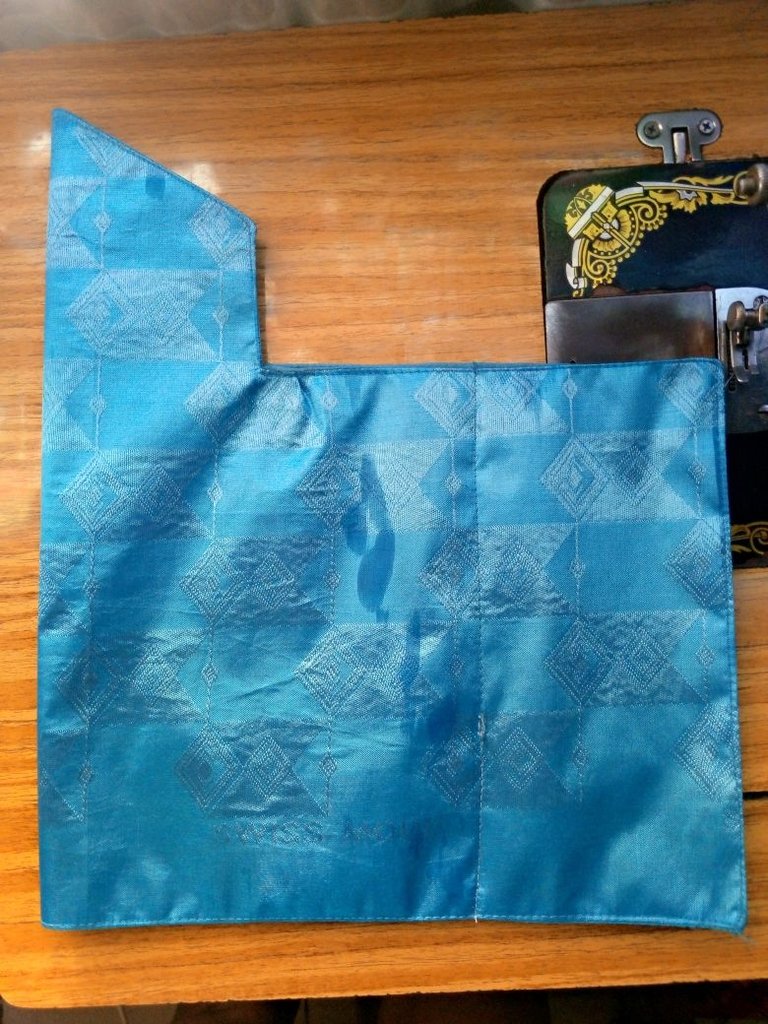
I cut out a strip for the handle holder and sew it to the tip of the bag on both sides
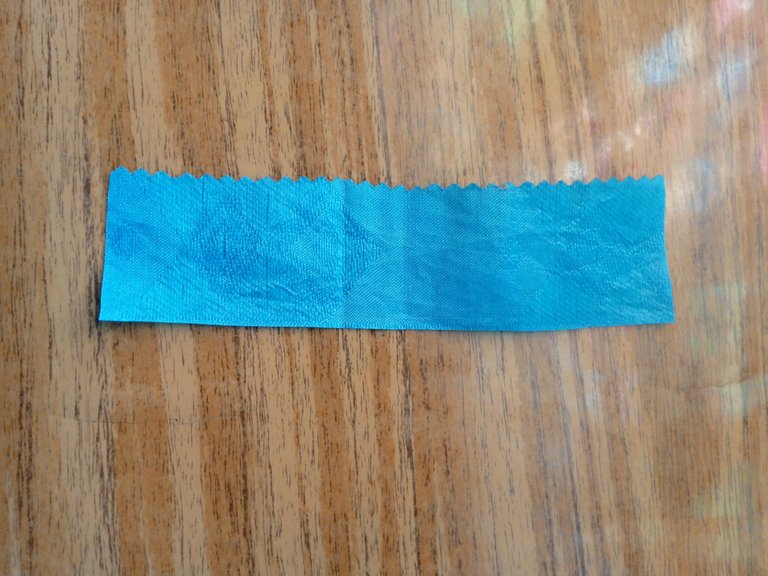
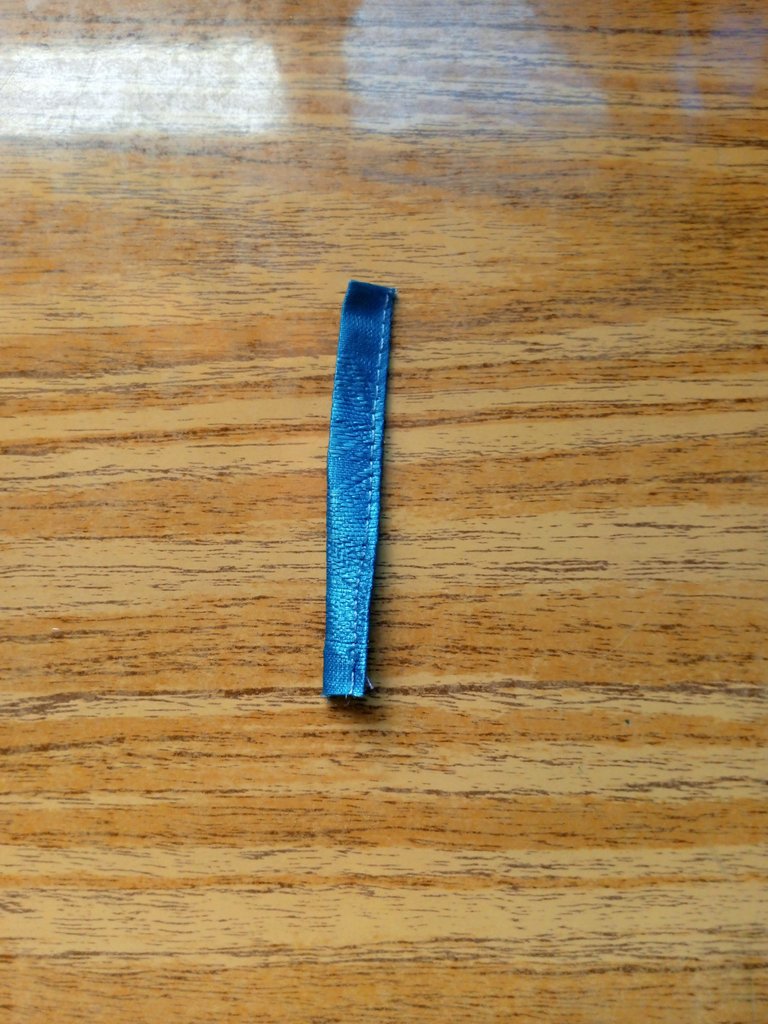
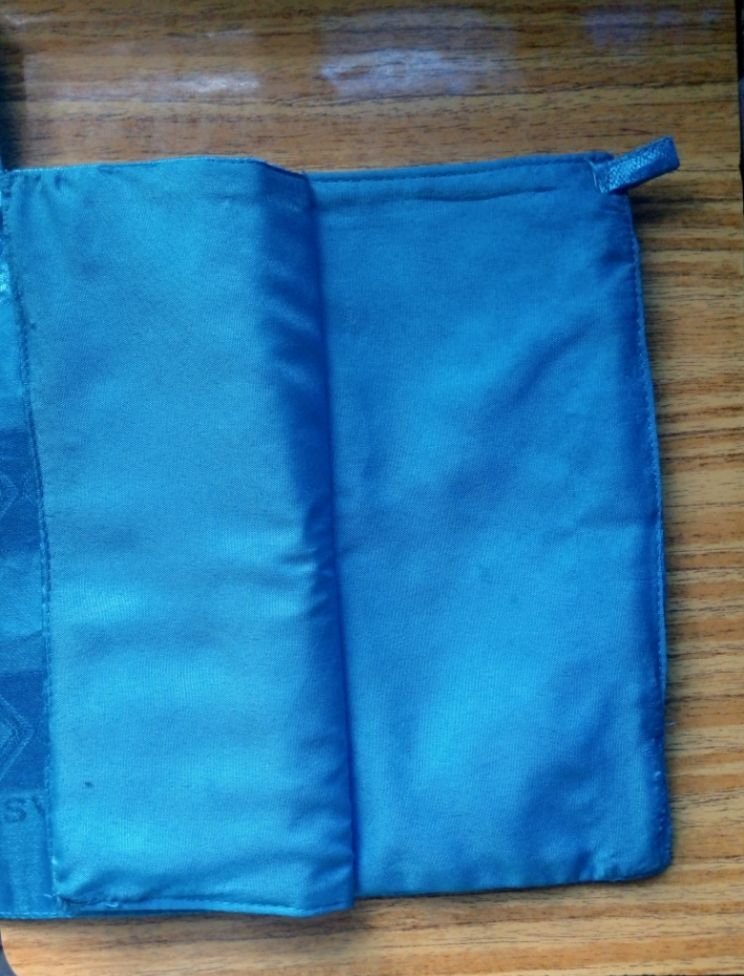
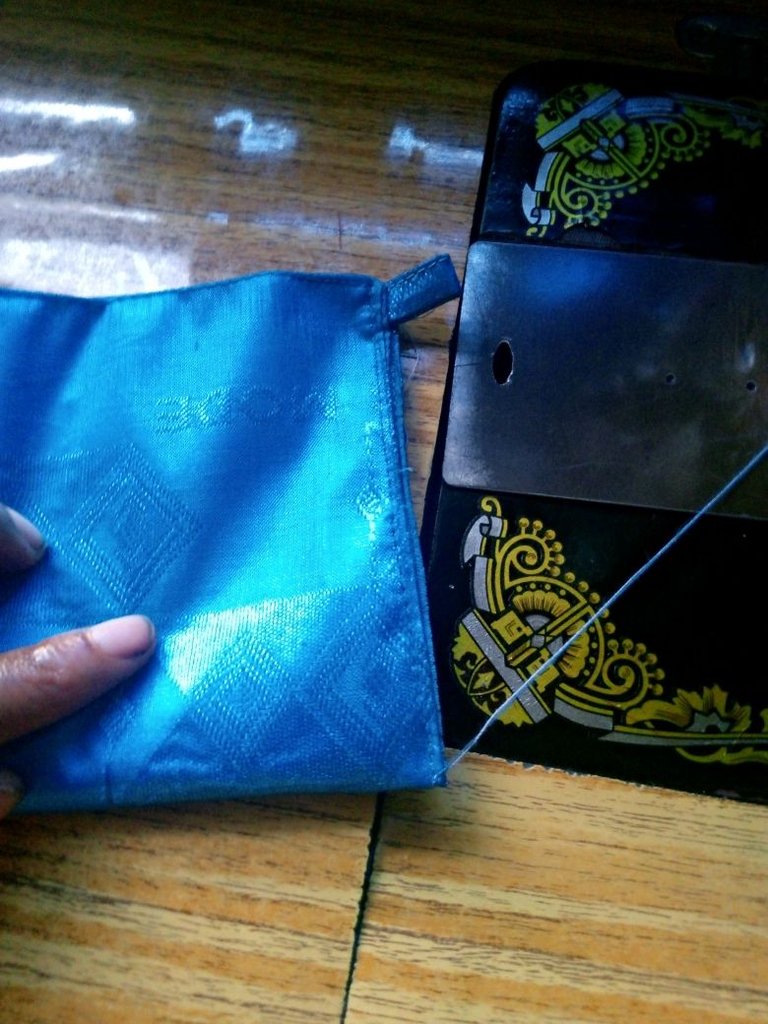
It was folded to the other side and I have this.
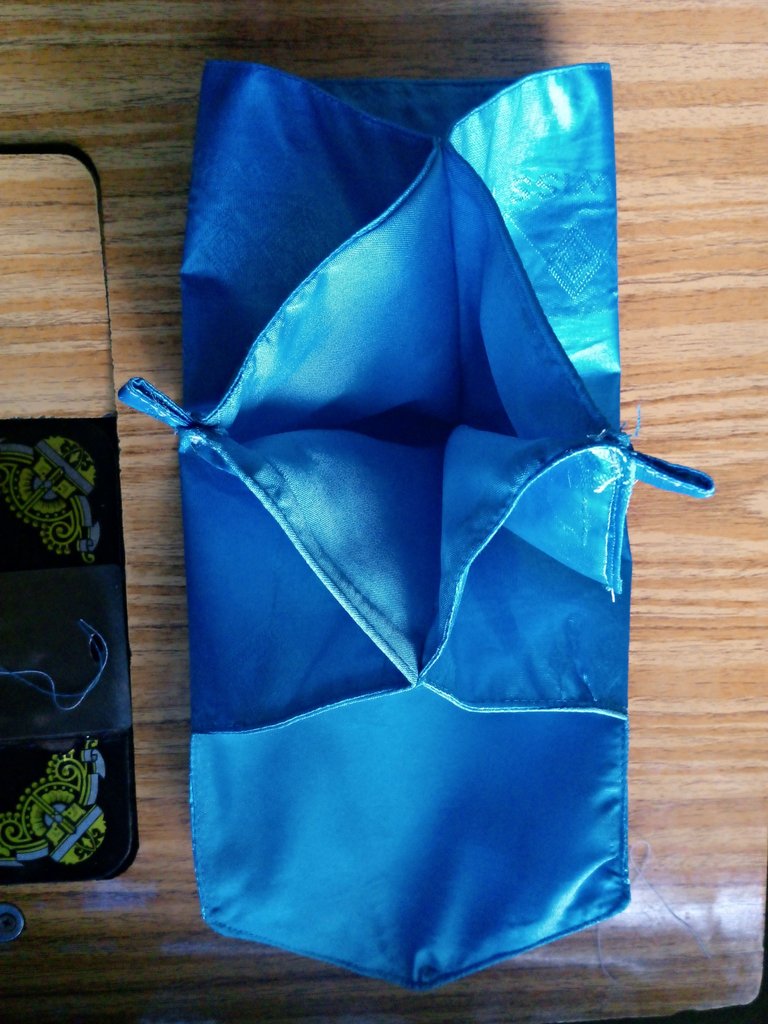
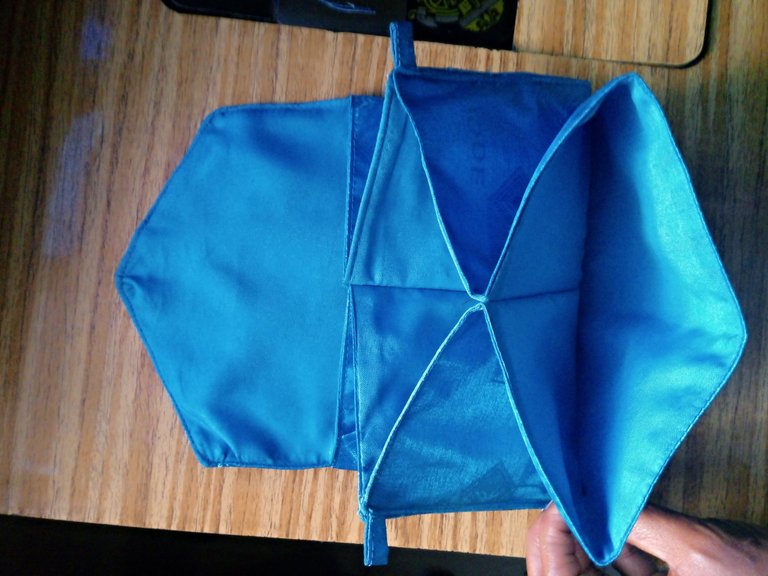
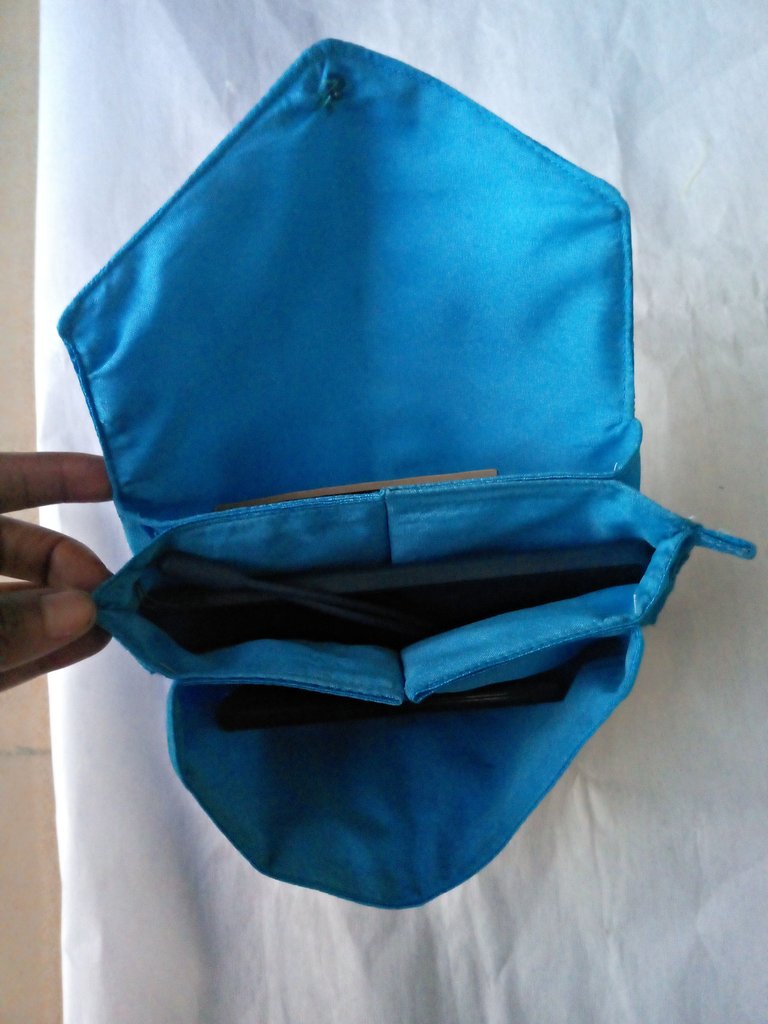
The tip of the inner pockets were sewn together and I fixed a pressing buttons to the appropriate place and that was it.

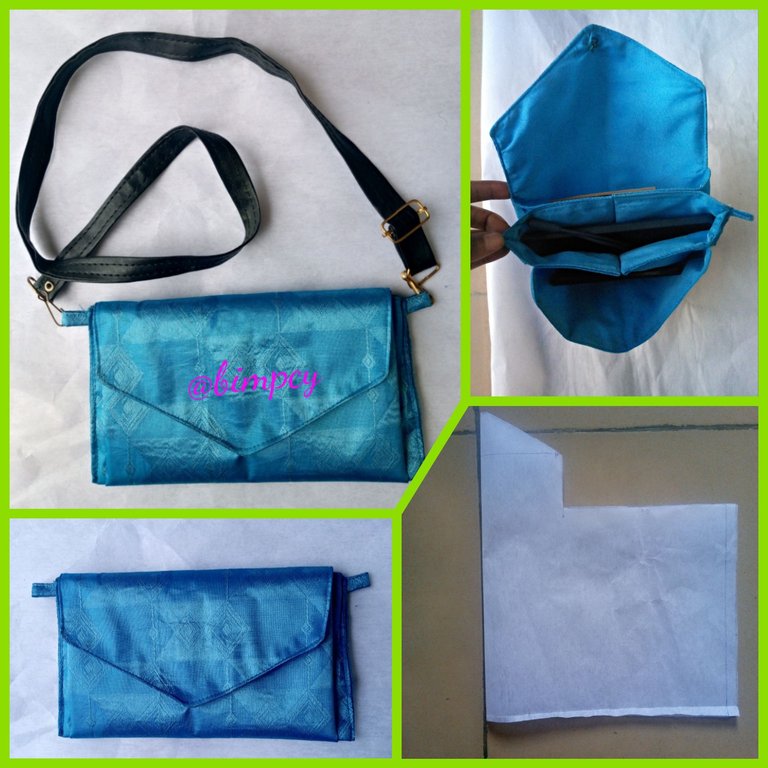
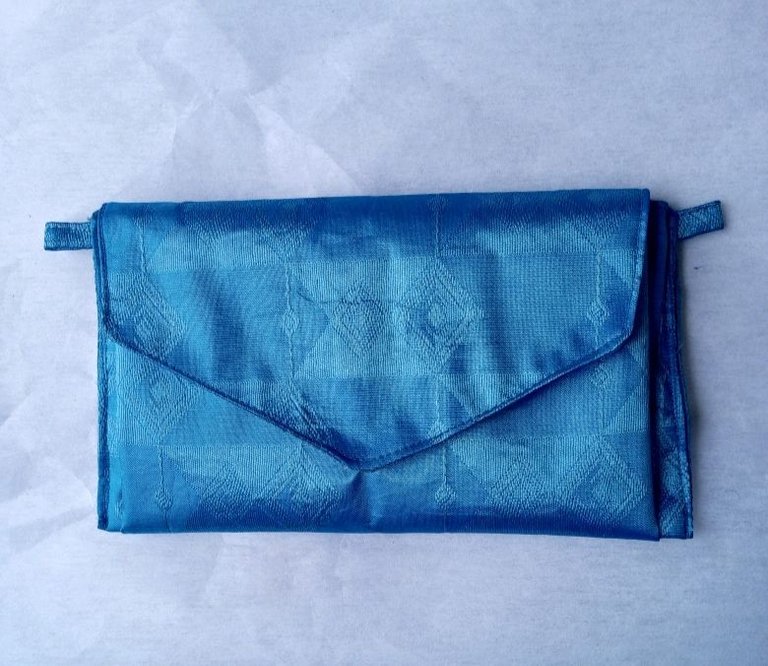
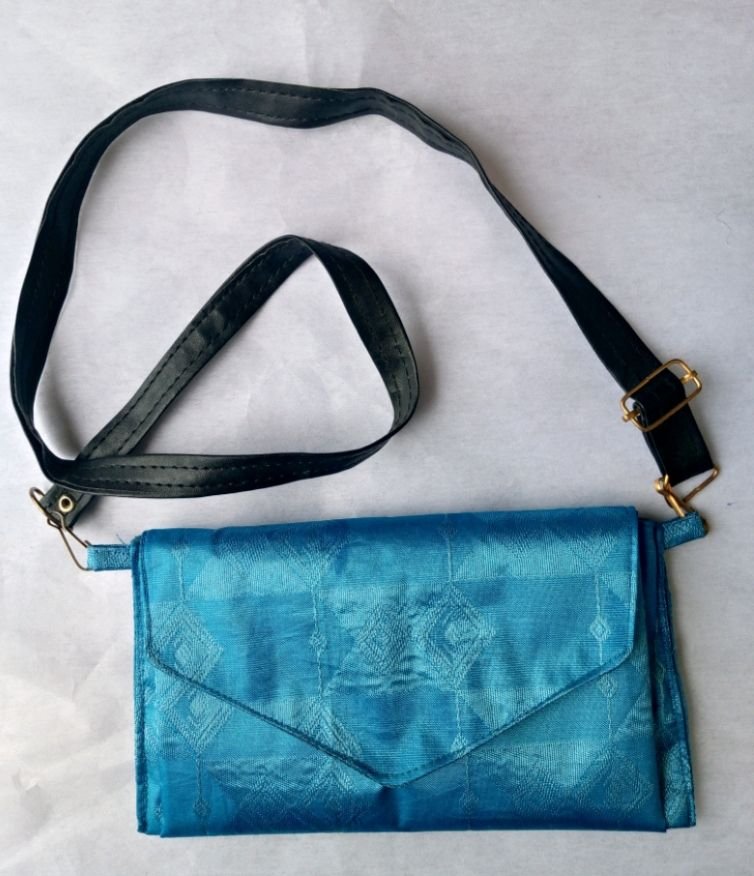
This is the final outcome, she can decide to use it as a pouch or a cross body bag with the detachable handle.

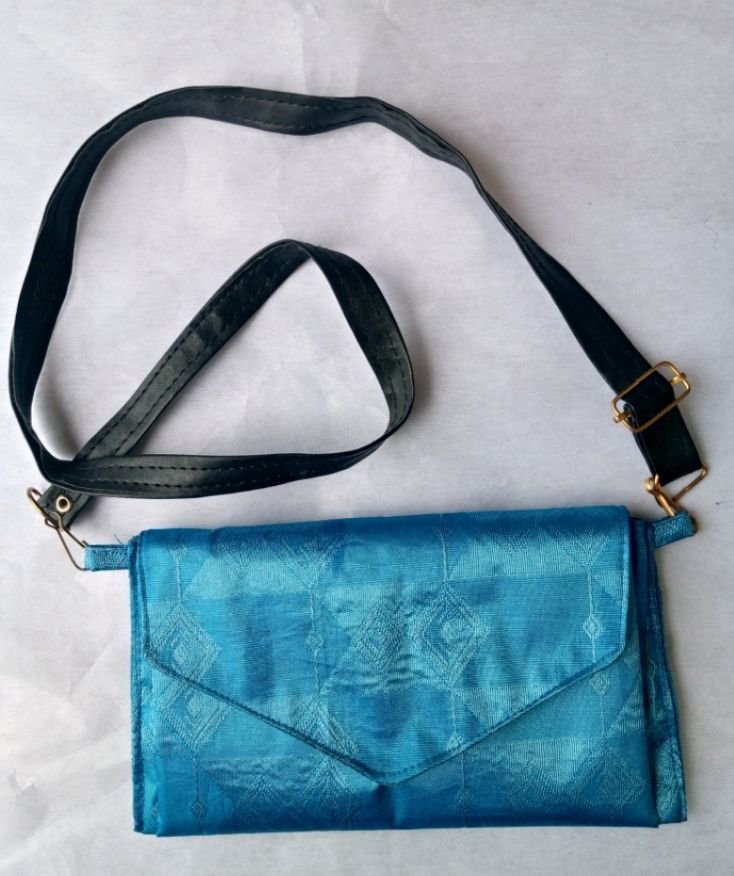
I hope you like the beautiful outcome of it.
Your niece is definitely going to be one happy niece as she has an aunt that would always make great bags for her. Nich
You are right, she is and others as well, I'm glad to see them use those items I made for them beautifully.
Thanks @diyhub for always supporting and encouraging my post.
🎉 Upvoted 🎉
👏 Keep Up the good work on Hive ♦️ 👏
❤️ @bhattg suggested sagarkothari88 to upvote your post ❤️
This is so beautiful an easy to go around with.
It suit alot of occasion.
Thanks so much @praiselove
Is so lovely to have an aunty like you, your niece will happy about the bag also