Design of a cross body bag matching with my 3 in 1 bookmark made for my 2nd niece as a gift
Hello everyone
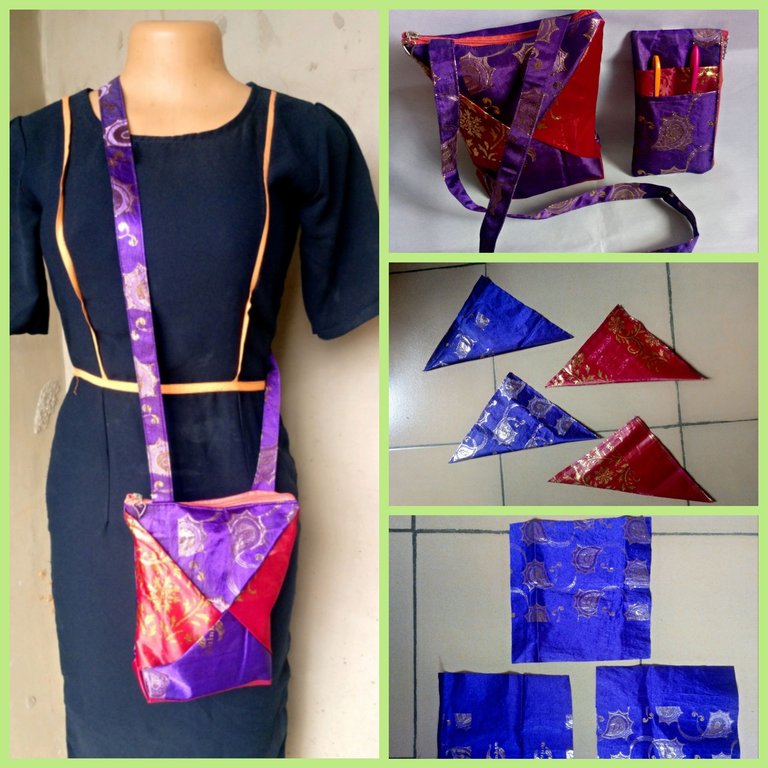
Greetings to you all in this lovely community and I hope you are doing great, it's my pleasure to share with you this recently designed cross body bag made for my second niece, it's a combination of two colors of fabric with a long handle for the cross body it is uniquely designed to match with the 3 in 1 bookmark which i decided to give to my niece as gift.
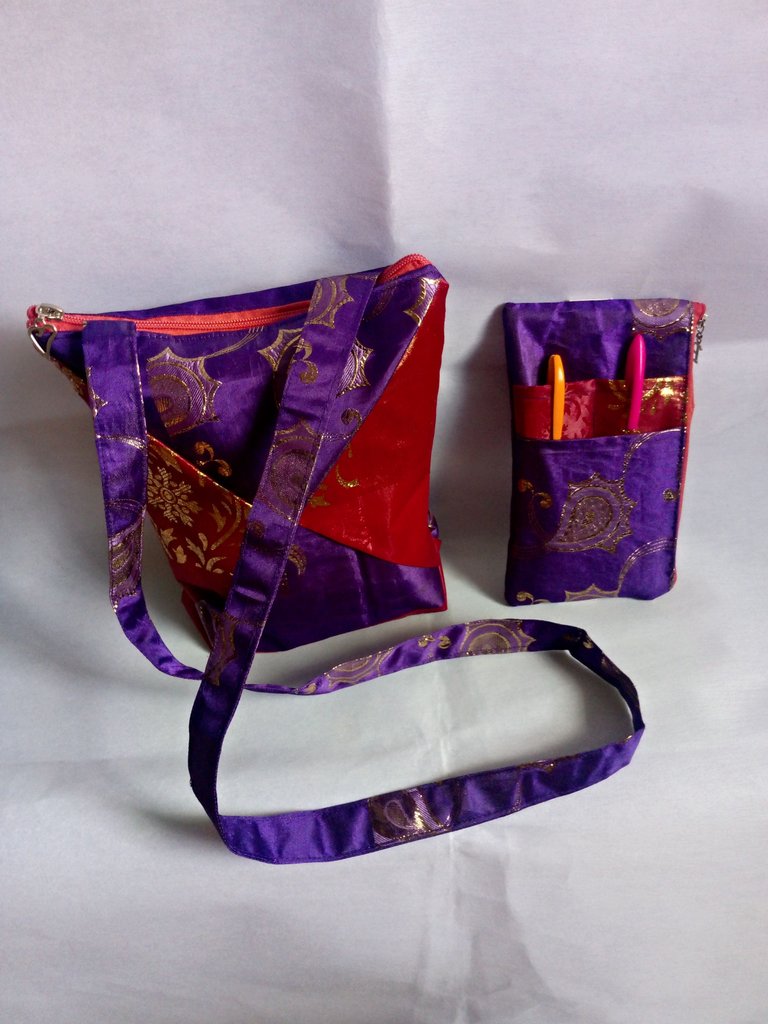
My 2nd niece (Mary) is in her 2nd year in the university and she has been a very nice girl, I have been making different types of items for her sisters and brother but this time, I decided to make this for her when I heard that she's home for the semester break. Initially, the bookmark I made was for me but I decided to make a cross body bag to match with it and gift it to my niece since it will be of great use to her than me in school.
Let me take you through the cutting and sewing process of making the cross body bag.
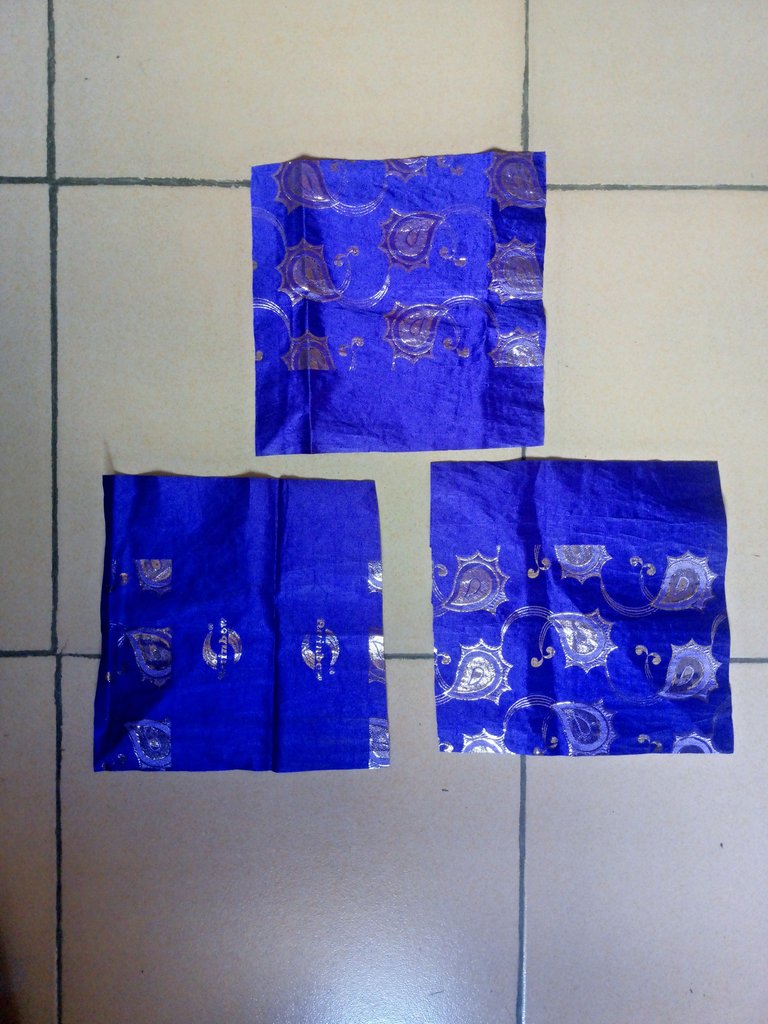
For this project, I made use of 2 different fabrics to make it stylish.
I cut out 3 pieces of 10 x 10" pieces of same fabric.
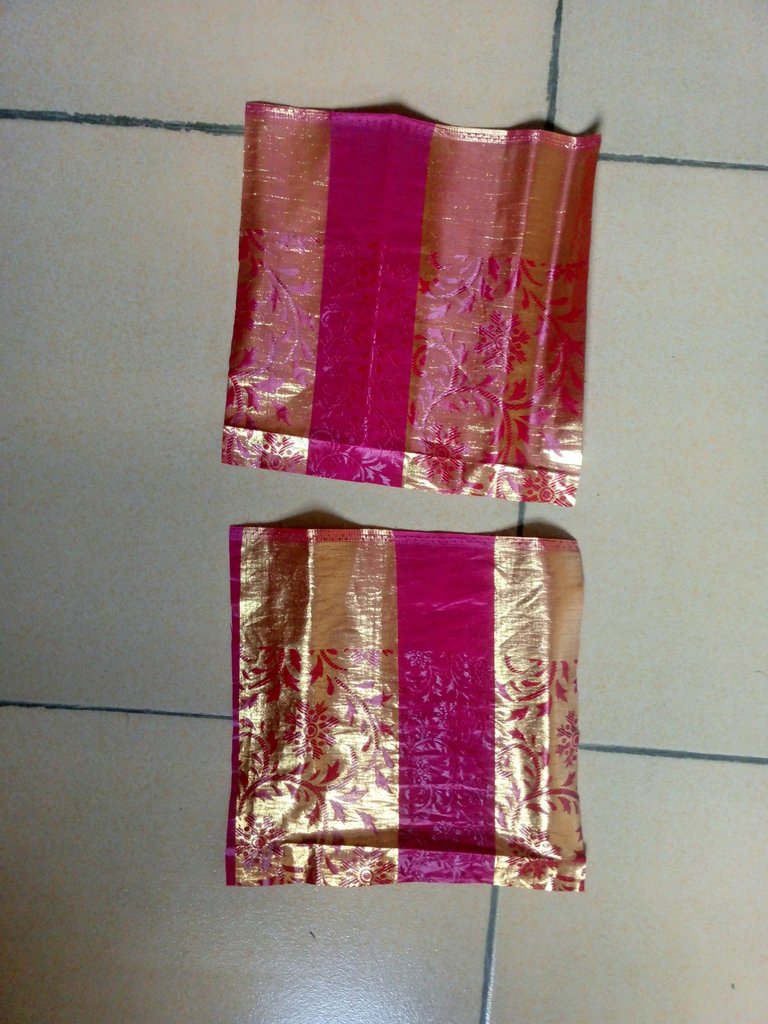
Another 2 pieces was cut out from another color of fabric.
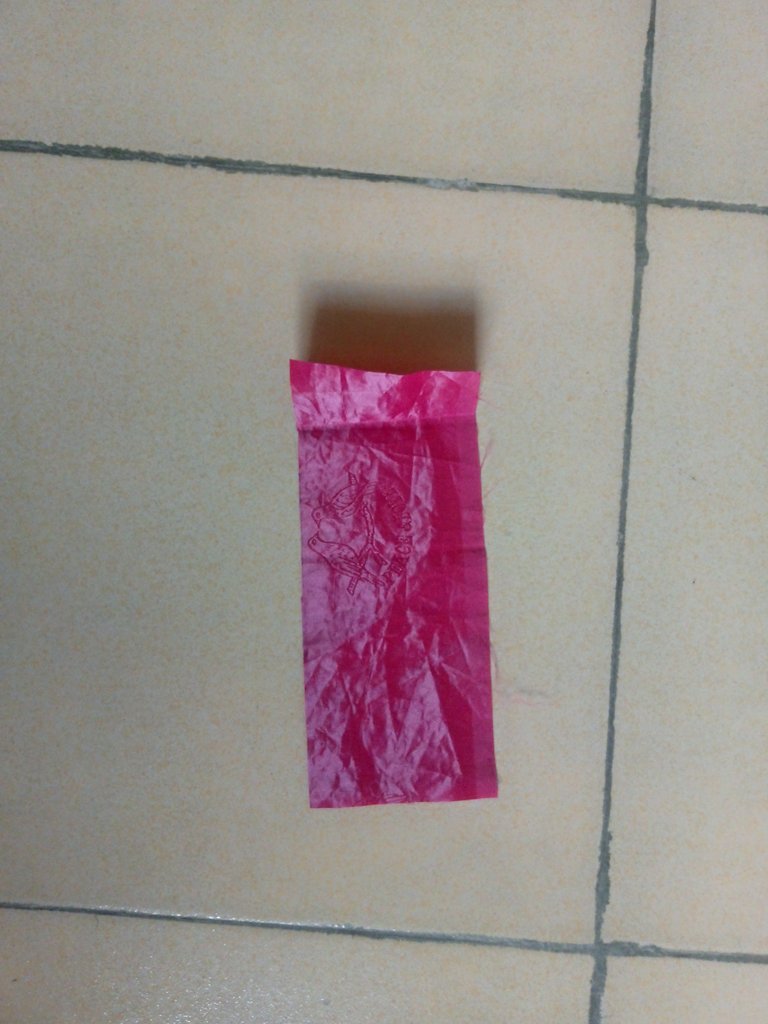
A piece of 10 x 4" piece was cut out as well
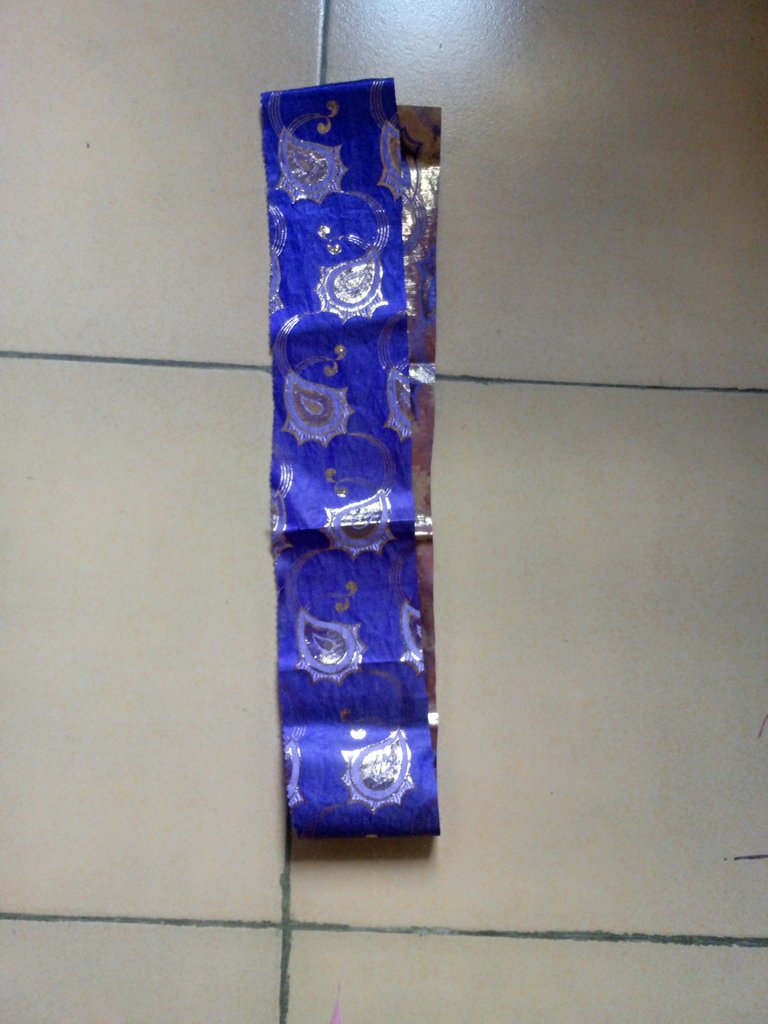
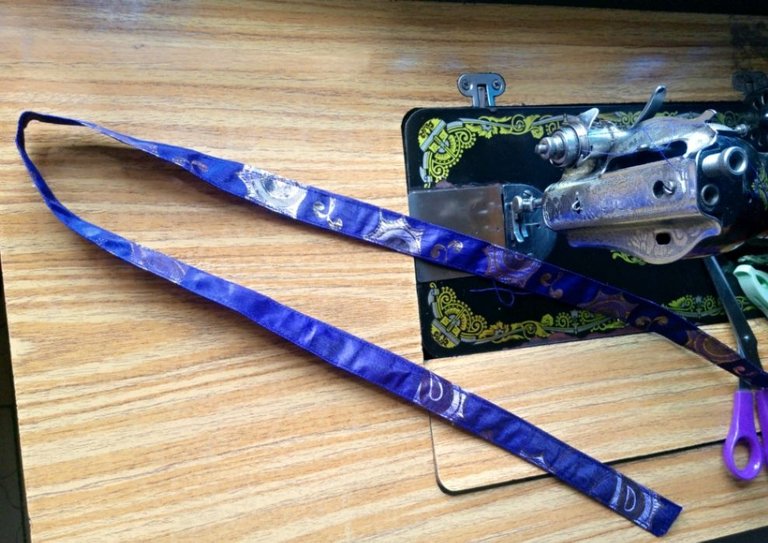
A long piece of 45 x 4" was cut for the sling handle as well.
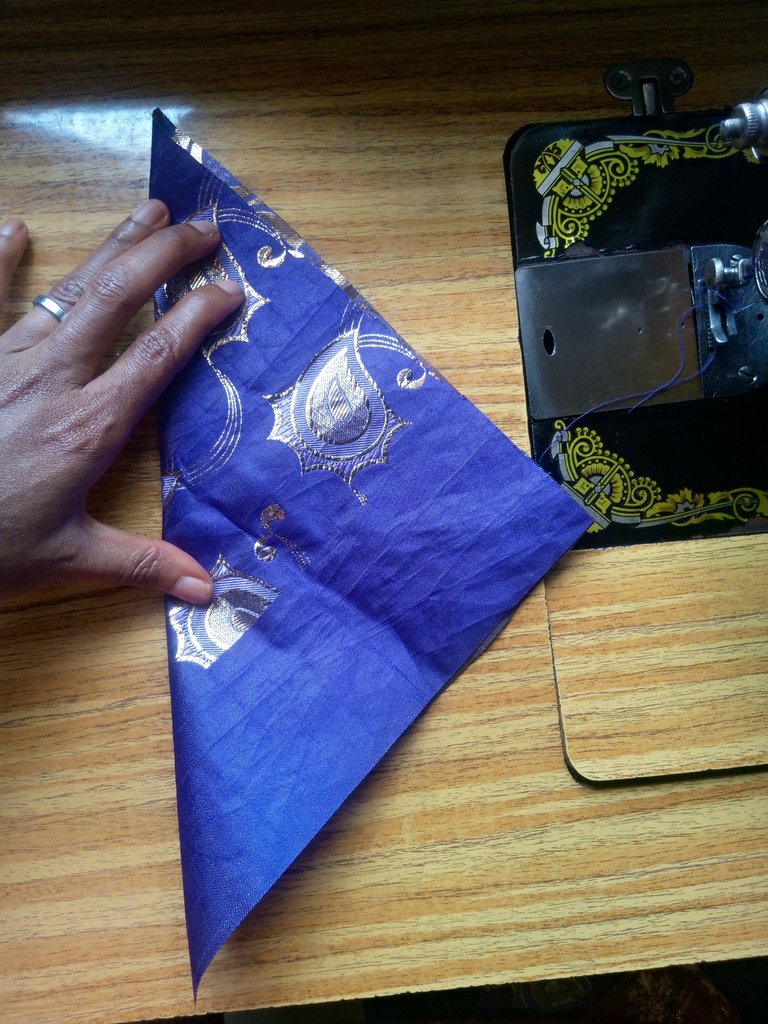
To start with the sewing process, I folded one piece of the 10 x 10 piece of fabric in a triangle form and sew on both sides.
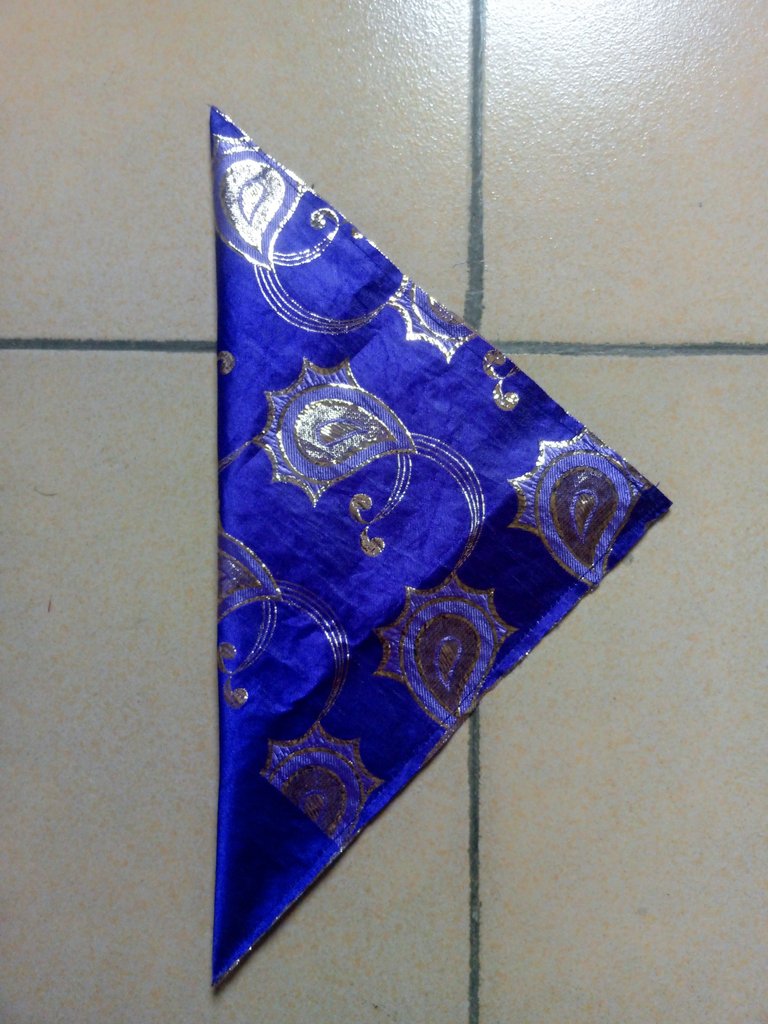
This process was repeated on 3 other pieces, to make 4, 2 from each color.
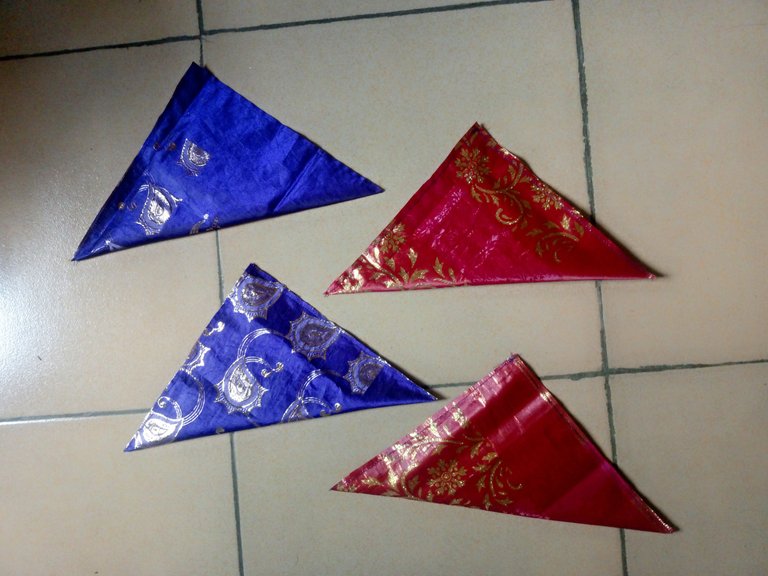
One of the color was placed down while the other was placed on it.
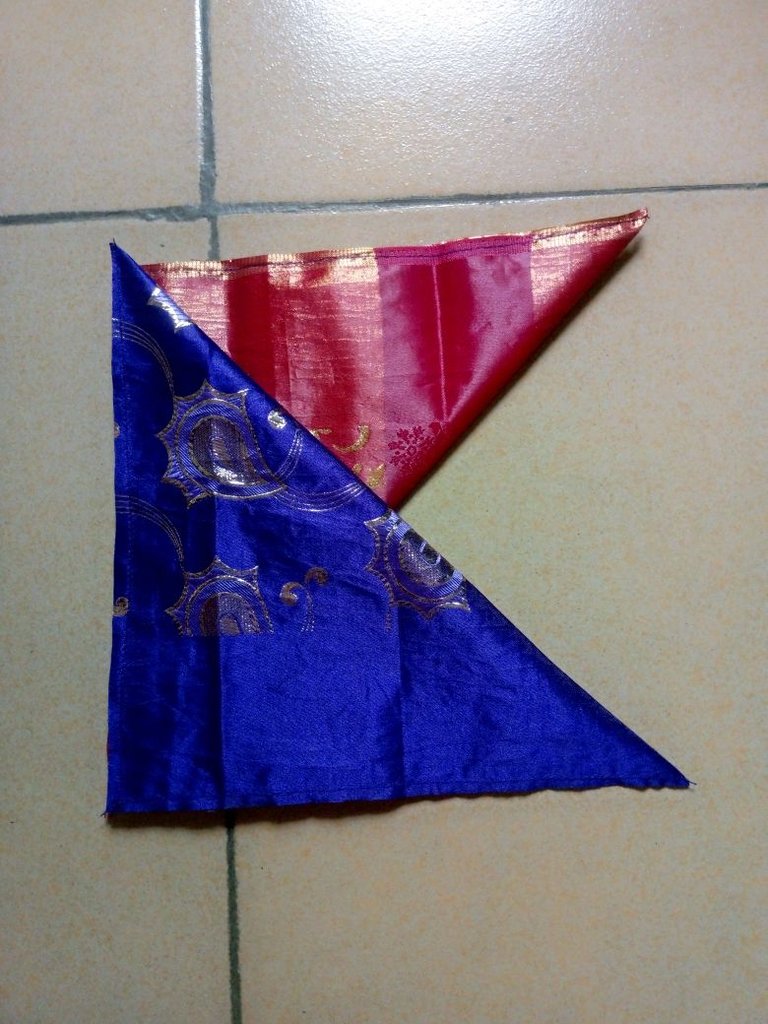
The 3rd piece was placed on the other diagonally.
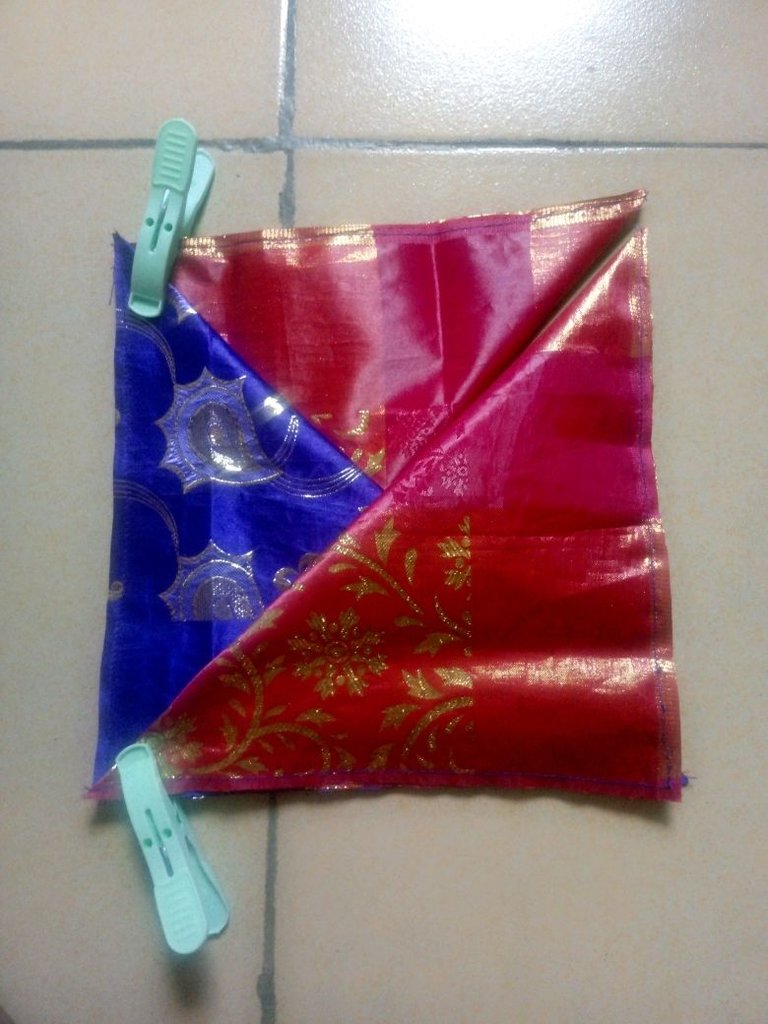
Then the last piece was placed on the other with one side under the other.
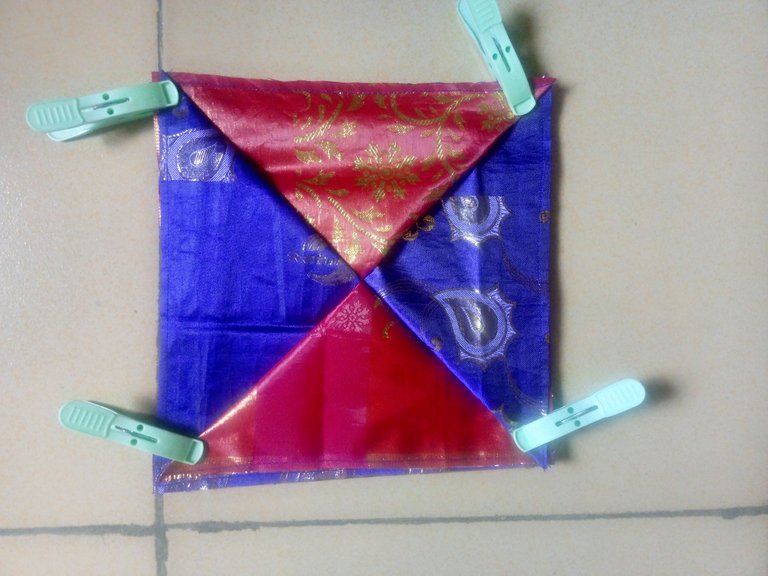
It was sewn round and I have this beautiful design.
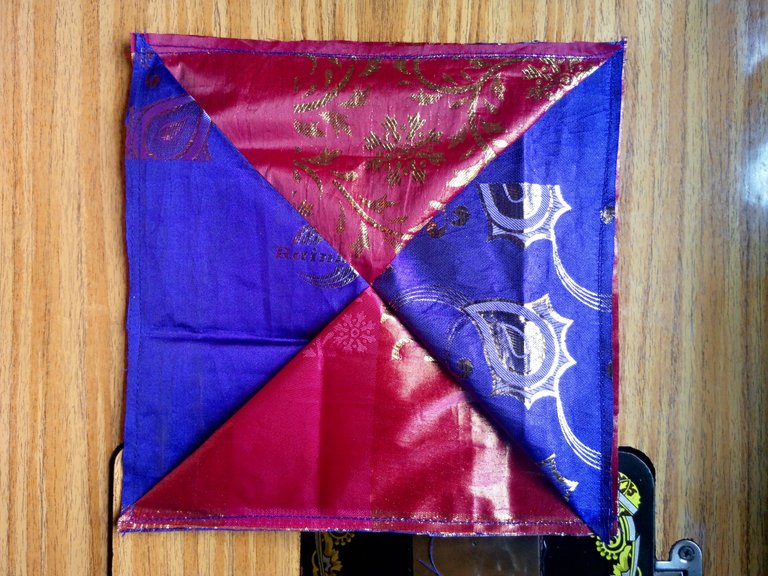
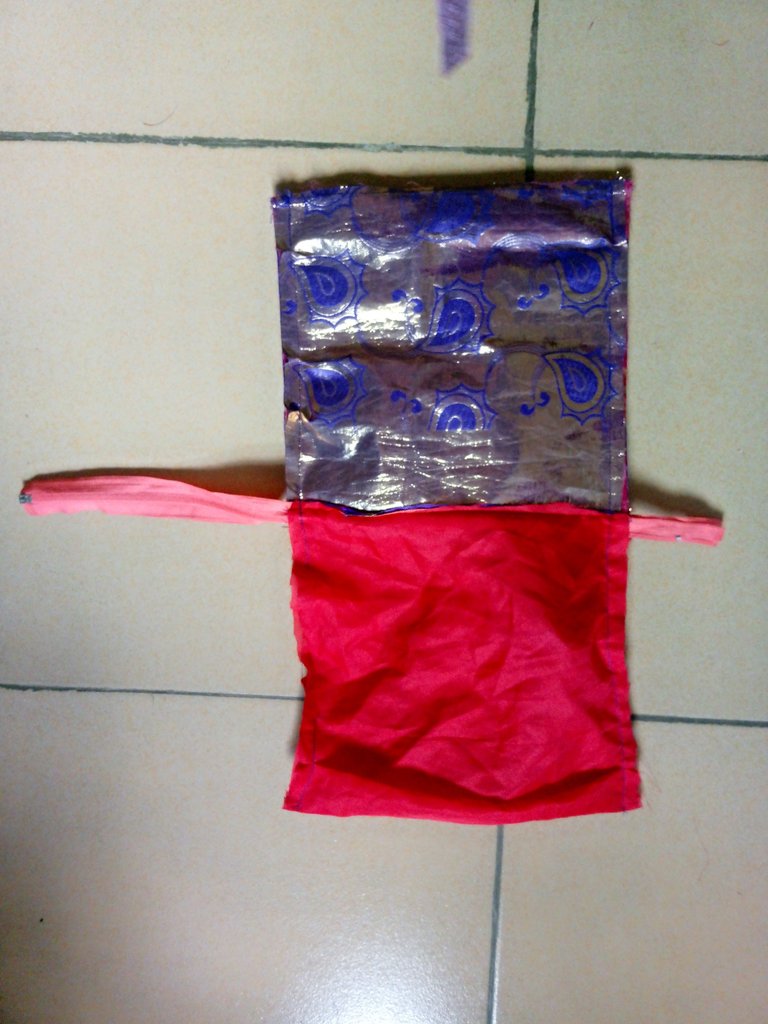
I took the 4 x 10" piece and sew on one side of the design I made.
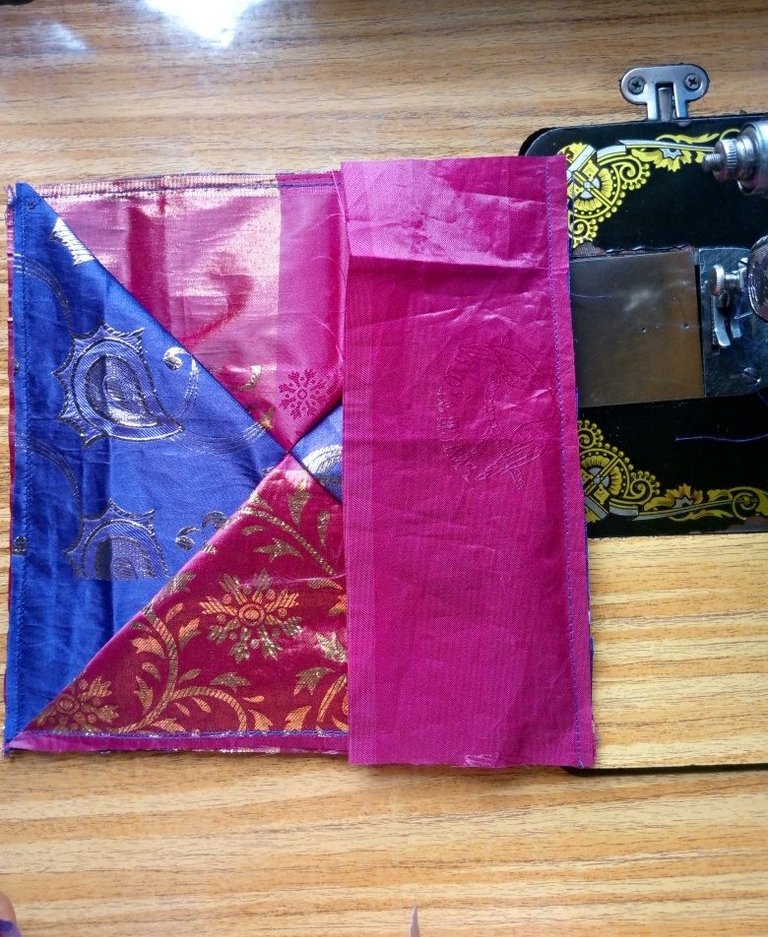
The last piece of the 10 x 10" was sewn on the other side as well.
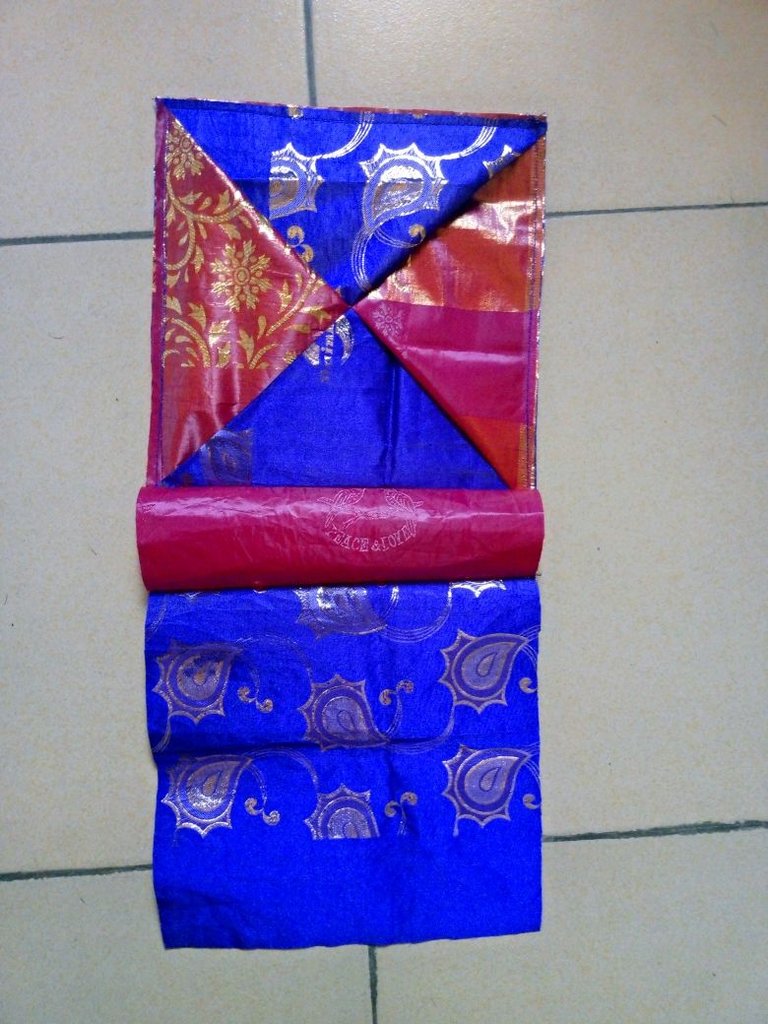
It was top stitched on both sides and it was used to cut out same shape of lining.
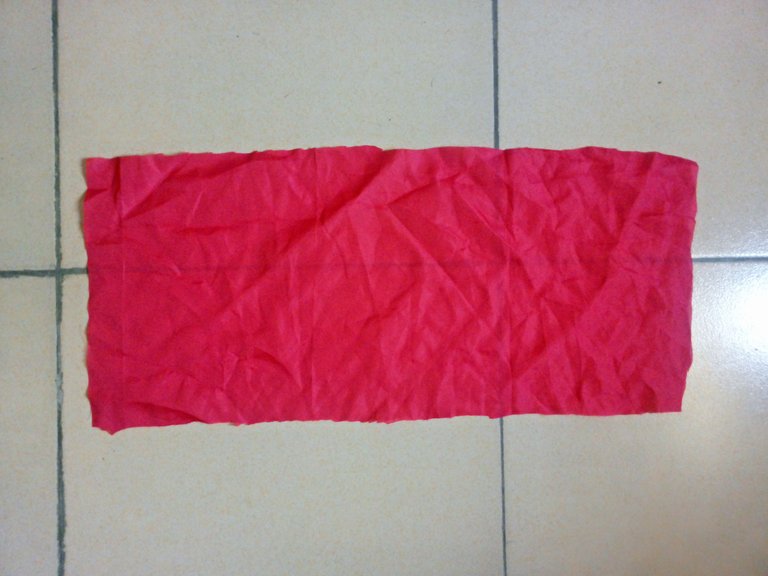
I sew the long piece for the handle and sew it on the two sides of the bag
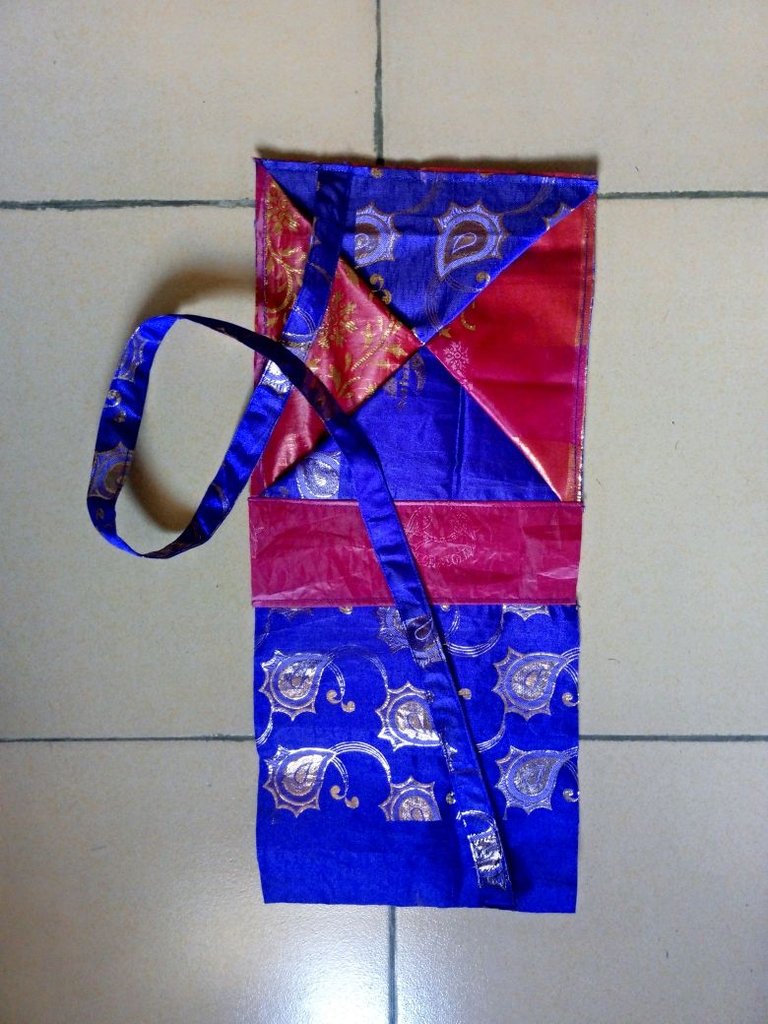
I placed my zipper on the main fabric and lining on the zipper, it was sewn on both sides and top stitched.
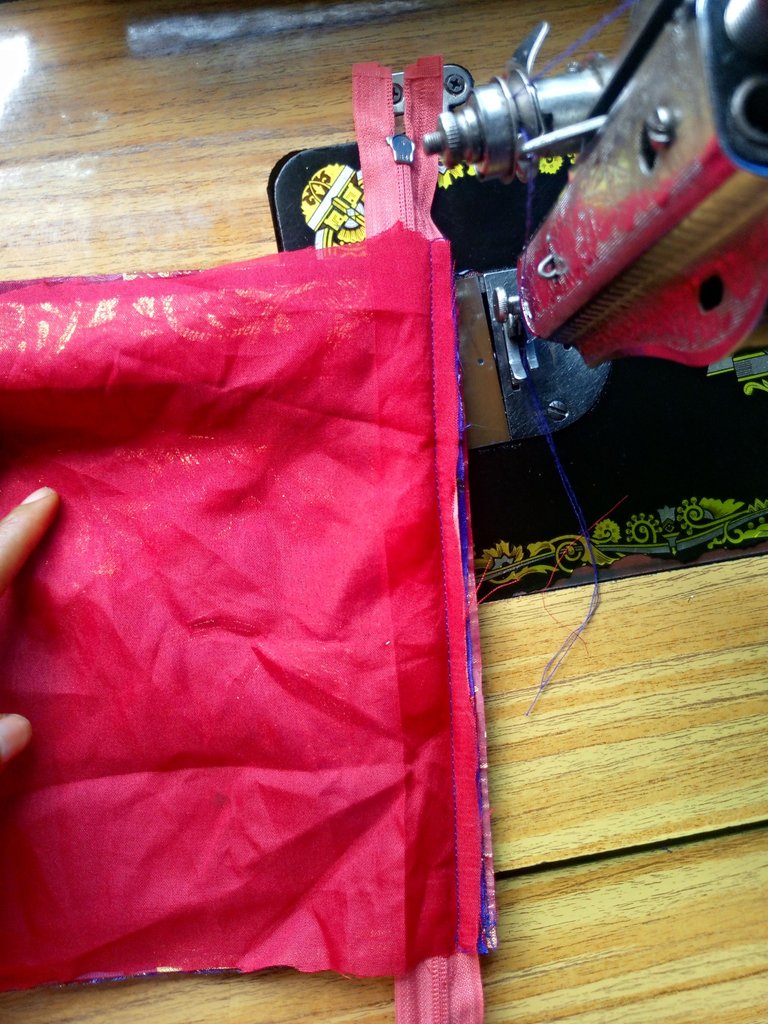
I placed fabric to fabric and lining to lining, on the base of the main fabric, I folded it in with the seam line together and on the lining, I folded 1" upward.
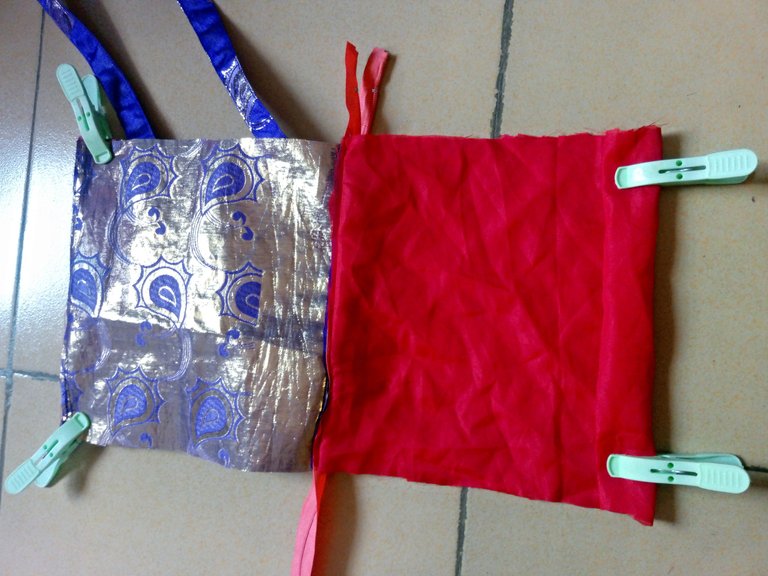
It was sewn on both sides with the zipper opened to the middle, leaving an opening on the lining where it can be turned inside out.
It was turned inside out through the opening and the opening was top stitched on.
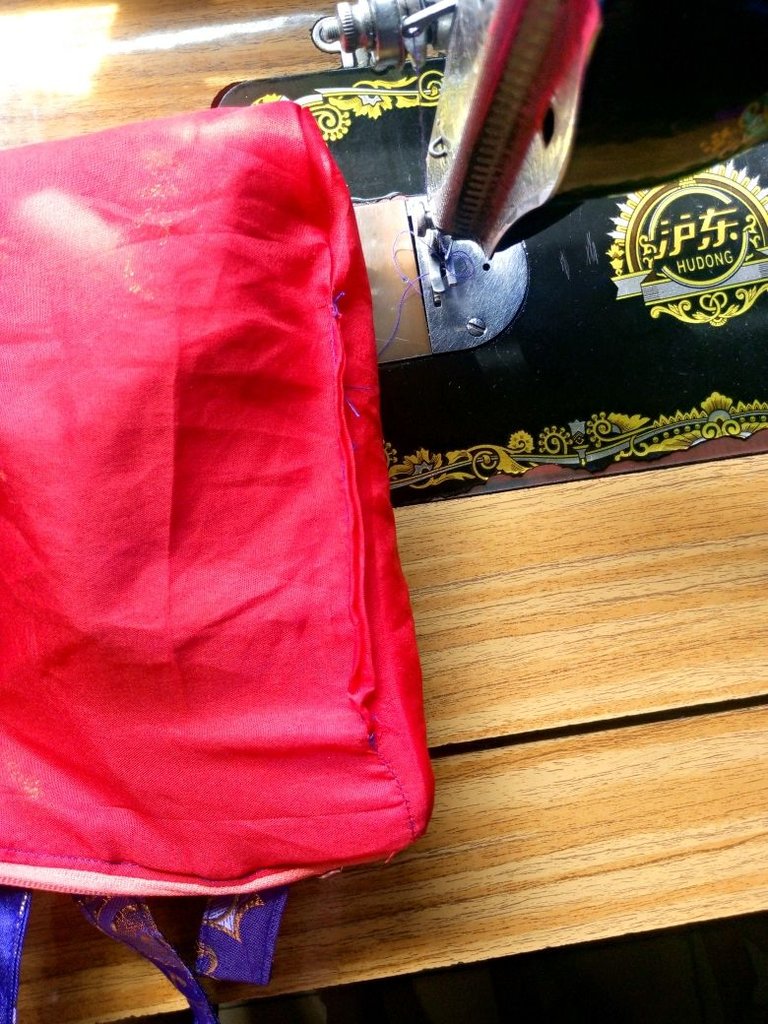
This is the final outcome when turned to the right side.
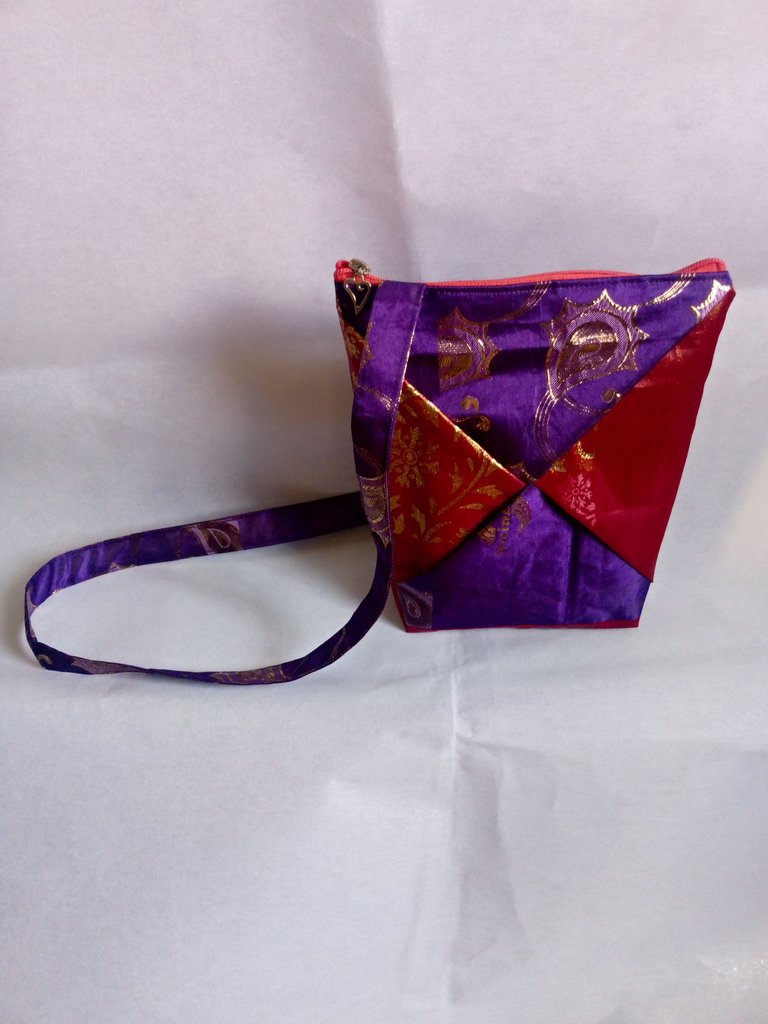
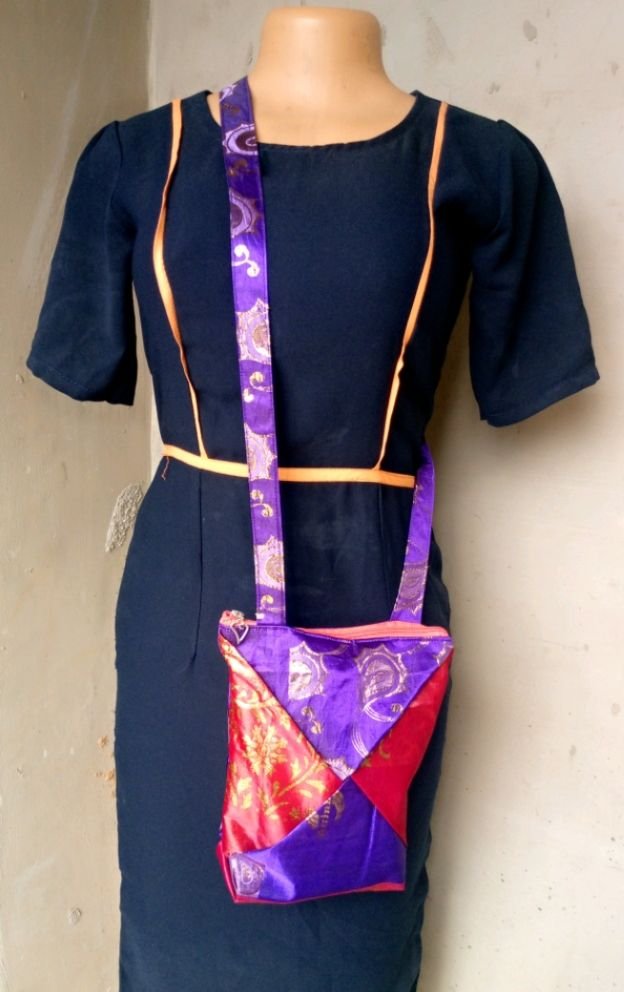
These will be gifted to my niece and I'm sure she will like them.

This is such a gorgeous bag, dear @bimpcy - nice work and I am certain that your niece will love it! I really like how you use the kind of cartwheel effect of overlapping the contrasting materials... Nice detail indeed.
😍
Oh! I really didn't know what the design was called, I just saw it on a drawing of a kite and decided to try it out to make a bag, thanks for the enlightenment, I really appreciate your comment and support.
Wow, dear @bimpcy I can't stop commenting on your beautiful post because you always feed my eyes with beauty, another beautiful cross body bag this time around, I love the fabric and the style, good work dear 👍👍👍
Thanks so much for always stopping by to appreciate my work, I'm happy you like it.