Cutting and sewing process of a fabric wallet I made for my cards
Hello everyone
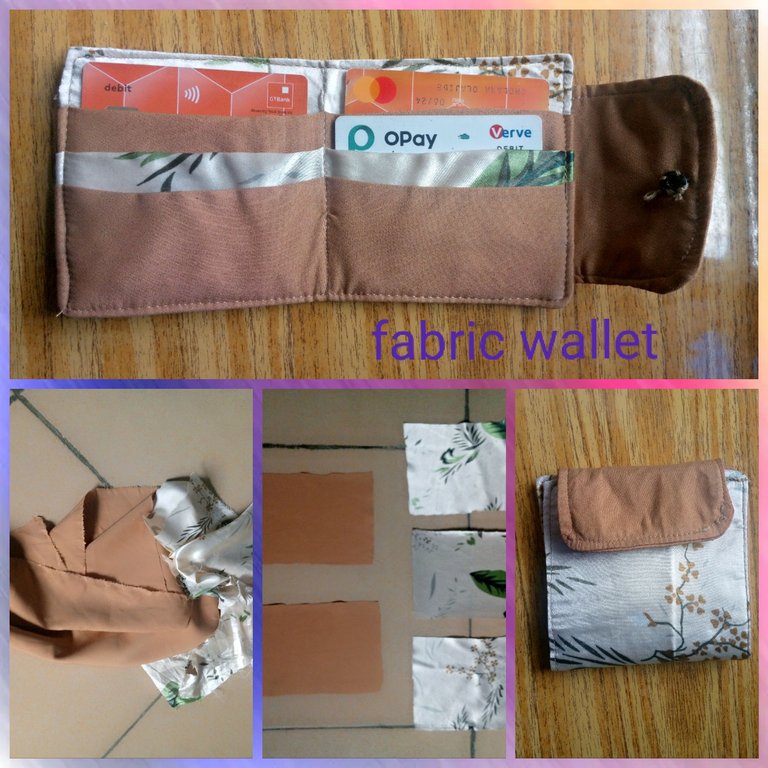
Greetings to you all out there and I hope you are doing great, I bring to you in this community the cutting and sewing process of this fabric wallet I made for myself from left over fabric, this wallet I made is purposely for my cards.
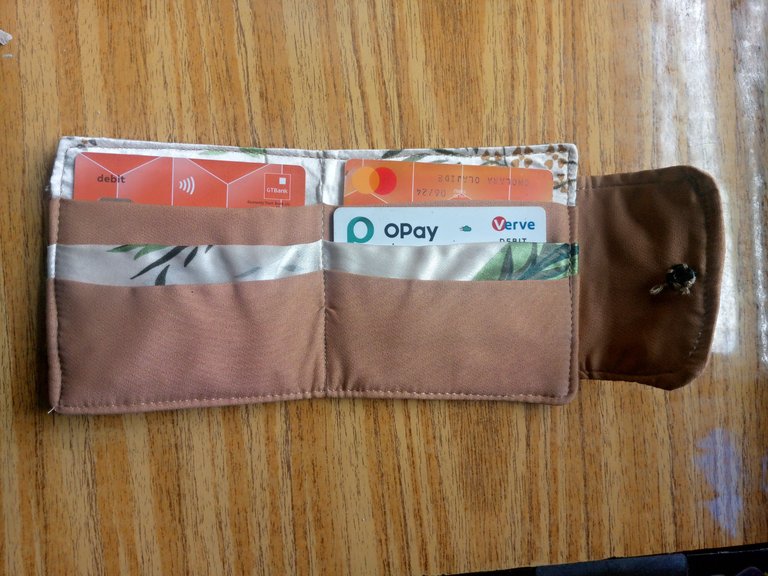
I realized that putting my cards in my purse or bag with other items makes my card to easily peel off and sometimes I easily forget it at home, so I thought of a way to keep all in a safe place from other items, I decided to make this wallet with leftover fabric that will be used to keep my cards safe before putting it in my purse or bag and this is very useful to me.
Let me take you through the cutting and sewing process of this fabric wallet I made.
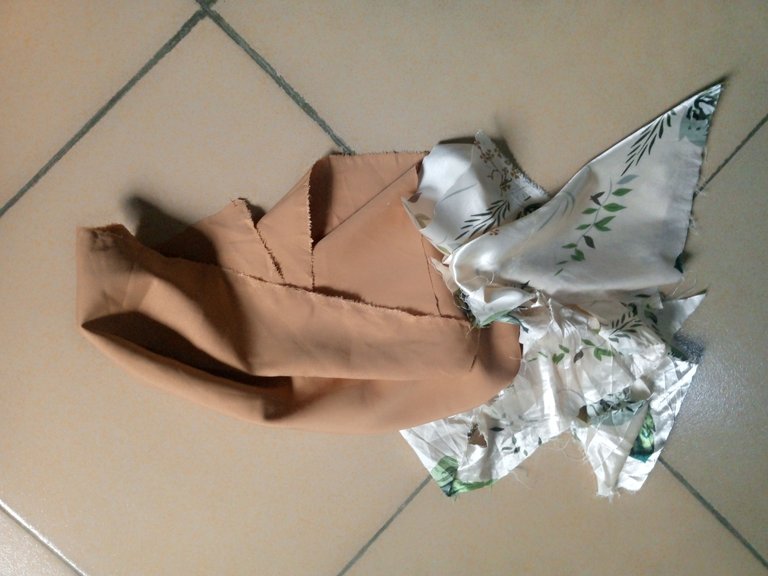
From 2 different types of leftover fabric, a plain and flower fabric, I cut out 9 x 5" in 5 places, 2 pieces from the plain and 3 pieces from the flowers fabric.
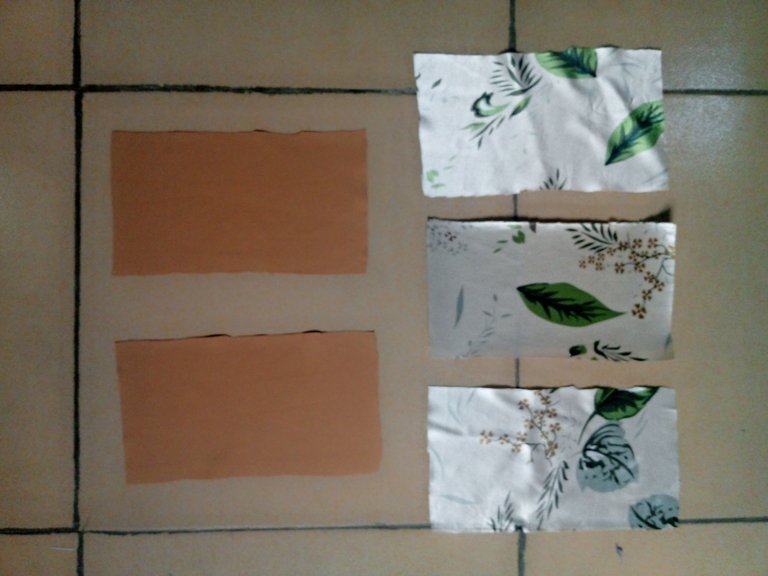
I cut out interfacing and ironed it on 2 pieces of the flowers fabric to make it firm.
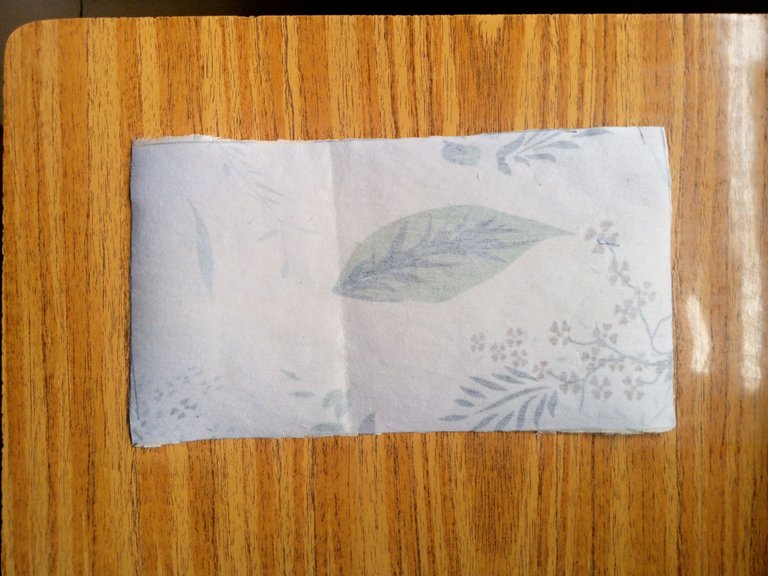
The other 3 pieces where taken to the sewing machine, sewn, turned inside out and neatly ironed.
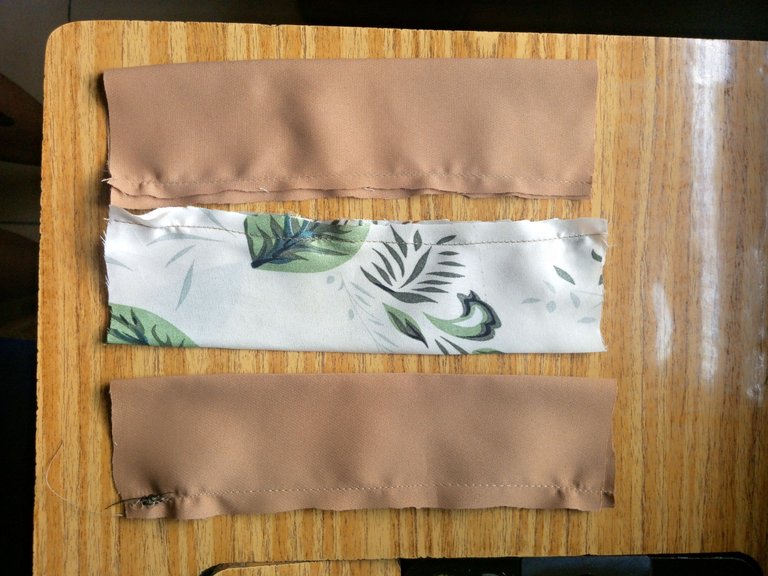
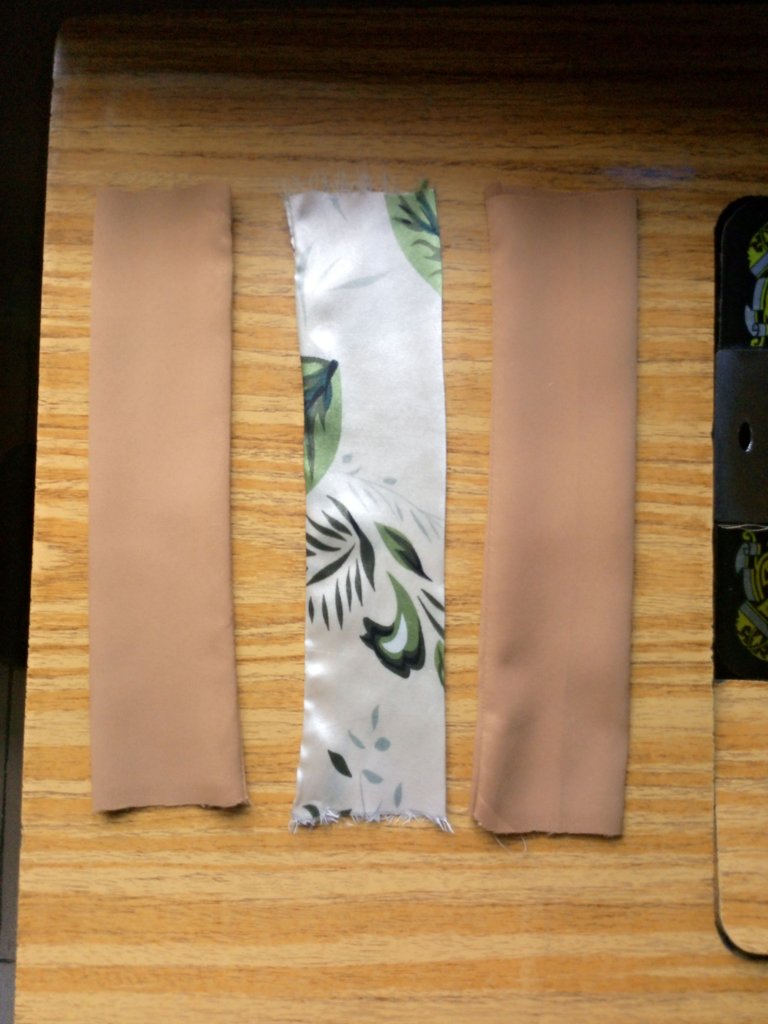
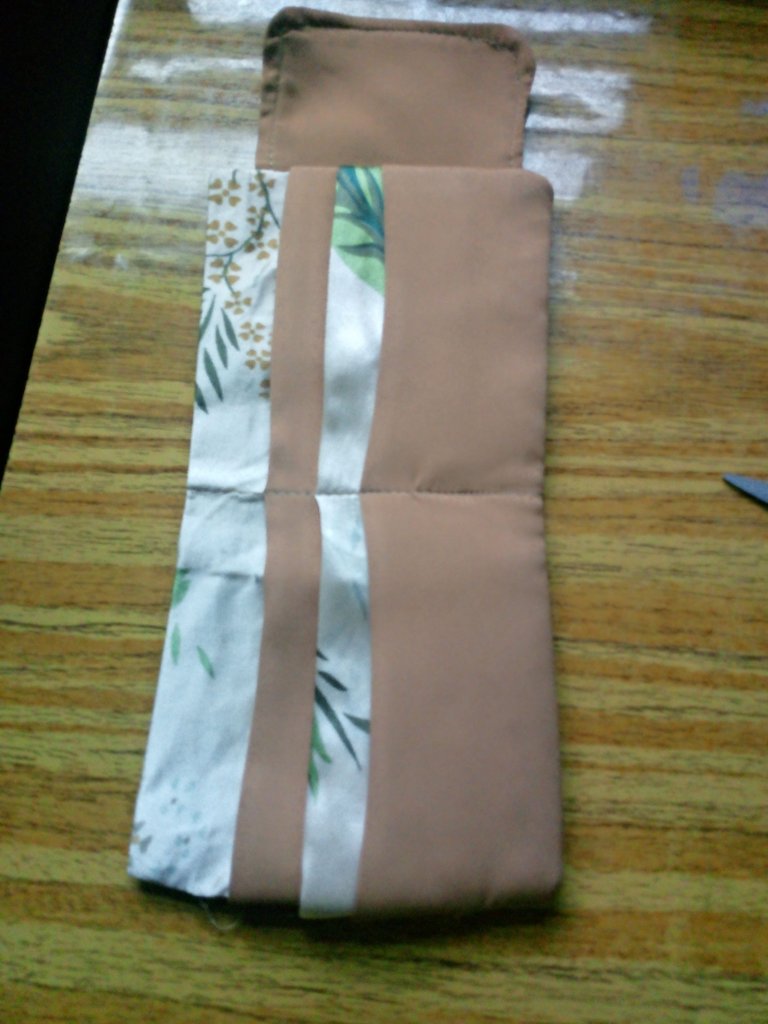
I took one of the flowers fabric I ironed an interfacing on and I placed one of the folded plain piece on it with 1.5" interval from the tip of the piece downward and it was sewn on a single line to create a pocket like.
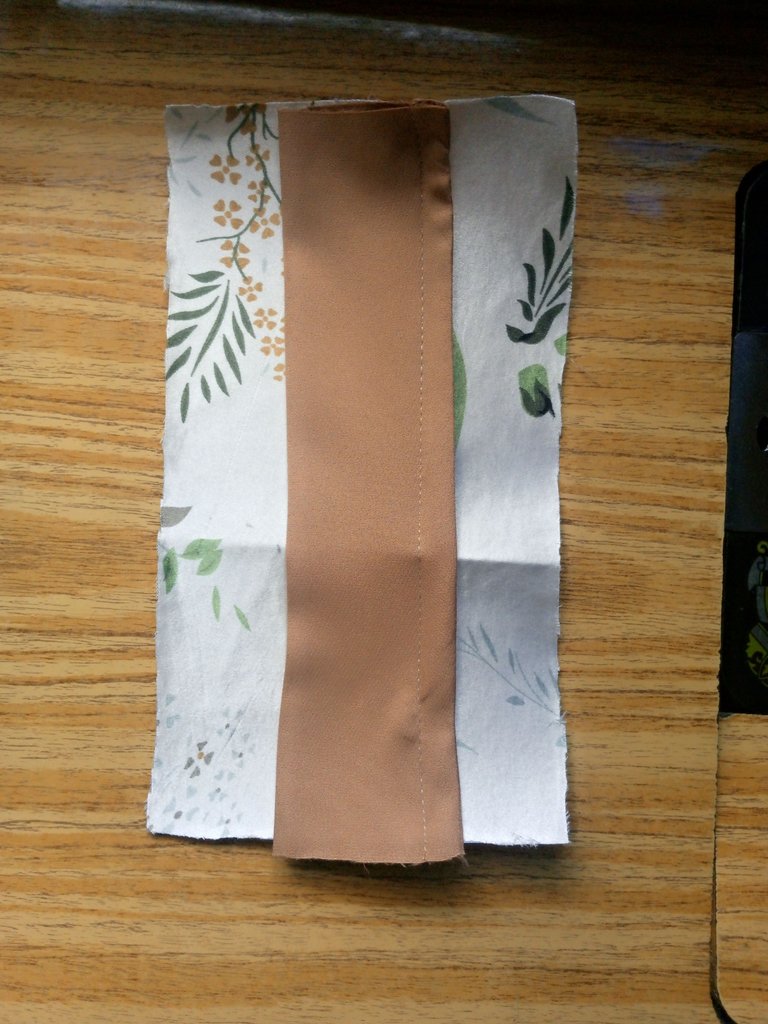
I picked the plain folded fabric as well as I placed it on the flowers fabric that was first sewn, allowing only ½" to show at the top and it was sewn on a straight line to make the second pocket.
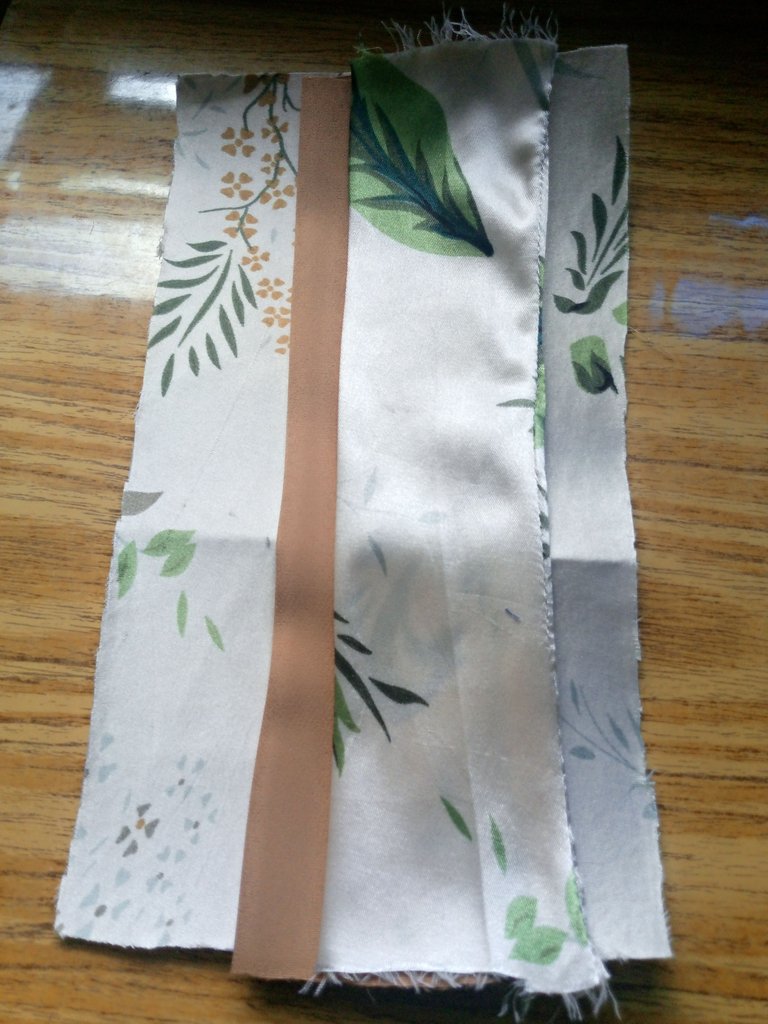
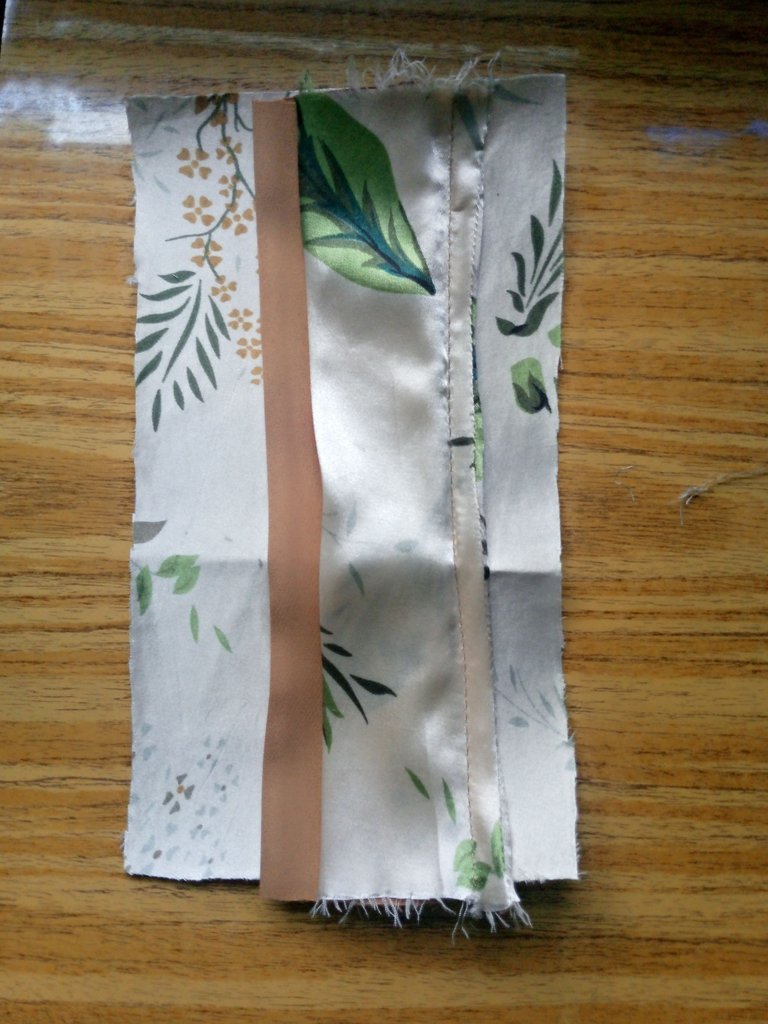
For the third pocket the other plain piece was placed on the flower piece that was sewn earlier and the was sewn to the edge of the piece just as seen below.
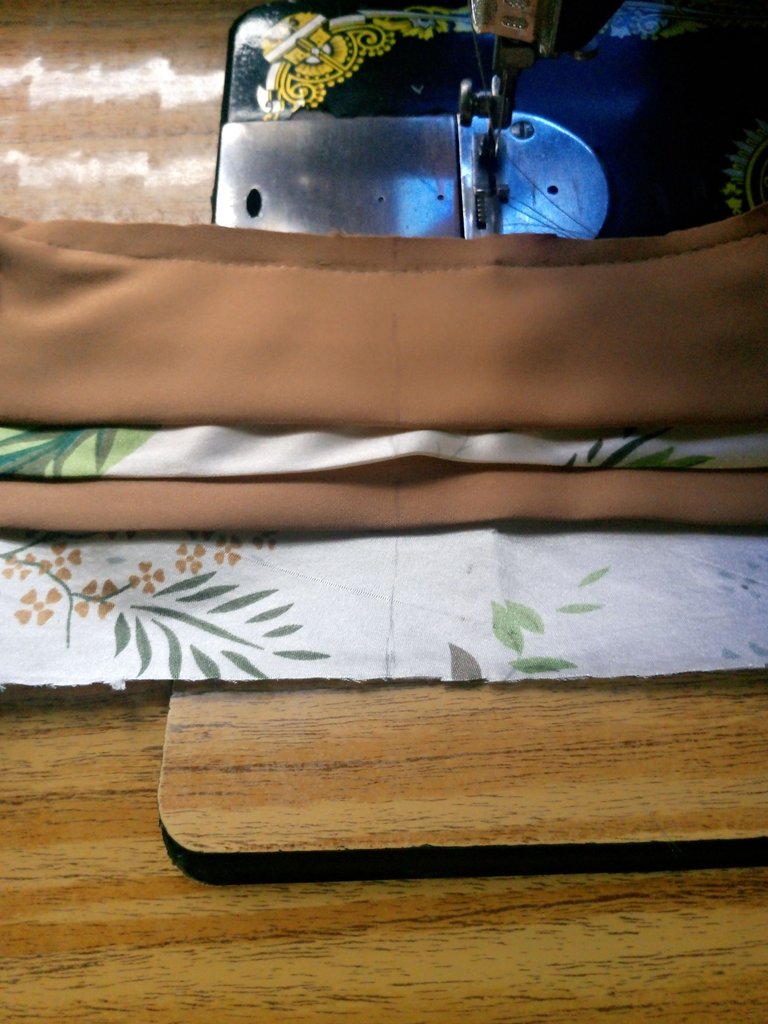
It was set aside as I went ahead to cut out the pieces as cover to hold the wallet together, on the plain fabric, I cut out 2 pieces of 4 x 2.5" with interfacing that was ironed on one of the pieces, I placed the the right side together while it was sewn and turned inside out.
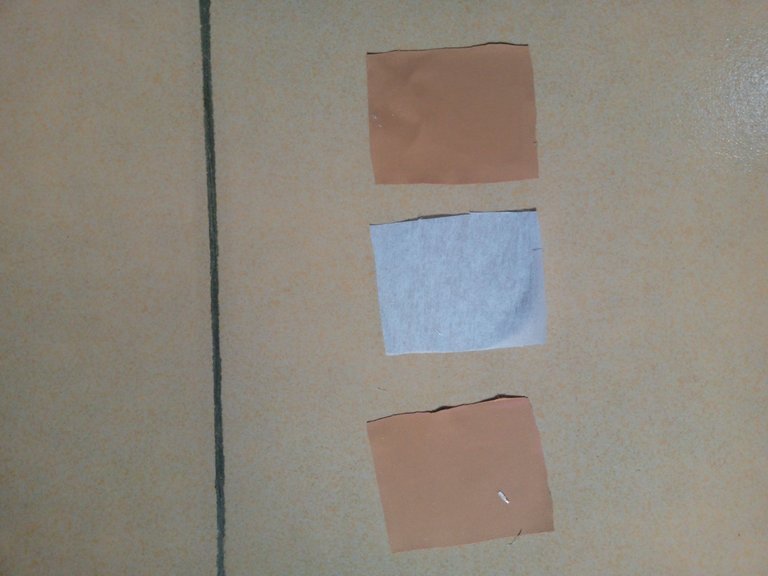
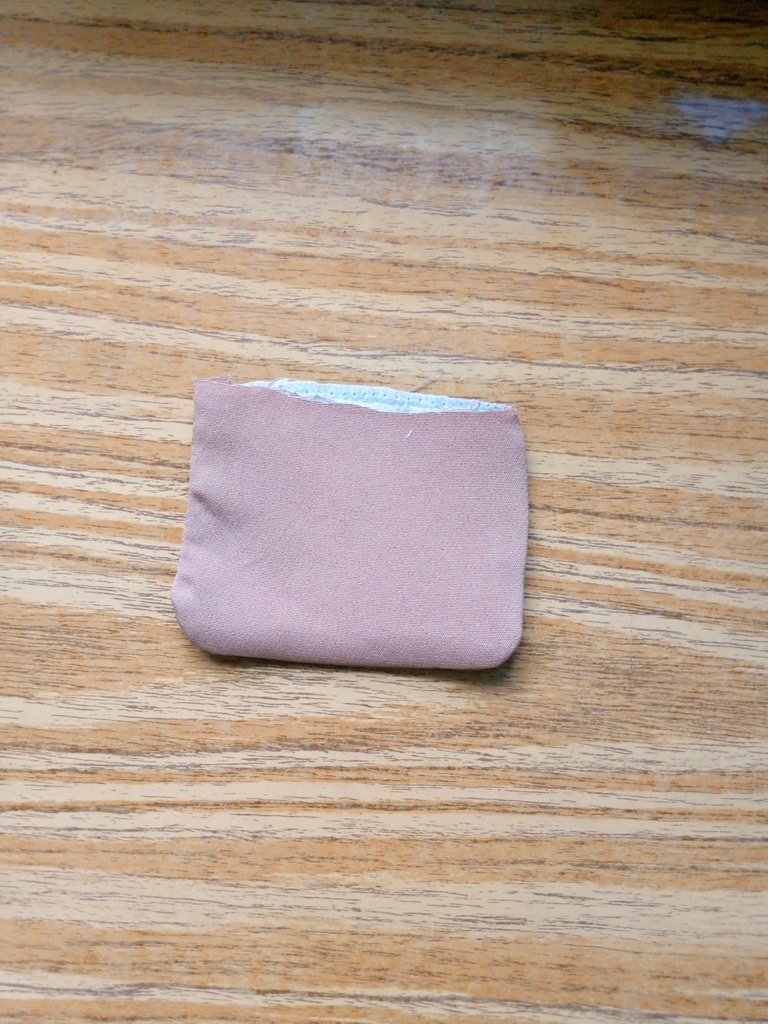
It was placed on the edge of the wallet I was working on and I sew it to the tip of the pieces, mid point to mid point.
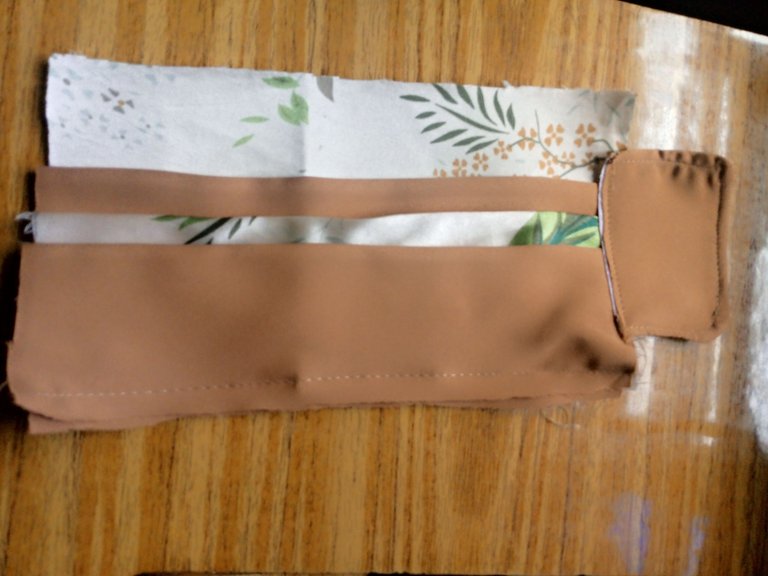
The center of the wallet was sewn vertically to give me this wallet pocket with six pockets for my cards.

The last flower piece I ironed an interfacing on was placed on the wallet right side together and it was sewn round, leaving an opening at the other edge to be turned inside out.
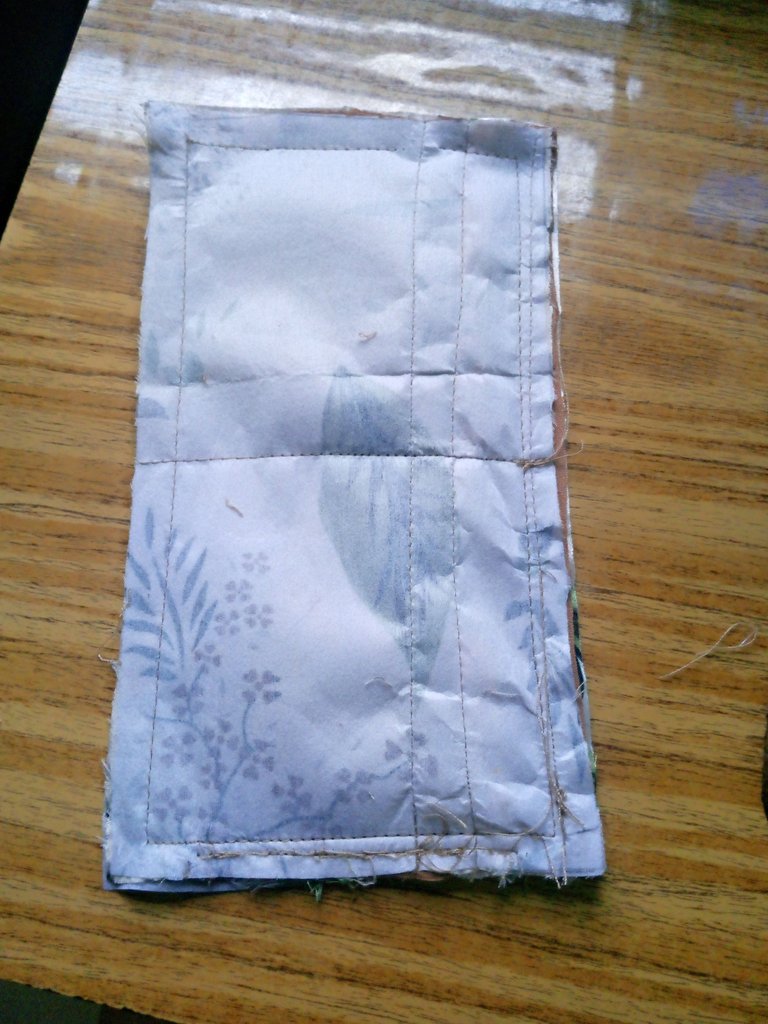
After sewing, it was turned inside out and ironed, to make it firm, I had to top stitched it round.
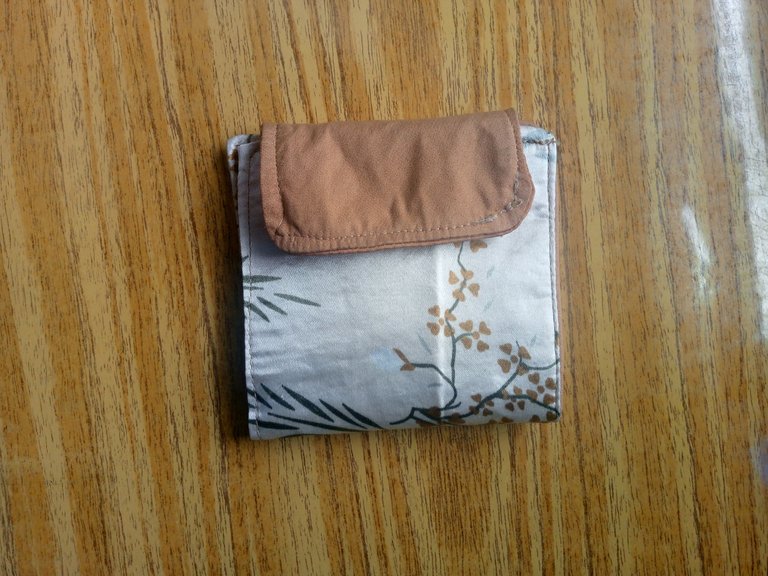
I hand stitch a pressing button to the flip as cover to hold the wallet together.
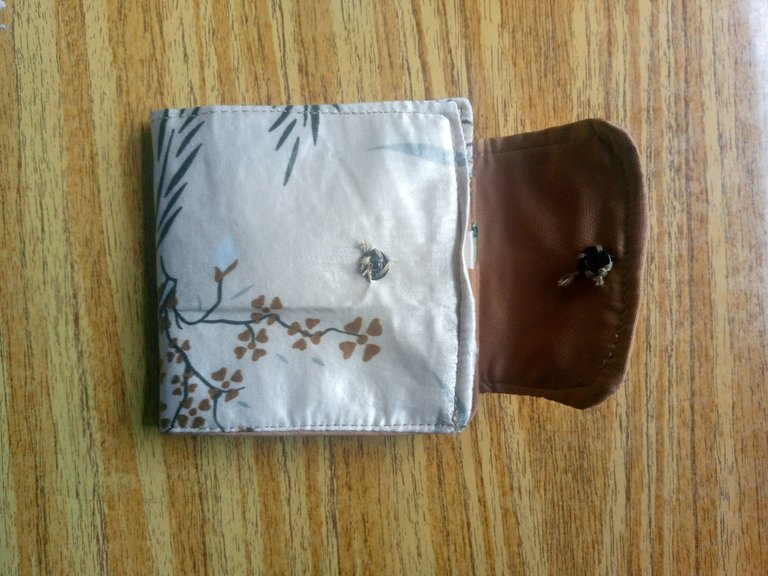

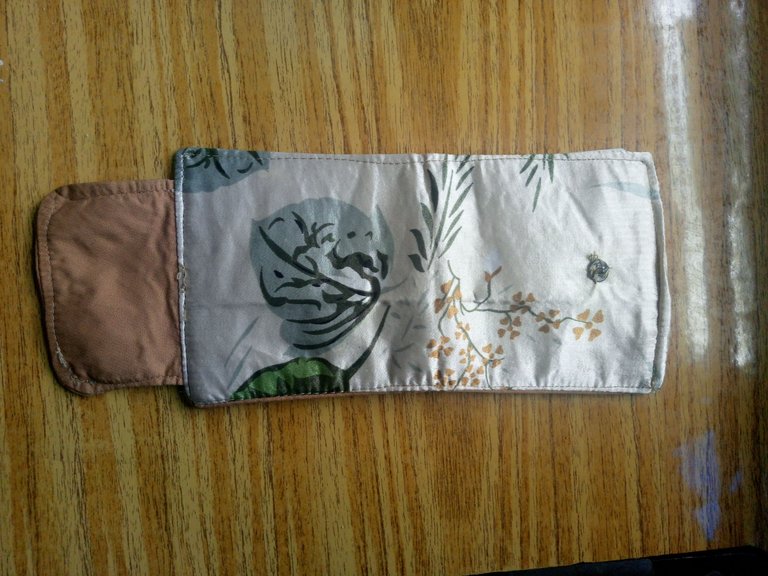
This is the final outcome of my fabric wallet I made from pieces of fabric, now my cards are safe.

This is so nicely, I love the fabric, wow, you did a very nice work, eeeeeeeh I haven't seen a wallet using fabric, in love it, well-done
Thanks so much, since I work with fabric, I decided to try it and it came out really nice.
aha that looks cool, you are amazing keep up the good work. have a great day and week ahead.
Thanks @diyhub for appreciating my work and for your support.
I like this idea, it is really creative of you. And the wallet will be useful, thanks for sharing
Thanks so much sis, I'm glad you like it.
Very nice one dear. See how the pause is acculating your stuffs
Thanks so much @idarasuas
This is very creative dear
Wow this wallet really looks so cute, maybe you will make one for me, I was paying attention from the beginning to see how you made it, you took your time to make it.
Thanks so much, it is very easy to make and useful as well.
Se ve muy bien la billetera