Cutting and sewing process of a 2 in 1 card wallet
Hello lovers of diy

It's with great pleasure to be here today in this community @diyhub I hope you are all doing great, I'm here to share with you the cutting and sewing process of of this 2 in one card wallet, I decided to create something different from the previous card wallet I used to make, I have made a wallet with cash space and card space as well but this very one is just for cards and there is a space with zipper for either coin, cash or other cards, but since we don't use coin in our country, I decided to use the space for cards the good thing about this is that it has a zipper and I love the beautiful outcome.
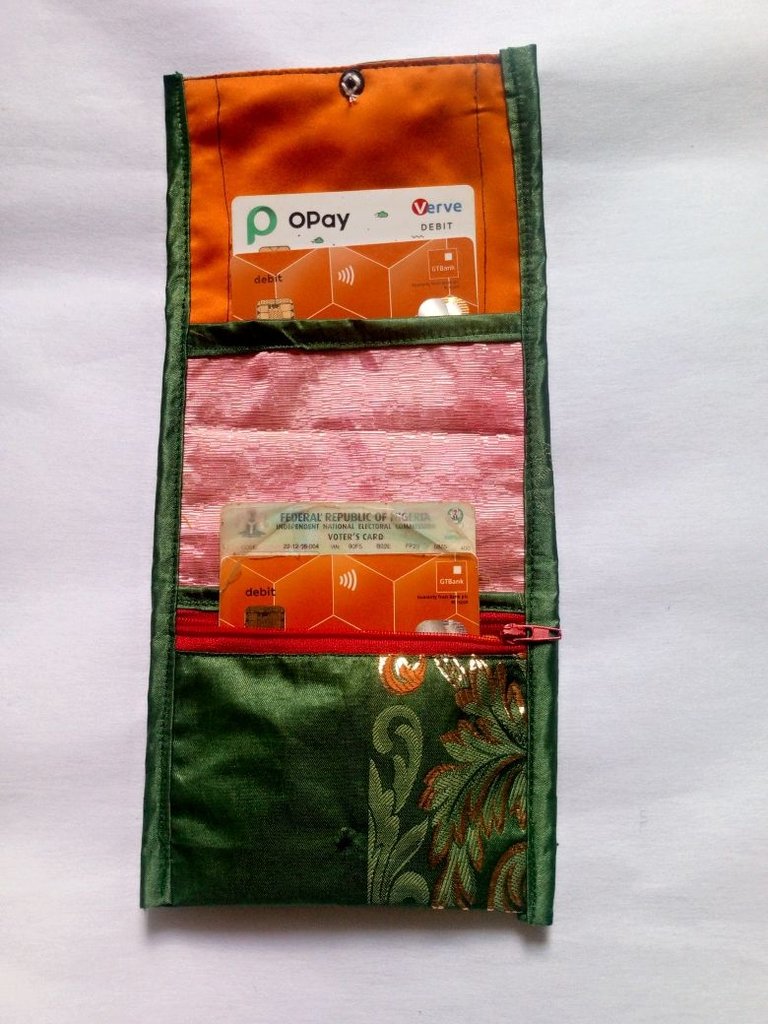
This is specifically made for a friend after seeing the ones I made for my niece and myself, I decided to be creative with this by adding zipper to it.
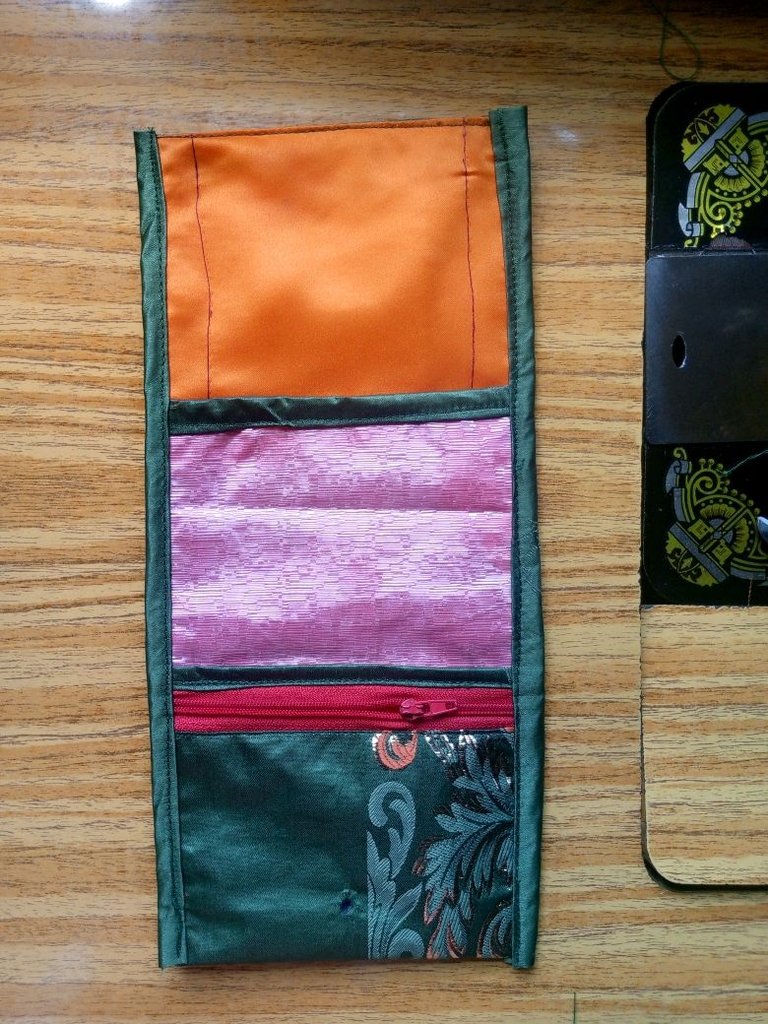
Let's get started with the cutting and sewing process.
I measured 15 x 5" with lining and interfacing
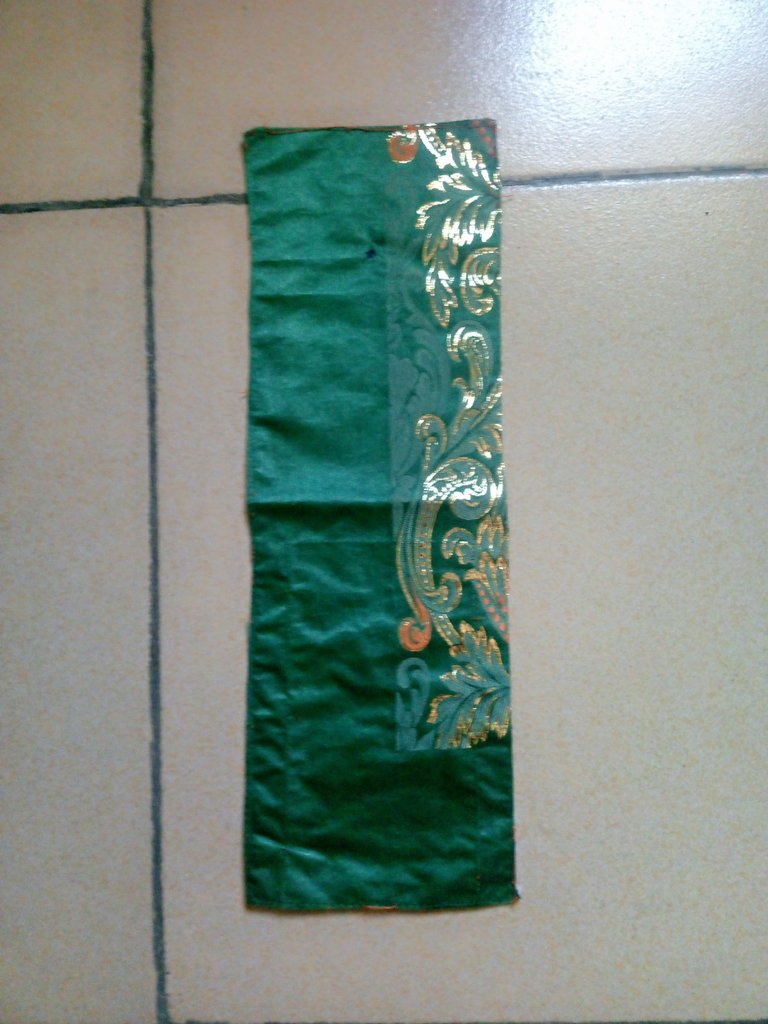
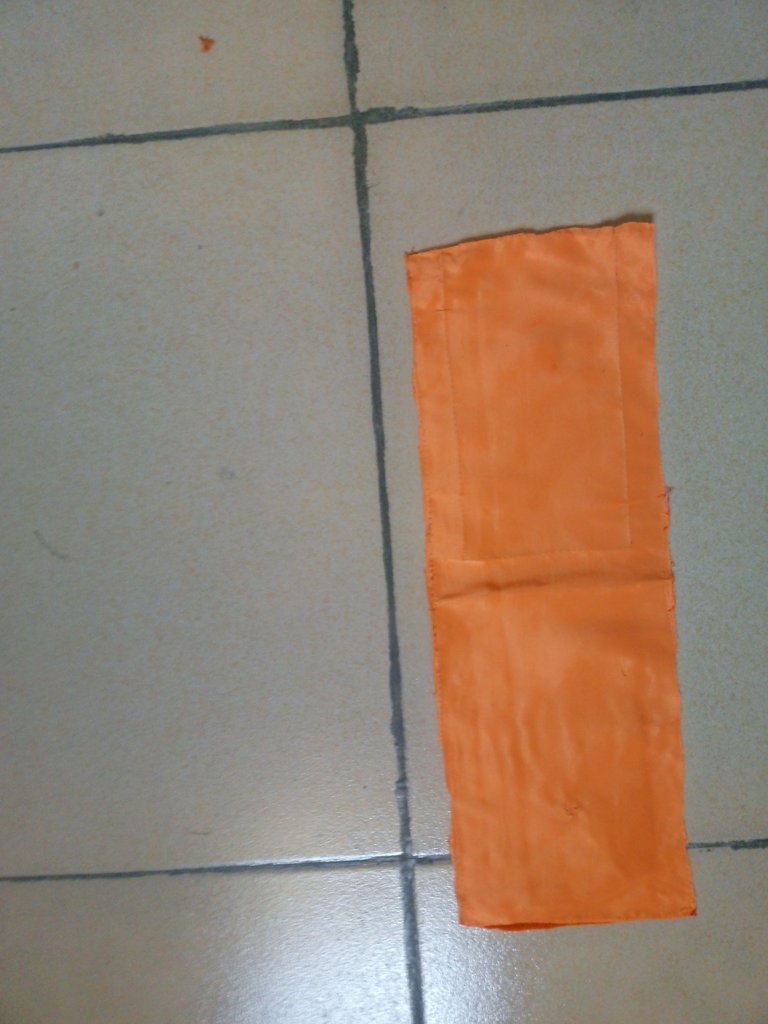
I cut out another piece of 5.5 x 4"
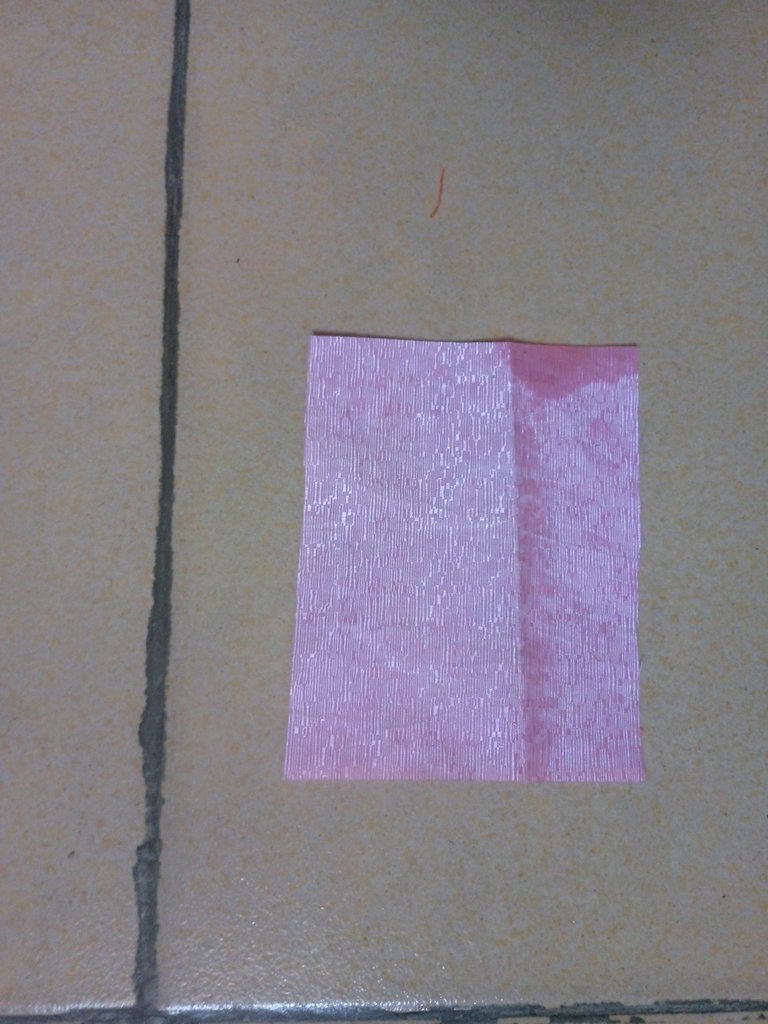
I cut out a strip and sew it on the zipper just as seen below
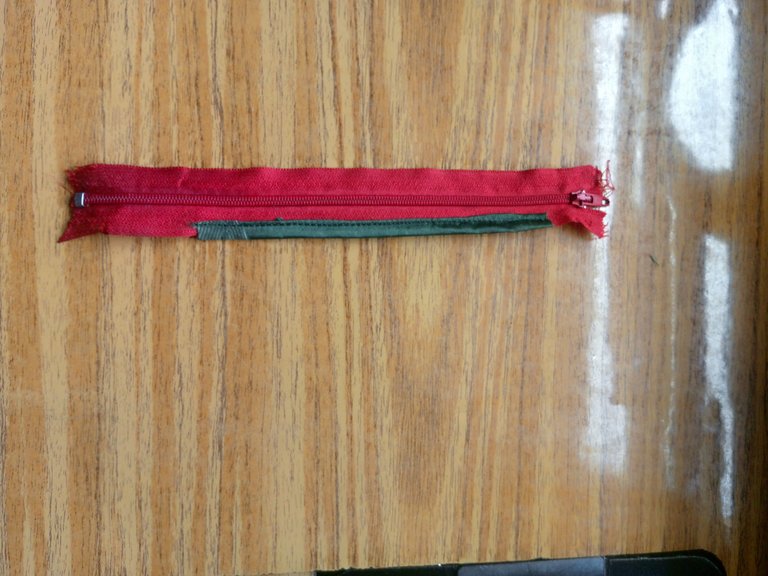
The zipper was sewn on the main fabric after I had ironed the interfacing on it with the lining on the zipper right side to right side to the fabric.
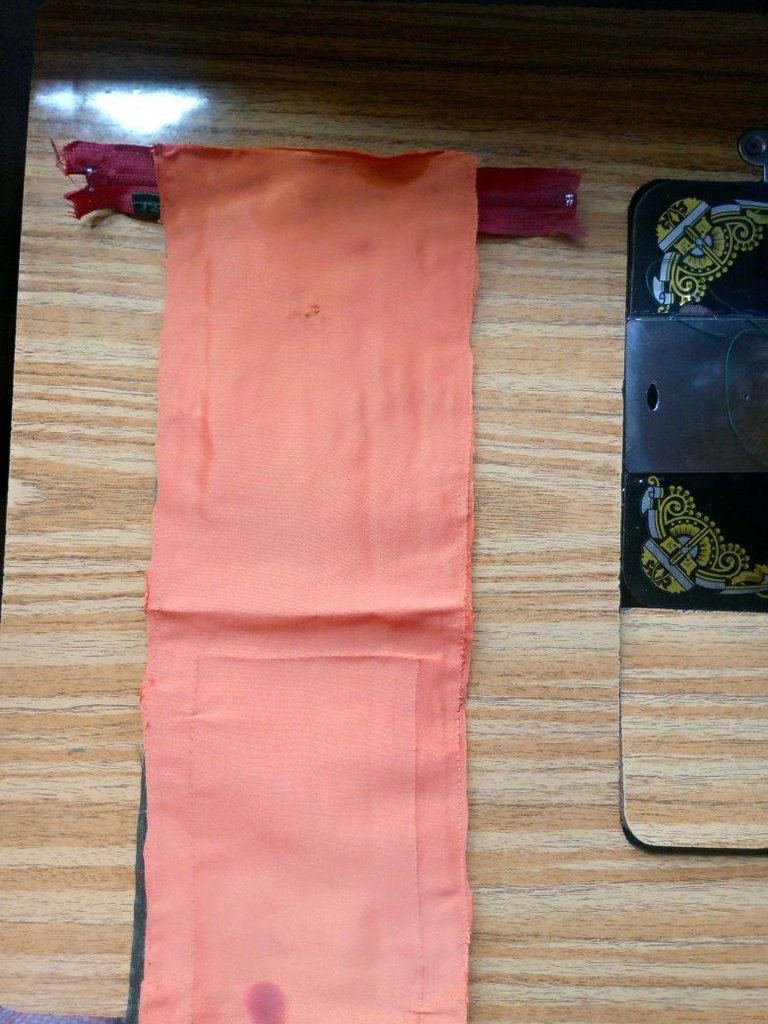
I sew on the zipper and on the opposite side as well, the it was turned inside out and I top stitched on both sides.
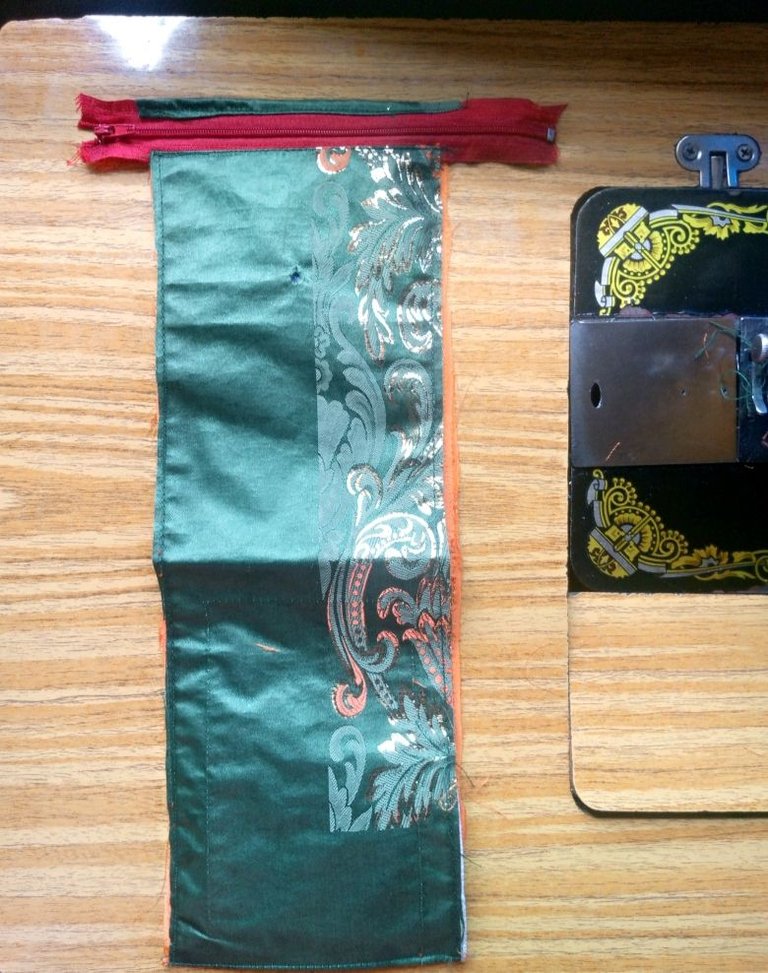
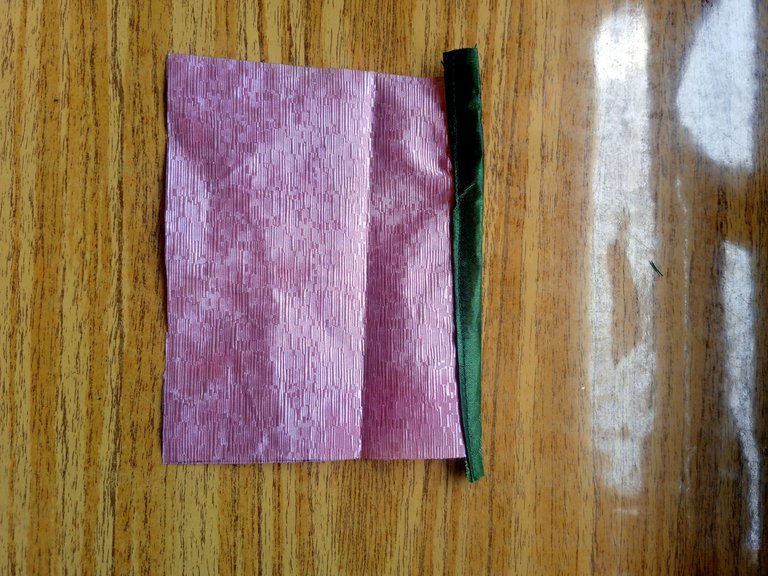
On the small piece, I pipe the top with the strip as well.
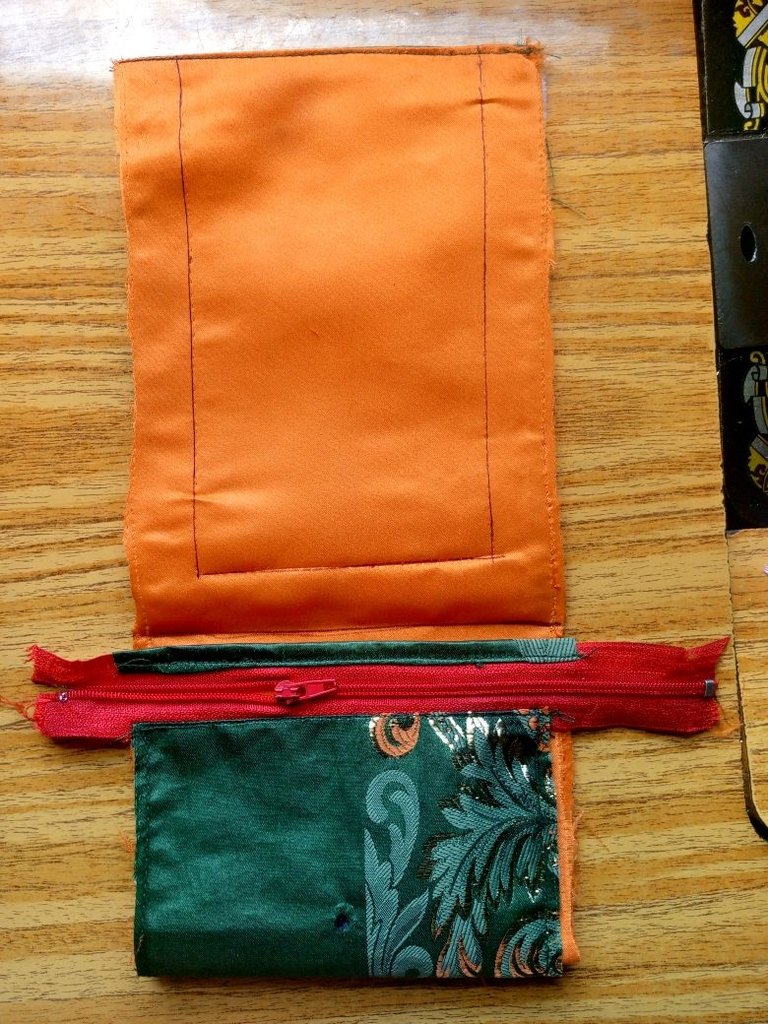
I folded the side with the zipper up and sew on both sides.
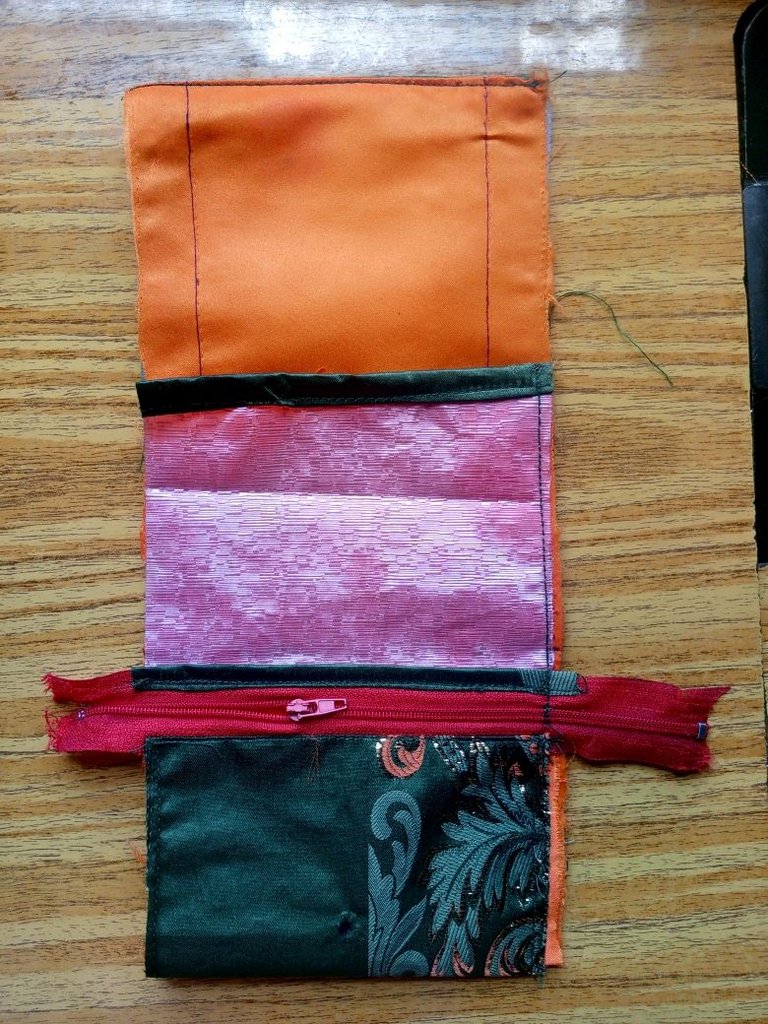
The other piece that was piped was placed on the main fabric under the one with the zipper and I sew it down and also on both sides.
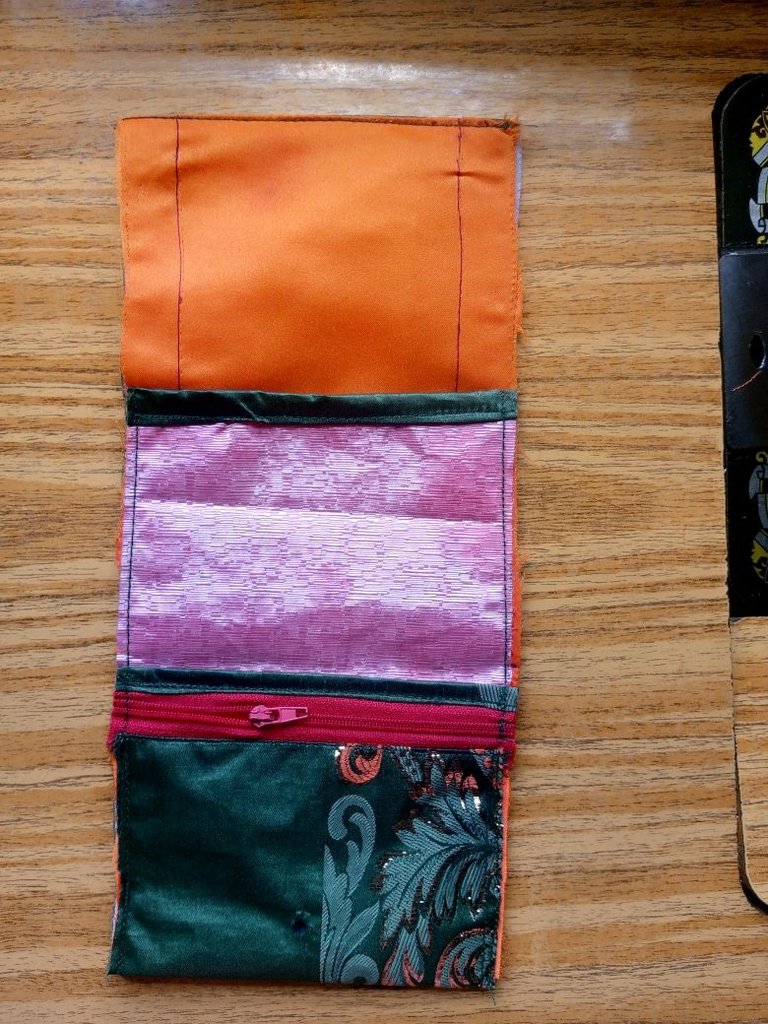
The excess on the zipper was trimmed off and the edges were pipe with a long strip on both sides.
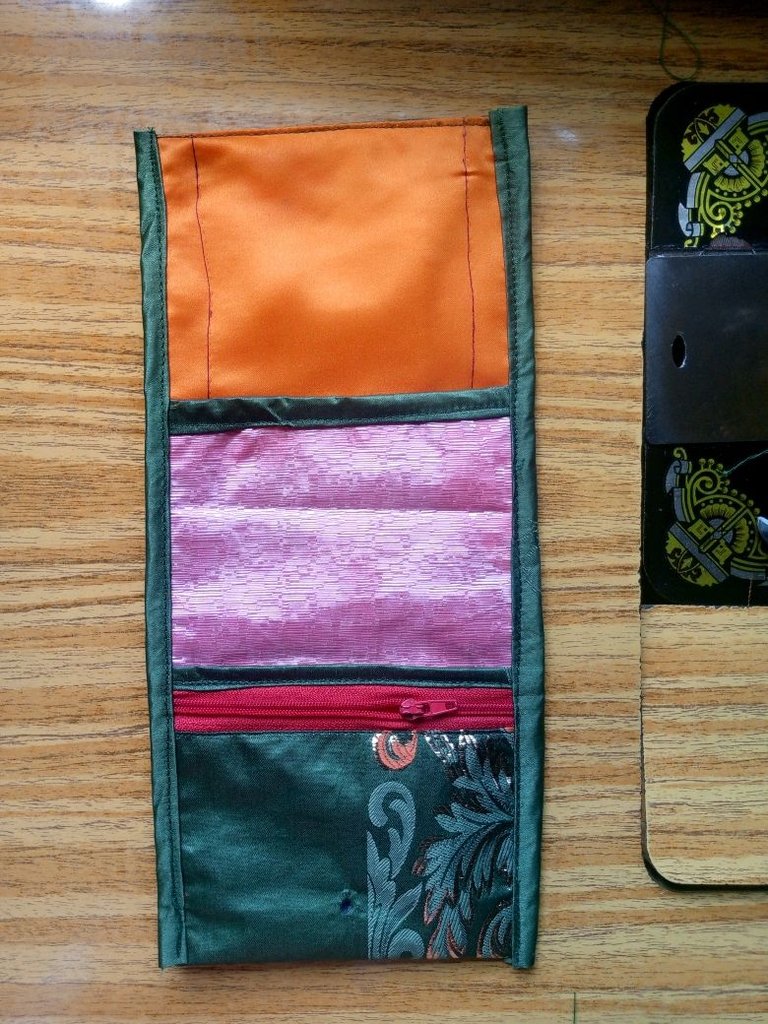
Finally I had a pressing button attached to the mid point of the upper side.
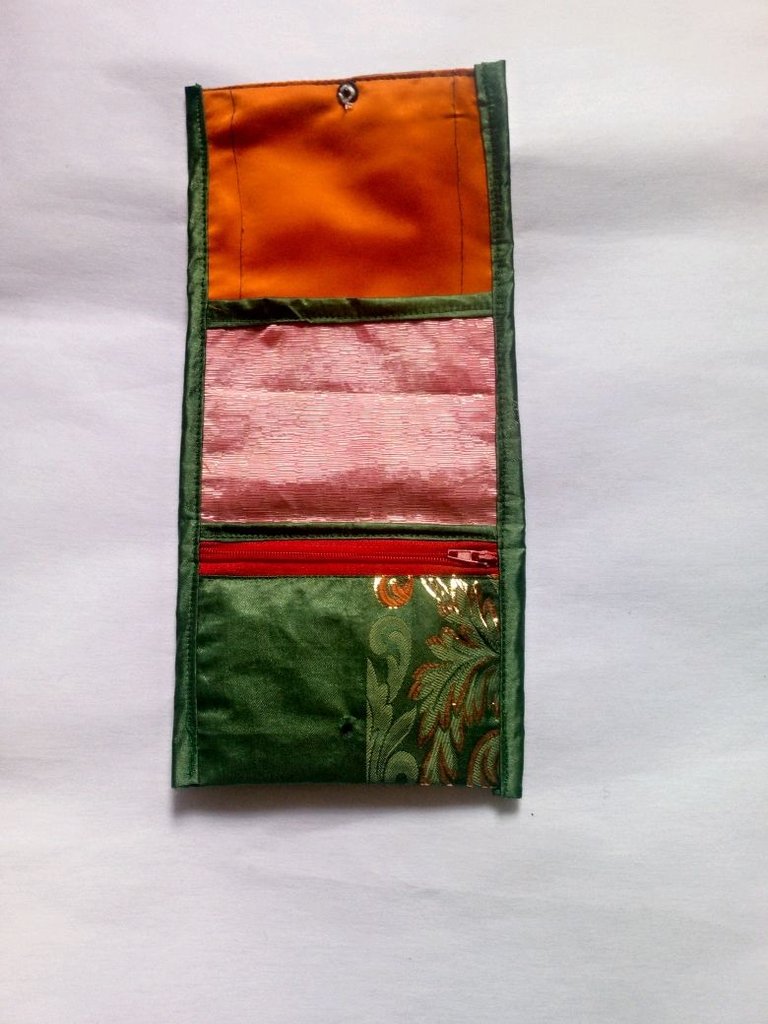
The card wallet was folded and the other side of the pressing button was fixed on it.
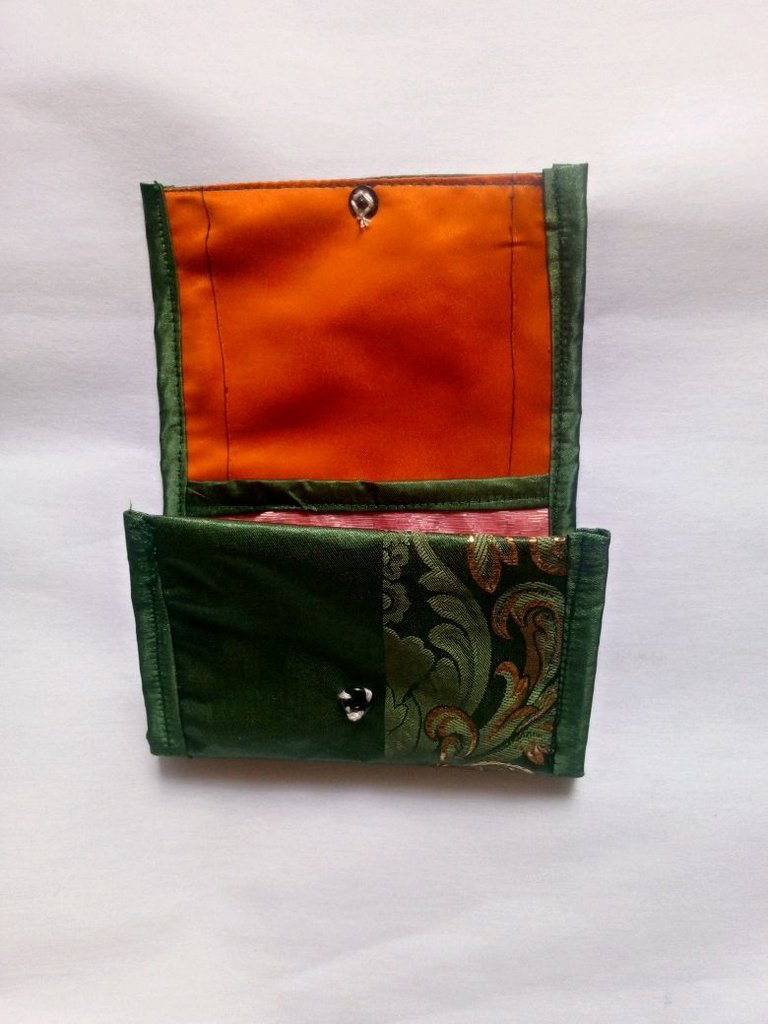
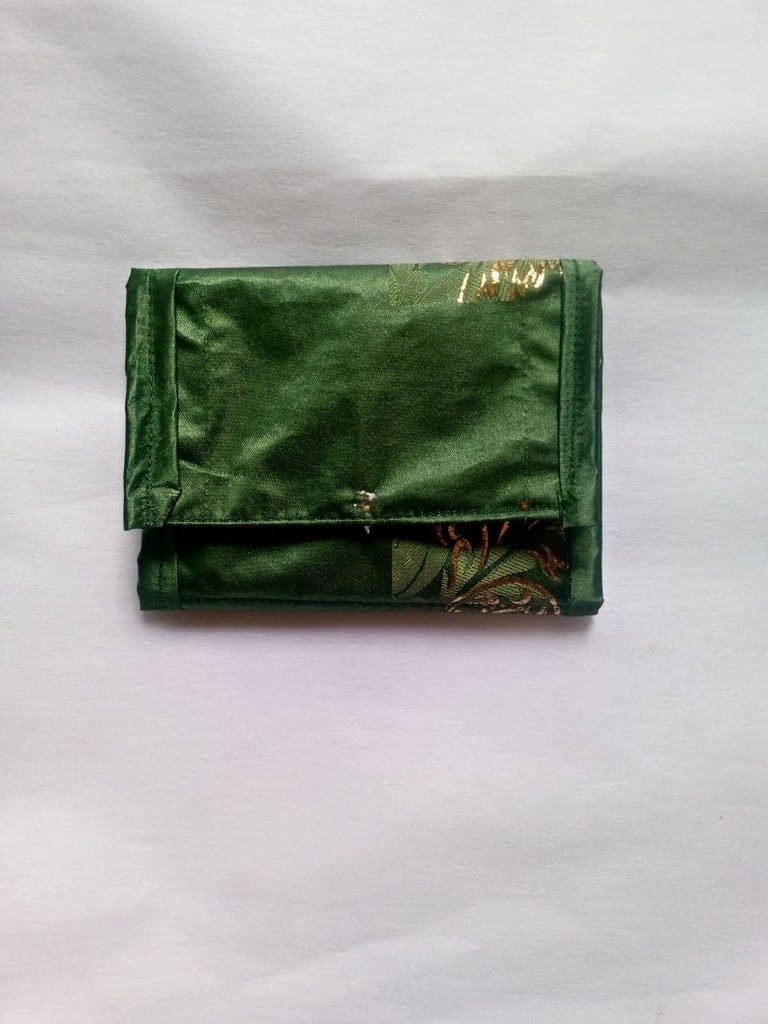
This is the final and beautiful outcome of my 2 in 1 card wallet with zipper.
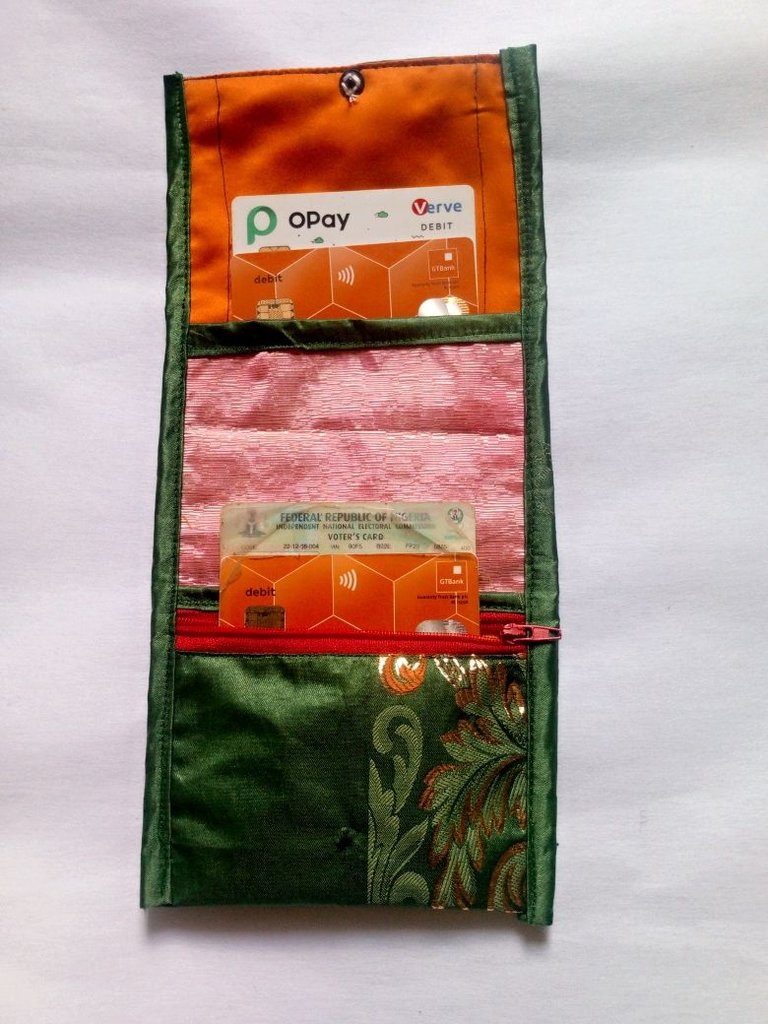
This is how it looks when folded.
está genial. útil y ahorra espacio
great. useful and space-saving.
Thanks for your comment
Hi @bimpcy, what a cute card holder, love the colors, it's a very useful project to keep cards organized, plus it looks simple to make.
Cheers!
!DIY
Hi @bimpcy your card wallet looks really great. Simple yet useful, your friend must have been so happy to get her own beautiful card wallet. Well done dearest friend and cheers to more creative ideas😃
You can query your personal balance by
!DIYSTATSThat was an amazing Idea. I love the color and it was neatly trimmed.
!DIY
You can query your personal balance by
!DIYSTATSIt turned out great and super cute, it looks very well done and it is definitely super useful and comfortable to wear 😊👍 great job!
I love it! Not only is it practical and functional, but the fabric you used has a very beautiful design 😍💚
Que bonito , lo mejor con cada retazo de tela