Creative design of a cash and card wallet using left over fabric
Hello creative friends
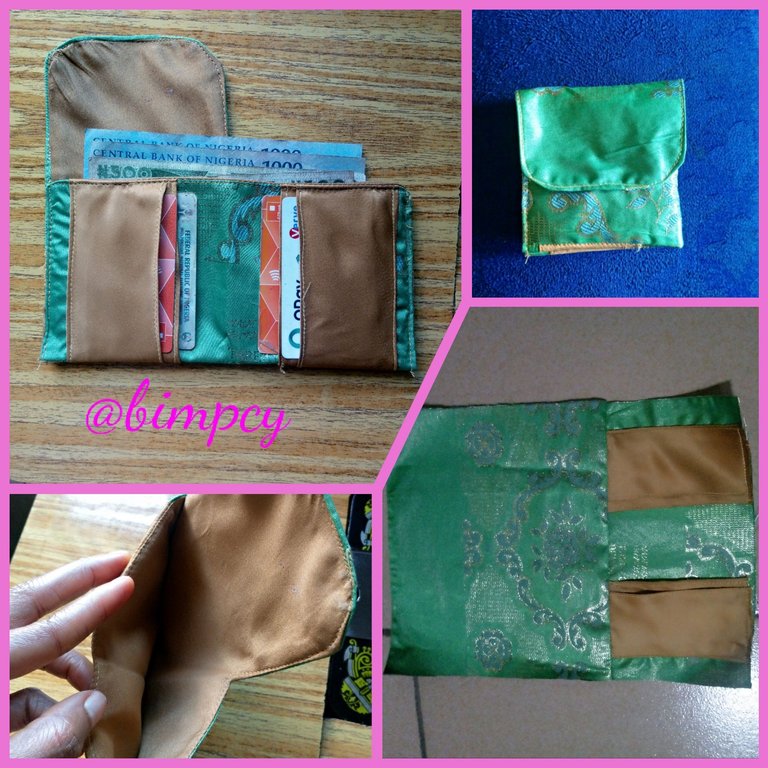
Greetings to you all I'm this creative community and I hope you are all doing well just as I am here, it's a great day and I'm so glad to share with you my recent creative design of a fabric cash and card wallet I made for myself from left over fabric for the safe keeping of my cash and card.
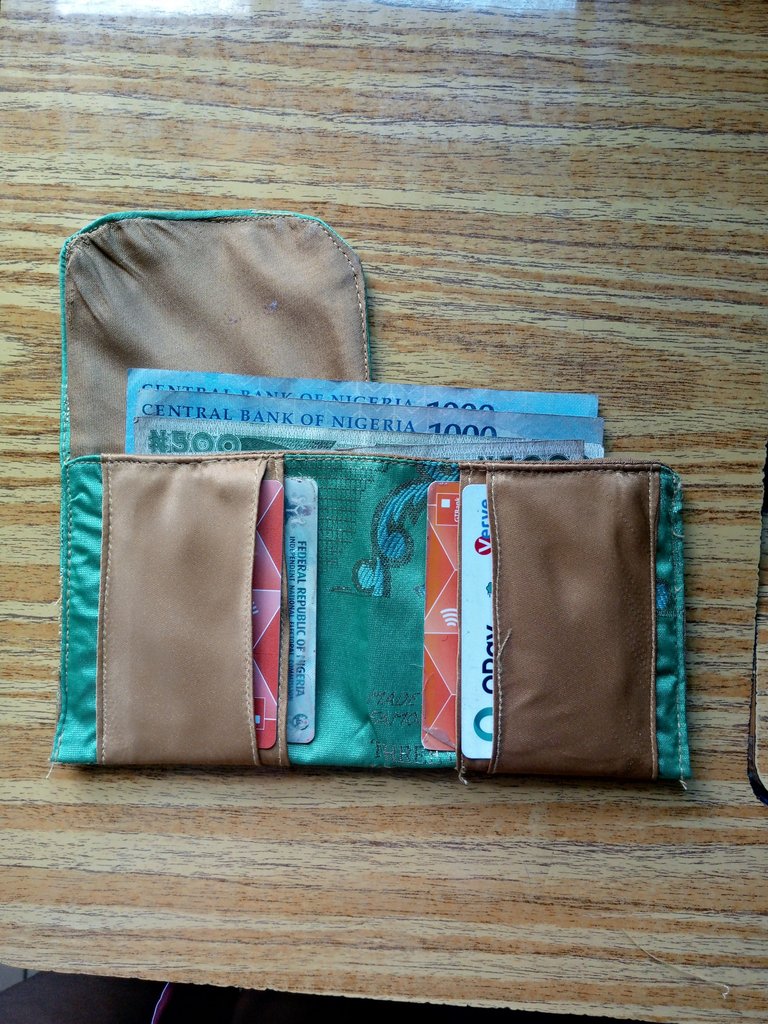
I made a fabric wallet sometimes ago using but it was admired and collected by a friend of mine, since then, I have had it in mind to make another one for myself but I have been so busy but today, I decided to make this beautiful wallet to replaced the one that was collected by my friend, the good thing about this one I made is that it can be folded to make it smaller and easy to carry around, I love to put my card in a safe wallet before been kept in my bag and has really helped in preventing my card from being scratched from other items in my bag.
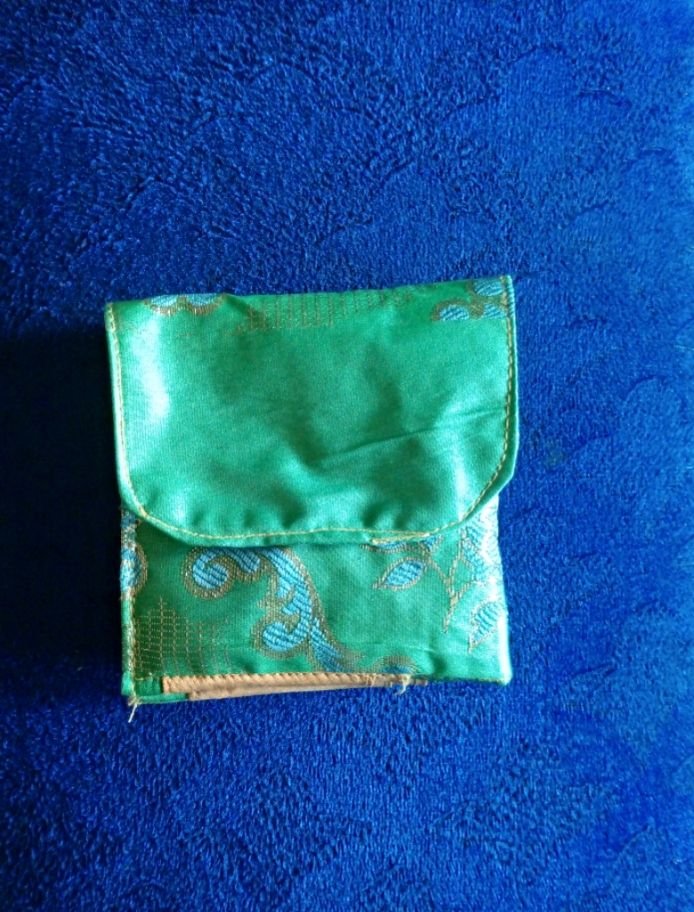
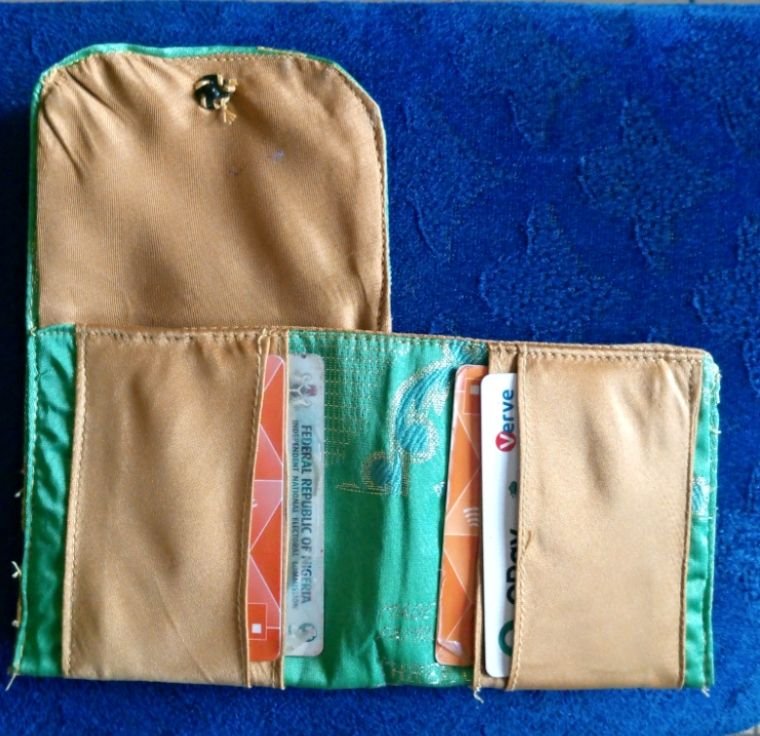
I made this wallet with a 4 card space and one bigger side for my cash, before being folded and secure with a pressing button.
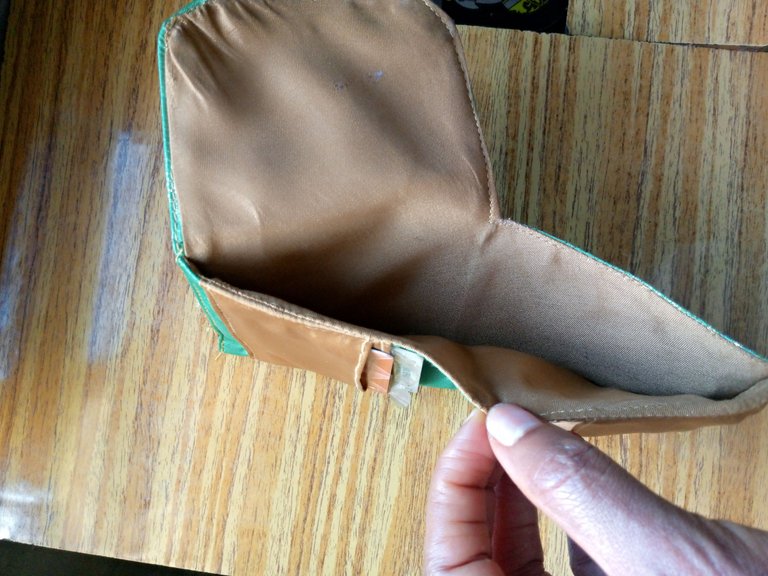
I really do not like throwing away left over fabric, I love to use them to create simple crafts that are very useful and that has really been of help to me I love making use of left over fabric until the last piece that was why I have a lot of them well kept in my bag for future use.
Let me take you through the cutting and sewing process of my fabric wallet.
Using a two types of fabric, one for the main wallet and the other as lining and the card space design.
For the main wallet, I cut out 8.5 x 4.5" and 8.5 x 8"
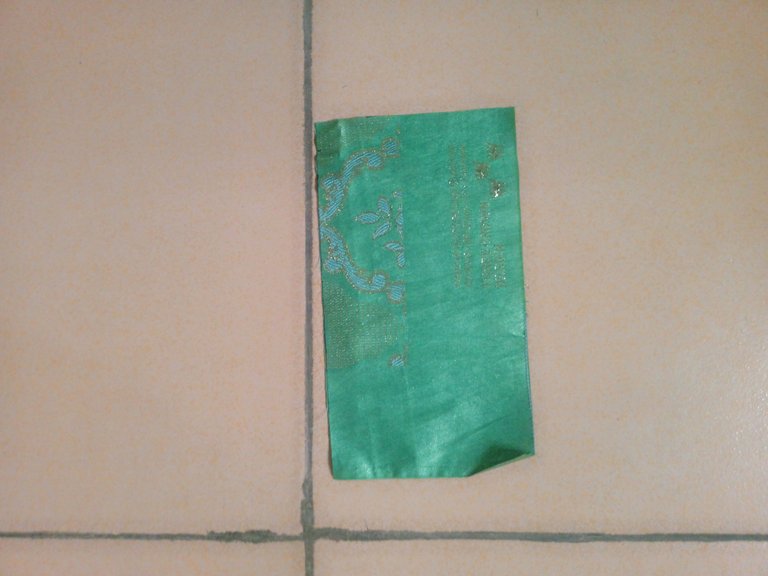
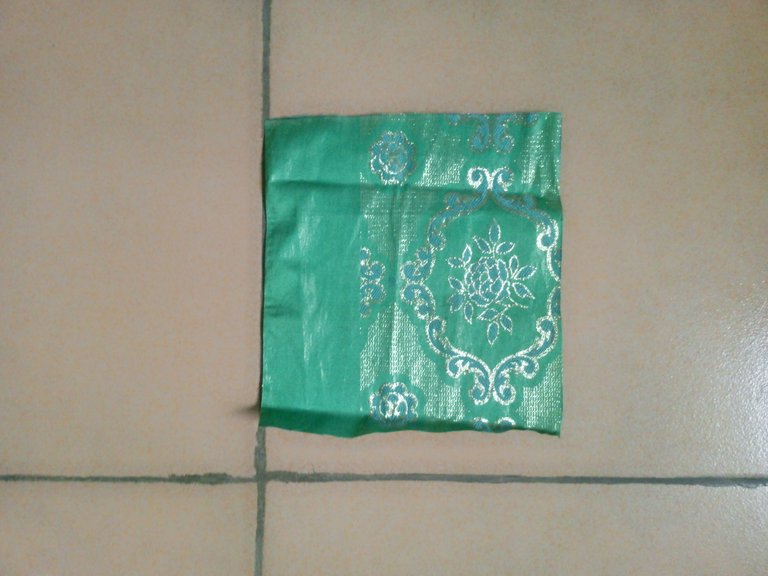
For the card pocket, I cut out 19 x 4.5"
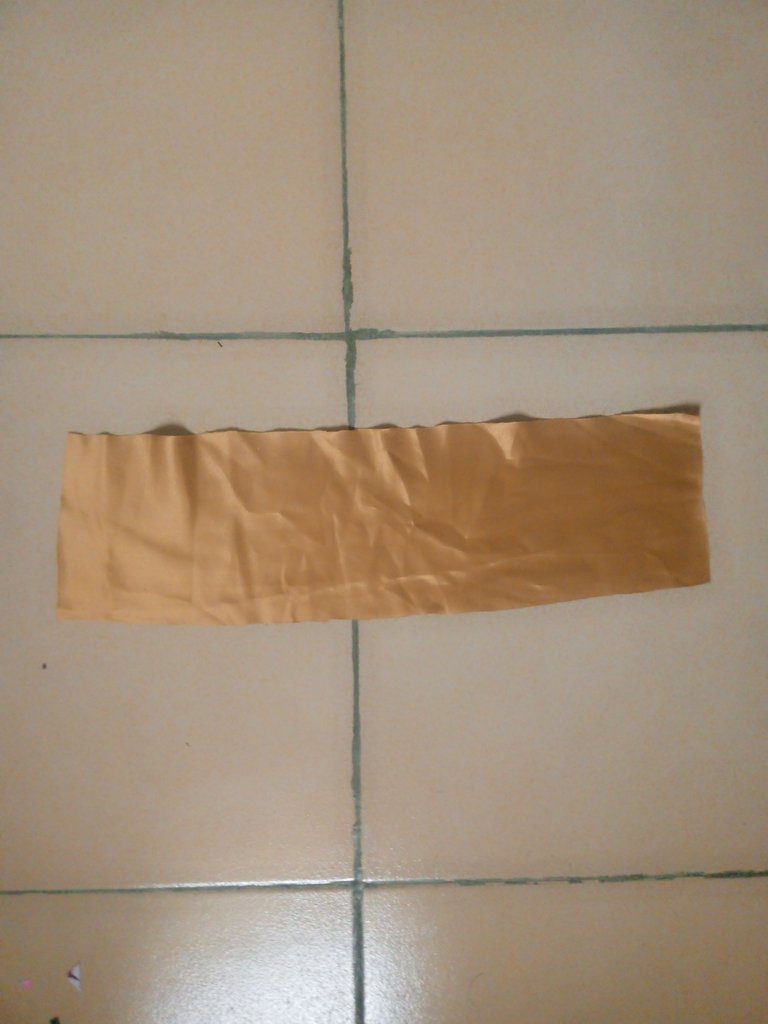
It was folded in two, sewn on the wrong side and turned inside out.
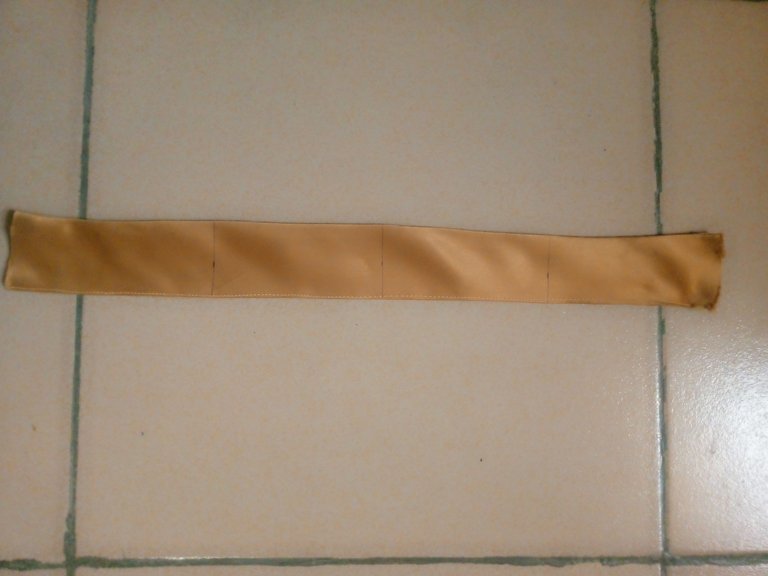
It was divided into 4 and sewn on the small piece of the other fabric after I measured ½" intervals on the fabric and I sew on it.
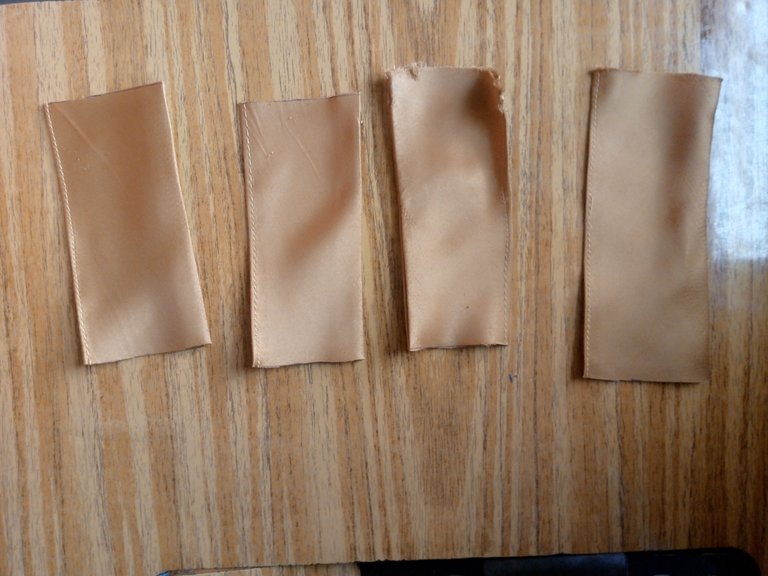
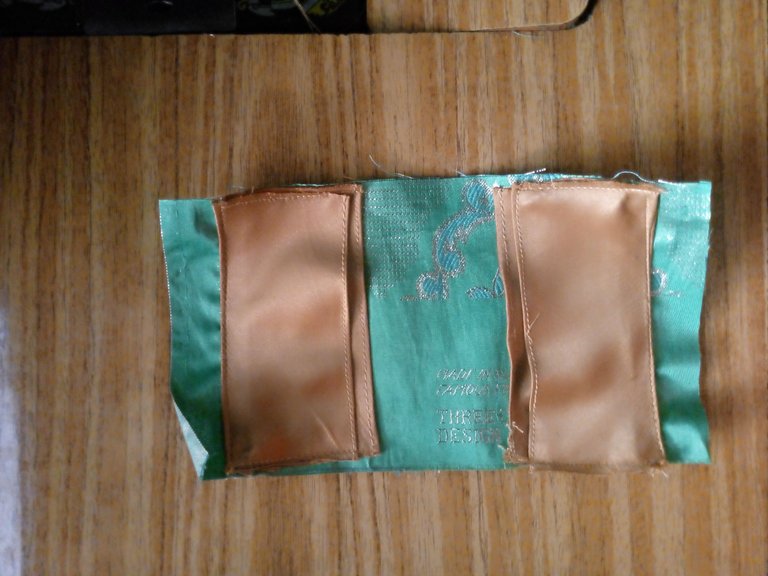
It was then sewn to the other piece and neatly ironed.
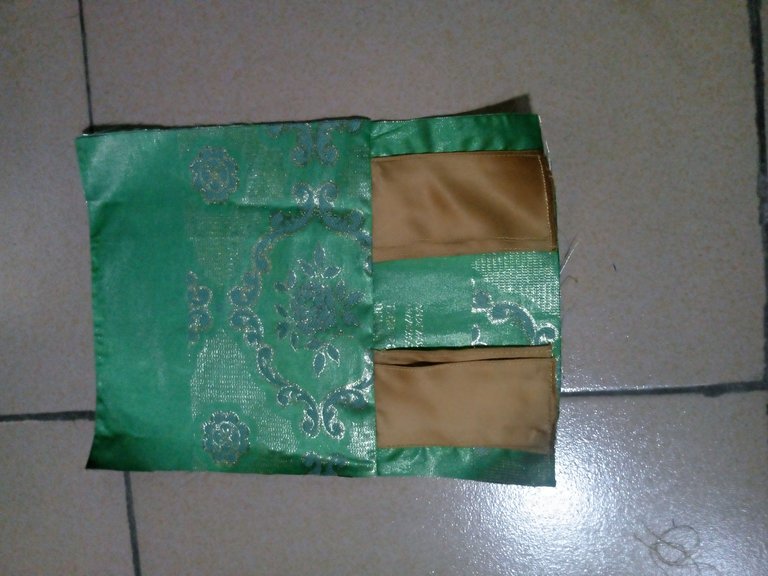
This was placed on the same fabric I used for the pocket to cut out the same shape as the lining.
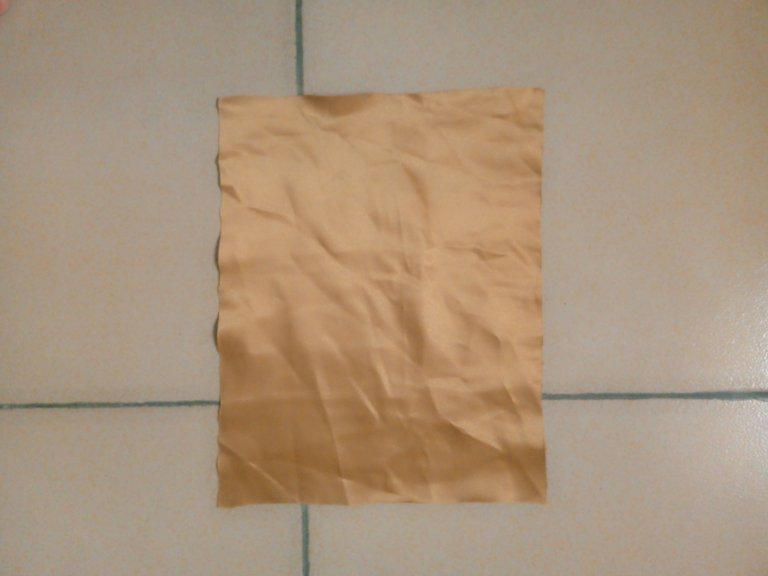
I cut out an interfacing which was curved at the top to make the flip cover to the wallet, the it was ironed on the main wallet I was working on.
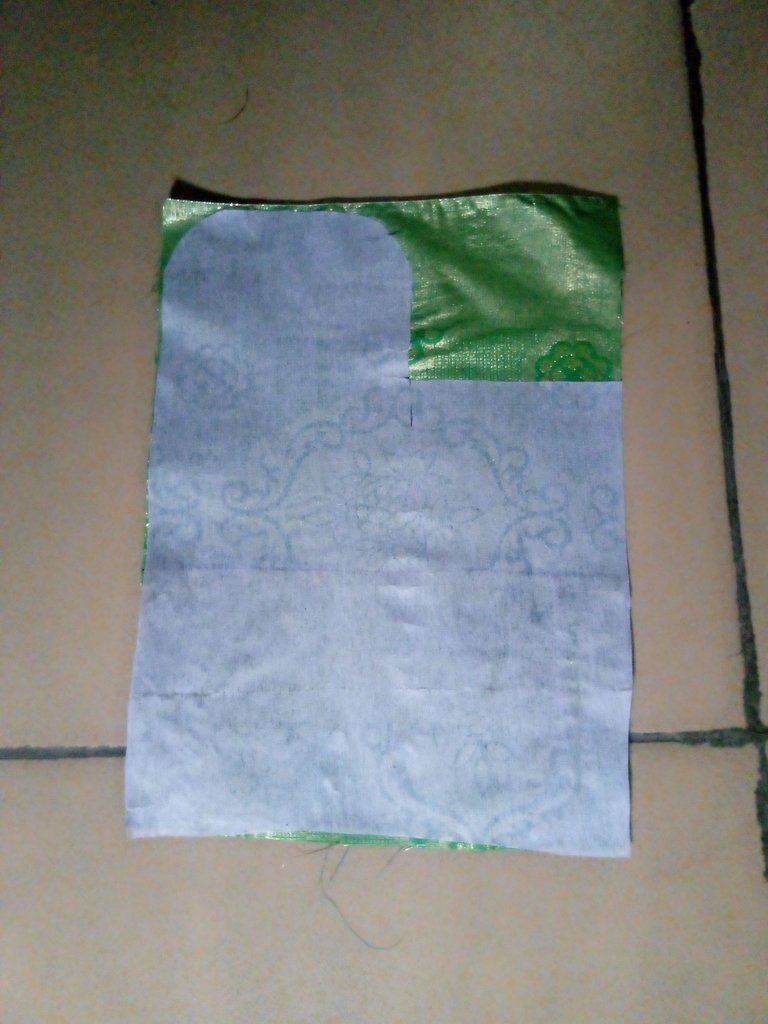
The lining was placed on it and sewn right side to right side, it was trimmed off and turned inside out.
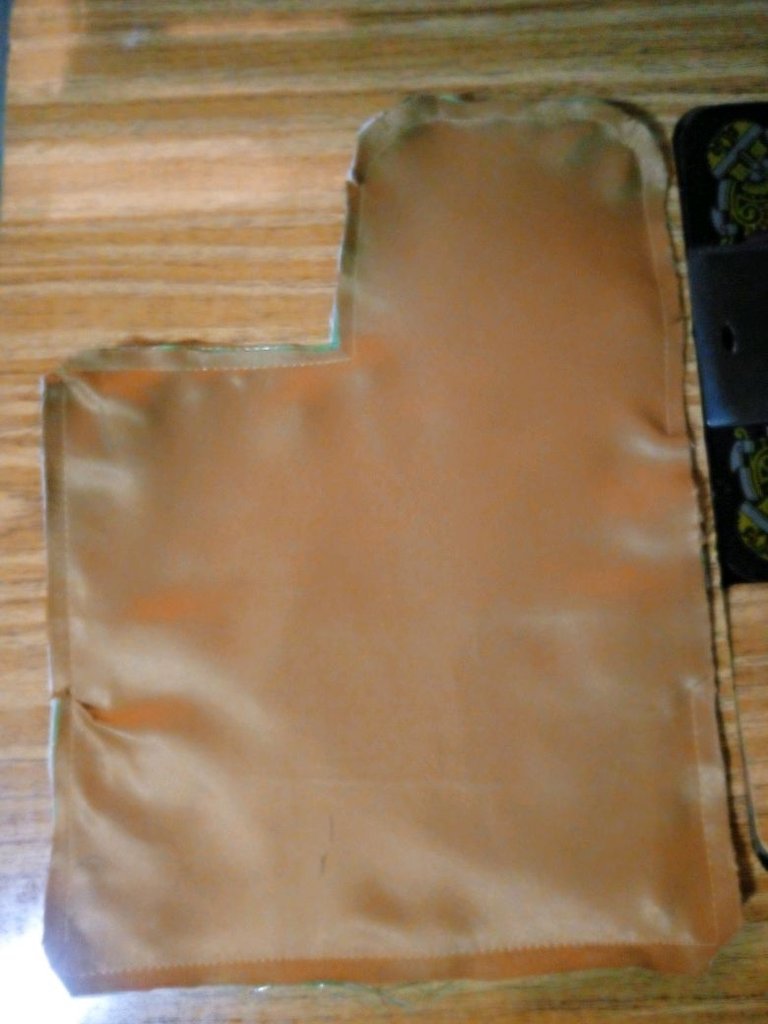
Finally, it was top stitched round and neatly ironed.
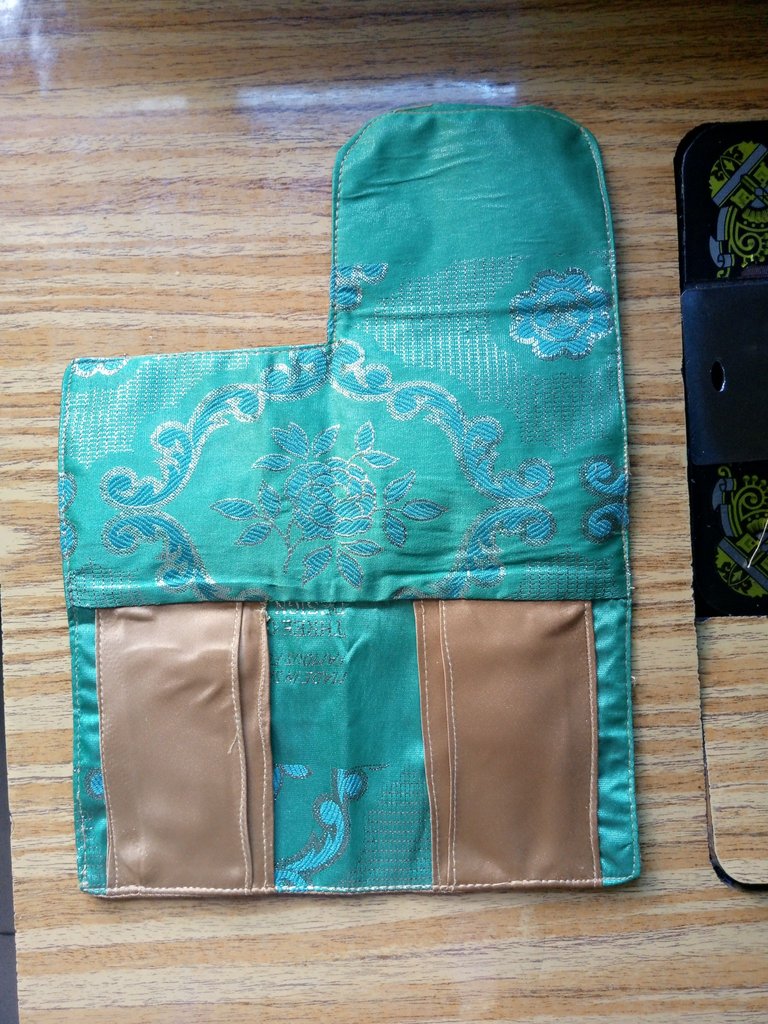
It was folded in two and I sew on both sides to create the space for my cash.
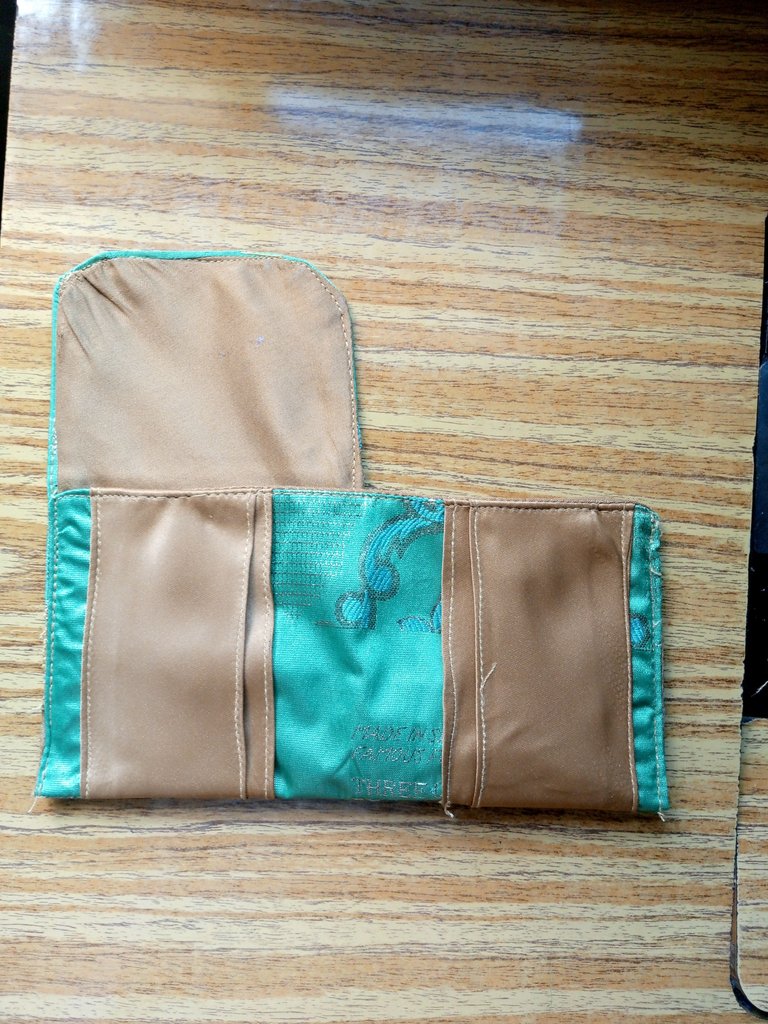
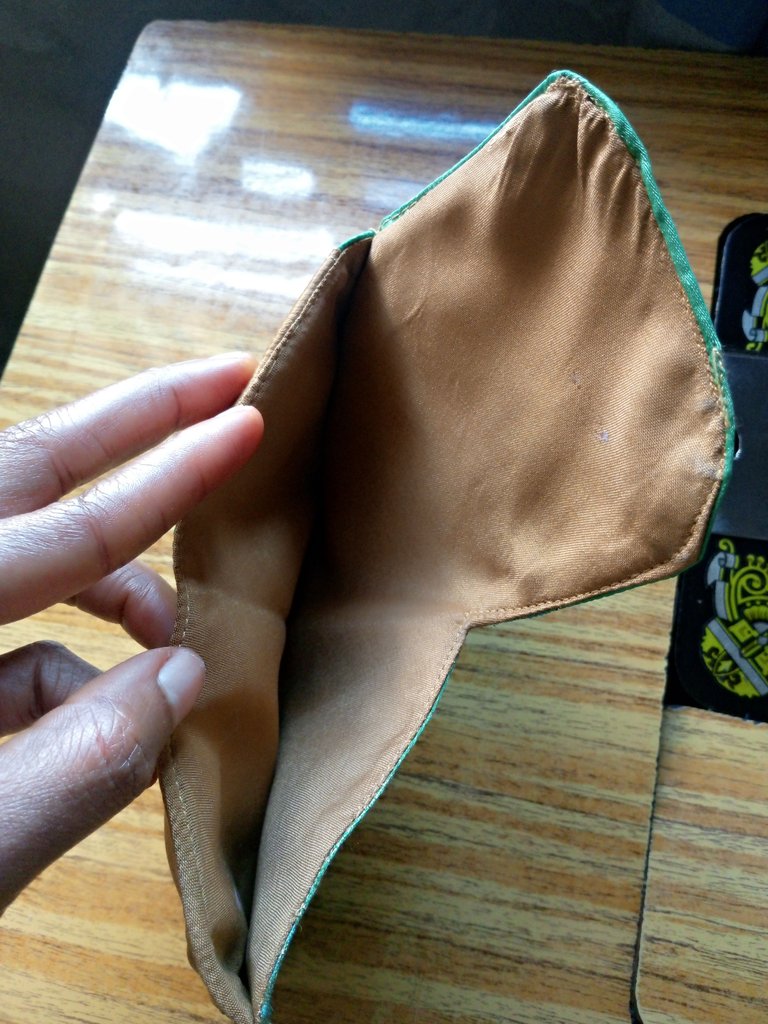
It was folded to know where to fix my pressing buttons which I did with my hand needle and thread.
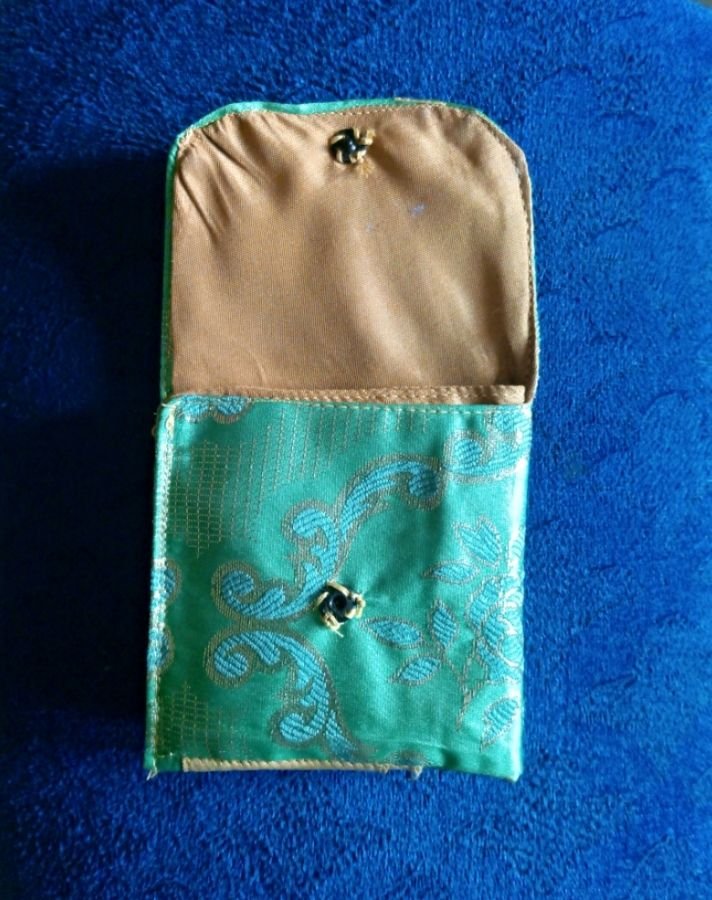
I inserted my cards to the card pocket and my cash to the bigger space of the wallet and this is the final outcome.
I should come back to follow this tutorial to create mine. This is lovely
That would be very nice, it's so simple and easy to make, I'm sure you will do great with it.
Thanks for your comment.
It is a nice and very useful proyect. Thanks for sharing.
Thanks @kattycrochet, I appreciate your comment.
What a great idea, besides being cute, it is a very practical item.
That's so nice of you @karen.art for appreciating my work
Congratulations @bimpcy! You have completed the following achievement on the Hive blockchain And have been rewarded with New badge(s)
Your next target is to reach 1000 posts.
You can view your badges on your board and compare yourself to others in the Ranking
If you no longer want to receive notifications, reply to this comment with the word
STOPgreat work thanks for sharing.
Thanks @diyhub
Wow, it so creative and functional 😍
Very innovative and pretty. I like how nice the fabric is actually. Great job