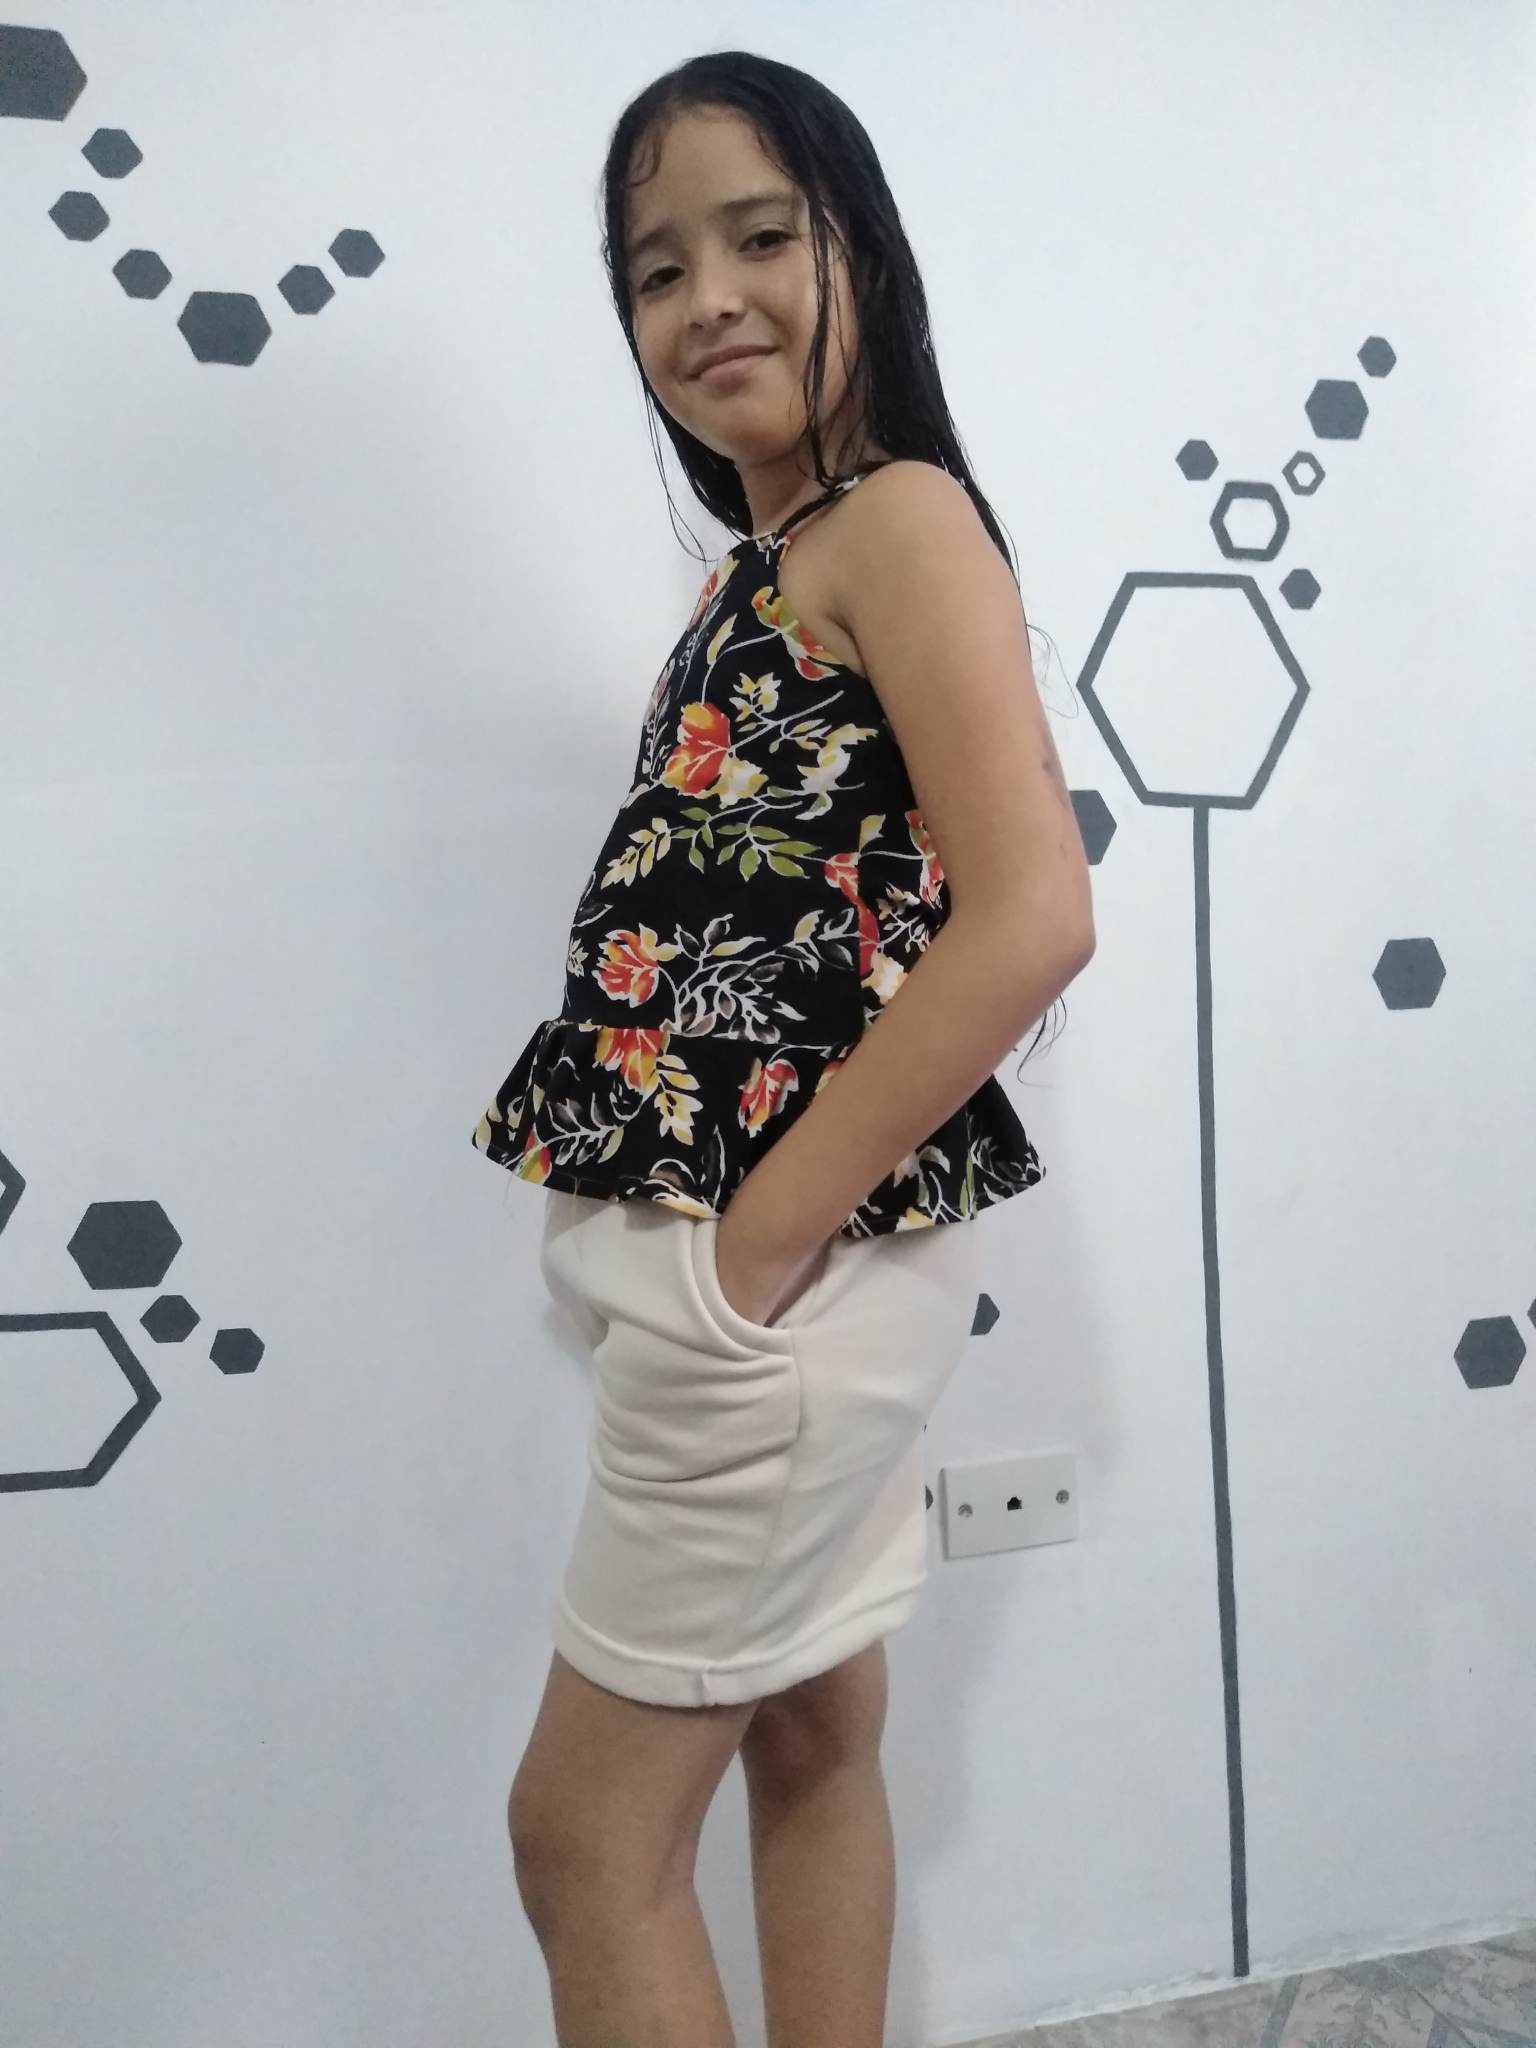
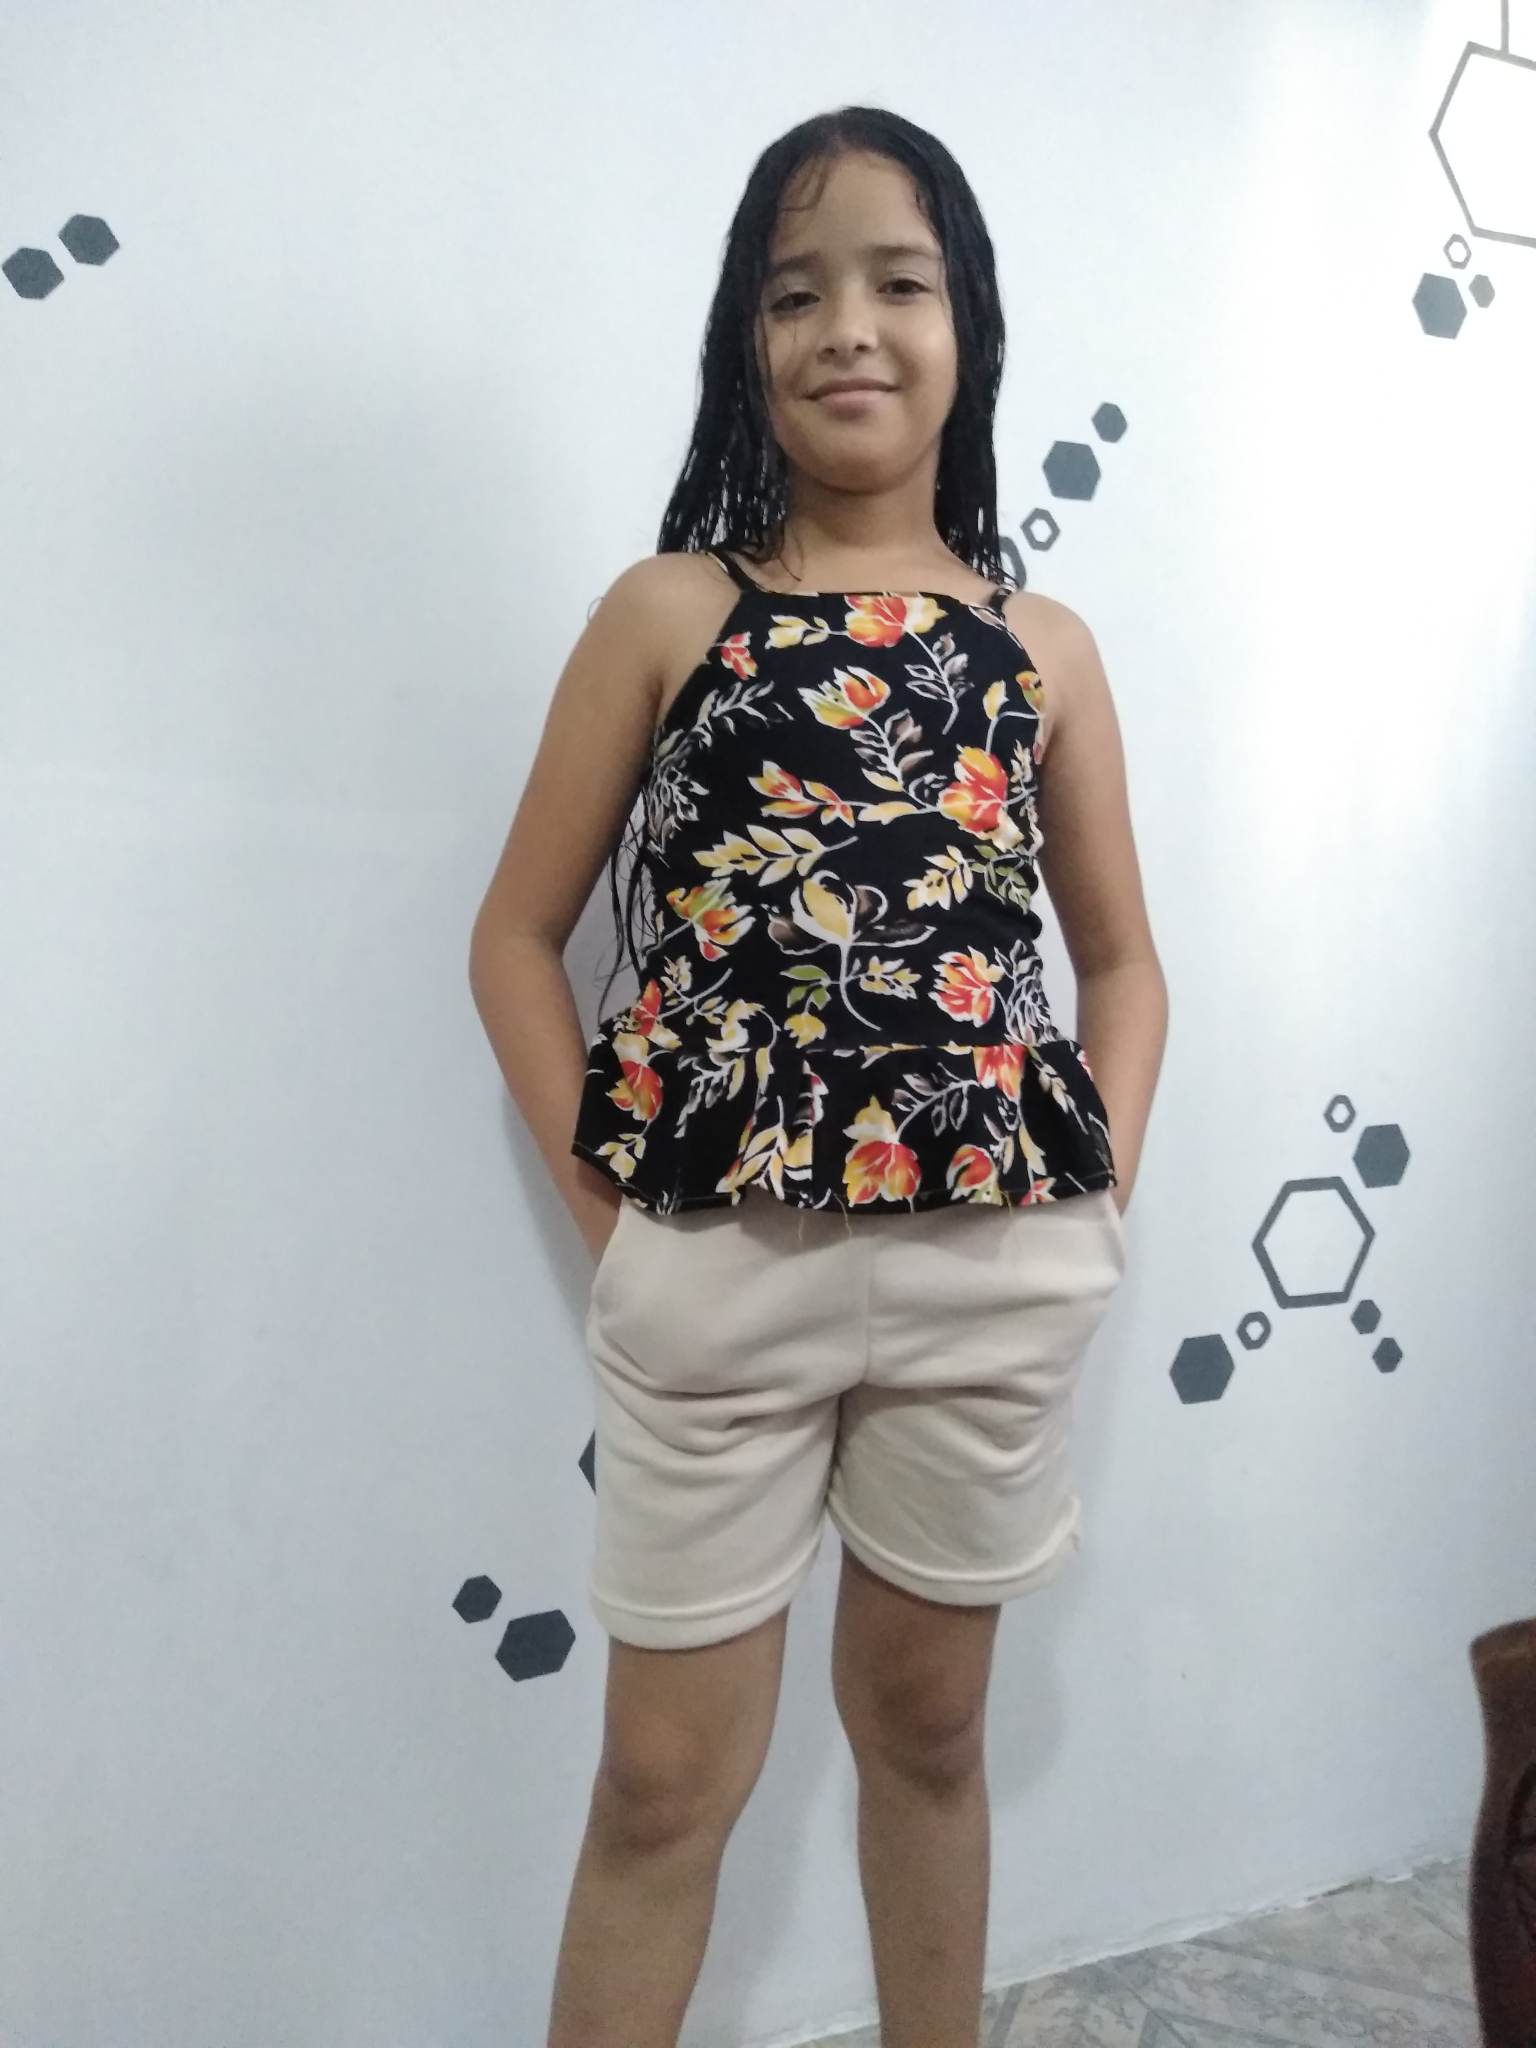
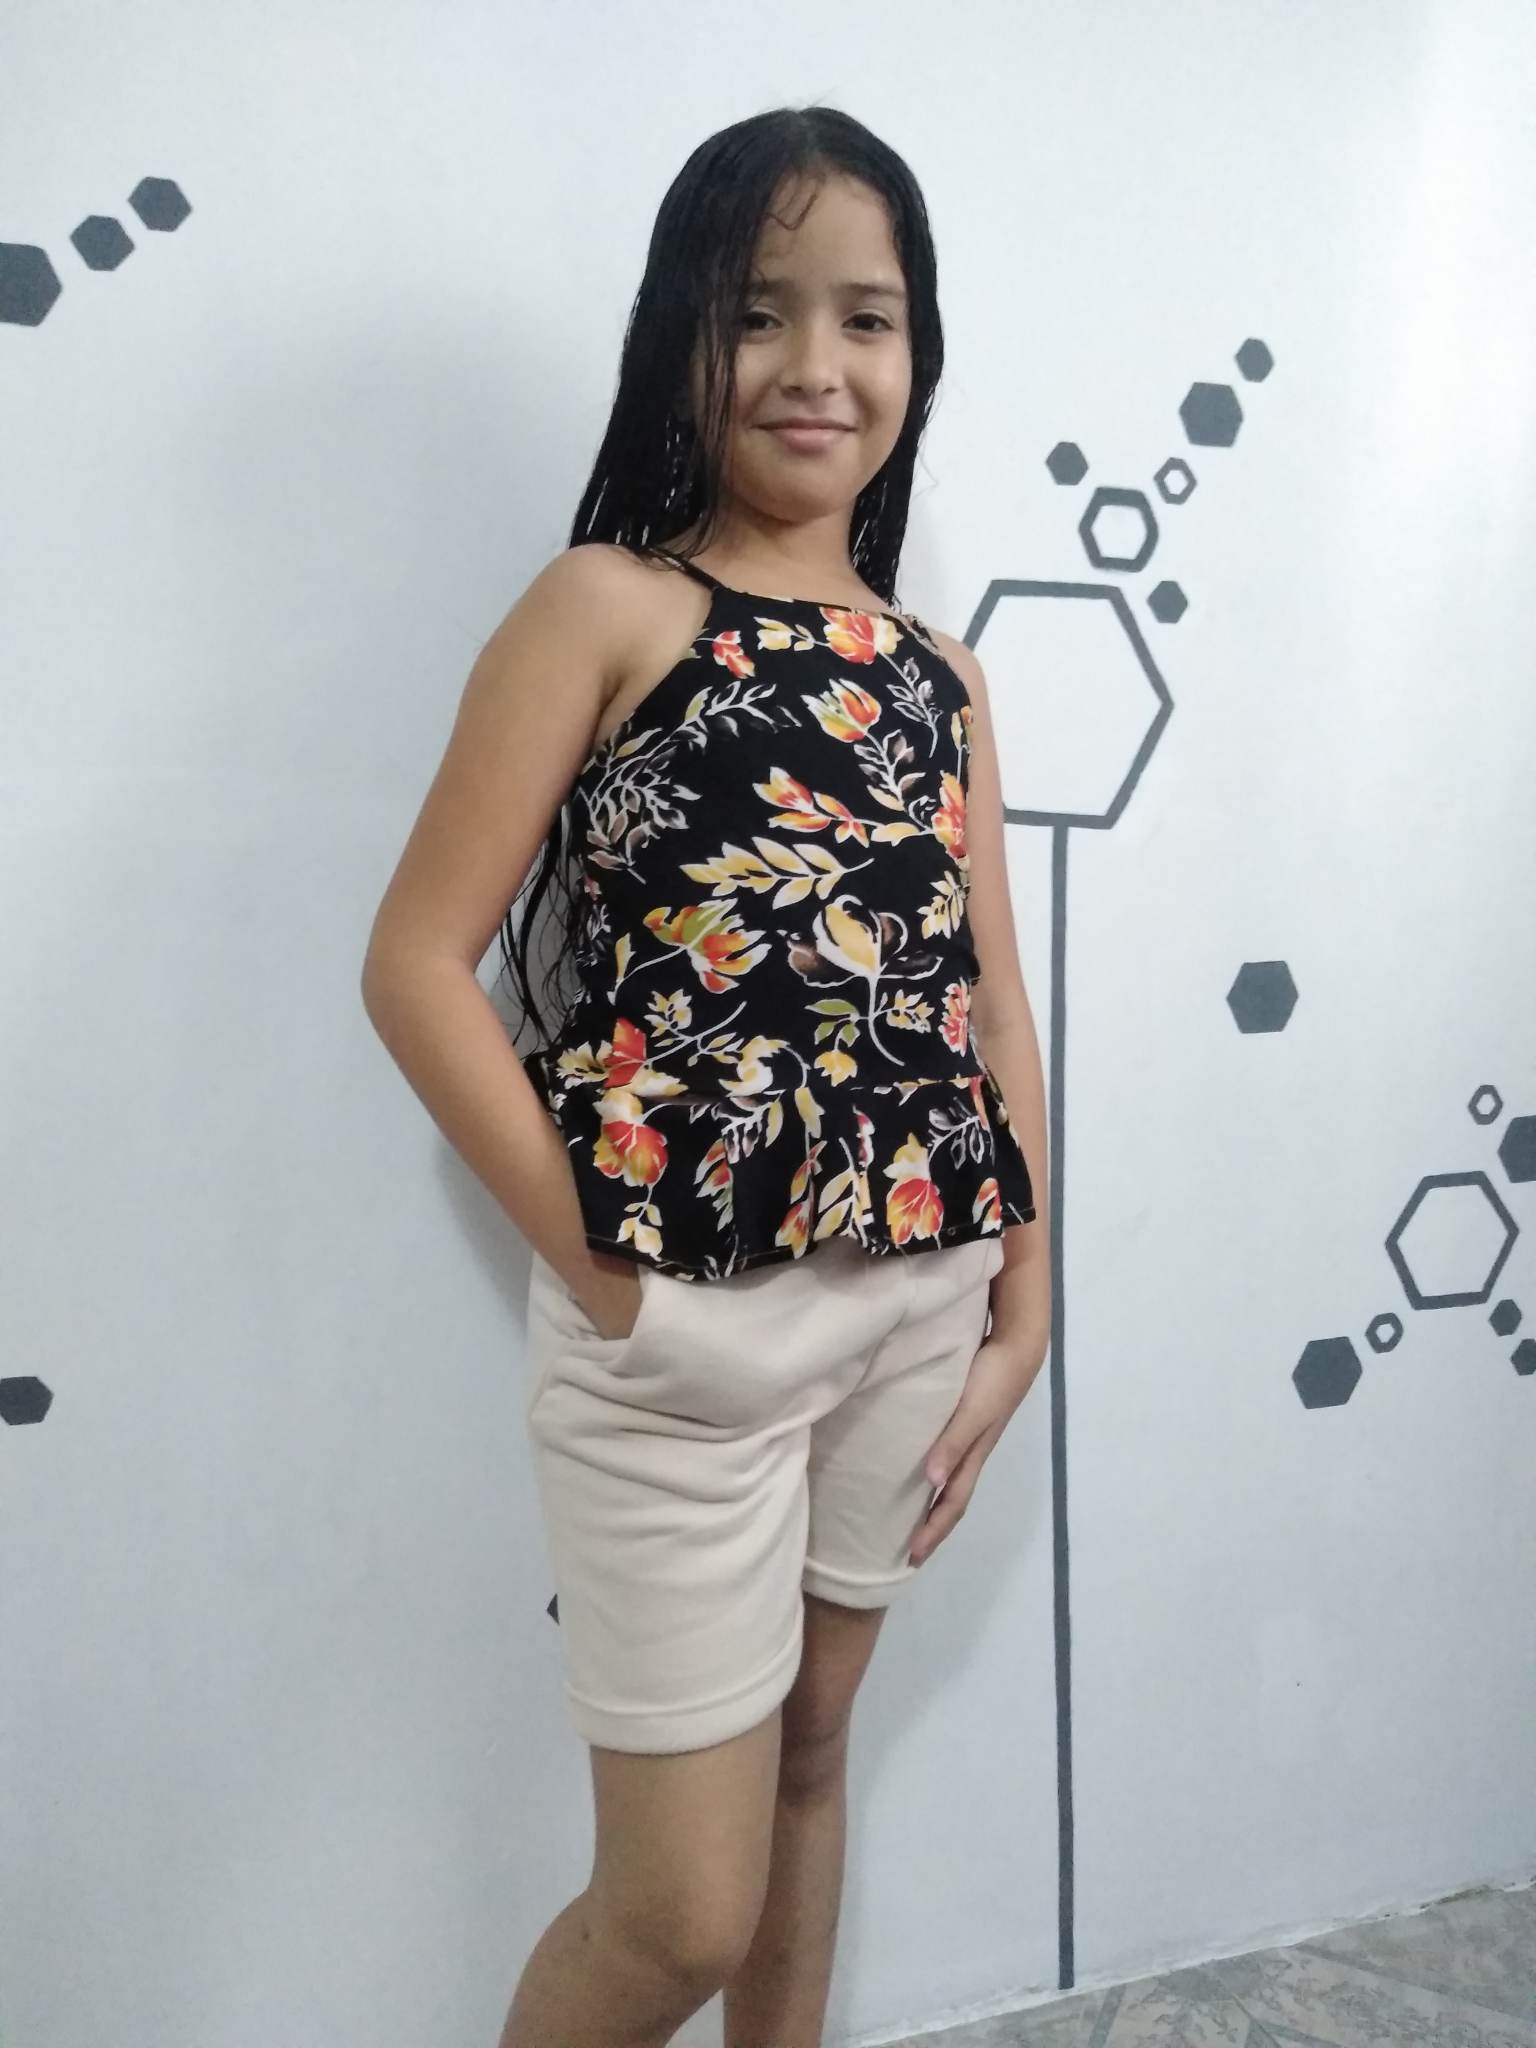
[ESP-ENG] Beautiful jumpsuit for my daughter | Hermoso Mono-Pantalón para mi hija

Friends of hive welcome once again to my blog I am happy to be here with all of you and share the ideas and creations that I have been able to experience in my life and in my home, my daughter made a sweater these days and she had scraps of fabric which I used to make a bermuda shorts for my little girl Juliet. So I proceeded to take the materials and the scraps that were left to my daughter to cut according to a measure the pieces for the pants of my little Julieth, it is good to take advantage of the scraps of fabric because with it we can do amazing things and often what we do is throw away the fabrics so I invite you if you have scraps of fabrics you can ingeniartelas and you can make useful and necessary things that you do not know you could do so let's see the step by step:
.jpg)
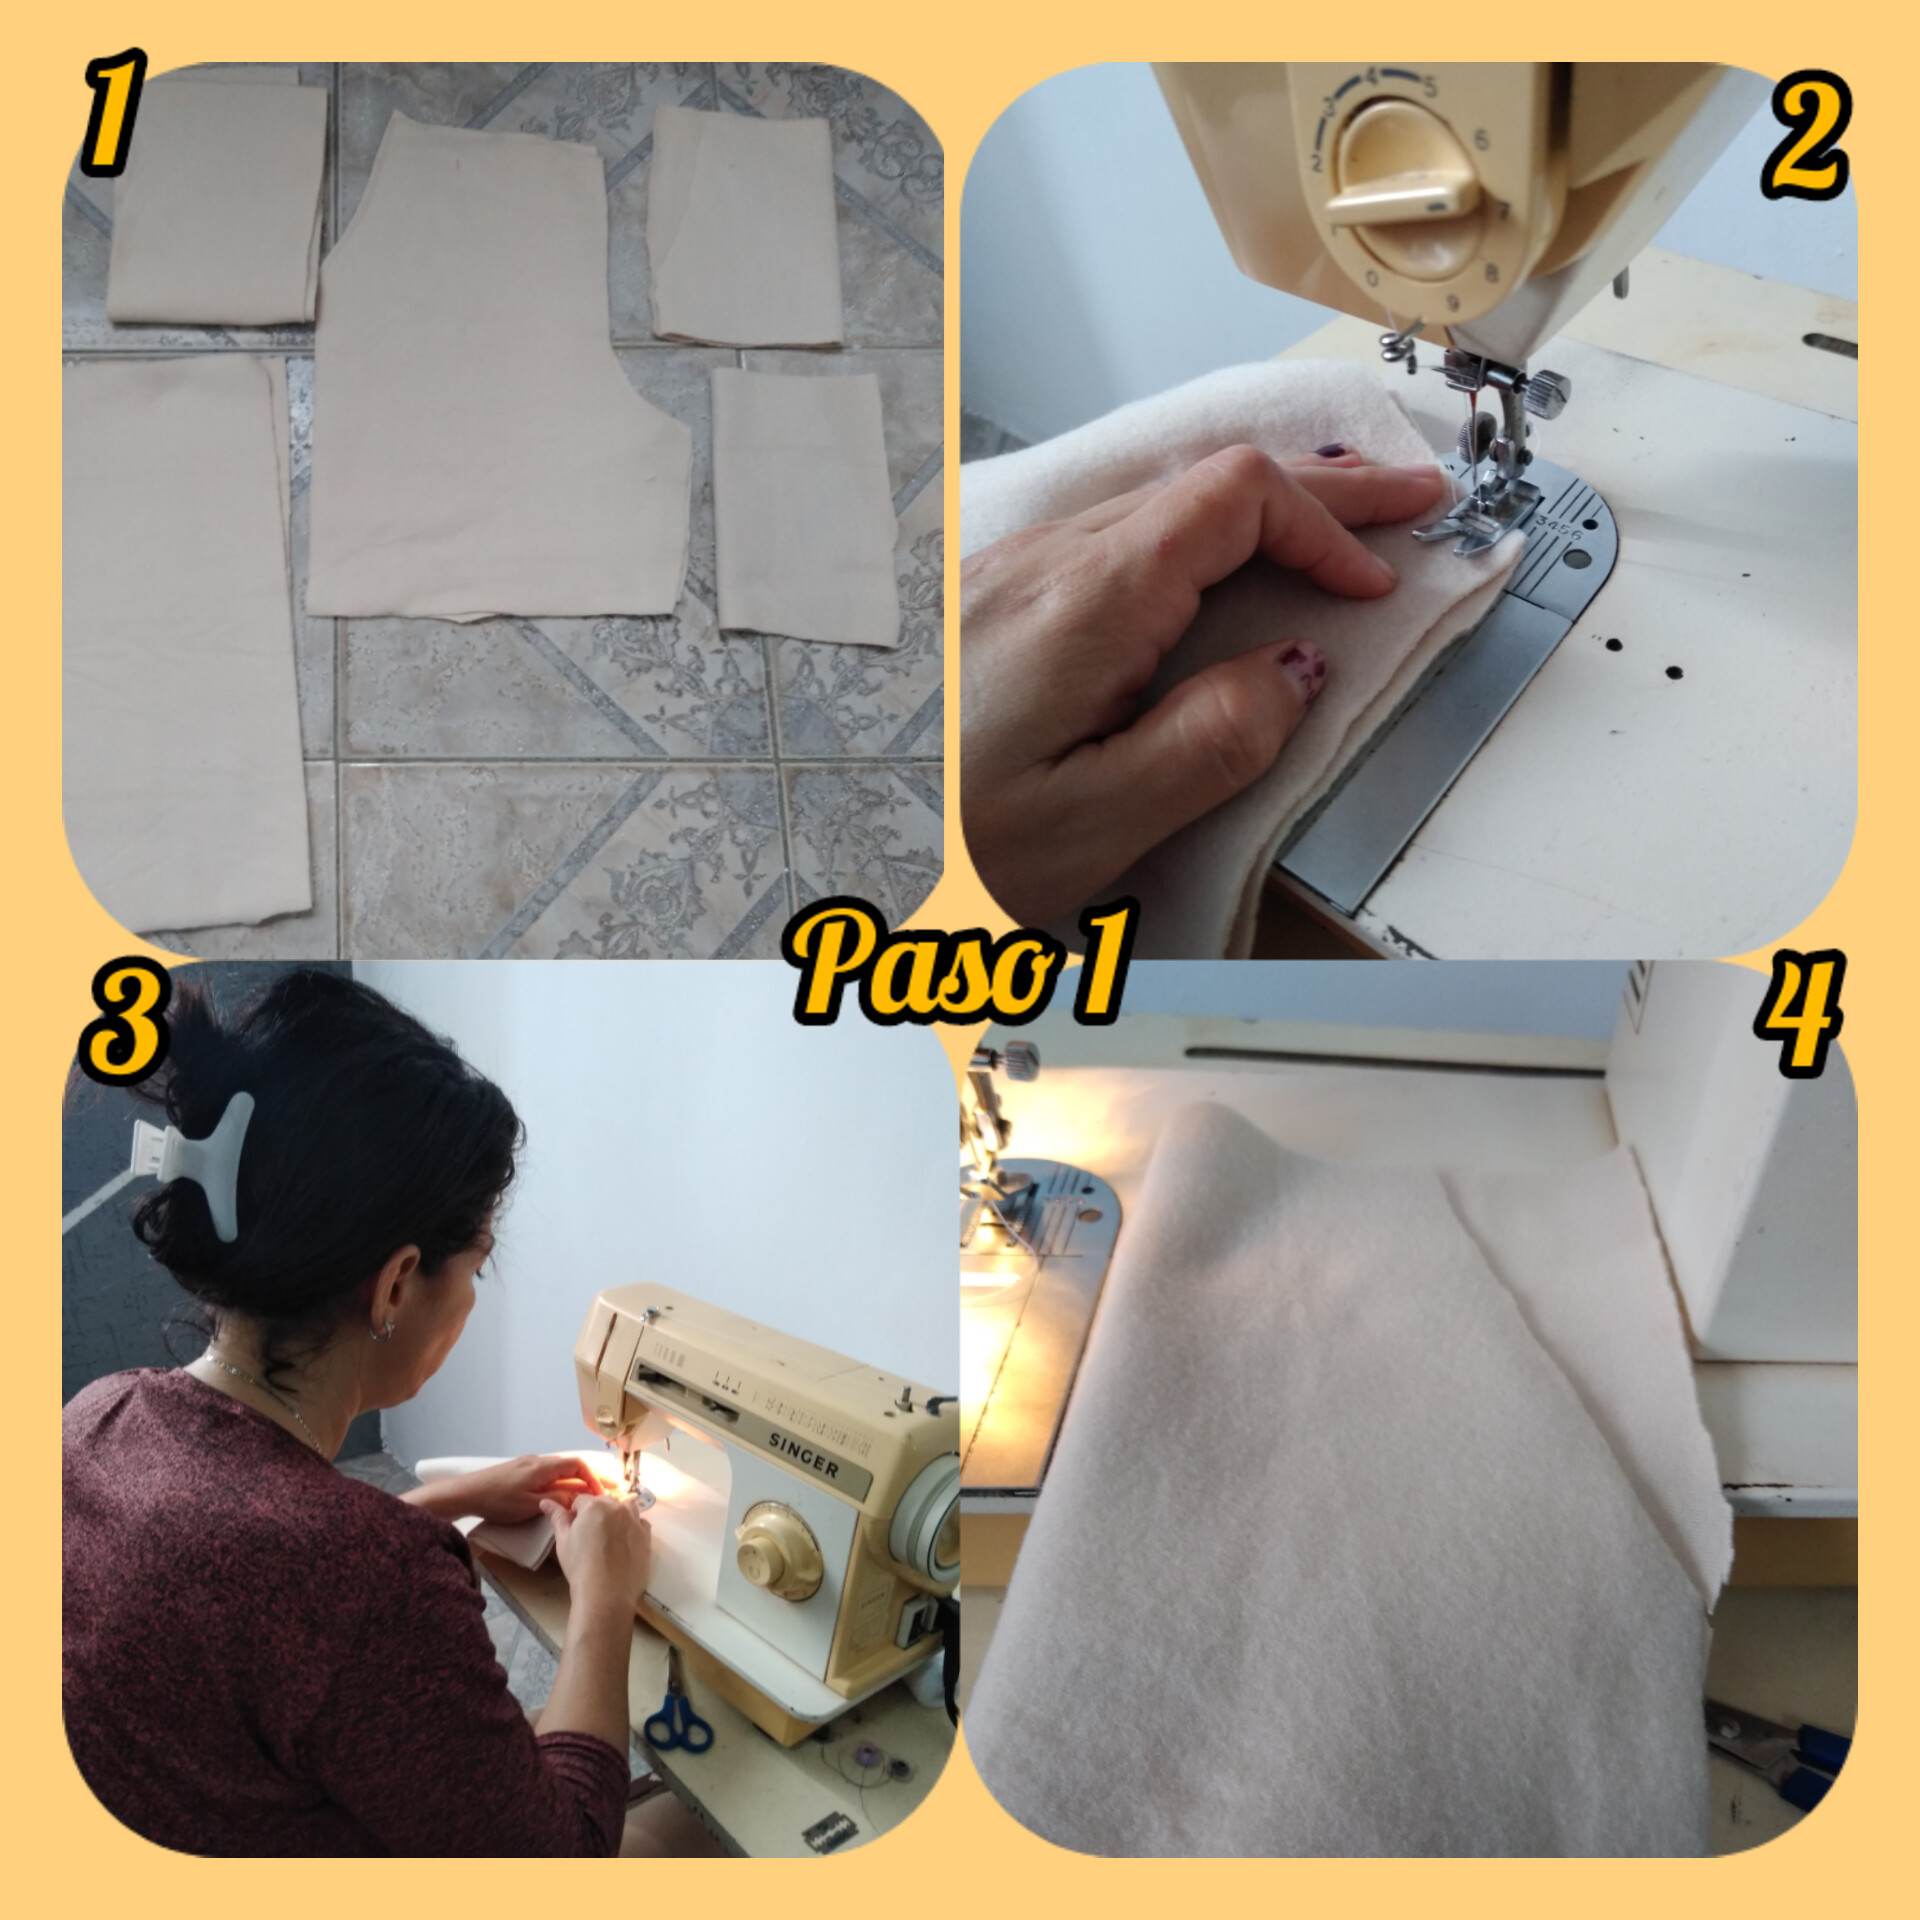
Paso 1: lo primero que haremos será cortar las piezas del pantalón cortamos la parte delantera la parte trasera la pretina Y por supuesto lo bolsillo guiándonos de una medida exacta, luego lo que seremos primeramente serán los bolsillos de nuestro hermoso pantalón coceremos la parte delantera de nuestro bolsillo procurando realizar un trabajo admirable.
Step 1: the first thing we will do will be to cut the pieces of the pants we cut the front the back the waistband and of course the pocket guiding us of an exact measurement, then what we will be first will be the pockets of our beautiful pants we will cook the front of our pocket trying to do an admirable job.
.jpg)
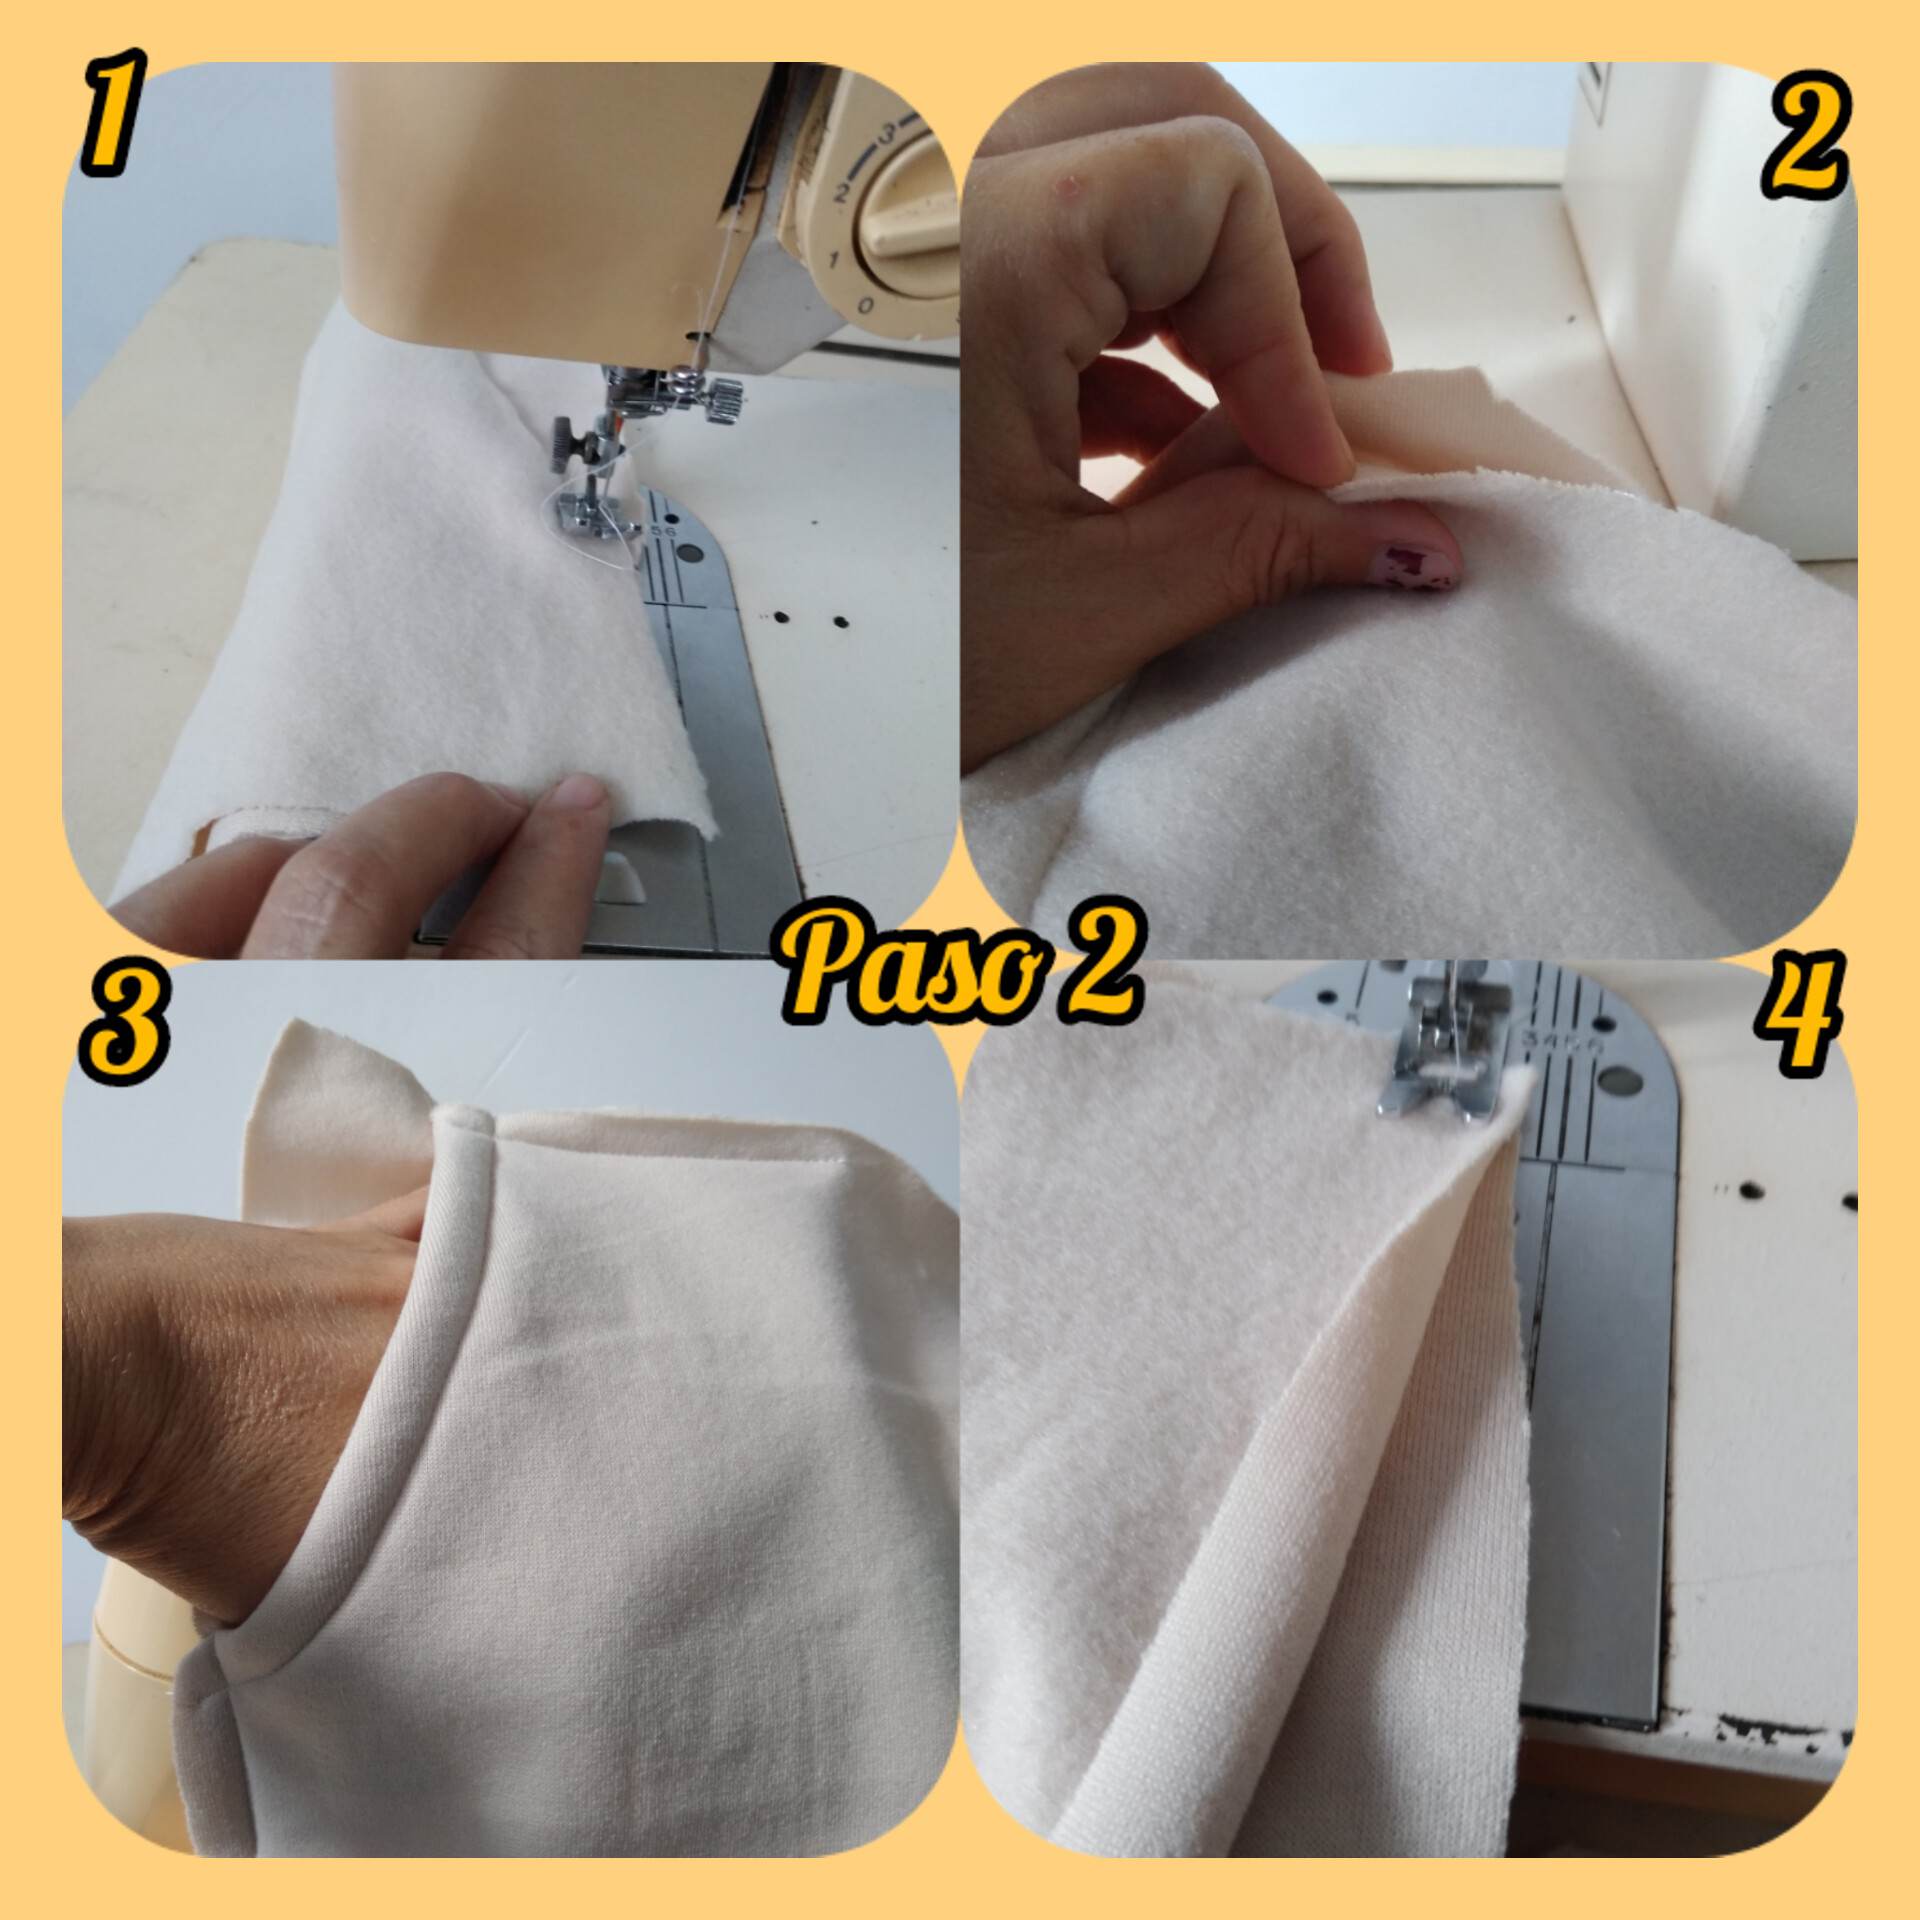
Paso 2: vamos cosiendo poco a poco nuestro bolsillo coceremos primero la parte de arriba normal pero ya luego procederemos a cocer lo que sera el ruedo de nuestro bolsillo ya implementado en el pantalón y lo haremos de manera cuidadosa, cocemos muy bien nuestro bolsillo y quedará así como la imagen lo muestra luego de haber cocido nuestro bolsillo procederemos a coser la parte trasera de nuestro pantalón aún sin unir ambas piezas. Entonces tendremos lista la parte delantera y la parte trasera de nuestro pantalón así como la imagen lo muestra.
Step 2: we will sew little by little our pocket we will first sew the normal top part but then we will proceed to sew what will be the hem of our pocket already implemented in the pants and we will do it carefully, we will sew our pocket very well and it will look like the image shows it after having sewn our pocket we will proceed to sew the back part of our pants still without joining both pieces. Then we will have ready the front and the back of our pants as shown in the picture.
.jpg)
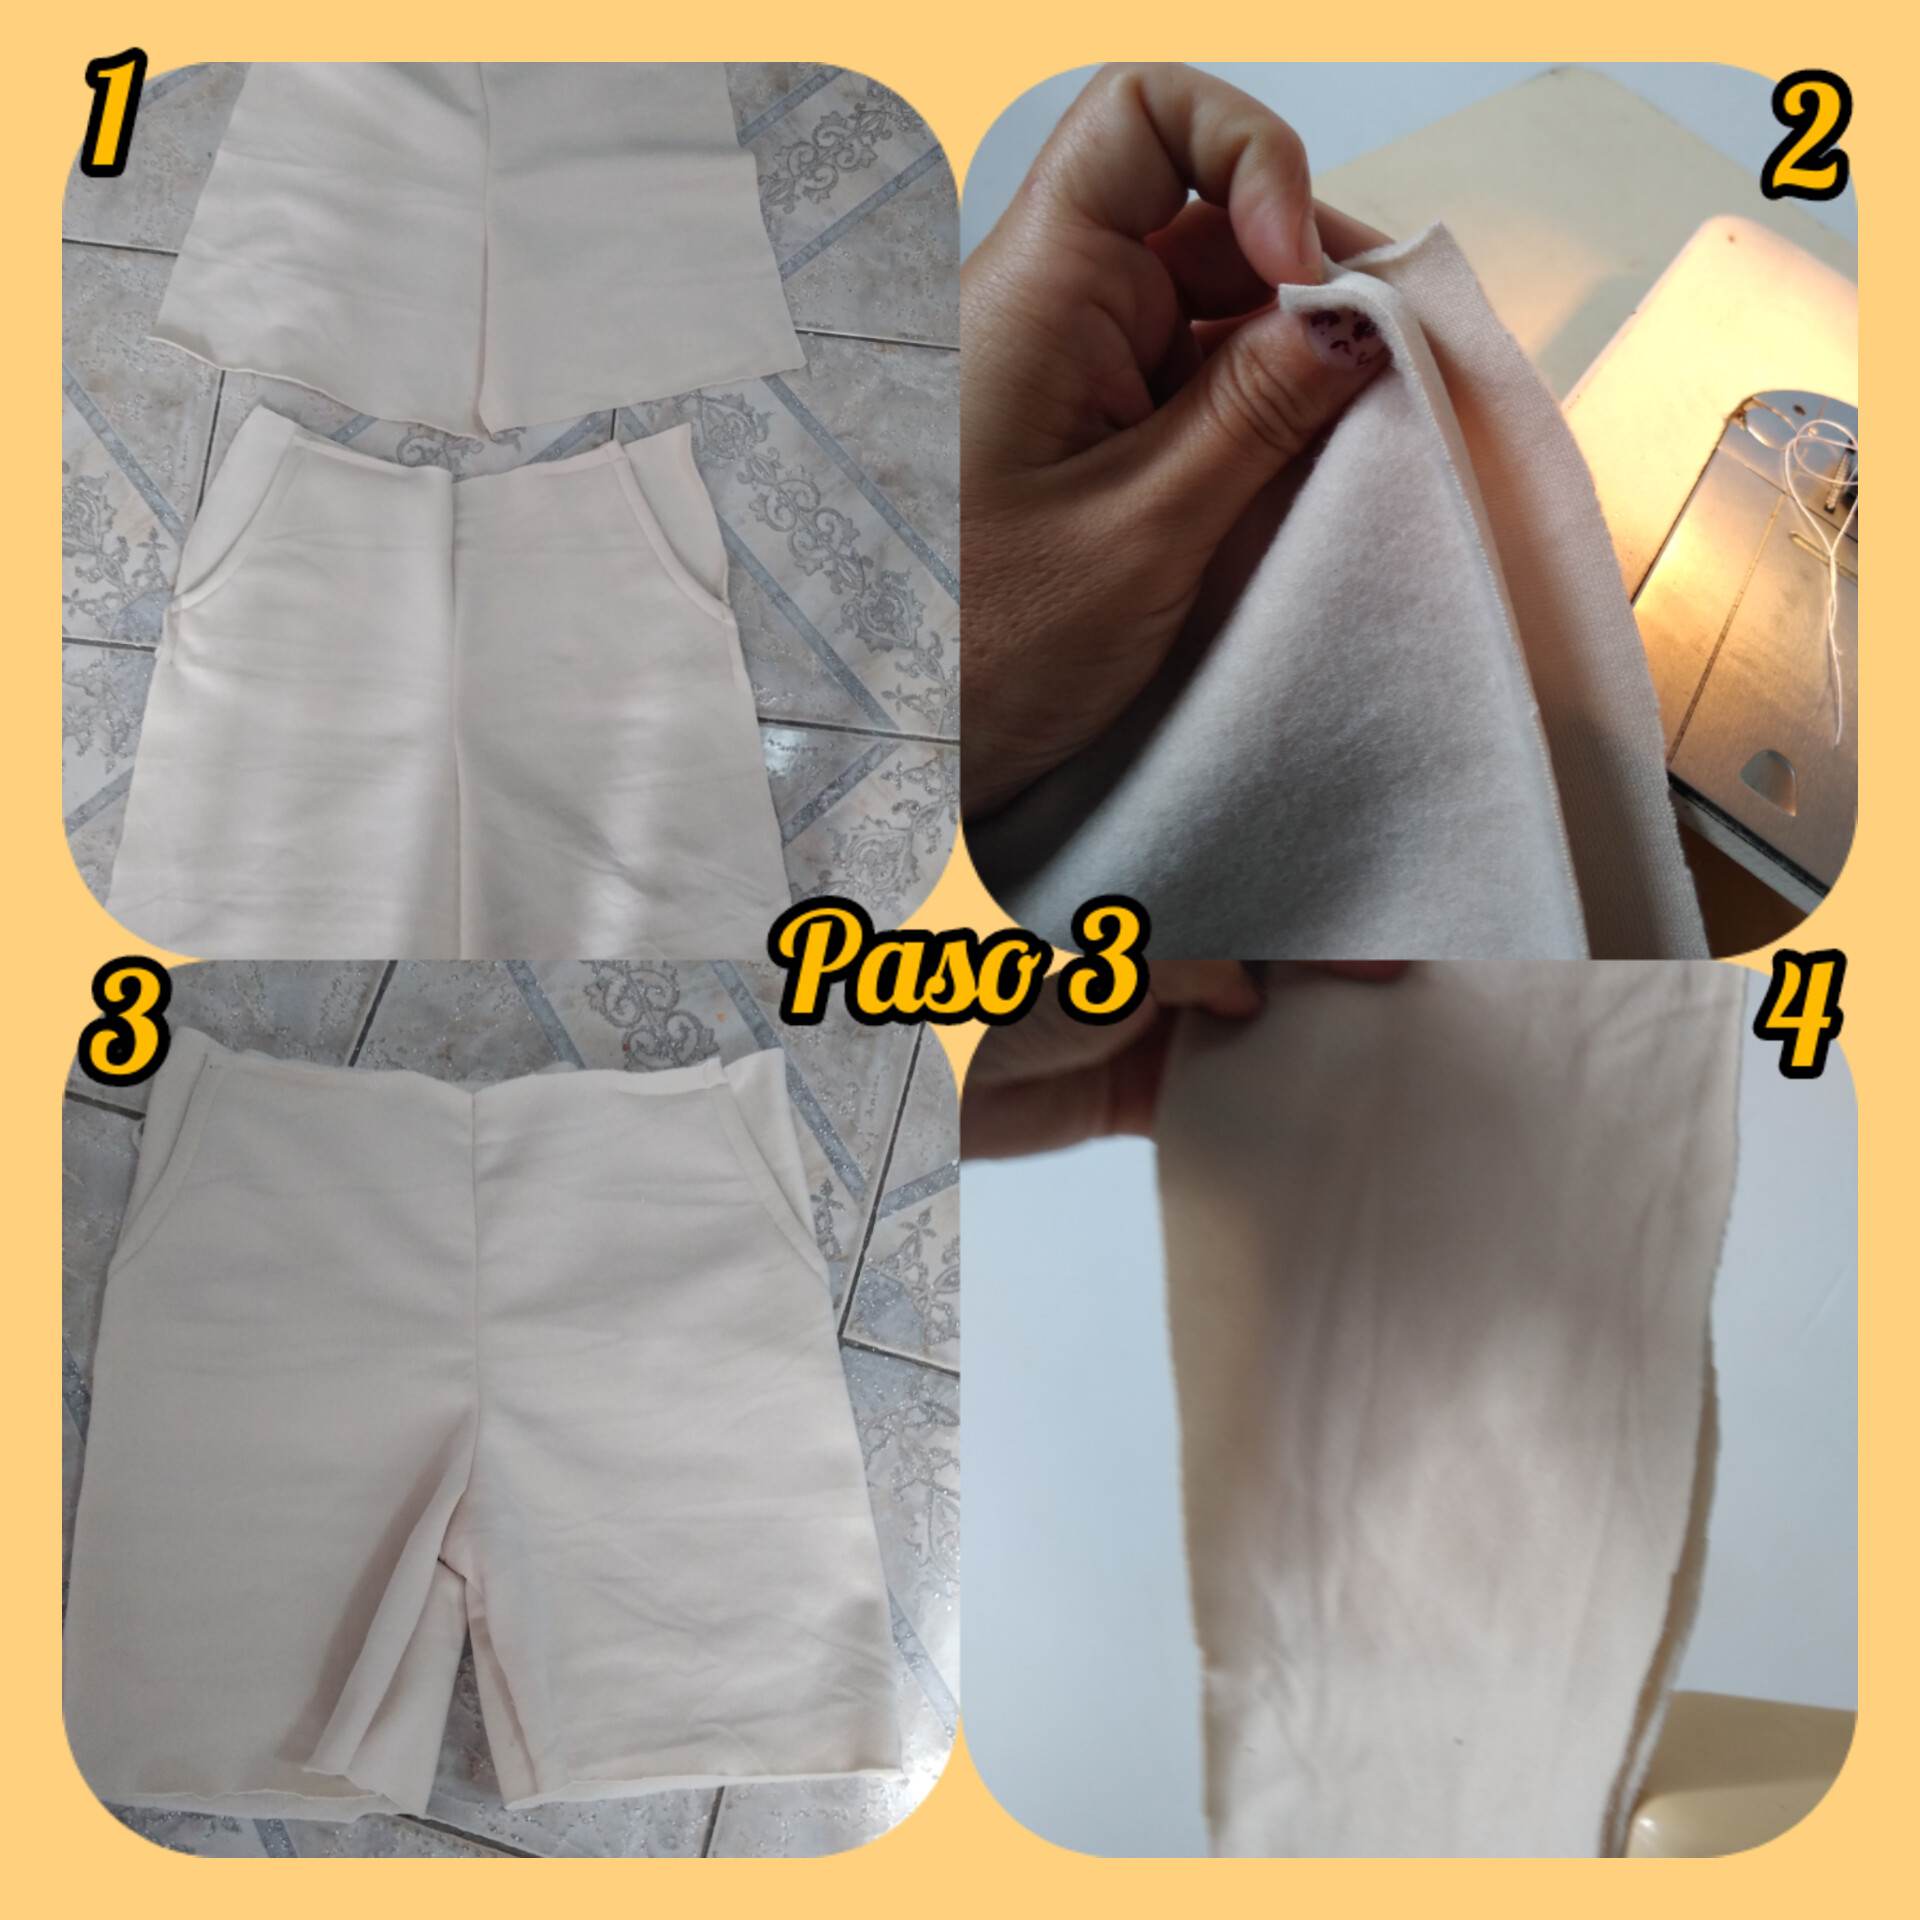
Paso 3: la imagen muestra y a la parte delantera con los bolsillos cocida y también la parte trasera lo que haremos ahora será coser y unir ambas piezas tanto la parte trasera como la parte delantera coceremos lo que será el fundillo y los laterales de nuestro hermoso shorts, luego de haber cocido la parte delantera y trasera de nuestro shorts procederemos a cocer lo que será la pretina de este hermoso pantalón.
Step 3: the image shows and the front part with the pockets cooked and also the back part what we will do now will be to sew and join both pieces both the back and the front part we will cook what will be the sleeve and the sides of our beautiful shorts, after having cooked the front and back of our shorts we will proceed to cook what will be the waistband of this beautiful pants.
.jpg)
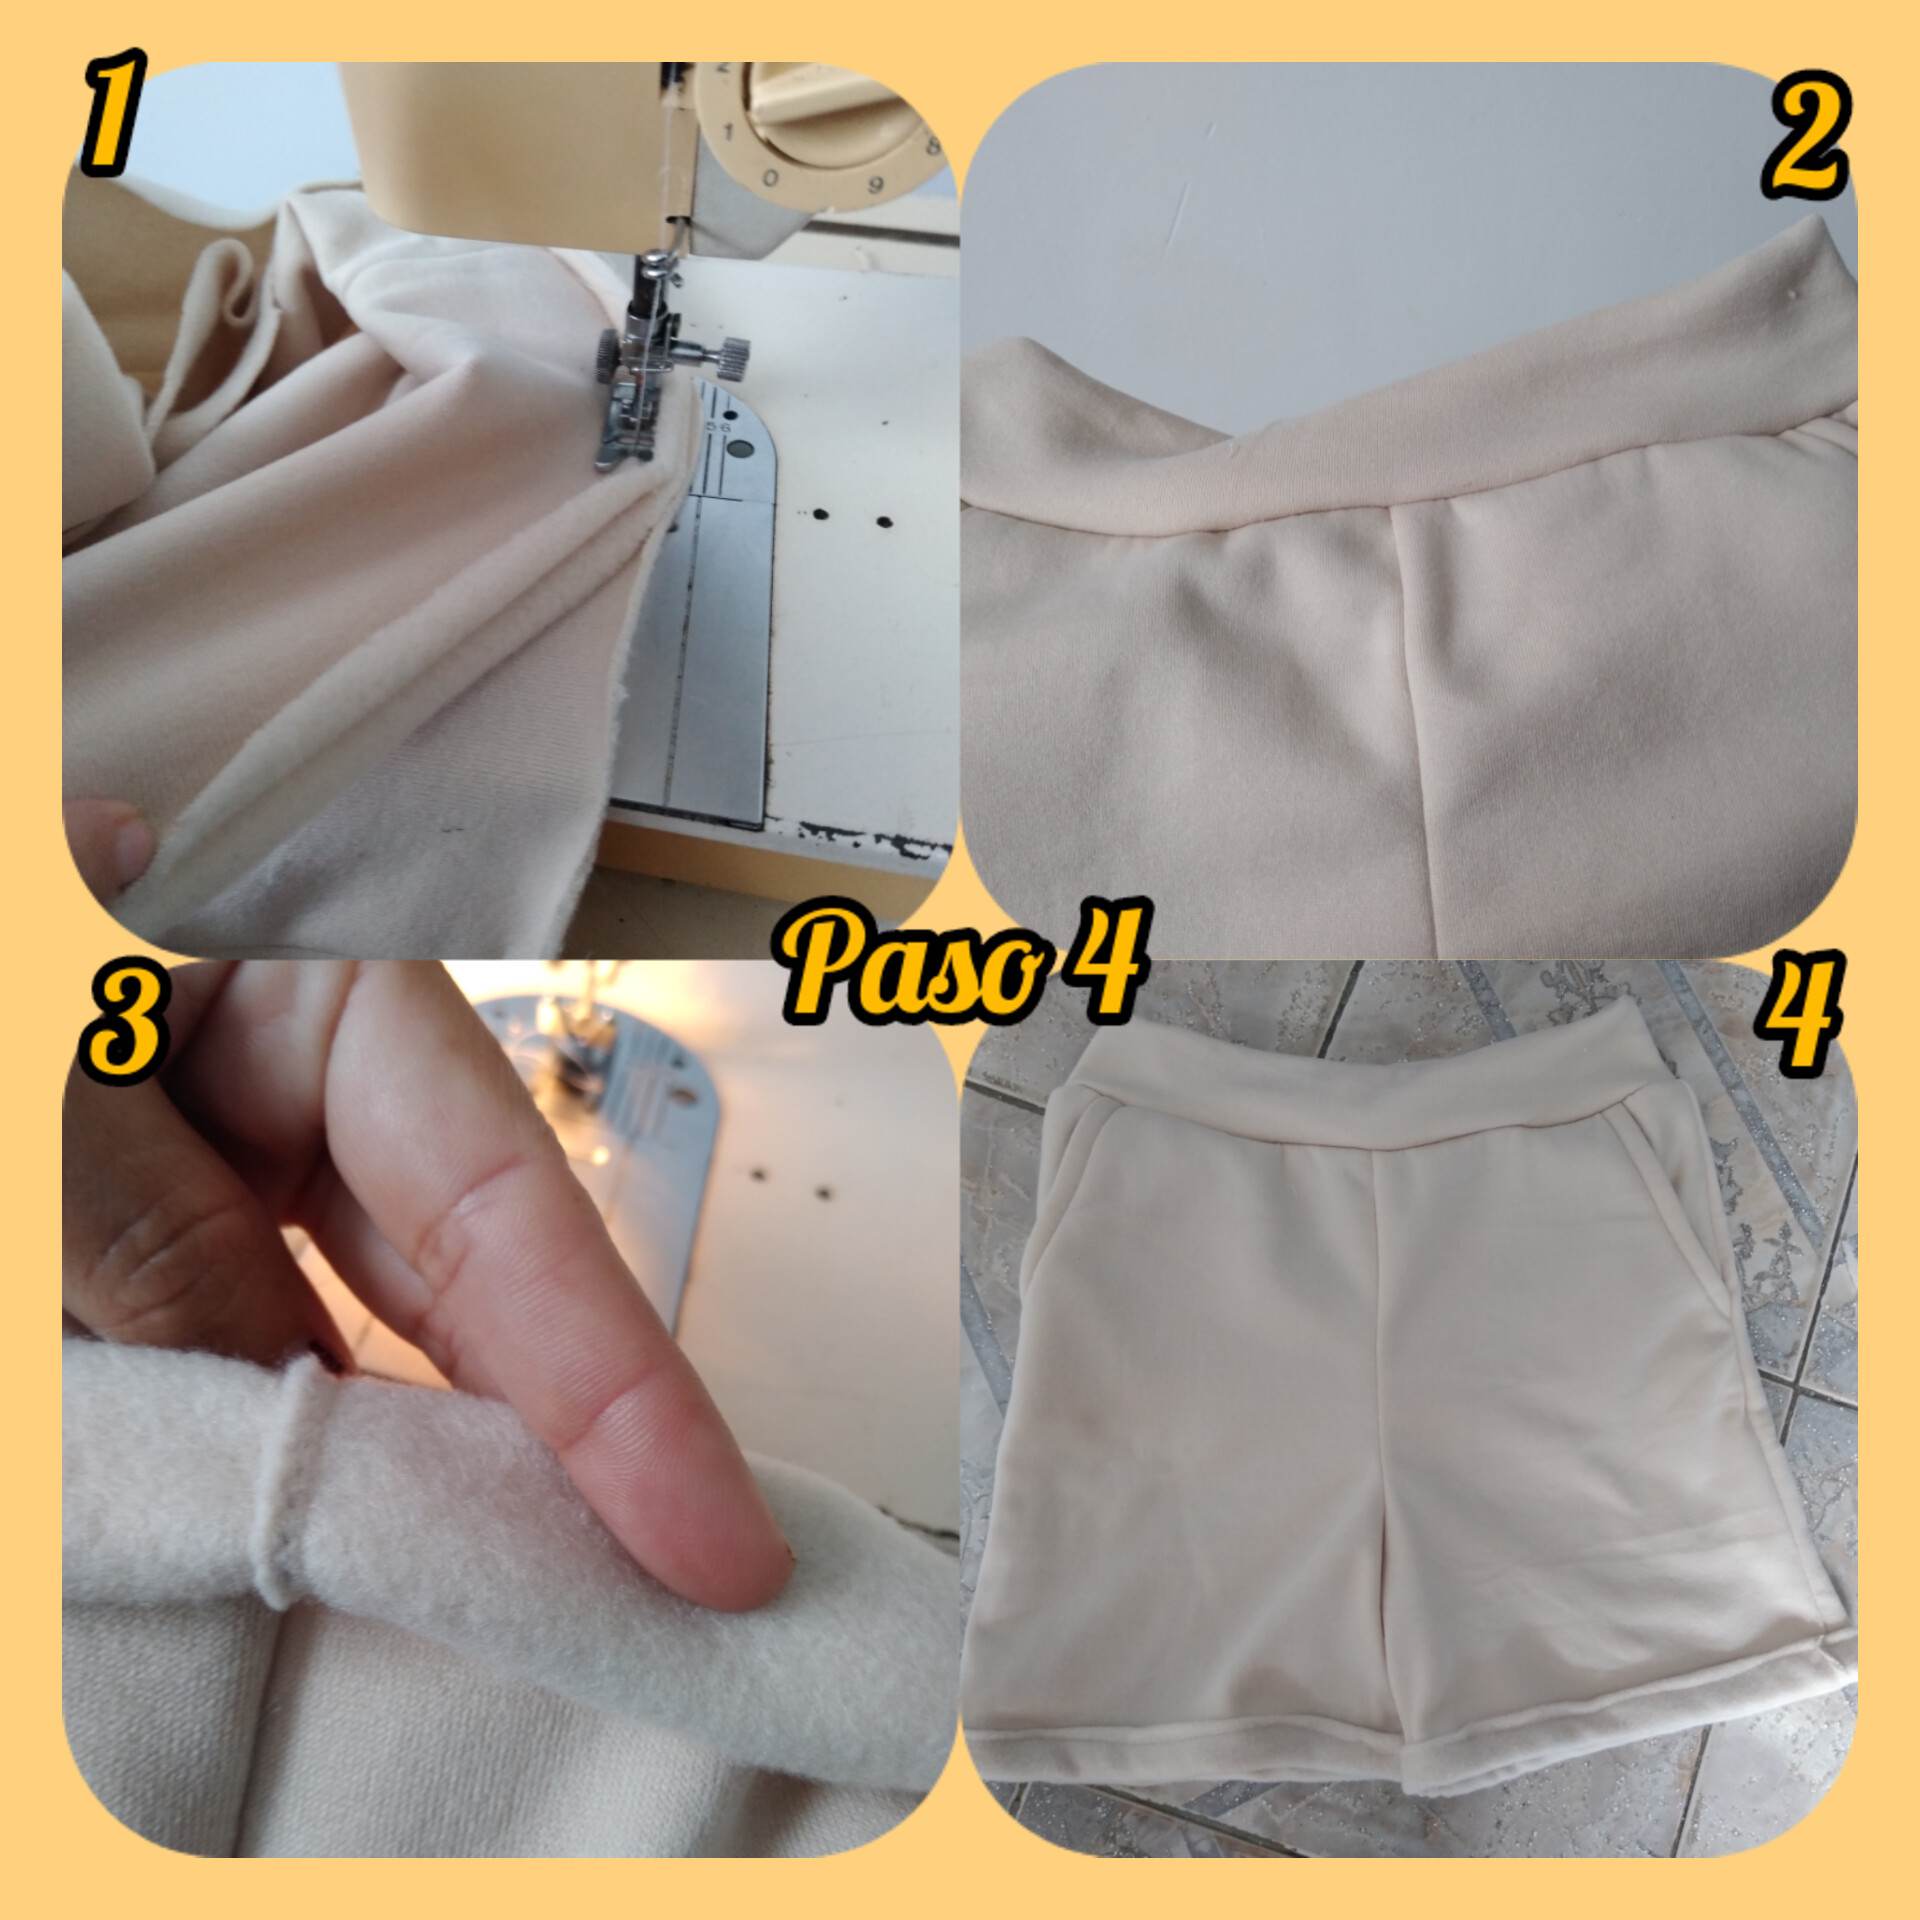
Paso 4: por último pero no menos importante coceremos la pretina a nuestro pantalón y quedará como lo muestra la imagen y para culminar coceremos el ruedo de nuestro pantalón hacia arriba para que haga un adorno mucho más llamativo y diferente al resto así que de esta manera es culminado el diseño lindo del pantalón para mi hija juliet espero que les haya gustado mucho.
Step 4: last but not least we will bake the waistband to our pants and it will be as shown in the image and to finish we will bake the hem of our pants upwards to make a much more striking and different ornament to the rest so this way is completed the cute design of the pants for my daughter juliet I hope you liked it a lot.
.jpg)
Final Result.
.jpg)

This post has been manually curated by @steemflow from Indiaunited community. Join us on our Discord Server.
Do you know that you can earn a passive income by delegating to @indiaunited. We share more than 100 % of the curation rewards with the delegators in the form of IUC tokens. HP delegators and IUC token holders also get upto 20% additional vote weight.
Here are some handy links for delegations: 100HP, 250HP, 500HP, 1000HP.
Please contribute to the community by upvoting this comment and posts made by @indiaunited.
Thank you for sharing this post on HIVE!
Your content got selected by our fellow curator semarekha & you just received a little thank you upvote from us for your great work! Your post will be featured in one of our recurring compilations which are aiming to offer you a stage to widen your audience within the DIY scene of Hive. Stay creative & HIVE ON!
Please vote for our hive witness <3
Wow this jump suit is amazing. I love the way you break down your steps on how you make it. The finished work look neat