DIY: Silvershield Bard-inspired adjustable necklace (Eng - Esp)


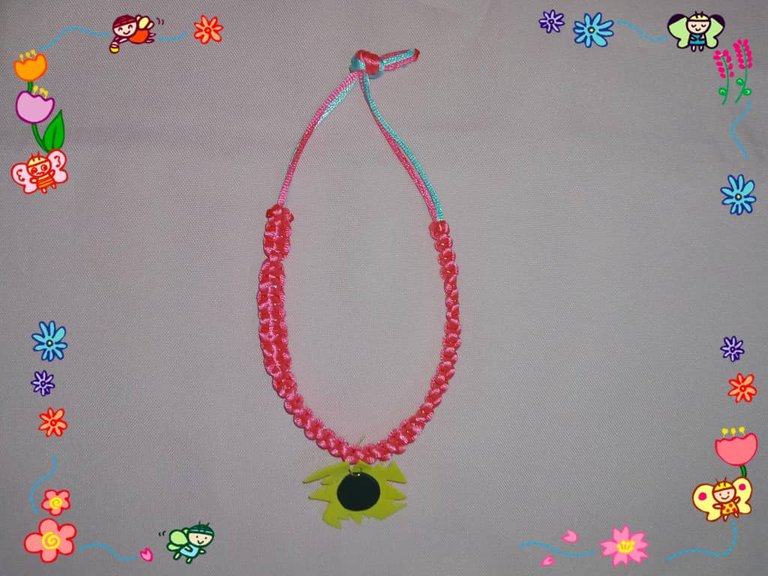
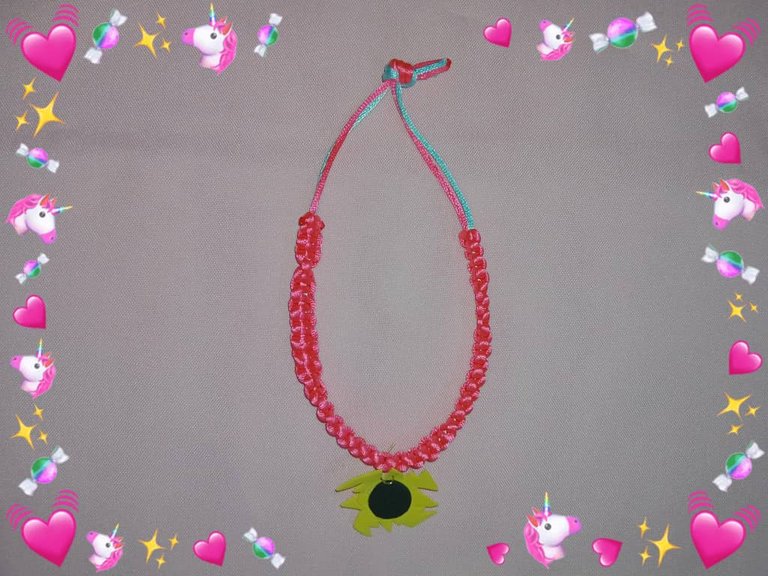
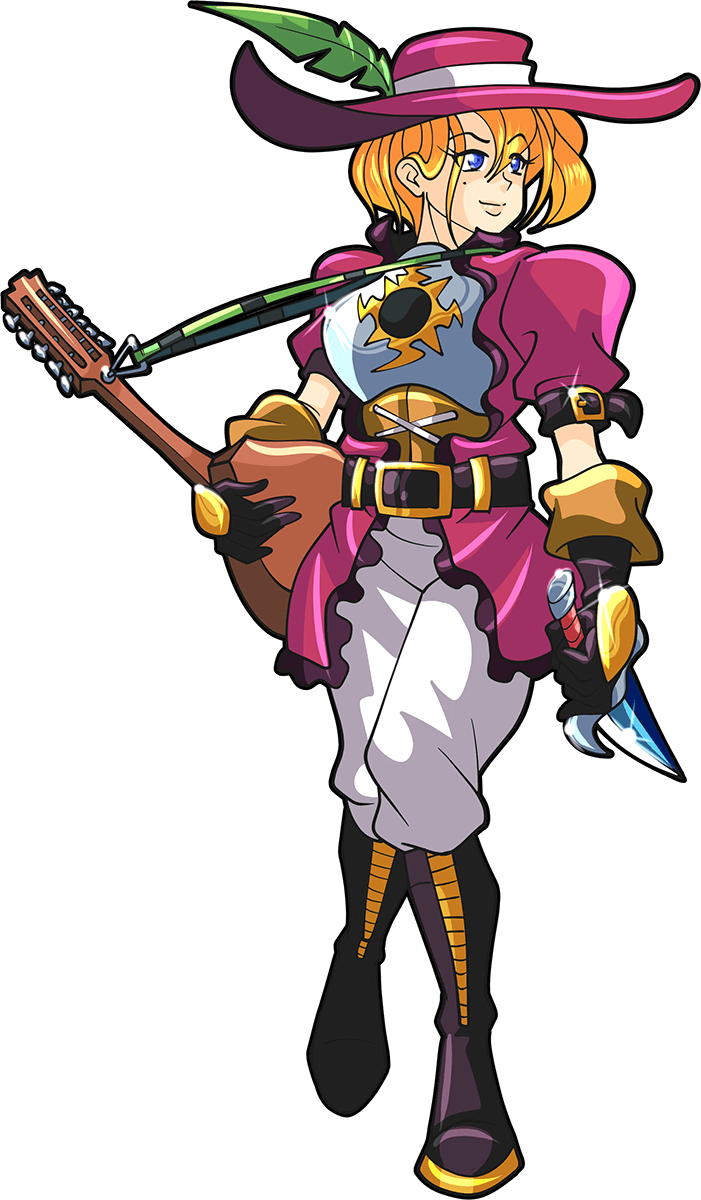
Greetings creative friends, it is a pleasure to greet you wishing you have a great weekend, this time I share the development of an adjustable necklace inspired by Silvershield Bard, a character of the Splinterlands cards who wears in his outfit fuchsia color combined with gold and blue, the necklace is fuchsia and the pendant has the gold and black colors that the character wears on the front of the blouse, it is a simple project to make, and ideal to give to our loved ones in this Christmas season, where we usually give gifts and presents to our family and friends who visit the house in commemoration of Christmas.

Saludos amigos creativos, es un placer saludarle deseando tengan un excelente fin de semana, en esta ocasión comparto la elaboración de un collar ajustable inspirado en Silvershield Bard, un personaje de las cartas de Splinterlands que lleva en su atuendo color fucsia combinado con dorado y azul, el collar es de color fucsia y el dije tiene los colores dorado y negro que lleva el personaje en en la parte delantera de la blusa, es un proyecto sencillo de hacer, e ideal para obsequiar a nuestros seres queridos en esta temporada navideña, donde acostumbramos a dar regalos y presentes a nuestros familiares y amigos que visitan la casa en la conmemoración de la Navidad.


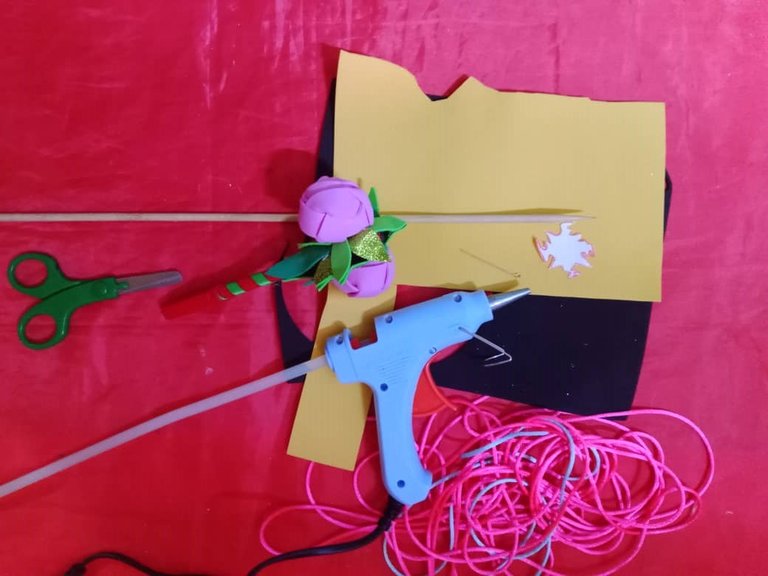
Foami (black and yellow)
Scissors
Mold
Pencil
Silicone stick
Silicone gun
Mouse tail tape (fuchsia and light blue)

Foami (negro y amarillo)
Tijera
Molde
Lápiz
Silicón en barra
Pistola de silicón
Cinta rabo de ratón (fucsia y azul claro)

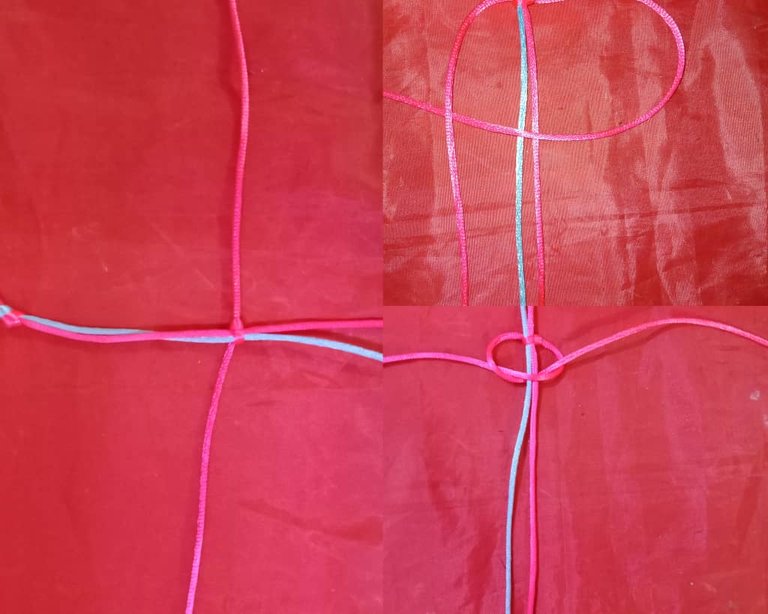
The process of elaboration is as follows, to make the necklace I took two strands of mouse tail thread, which will be the guide for weaving, then I placed a thread with twice the length of the guide threads, to start the weaving I passed the longest thread through the center and forming a kind of P, I place a thread towards the right side I pass the other side of the thread through the top and then I introduce it through the bottom, in the same way towards the opposite side, I place the thread that I used previously to pass underneath, I place it in a P shape, I passed the left side thread through the top, then through the bottom, I tightened it and in this way the flat knot is formed.

El proceso de elaboración es el siguiente, para hacer el collar tomé dos cordones de hilo rabo de ratón, que serán la guía para el tejido, luego coloqué un hilo con el doble de largo que los hilos guía, para iniciar el tejido pasé el hilo más largo por el centro y formando una especie de P, coloco un hilo hacia el lado derecho paso el otro lado del hilo por arriba y luego lo introduzco por la parte de abajo, de la misma forma hacia el lado contrario, se coloca el hilo que usé anteriormente para pasar por debajo, lo coloco en forma de P, pasé el del lado izquierdo por arriba, luego por debajo, apreté y así se va formando el nudo plano.
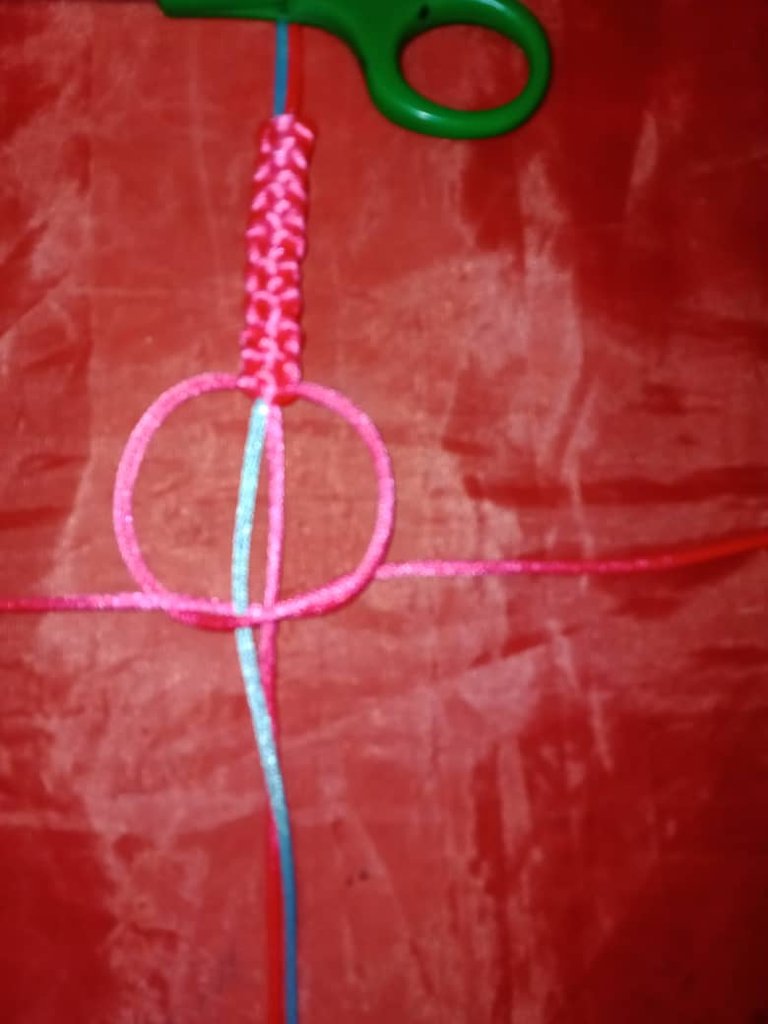
I continued weaving forming a kind of P to each side of the guide thread, tightening very well, until the guide thread is covered, at the end of the weaving I burned the ends with a lighter, then I cut the cord of the desired length, once the weaving was finished I made an adjustable knot with which you can adjust the necklace to the desired size.
Seguí tejiendo formando una una especie de P hacia cada lado del hilo guía, apretando muy bien, hasta cubrir el hilo guía, al finalizar el tejido quemé los extremos con un encendedor, luego se corté el cordón de largo deseado, ya terminado el tejido hice un nudo ajustable con el cual puedes ajustar el collar a la medida deseada.
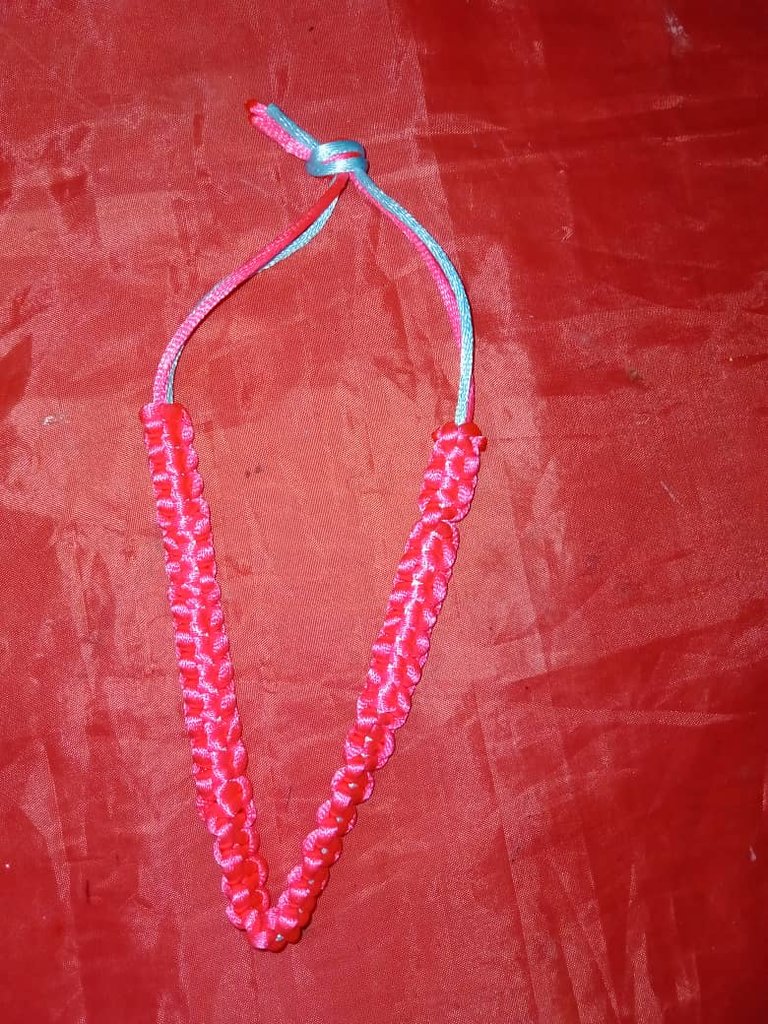
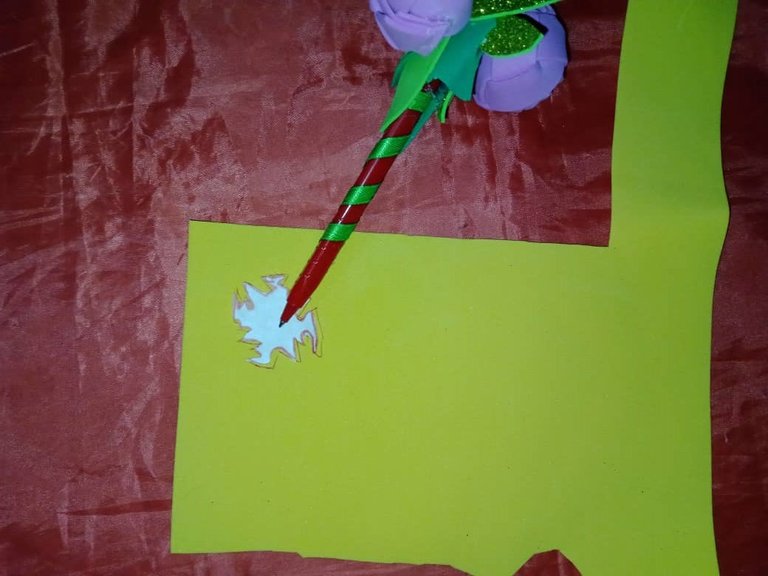
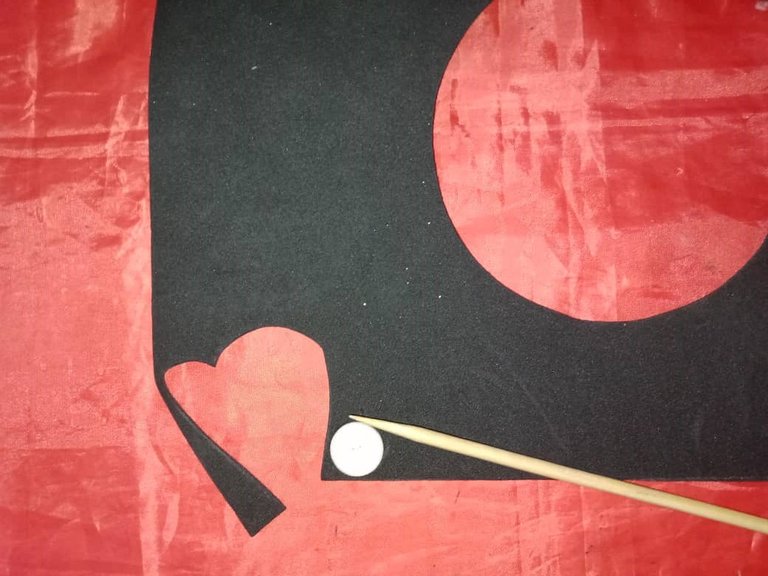
With the necklace finished, the next step was to make the pendant, for this I marked the figure that has the character in the center in yellow, then I cut, to make the black circle I used a button as a mold, I marked it with a toothpick and cut.
Con el collar terminado, el siguiente paso fue hacer el dije, para ello marqué la figura que tiene el personaje en el centro en color amarillo, luego corté, para hacer el círculo negro utilicé como molde un botón marqué con un palillo de altura y corté.
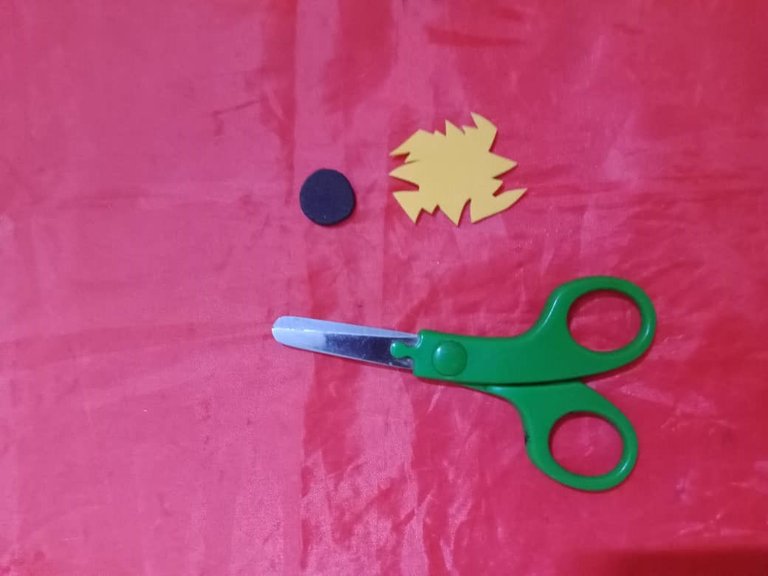
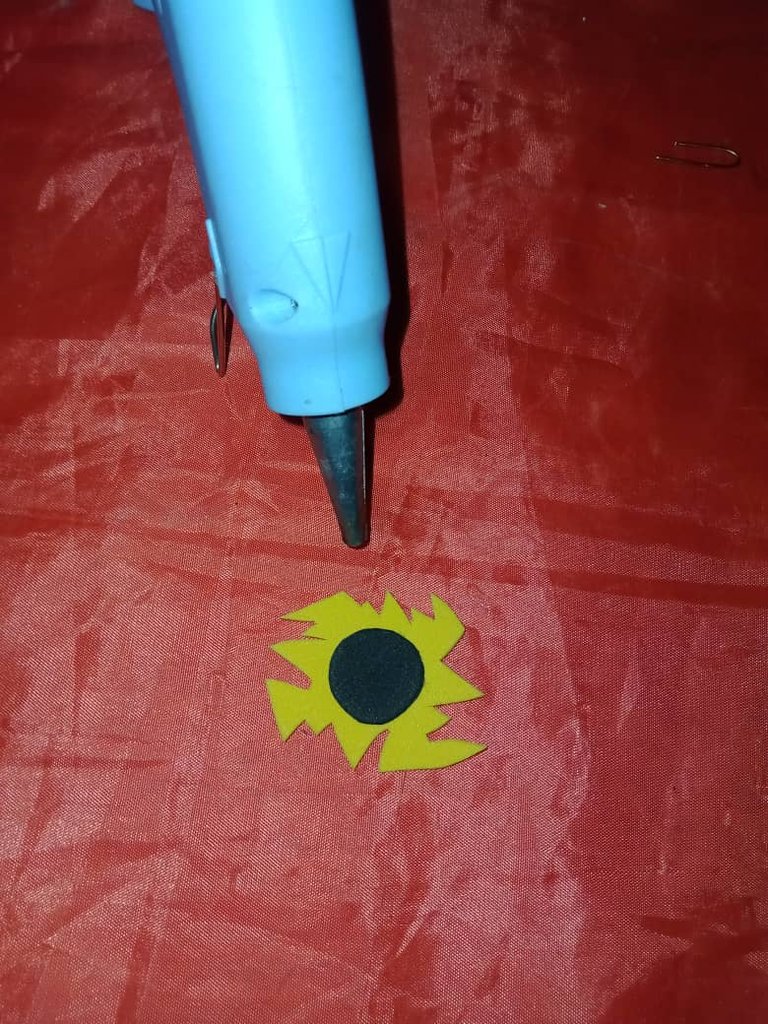
Then I added hot silicone to the black circle and glued it in the central part of the yellow figure.
Luego agregué silicón caliente en el círculo negro y lo pegué en la parte central de la figura amarilla.
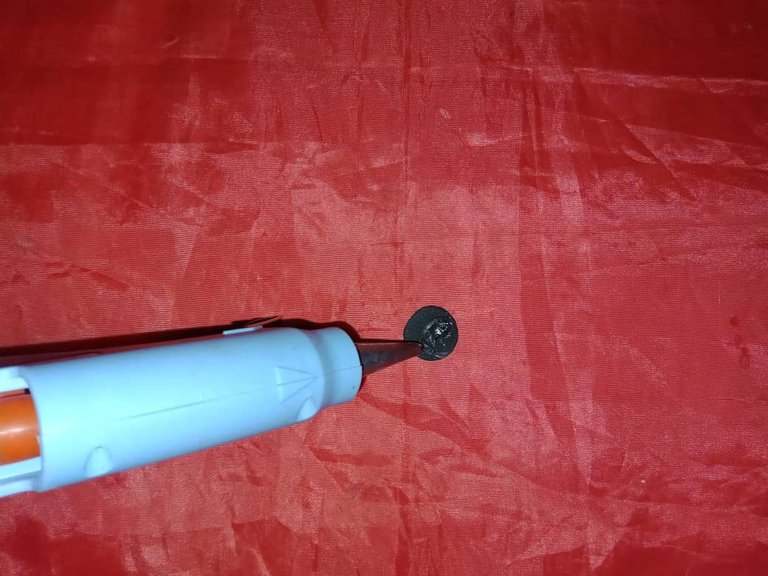
To make the pendant of the pendant to the necklace I used a toothpick height to give a U shape to the jewelry pin and removed the top circle.
Para hacer el colgadero del dije al collar utilicé un palillo de altura para darle forma de U al pin de joyería y retiré el círculo superior.
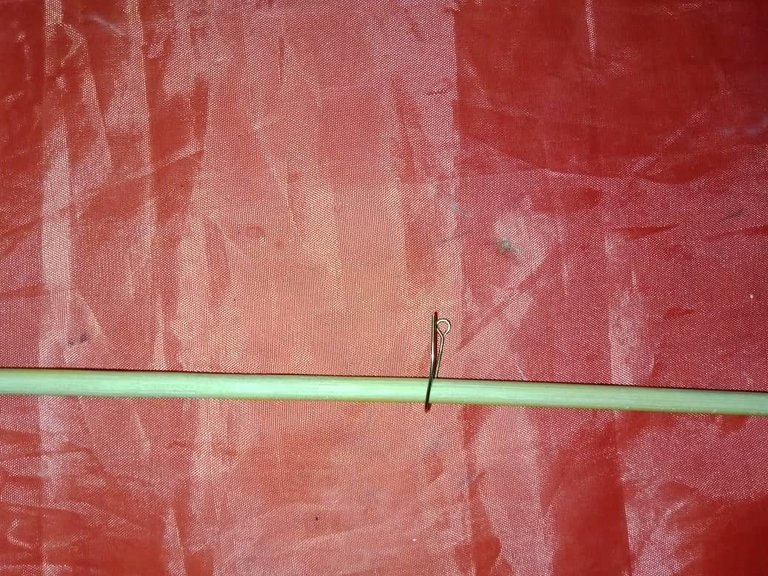
The last step was to place the jewelry pin on the pendant very carefully, I made a small hole in the yellow part, then I inserted it in the central part of the necklace and pressed it with a scissors and this is the end of a beautiful necklace inspired by the character Silvershield Bard.
El último paso fue colocar el pin de joyería en el dije con mucho cuidado, hice un pequeño orificio en la parte amarilla, luego introduje este en la parte central del collar presioné con una tijera y así está terminado un hermoso collar inspirado en el personaje Silvershield Bard
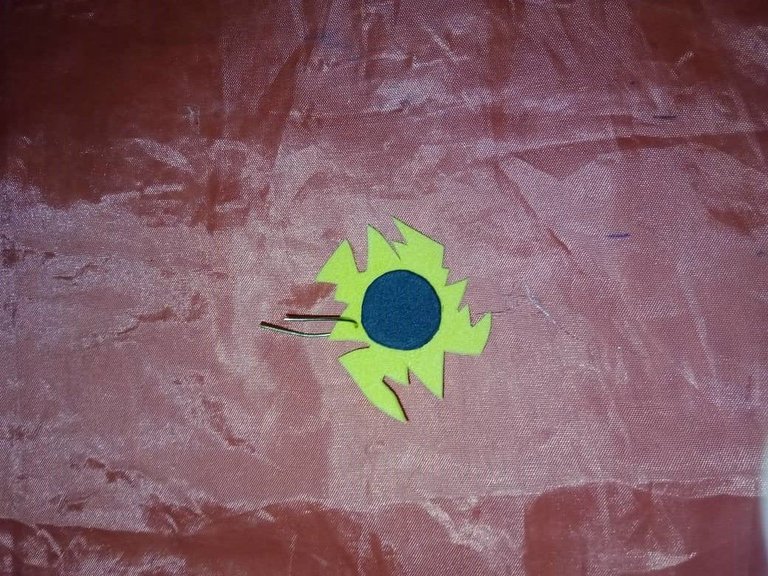

This type of projects are really easy to make and as I mentioned before, they are ideal for gifts during the Christmas holidays, you can also combine different colors according to the taste of each person, the pendant has a beautiful yellow color that can be replaced by gold and thus add a lot of shine, I hope you find it useful.

Este tipo de proyectos son realmente sencillos de hacer y como lo mencioné anteriormente ideales para obsequiar en estas festividades navideñas, se pueden combinar también diferentes colores de acuerdo al gusto de cada persona, el dije tiene un hermoso color amarillo que se puede sustituir por dorado y así agregar mucho brillo, espero les sea de utilidad.


Hasta luego!

Translated with https://www.deepl.com/translator
              All images are my own, captured by a Síragon LC-3000 camera. Dividers courtesy of kattycrochet.


   Todas las imágenes son de mi autoría, capturadas por una cámara Síragon LC-3000. Divisores cortesía de kattycrochet.
Thank you very much.
Thanks for sharing! - @isaria

Thank you very much.
Have a great week!