DIY: Beautiful pink and turquoise top for my niece (Eng -Esp)
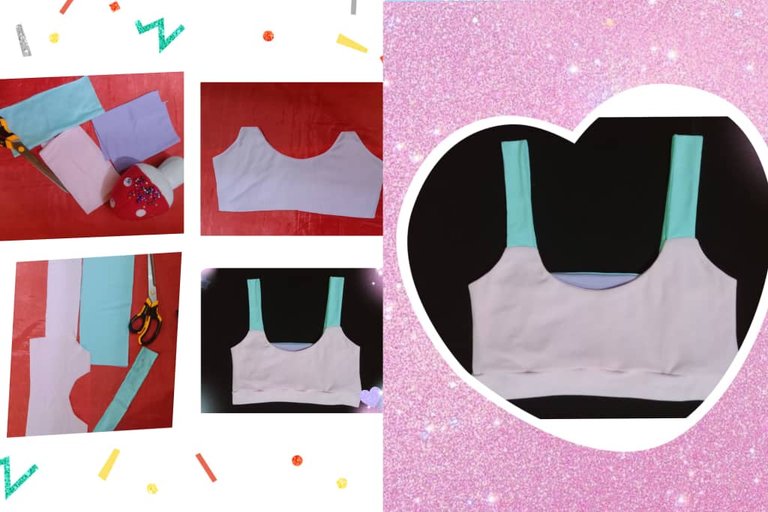

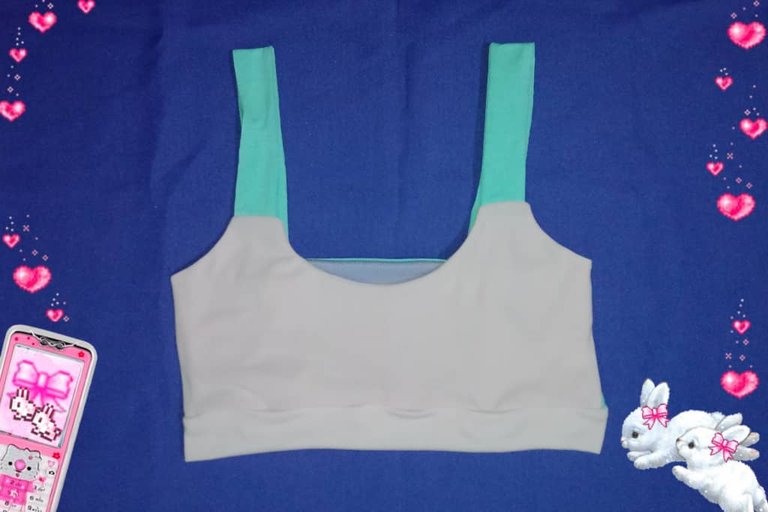
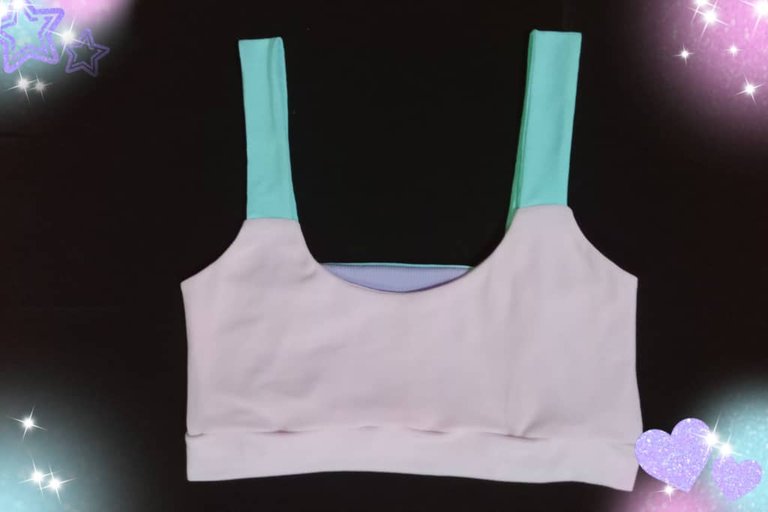
Greetings Hivediy community and artisan friends, I wish you are enjoying good health and have an excellent and restful weekend, this time I share the elaboration of a beautiful top for my niece that combines the colors turquoise and pink on the front, lilac and turquoise on the back, it was a suggestion of my niece to combine in a garment some of her favorite colors.

Saludos comunidad Hivediy y amigos artesanos, deseo se encuentren disfrutando de buena salud y tengan un excelente y reparador fin de semana, en esta ocasión comparto la elaboración de un hermoso top para mi sobrina que combina los colores turquesa y rosa en la parte delantera, en el posterior lila y turquesa, fue una sugerencia de mi sobrina para combinar en una prenda algunos de sus colores favoritos.

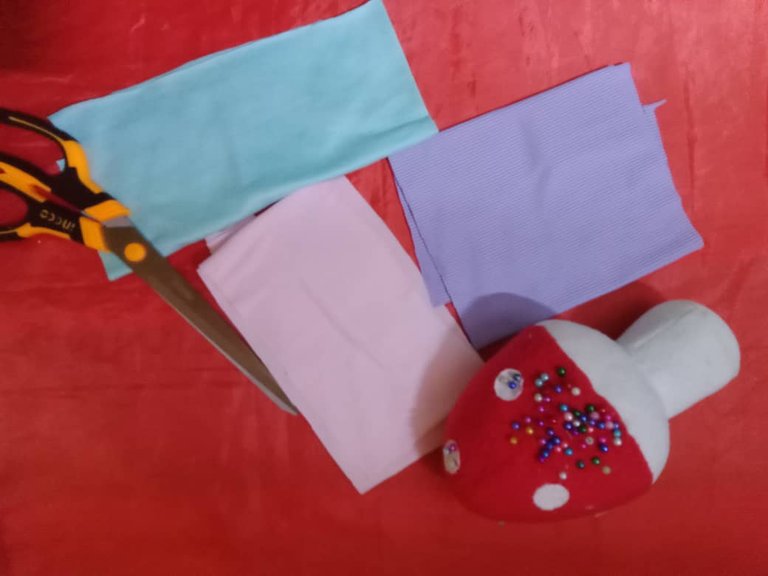
The materials used were:
Fabric micro 180 (turquoise and pink)
rib fabric (lilac)
Pins
Scissors
Chalk
Stitching machine
Los materiales usados fueron:
Tela micro 180 (turquesa y rosa)
tela rib (lila)
Alfileres
Tijera
Tiza
Máquina de coser

Elaboration
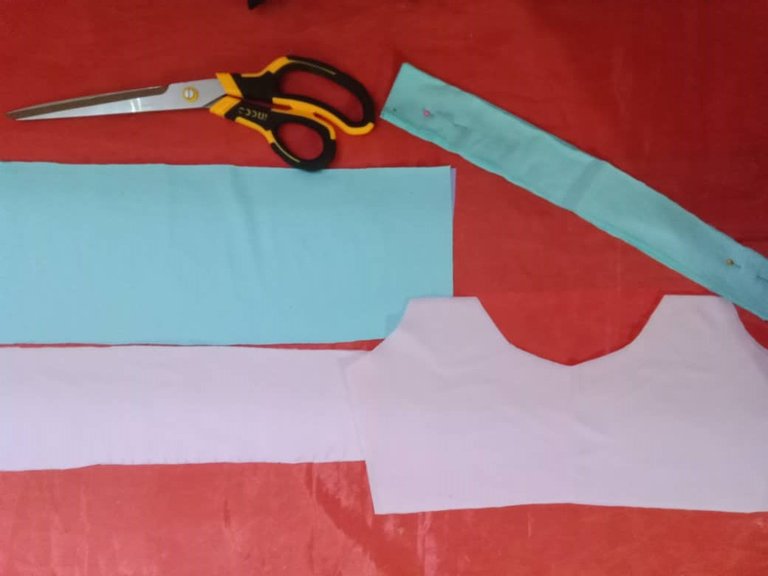
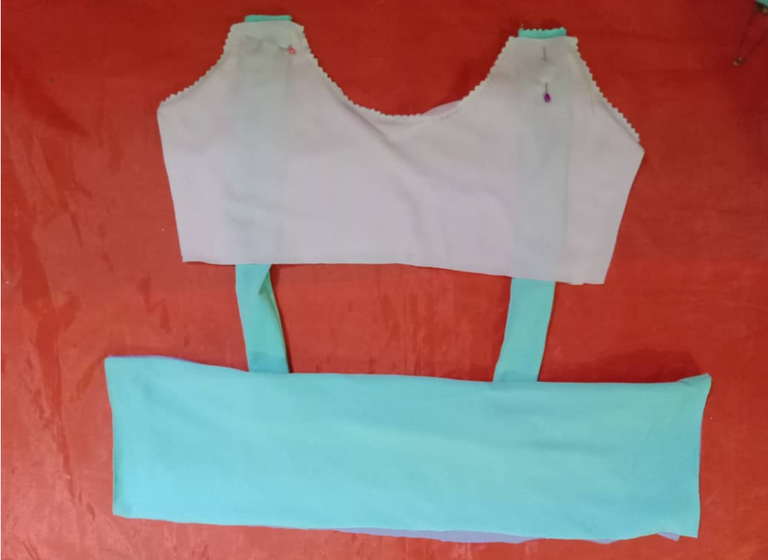
The first step was to mark and cut the pieces of the top; front, back, sash and straps, as I used the embonado technique I cut two front and two back pieces.
Elaboración
El primer paso fue marcar y cortar las piezas del top; delantero, trasero, fajín y tiras, como usé la técnica de embonado corté dos piezas delanteras y dos posteriores.
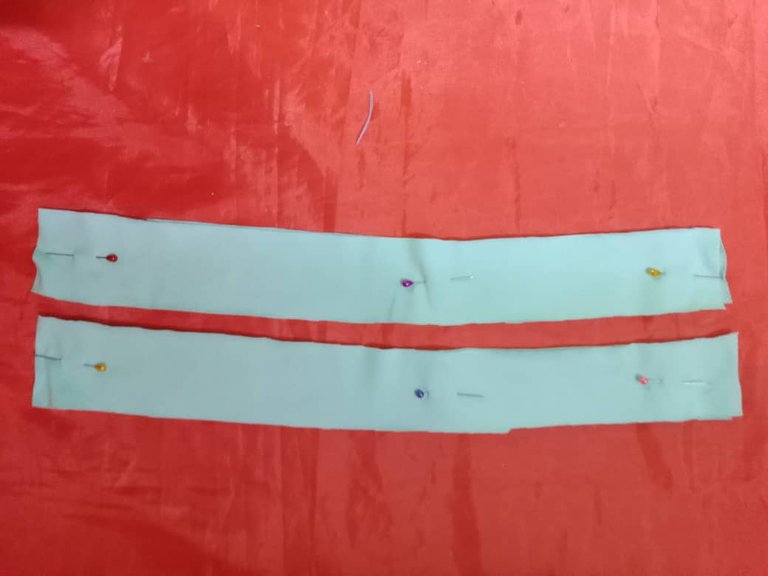
Then I faced the strips on the right side, fastened with pins, sewed and turned over.
Luego enfrenté las tiras por el derecho sujeté con alfileres, cosí y volteé.
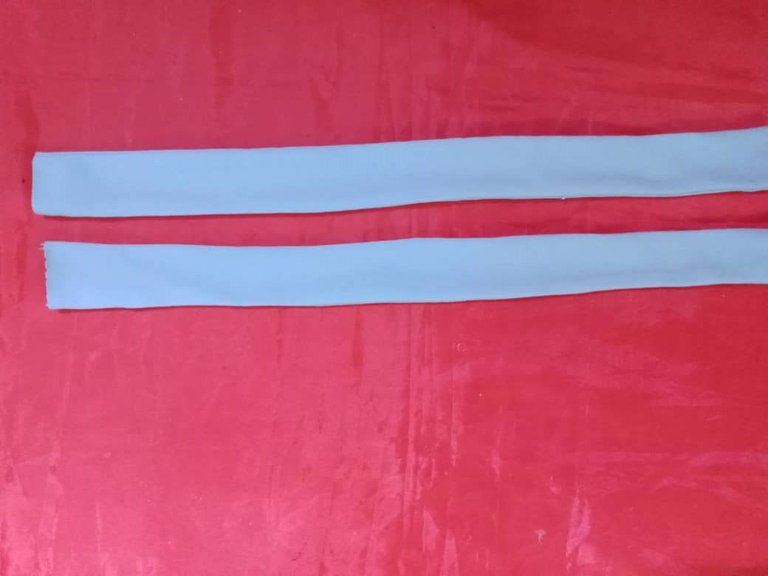

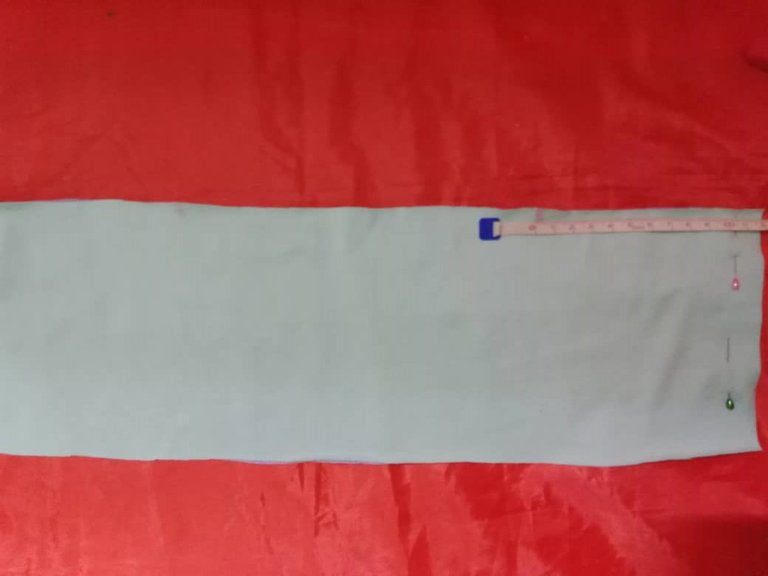
Once the strips were sewn, I assembled the back part, measured twelve (12) centimeters from the ends to the center, facing the right sides I placed the strips at the bottom, on top of the other back piece, sewed leaving the sides and bottom open.
Cosidas las tiras ensamblé la parte trasera,medí doce (12) centímetros desde los extremos al centro, enfrentando los derechos coloqué las tiras en la parte inferior, encima la otra pieza posterior, cosí dejando abiertos los laterales y bajo.
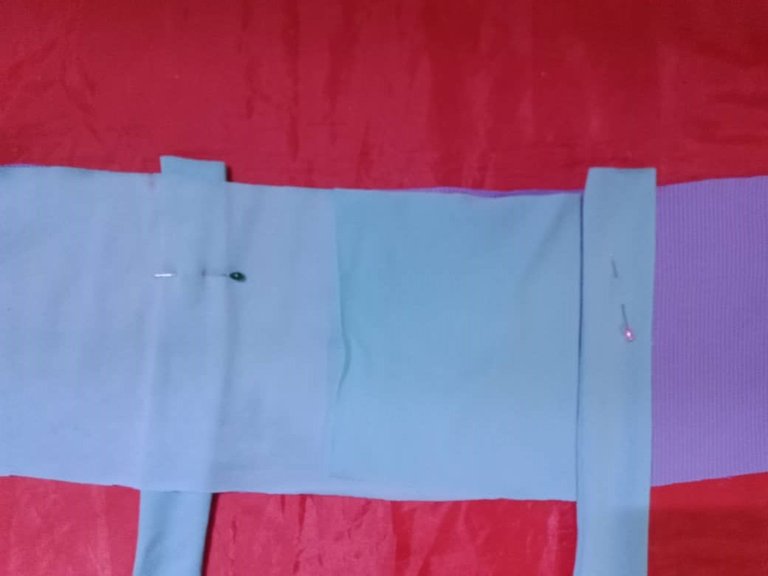
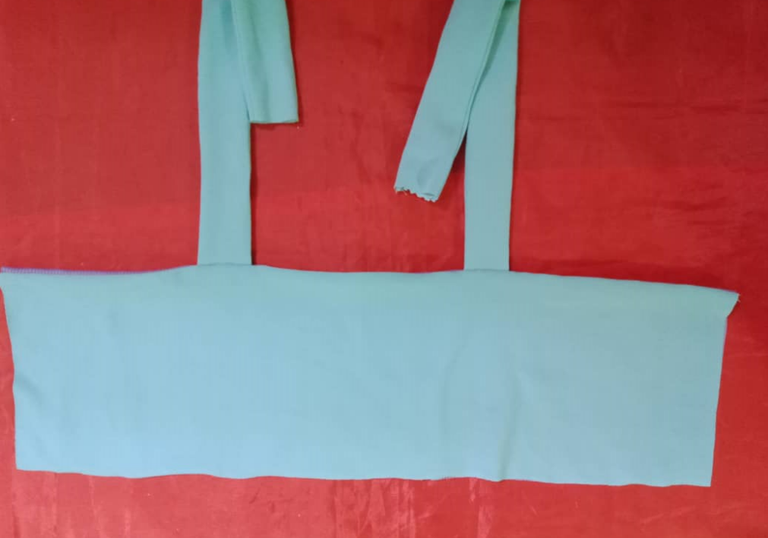

To assemble the front, I faced the pieces, sewed the neck and armhole; the sides, shoulders and bottom remain open to join the back.
Para armar el delantero, enfrenté las piezas, cosí el cuello y sisa; los laterales, hombros y parte inferior quedan abiertos para unir al posterior.
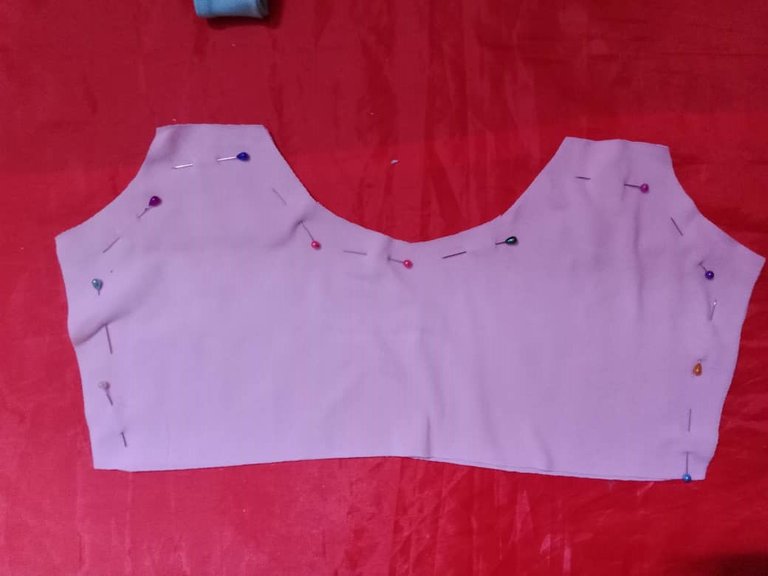
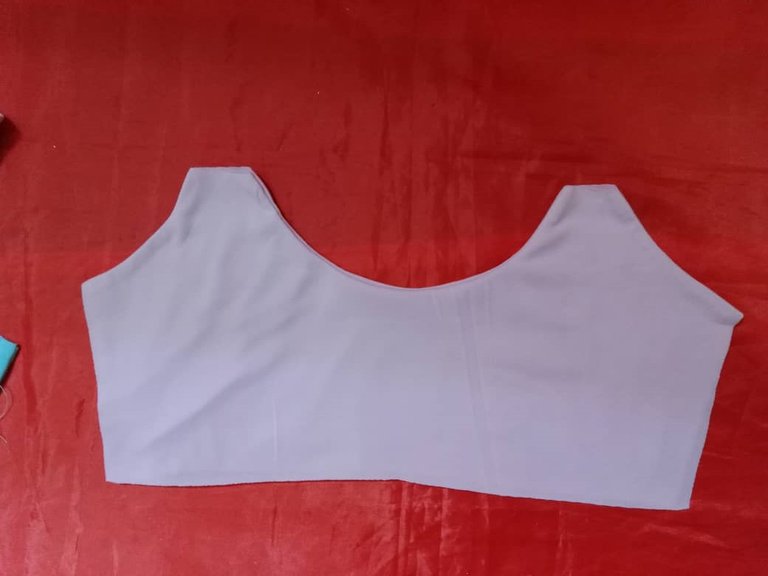

Assembled the front and back, I joined the front piece and back strips at the shoulders, right sides together and sewed with a straight stitch.
Ensambladas la parte delantera y posterior, uní por los hombros la pieza delantera y tiras de la parte trasera, enfrentando los derechos y cosí con puntada recta.
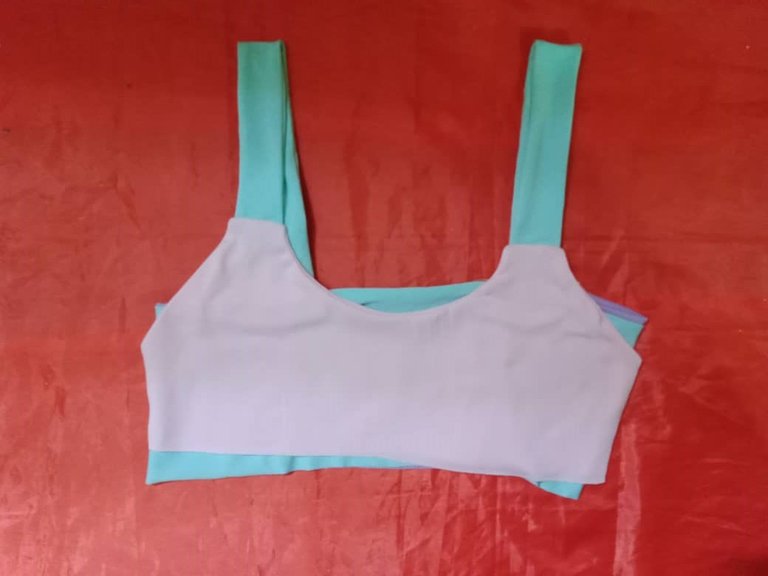

The next step was to close the sides by matching the front armhole seams, joined with a straight stitch and turned the bottom.
El siguiente paso fue cerrar los laterales haciendo coincidir las costuras anteriores de la sisa, uní con puntada recta y volteé por la parte inferior.
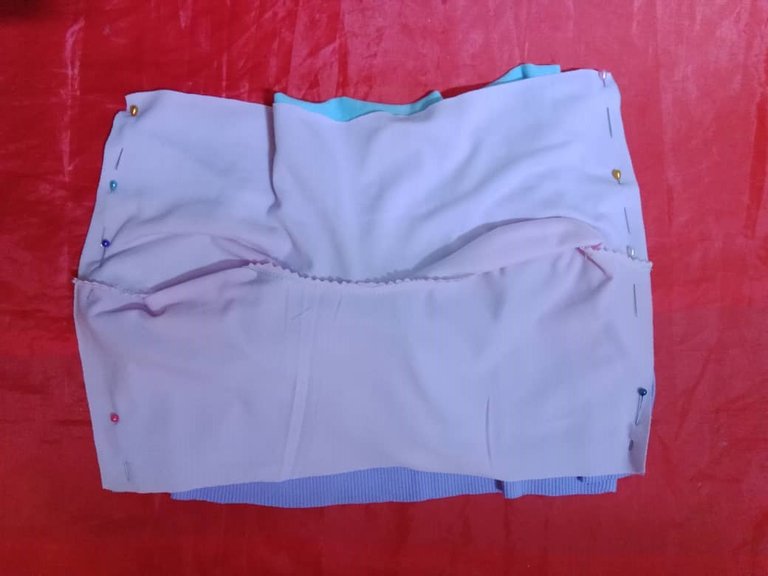
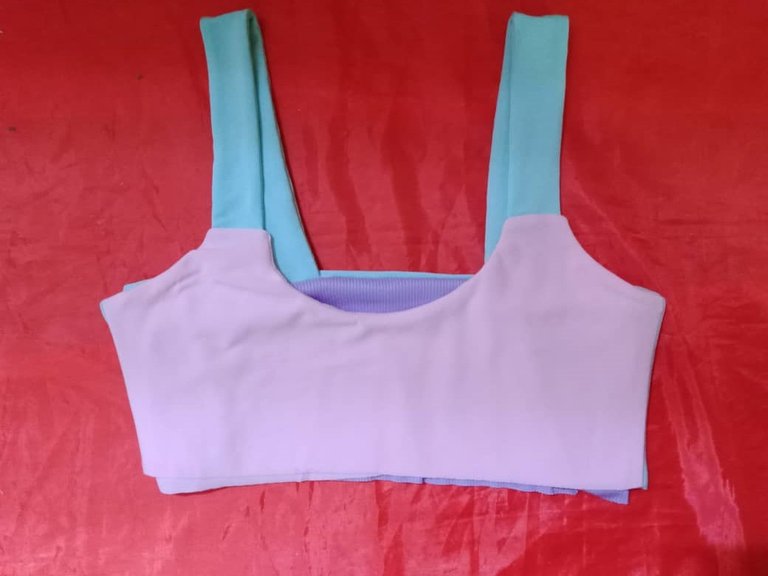

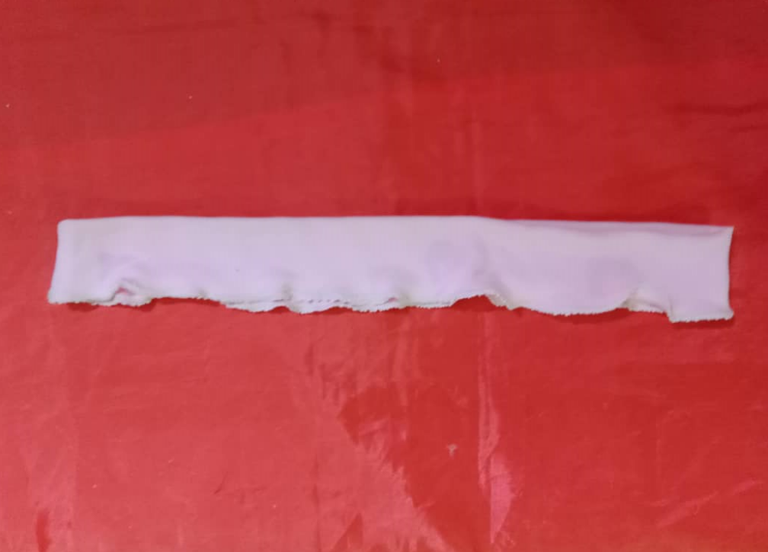
I sewed the sash by joining the ends right sides together, then turned and zigzag stitched along the edge,
Cosí el fajín uniendo los extremos enfrentando los derechos, luego volteé y pasé puntada de de zigzag por el borde,

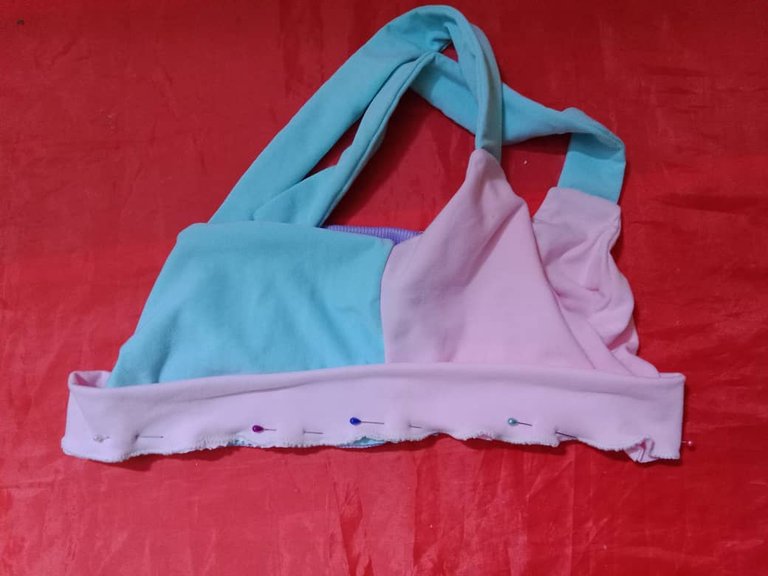
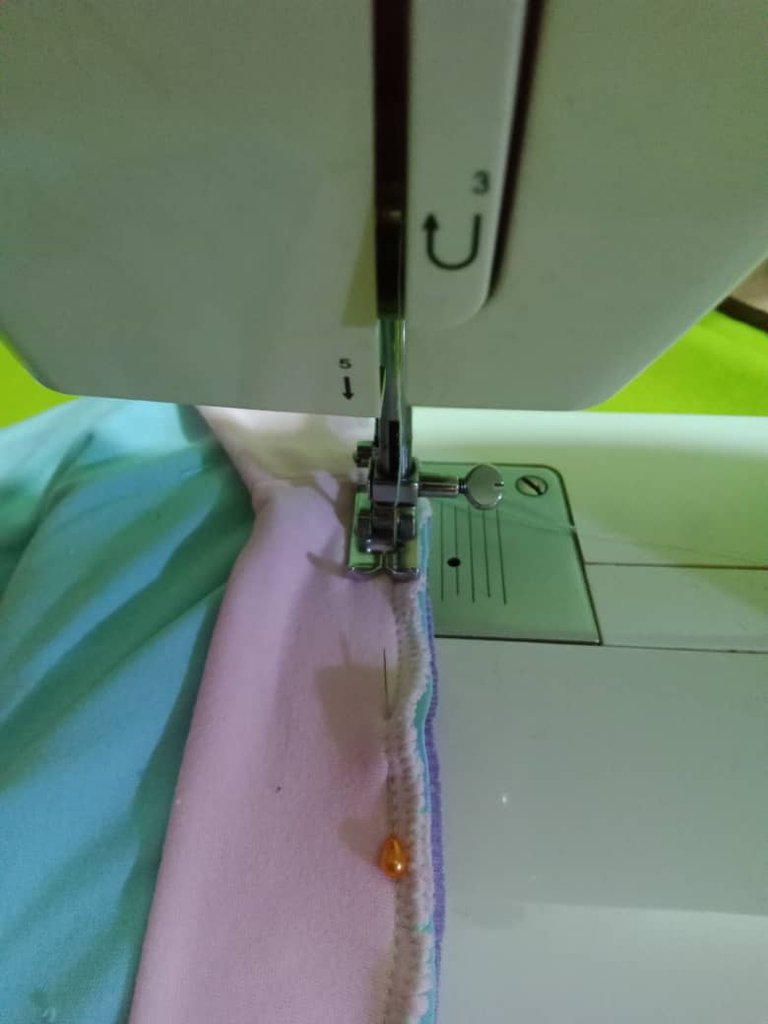
To finish I pinned the sash at the bottom, right sides together and sewed all around, so a nice top in two colors is finished.
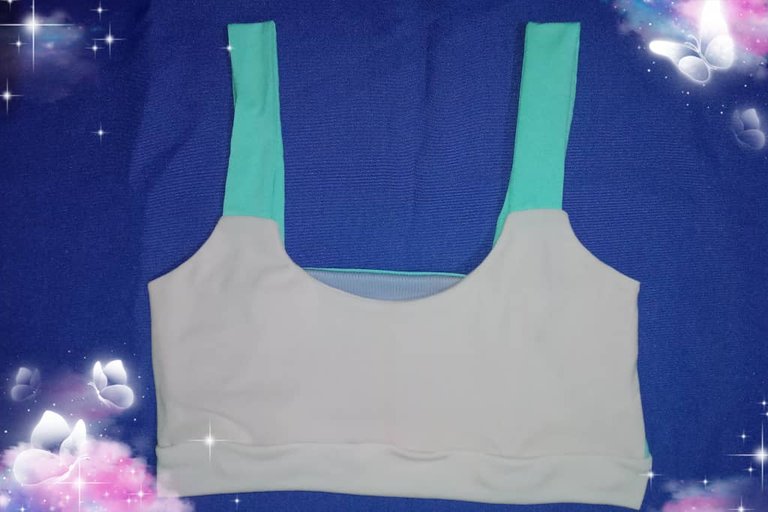
Para finalizar sujeté con alfileres el fajín en la parte inferior, enfrentando los derechos y cosí por todo el contorno, así está terminado un lindo top en dos colores.

Este será un obsequio para mi querida sobrina, atendiendo sus sugerencias y combinación de colores que se ven muy bien, espero que el tutorial les sea de utilidad.


Blessings!
Bendiciones!
Hasta luego!
Translated with https://www.deepl.com/translator
              All images are my own, captured by a Síragon LC-3000 camera. Dividers courtesy of @kattycrochet.


   Todas las imágenes son de mi autoría, capturadas por una cámara Síragon LC-3000. Divisores cortesía de @kattycrochet.
Me encantó este modelo de top, Justo buscaba un modelo para hacer que no se vean las costuras, la felicito amiga excelente trabajo y explicación, muchas gracias por compartir, saludos 🥰
Saludos amiga, me alegra saber que el proyecto te será útil, las costuras embonadas me encantan, permiten un resultado prolijo. 🤗🌷💐
Feliz viernes!
Saludos equipo @rutablockhain, gracias por el apoyo 🤗🌸🌼
Feliz fin de semana!
Muy bonito top,me encantan así porque son frescos en esta etapa que estamos en mi país. Bendiciones 😘.
Hola amiga, me alegra que te haya gustado, es cierto son perfectos para los climas calurosos, además la tela es suave y fresca 🌺🤗🌸
Feliz fin de semana!