Beautiful Christmas bunny inspired by Zappit
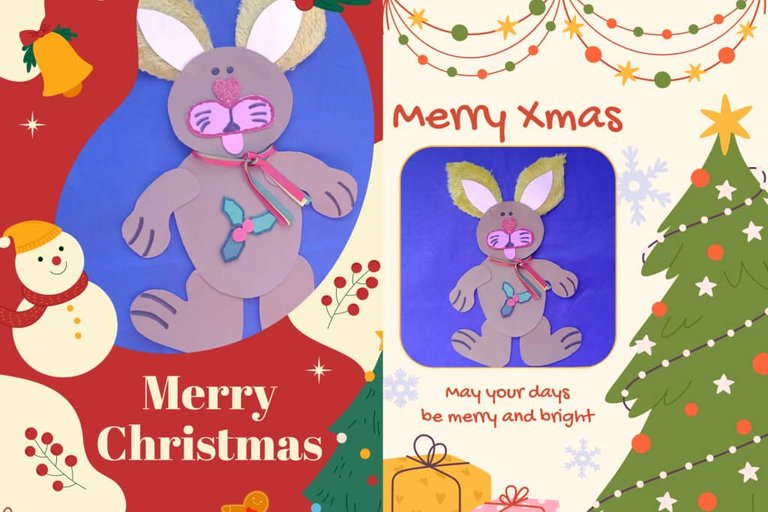
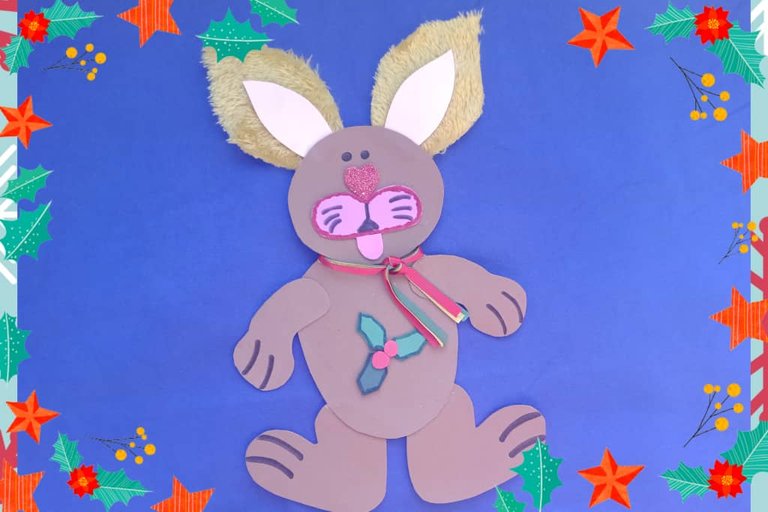
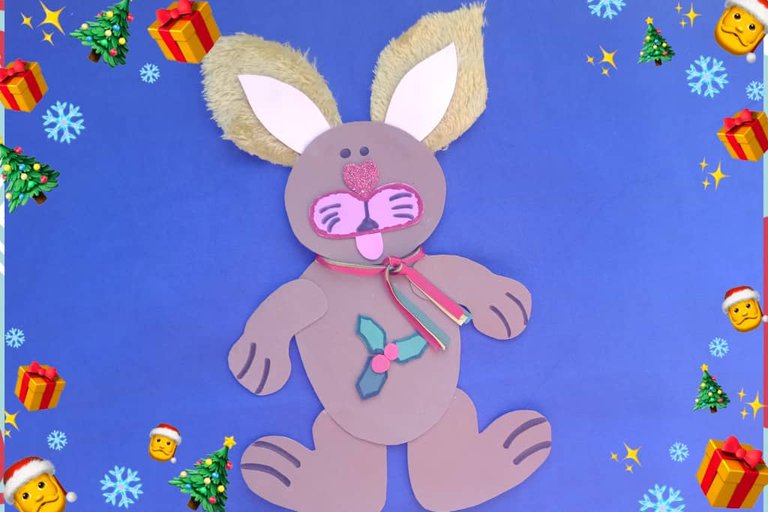
Greetings friends of Holozing, I wish you an excellent start of the week with God's blessing in union with your loved ones; I continue elaborating the Christmas projects inspired in the characters of the game, this time I share a Christmas ornament taking as reference Zappit the nice rabbit of the game.
Saludos amigo de Holozing les deseo un excelente inicio de semana con la bendición de Dios en unión de sus seres queridos; continuó elaborando los proyectos navideños inspirados en los personajes del juego, en esta ocasión comparto un adorno navideño tomando como referencia a Zappit el simpático conejo del juego.

Materials
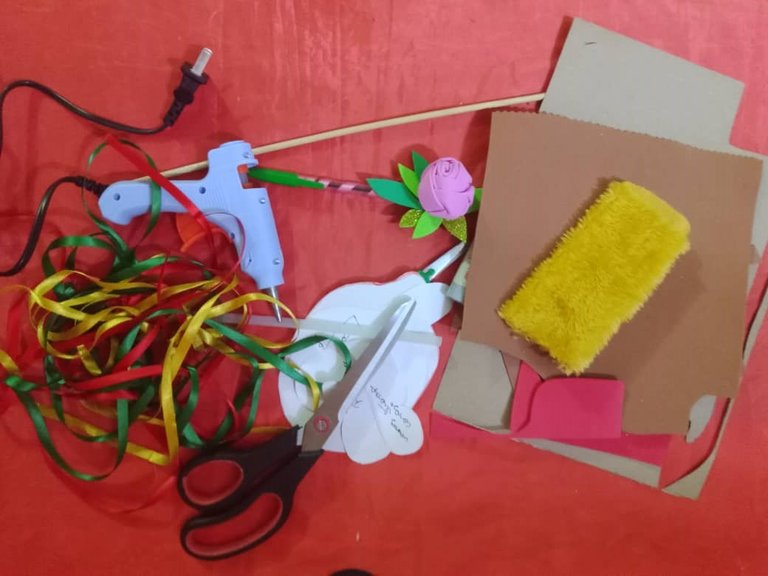
Foami (various colors)
Molds
Scissors
Pencil
Height stick
Plush fabric
Silicone stick
Ribbons
Markers
Silicone gun
Materiales
Foami (varios colores)
Moldes
Tijera
Lápiz
Palillo de altura
Tela de peluche
Silicón en barra
Cintas
Marcadores
Pistola de silicón

Procedure
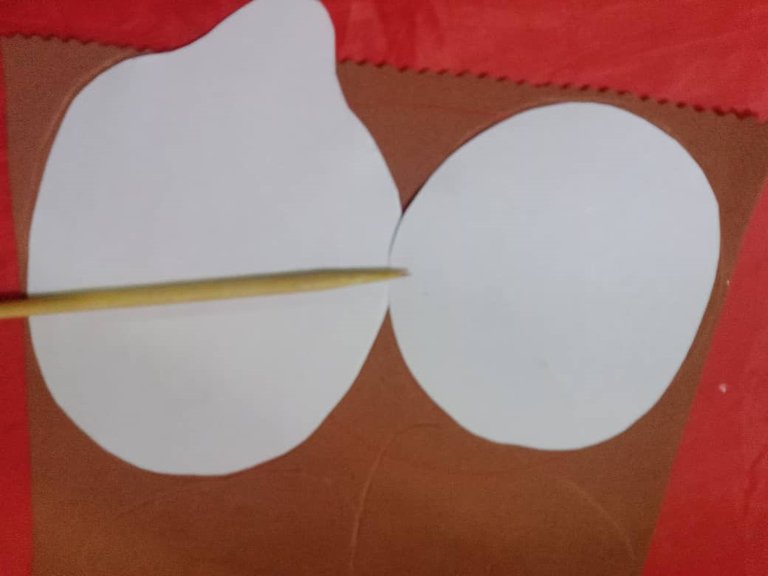
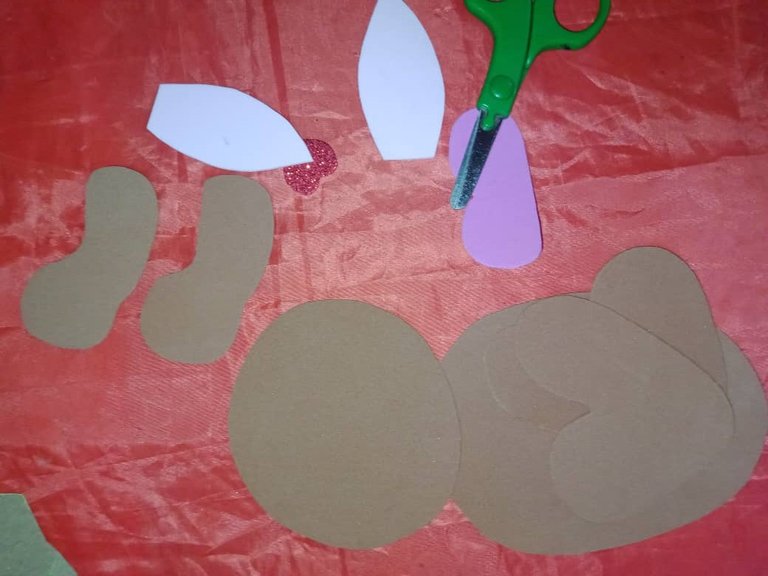
After making the molds I marked and cut the pieces of the bunny; body, head, hands, arms, paws, nose and snout.
Procedimiento
Luego de hacer los moldes marqué y corté las piezas del conejo; cuerpo, cabeza, manos, brazos, patas, nariz y hocico.

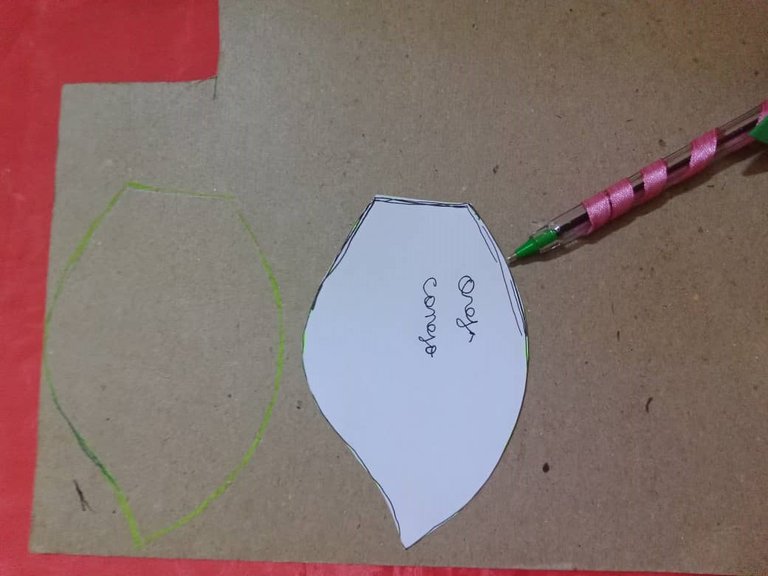
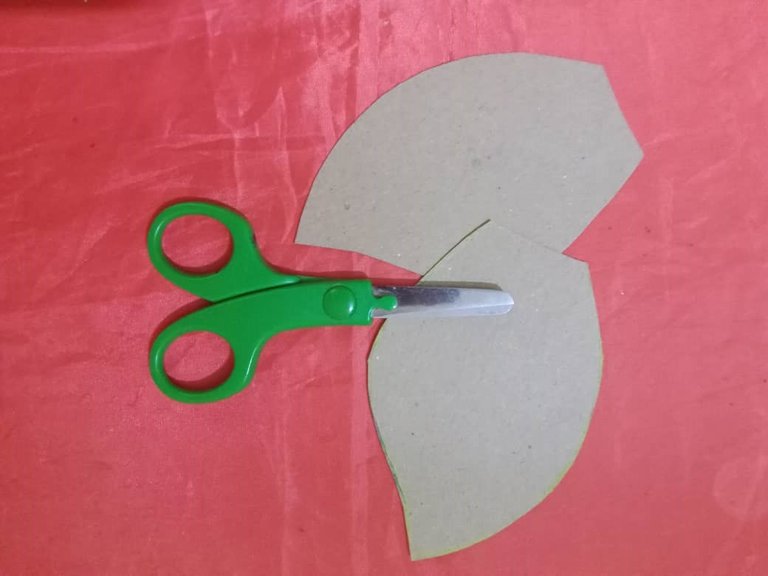
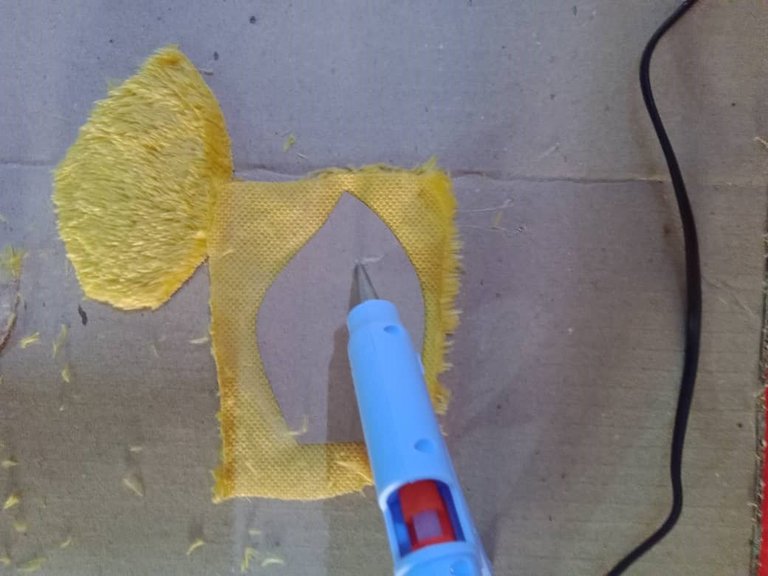
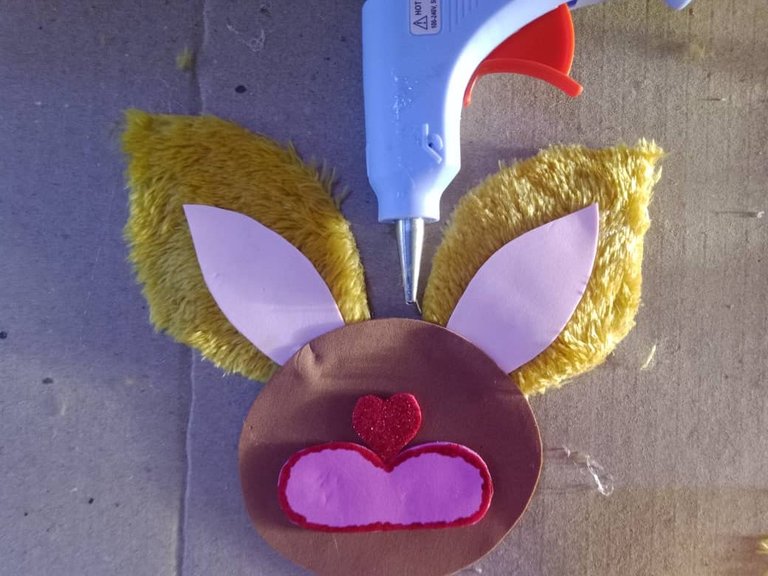
The next step was to mark and cut the ears, which are made of cardboard and lined with plush fabric. Once the fabric was glued to the cardboard, I added the inner part of the ear using hot silicone.
El siguiente paso fue marcar y cortar las orejas, las cuales están hechas en cartón y forradas con tela de peluche, pegada la tela en el cartón, agregué la parte interna de la oreja usando silicón caliente.

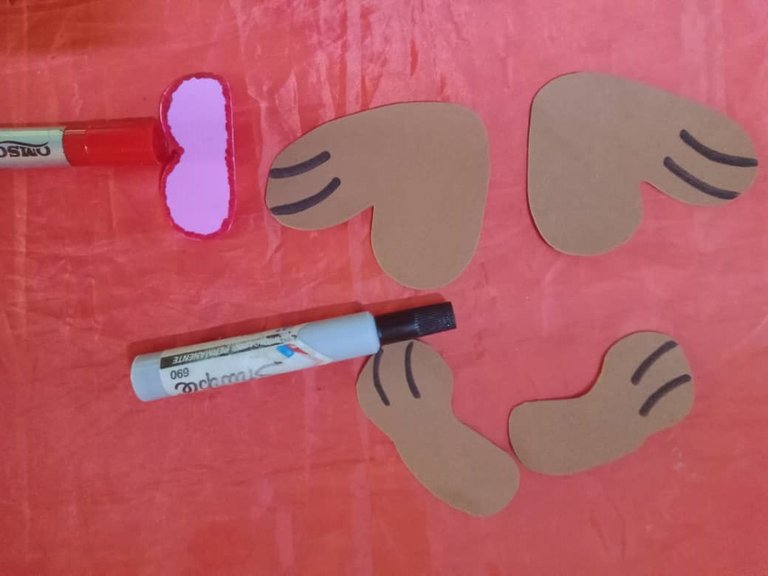
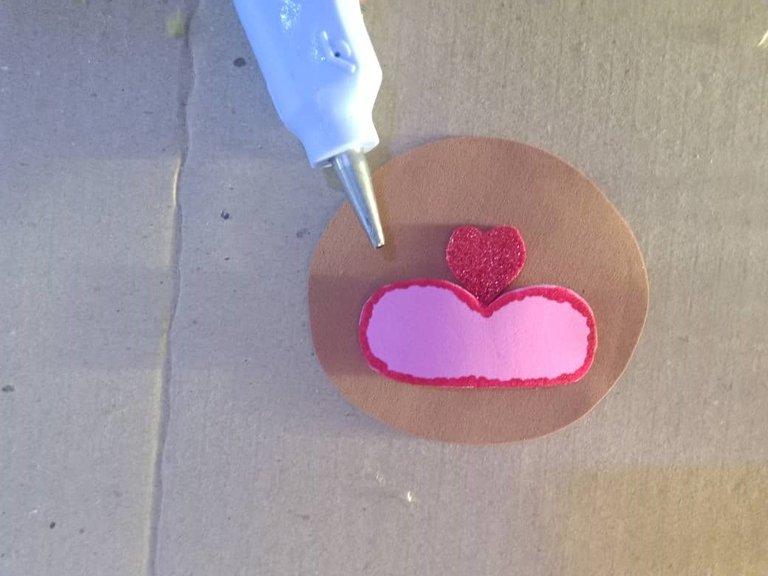
Then I marked some lines on the legs and arms with black marker, I also blurred the edge of the snout with red marker.
Luego marqué unas líneas en las patas y en los brazos con marcador negro, también difuminé el borde del hocico con marcador rojo.

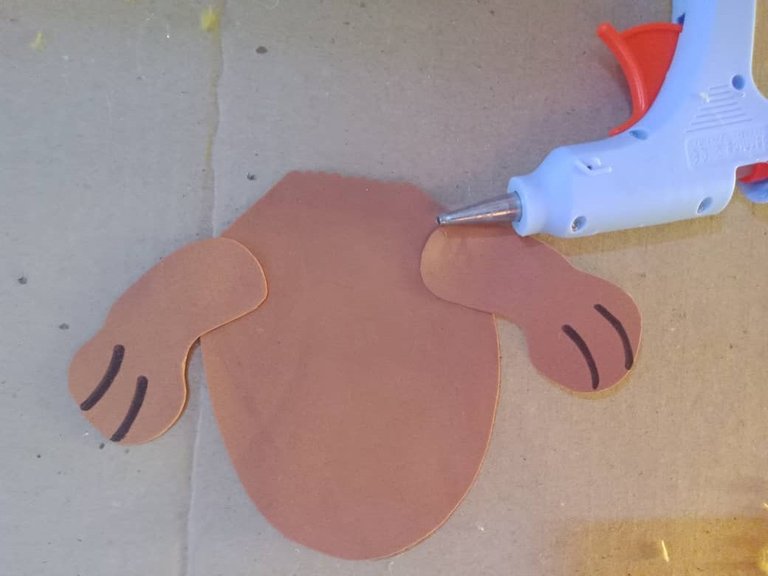
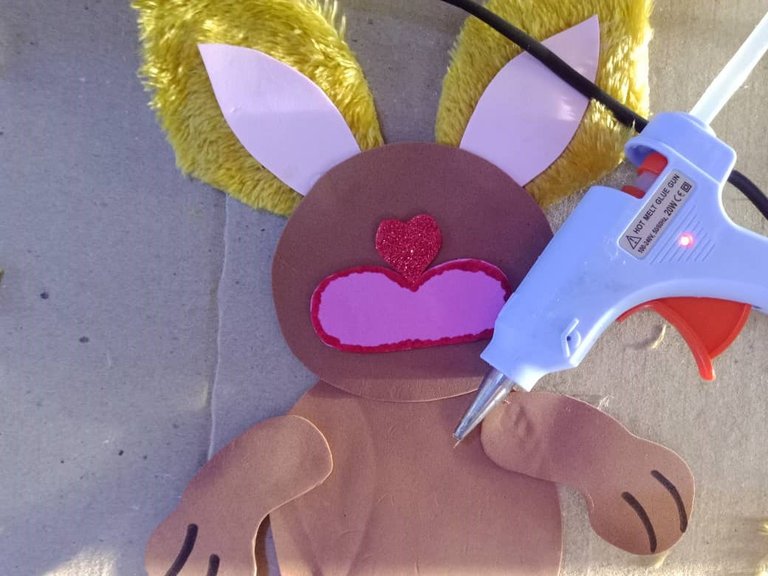
The fourth step was to glue the arms on the upper part of the body and the legs on the lower part.
El cuarto paso fue pegar los brazos y en la parte superior del cuerpo y las patas en la parte inferior.
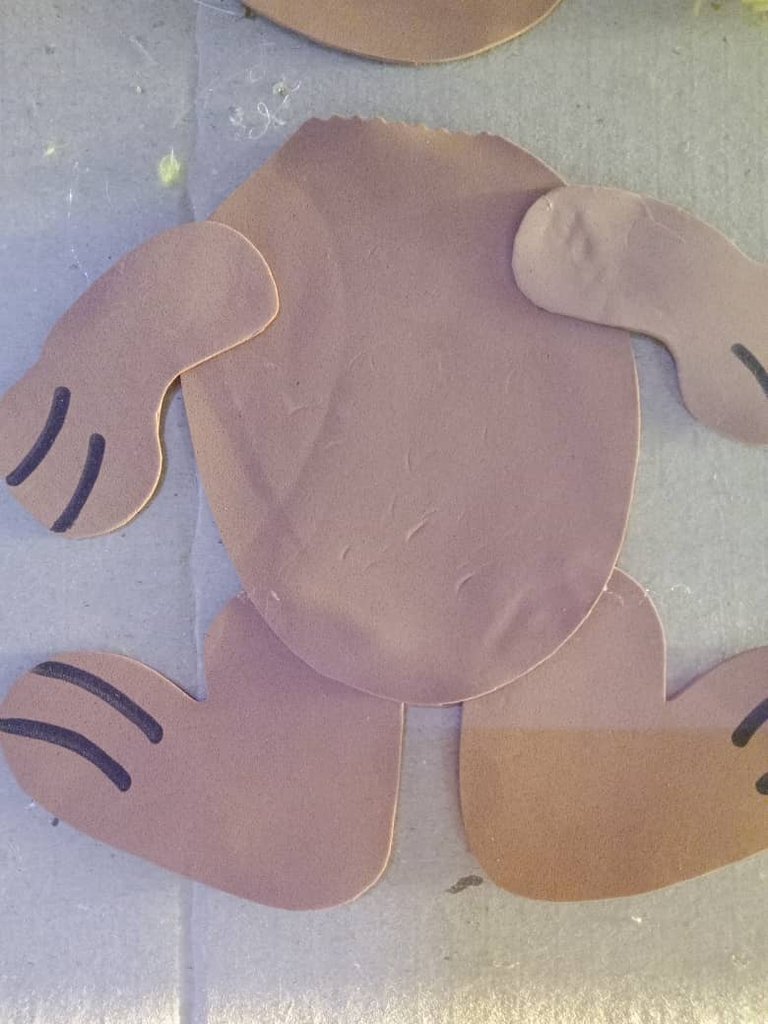

Once the legs and arms were glued on, I glued on the head, snout, nose and ears.
Pegadas las patas y brazos, pegué en la cabeza, el hocico, la nariz y las orejas.

Finally I attached the head to the body, painted the eyes, added a scarf with three-color ribbon and placed a Christmas flower on the bunny's tummy; with these simple steps a cute Christmas bunny to decorate our house is finished.
Finalmente uní la cabeza al cuerpo, pinté los ojos, agregué una bufanda con cinta de tres colores y coloqué una flor de Navidad en la pancita del conejo; con estos sencillos pasos está terminado un lindo conejo navideño para decorar nuestra casa.

This is my first time making a Christmas bunny and I loved the result, it will look great in the living room window.
Es la primera vez que hago un conejo navideño y me encantó el resultado, se verá muy bien en la ventana de la sala.


¡Bendiciones!
Blessings!


Translated with https://www.deepl.com/translator
          All images are my own, captured by a Síragon LC-3000 camera.

   Todas las imágenes son de mi autoría, capturadas por una cámara Síragon LC-3000.
The bunny would make a perfect decoration ornament. So cute and adorable. Nice work
Hi @diyhub team, this is my first Christmas bunny and I loved it, it's a little tenderness.
Happy start of the week!
Thank you so much for featuring the amazing zappit. Thank you so much for sharing such wonderful art inspired by animals.
I'm glad you liked the bunny, it's a nice ornament to decorate for Christmas.
Greetings!
yes my pleasure thanks for everything
Congratulations @belkyscabrera! You have completed the following achievement on the Hive blockchain And have been rewarded with New badge(s)
You can view your badges on your board and compare yourself to others in the Ranking
If you no longer want to receive notifications, reply to this comment with the word
STOPCheck out our last posts:
Thank you very much @hivebuzz.
Greetings!
You're welcome @belkyscabrera, it's well deserved! Congrats on your constant involvement on Hive 😊👍