Diy : Building structure made from cardboard
Happy new month everyone and I welcome you all to my blog. There are a lot mere looking materials in our shops, homes and offices, even in our working places which we consider to be waste products and not good for anything else. One of these materials is Cardboard. often overlooked yet it's the king of materials used in diy projects especially when it comes to building and constructions. Today I decided to make a cardboard house for my little ones, I also so it as a beautiful opportunity to showcase my creativity ideas and make them stay happy as well. So today you're going to see how I created this amazing project using cardboard. It actually took me a longer time than I thought to complete. This project took me 3 days.
MATERIALS USED

- Cardboard
- Ballpoint pen
- scissors
- Glue
- match stick
LET'S BEGIN
step 1
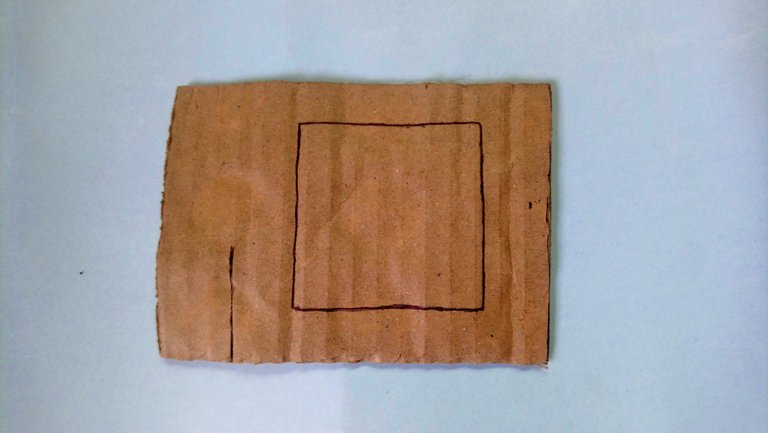
First I got a clean cardboard, then I mapped out the foundation of the building on a rectangular piece of the cardboard using pen and ruler.
step 2
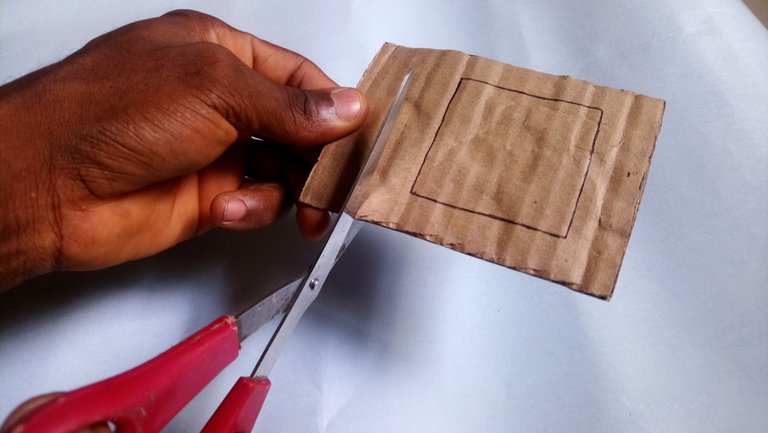
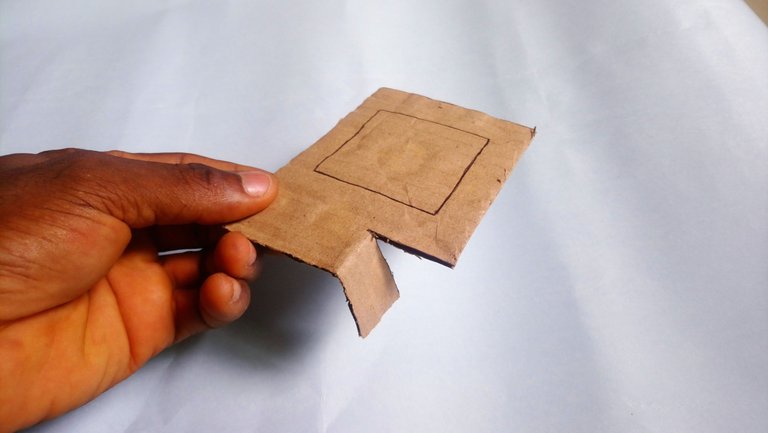
I cut a small portion which I mapped out to use as the stairs and I bent it slightly down.
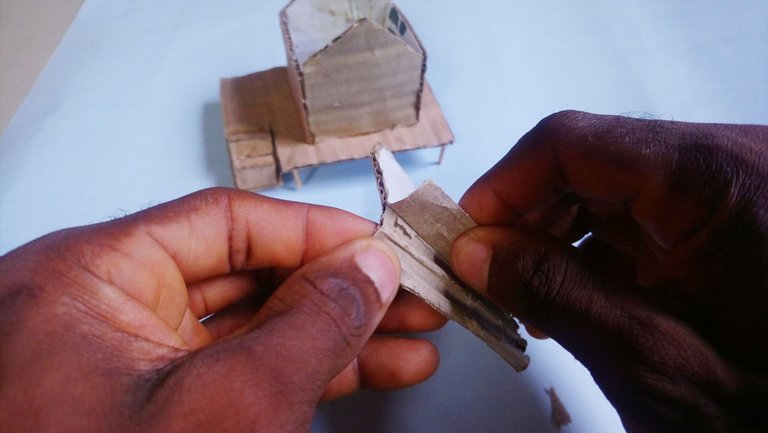
step 3

I formed the stairs by cutting tiny pieces of the cardboard in small rectangular shapes and then glue each one to another. After forming the stairs, I then glued it to the section of the main building foundation which I've cut and set apart for it.
step 4
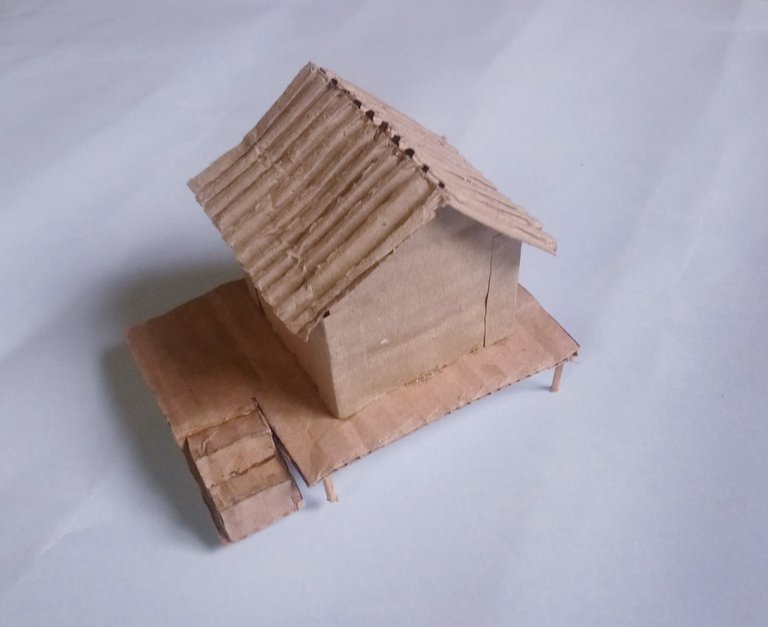
I cut the burnt section of the used match sticks and then cut each one from the middle. Next, I glued them to the basement or the foundation of my building.
step 5
I carefully marked out the shape of the wall I needed for my building and then cut them out.
step 6

I glued each wall in my desired position I made sure they all are in line with the section I marked out for the foundation of the building.
step 7
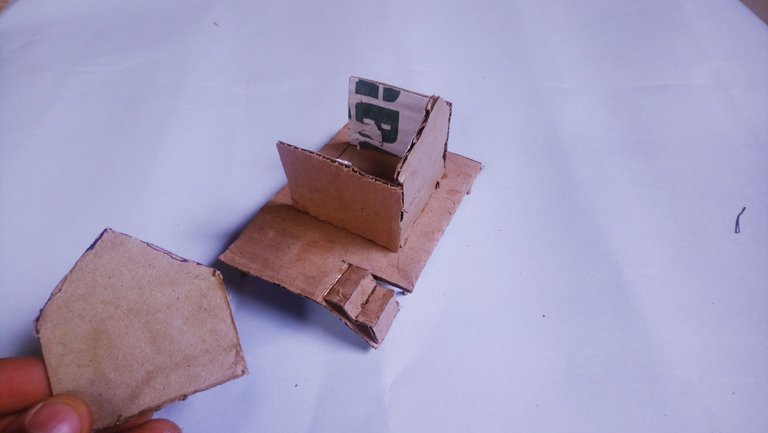
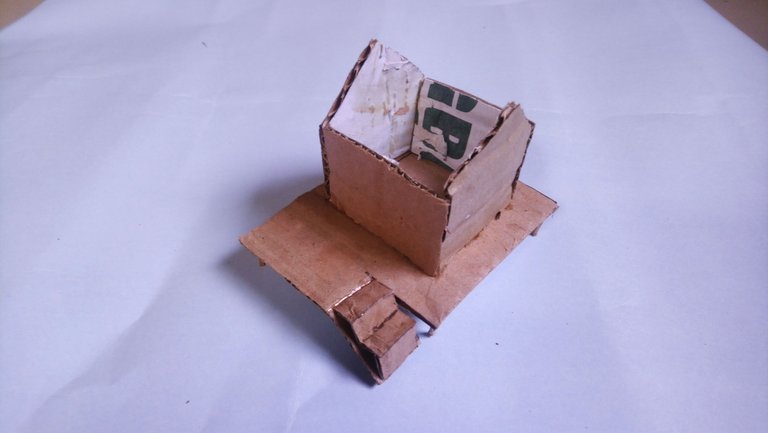
I completed the walls and also made sure they are perfectly glued to the foundation and to one another so that my house will not collapse.
step 8
I measured out the size of the roof that will be suitable for my building after that, I cut out the measurement from the cardboard and the peeled off the front side of the cardboard in order to reveal the inner part that looks like a roofing zinc.
step 9
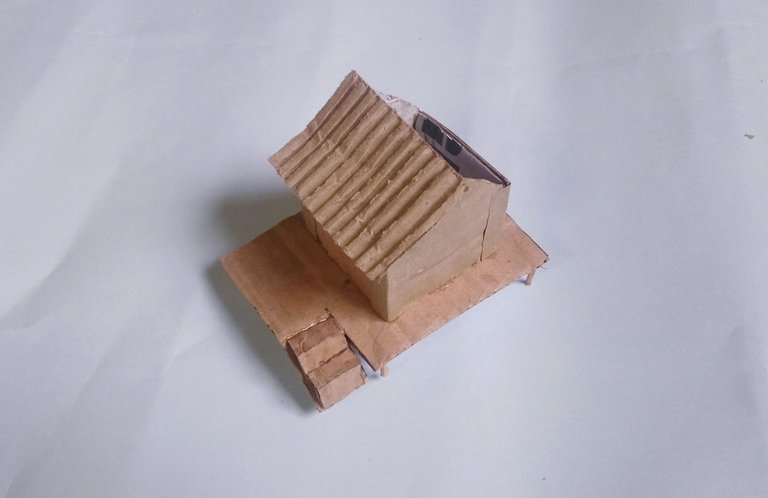
I carefully placed the two roofs I produced out of the cardboard and placed them on top of the building with good precision and glued them to the building.
Step 10
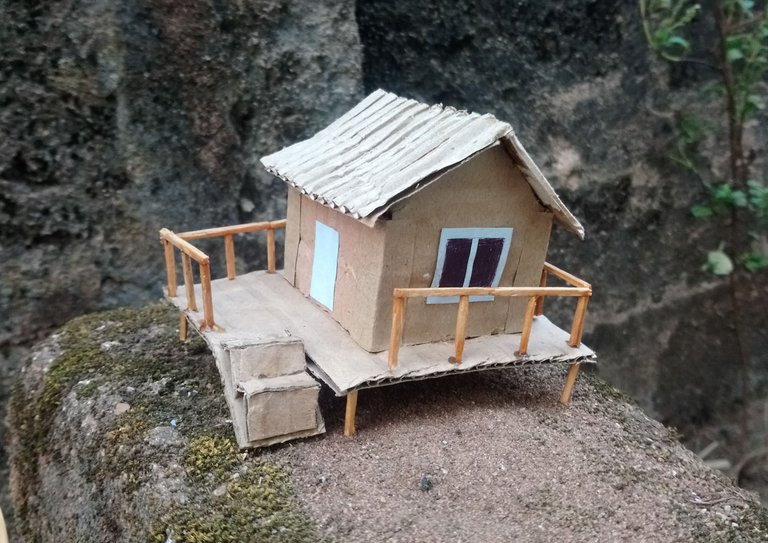
Next I placed the windows and doors accurately in the sections of the building where I feel they should be then I glued the matchsticks together, horizontally and vertically to form the protector and rail.
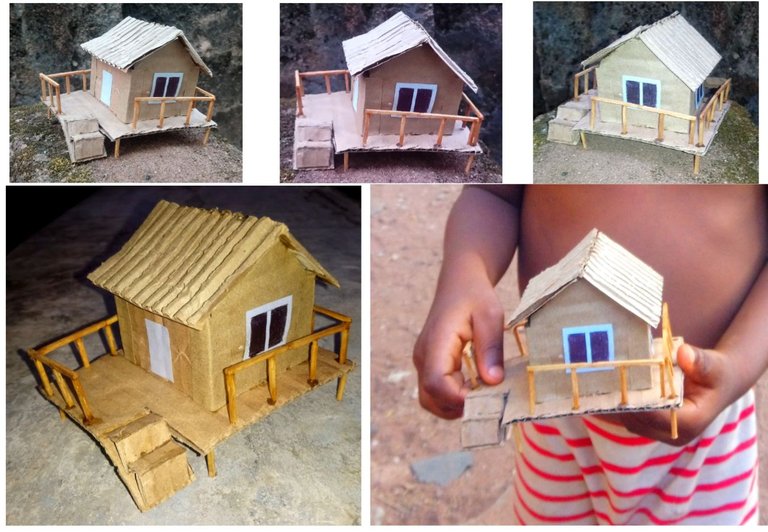
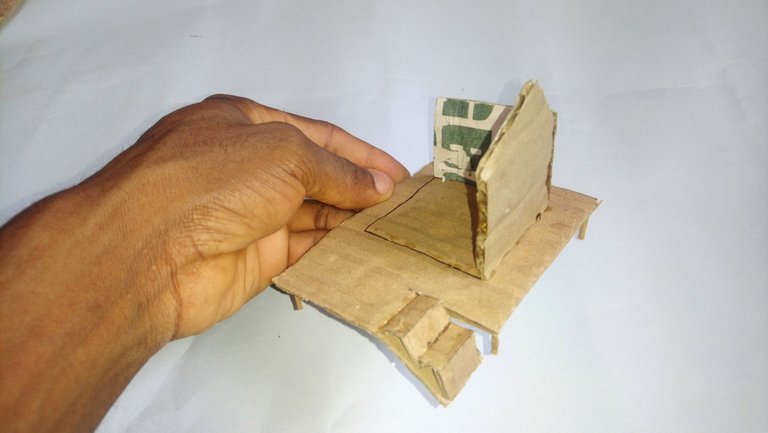
Here is the pictures of my building after It was completed.
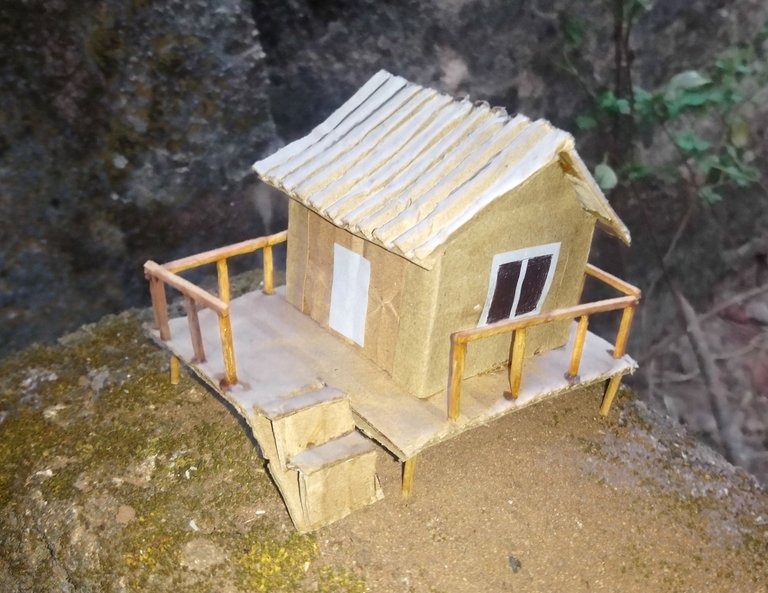
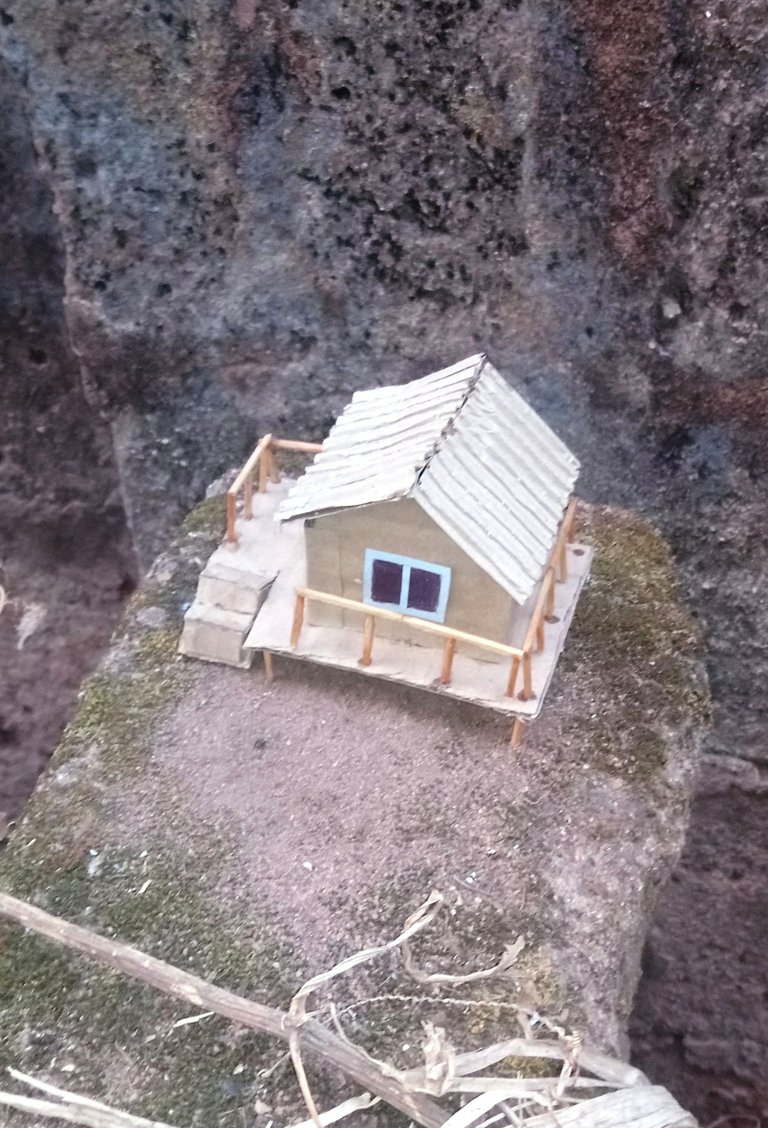
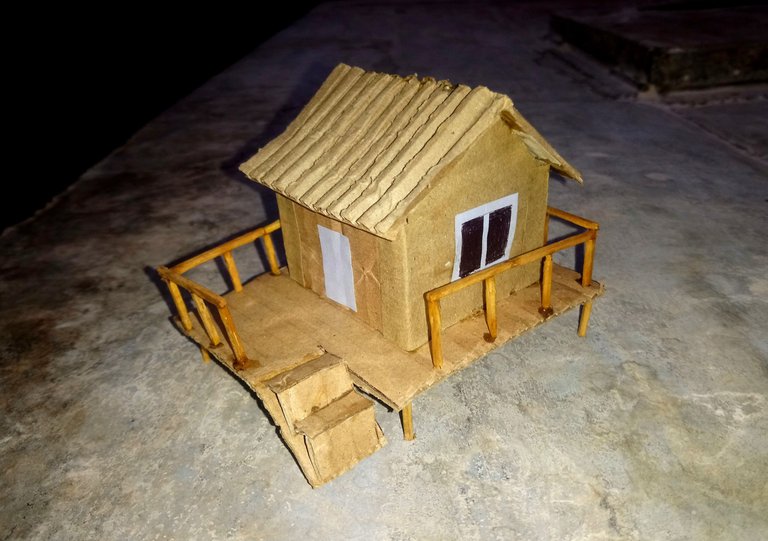
To be honest this building project requires patience, it's time consuming and stressful but with good determination, you'll end up creating an amazing building. This is my first building project and my first post in this beautiful community. I usually create new things by drawing most times because I enjoy expressing the power of creativity given to us by God. I also discovered that nothing is completely a waste on planet earth because its either we convert it to something useful or the earth tries and convert it to by any means possible. I hope you liked my post, thanks for following me through out the steps of this creation, till my next post bye for now.
THANK YOU FOR READING THROUGH
Wow this is so nice and exceptional, I remember when I used to see fellow kids making houses with carton but could never try it, I admire your skills. Keep up the good work!
Thanks for your beautiful comment and for checking out my work.
Looking at this beautiful structure the days spent in making it was worth it. Beautifully and skillfully crafted, we applaud your creativity.
Thanks for sparing some time to check out my work out of the many here. I really appreciate and i salute you for your good effort.
Congratulations @baby1! You have completed the following achievement on the Hive blockchain And have been rewarded with New badge(s)
Your next target is to reach 7000 upvotes.
You can view your badges on your board and compare yourself to others in the Ranking
If you no longer want to receive notifications, reply to this comment with the word
STOPCheck out our last posts: