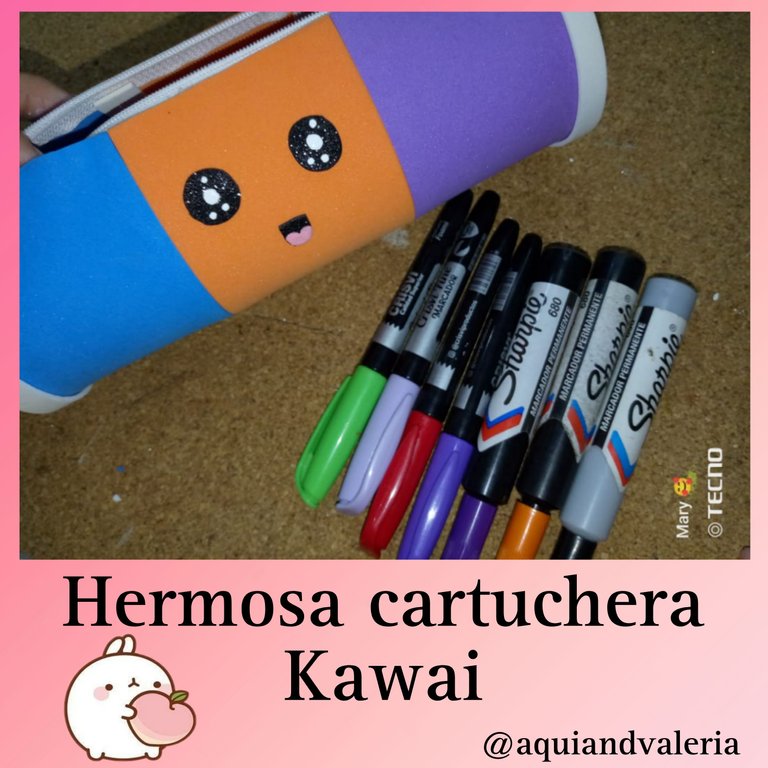
Hermosa cartuchera Kawai 🥹/Beautiful Kawai pencil case 🥹
Hola amigos de DIYHub, el día de hoy estoy muy contenta ya que voy a compartir contenido con ustedes por primera vez, me encuentro por acá para mostrarles un tutorial de una hermosa cartuchera Kawai muy linda, sencilla y fácil de hacer, aparte de fácil tiene materiales muy accesibles y fáciles de manejar, espero puedan tomarse un tiempo para visitar mi post, sin más que agregar. Manos a la obra.
Hello DIYHub friends, today I am very happy because I am going to share content with you for the first time, I am here to show you a tutorial of a beautiful Kawai pencil case very cute, simple and easy to make, apart from easy it has very accessible and easy to handle materials, I hope you can take some time to visit my post, without further ado. Let's get to work.

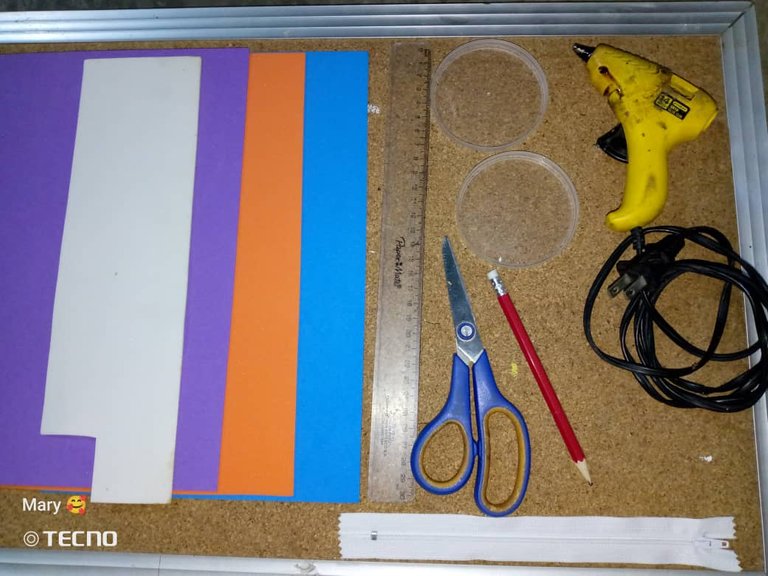
✓ Foami color blanco, morado, naranja y azul.
✓ Silicón en barra.
✓ Pistola de silicón.
✓ Regla.
✓ Lápiz o lapicero.
✓ Tijeras.
✓ 1 cierre color blanco.
✓ Y por último 2 tapas de latas de papas fritas.
✓Foami in white, purple, orange and blue.
✓Silicone stick.
✓ Silicone gun.
✓ Ruler.
✓ Pencil or pencil.
✓ Scissors.
✓ 1 white zipper.
✓ And lastly 2 potato chip can lids.

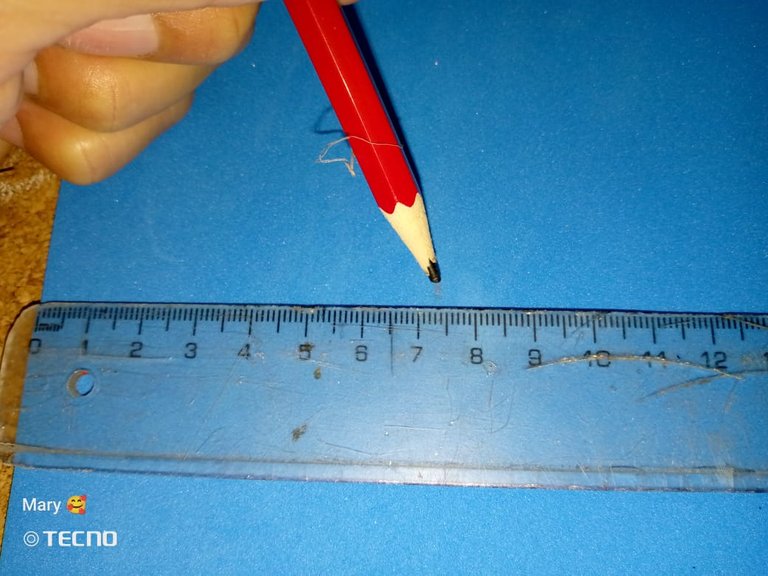
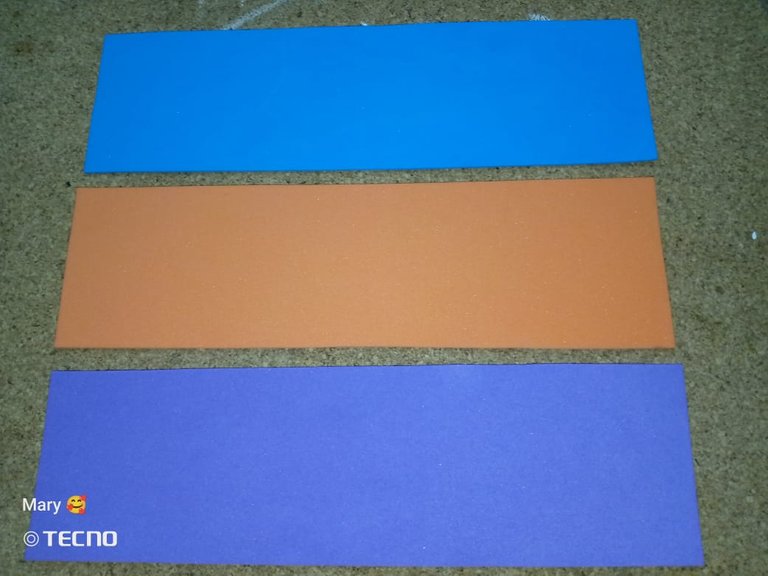
1- Medimos en el foami azul 7,5x25 cm, de ésta manera.
1- We measure on the blue foami 7,5x25 cm, in this way.
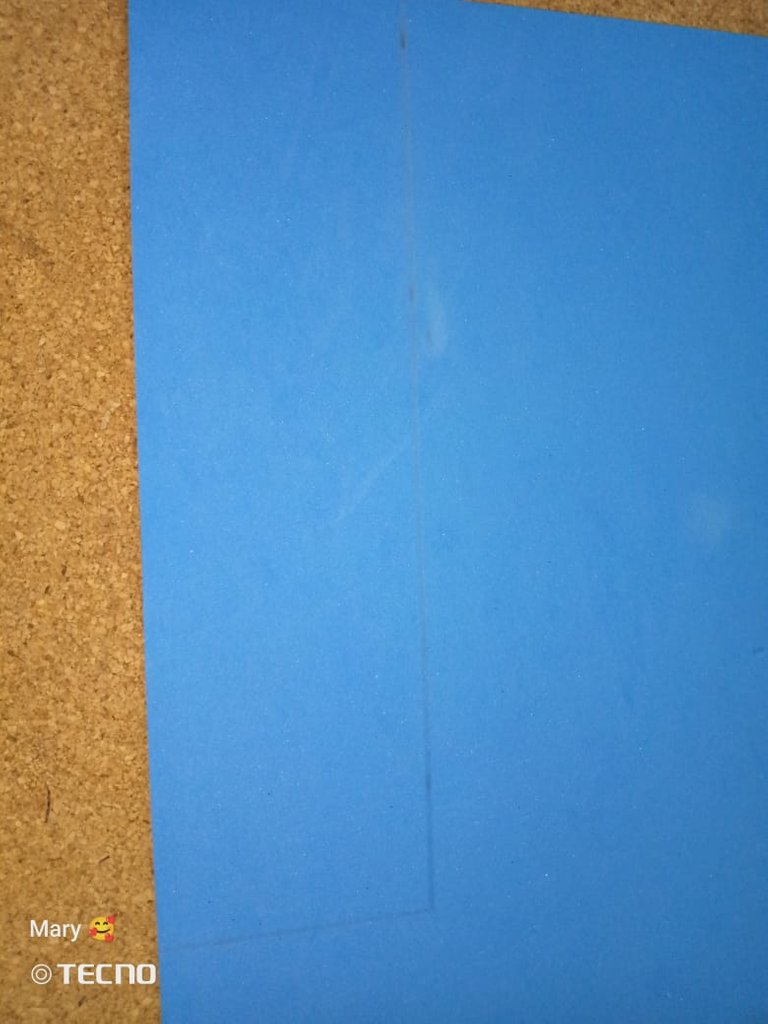
Nos va a quedar algo así.
We will be left with something like this.
2- Lo mismo vamos a hacer con el foami naranja y el morado, todas de la misma medida. Así.
2- We are going to do the same with the orange and purple foami, all of the same size. Like this.
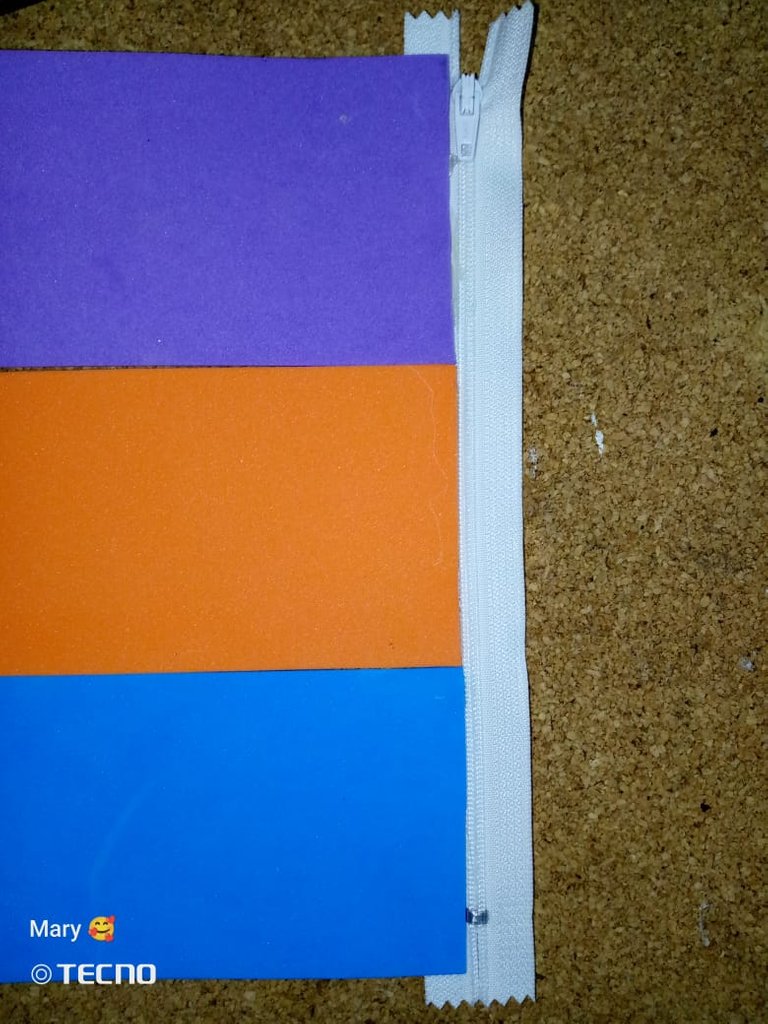
3- Ahora pegamos las tres piezas de foami en el cierre, de ésta manera.
3- Now we glue the three pieces of foami on the zipper, like this.
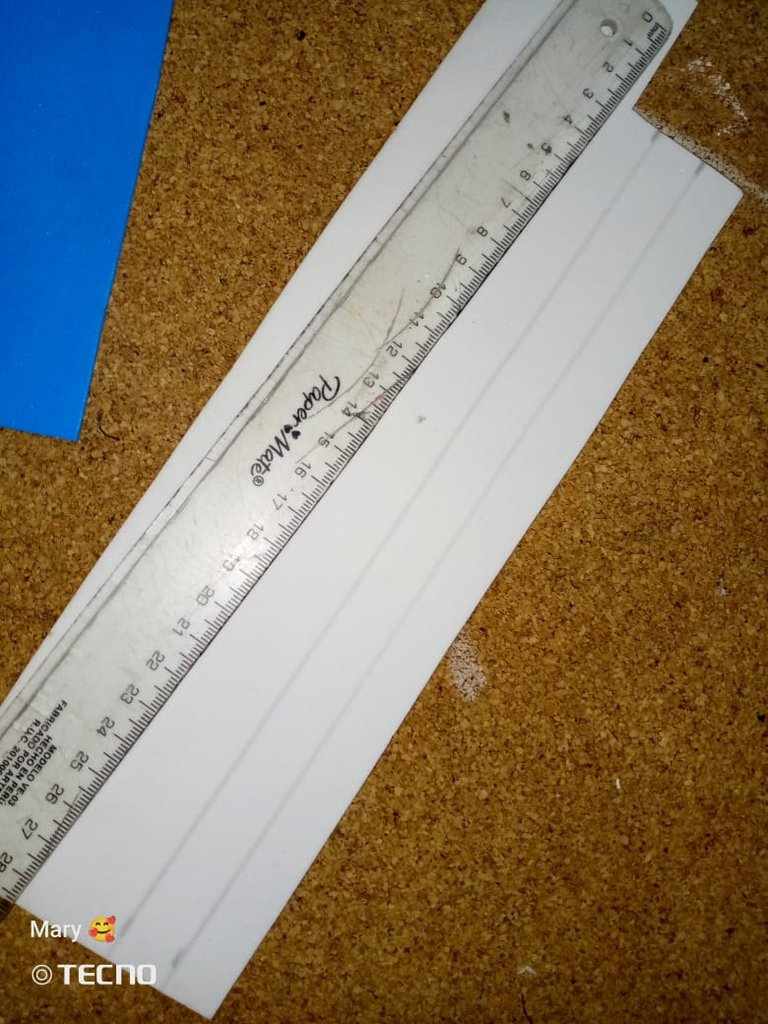
4- Marcamos 2 tiras de fomi blanco de 1x25 cm. Así.
4- We mark 2 strips of white fomi of 1x25 cm. Like this.
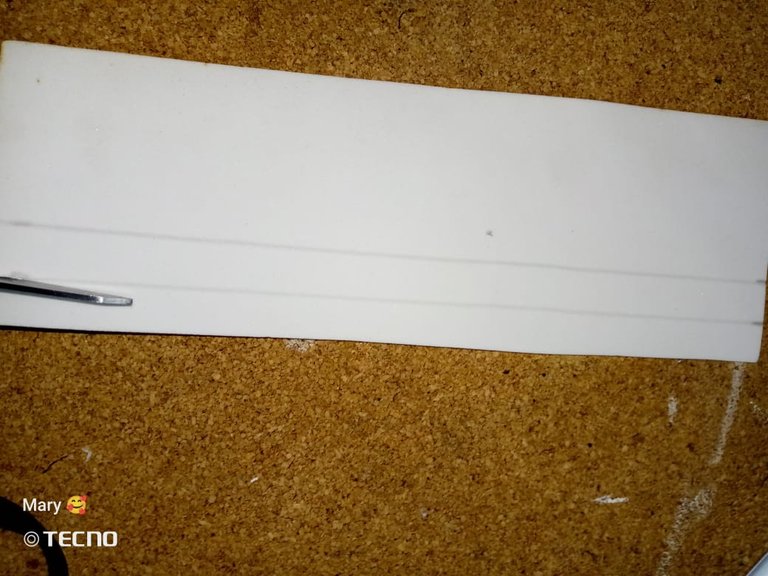
5- Y cortamos.
5- And cut.
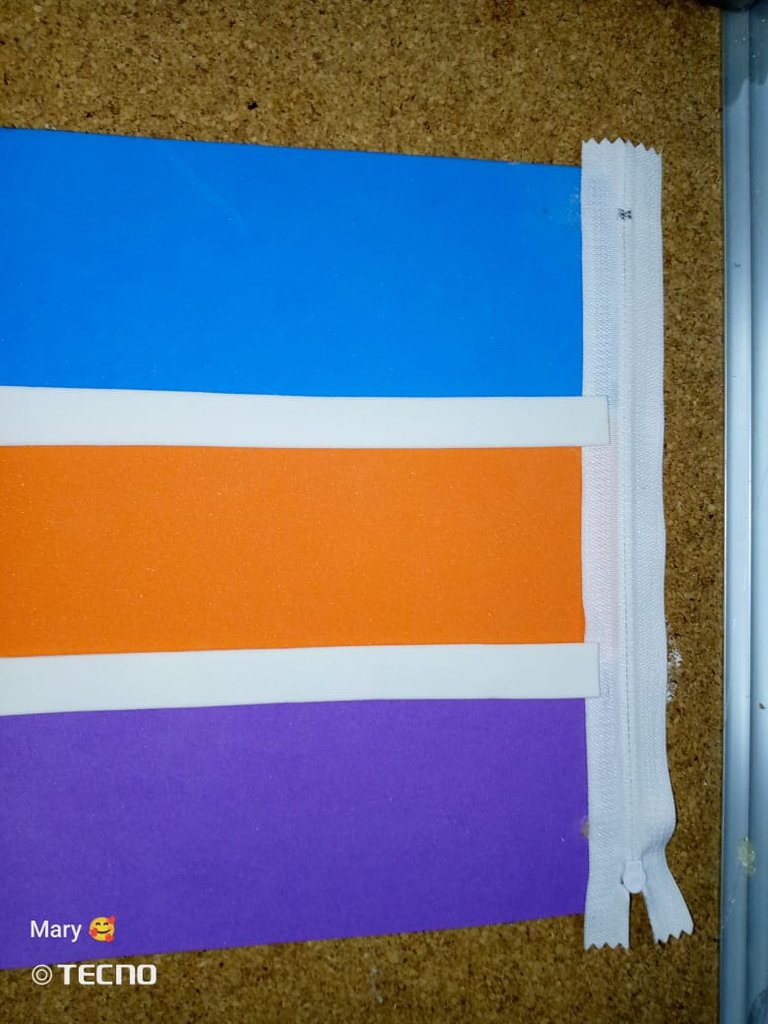
6- Ahora pegamos en las uniones de las 3 piezas de foami.
6- Now we glue the joints of the 3 pieces of foami.
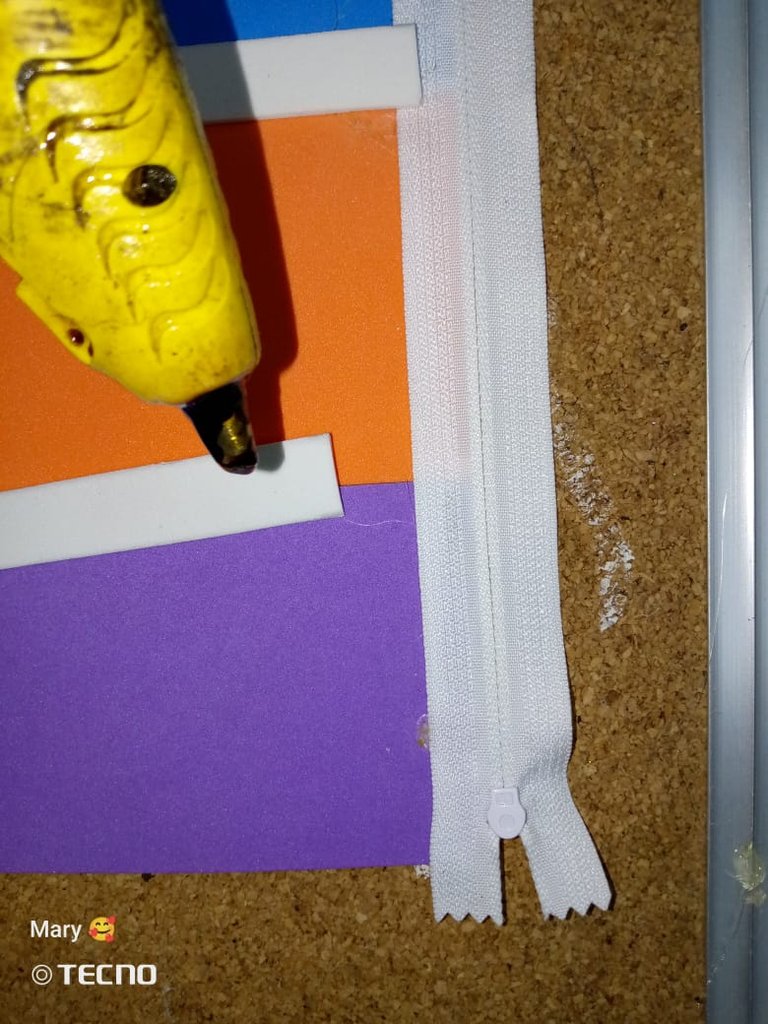
Nos va a quedar algo así.
We will be left with something like this.
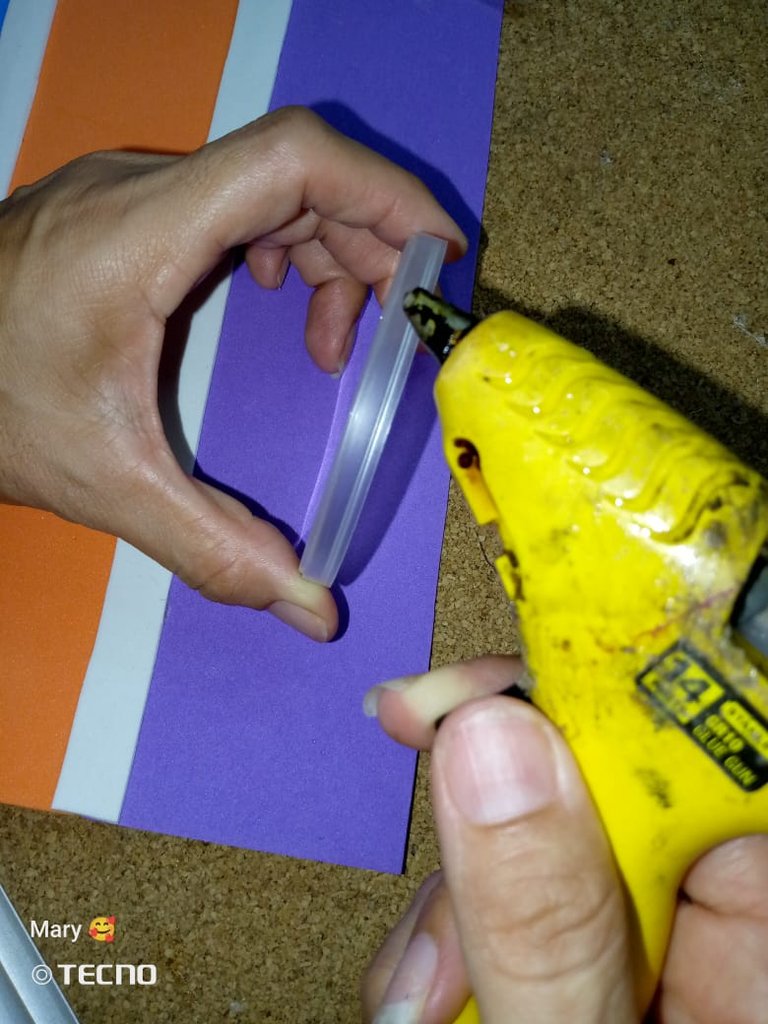
7- Ahora untamos silicón en la tapa.
7- Now we smear silicone on the lid.
8- Y pegamos en la pieza que armamos anteriormente. De manera que peguemos el foami en toda la orilla de la tapa.
8- And we glue on the piece we assembled previously. So that we glue the foami all around the edge of the lid.
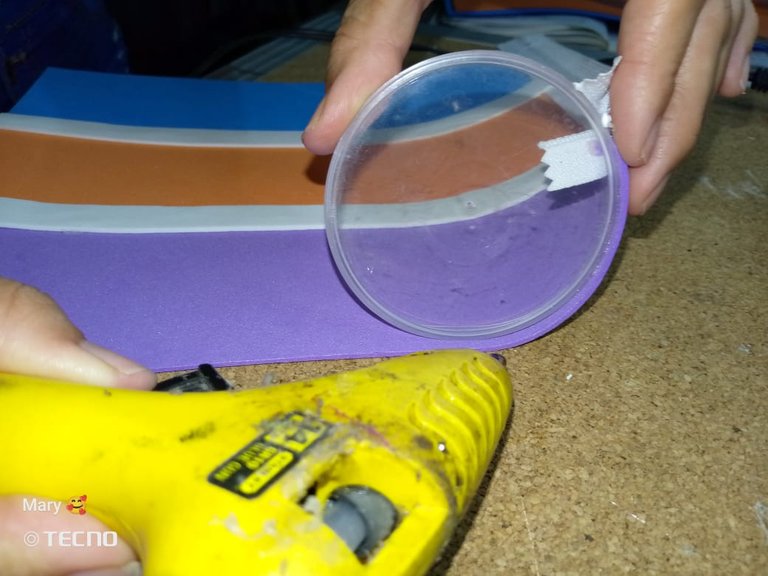
Nos va a quedar algo así. Haremos lo mismo del otro lado.
We will be left with something like this. We will do the same on the other side.
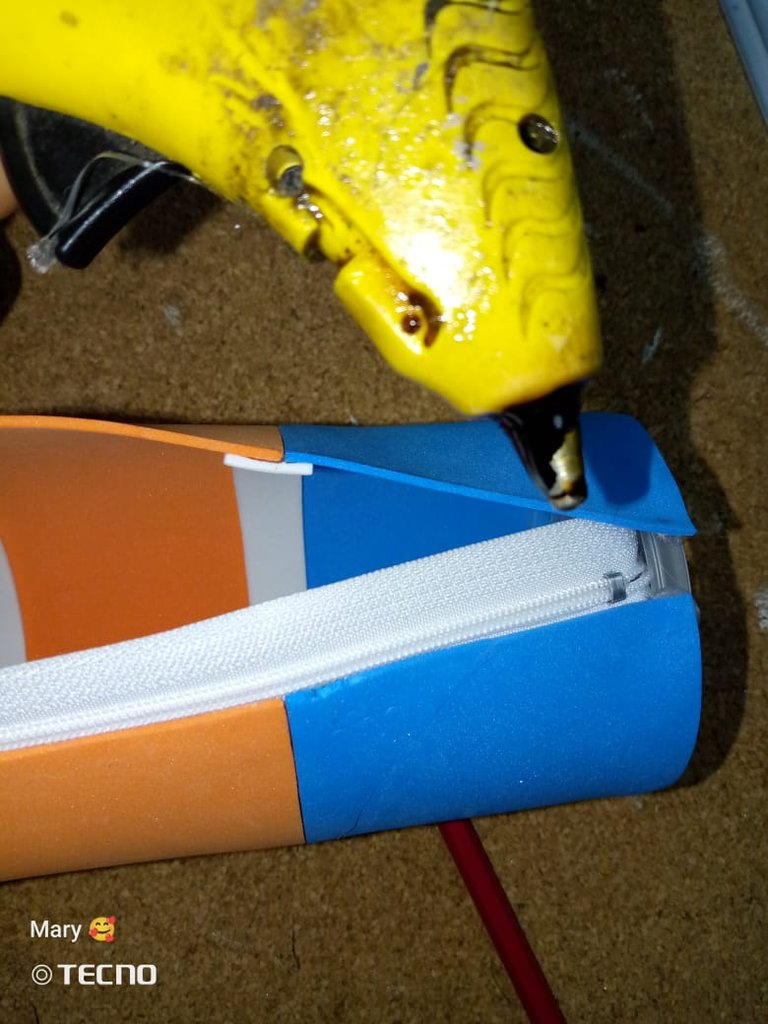
9- Cortamos 2 tiras más de foami blanco de 1x25 cm.
9- We cut 2 more strips of white foami of 1x25 cm.
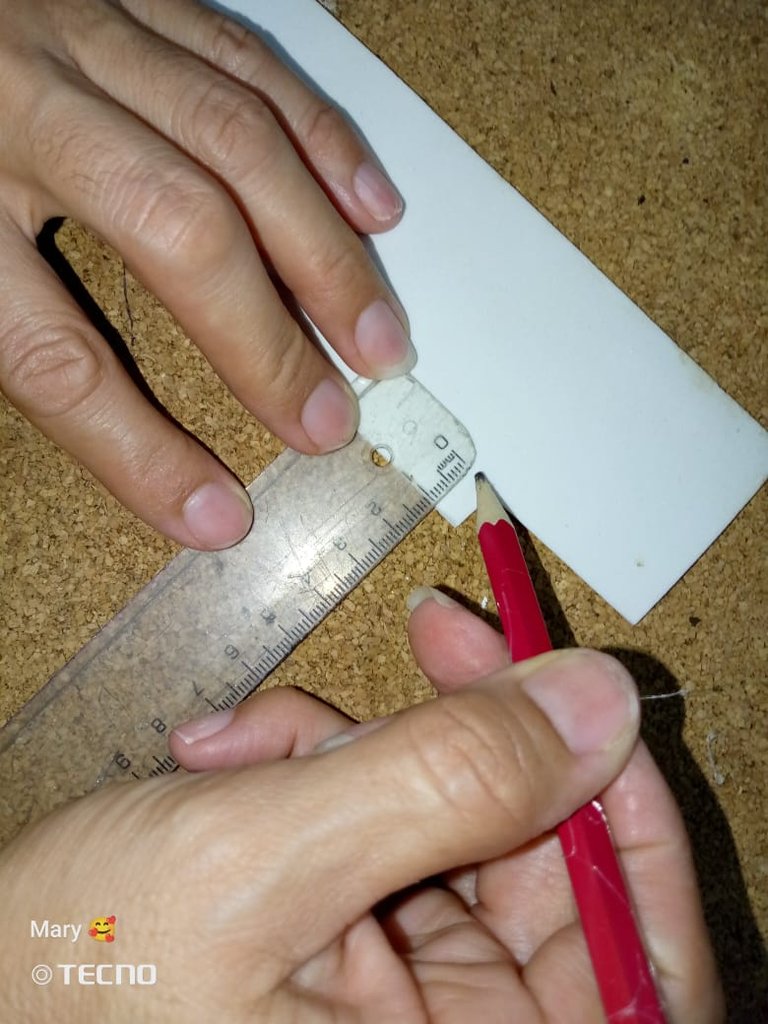
10- Ahora untamos silicón.
10- Now we spread silicone.
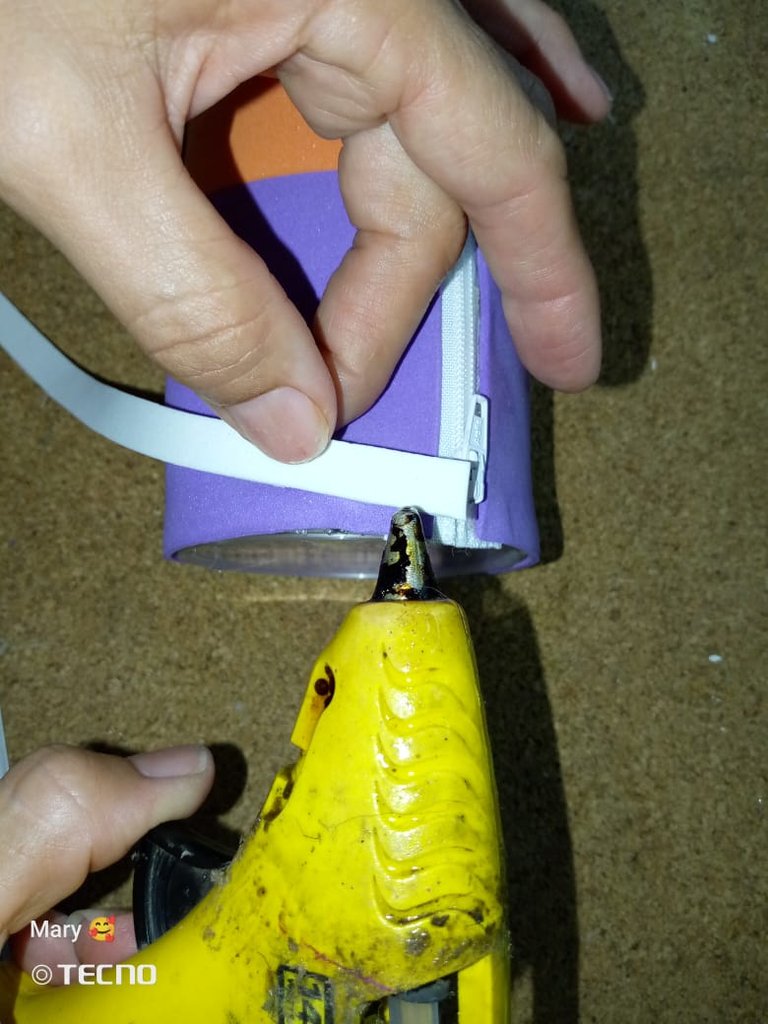
11- Y pegamos las tiras. De los dos lados.
11- And glue the strips. On both sides.
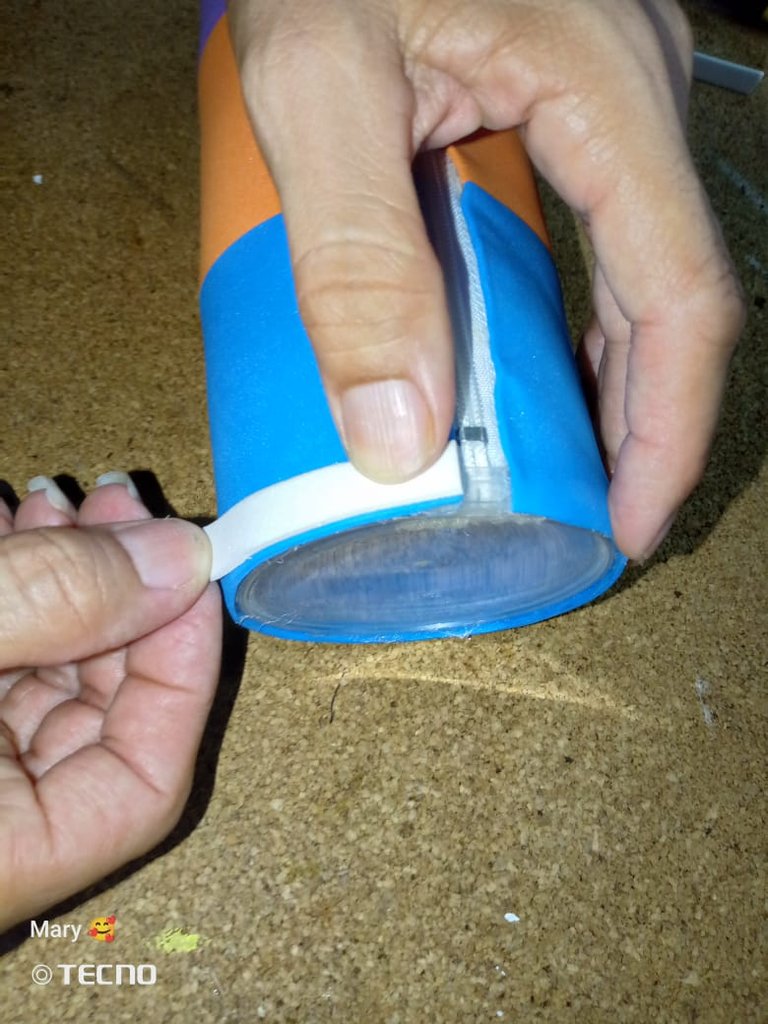
Así nos va a quedar.
This is how we are going to stay.
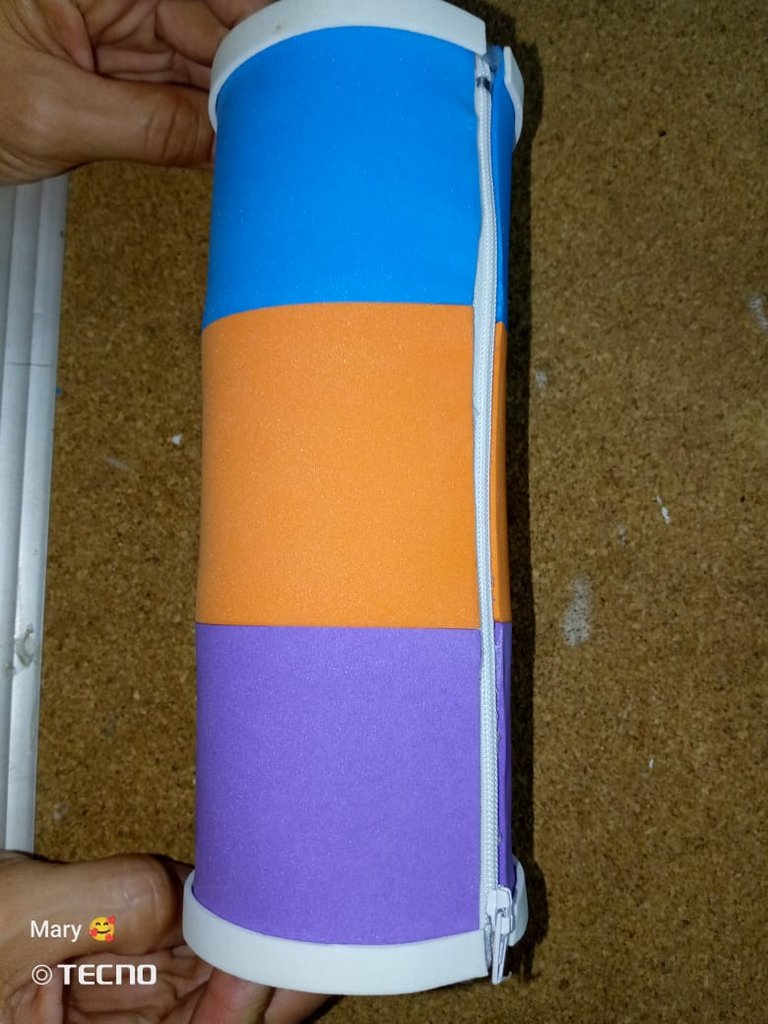
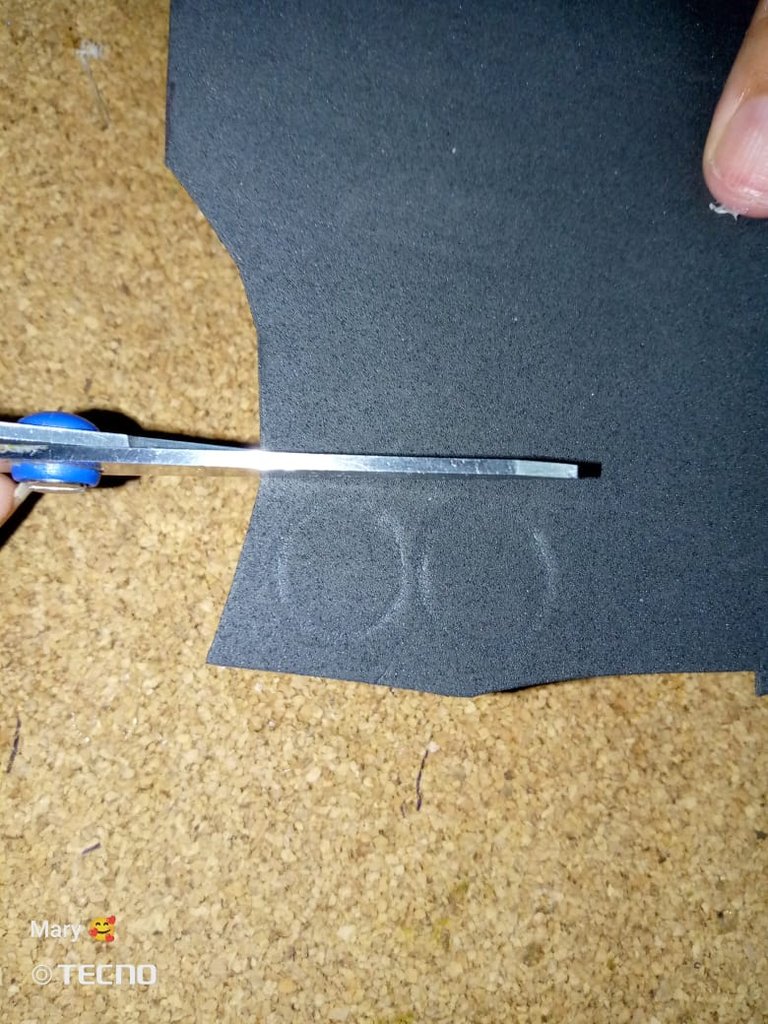
12- Ahora cortaremos 2 círculos en foami negro, de ésta manera. Y no olvidemos cortar la boquita también.
12- Now we will cut 2 circles in black foami, like this. And don't forget to cut the mouth too.
13- Untamos silicón en los ojitos y la boca.
13- Spread silicone on the eyes and mouth.
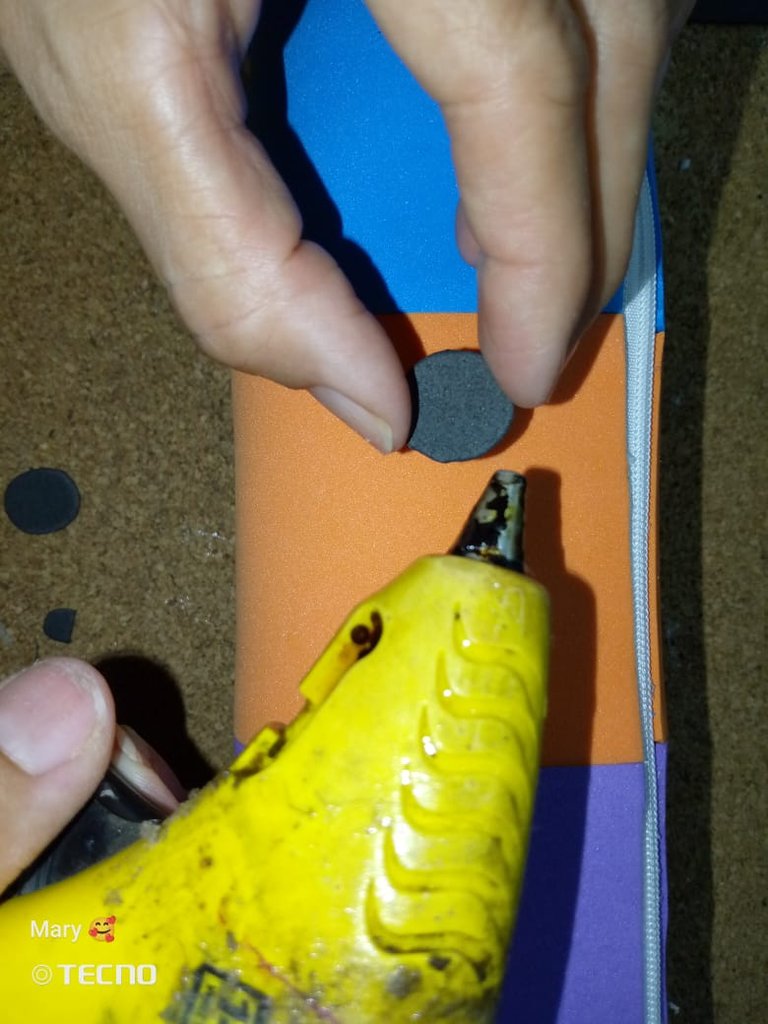
14- Y pegamos a la cartuchera.
14- And we glue to the pencil case.
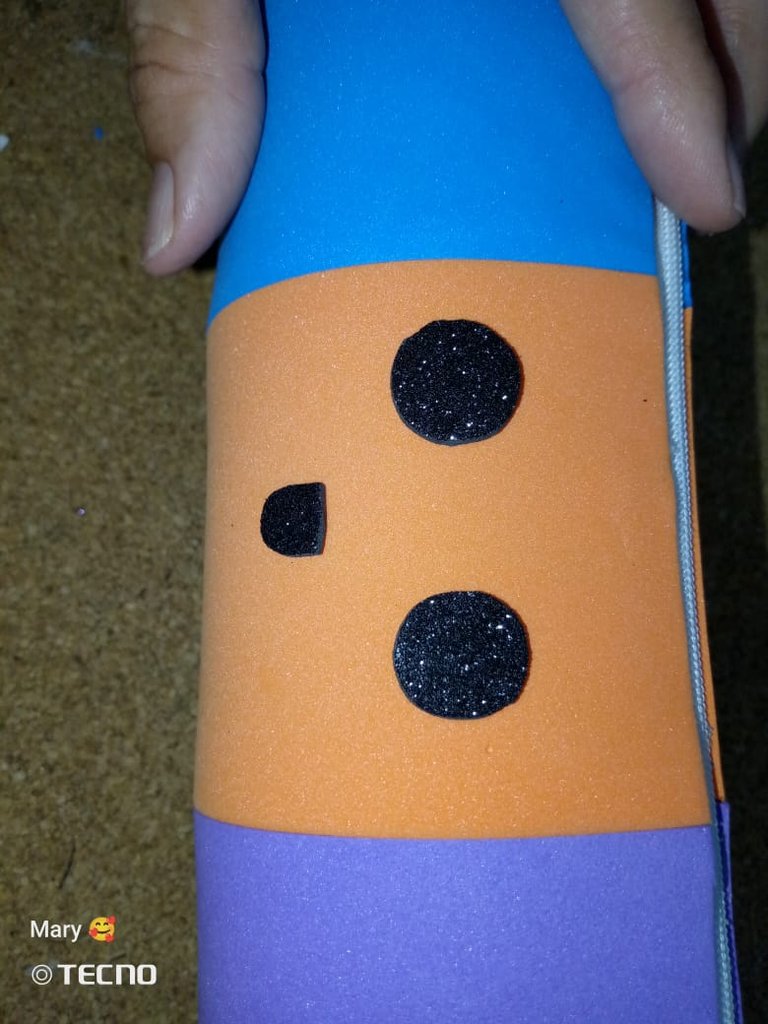
15- Ahora con ayuda del lápiz tomamos un poquito de pintura blanca, está la usaremos para dar el efecto de brillo en los ojos.
15- Now with the help of the pencil we take a little bit of white paint, we will use it to give the effect of brightness in the eyes.
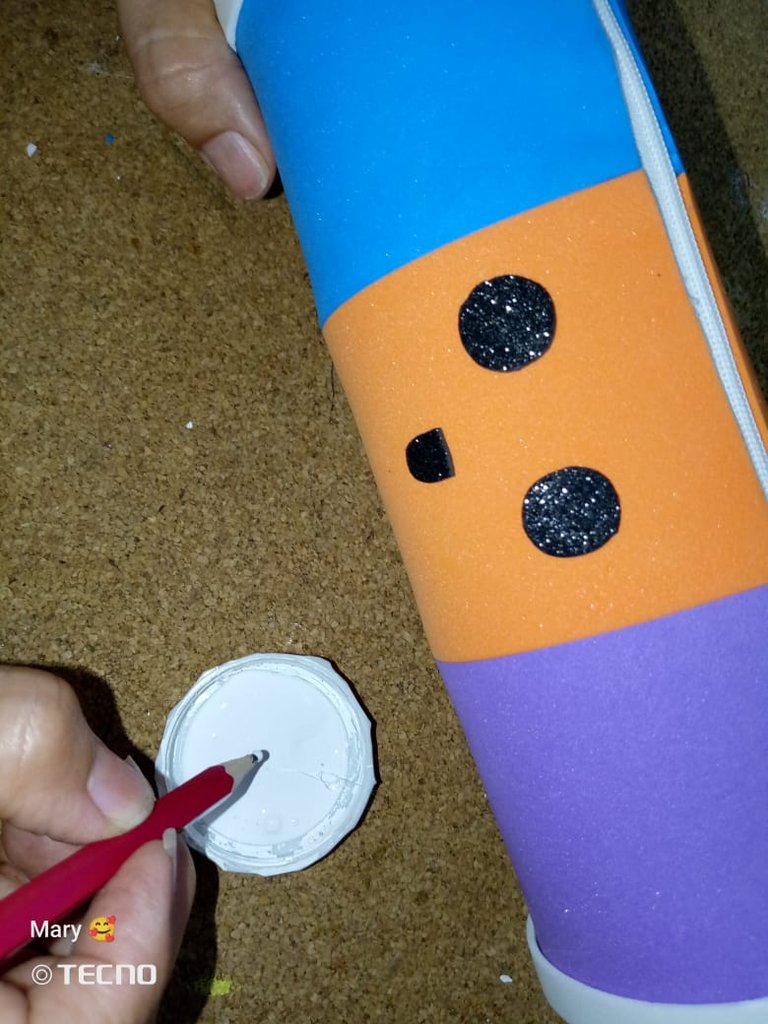
Nos va a quedar así.
We will be left with this.
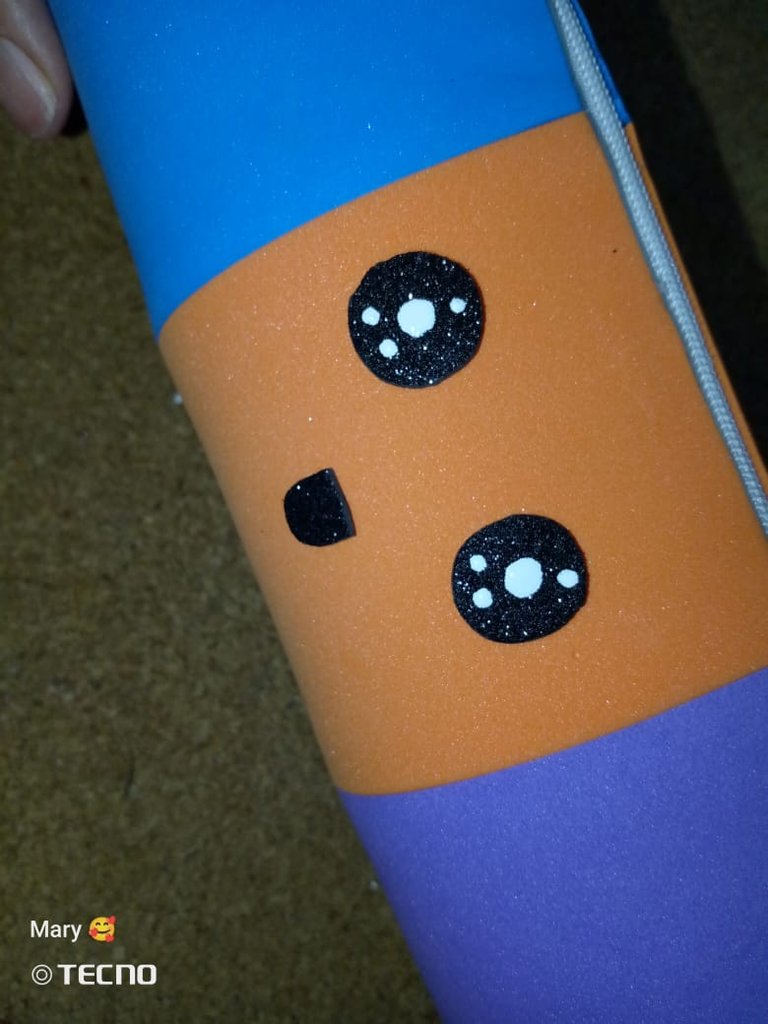
16- Tomamos también un poquito de pintura rosada para hacer la lengua de nuestro muñequito Kawai.
16- We also took a little bit of pink paint to make the tongue of our Kawai doll.
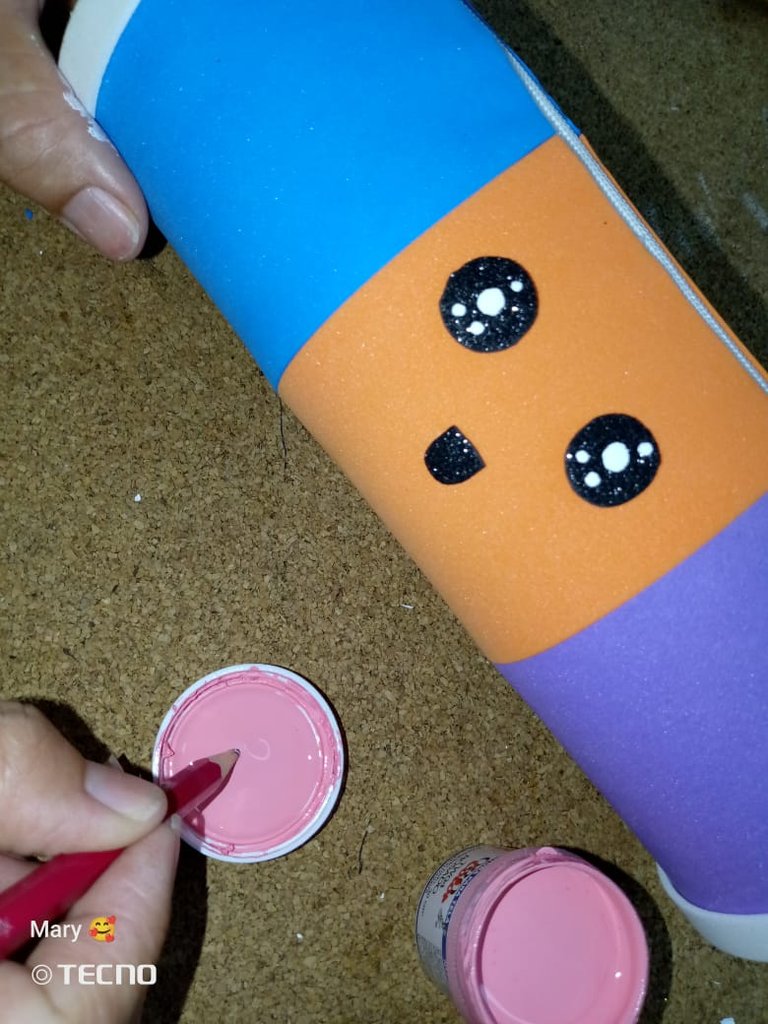
Así nos tiene que quedar.
This is the way it should be.
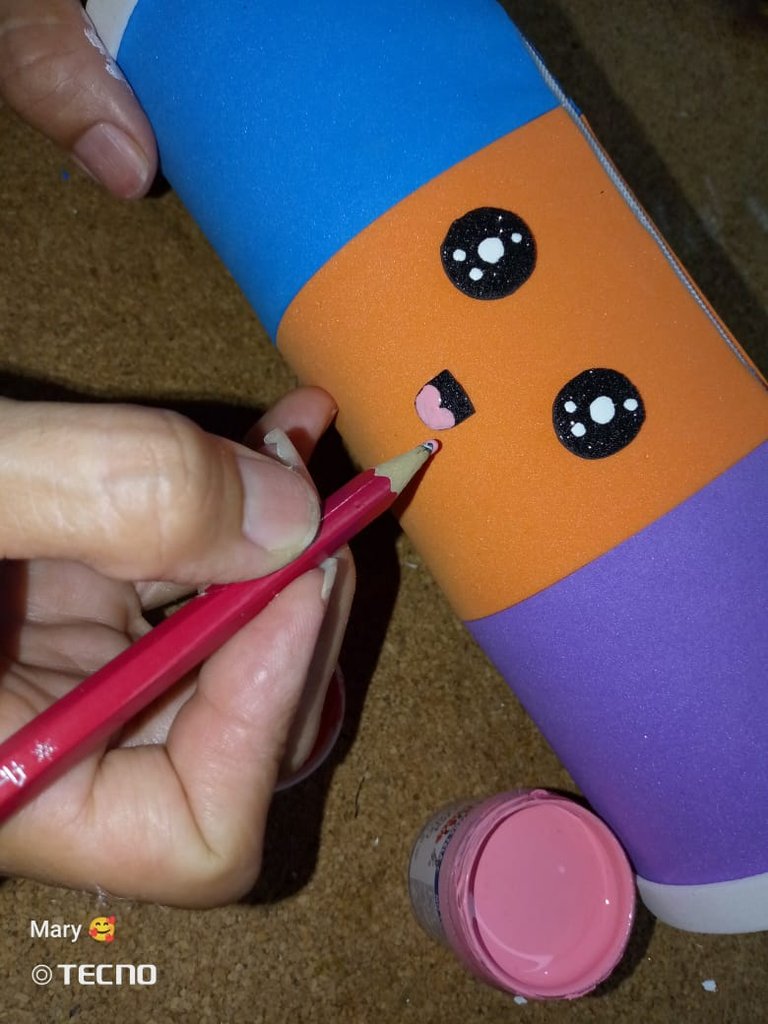
Y listo ya tenemos una hermosa cartuchera Kawai.
And now we have a beautiful Kawai pencil case.
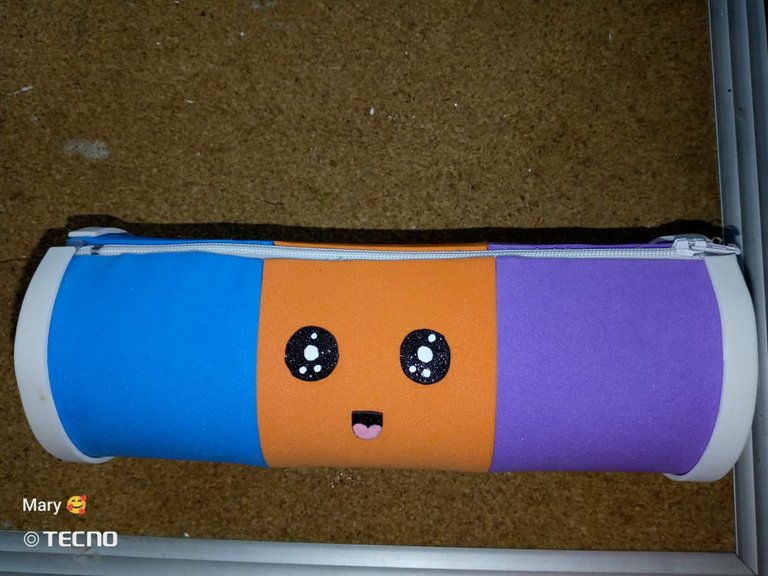
Espero les haya gustado mucho ésta hermosa cartuchera Kawai, también espero que ustedes también hagan una como está siguiendo este paso a paso, está cartuchera les pude servir para ustedes o para sus hijos y también la pueden hacer del color de su preferencia, a mi me encantó mucho está cartuchera, espero poder seguir creando contenido por acá y también ser bienvenida, no olviden dejar sus opiniones en los comentarios, me despido, nos vemos en un próximo post. Gracias por ver y leer.
I hope you liked this beautiful Kawai pencil case, I also hope you also make one like this following this step by step, this pencil case can be useful for you or for your children and you can also make it in the color of your preference, I really loved this pencil case, I hope to continue creating content here and also be welcome, do not forget to leave your opinions in the comments, I say goodbye, see you in a future post. Thanks for watching and reading.
- El texto es completamente de mi autoría
- The text is entirely by me
- Traducción realizada con DeepL Traslate
- Translation using DeepL Traslate
- Cámara: Tecno Spark GO 2023
- Camera: Tecno Spark GO 2023
- El texto es completamente de mi autoría
- The text is entirely by me
- Traducción realizada con DeepL Traslate
- Translation using DeepL Traslate
- Cámara: Tecno Spark GO 2023
- Camera: Tecno Spark GO 2023
- Traducción realizada con DeepL Traslate
- Translation using DeepL Traslate
- Cámara: Tecno Spark GO 2023
- Camera: Tecno Spark GO 2023
- Cámara: Tecno Spark GO 2023
- Camera: Tecno Spark GO 2023

Such a beautiful and well made pencil case. Bravo
!DIY
!discovery 30
Thanks 🫶🏻
This post was shared and voted inside the discord by the curators team of discovery-it
Join our Community and follow our Curation Trail
Discovery-it is also a Witness, vote for us here
Delegate to us for passive income. Check our 80% fee-back Program
The cute pencil case would prompt you to want to do more work. Nicely.
Thanks 🫶🏻
You can query your personal balance by
!DIYSTATSSin lugar a dudas son muchas cosas las que podemos crear conmaterial reciclado, esta hermosa.
🥰
Congratulations @aquiandvaleria! You have completed the following achievement on the Hive blockchain And have been rewarded with New badge(s)
Your next target is to reach 100 comments.
You can view your badges on your board and compare yourself to others in the Ranking
If you no longer want to receive notifications, reply to this comment with the word
STOPTo support your work, I also upvoted your post!
Check out our last posts:
Está muy linda la cartuchera éxitos
Gracias 😊