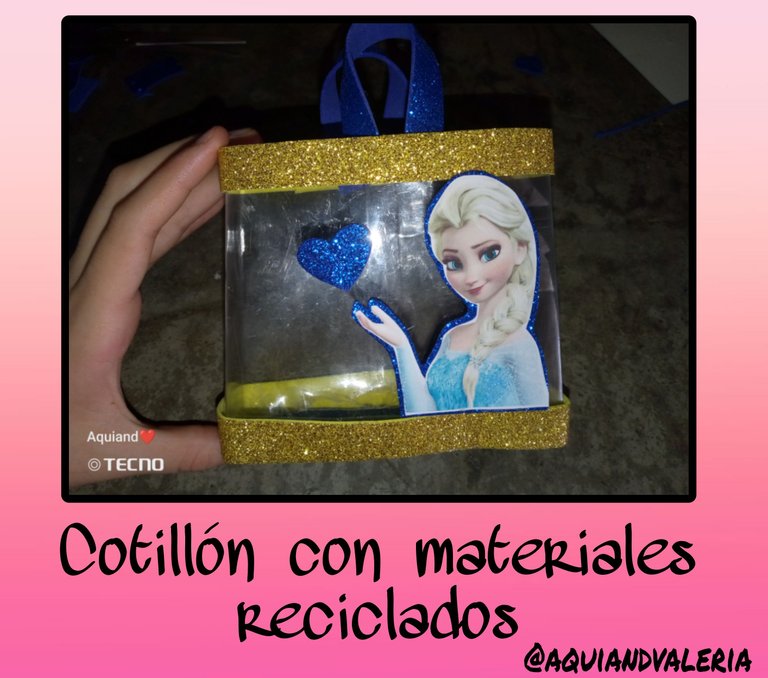
Cotillón con materiales reciclados♻️/Cotillion with materials reciclados♻️
Hola amigos de Hive Diy es un gusto para mí estar por acá publicando por primera vez, aparte del ballet me encantan las manualidades y hoy para mí primera publicación quiero mostrarles el paso a paso de como hice un cotillón con materiales reciclados, es una idea muy económica con materiales que podemos conseguir en casa, para que tengan una idea de todo lo que podemos hacer con cosas que para nosotros ya no tiene utilidad. Acá les dejo los materiales y el procedimiento.
Hi friends of Hive Diy is a pleasure for me to be here publishing for the first time, apart from ballet I love crafts and today for my first publication I want to show you the step by step of how I made a cotillion with recycled materials, it is a very economical idea with materials that we can get at home, so you have an idea of everything we can do with things that for us is no longer useful. Here are the materials and the procedure.
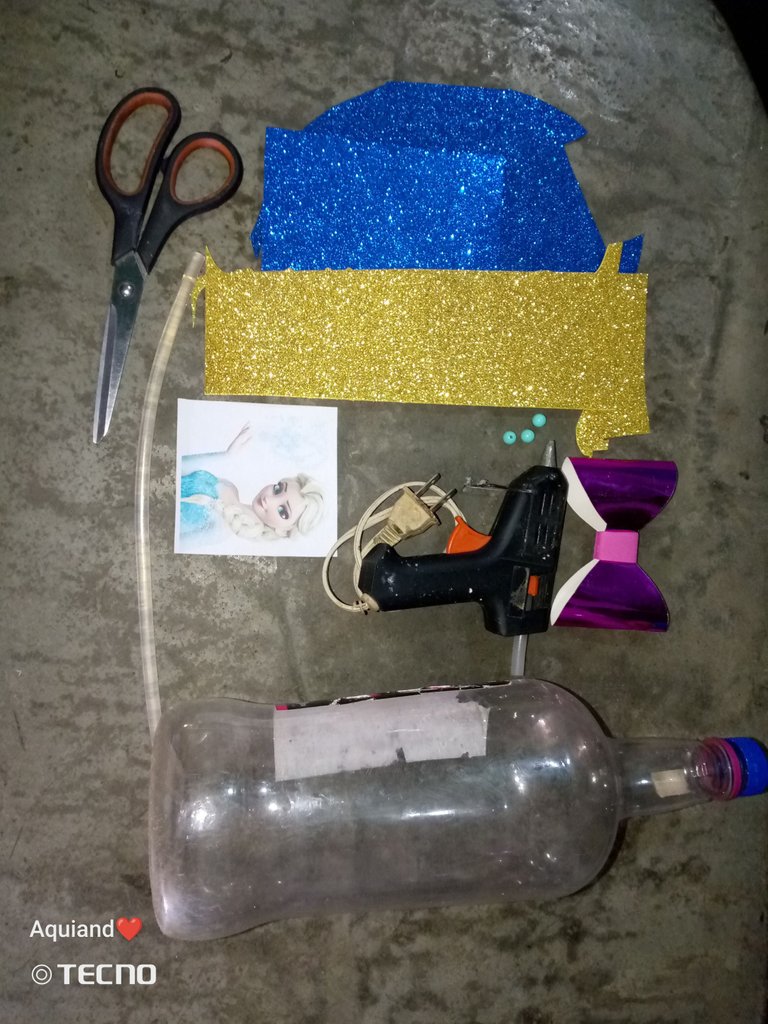
✓Una botella vacía que no vamos a ocupar.
✓ Tijeras.
✓ Silicon caliente.
✓ Pistola de silicon.
✓ Foami del color de tu preferencia.
✓ Decoraciones de tu preferencia.
✓ An empty bottle that we will not occupy.
✓ Scissors.
✓ Hot silicon.
✓ Silicone gun.
✓ Foami in the color of your choice.
✓ Decorations of your choice.
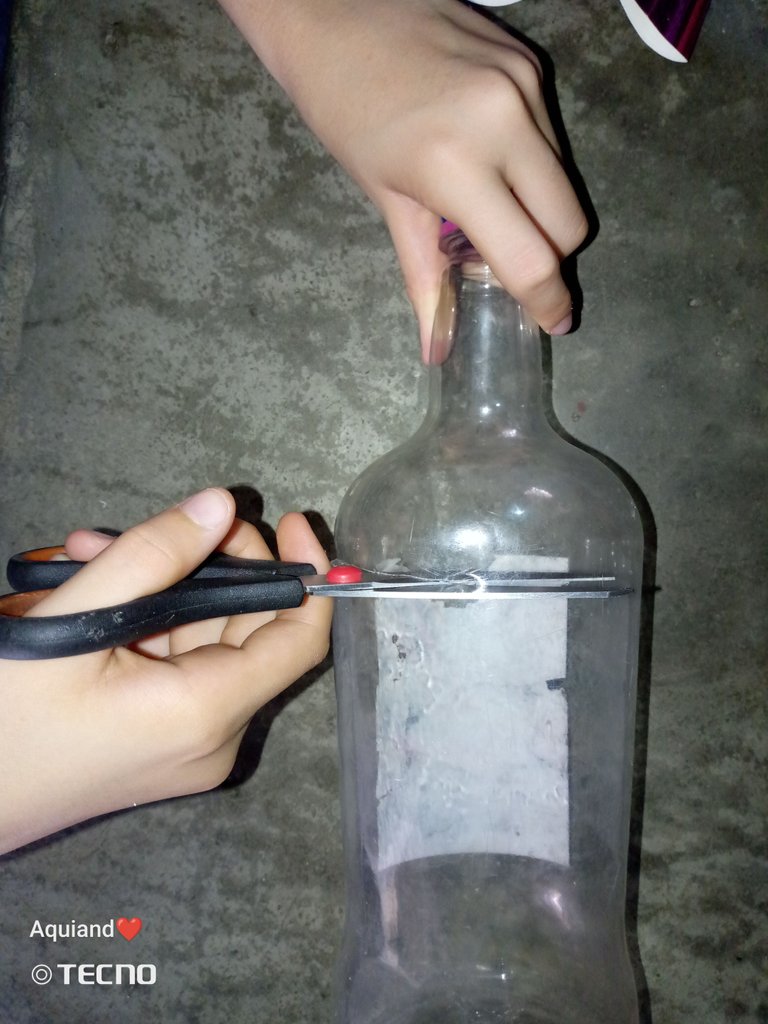
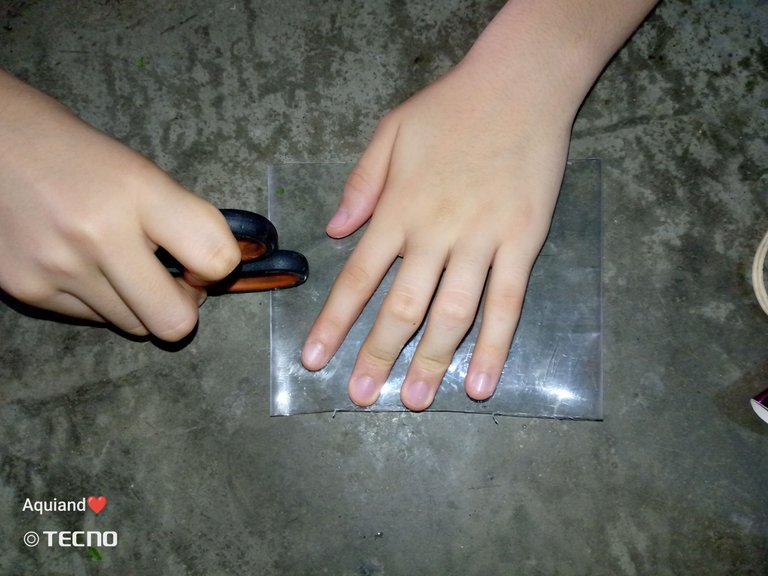
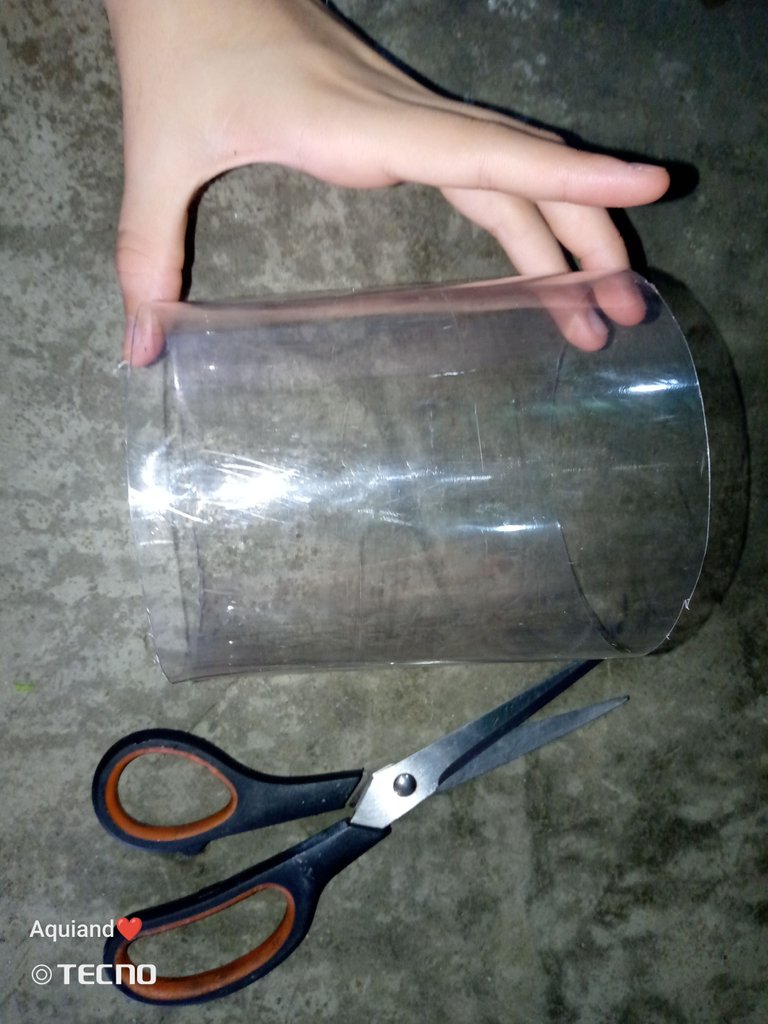
1- Cortamos con mucho cuidado nuestra botella a la altura o medida que quieras. Puedes usar la botella que tengas o encuentres.
1- We carefully cut our bottle to the height or size you want. You can use any bottle you have or find.
Nos va a quedar algo así. Cuida que los bordes queden iguales.
It will look something like this. Make sure the edges are even.
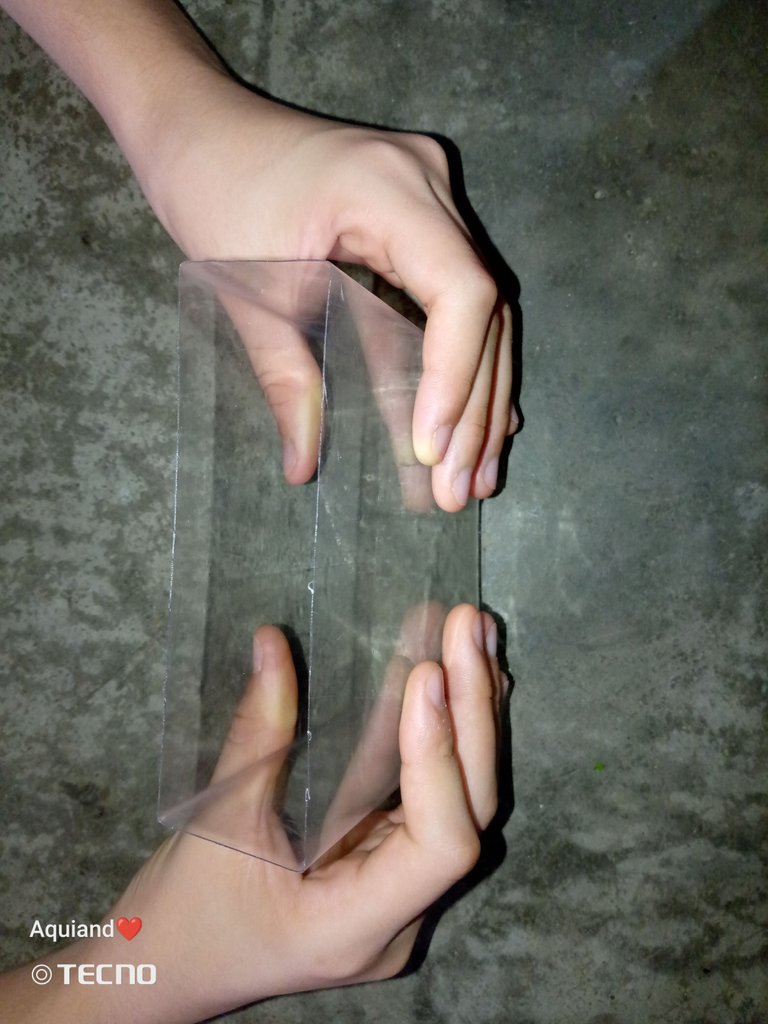
2- Doblamos nuestra botella y hacemos presión ayudándonos con las tijeras para que el resultado sea mejor.
2- We fold our bottle and make pressure helping us with the scissors so that the result is better.
3- Le vamos a dar una forma de cajita cuadrada.
3- We are going to give it a square box shape.
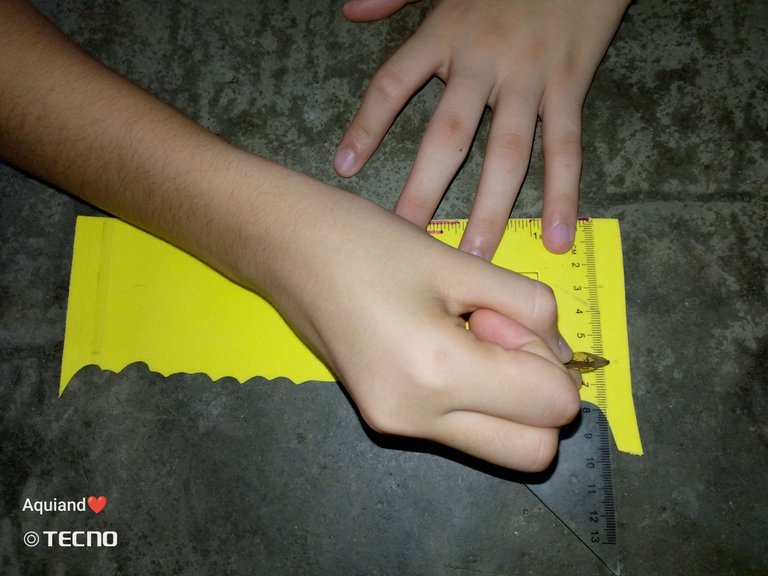
4- Medimos y cortamos 6cm de nuestro foami. Para sacar tiras de 3cm.
4- Measure and cut 6cm of our foami. To get strips of 3cm.
5- Cortamos el foami siguiendo las líneas que marcamos. Sacaremos 2 tiras.
5- Cut the foami following the lines we marked. We will take out 2 strips.
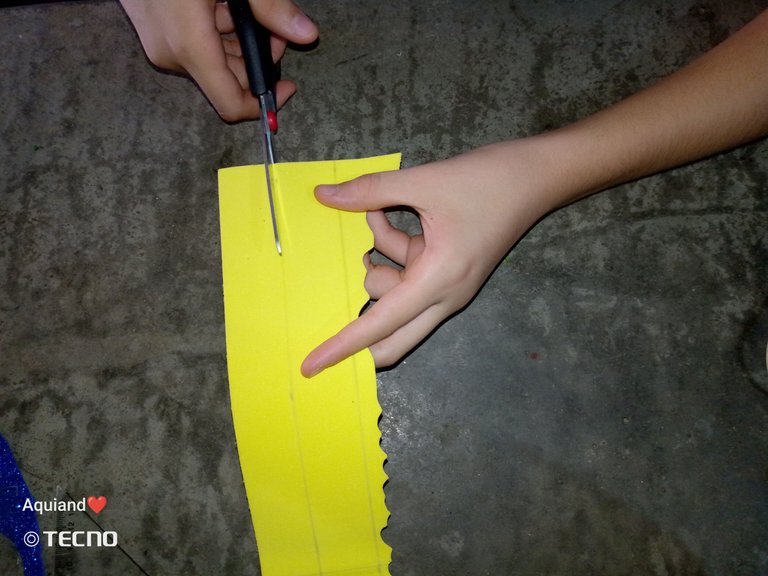
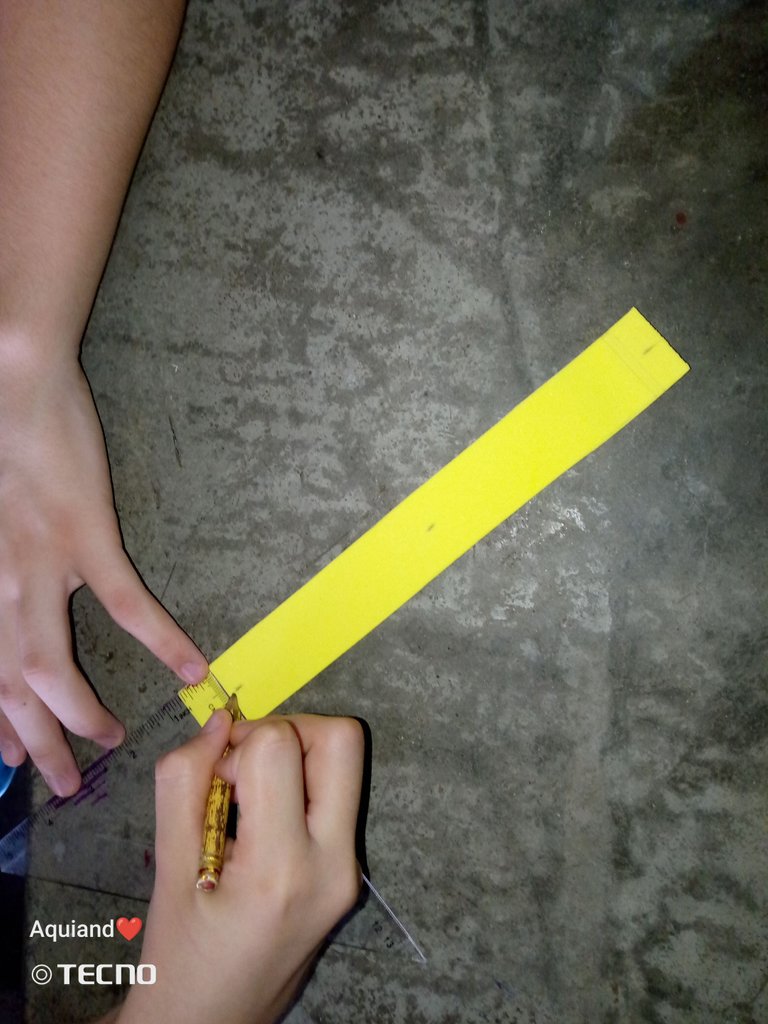
6- De cada tira que sacamos, vamos a medir 1.5cm y cortamos.
6- From each strip we take out, measure 1.5cm and cut.
Asi se tienen que ver muestras tiras.
This is how strip samples should look like.
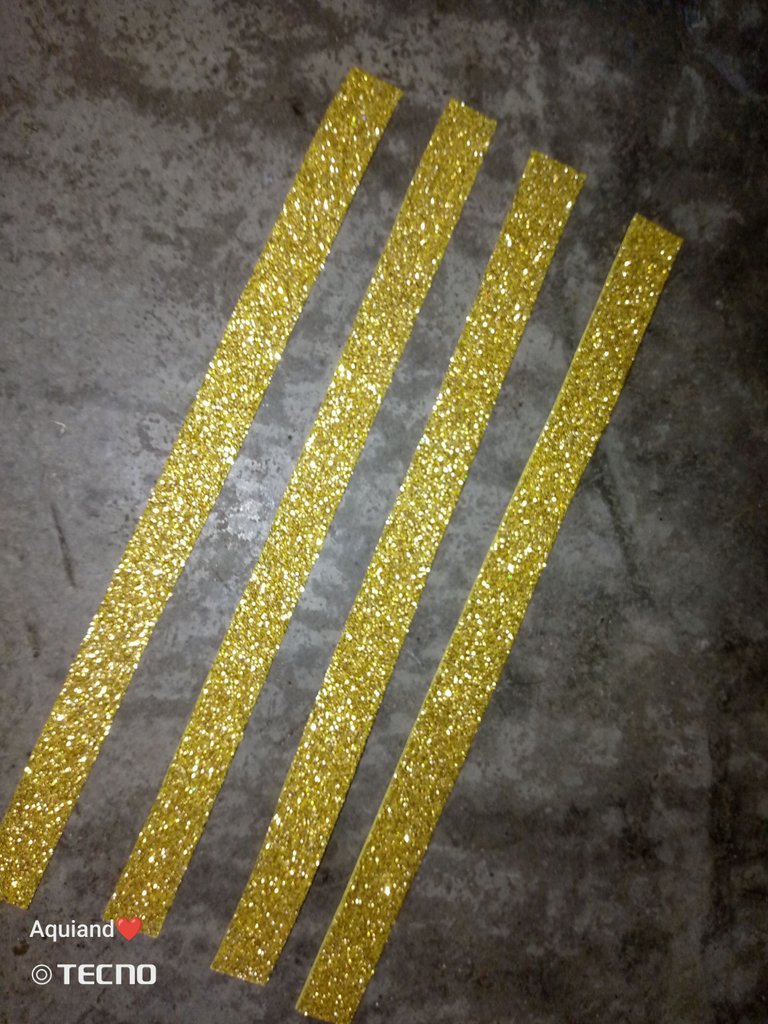
7- Medimos y cortamos muy bien la base de nuestro cotillón.
7- We measure and cut the base of our cotillion very well.
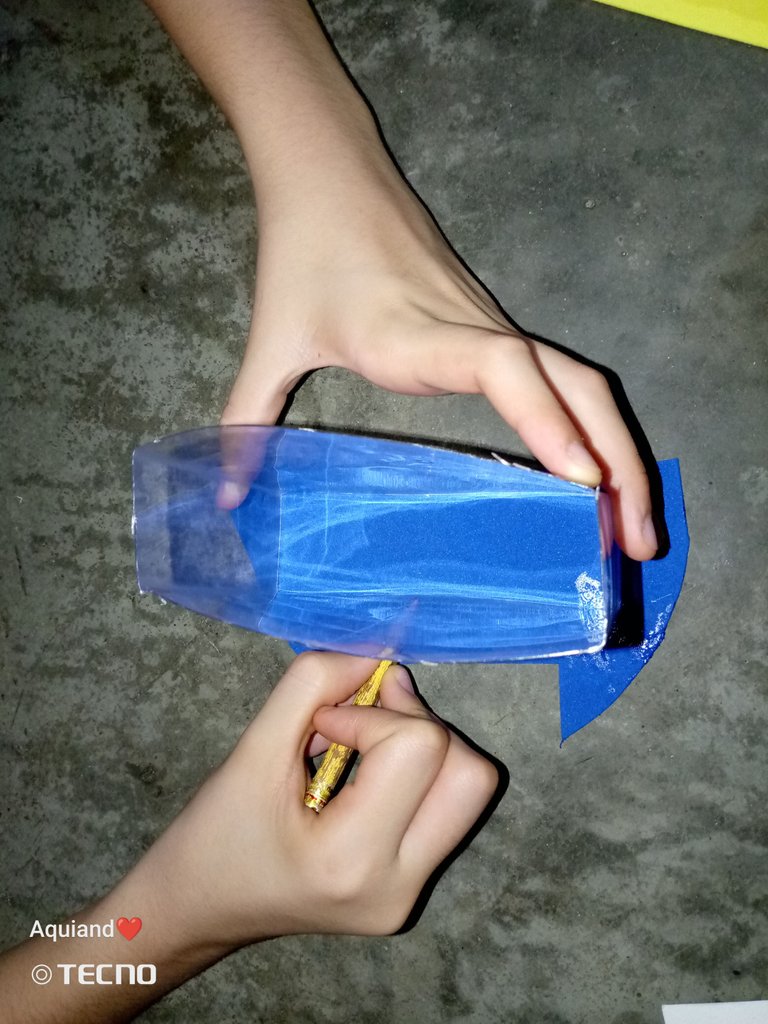
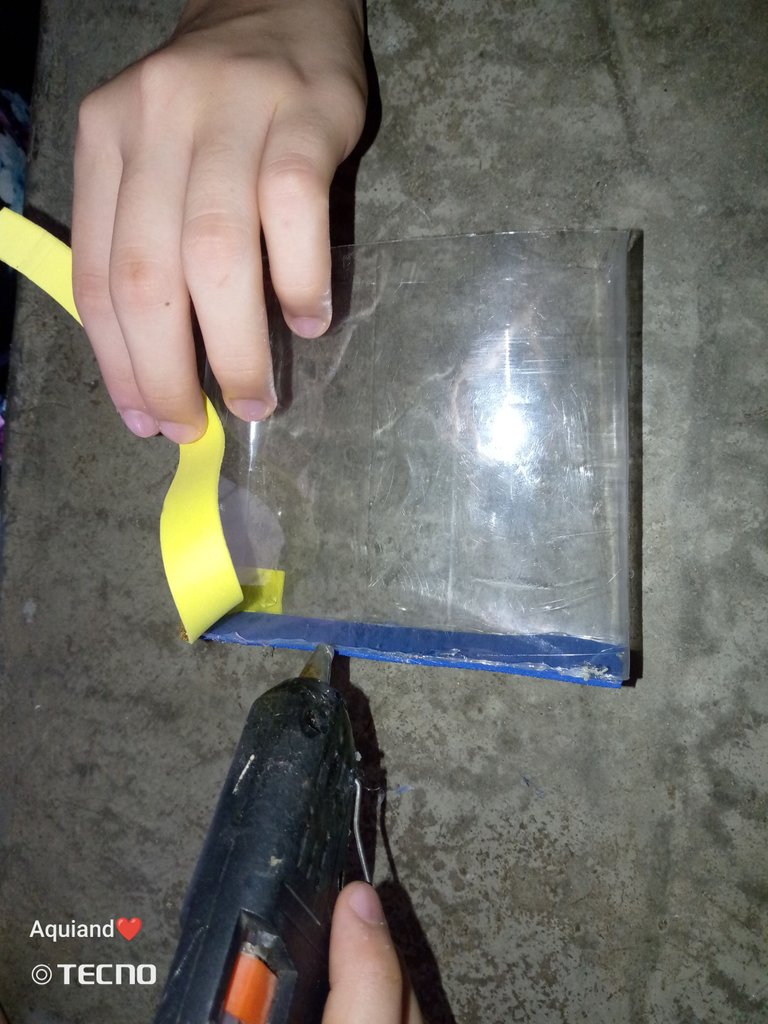
8- Pegamos la base del cotillón con silicón caliente. Y obviamente con mucho cuidado. Asegurándonos de pegar muy bien para sostener nuestras chuches y no se caigan.
8- Glue the base of the cotillion with hot silicone. And obviously very carefully. Making sure to glue very well to hold our baubles and do not fall.
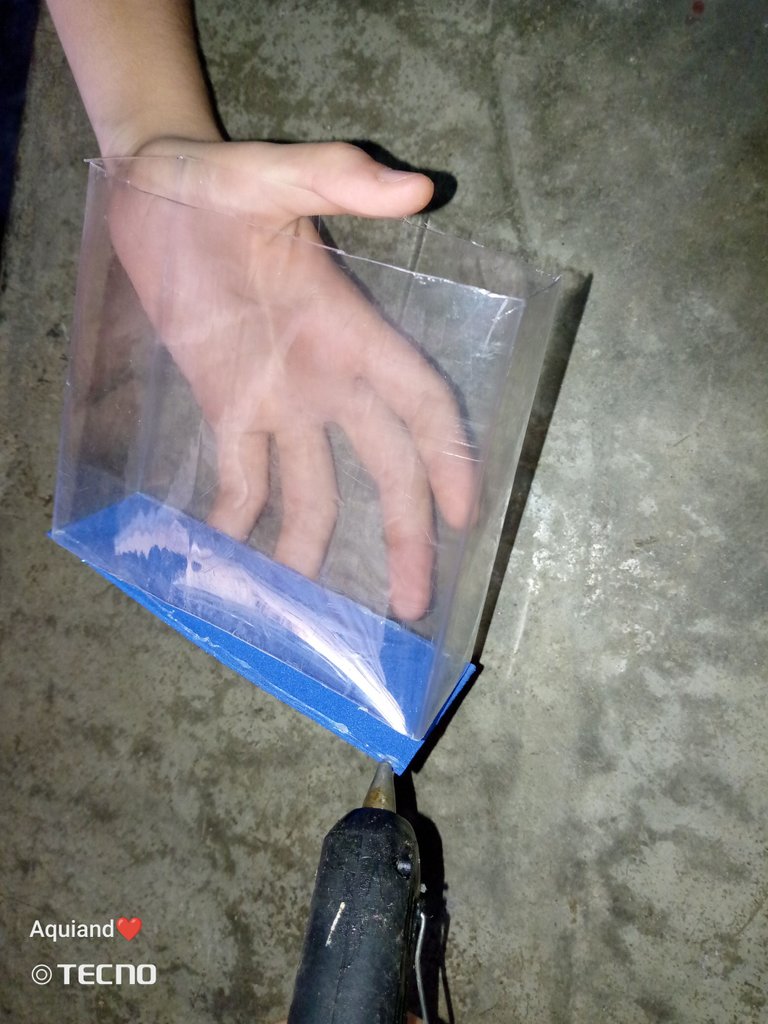
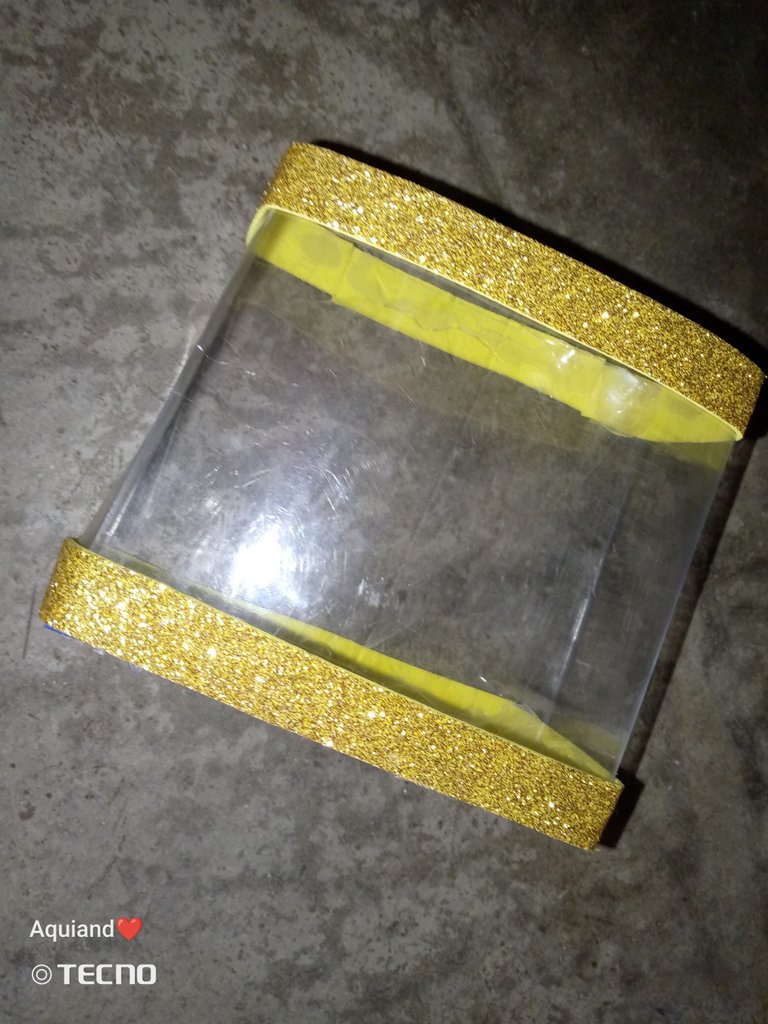
9- Pegamos las tiras en las orillas del cotillón en la parte de arriba, las dos a la misma altura, con mucho cuidado para no quemarnos con el silicón caliente.
9- Glue the strips on the edges of the cotillion at the top, both at the same height, being very careful not to burn ourselves with the hot silicone.
Así vamos con las tiras pegadas a nuestro cotillón. Poco a poco va tomando forma y se ve cada vez mejor.
This is how we go with the strips glued to our cotillion. Little by little it takes shape and looks better and better.
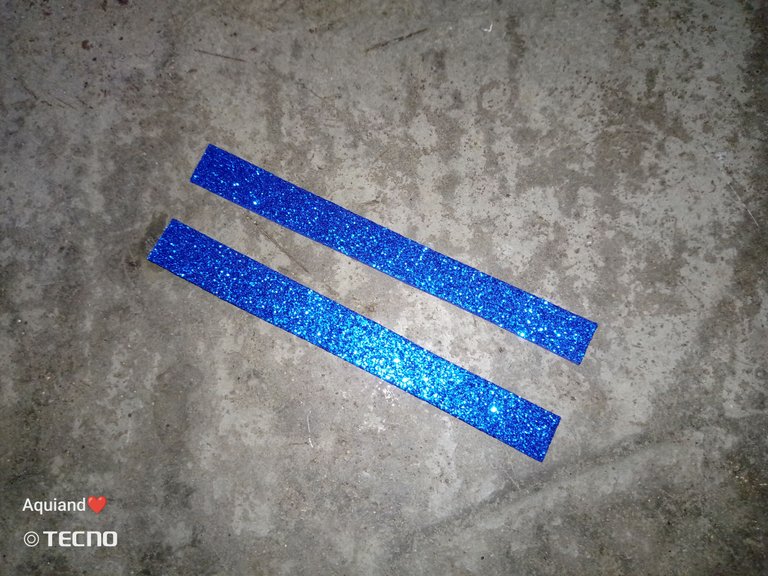
10- Cortamos 2 tiras más de un color diferente a nuestras tiras anteriores para hacer las asas de nuestro cotillón.
10- We cut 2 more strips of a different color from our previous strips to make the handles of our cotillion.
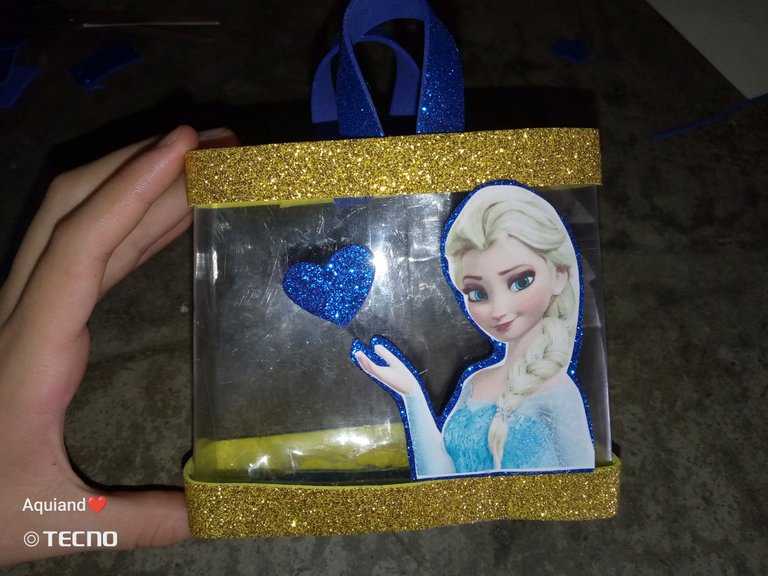
11- Pegamos las asas y decoramos nuestro cotillón, en mi caso yo lo decoré con una muñeca de Elsa y un corazón azul, así me quedó.
11- Glue the handles and decorate our cotillion, in my case I decorated it with an Elsa doll and a blue heart, this is how it looked.
Y ya está listo nuestro cotillón, lo puede usar para dar un obsequio con chuches o lo que quieras obsequiar, también lo puedes rellenar con papelitos de colores aparte de las cuches, lo puedes hacer a tu gusto y decorar como quieras, en mi caso este sería para darle un regalo a mi sobrina ya que faltan pocos días para su cumpleaños y quiero regalarle algo especial y con las chuches que más le gustan, espero que les haya gustado está idea que les traje el día de hoy, es muy fácil y rápido de hacer, el resultado les gustará mucho, comenten que tal les pareció este tutorial, a mí me encantó y me divertí mucho en el proceso, mi mamá me ayudó un poco para que el cotillón quede más bonito, les recomiendo mucho está idea, seria un regalo muy bonito y lroginme despido, los espero en mi próximo post. Gracias por ver y leer.
And now our cotillion is ready, you can use it to give a gift with sweets or whatever you want to give away, you can also fill it with colored paper apart from the sweets, you can do it to your taste and decorate as you like, in my case this would be to give a gift to my niece as there are a few days left for her birthday and I want to give her something special and with the sweets that she likes the most, I hope you liked this idea that I brought you today, it is very easy and quick to do, you will like the result, comment how you liked this tutorial, I loved it and I had a lot of fun in the process, my mom helped me a little to make the cotillion more beautiful, I highly recommend this idea, it would be a very nice gift and lroginme goodbye, I hope you in my next post. Thanks for watching and reading.
- El texto es completamente de mi autoría
- The text is entirely by me
- Traducción realizada con DeepL Traslate
- Translation using DeepL Traslate
- Cámara: Tecno Spark GO 2023
- Camera: Tecno Spark GO 2023
- El texto es completamente de mi autoría
- The text is entirely by me
- Traducción realizada con DeepL Traslate
- Translation using DeepL Traslate
- Cámara: Tecno Spark GO 2023
- Camera: Tecno Spark GO 2023
- Traducción realizada con DeepL Traslate
- Translation using DeepL Traslate
- Cámara: Tecno Spark GO 2023
- Camera: Tecno Spark GO 2023
- Cámara: Tecno Spark GO 2023
- Camera: Tecno Spark GO 2023
Felicidades @aquiandvaleria , ante todo debo admitir que tienes excelentes ideas, la verdad es q es algo fuera de lo común y sobre todo no golpea el bolsillo.
Congratulations @aquiandvaleria! You have completed the following achievement on the Hive blockchain And have been rewarded with New badge(s)
Your next target is to reach 1500 upvotes.
You can view your badges on your board and compare yourself to others in the Ranking
If you no longer want to receive notifications, reply to this comment with the word
STOPCheck out our last posts: