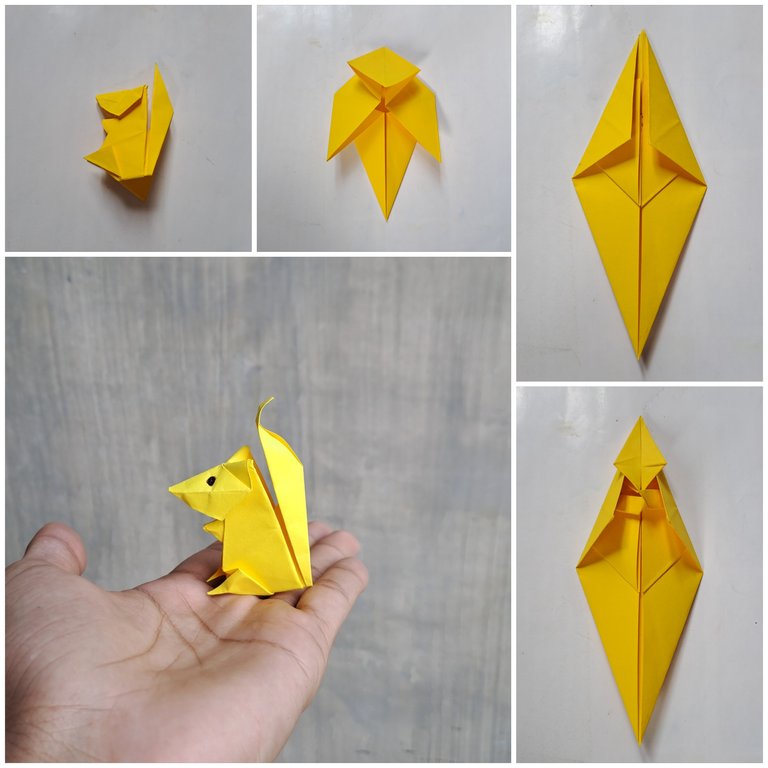
Tutorial on making a squirrel from origami paper
Hi friends of HIVE DIY
Squirrels are beautiful animals that I often see in our neighborhood in the village area, therefore today I want to make a cute squirrel using yellow origami paper.
To make a squirrel from paper is very easy, friends only have to follow a few steps that I will share below.
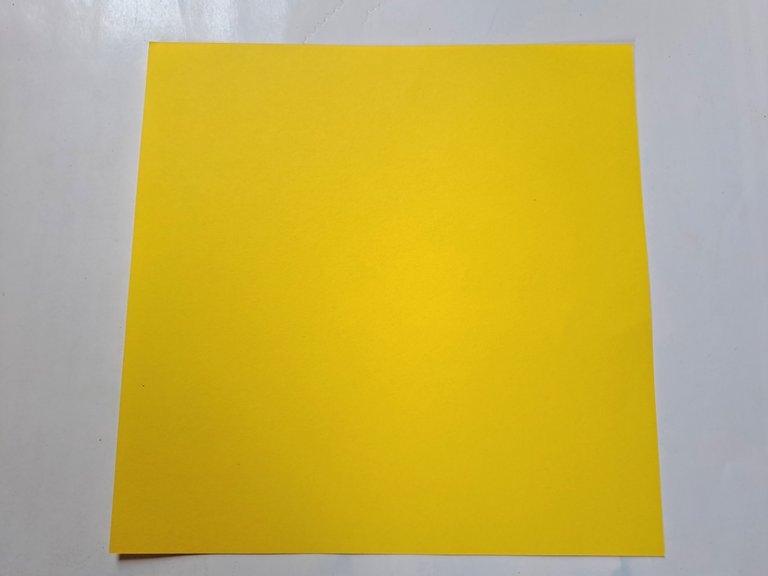
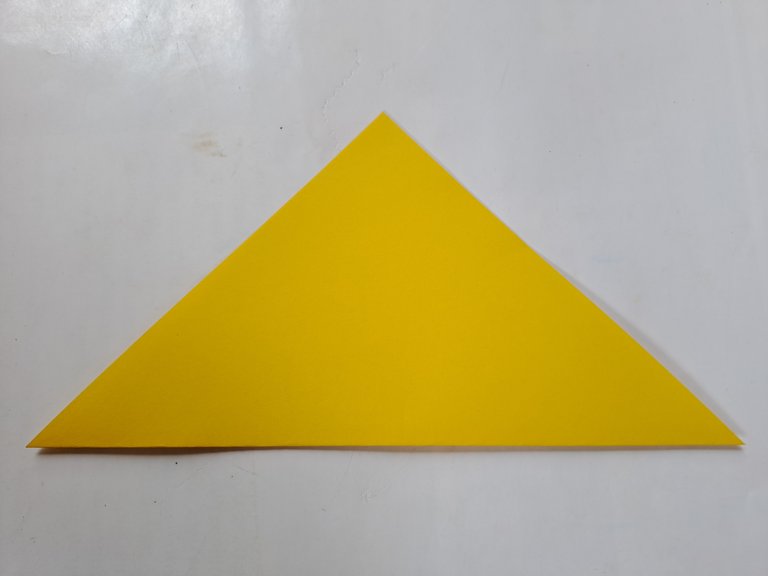
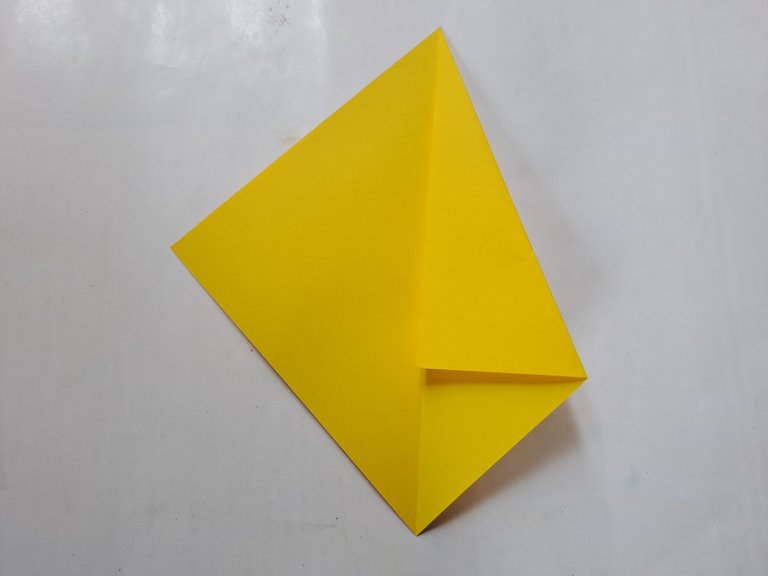
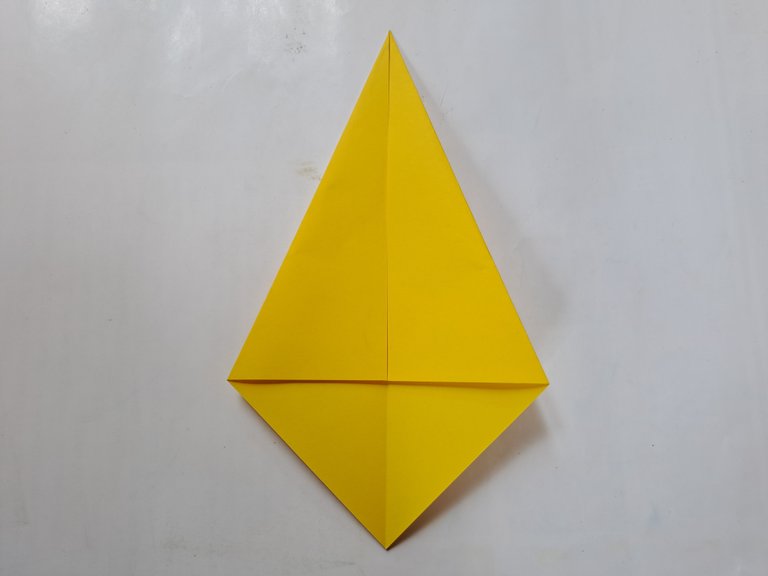
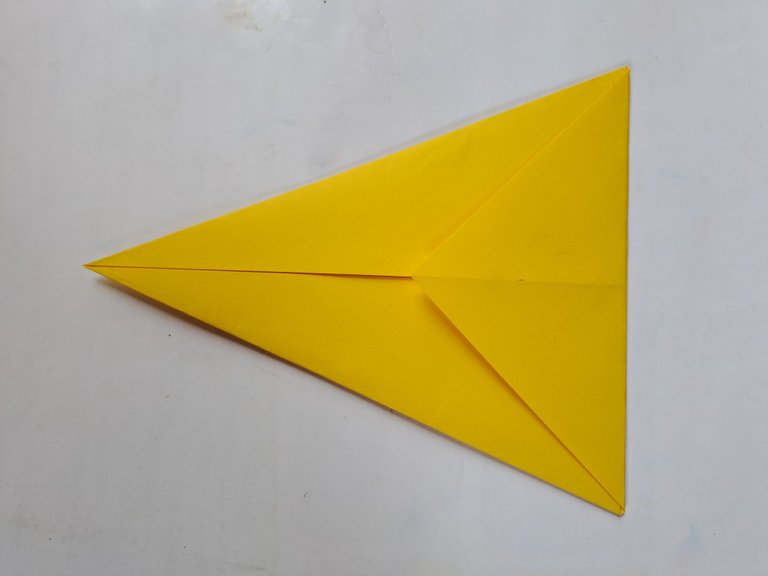
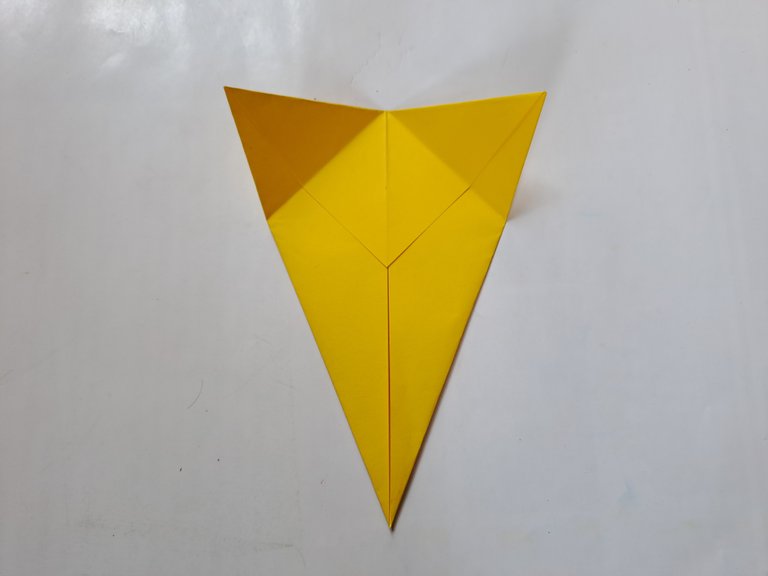
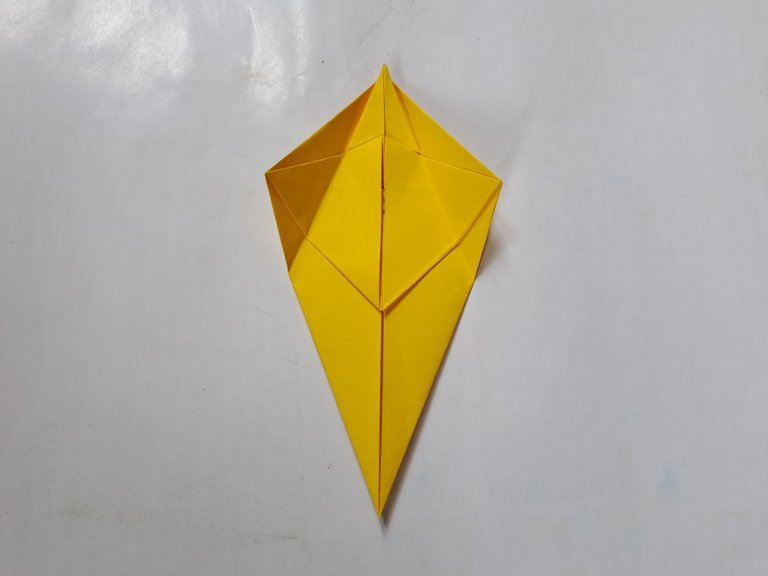
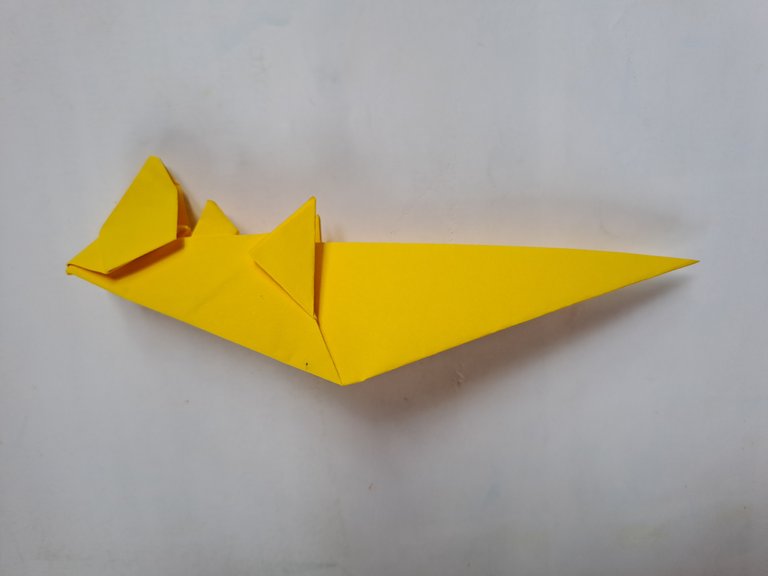
First fold the origami paper into a triangle, then unfold it again and now fold the right and left sides of the origami paper halfway towards the middle until the origami paper is pointed, then fold the back side of the origami paper to the front as shown in the picture below.
 |  |
|---|
 |  |
|---|
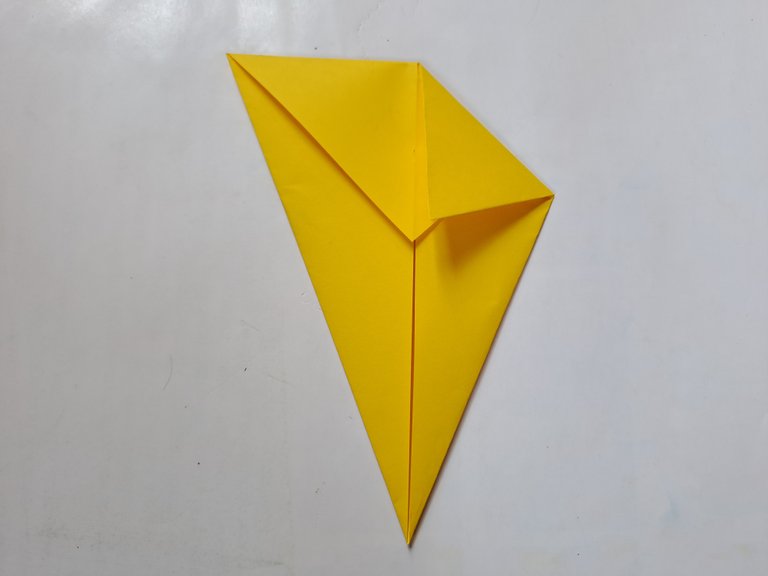
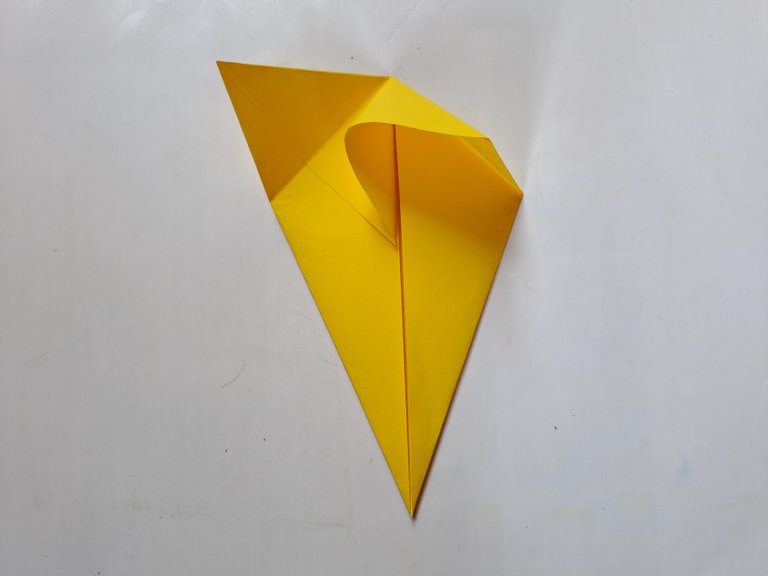
After that, fold the left and right sides of the top of the origami paper as shown in the picture I shared below.
 |  |
|---|
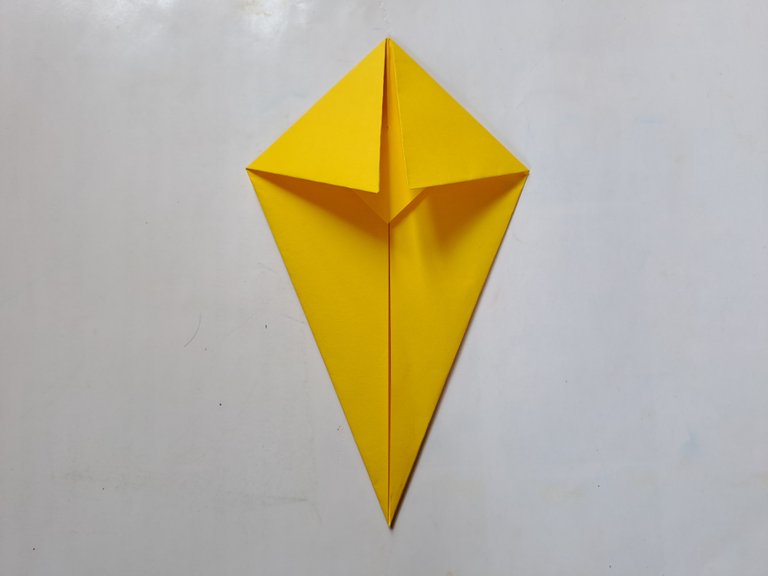
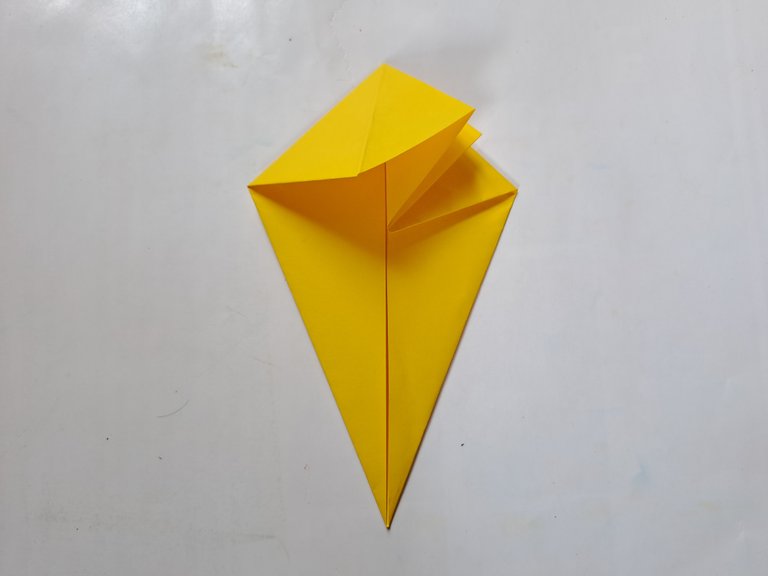
Then unfold it again and pull the first layer out and then fold it back into the paper, do the same on the other side as shown in the picture below so that the folds are perfect and parallel.
 |  |
|---|
 |  |
|---|
 |  |
|---|
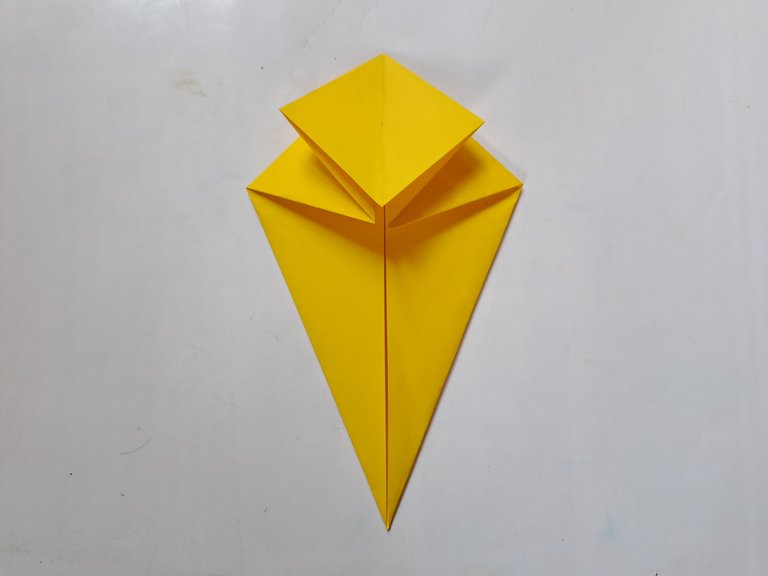
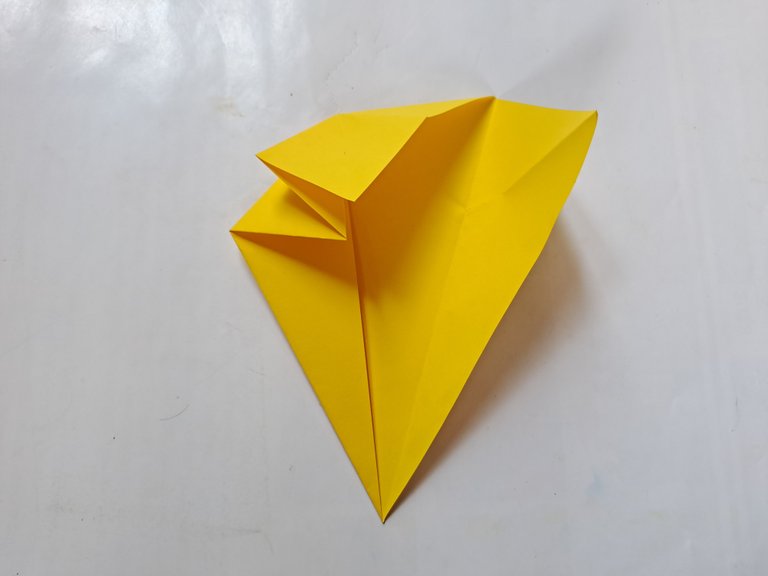
After that, open the right fold of the origami paper to the side again, then fold the top and bottom sides of the origami paper so that the middle side protrudes upwards, then fold the protruding side downwards.
 |  |
|---|
Then also open the left side of the paper to the outside, then fold the top and bottom sides of the origami paper until the middle of the paper protrudes upwards, then also fold the protruding part downwards as shown in the picture below.
 |  |
|---|
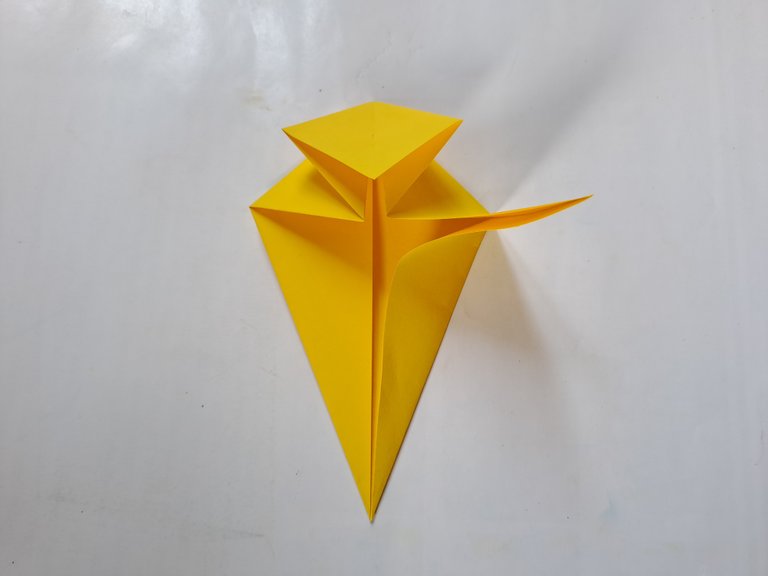
Then fold the right and left sides of the top of the paper towards the middle as shown in the picture below.
 |  |
|---|
After that, reopen the fold and now fold the left side towards the middle, then fold the paper again to the left side, then also fold the right side of the paper towards the middle and fold it again to the right side, then continue folding the right side and left side of the paper slightly towards the middle.
 |  |
|---|
 |  |
|---|
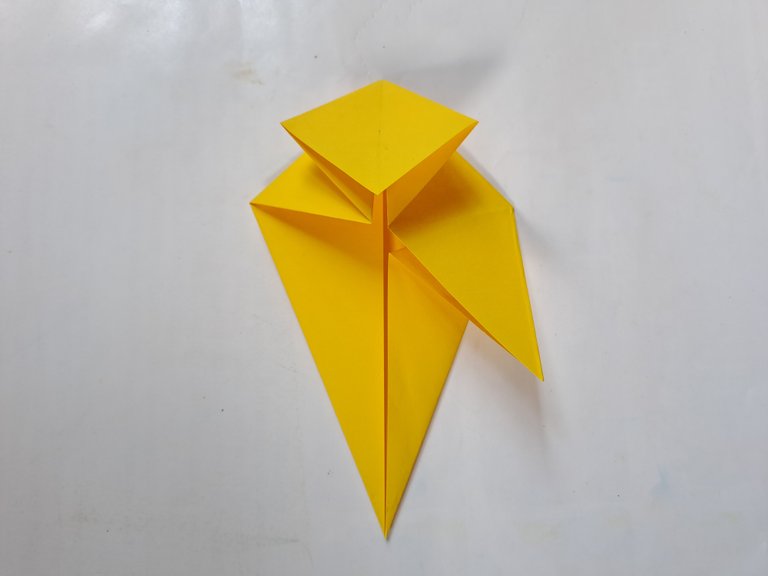
Then reopen the fold and then bend the right and left sides of the previous fold file as shown in the picture below.
 |  |
|---|
Then reopen the fold layer on the left side of the paper and continue to fold the right side and the side of the paper slightly inwards as shown in the picture below.
 |  |
|---|
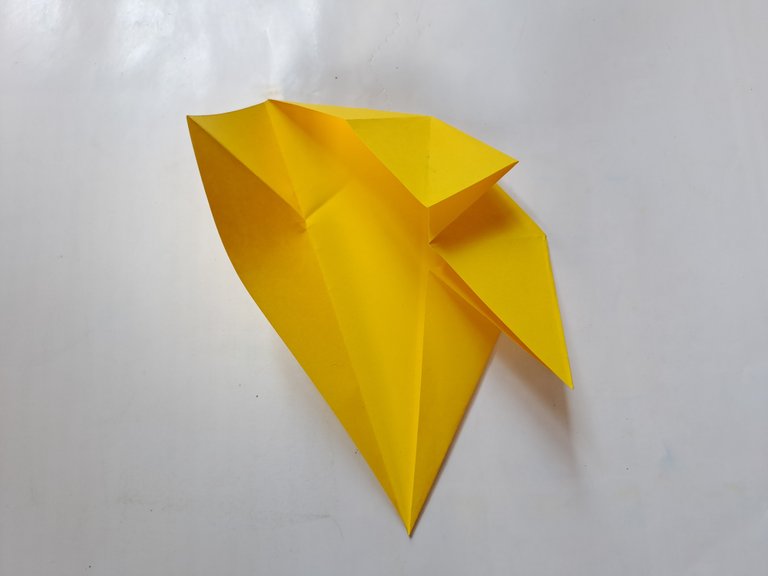
After that, reopen the fold and now fold it into the fold of the paper following the fold pattern above.
 |  |
|---|
 |  |
|---|
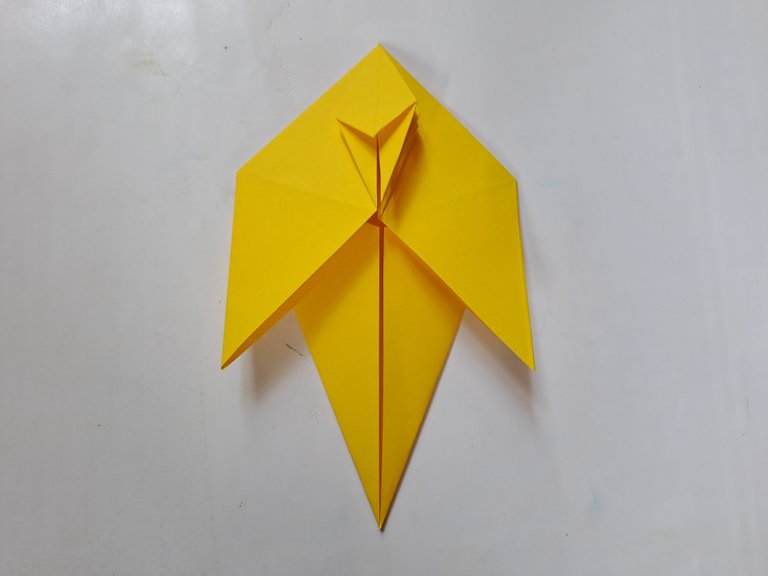
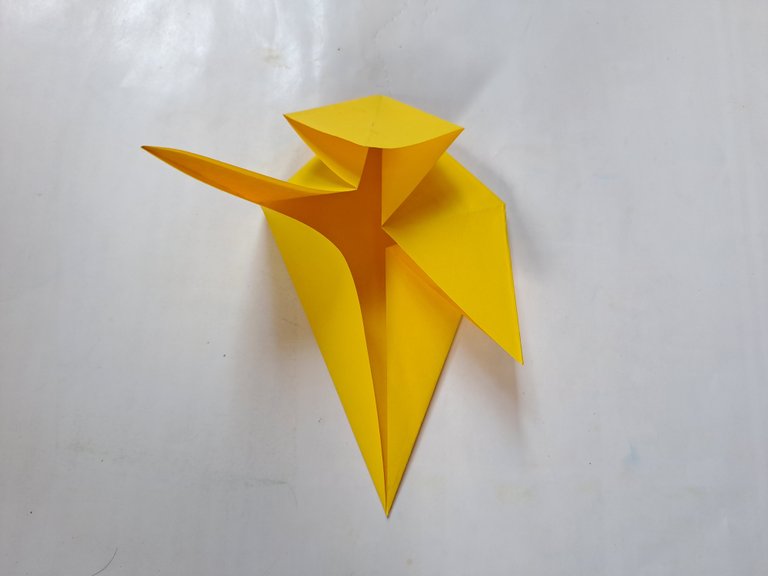
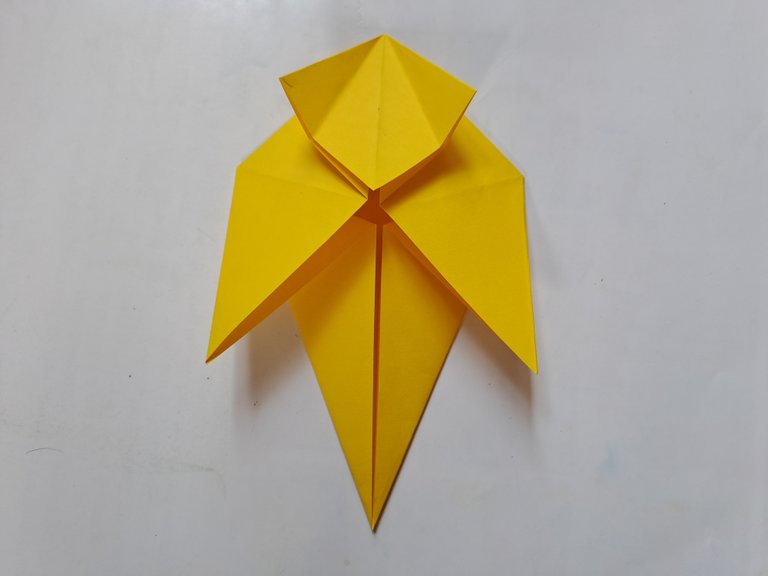
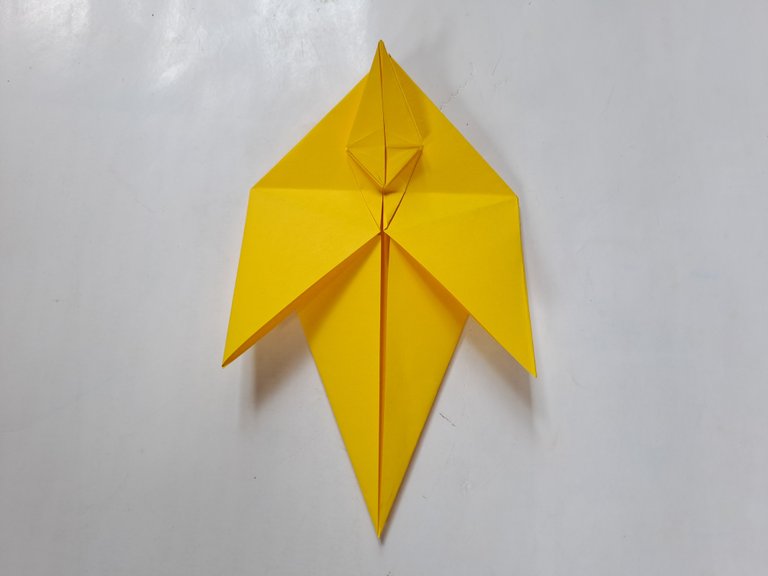
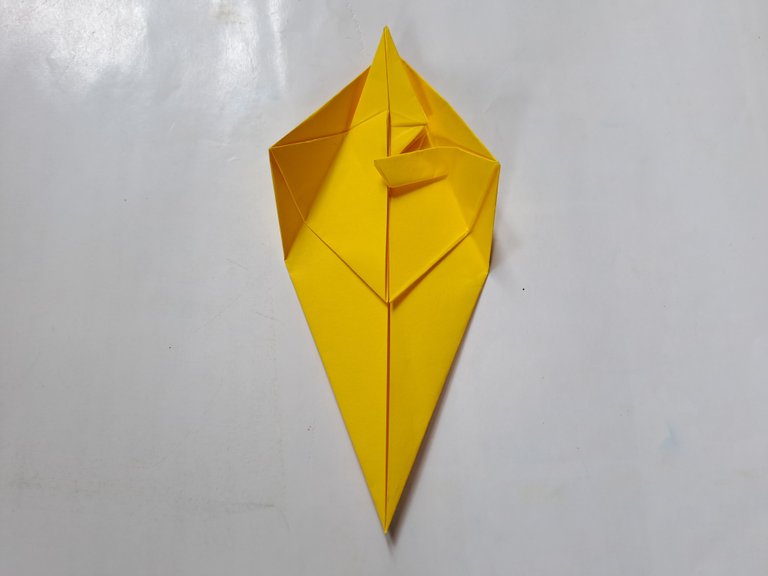
Then open the fold layer again until the middle fold is visible, then continue to open the middle fold upwards as shown in the picture below.
 |  |
|---|
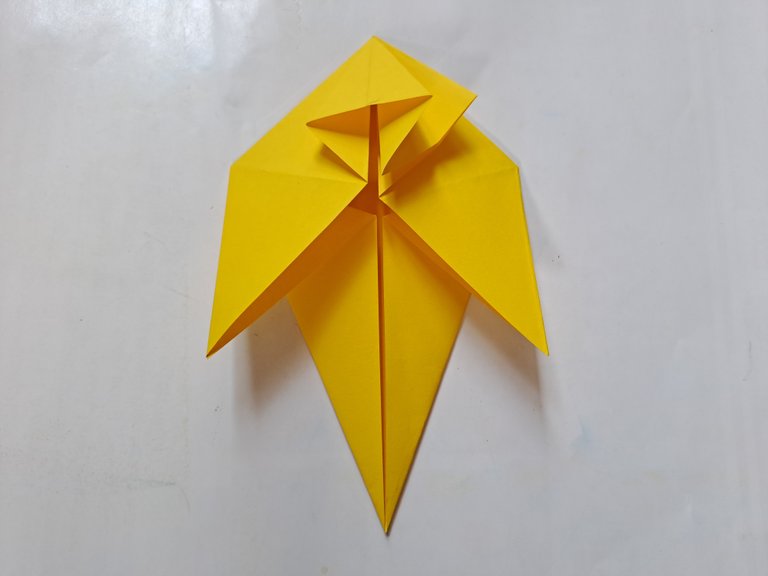
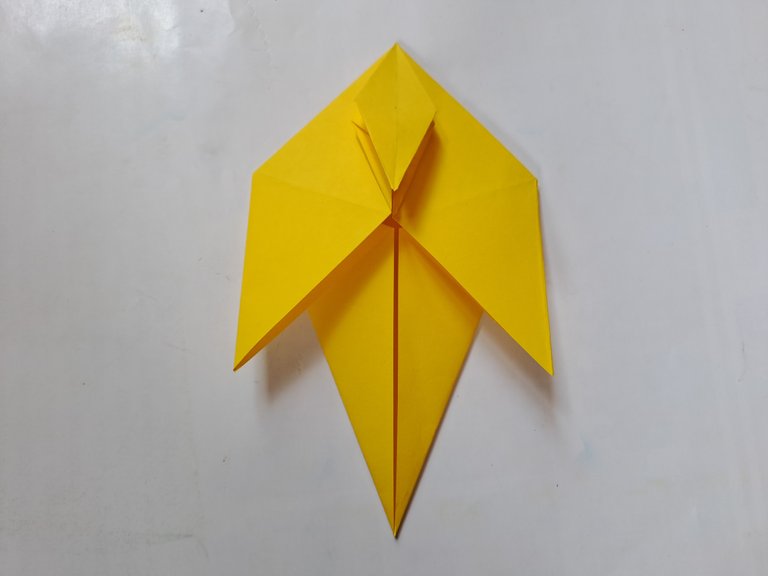
After that, fold the top half of the origami paper downwards, and then reopen the fold as before as shown in the picture below.
 |  |
|---|
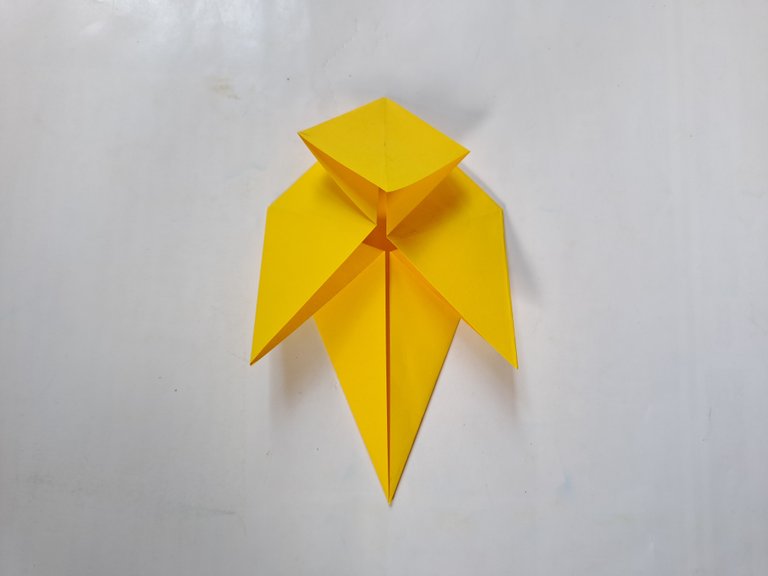
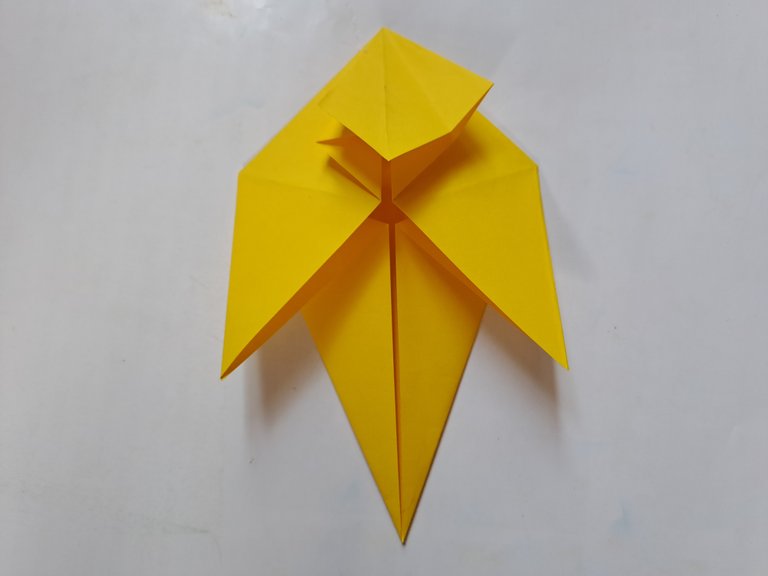
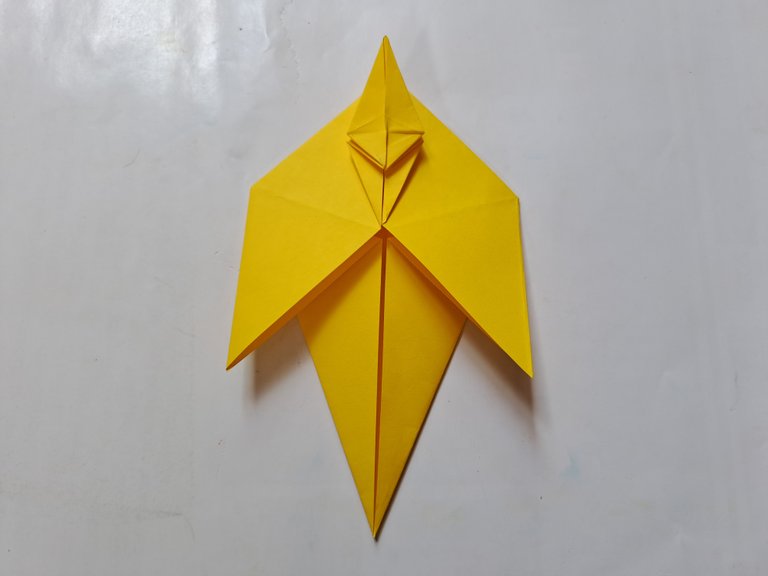
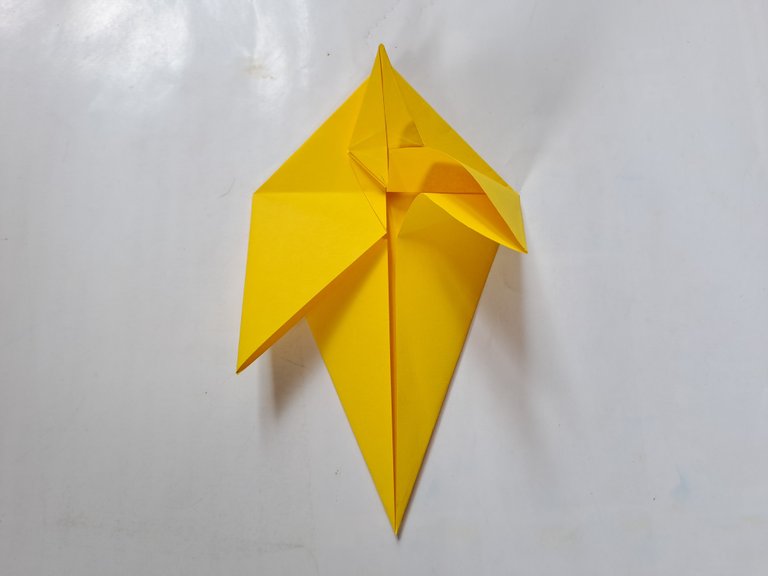
Then slightly open the right fold of the origami paper and bend the inner fold of the paper a little, then fold the origami paper back as before so that the fold becomes a little shorter.
 |  |
|---|
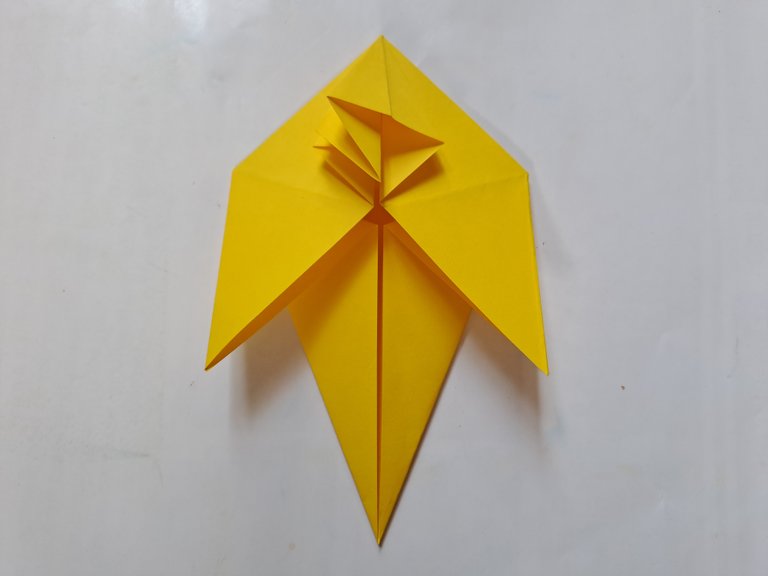
Then also slightly fold the left side of the origami paper and bend the bottom fold a little, then fold the origami paper again as before so that the shape of both sides of the paper is parallel.
 |  |
|---|
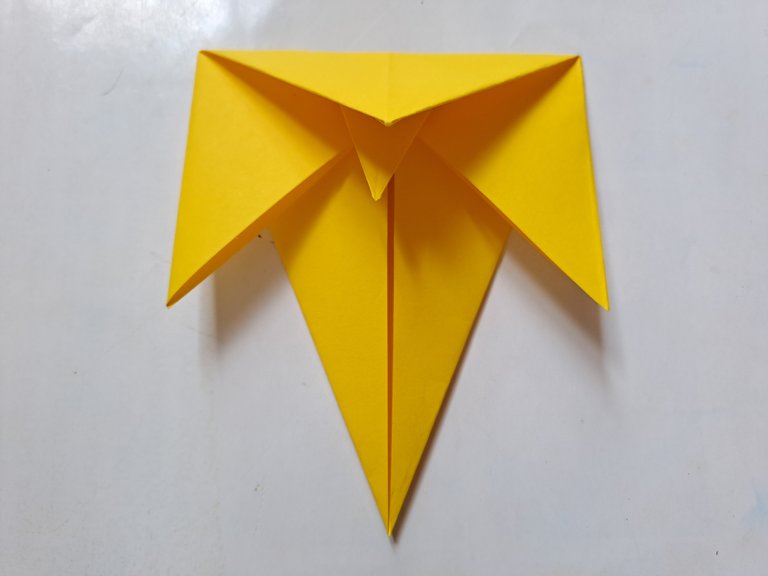
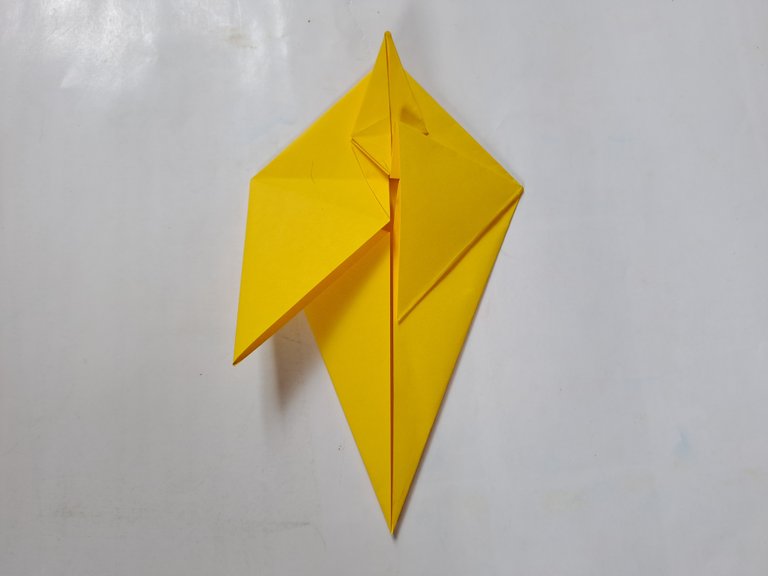
Then fold the right side and the side of the origami paper towards the middle as shown in the picture below.
 |  |
|---|
Then open the fold again and bend the right and left sides of the origami paper slightly in the middle as shown in the picture below.
 |  |
|---|
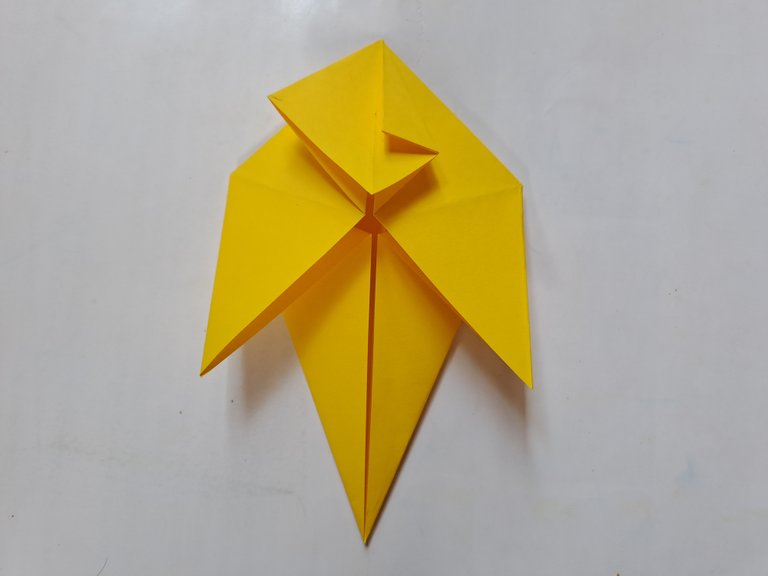
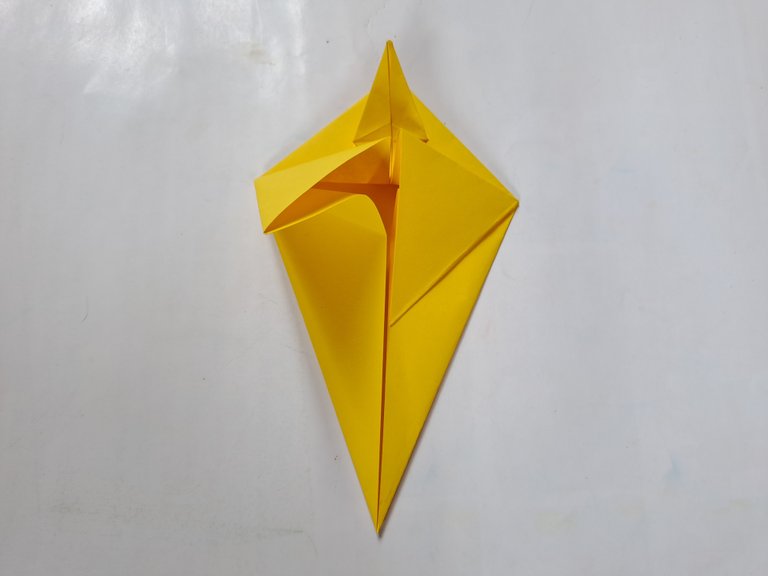
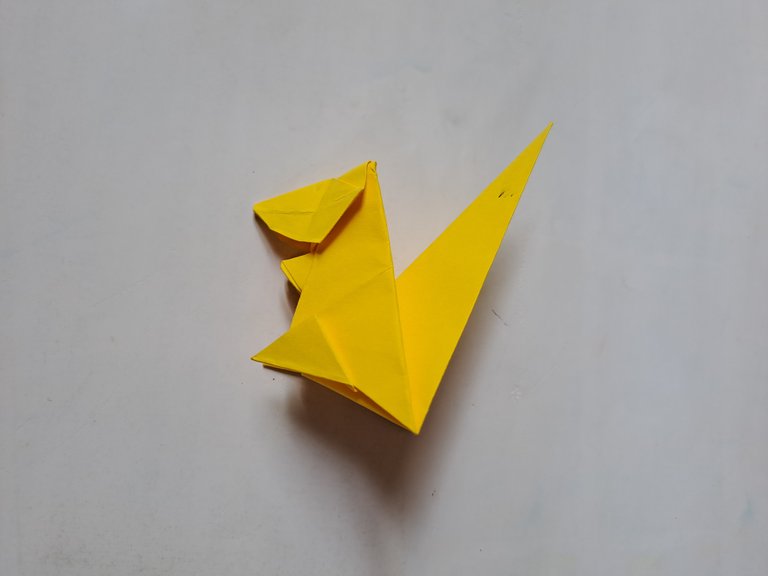
After that, fold the left and right sides of the origami paper back to the middle, but the top of the paper must be pulled out.
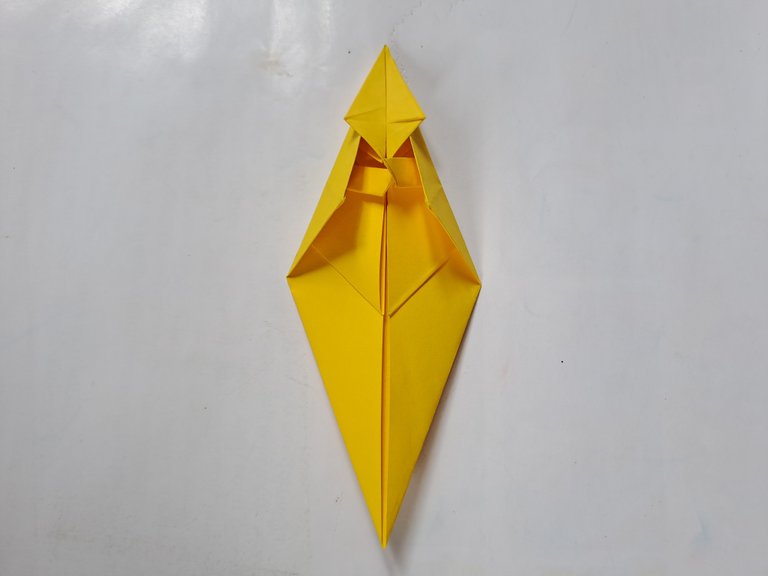
Then fold the origami paper in half, then pull the top of the paper up a little so that it protrudes, then open the right and left sides of the paper that protrude and fold them neatly inward following the line pattern that has been made so that the shape becomes like the picture below.
 |  |
|---|
 |  |
|---|
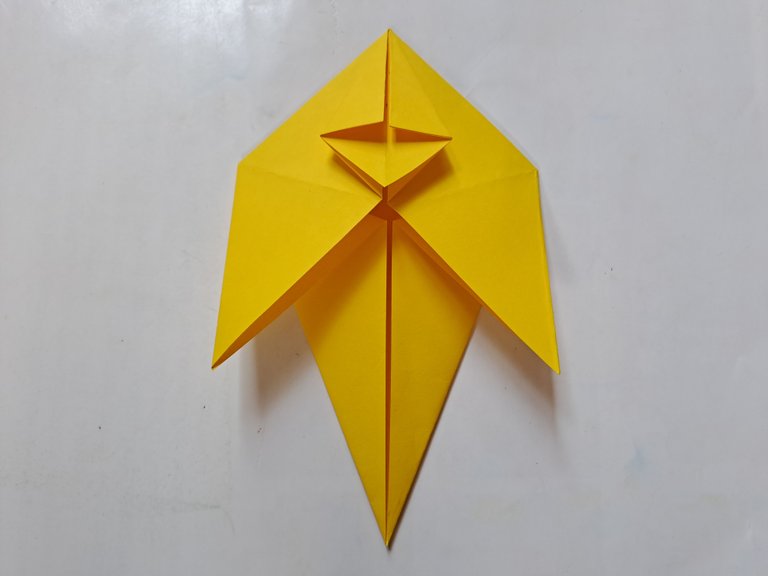
Then fold the top part that protrudes down a little, then open the fold again and make the fold inward so that the fold becomes neater.
 |  |
|---|
Then also fold the left and right sides of the protruding paper inward a little like the picture below.
 |  |
|---|
Then fold the top of the paper down a little, then fold the top one more time so that when the origami is folded in half the paper looks like the picture below.
 |  |
|---|
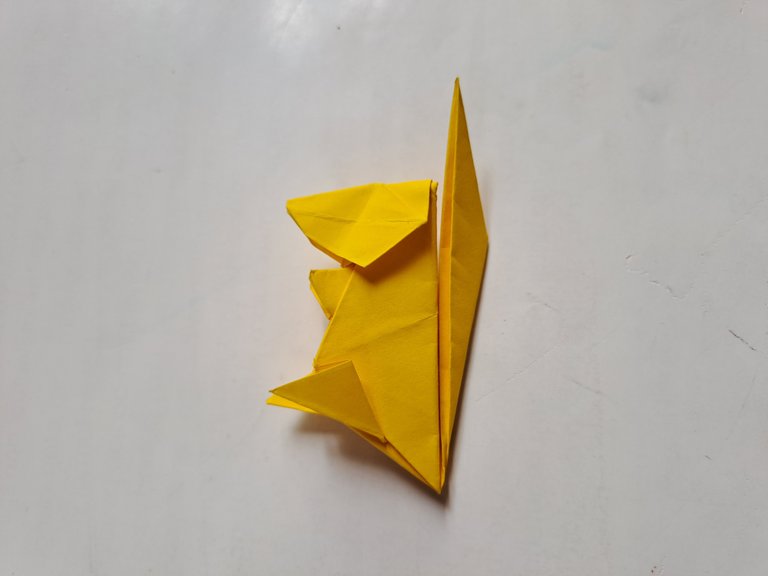
Then fold the pointed middle part down towards the top, then fold it again to the bottom of the paper, fold it in a similar way the part next to it so that the paper becomes like the picture below.
 |  |
|---|
 |  |
|---|
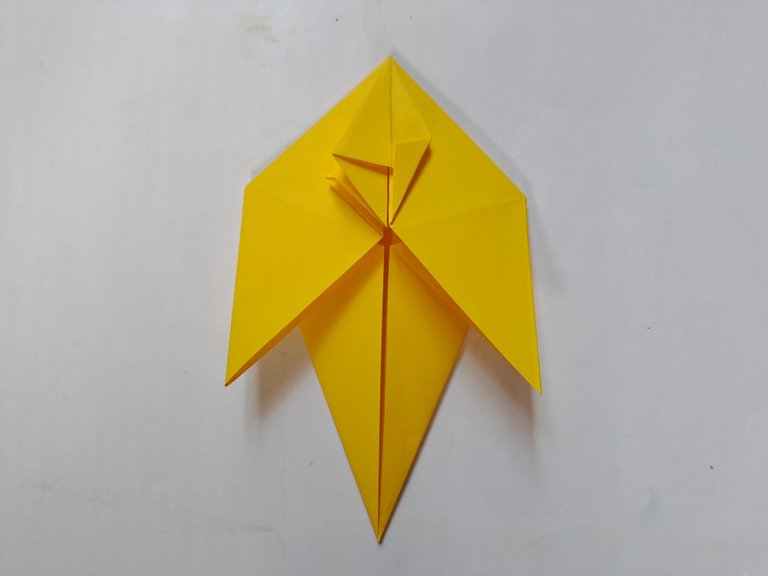
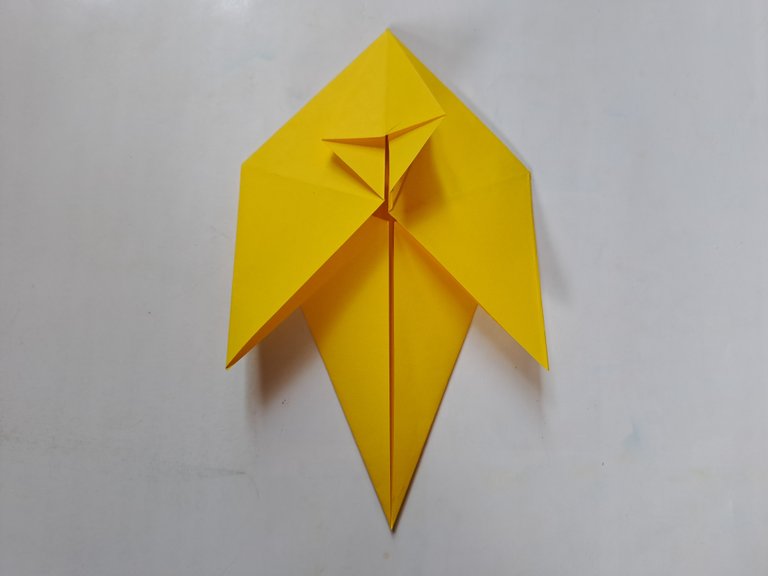
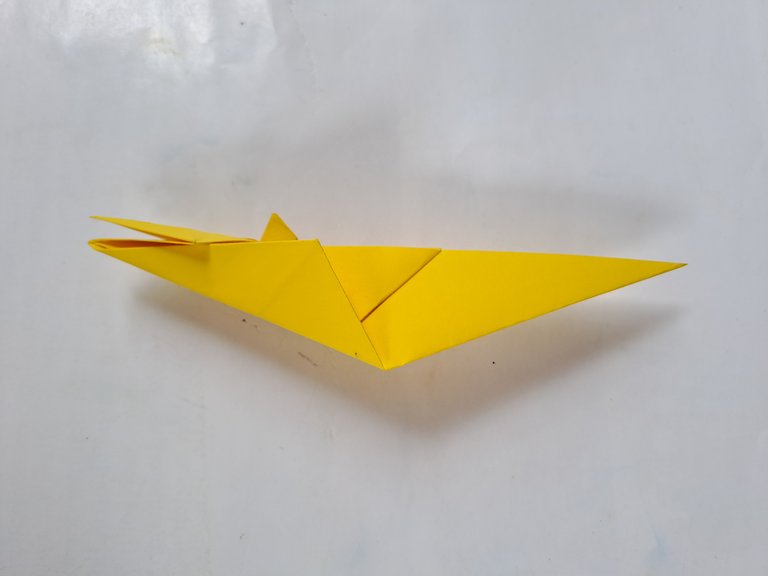
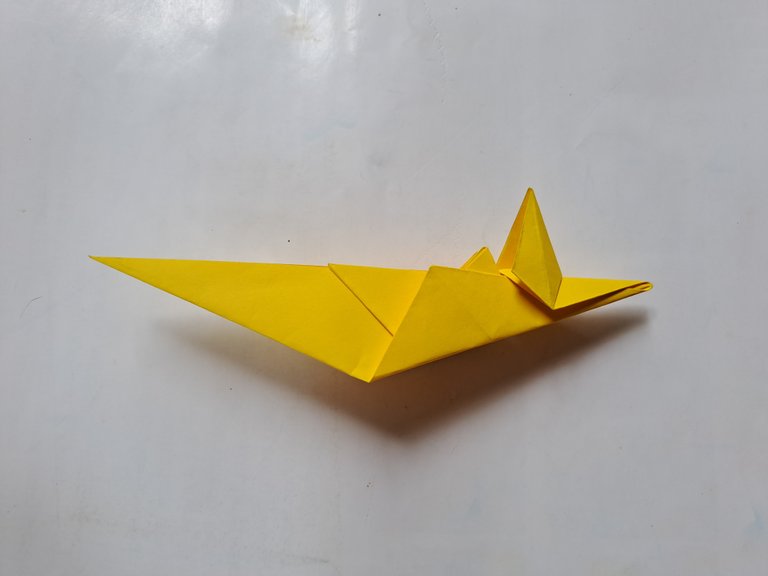
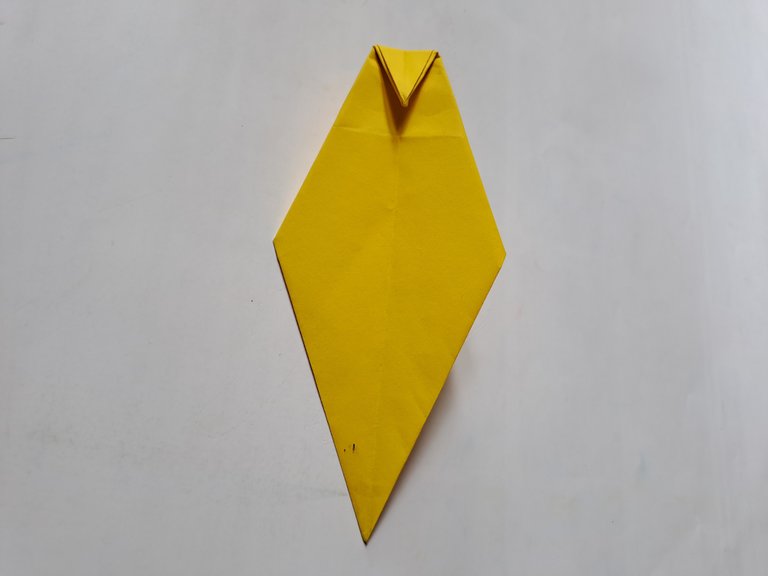
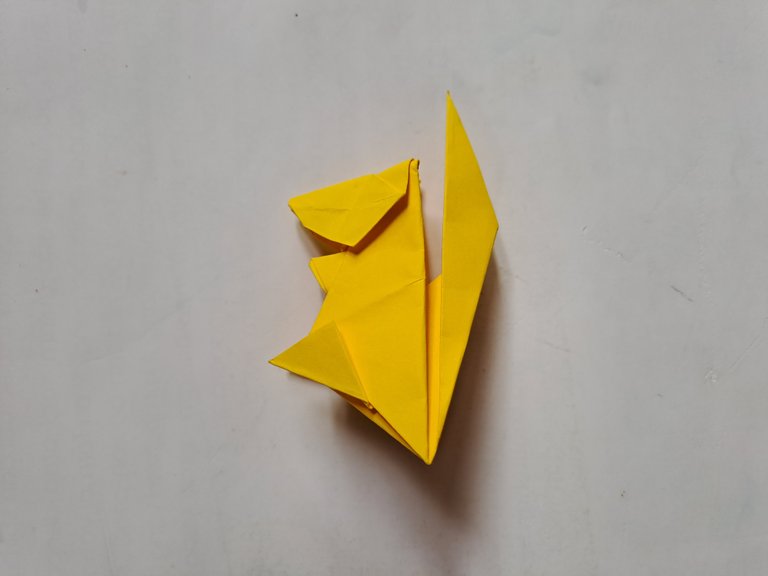
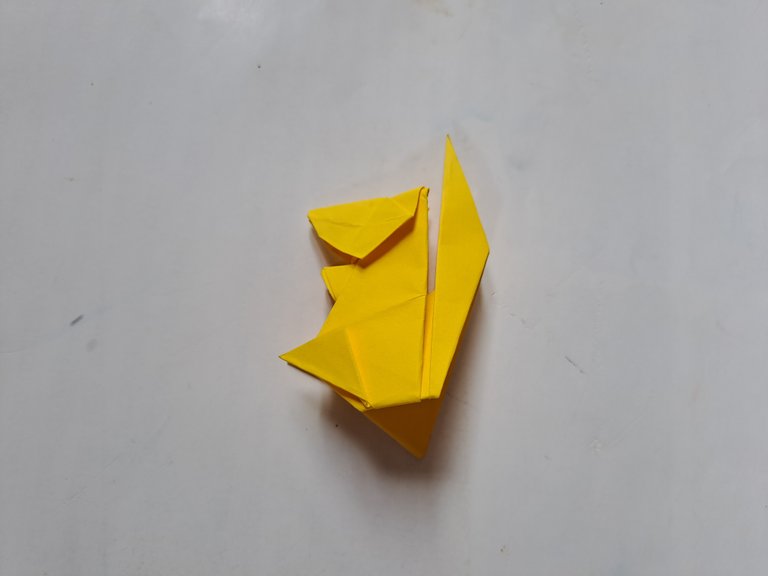
Then fold the bottom of the paper half up to make the squirrel tail pattern, then fold the tail inward, after the folding pattern is done, fold the tail inward once again like the picture below.
 |  |
|---|
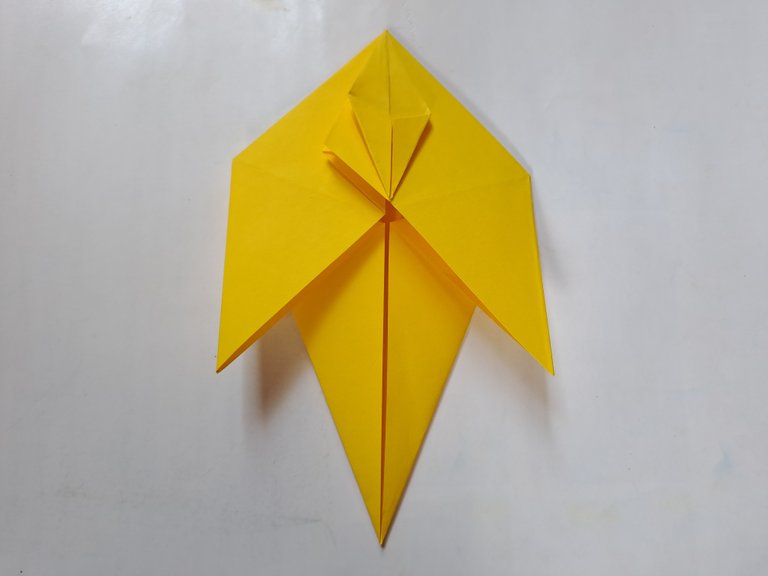
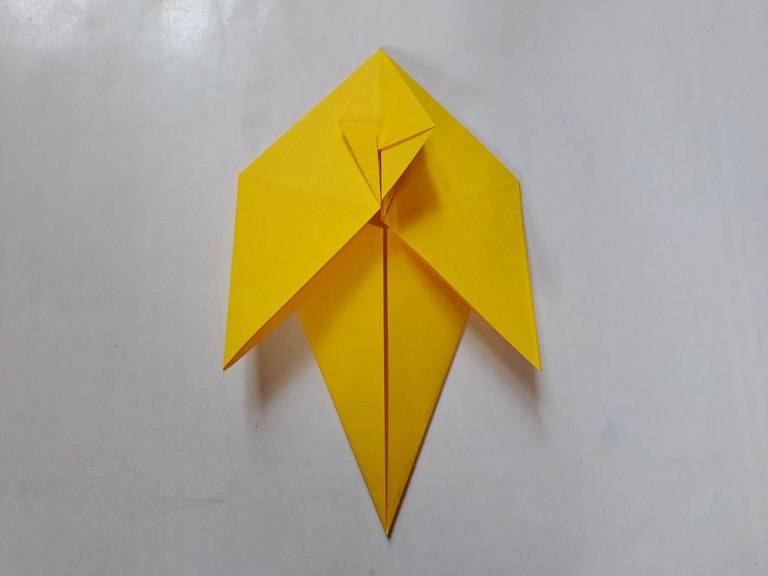
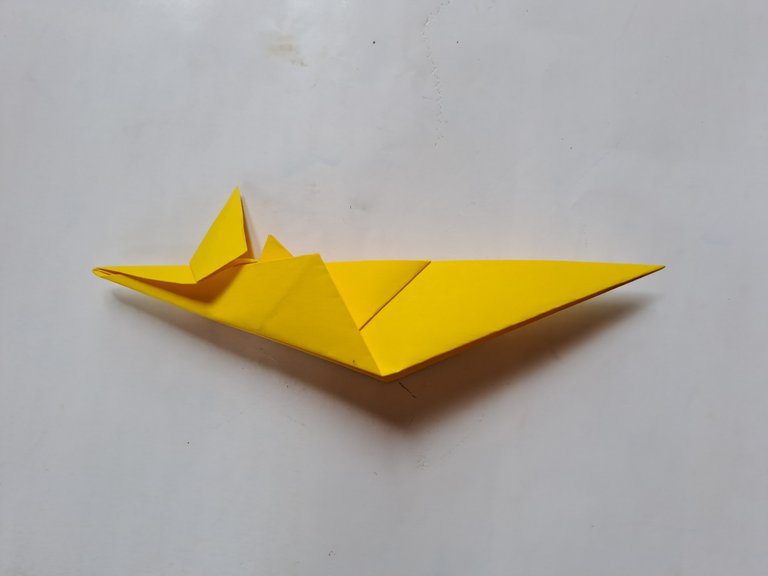
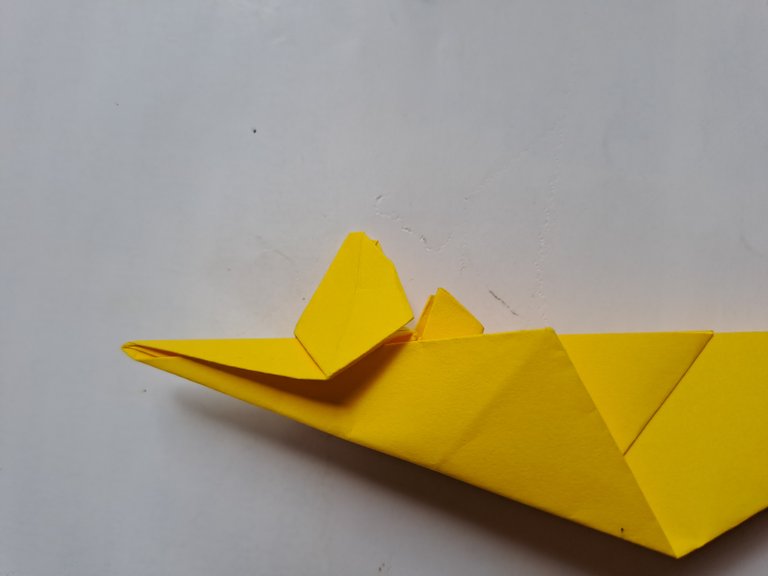
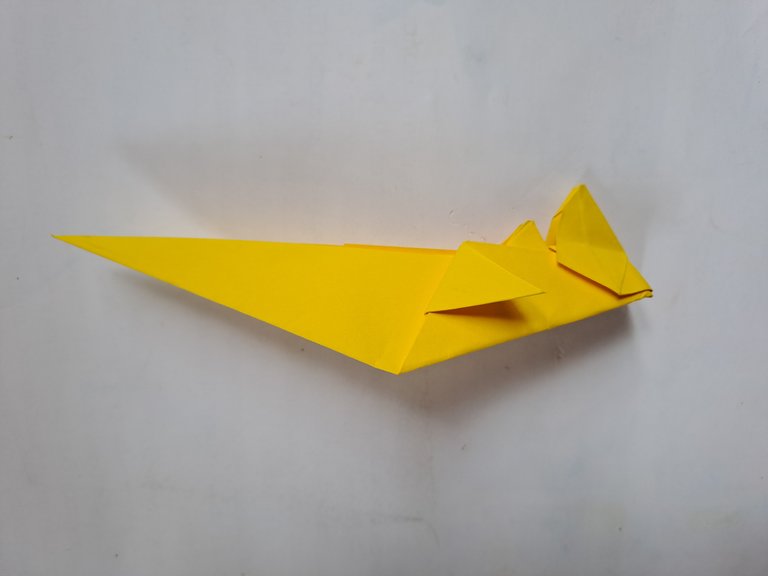
Then fold the bottom of the paper slightly inward on the right and left sides.
 | 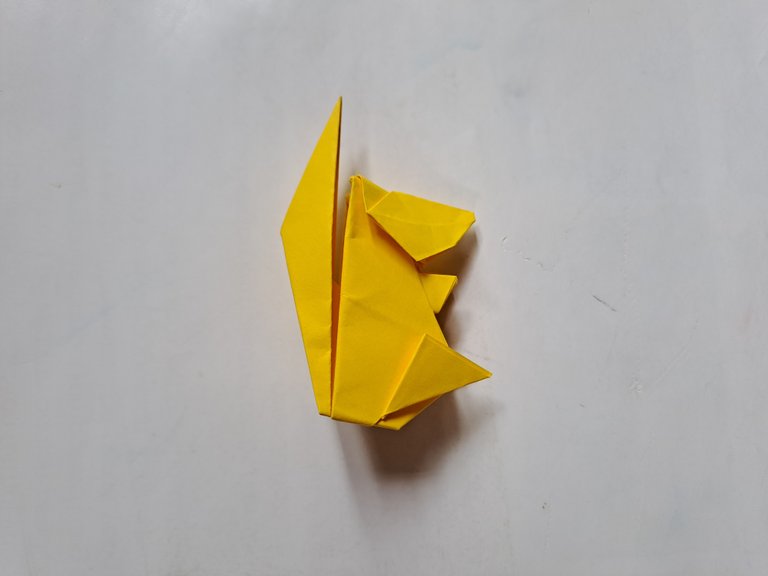 |
|---|
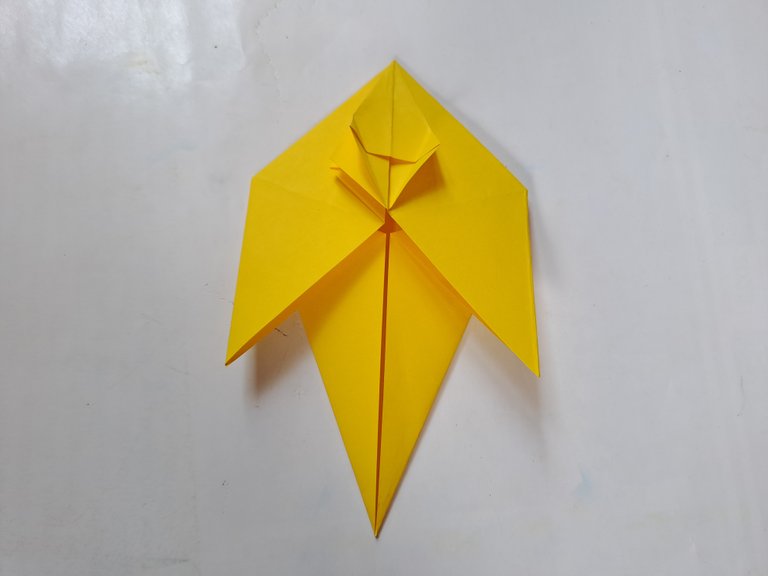
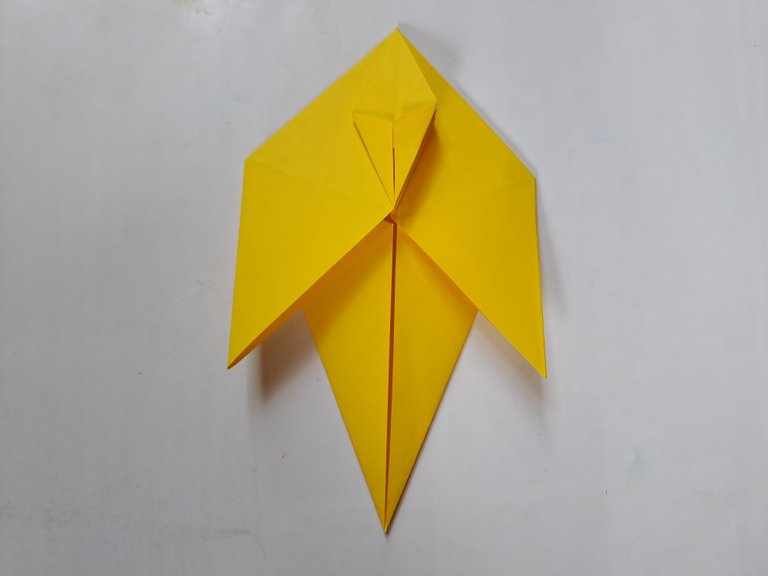
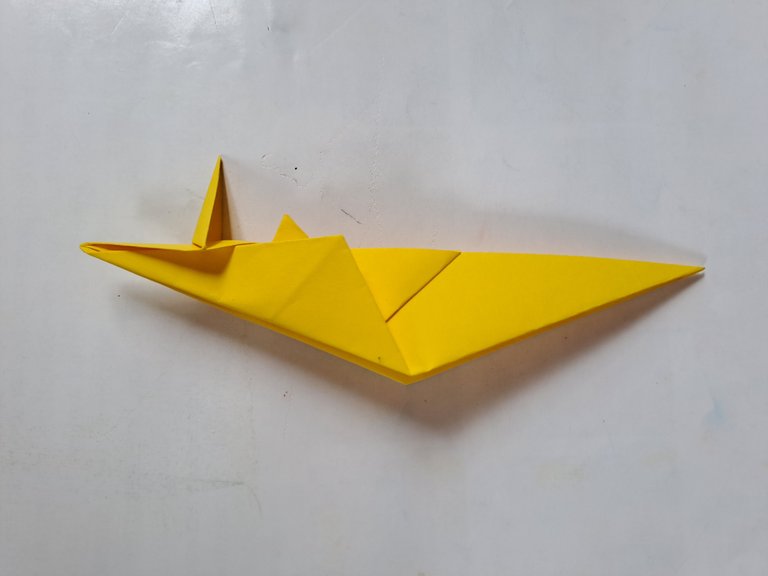
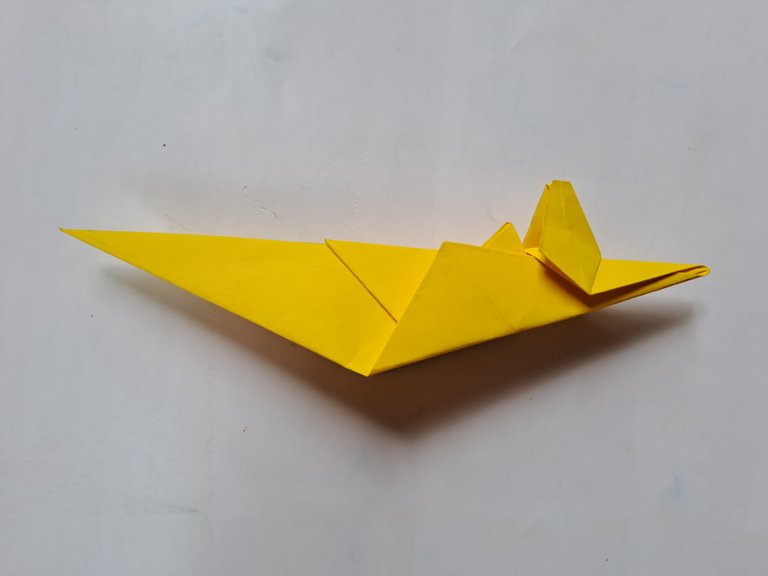
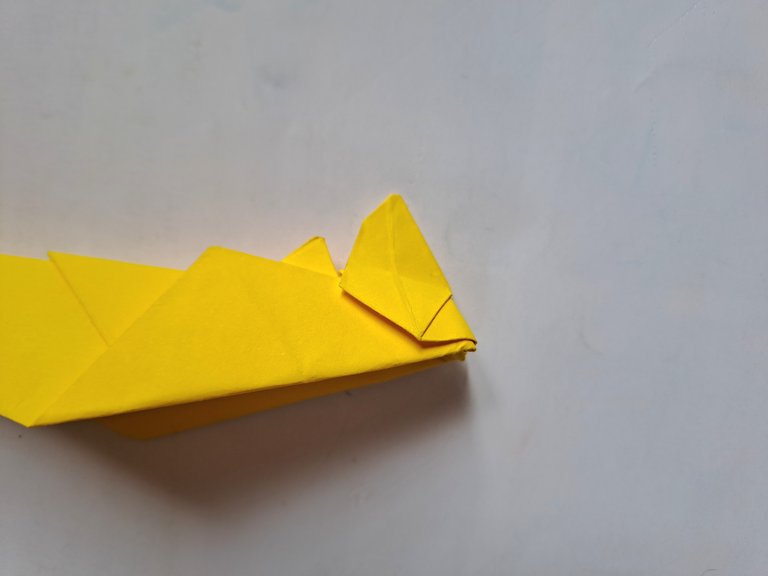
Then also fold the tail slightly backward so that the ekro looks more perfect.
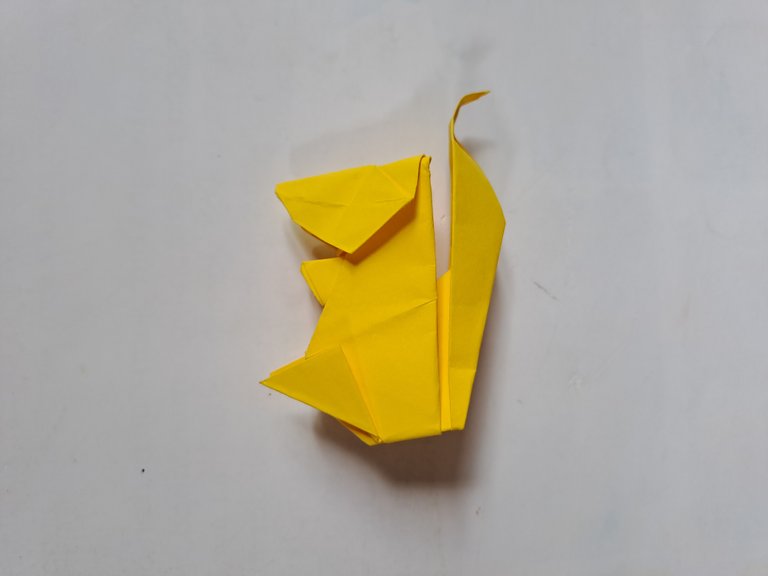
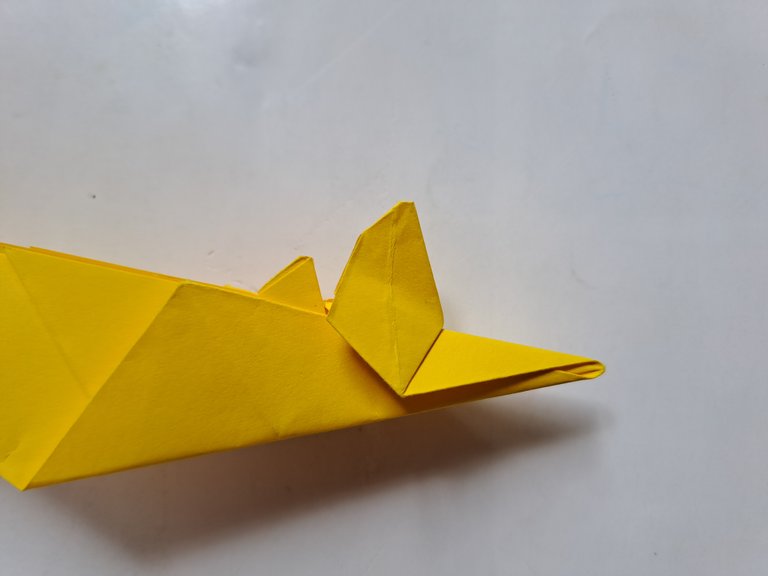
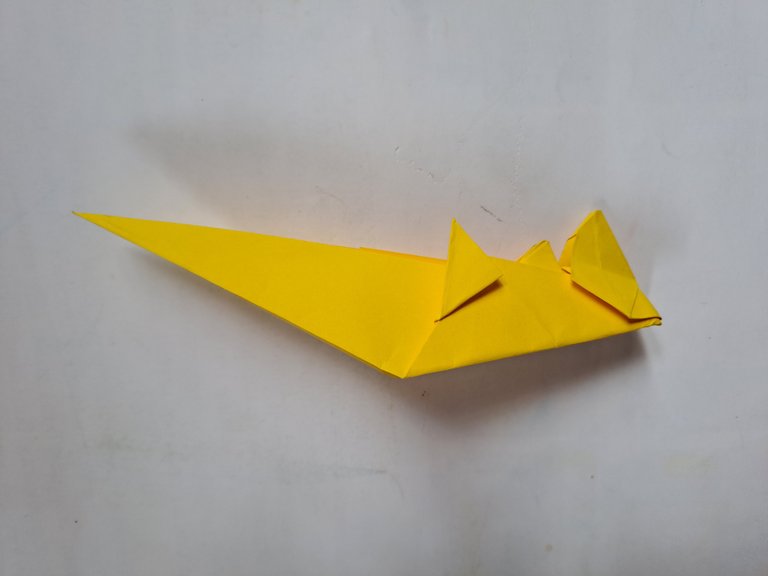
To make the squirrel's head, hand and foot patterns better, pinch the squirrel's head, hand and foot sections inward a little as shown in the picture below.
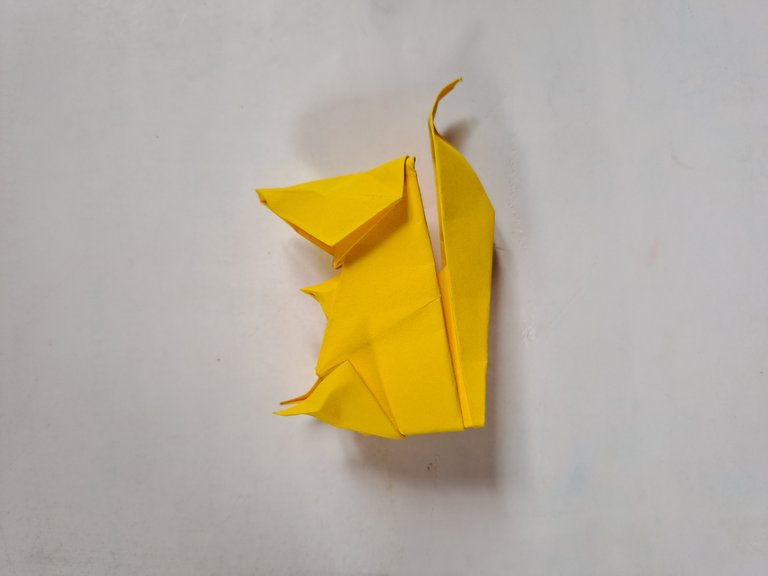
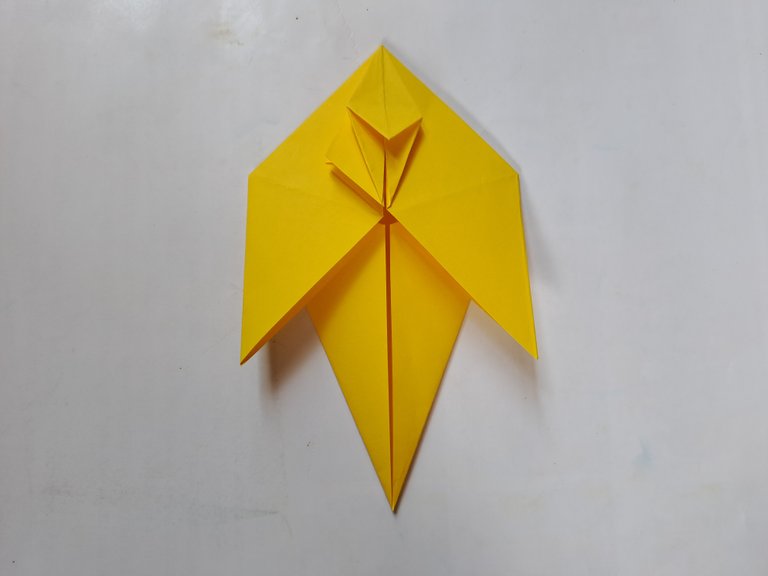
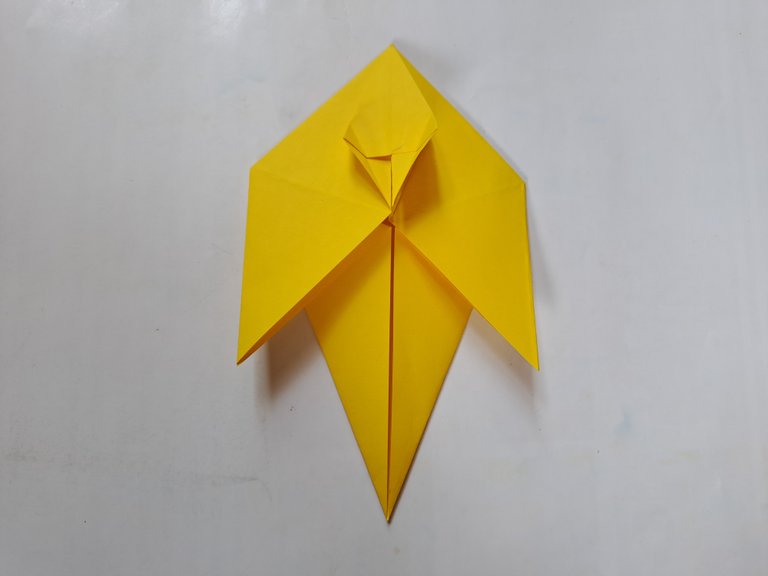
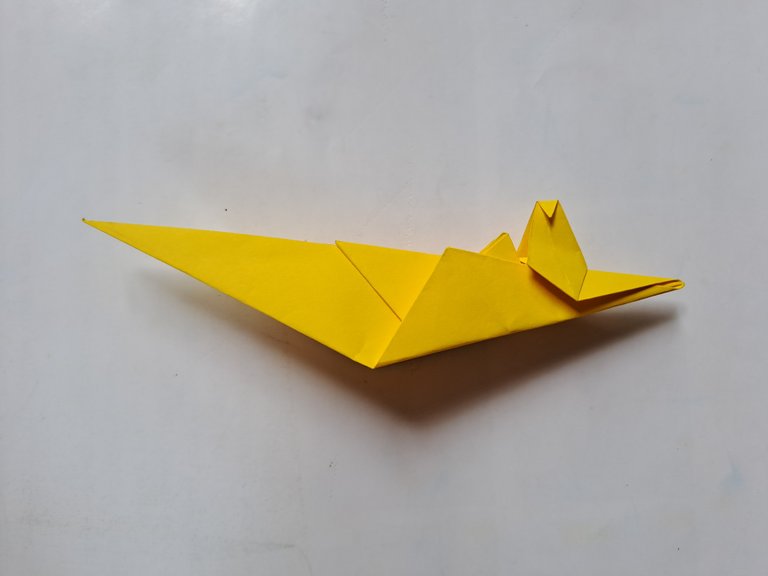
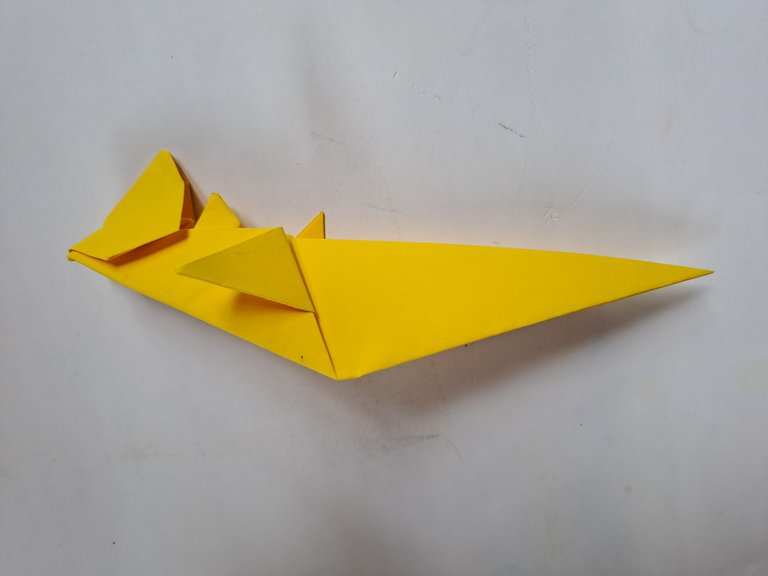
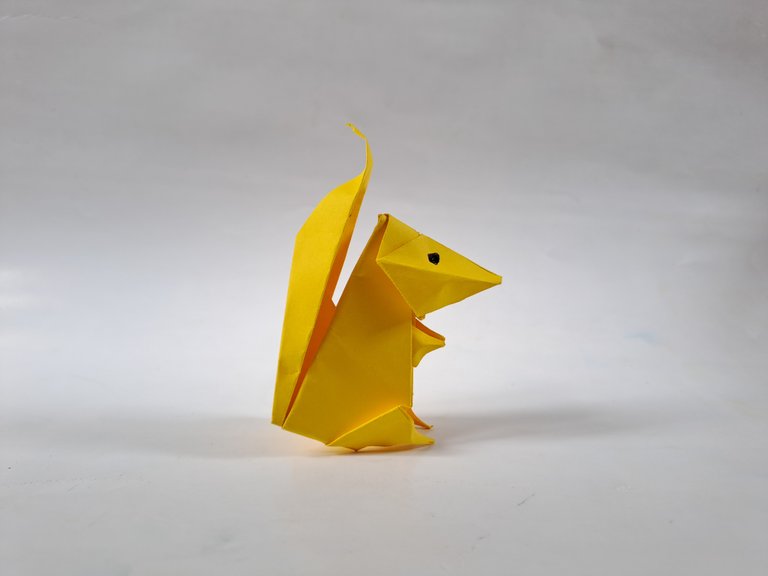
After all the folds are followed correctly, the origami squirrel is perfectly finished, to make it look more like a real squirrel, the eyes can be colored with a black pen or colored pencil.
 |  |
|---|
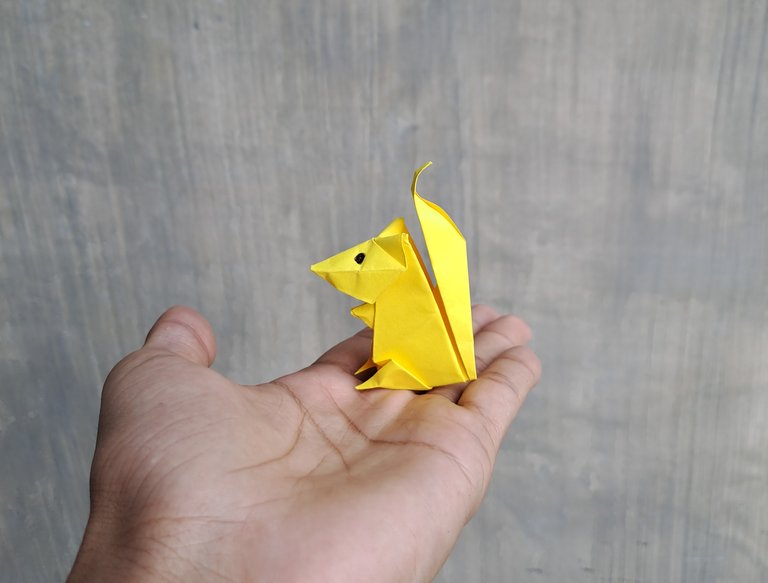
This is the result of my origami work today, thank you to my friends who have visited my handicraft post today, see you in my next handicraft post.
I must say that its a fabulous creativity that you have shown and the outcome is just awesome. Good work done
Thank you very much
🎉 Upvoted 🎉
👏 Keep Up the good work on Hive ♦️ 👏
❤️ @equipodelta suggested sagarkothari88 to upvote your post ❤️
Thank you very much for your support, brother.
Me encanto como te quedo la ardilla en origami, tienes unas muy buenas técnicas para crear una, se ve muy adorable
Escrito por lionsaturbix / Written by lionsaturbix
¡¡¡Buen trabajo!!! Gracias por publicar tu excelente contenido en Hive Diy.
Thank you for your support