Tutorial on making a dragonfly from origami paper
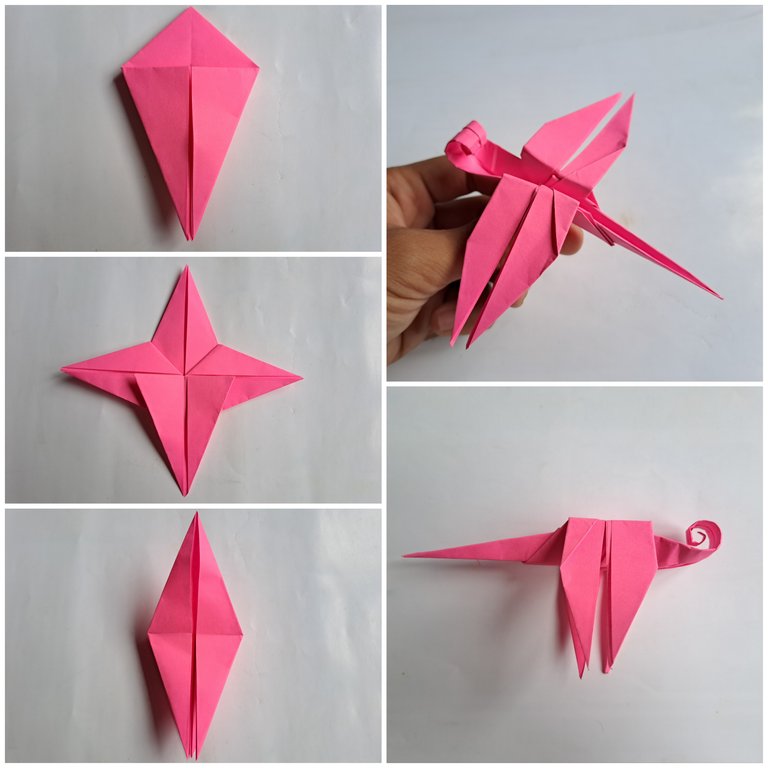
Hi Hive DIY friends
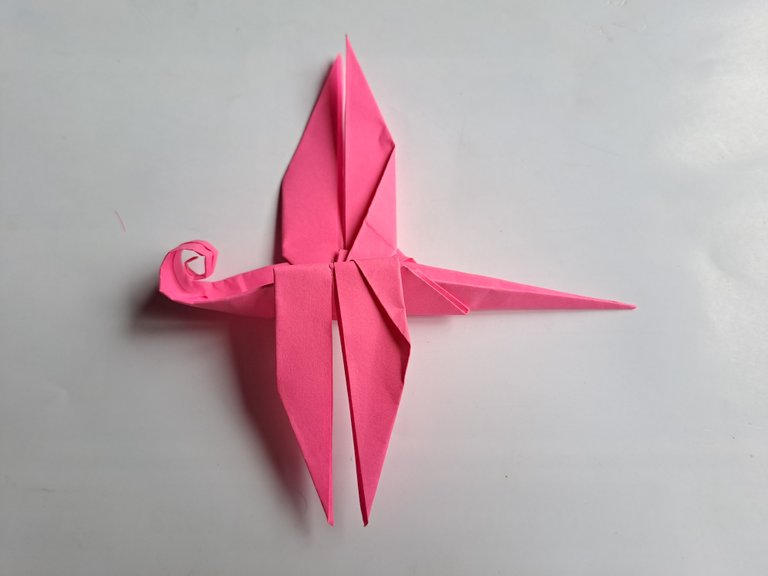
Today I want to make another craft from a piece of origami paper, what I will make today is a Dragonfly.
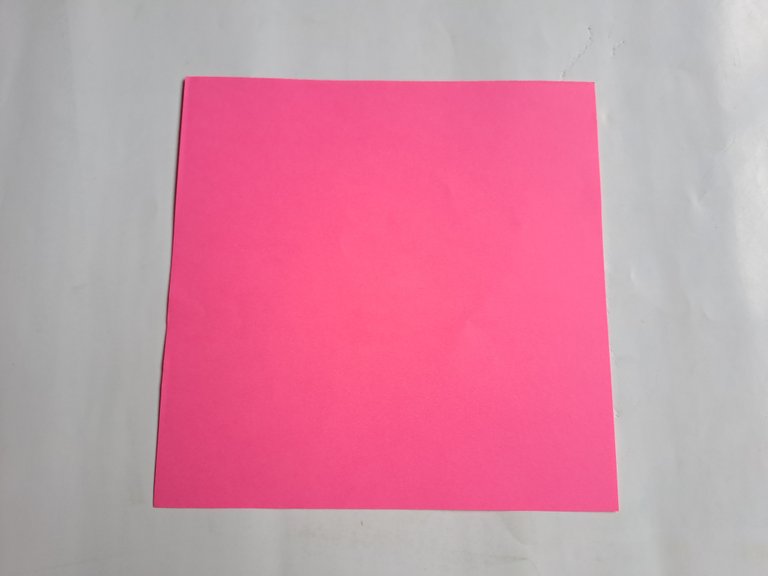
Dragonflies themselves are unique animals that I really like because since I was little I really liked seeing dragonflies flying near my house, we used to see dragonflies as small helicopters because dragonflies themselves are animals that inspired aviation engineers when making helicopters.
Here is a tutorial on how to make a dragonfly from a piece of origami paper.
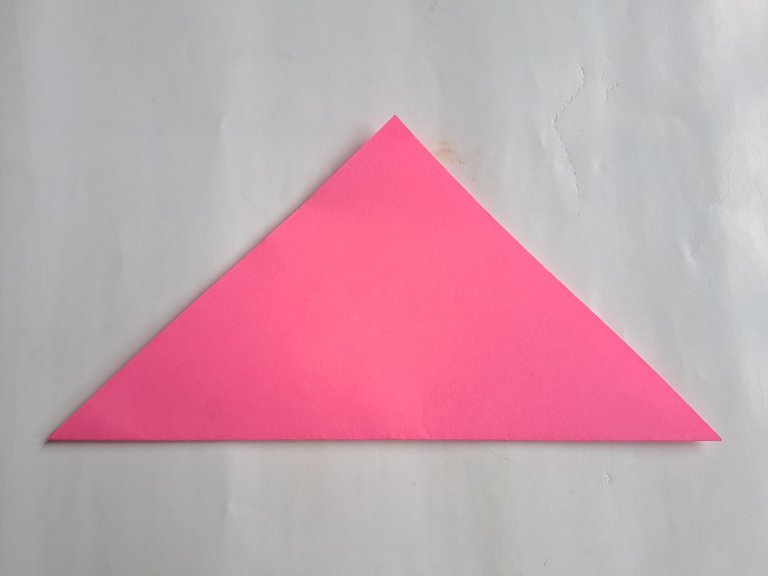
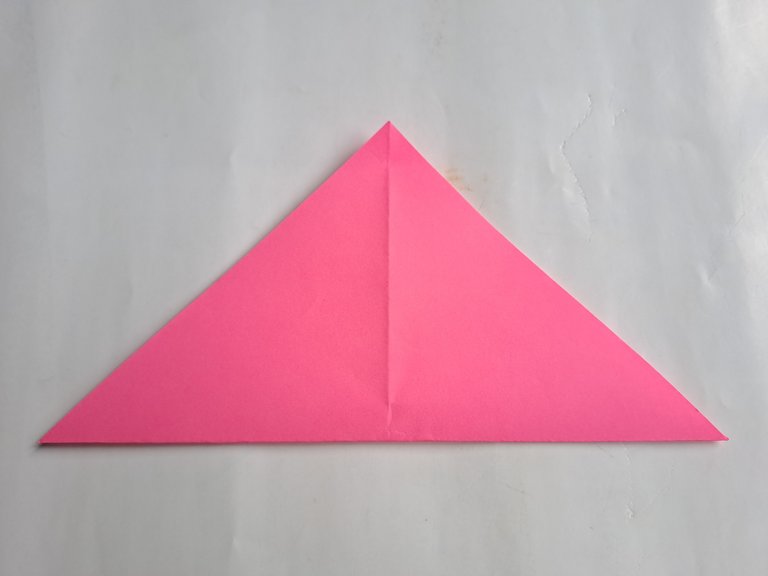
First, fold the origami paper in half into a triangle, then reopen the origami paper and now fold the origami paper once again into a triangle from the opposite direction.
 |  |
|---|
After that, reopen the origami paper and now turn the paper over, then turn the origami paper over and now fold the origami paper in half, then reopen the origami paper and now fold the origami paper once again into two parts from the opposite direction.
 |  |
|---|
Then open the origami paper and now the origami paper looks like it has a lot of line patterns in the middle, then fold the right and left sides of the origami paper towards the middle so that the shape of the origami paper becomes like the picture below.
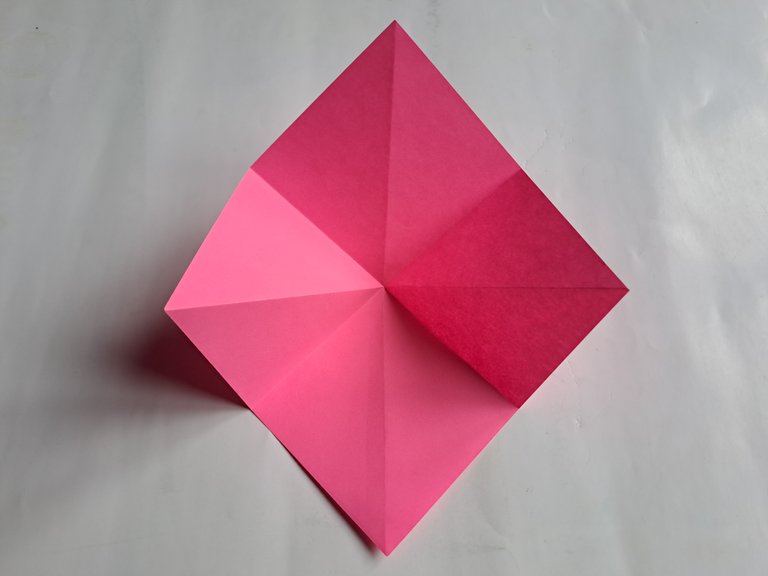 | 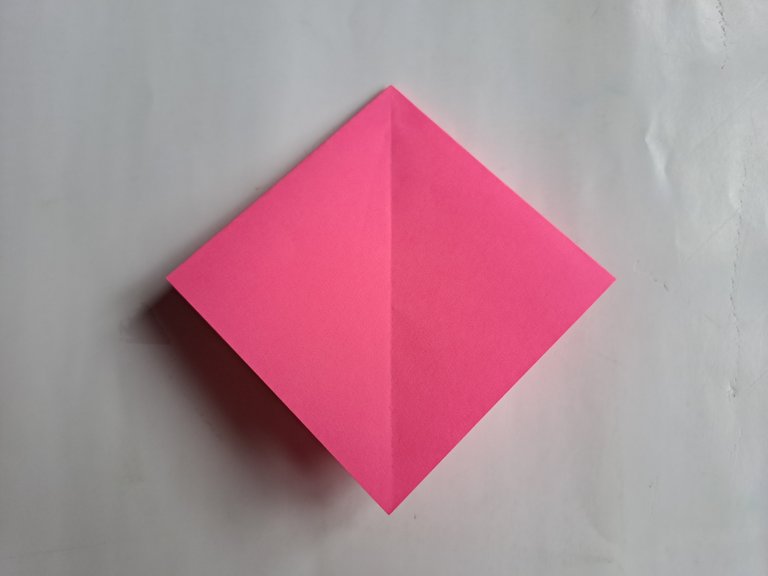 |
|---|
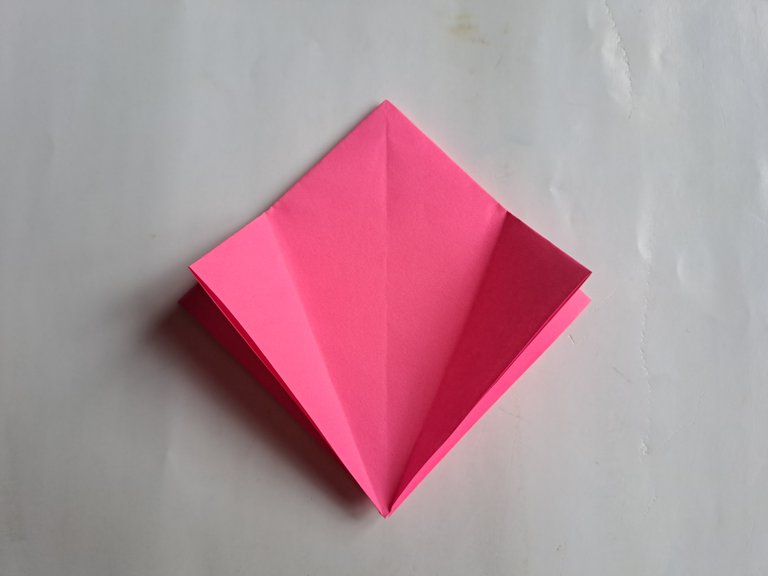
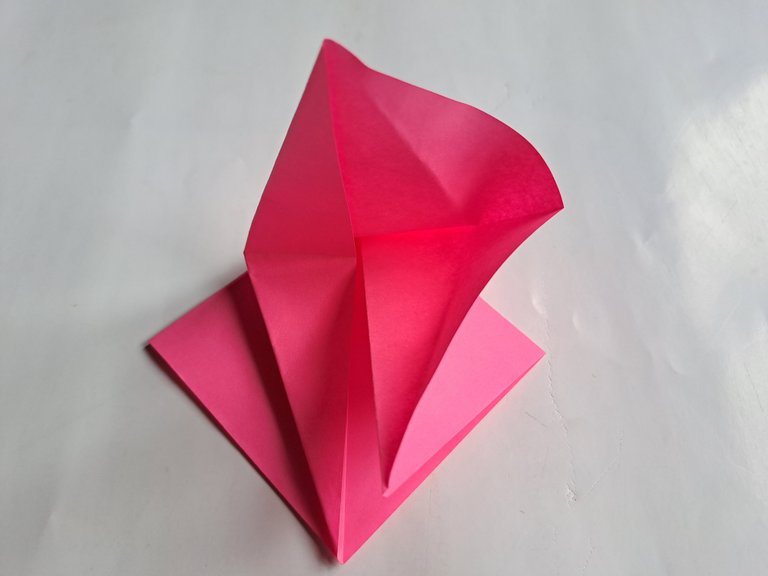
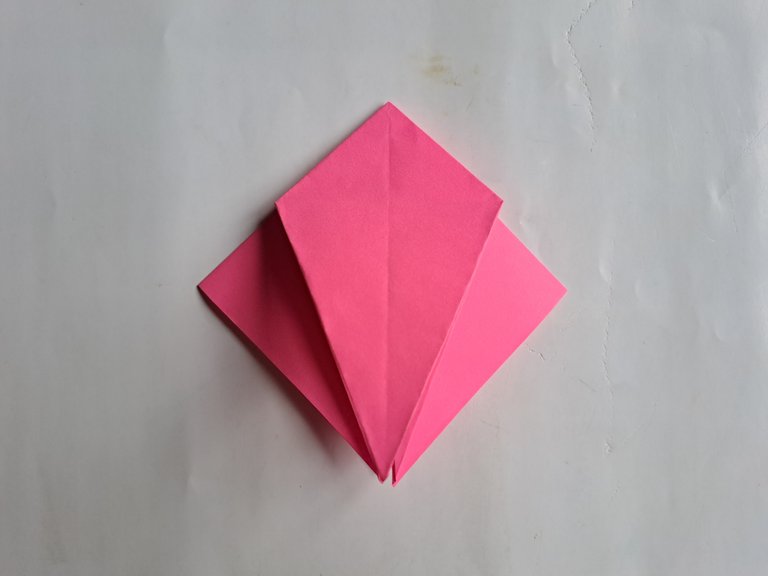
Then fold the left and right sides of the origami paper towards the middle, then reopen the fold and now fold the left and right sides of the origami paper towards the middle, then fold the origami paper back in half as shown in the picture below.
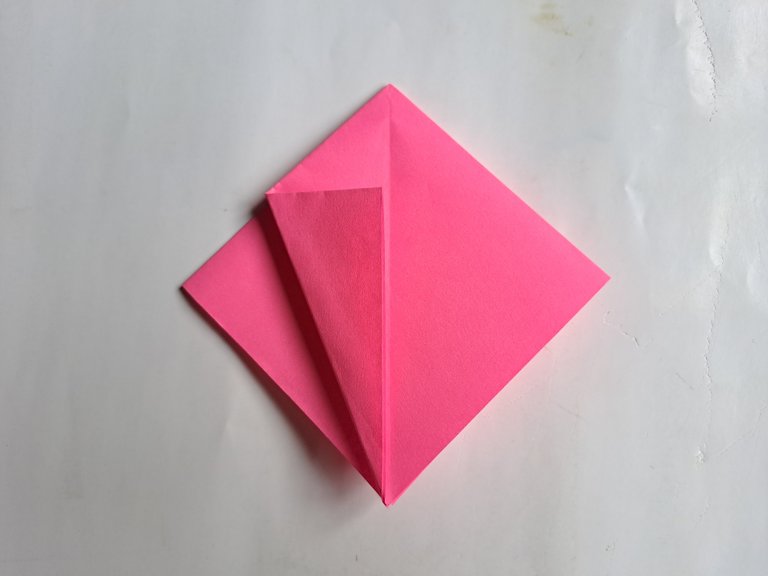 | 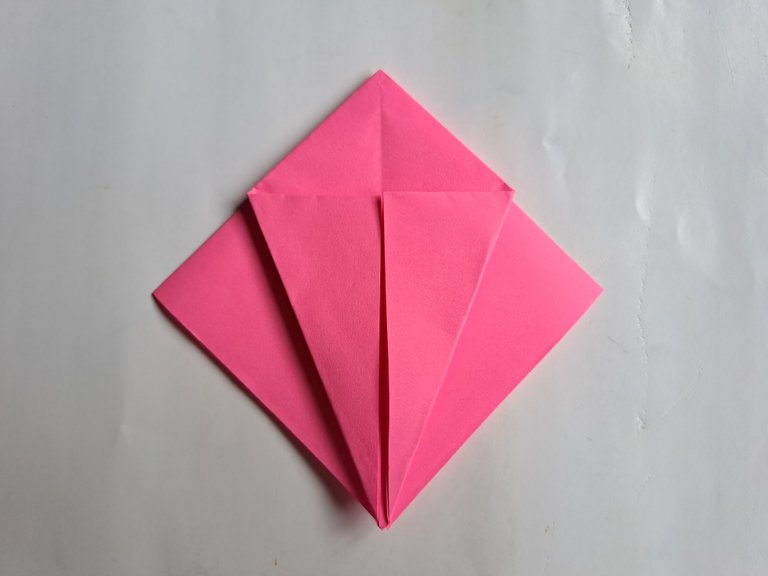 |
|---|
 |  |
|---|
 |  |
|---|
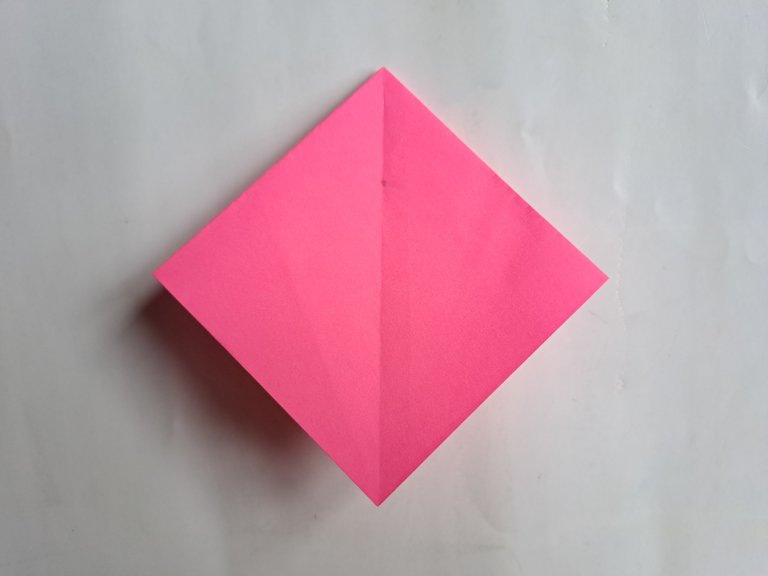
Then turn the origami paper over and now fold the left and right sides of the origami paper towards the middle, then reopen the origami paper and now fold the left and right sides of the origami paper back towards the middle.
 | 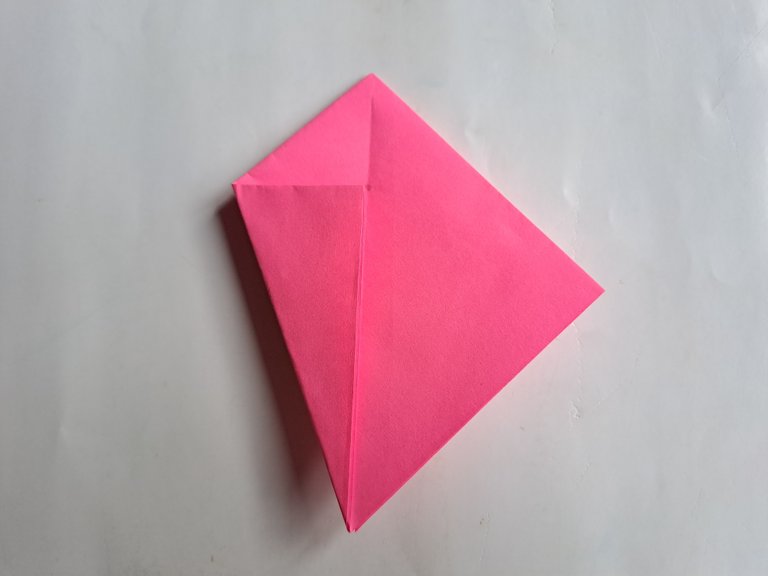 |
|---|
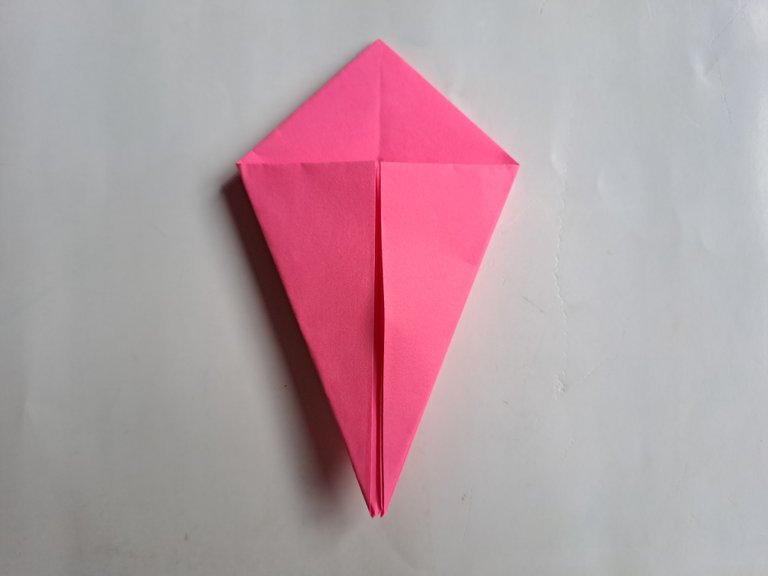 | 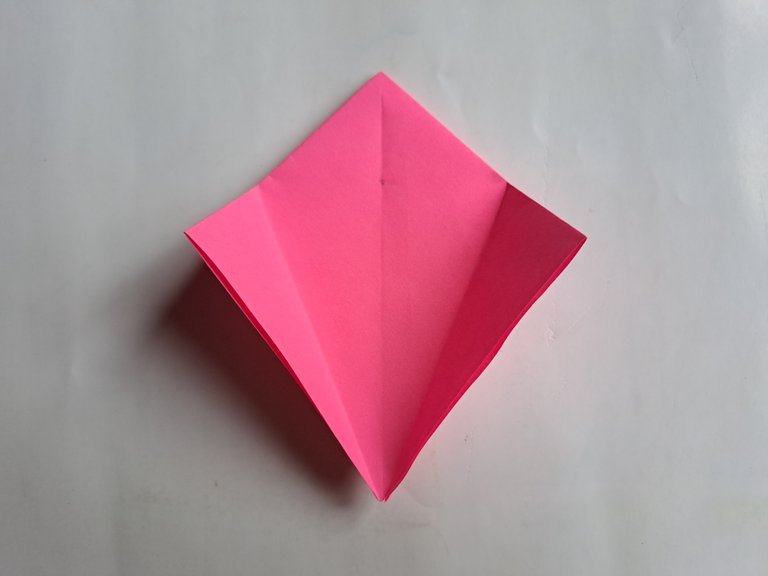 |
|---|
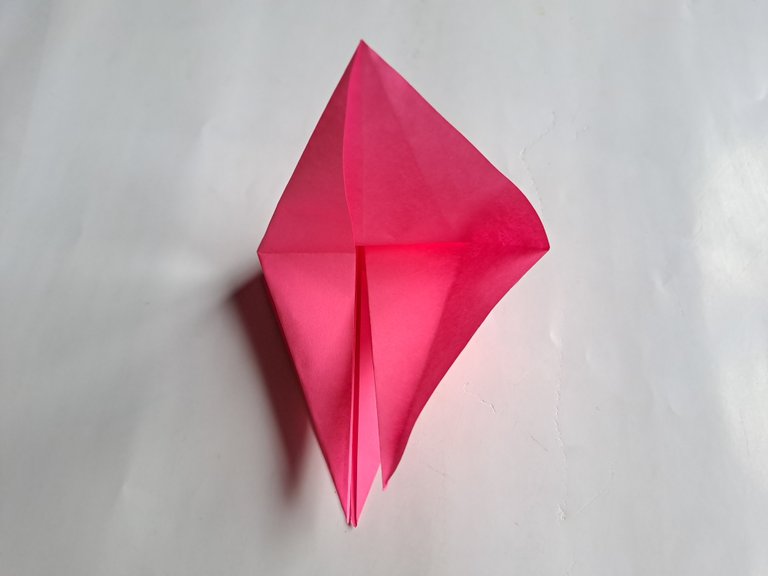 |  |
|---|
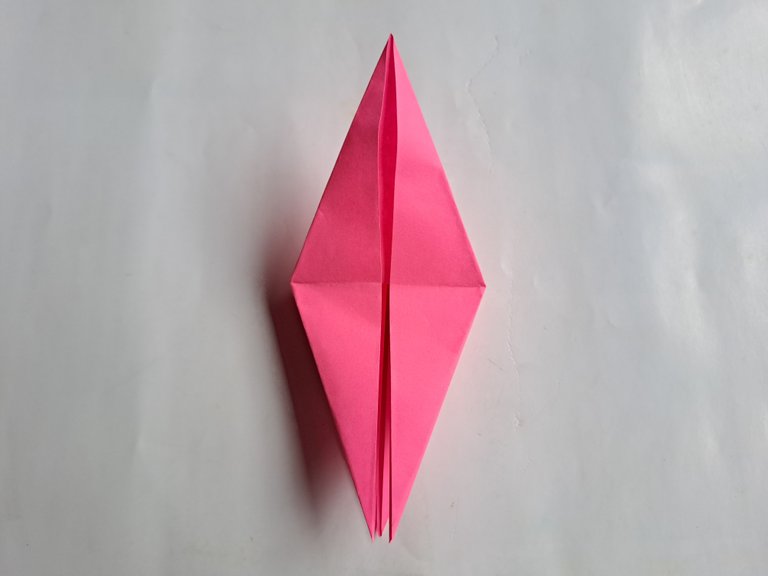
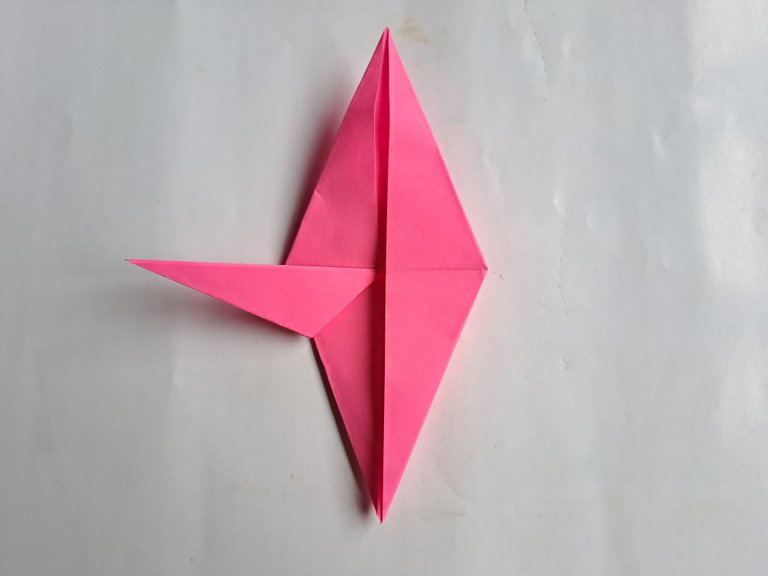
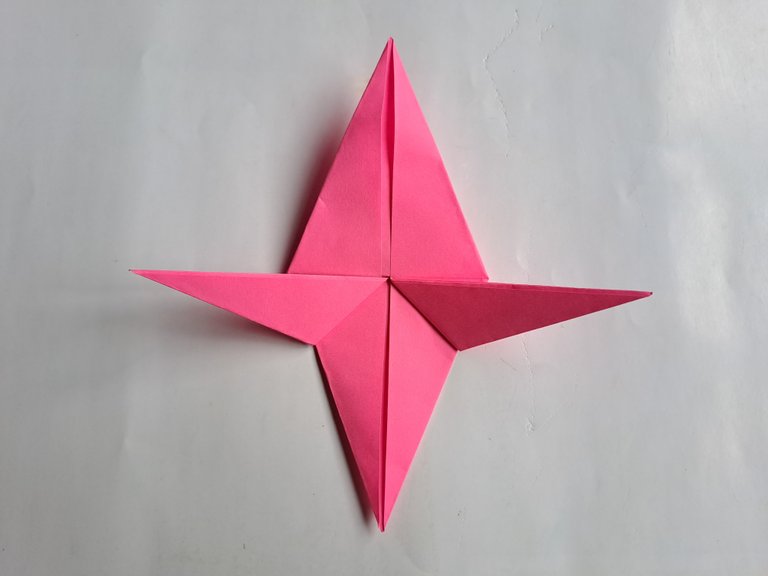
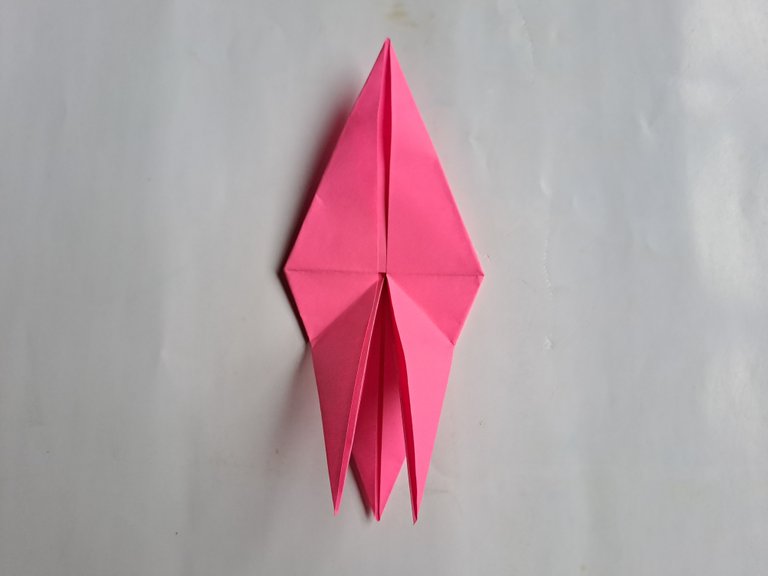
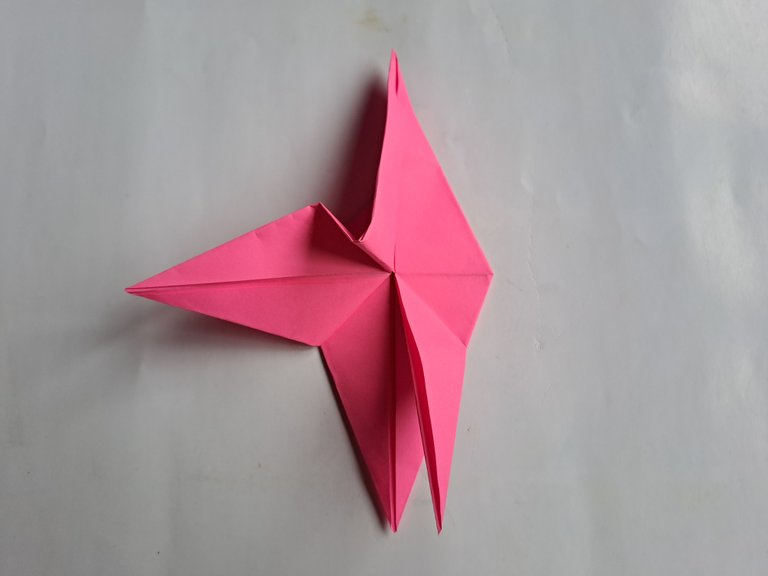
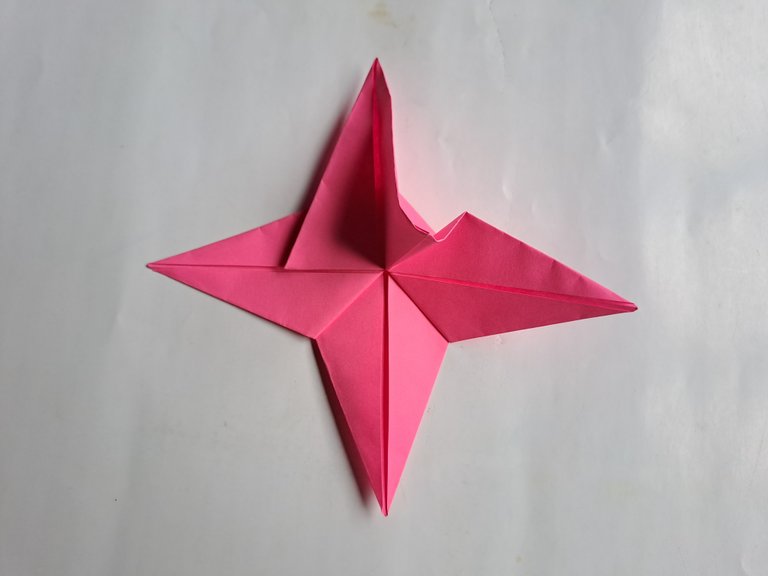
After that, fold the left and right sides of the origami paper outwards, then reopen the fold, then fold the left and right sides of the origami paper outwards again with a slight fold, there is a fold inward in the middle of the paper as shown in the picture below.
 |  |
|---|
 |  |
|---|
 |  |
|---|
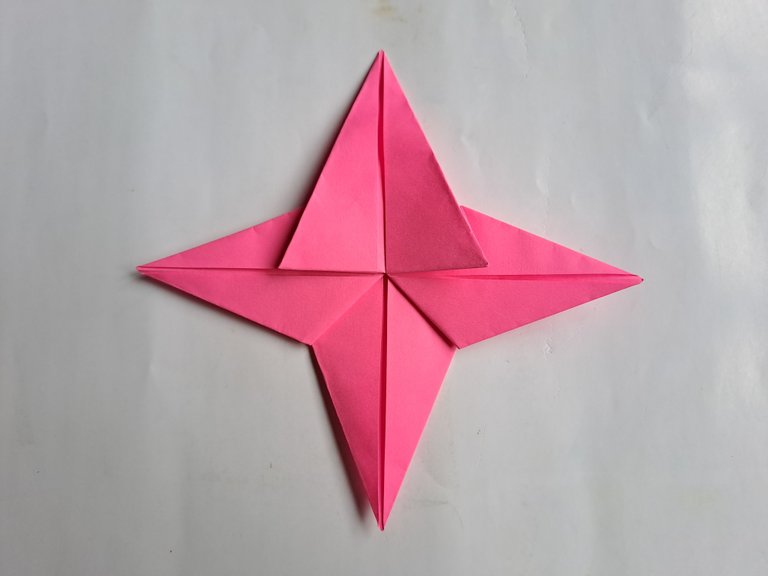
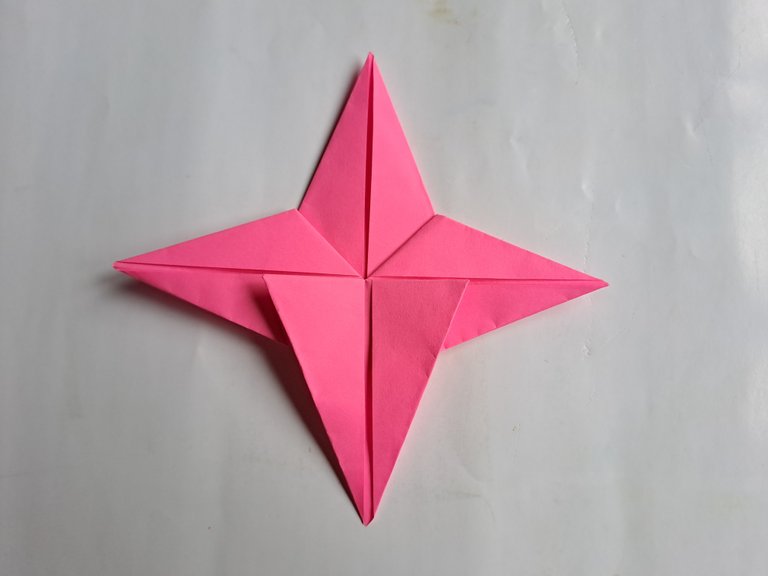
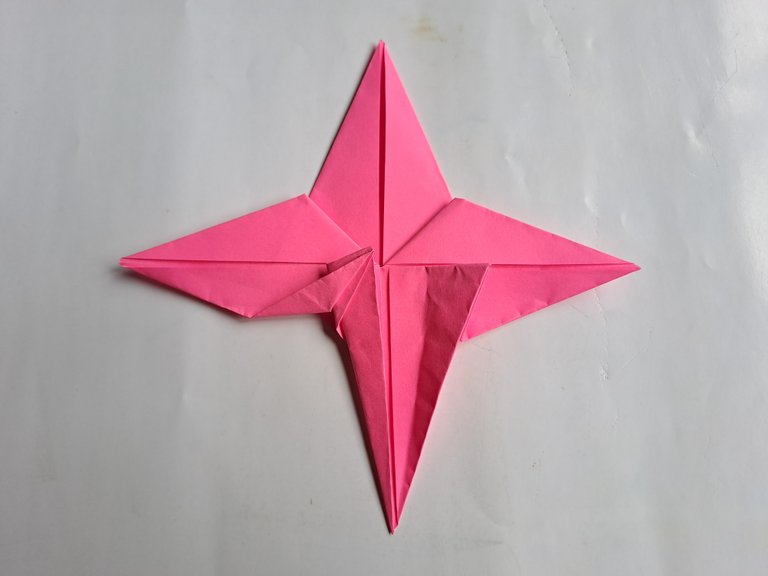
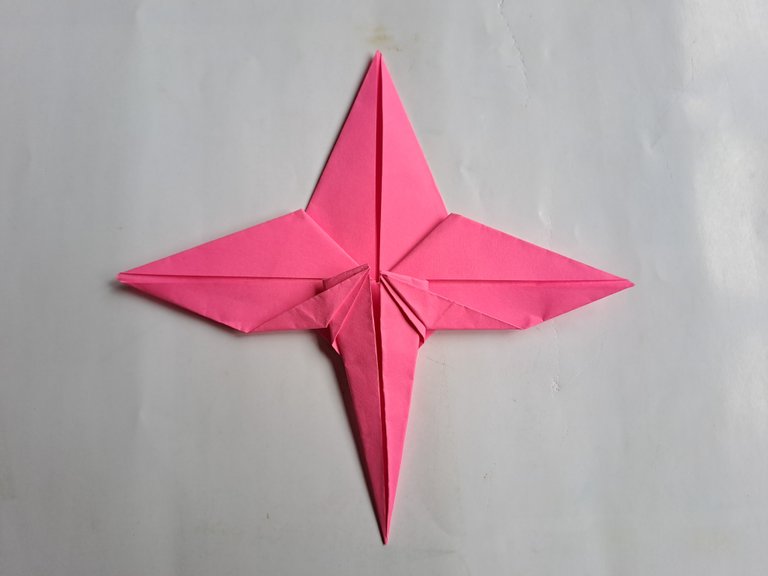
Then turn the paper down and now fold the left and right sides of the origami paper towards the middle and also fold the left and right sides of the top of the origami paper as shown in the picture below.
 |  |
|---|
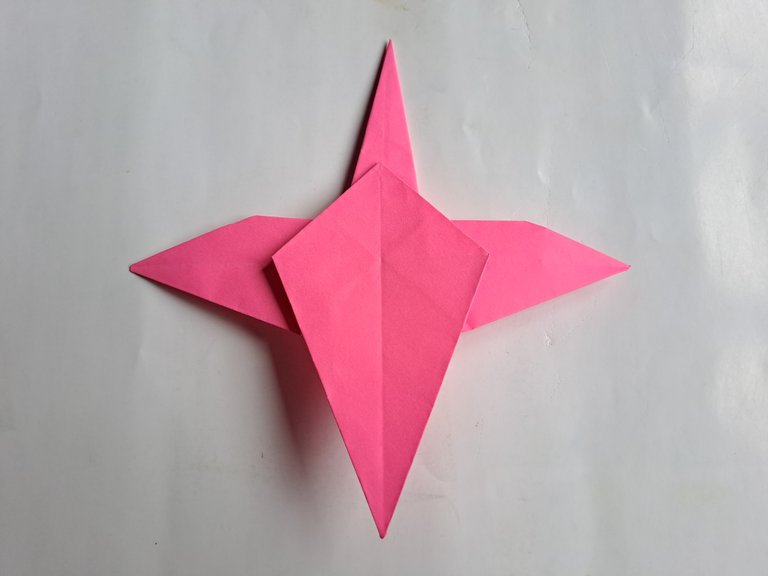
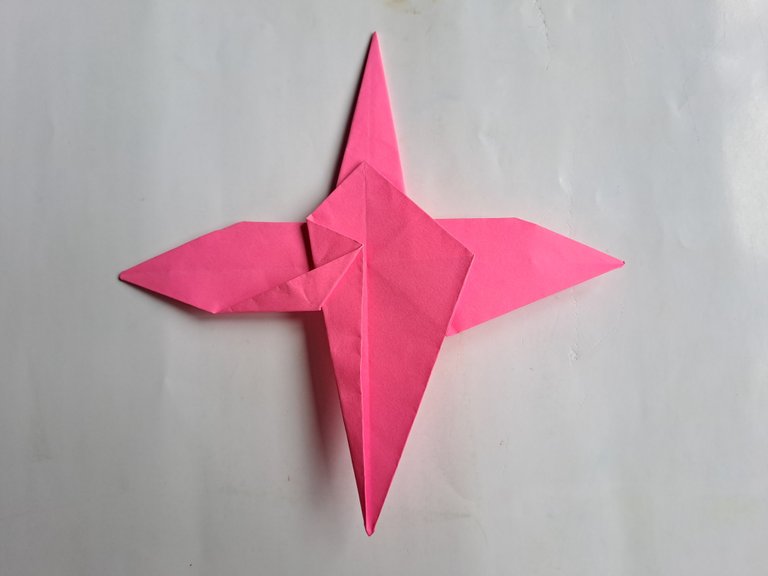
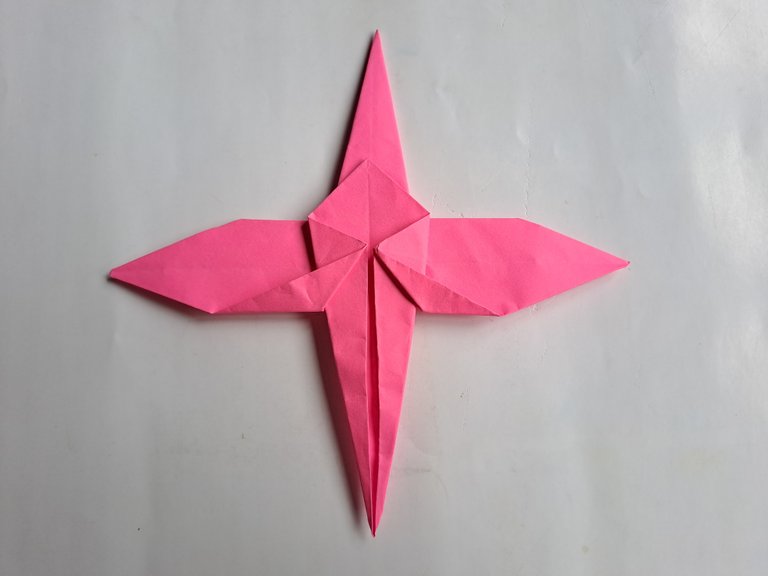
Then turn the origami paper over and now fold the left and right sides of the origami paper towards the middle and also fold the left and right sides of the top of the origami paper a little as shown in the picture below.
 |  |
|---|
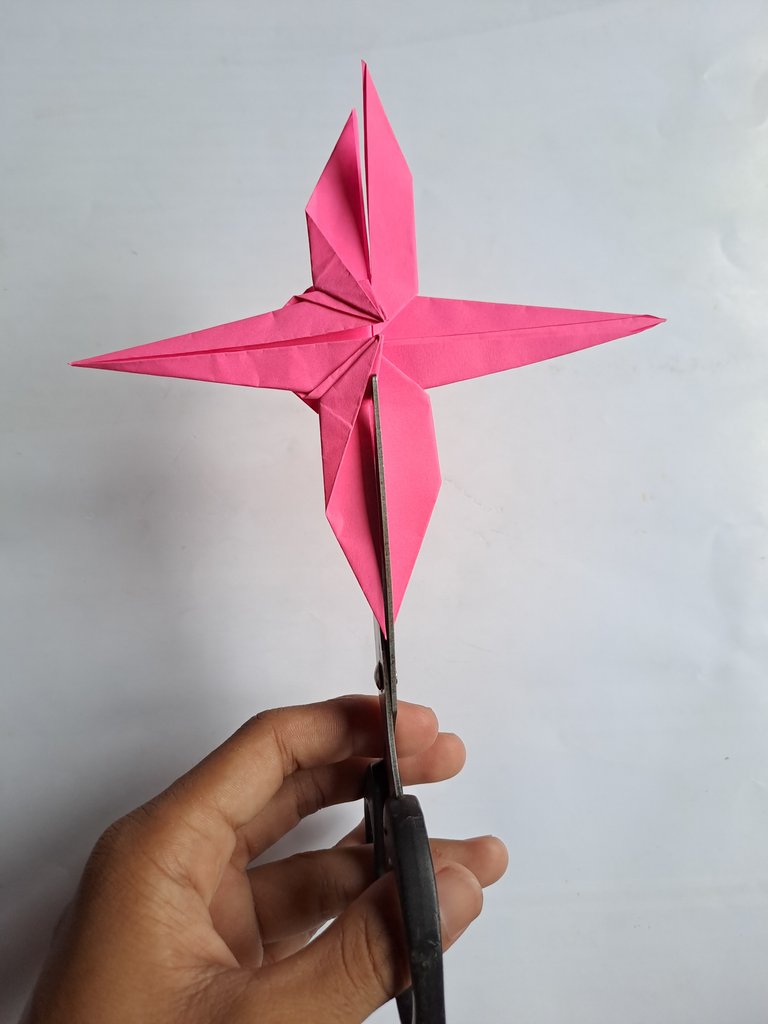
After that, cut the middle of the left and right wings of the dragonfly so that the shape of the wings looks more perfect.
 |  |
|---|
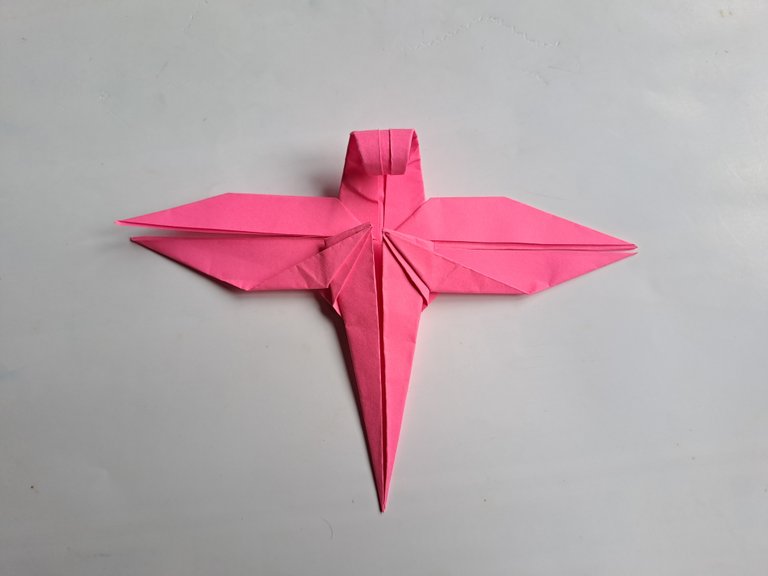
Then roll the head of the dragonfly backwards so that the shape of the head becomes beautiful.
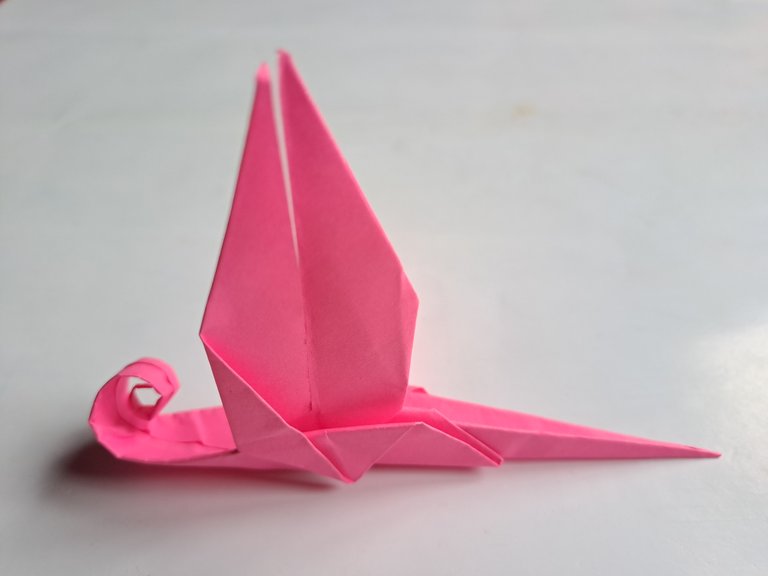
After that, fold it in half in the middle of the dragonfly's body as shown in the picture below, after that also fold both sides of the dragonfly's wings downwards, then let the two dragonfly wings expand again and now the origami paper dragonfly is perfectly finished.
 |  |
|---|
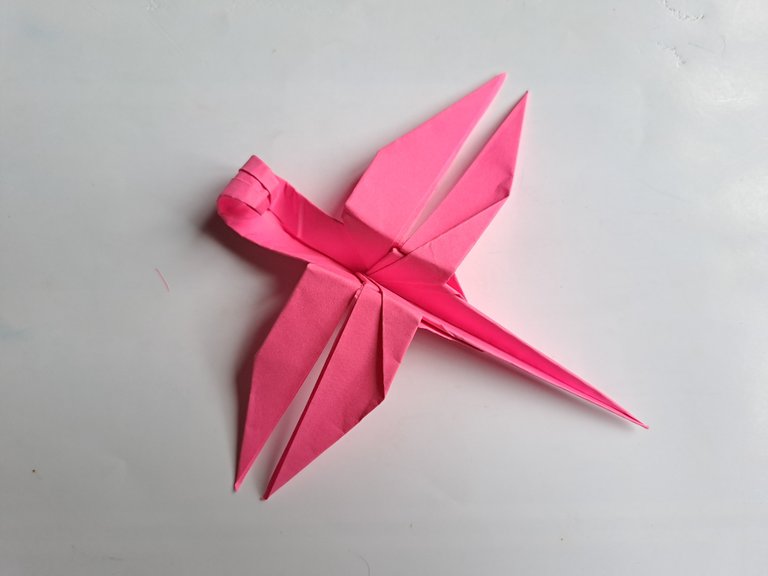
I deliberately chose the pink color on this origami paper so that many children like it and also so that the origami dragonfly looks more beautiful.

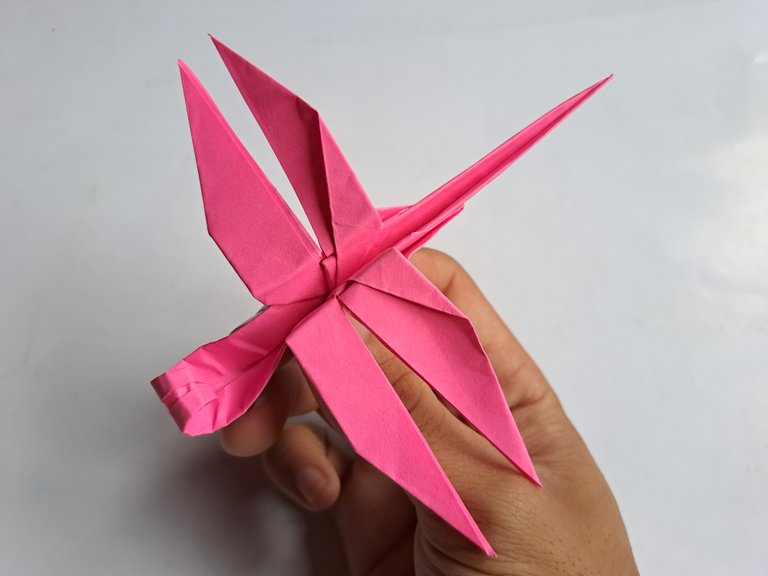
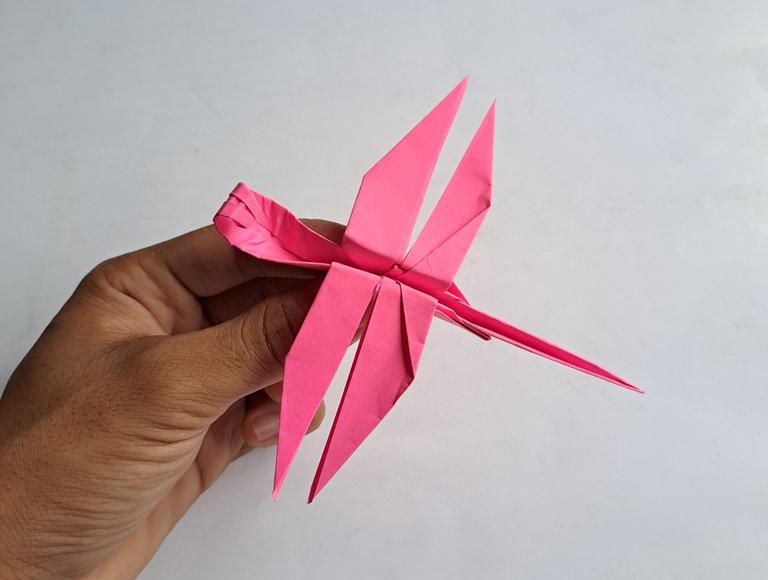
This is my craft post today, thank you for my friends who have visited my origami dragonfly craft post, see you in my next craft post.
!discovery 30
Thank you for your support, brother.
This post was shared and voted inside the discord by the curators team of discovery-it
Join our Community and follow our Curation Trail
Discovery-it is also a Witness, vote for us here
Delegate to us for passive income. Check our 80% fee-back Program
Thank you for your support.
A pink dragonfly? This is new and unique! Do we love it? Absolutely! Normal is boring and that’s why we love your pink dragonfly. Thank you for sharing such a beautiful dragonfly with us and cheers to more creative ideas as we will be waiting to see what you have up your sleeves and yes we are rooting for you. Well done and have a great day dear friend😃
Thank you, I am very happy that you like my work, this is an honor for me. Making a pink dragonfly really makes it look very unique and beautiful, I can't wait to make other interesting works. Once again I thank you for your support.😊