Tutorial on making a Diplodocus Dinosaur from a sheet of origami paper
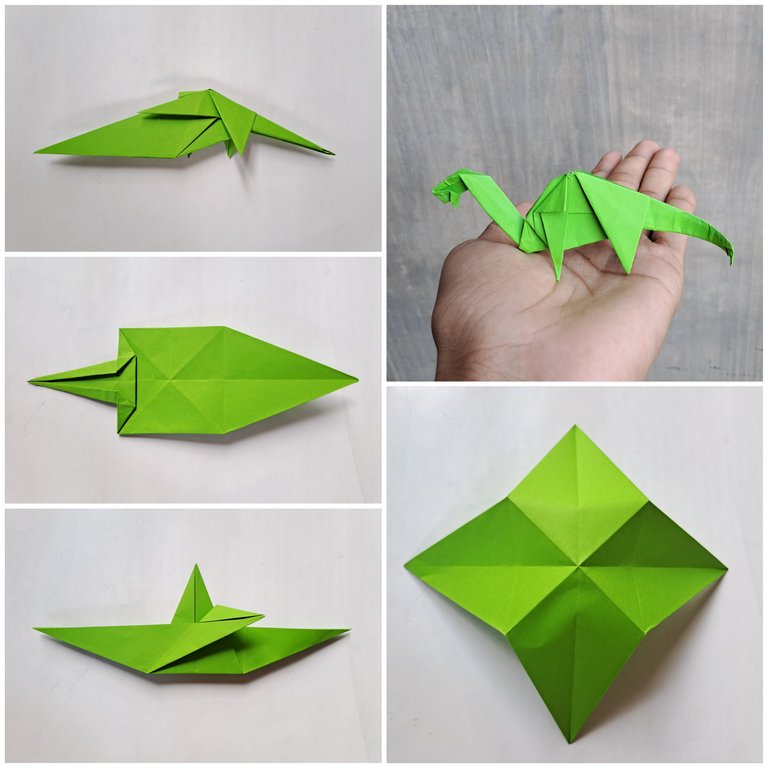
Hi friends of Hive DIY
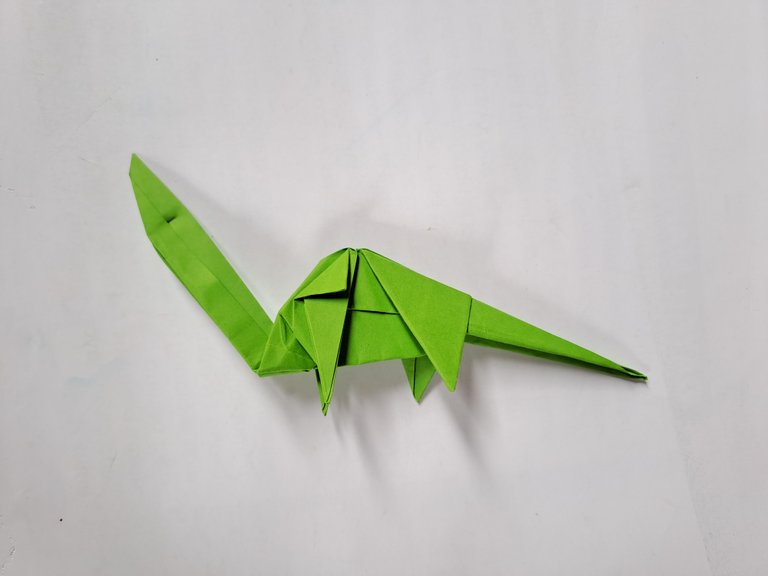
Today I want to make another special craft from origami paper, the craft that I will make today from origami paper is the Diplodocus Dinosaur, this is a Dinosaur that has a long neck and is one of the Dinosaurs that is liked by everyone because this Dinosaur is very good because this Dinosaur only eats plants aka herbivores and also has a beautiful shape.
To make a Diplodocus Dinosaur we only need to use a sheet of origami paper, and I will use green origami paper to make this Dinosaur.
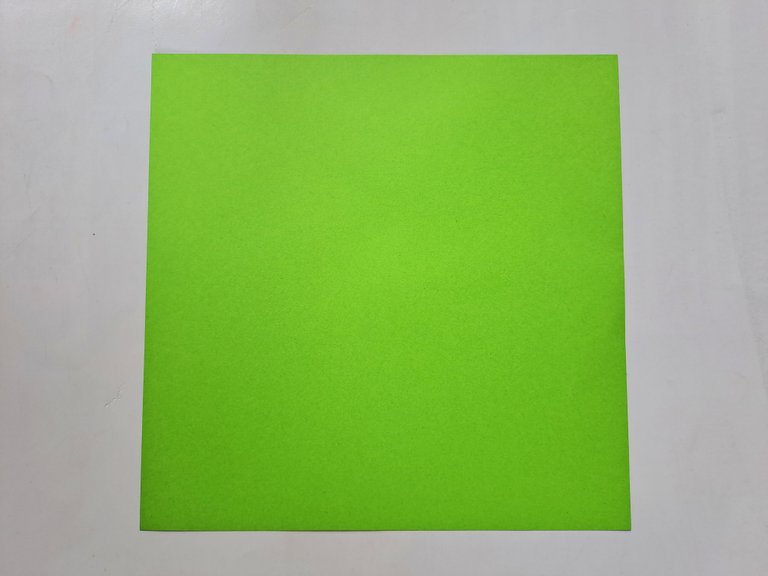
Here is a tutorial on making a Diplodocus Dinosaur from a sheet of origami paper.
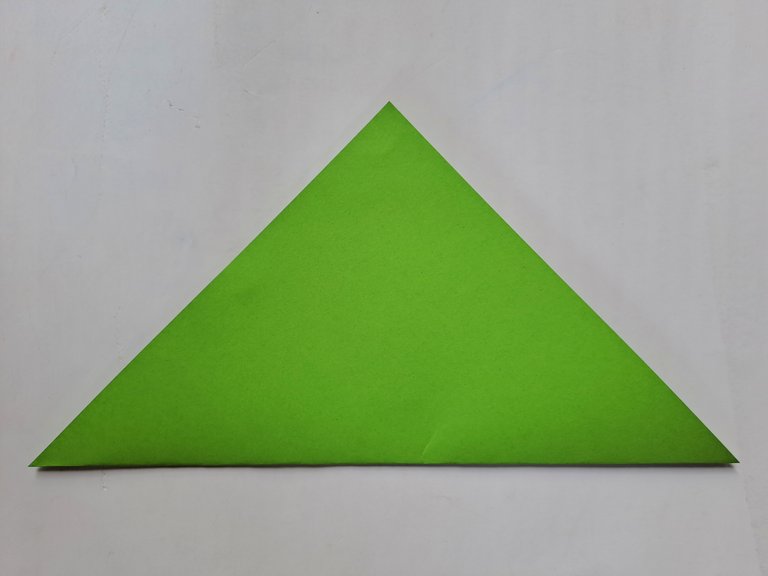
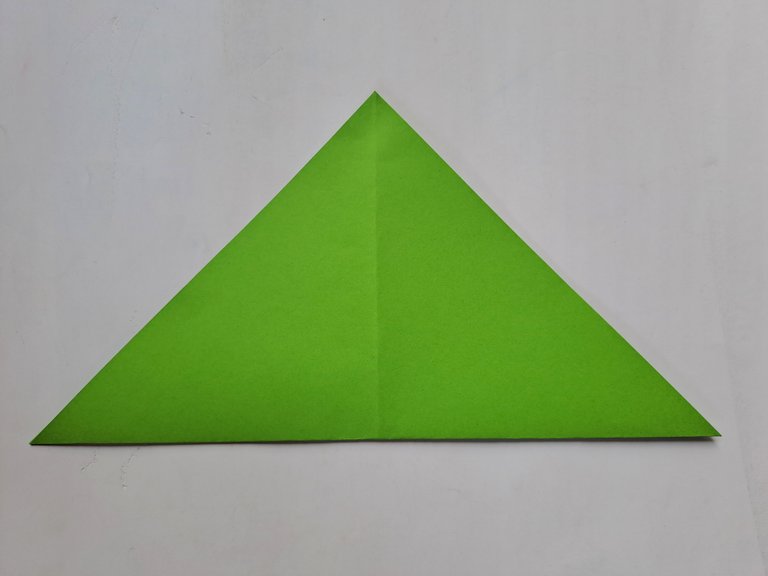
First, fold the origami paper into a triangle neatly, then unfold it again and fold it once again into a triangle from the opposite direction.
 |  |
|---|
After that, unfold it again and turn the origami paper over, then fold the origami paper into two parts neatly, then unfold the origami paper again and fold the origami paper once again into two parts from the opposite direction.
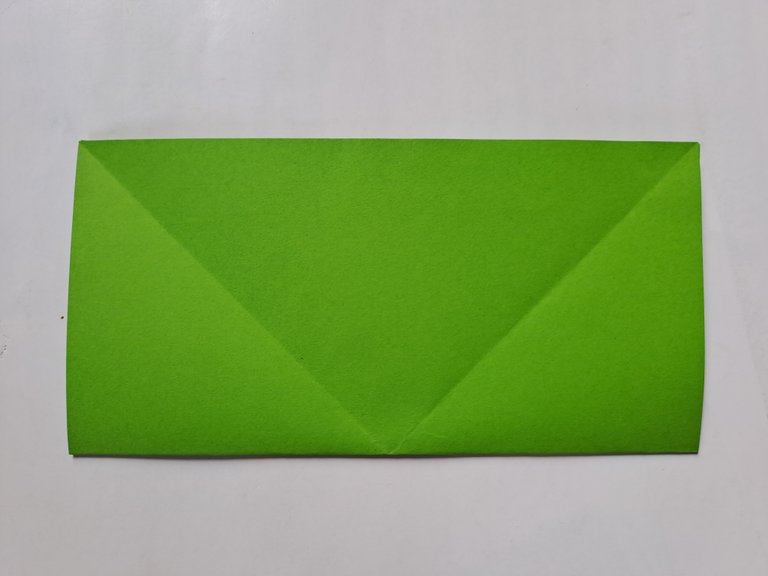 | 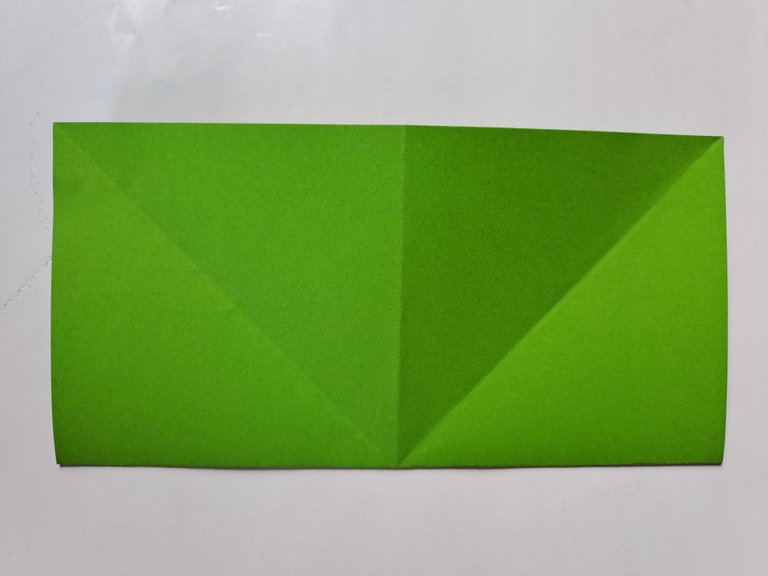 |
|---|
When the origami paper has a six-star line pattern, then fold the right and left sides of the origami paper inward so that it forms a box like the picture below.
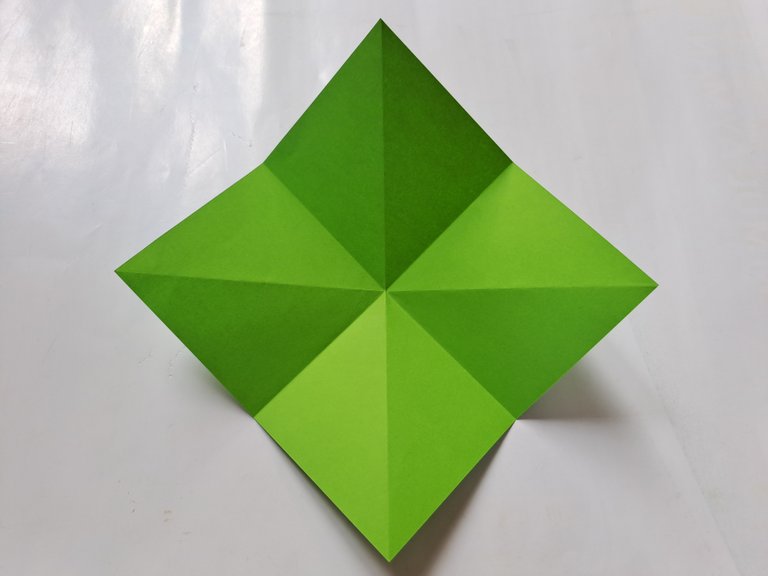 | 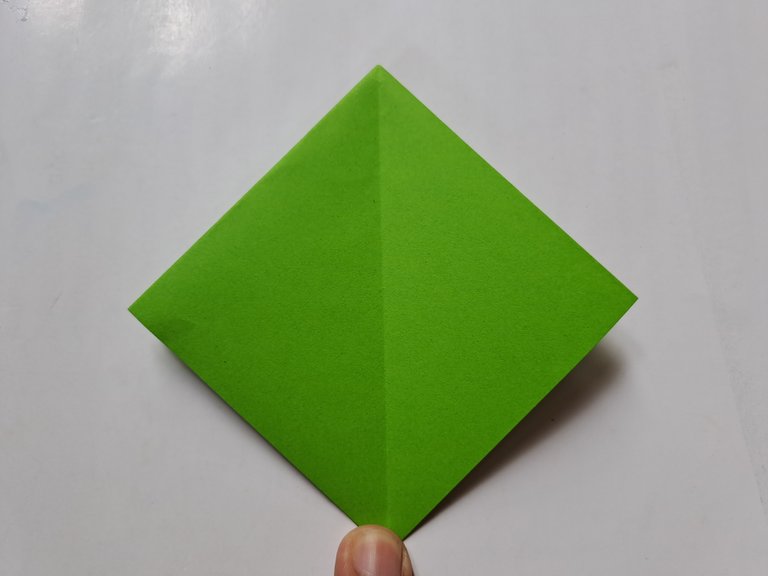 |
|---|
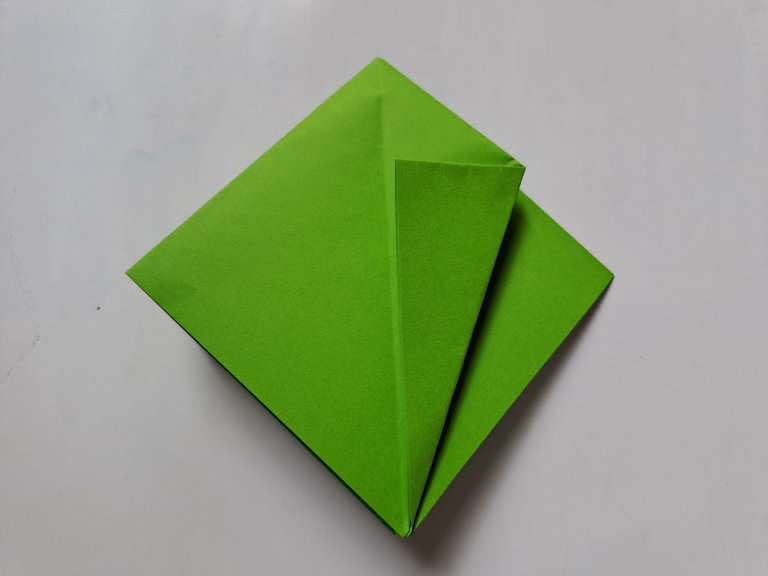
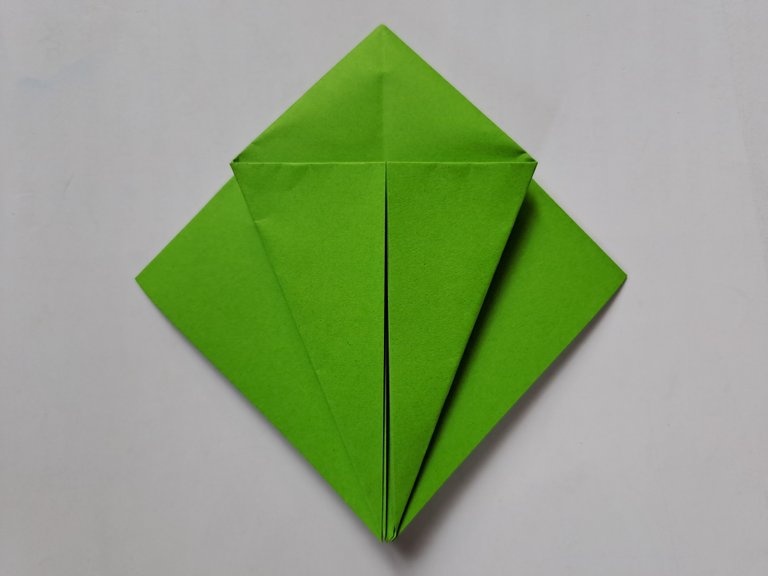
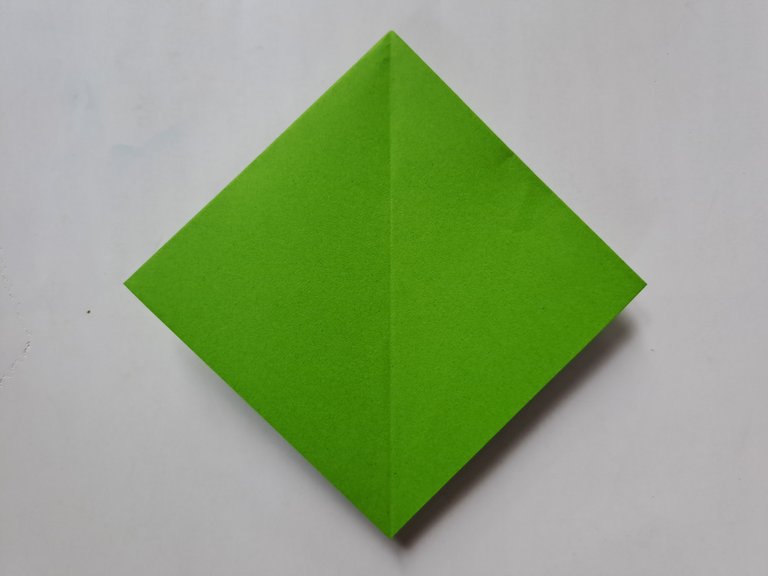
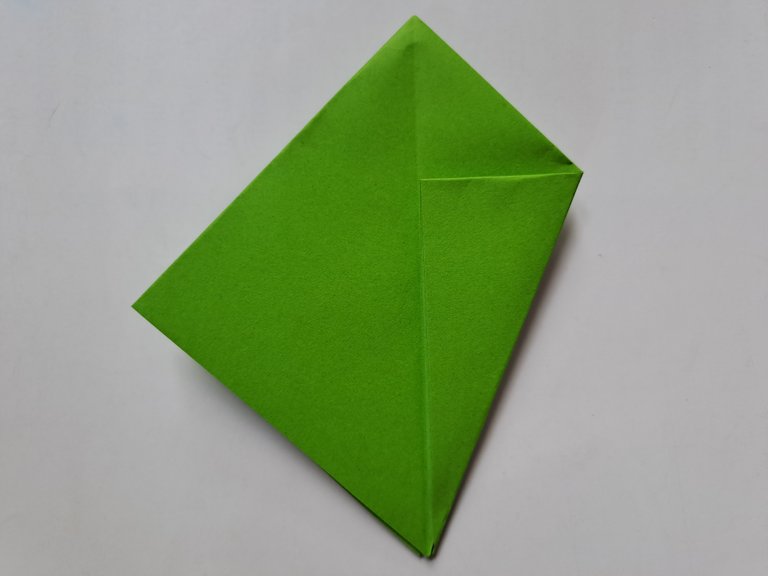
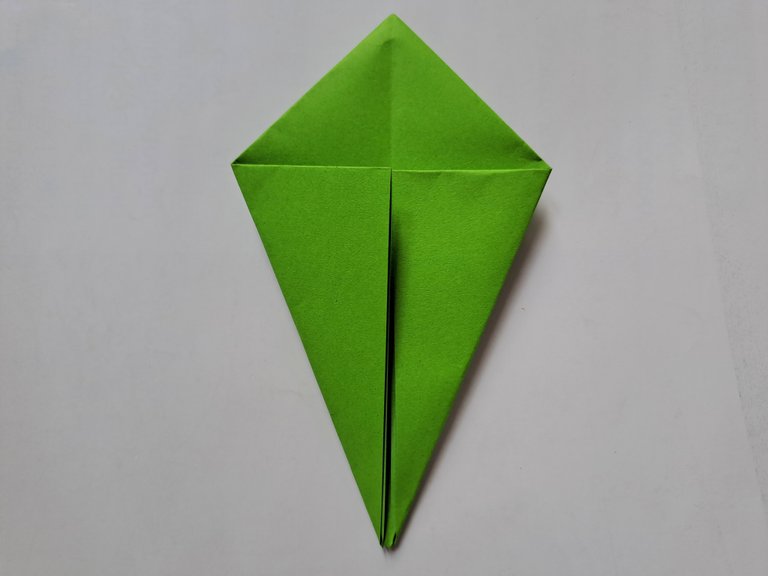
Then fold the left and right sides of the origami paper towards the middle like the picture below, then turn the origami paper over and fold the left and right sides to the middle like the picture below.
 |  |
|---|
 |  |
|---|
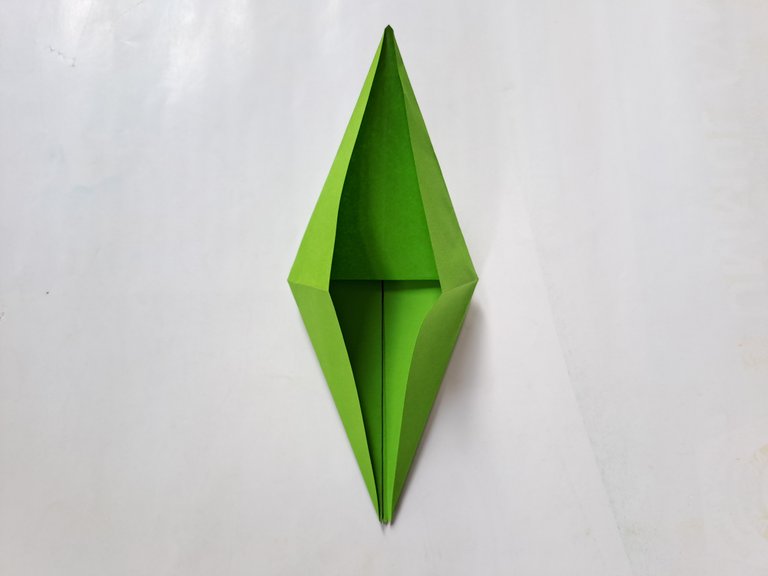
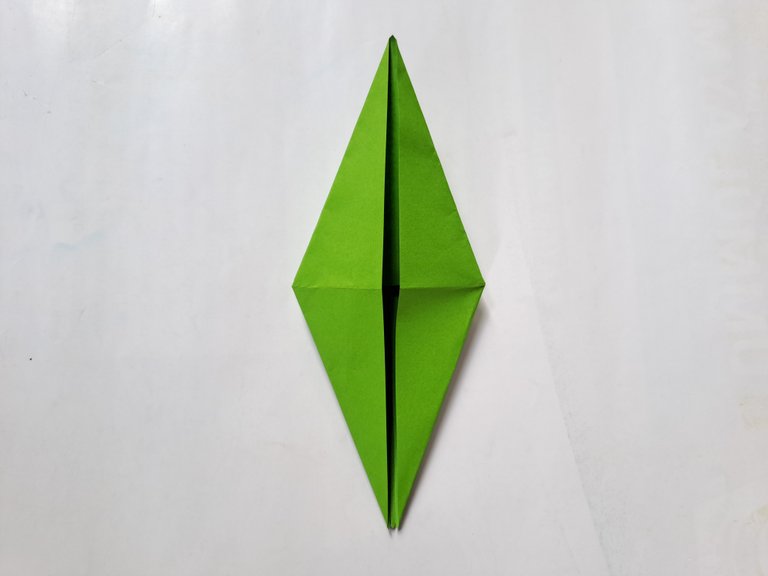
Then open the fold again and fold the left and right sides of the open paper inward so that the shape becomes like the picture below.
 |  |
|---|
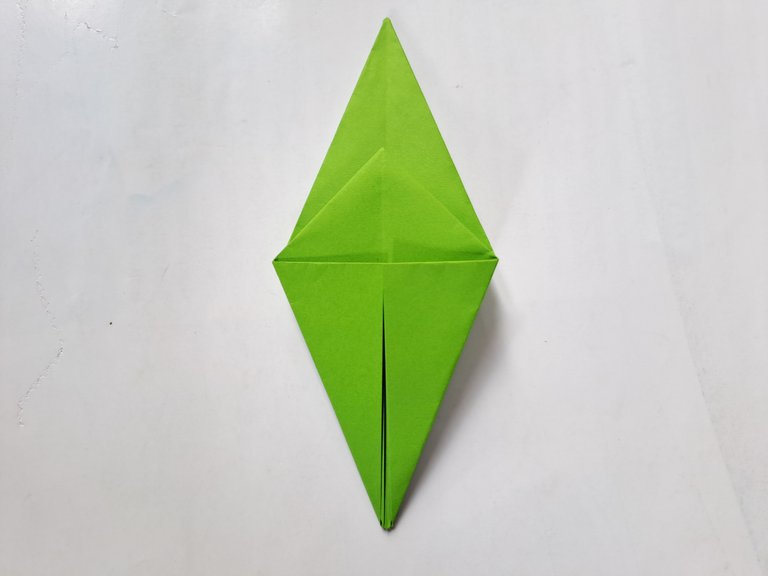
Then turn the origami paper over and unfold it, then fold the right and left sides of the paper towards the middle as shown in the picture below so that the origami paper shape is aligned.
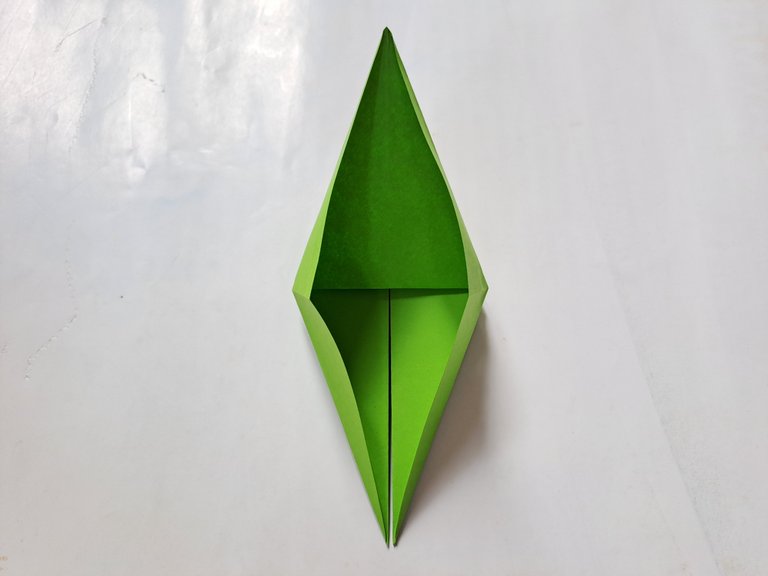 | 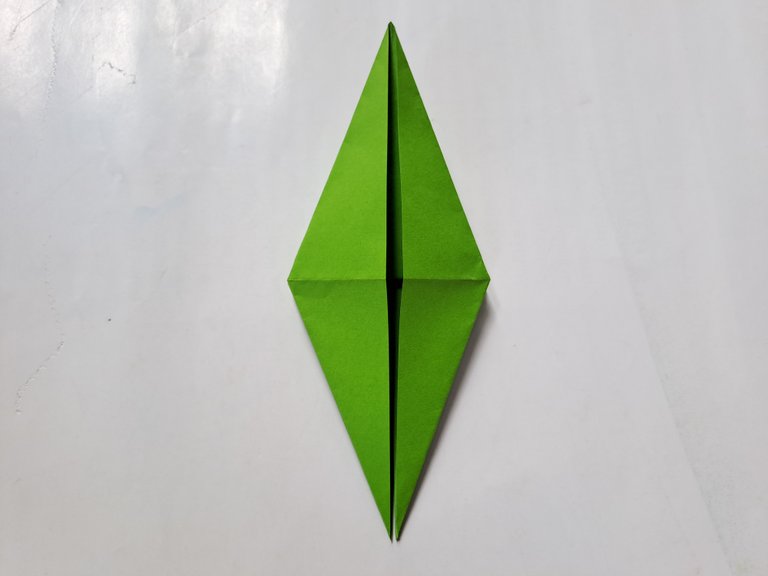 |
|---|
After that, fold the pointed side of the top of the origami paper down as shown in the picture below.
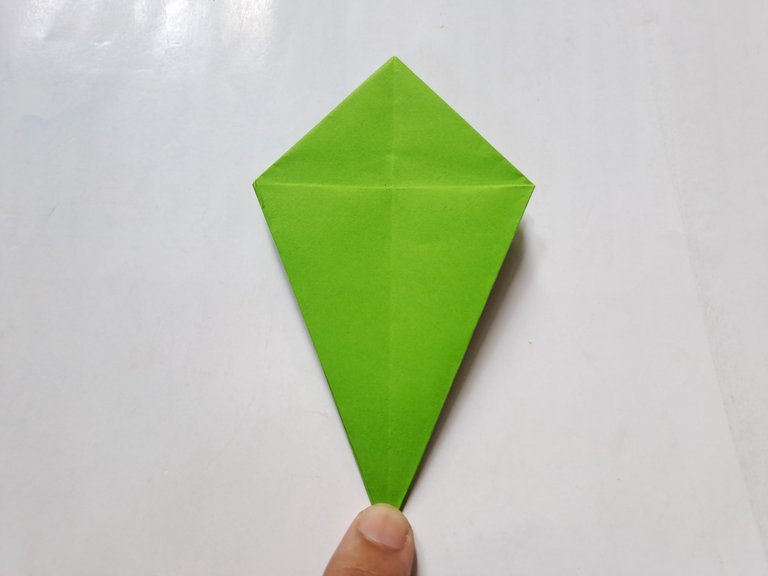
Well, after that, hold both pointed sides of the bottom of the origami paper and pull it to the left and right of the origami paper slowly so that the folds of the origami paper open so that the shape of the origami paper becomes like the picture below.
 | 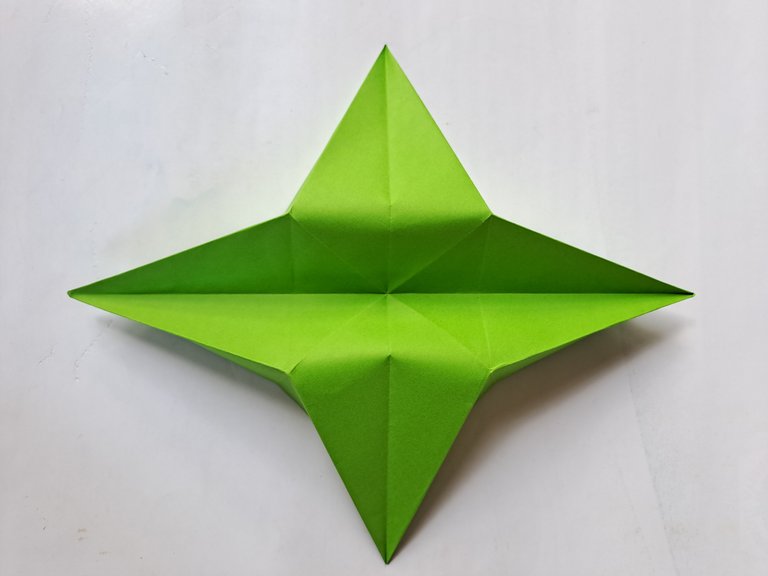 |
|---|
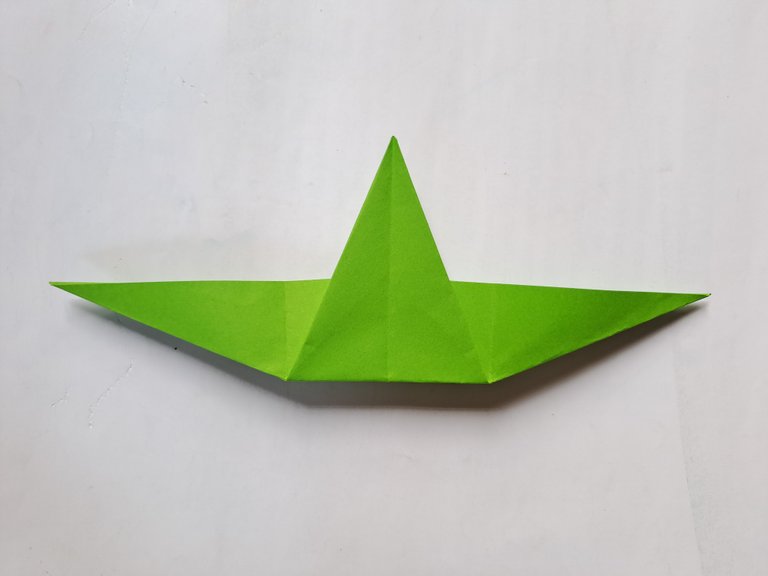
Then turn the origami paper over and bend it to the middle following the existing line pattern so that the origami paper is shaped like the picture below.
 |  |
|---|
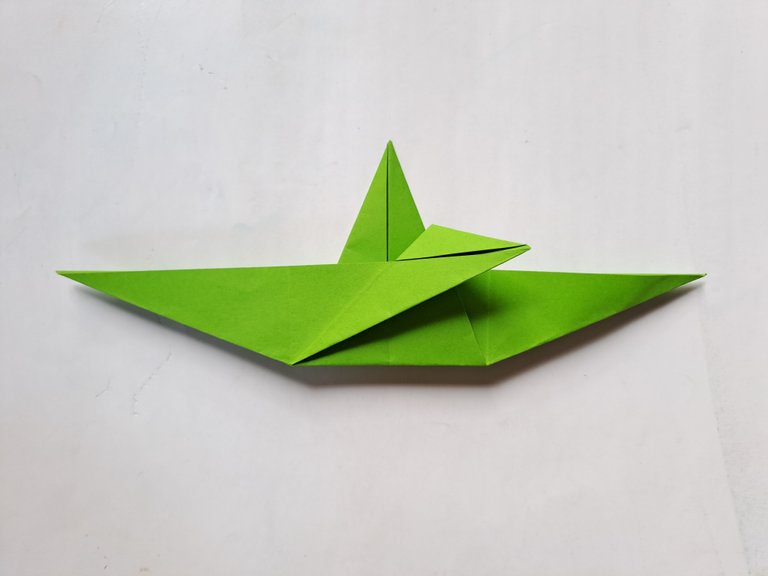
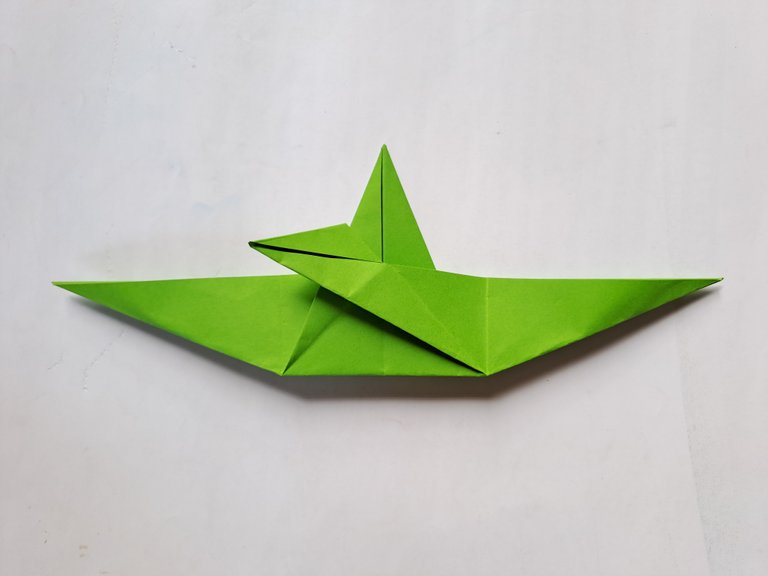
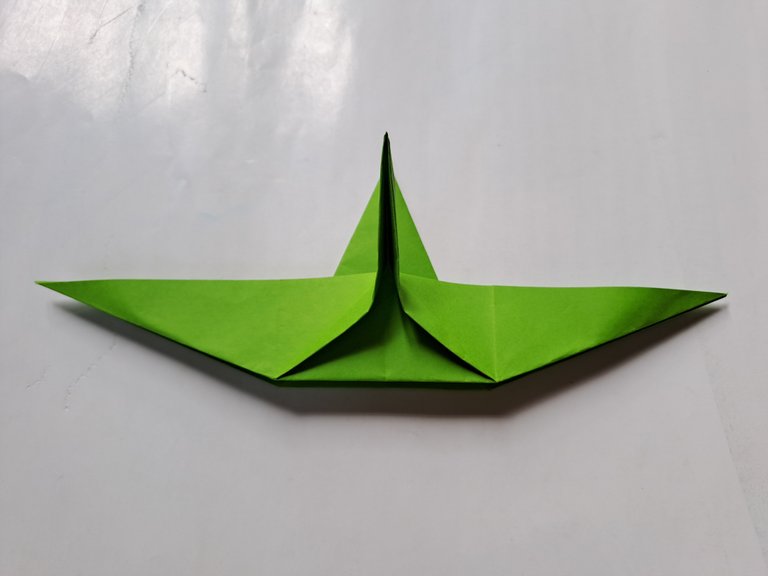
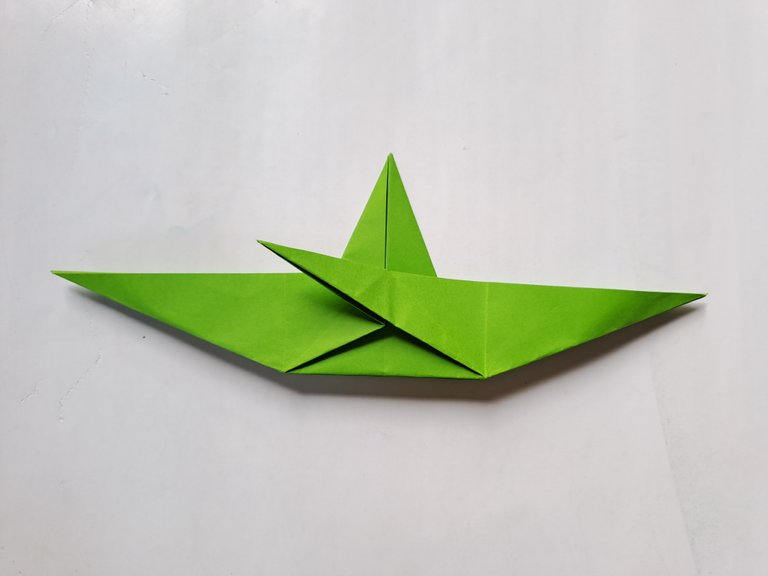
Then fold the middle of the origami paper to the right, then unfold it again and fold it once more to the left of the paper as shown in the picture below, this fold is done to create a pointed fold pattern upwards in the middle of the origami paper as shown in the picture below.
 |  |
|---|
 |  |
|---|
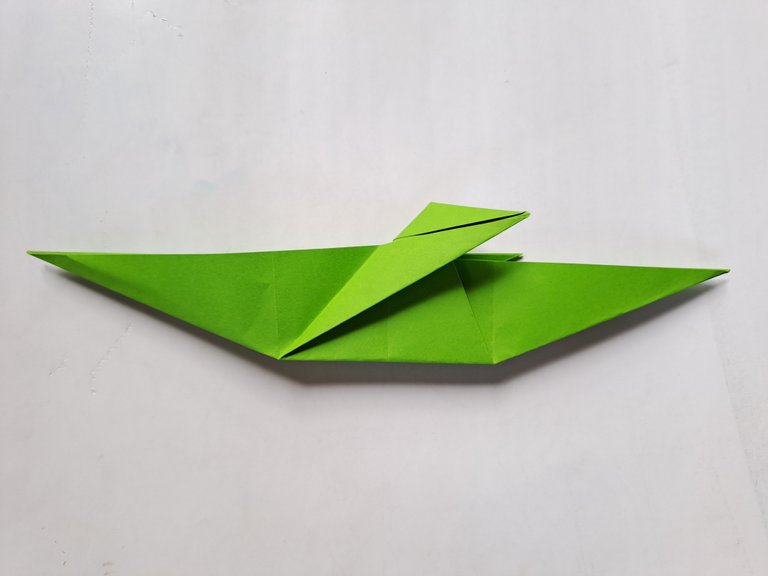
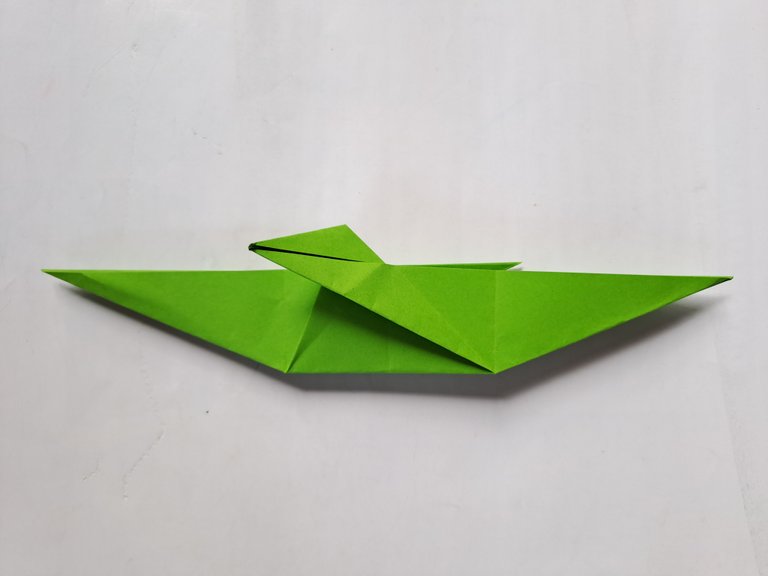
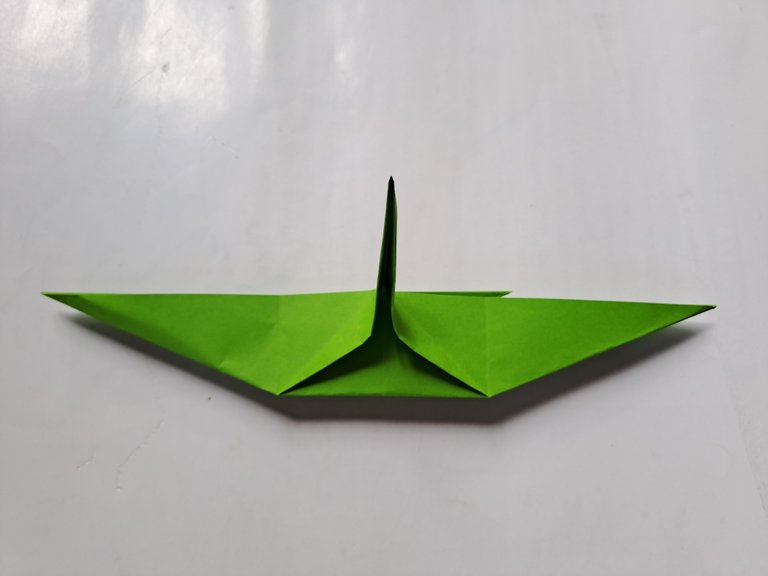
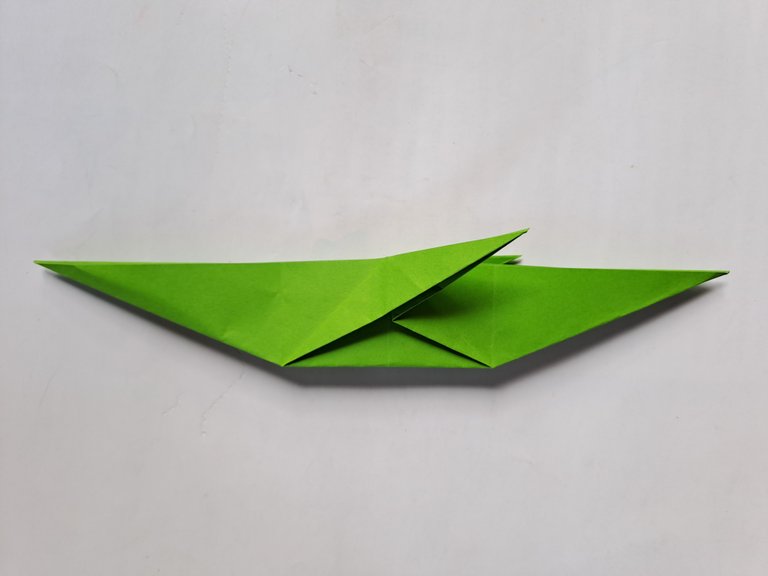
Then turn the paper over and do the same thing so that the middle fold is aligned as shown in the picture below.
 |  |
|---|
 |  |
|---|
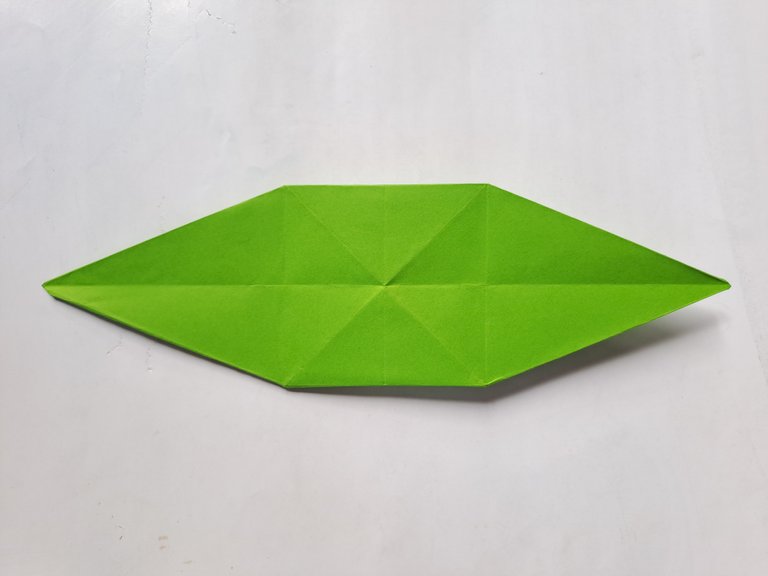
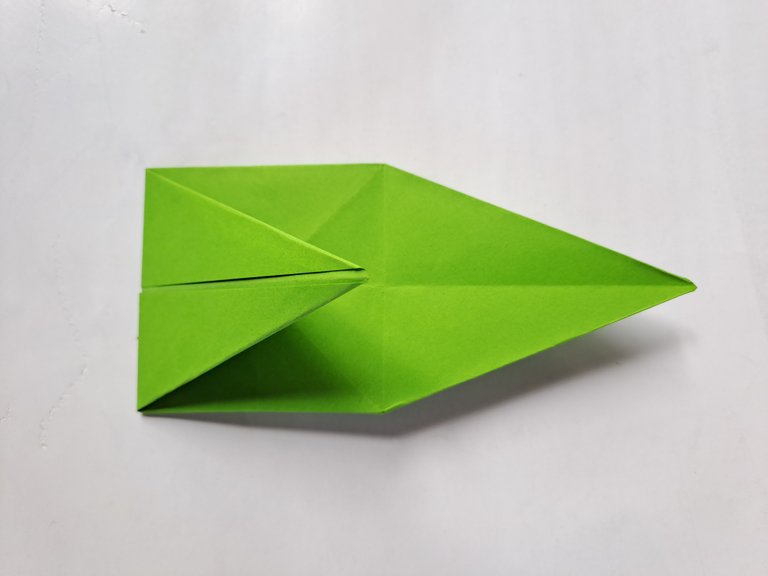
Then turn the origami paper over and fold the back of the origami paper half inward as shown in the picture below.
 |  |
|---|
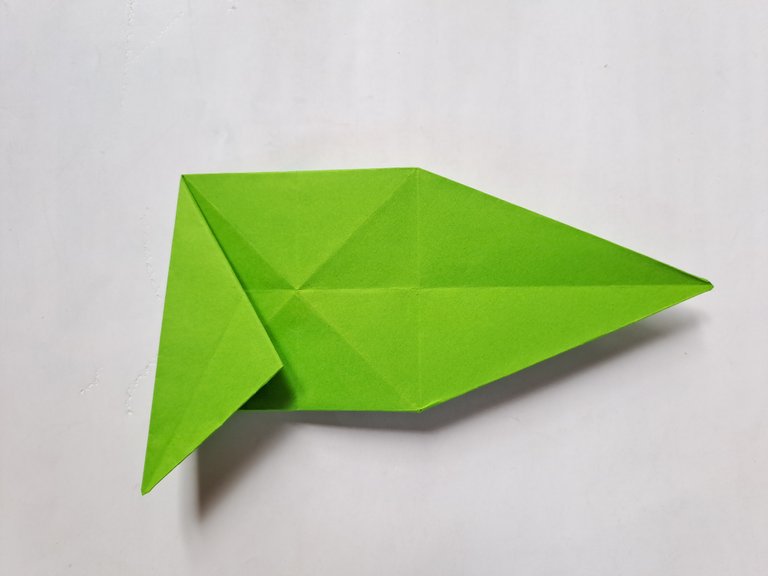
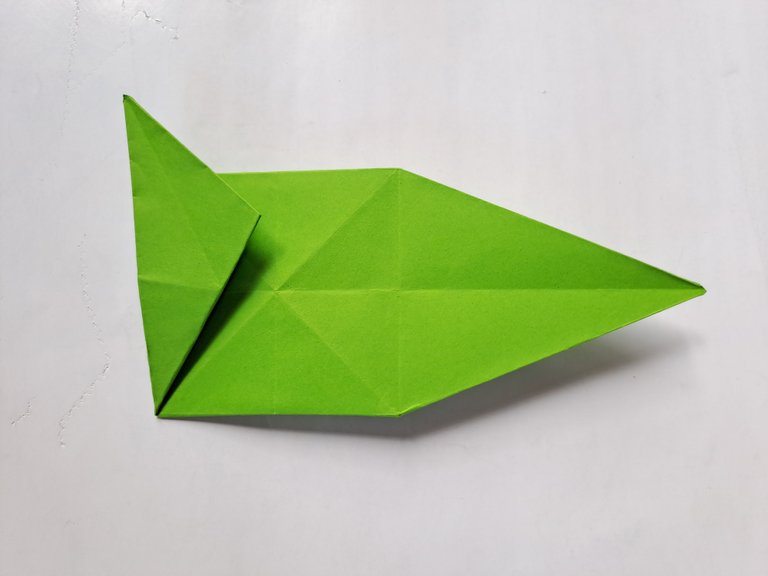
Then fold the bottom fold of the origami paper to the left and right as shown in the picture below.
 |  |
|---|
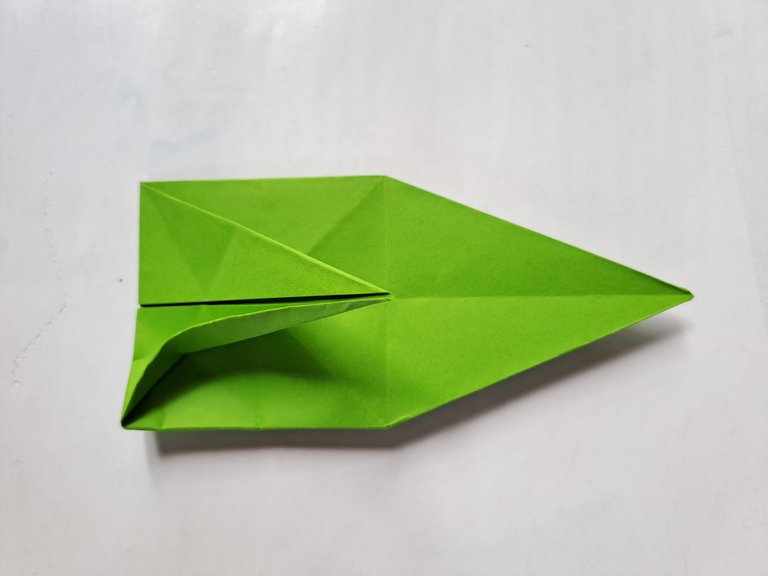
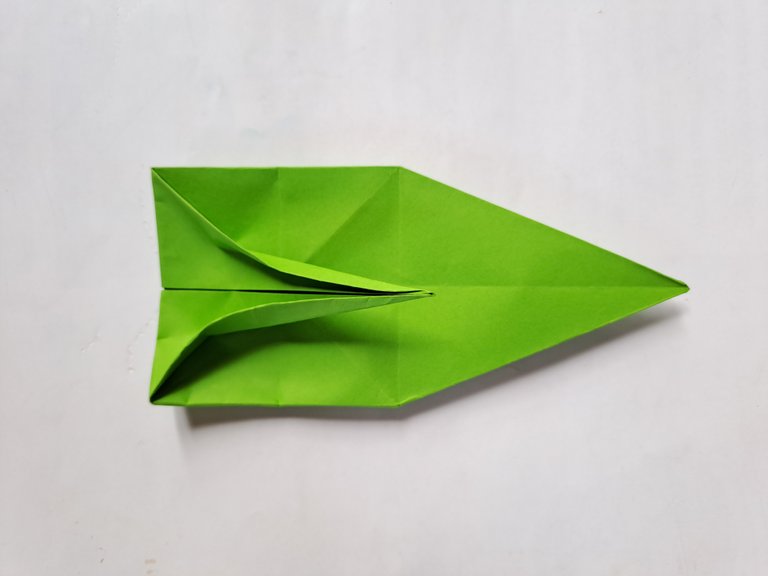
Then fold the left and right sides of the origami paper again a little as shown in the picture below.
 |  |
|---|
Then open the left and right folds again and now fold them once more towards the back of the origami paper as shown in the picture below.
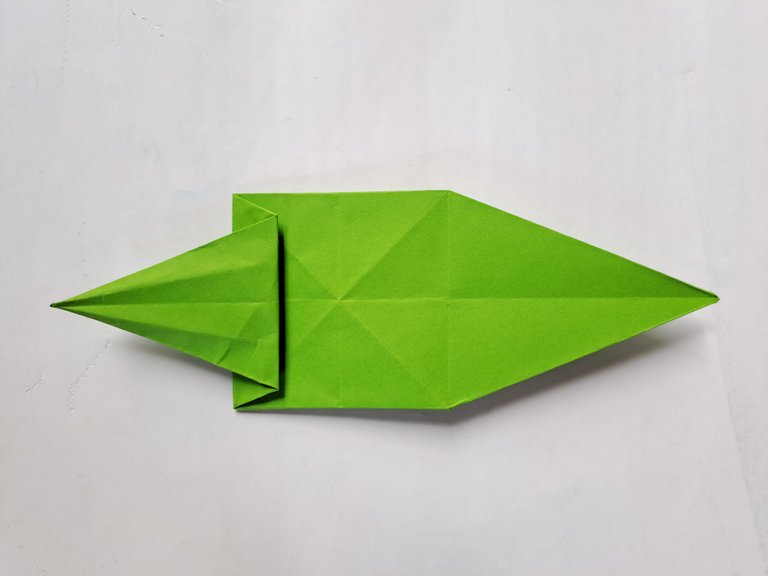
Now fold the left, right and left sides of the origami paper again following the line pattern that we made earlier as shown in the picture below.
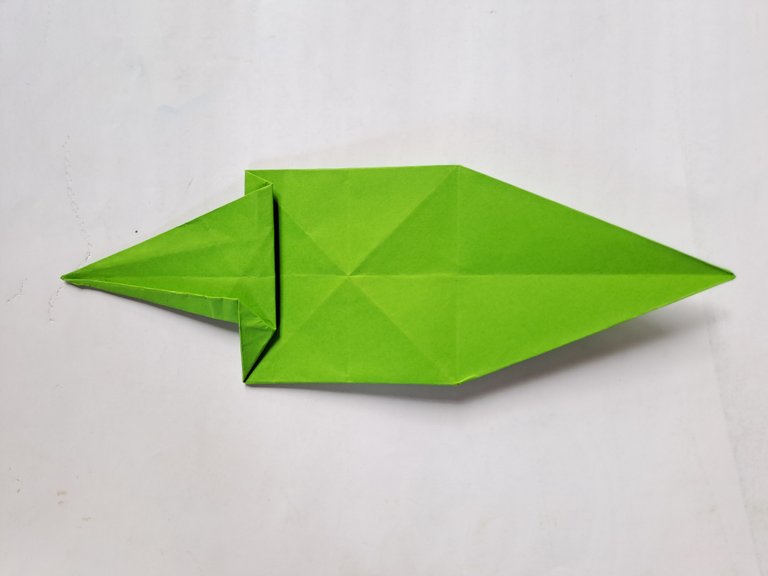 | 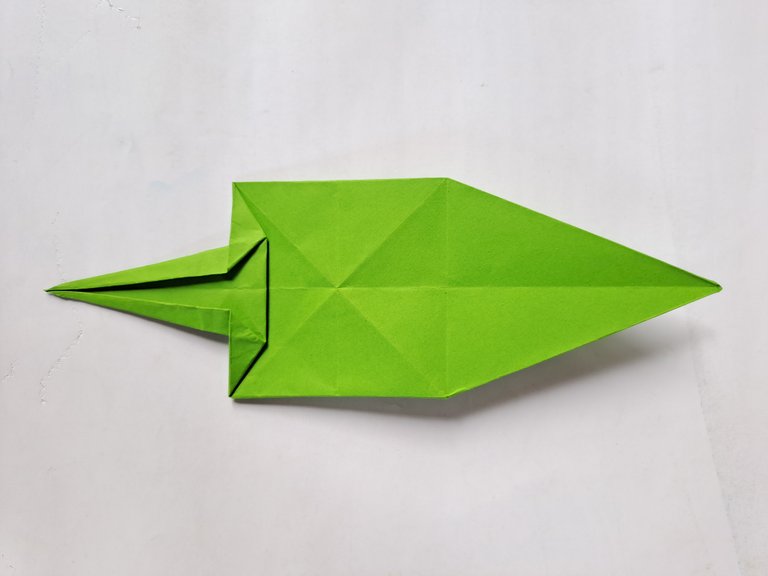 |
|---|
Then fold the middle of the origami paper in half as shown in the picture below.
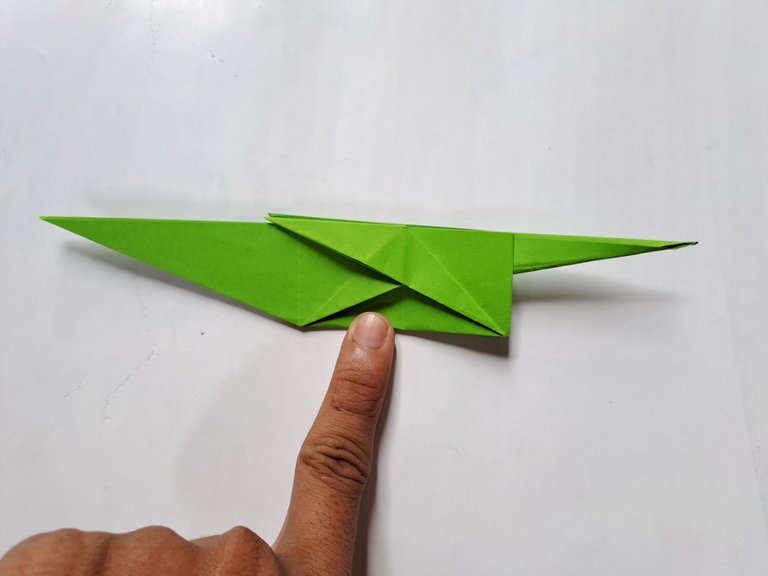
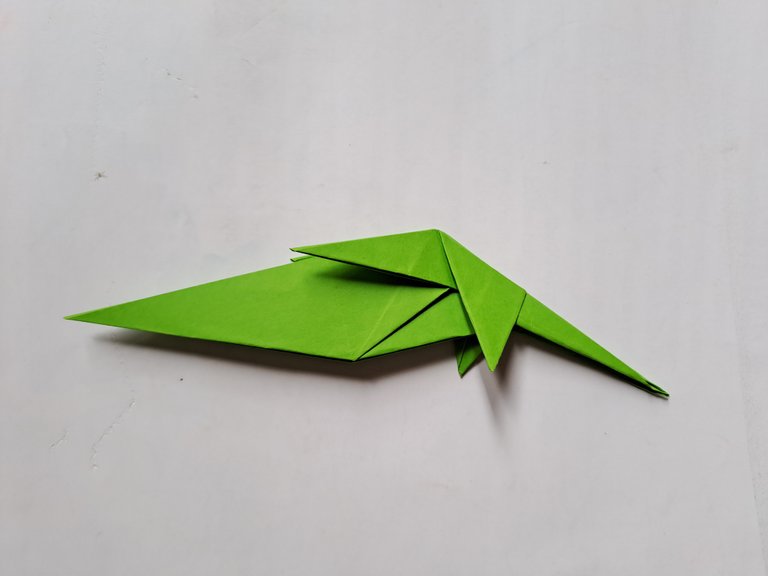
Then bend the left and right sides of the front of the origami paper a little so that we can bend the front fold of the origami paper as shown in the picture below.
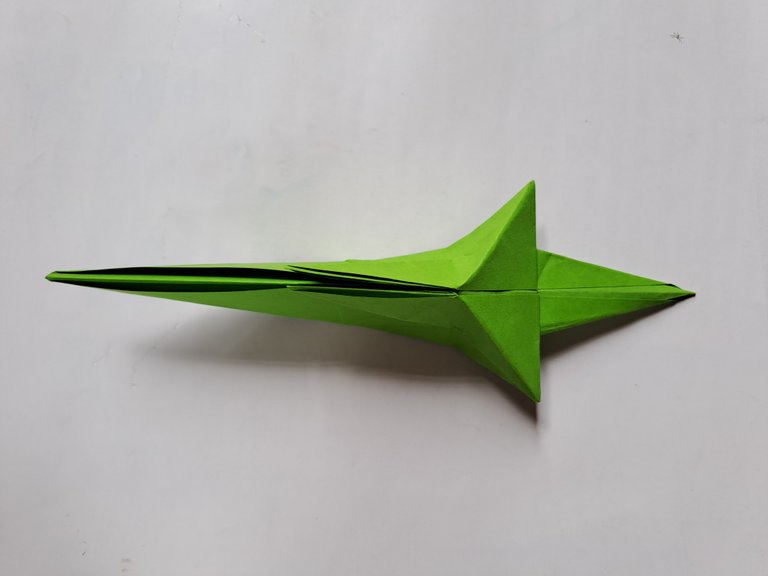 |  |
|---|
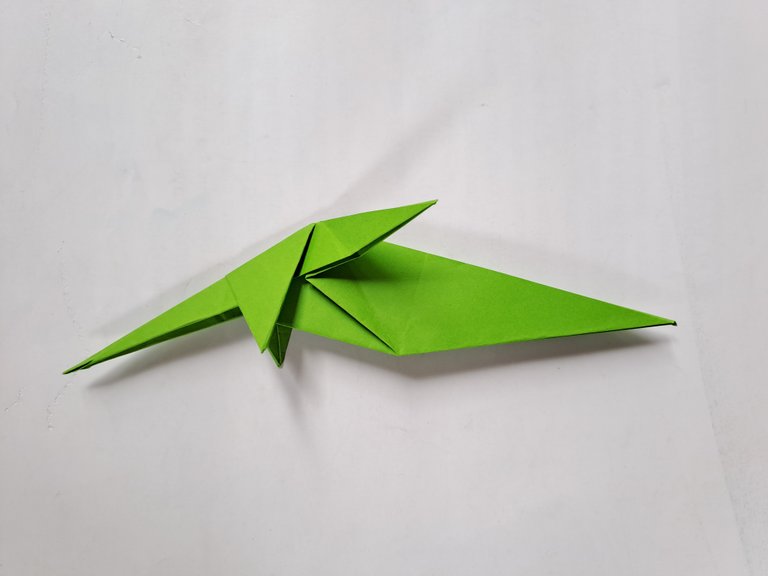
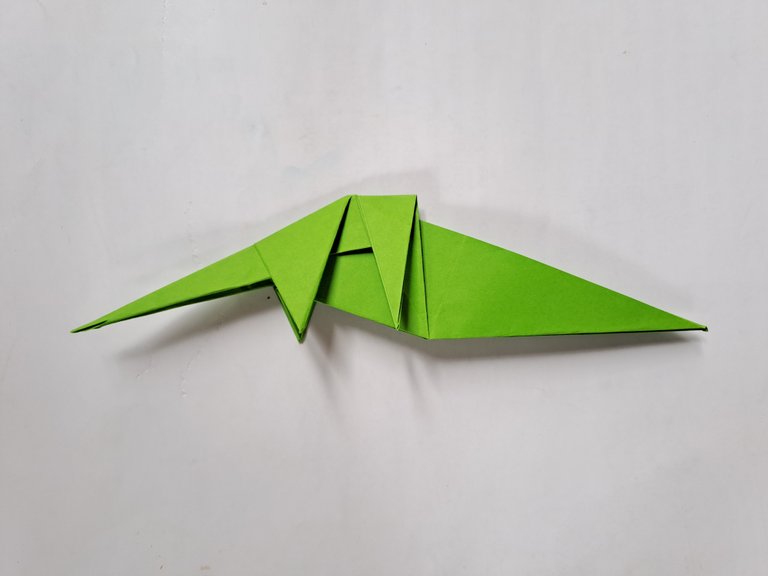
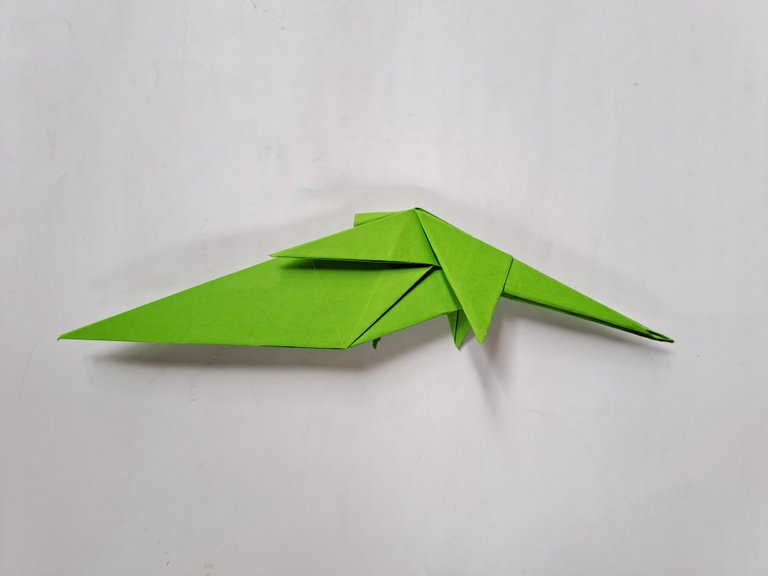
Then bend the fold that points up to the bottom as shown in the picture below to make the legs of the Diplodocus Dinosaur, then turn the origami paper over and fold the part that points up to the bottom so that the Dinosaur's legs are perfect.
 |  |
|---|
 | 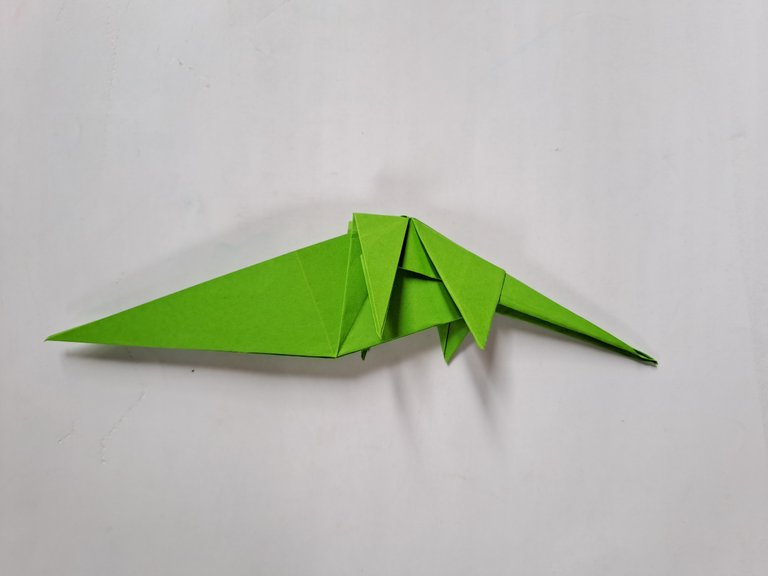 |
|---|
Then fold a little of the top of the Dinosaur's legs inward as shown in the picture below to make the Dinosaur's leg muscle pattern.
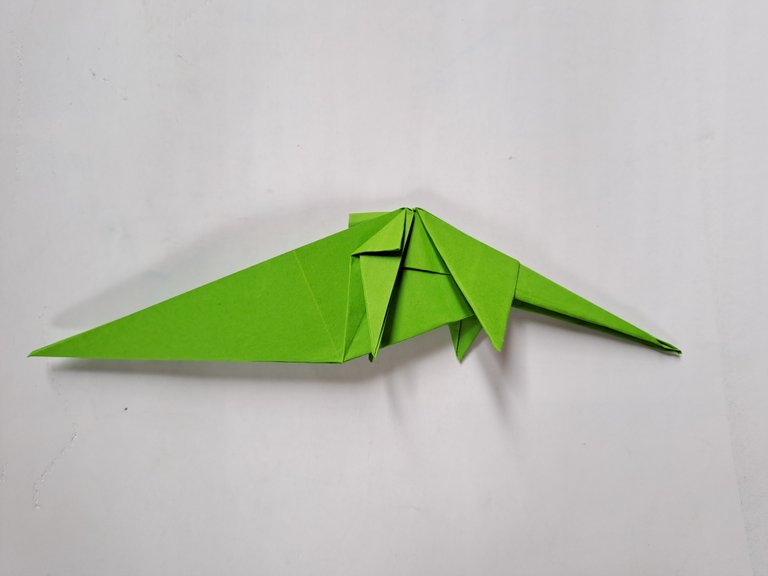 | 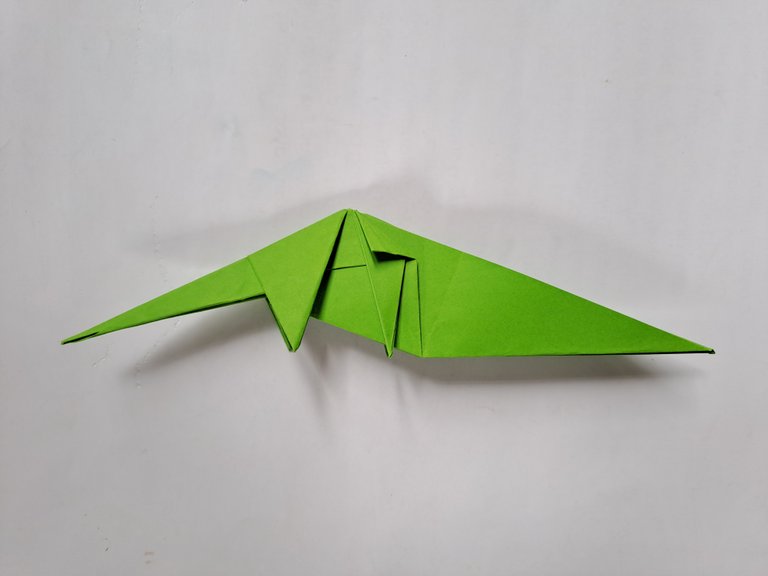 |
|---|
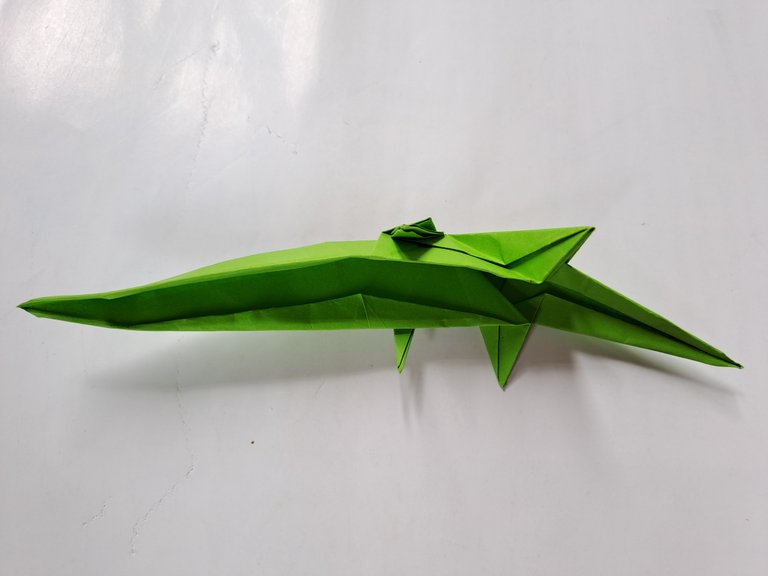
Then open the middle part of the body and fold a little inward on the left and right sides of the Dinosaur's body to make the Dinosaur's body pattern more perfect.
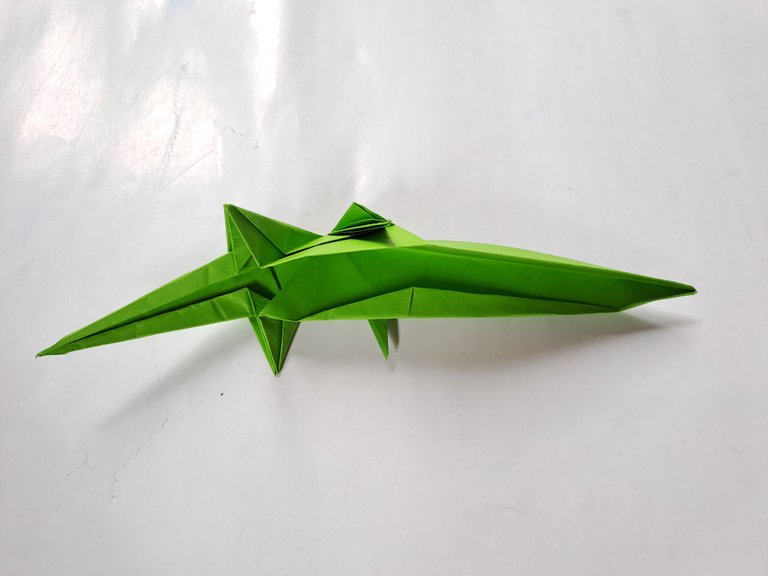 |  |
|---|
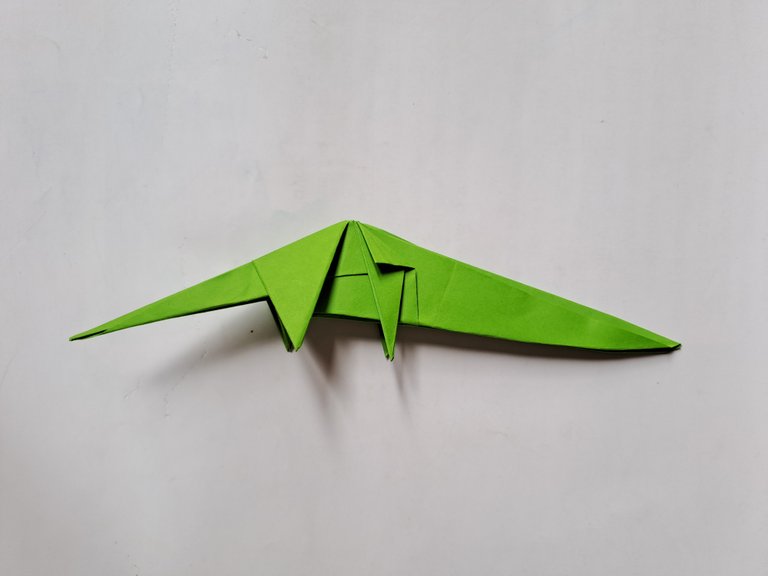
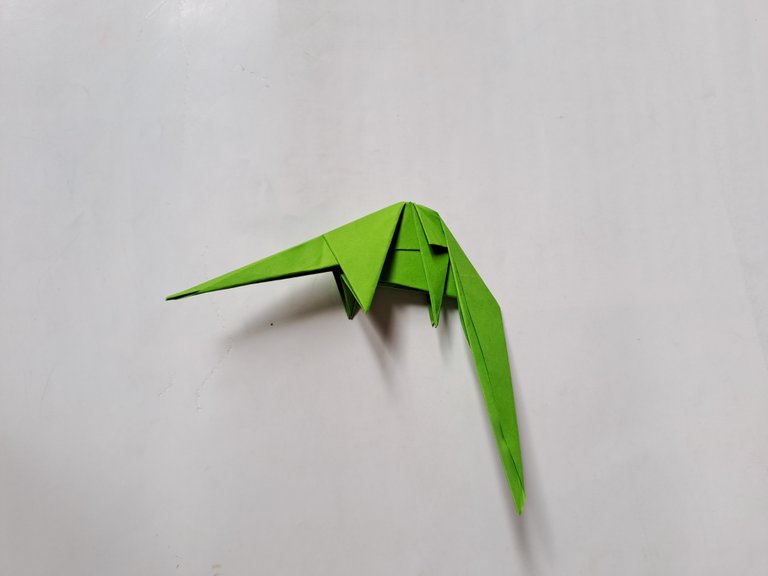
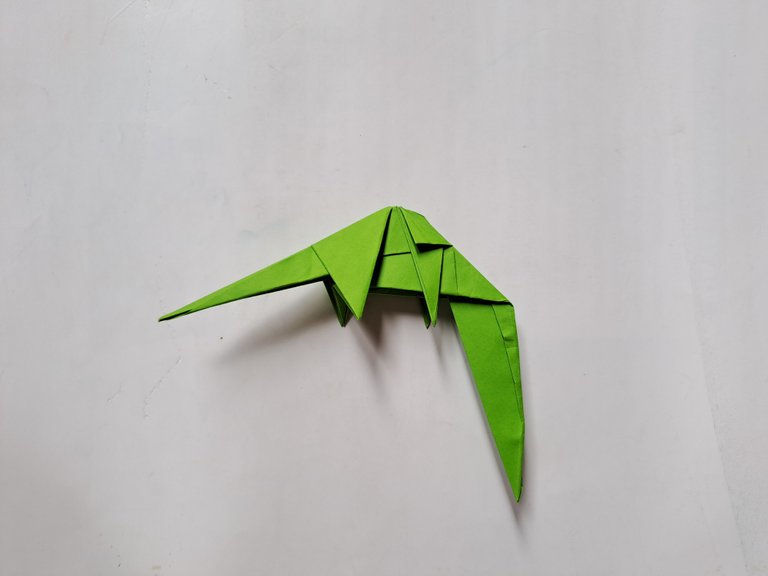
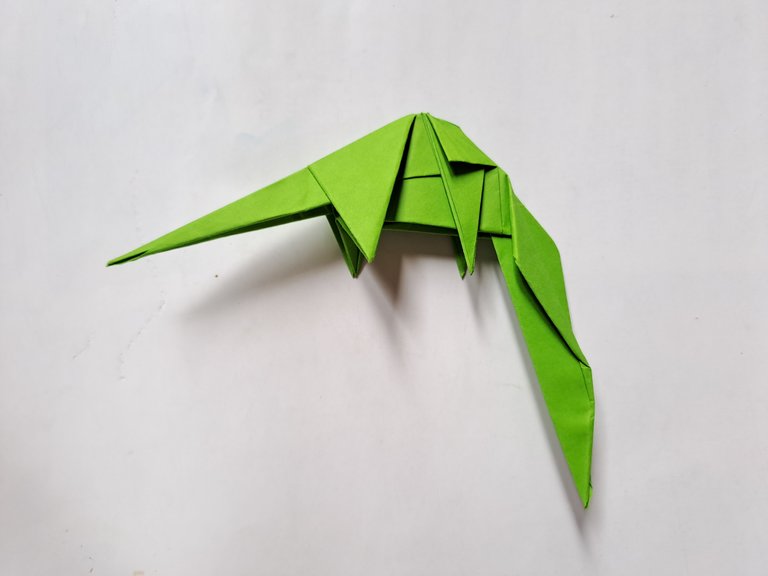
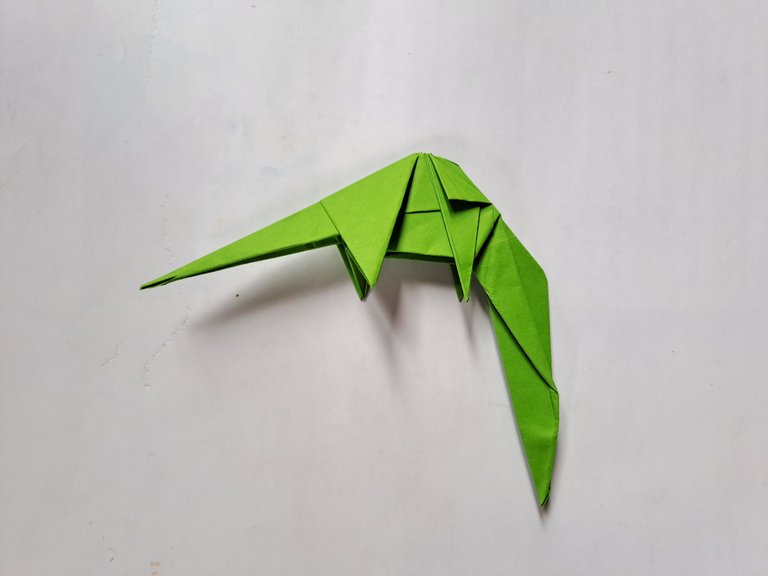
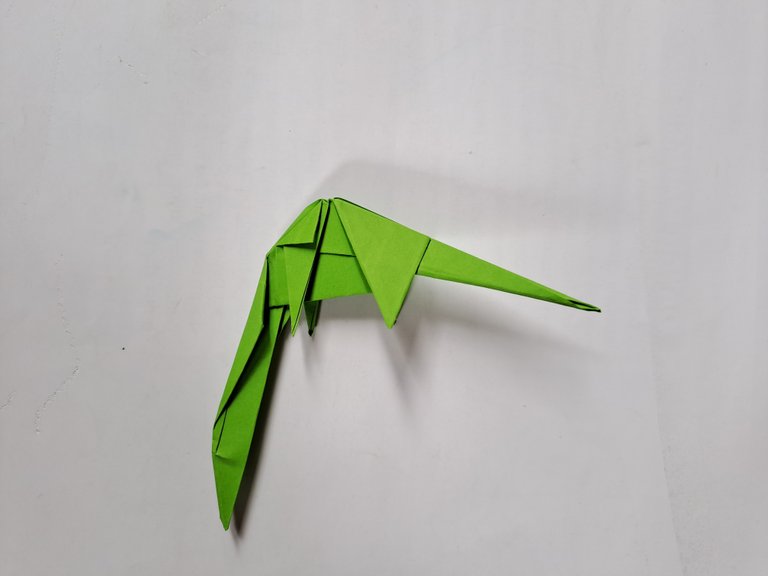
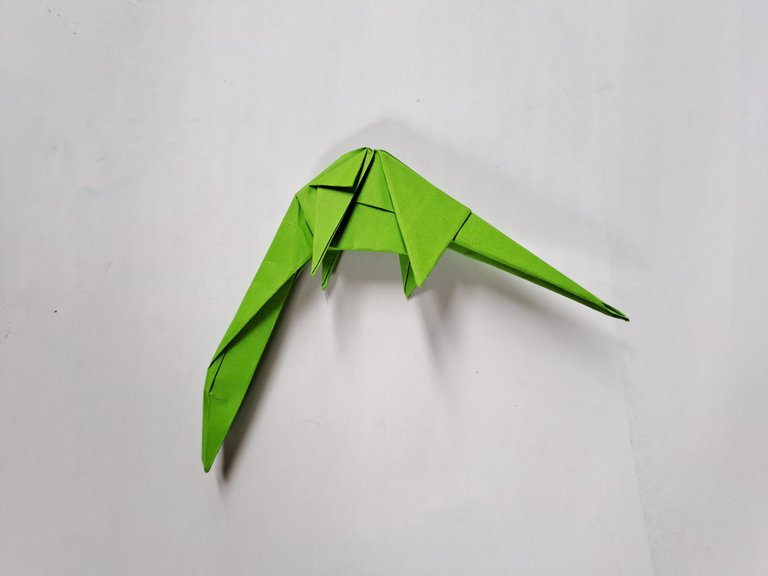
Then fold the front of the Dinosaur down, then also fold a little on the left and right sides of this downward fold, also tidy up the folds by inserting the fold lines inward to make the Dinosaur's neck pattern even better.
 |  |
|---|
 |  |
|---|
 |  |
|---|
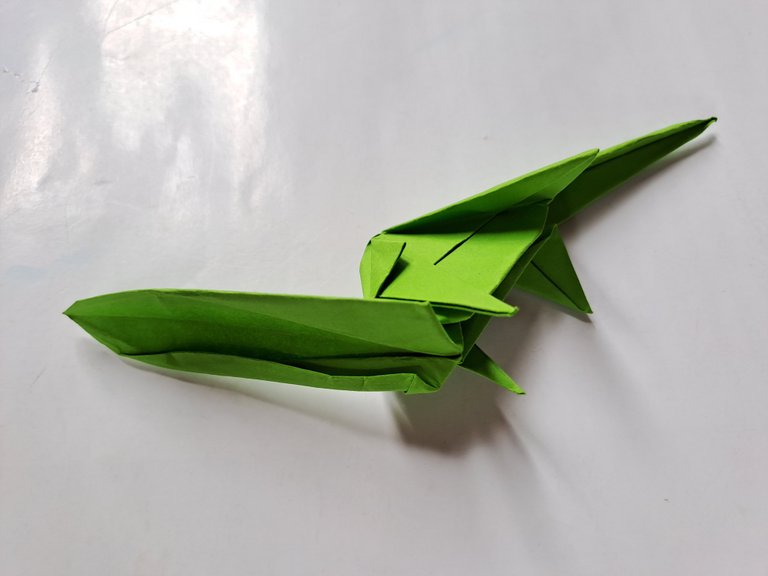
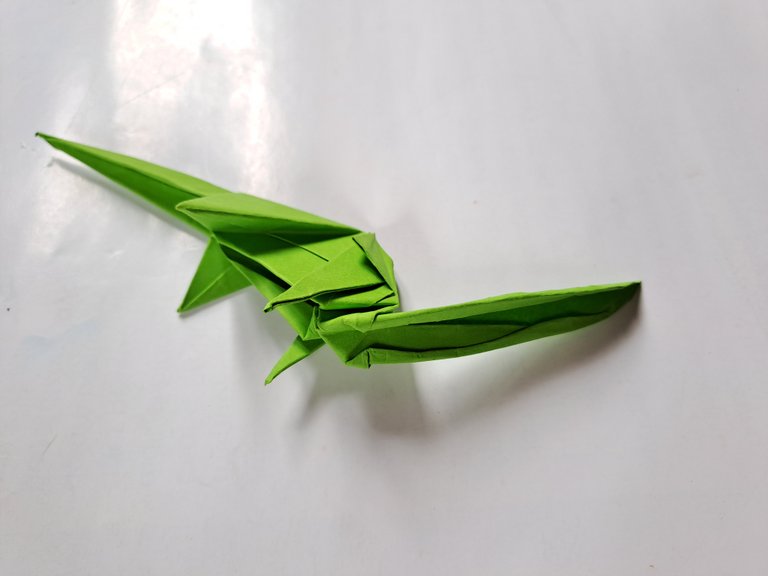
After that, fold the Diplodocus Dinosaur's neck up, then also fold the left and right sides of the Dinosaur's neck a little so that its neck becomes even more dashing.
 |  |
|---|
 |  |
|---|
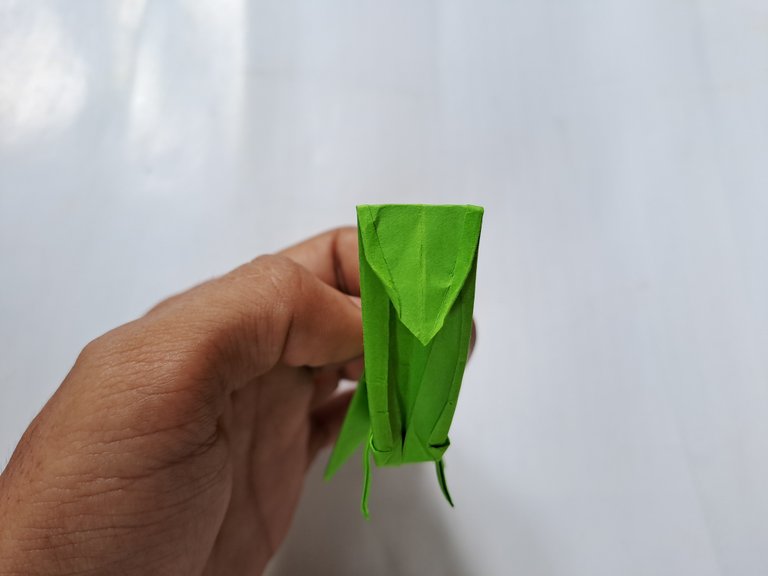
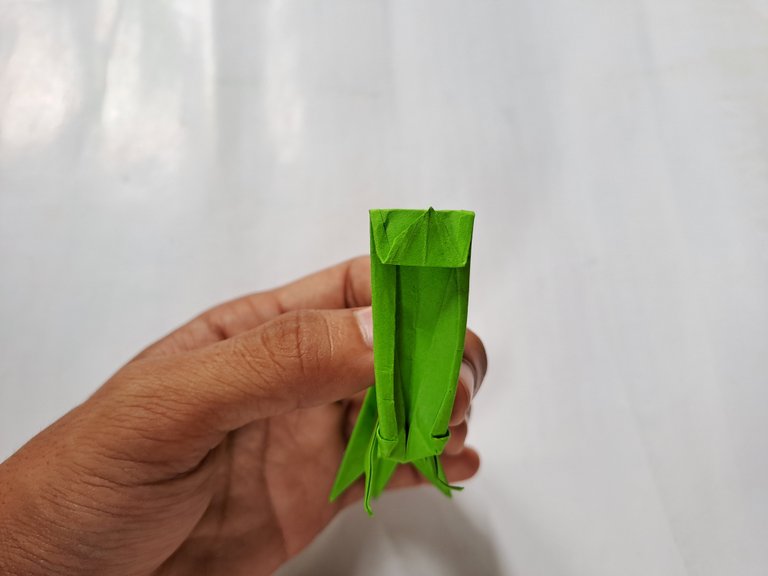
Then open the middle part of the neck a little and fold the top of the neck down a little to make the Dinosaur's head pattern, then fold the top a little again to make the mouth pattern, after that fold the neck back into two and now pull the folds on the head out a little so that the Dinosaur's mouth becomes even more perfect.
 |  |
|---|
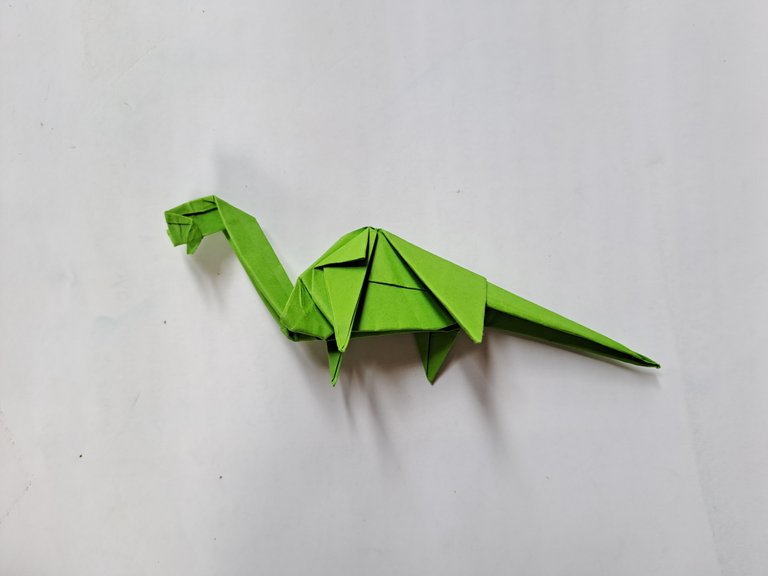
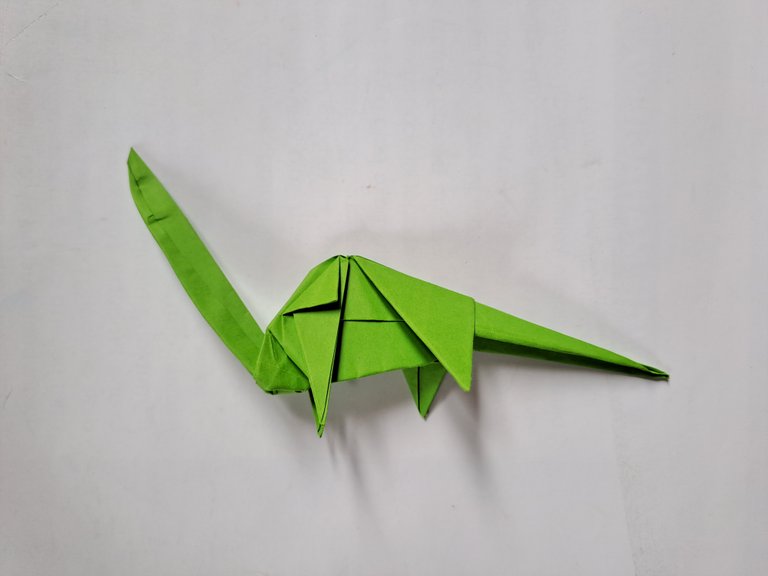
Then roll the Diplodocus Dinosaur's tail a little to the front so that the tail pattern also becomes more perfect.
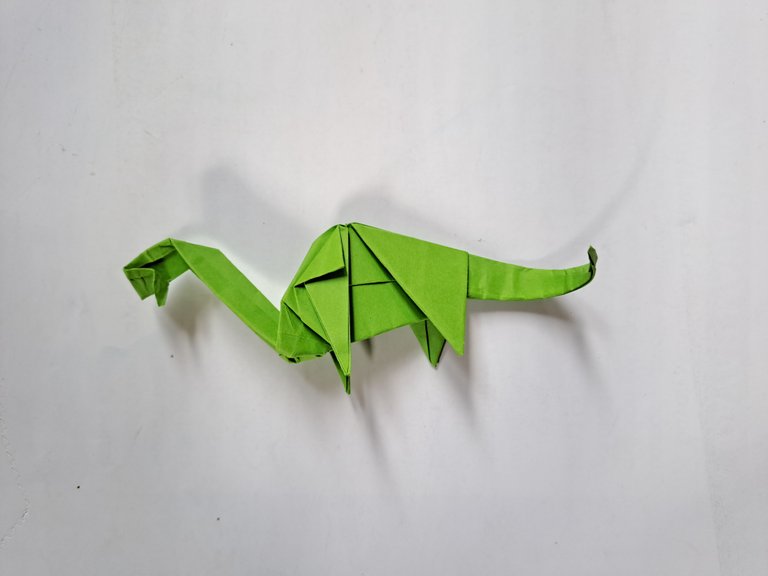
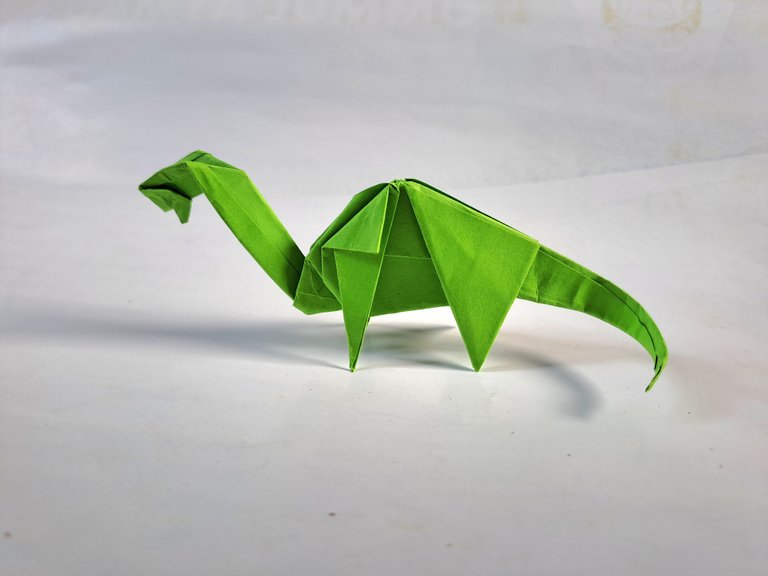
After all the steps above have been followed properly, the Diplodocus Dinosaur is now finished and can stand on our hands like a 3D image that looks real.
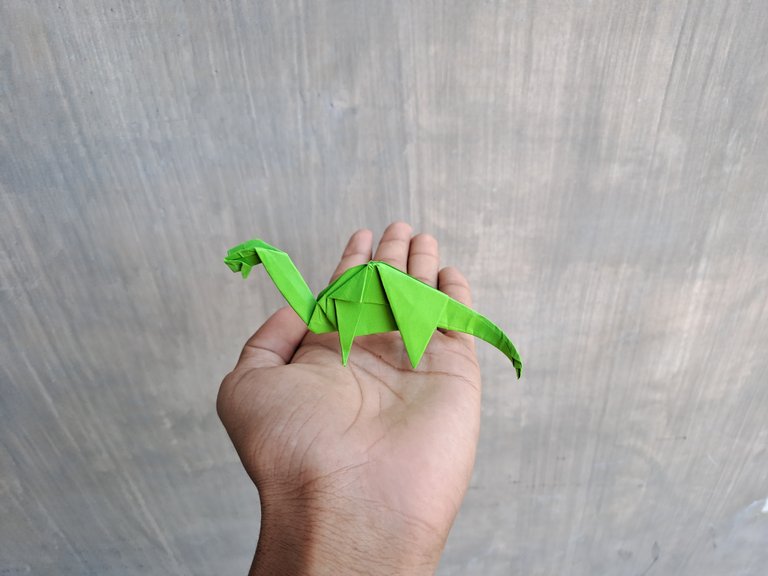
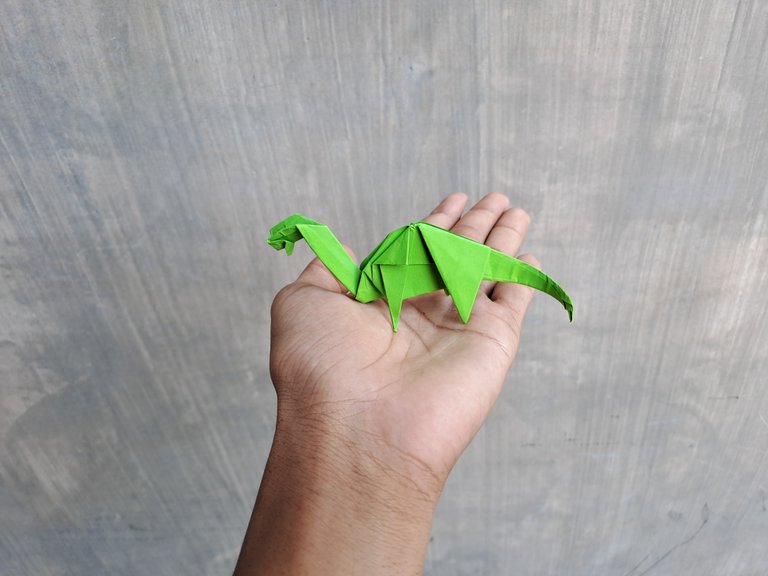
This is my craft post from origami paper today, see you in my next craft post.
Who would have taught this is what will be the outcome after all the explanations. You have done a beautiful job dear. I love the way you did your explanations.
Thank you, may we always be happy
The outcome is beautiful, nice job.
Thank you sister, may we always be happy
This is pretty cool. It shows your skills and creativity. Well done! Keep up the good work!
Thank You