Make Beautiful Flying Fish from Origami Paper
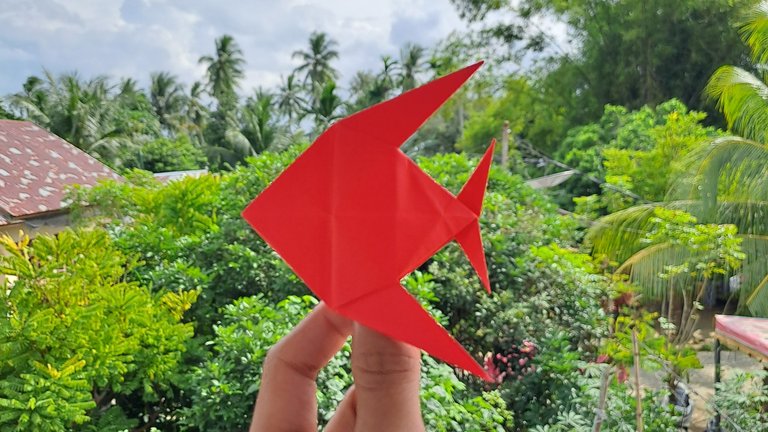
Hi Hive DIY friends
Today I want to make another origami paper craft, today I want to make a very beautiful sea animal, namely the Scad.
When I was little I liked to see Scad in my neighbor's aquarium, because this Scad is very beautiful, I finally decided to make a Scad from origami paper today.
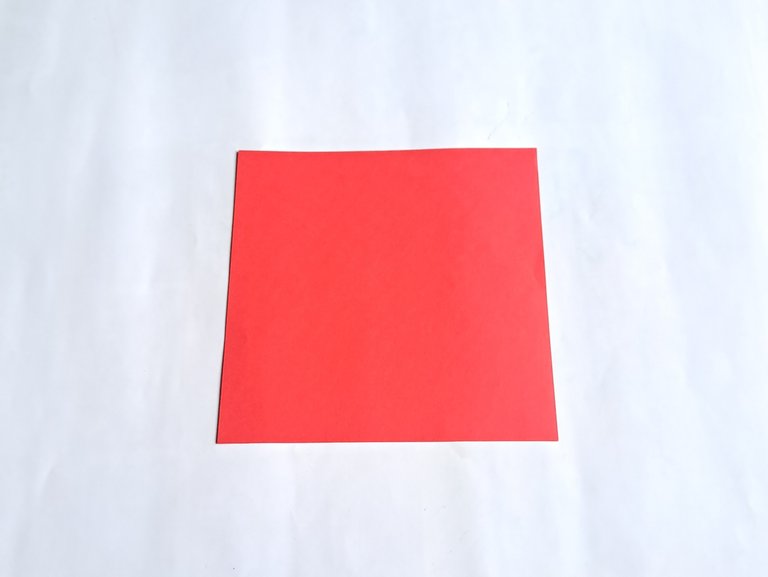
Here is a tutorial on making Scad from origami paper.
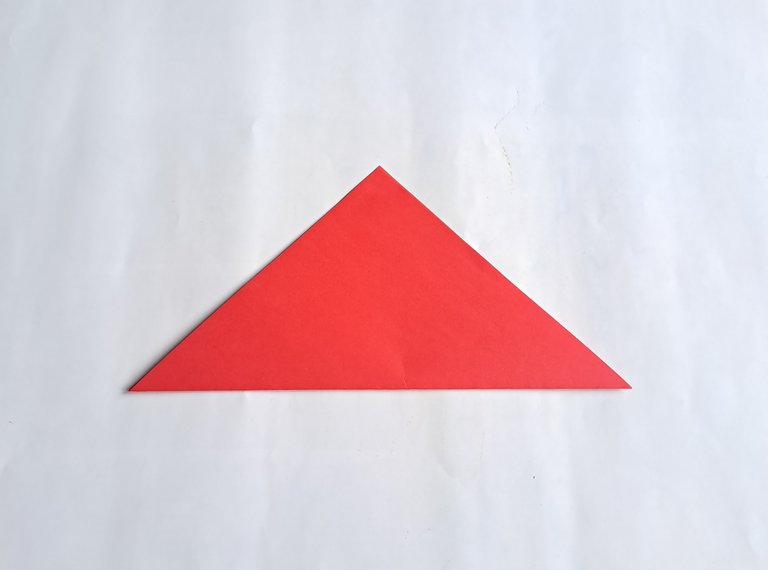
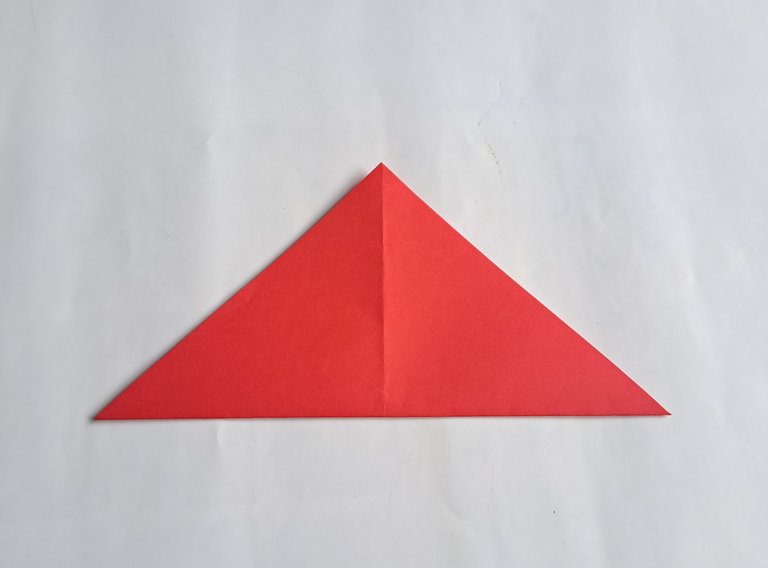
First, fold the origami paper into a triangle shape, then open the triangle fold again and fold the origami paper once again into a triangle shape from the opposite direction.
 |  |
|---|
After that, reopen the triangle fold and now turn the origami paper over, then fold the origami paper into two parts, then reopen the fold and now fold the origami paper once again into two parts from the opposite direction.
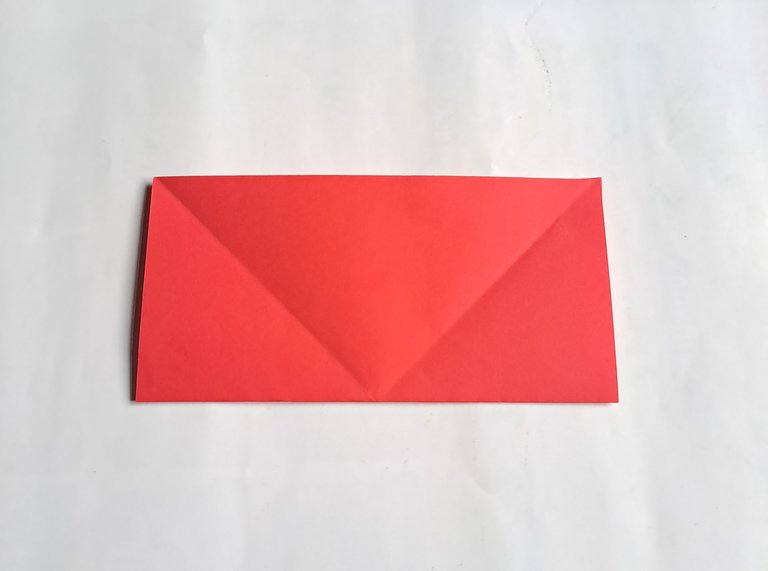 | 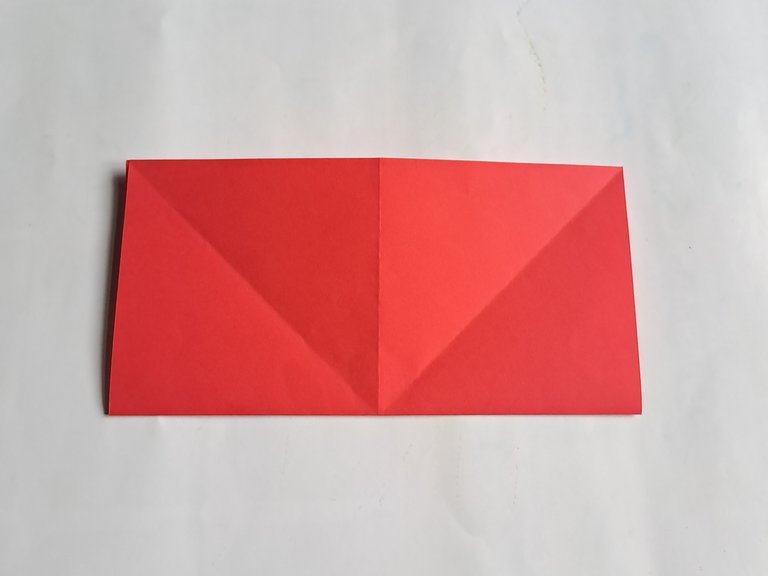 |
|---|
Then open all the folds again and now fold the right and left sides of the origami paper inward, then fold the top down so that the origami paper becomes a box like the picture below.
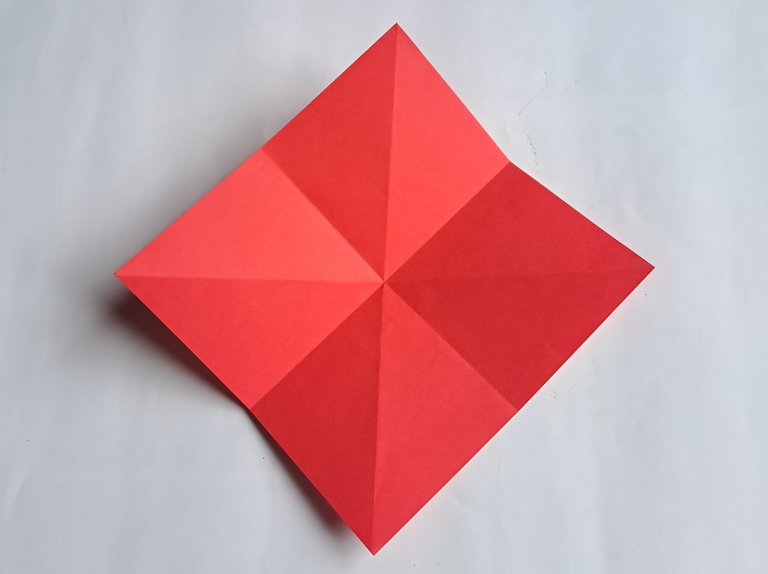 | 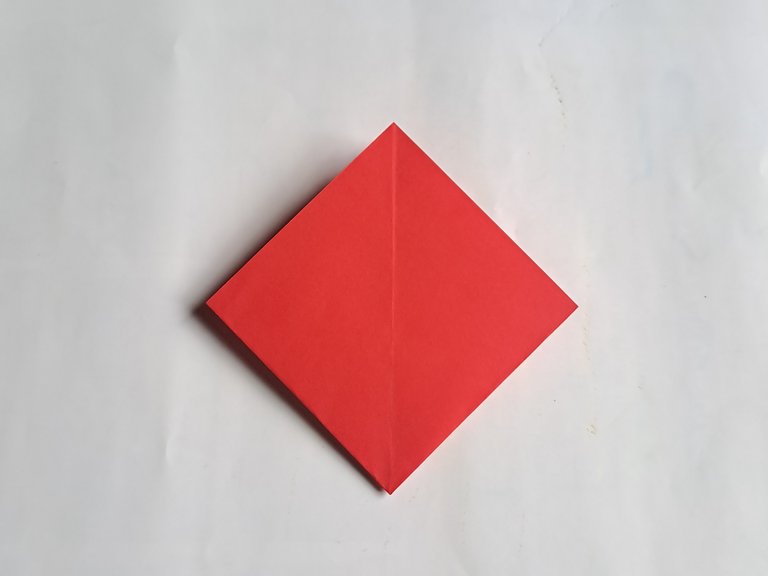 |
|---|
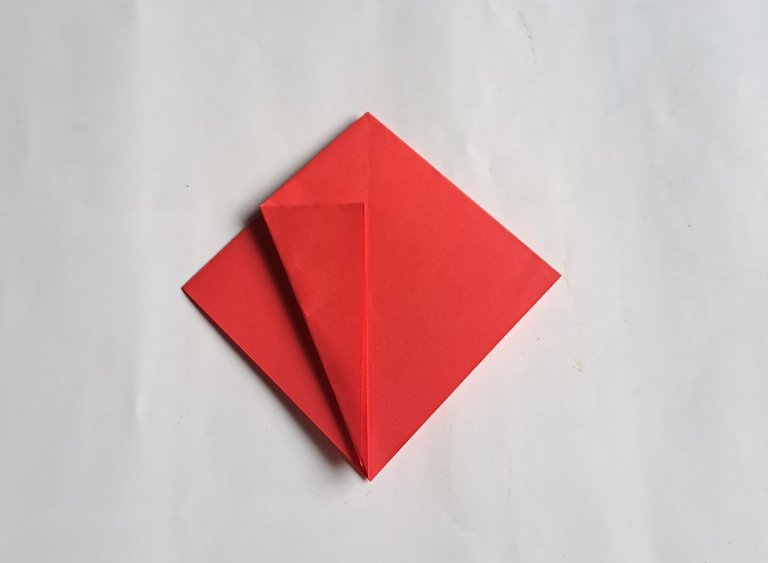
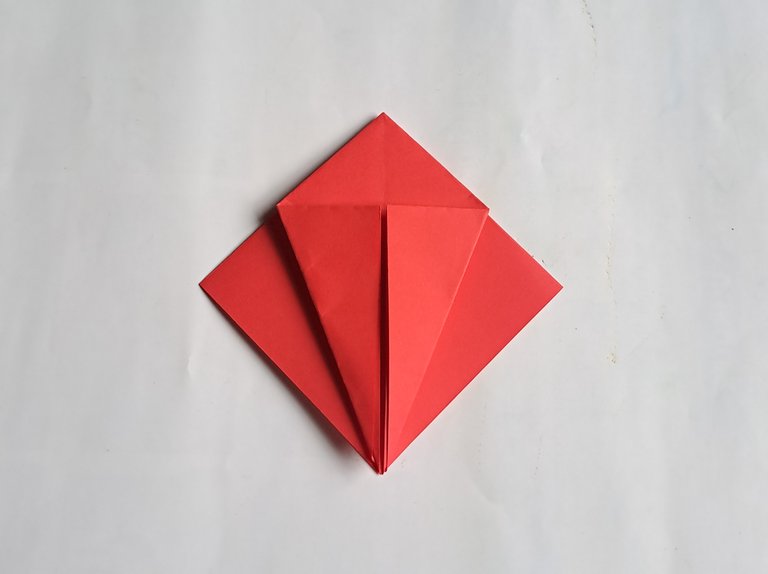
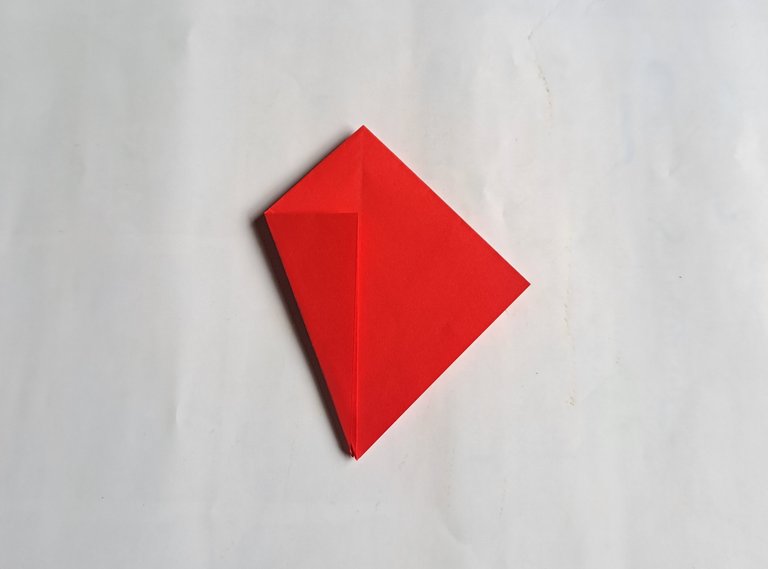
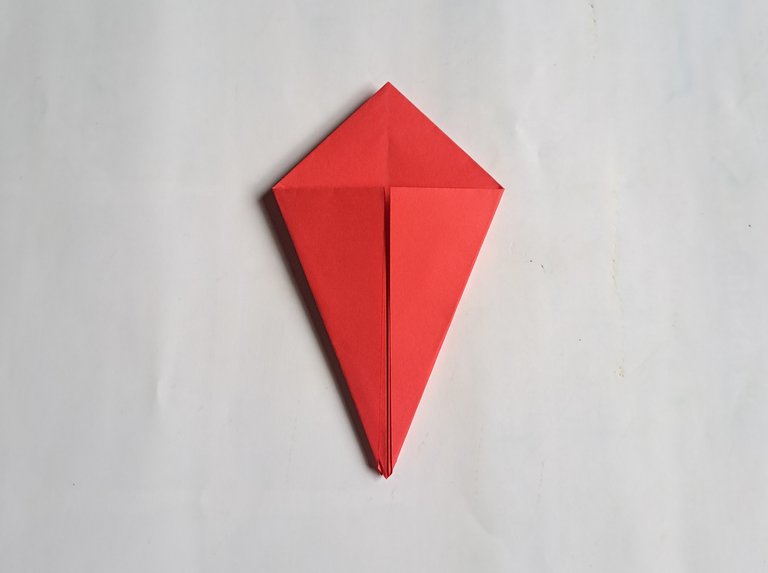
Then fold the right side of the origami paper to the middle, then fold the left side of the origami paper to the middle, then turn the origami paper over and now fold the right side of the origami paper to the middle, fold the origami paper from the left side to the middle, and fold the top of the paper down.
 |  |
|---|
 |  |
|---|
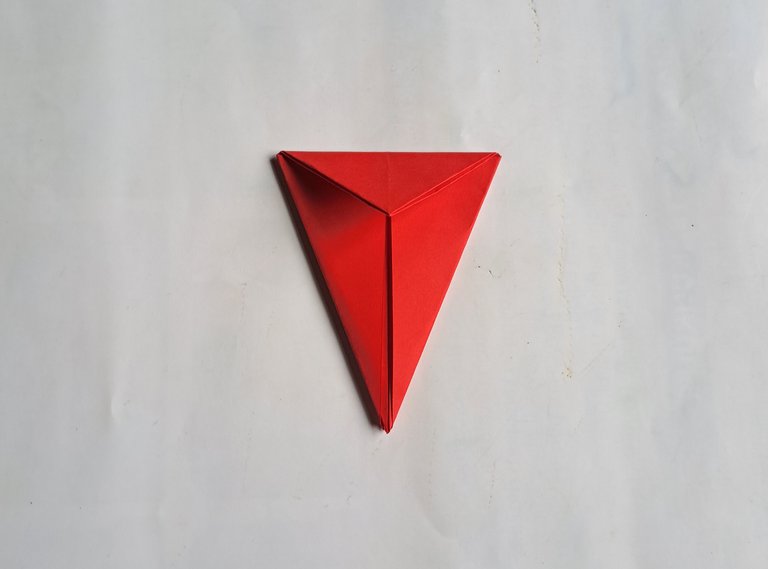
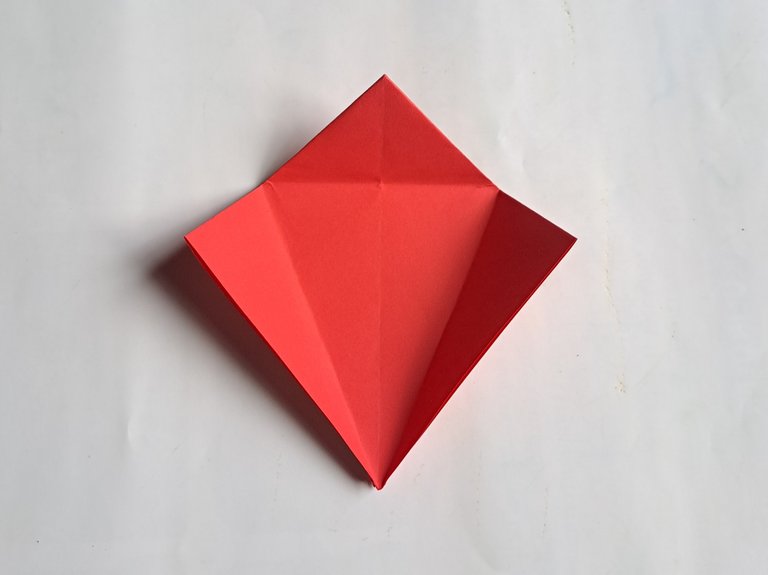
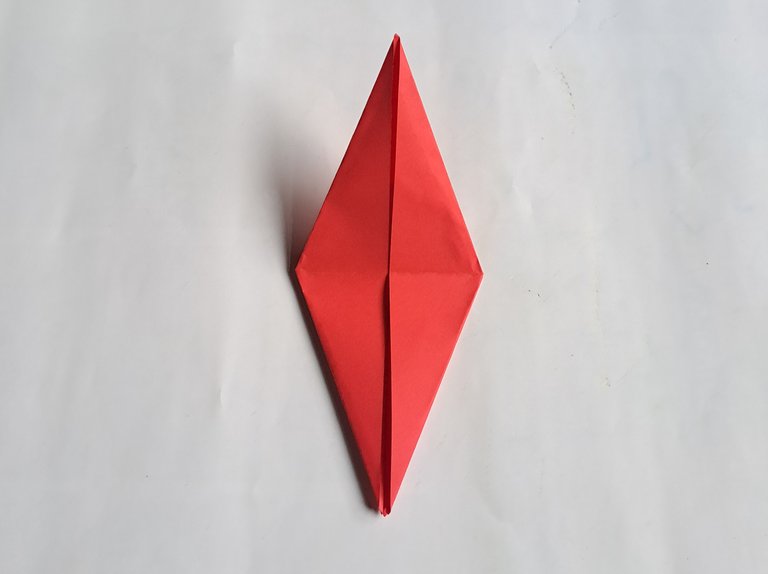
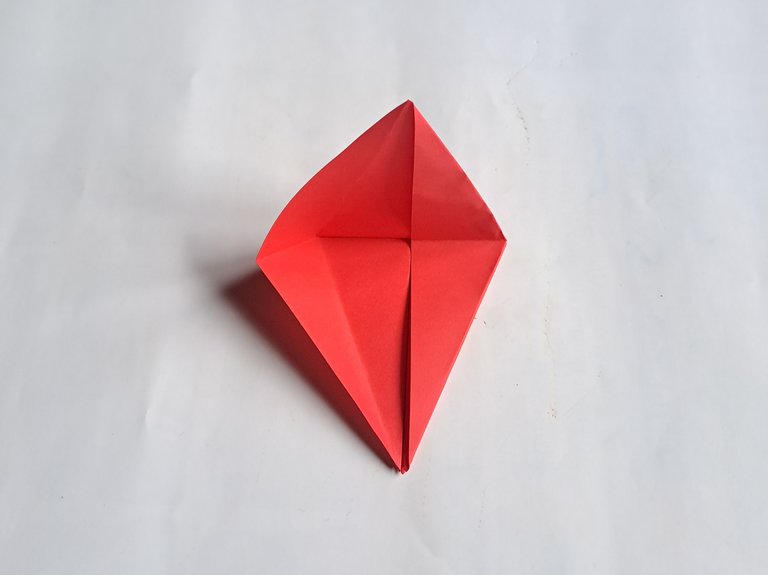
After that, open the fold again and also open the top layer of the paper up, then fold the right side of the paper in, then fold the left side of the paper in again as shown in the picture below.
 |  |
|---|
Then open the back fold of the paper out again, then fold the right side of the origami paper out with a slanted fold upwards, then fold the left side of the origami paper out with a slanted fold upwards as shown in the picture below.
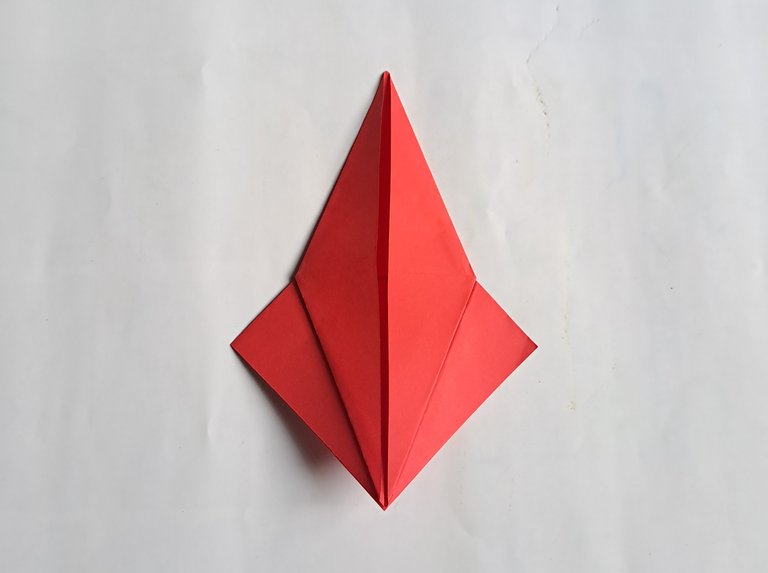
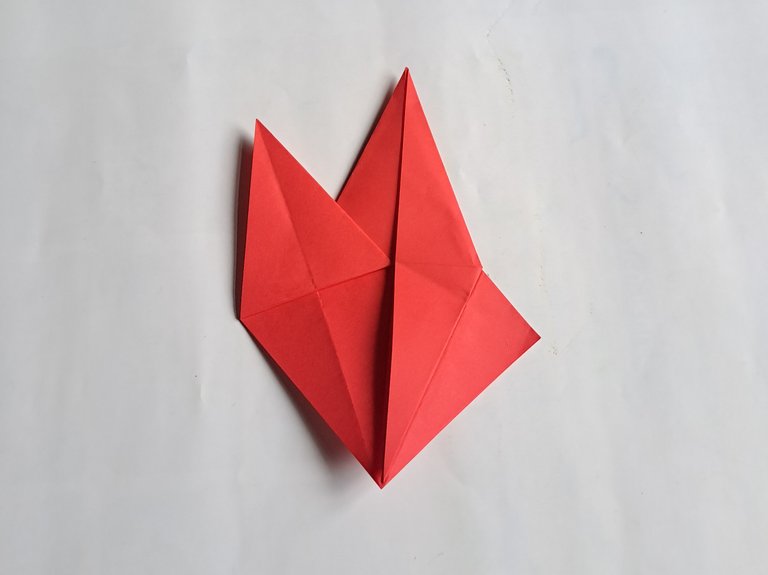 | 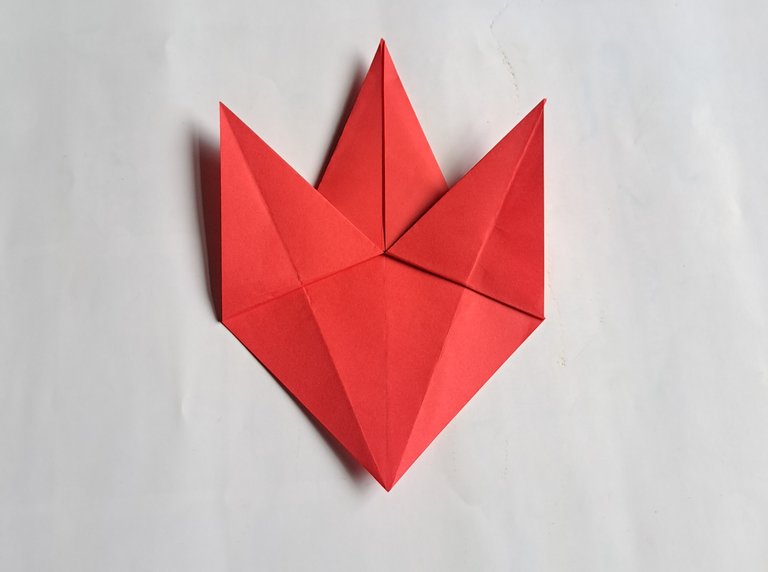 |
|---|
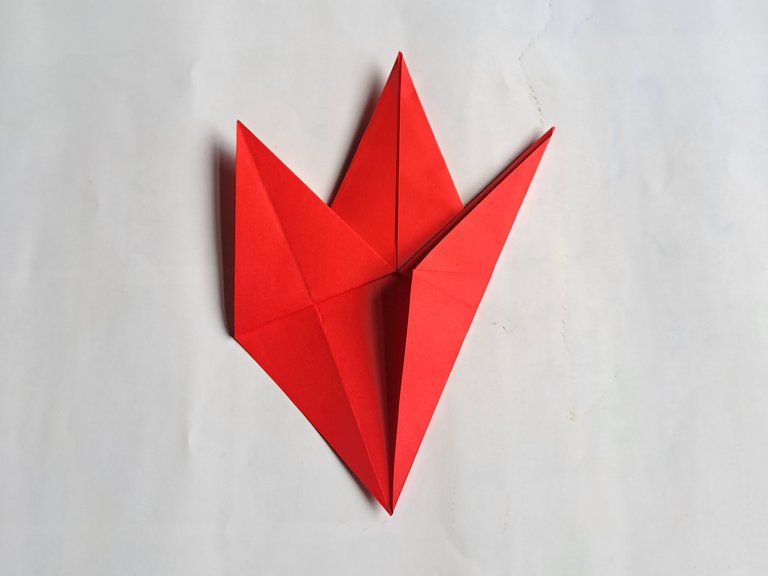
Then fold the right side of the origami paper in again, after that fold the left side of the origami paper in as shown in the picture below.
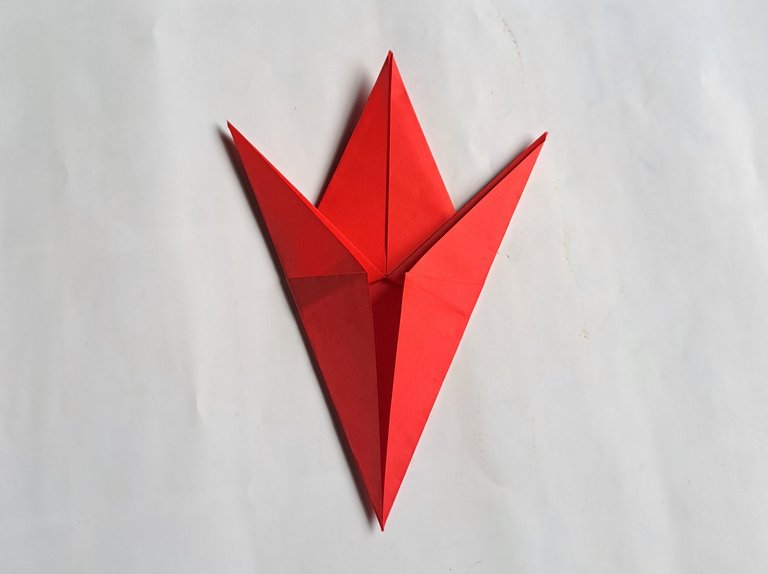 |  |
|---|
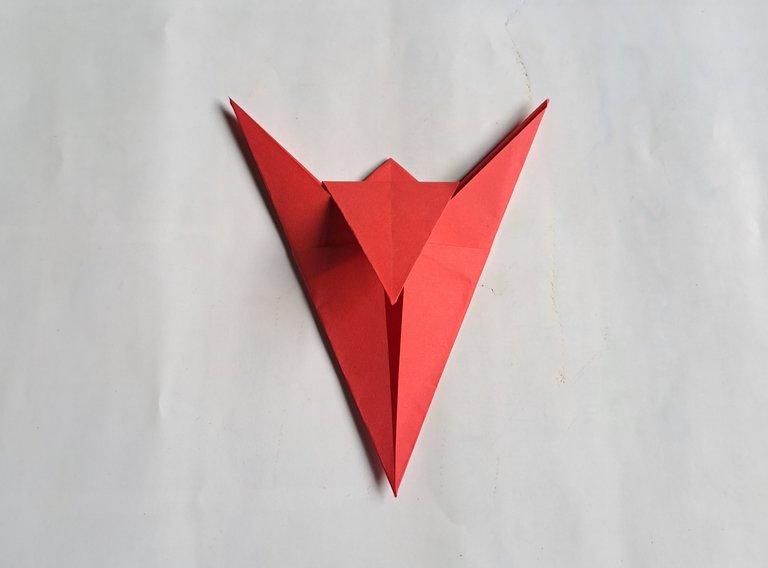
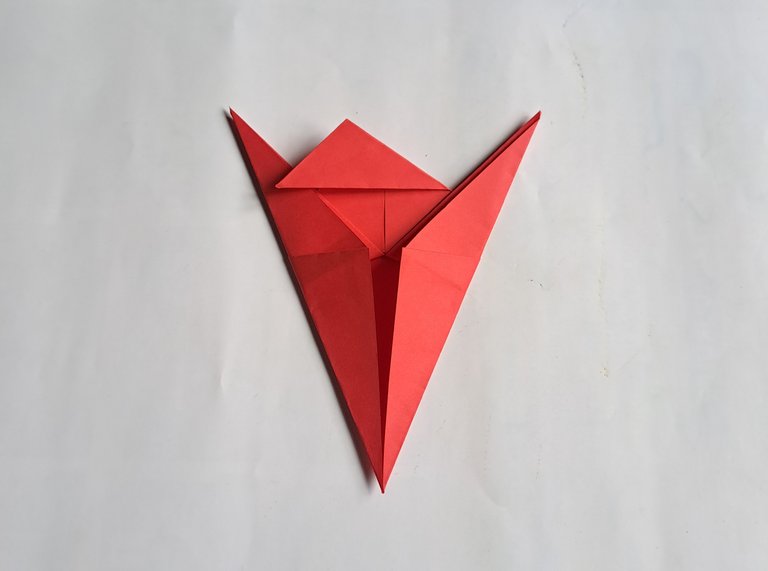
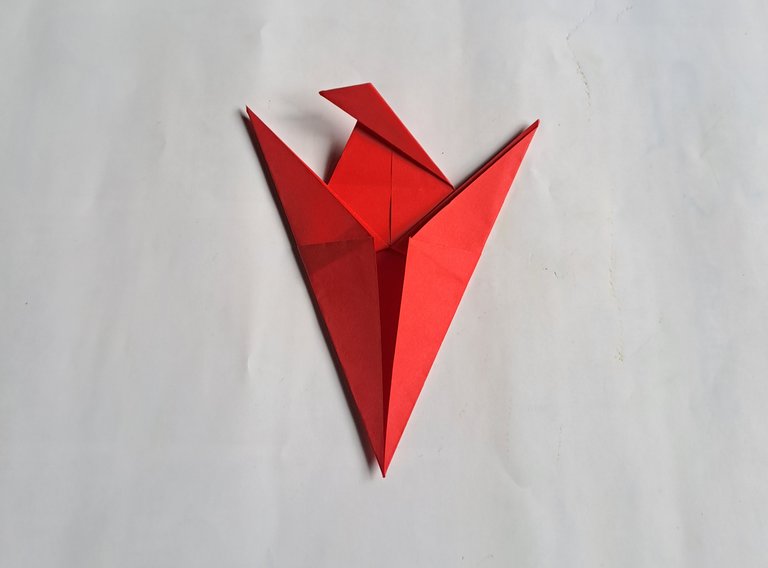
Then also fold the top middle of the origami paper down, then reopen the fold and now fold the top of the origami paper to the left, then reopen the fold and fold the top end of the middle of the origami paper to the left once again as shown in the picture below.
 |  |
|---|
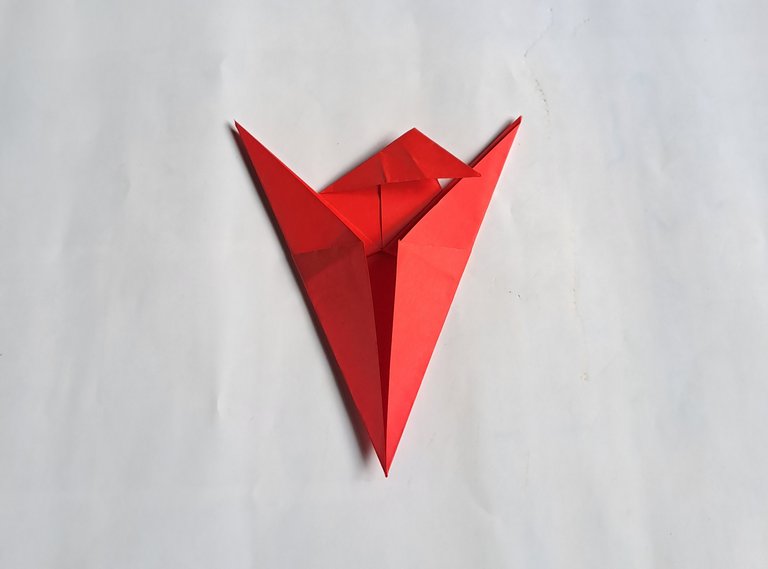
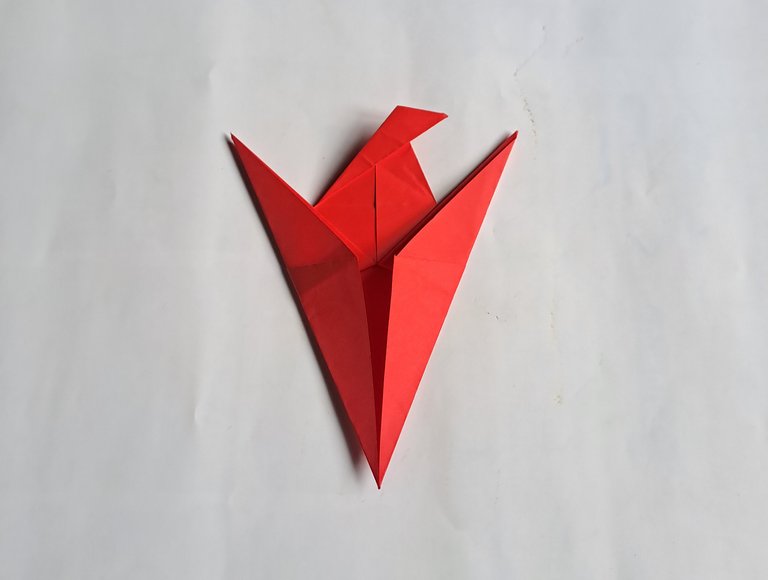
After that, open the fold again and now fold the top middle part of the origami paper to the right, then open the fold again and now fold the top part of the origami paper to the right, then open the fold again and fold the right and left sides of the origami paper to the middle at the same time so that the top protrudes upwards as shown in the picture below.
 |  |
|---|
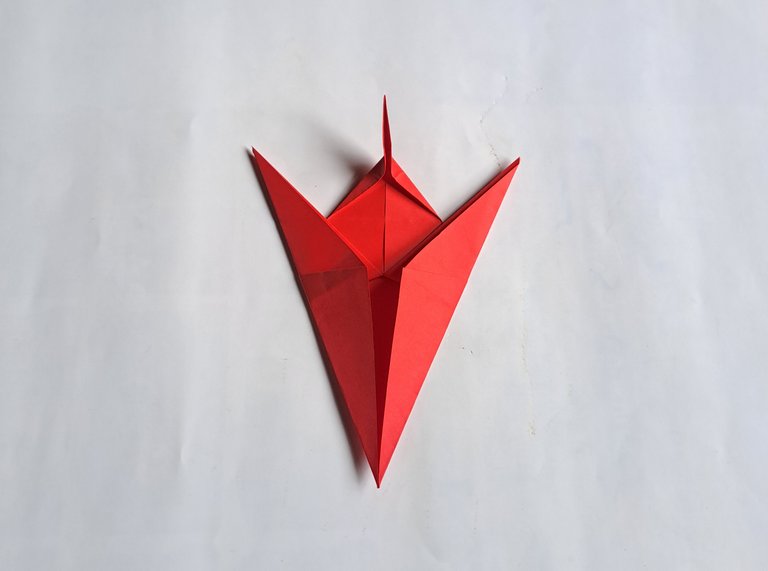
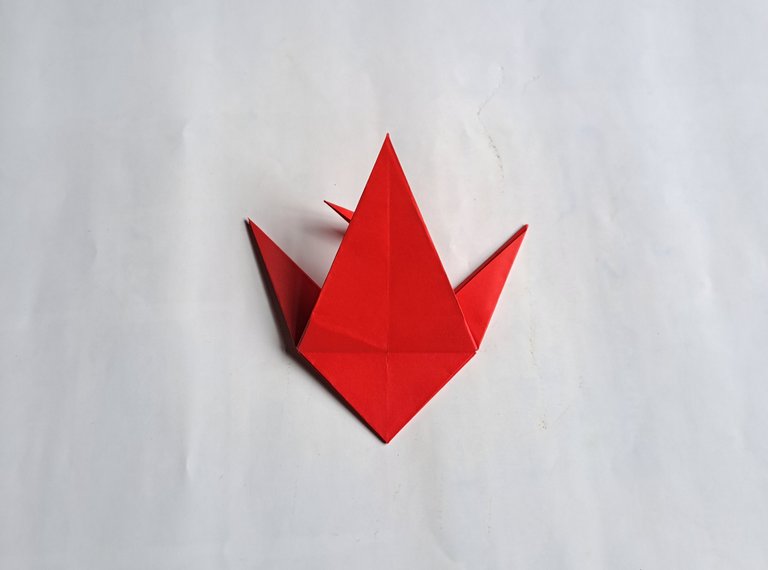
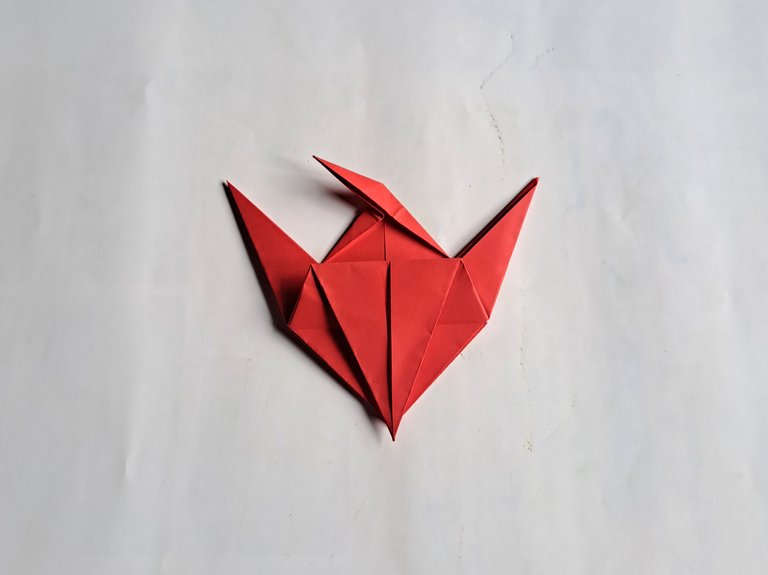
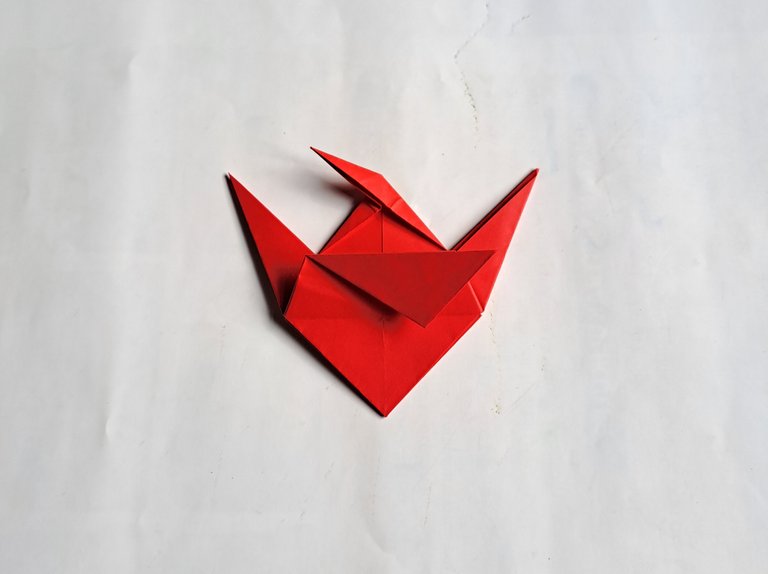
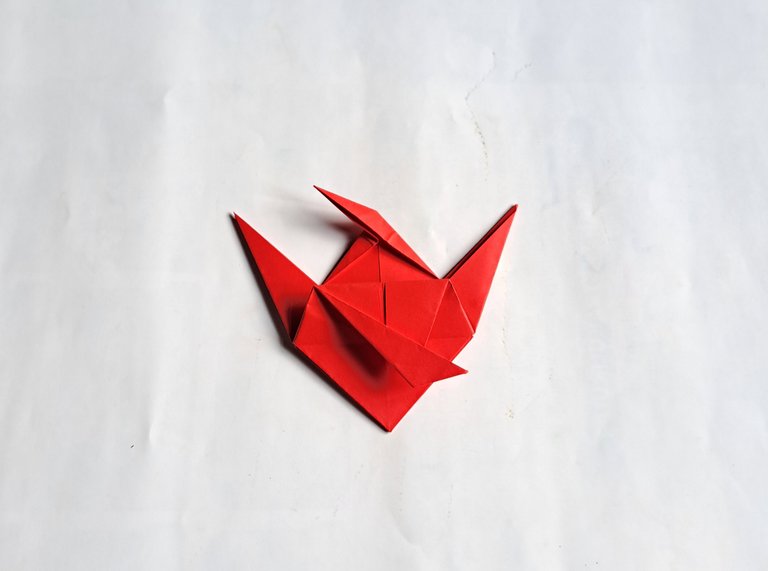
After that, fold the bottom of the origami paper up while opening the bottom fold downwards, then fold the middle part of the origami paper down, then fold the bottom part of the origami paper to the right, then open the fold again and fold the tip once more to the right as shown in the picture below.
 |  |
|---|
 |  |
|---|
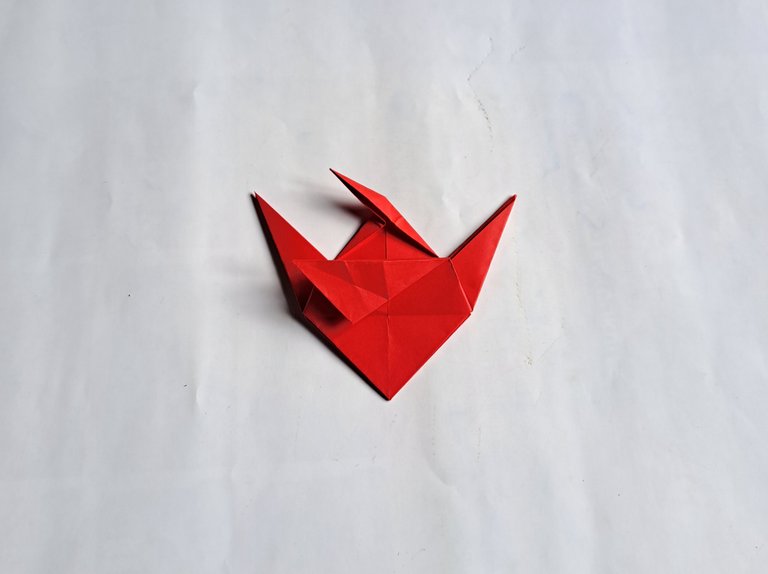
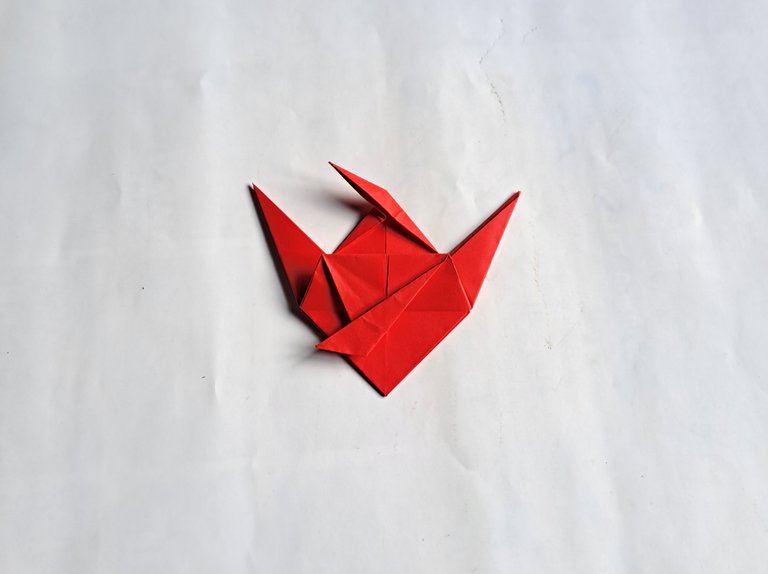
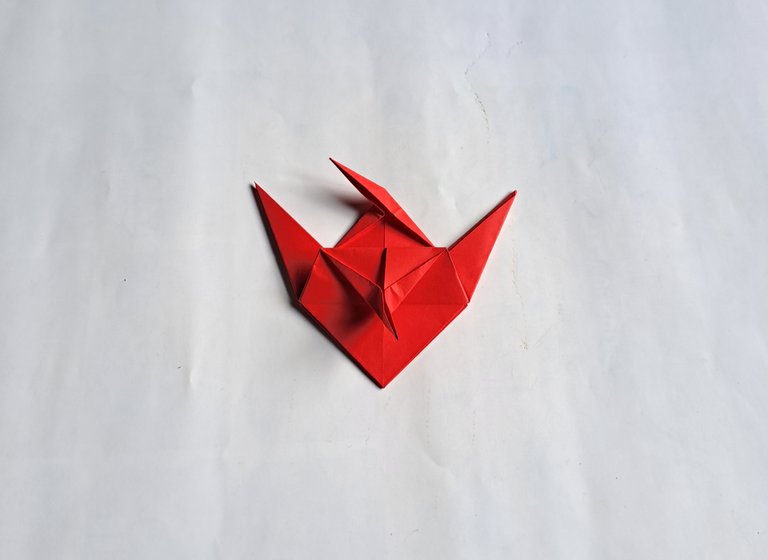
Then open the fold again and now fold the bottom part of the origami paper to the left, then open the fold again and now fold the bottom end of the origami paper to the left, then open the fold again and now fold the right and left sides of the origami paper to the middle at the same time so that the middle part protrudes upwards, then fold the bottom part of the origami paper upwards so that the tail shape of the Flying Fish looks perfect.
 |  |
|---|
 |  |
|---|
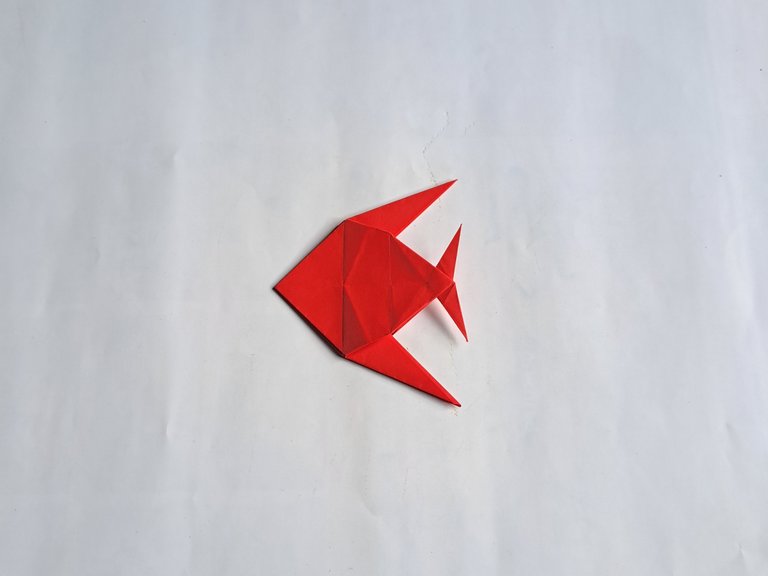
This is the result of my handicraft to make a beautiful Flying Fish from a piece of origami paper.
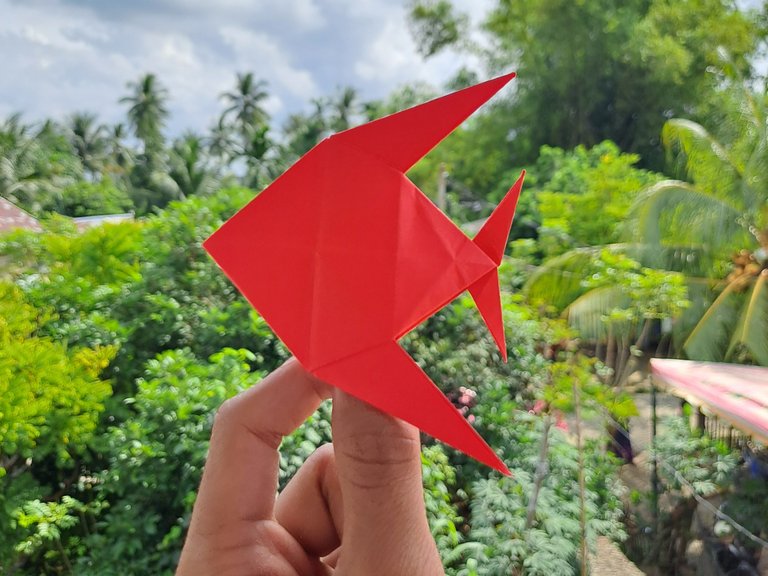
Thank you to my friends who have visited my handicraft post today, see you in my next handicraft post.
It is pretty good. The way you made this with the paper, that's awesome. It shows talent. Love it. Thanks!
Thank you for your support, brother.