Transformando una falda en un short ✨🖤//Transforming a skirt into shorts ✨🖤[Esp~Eng]
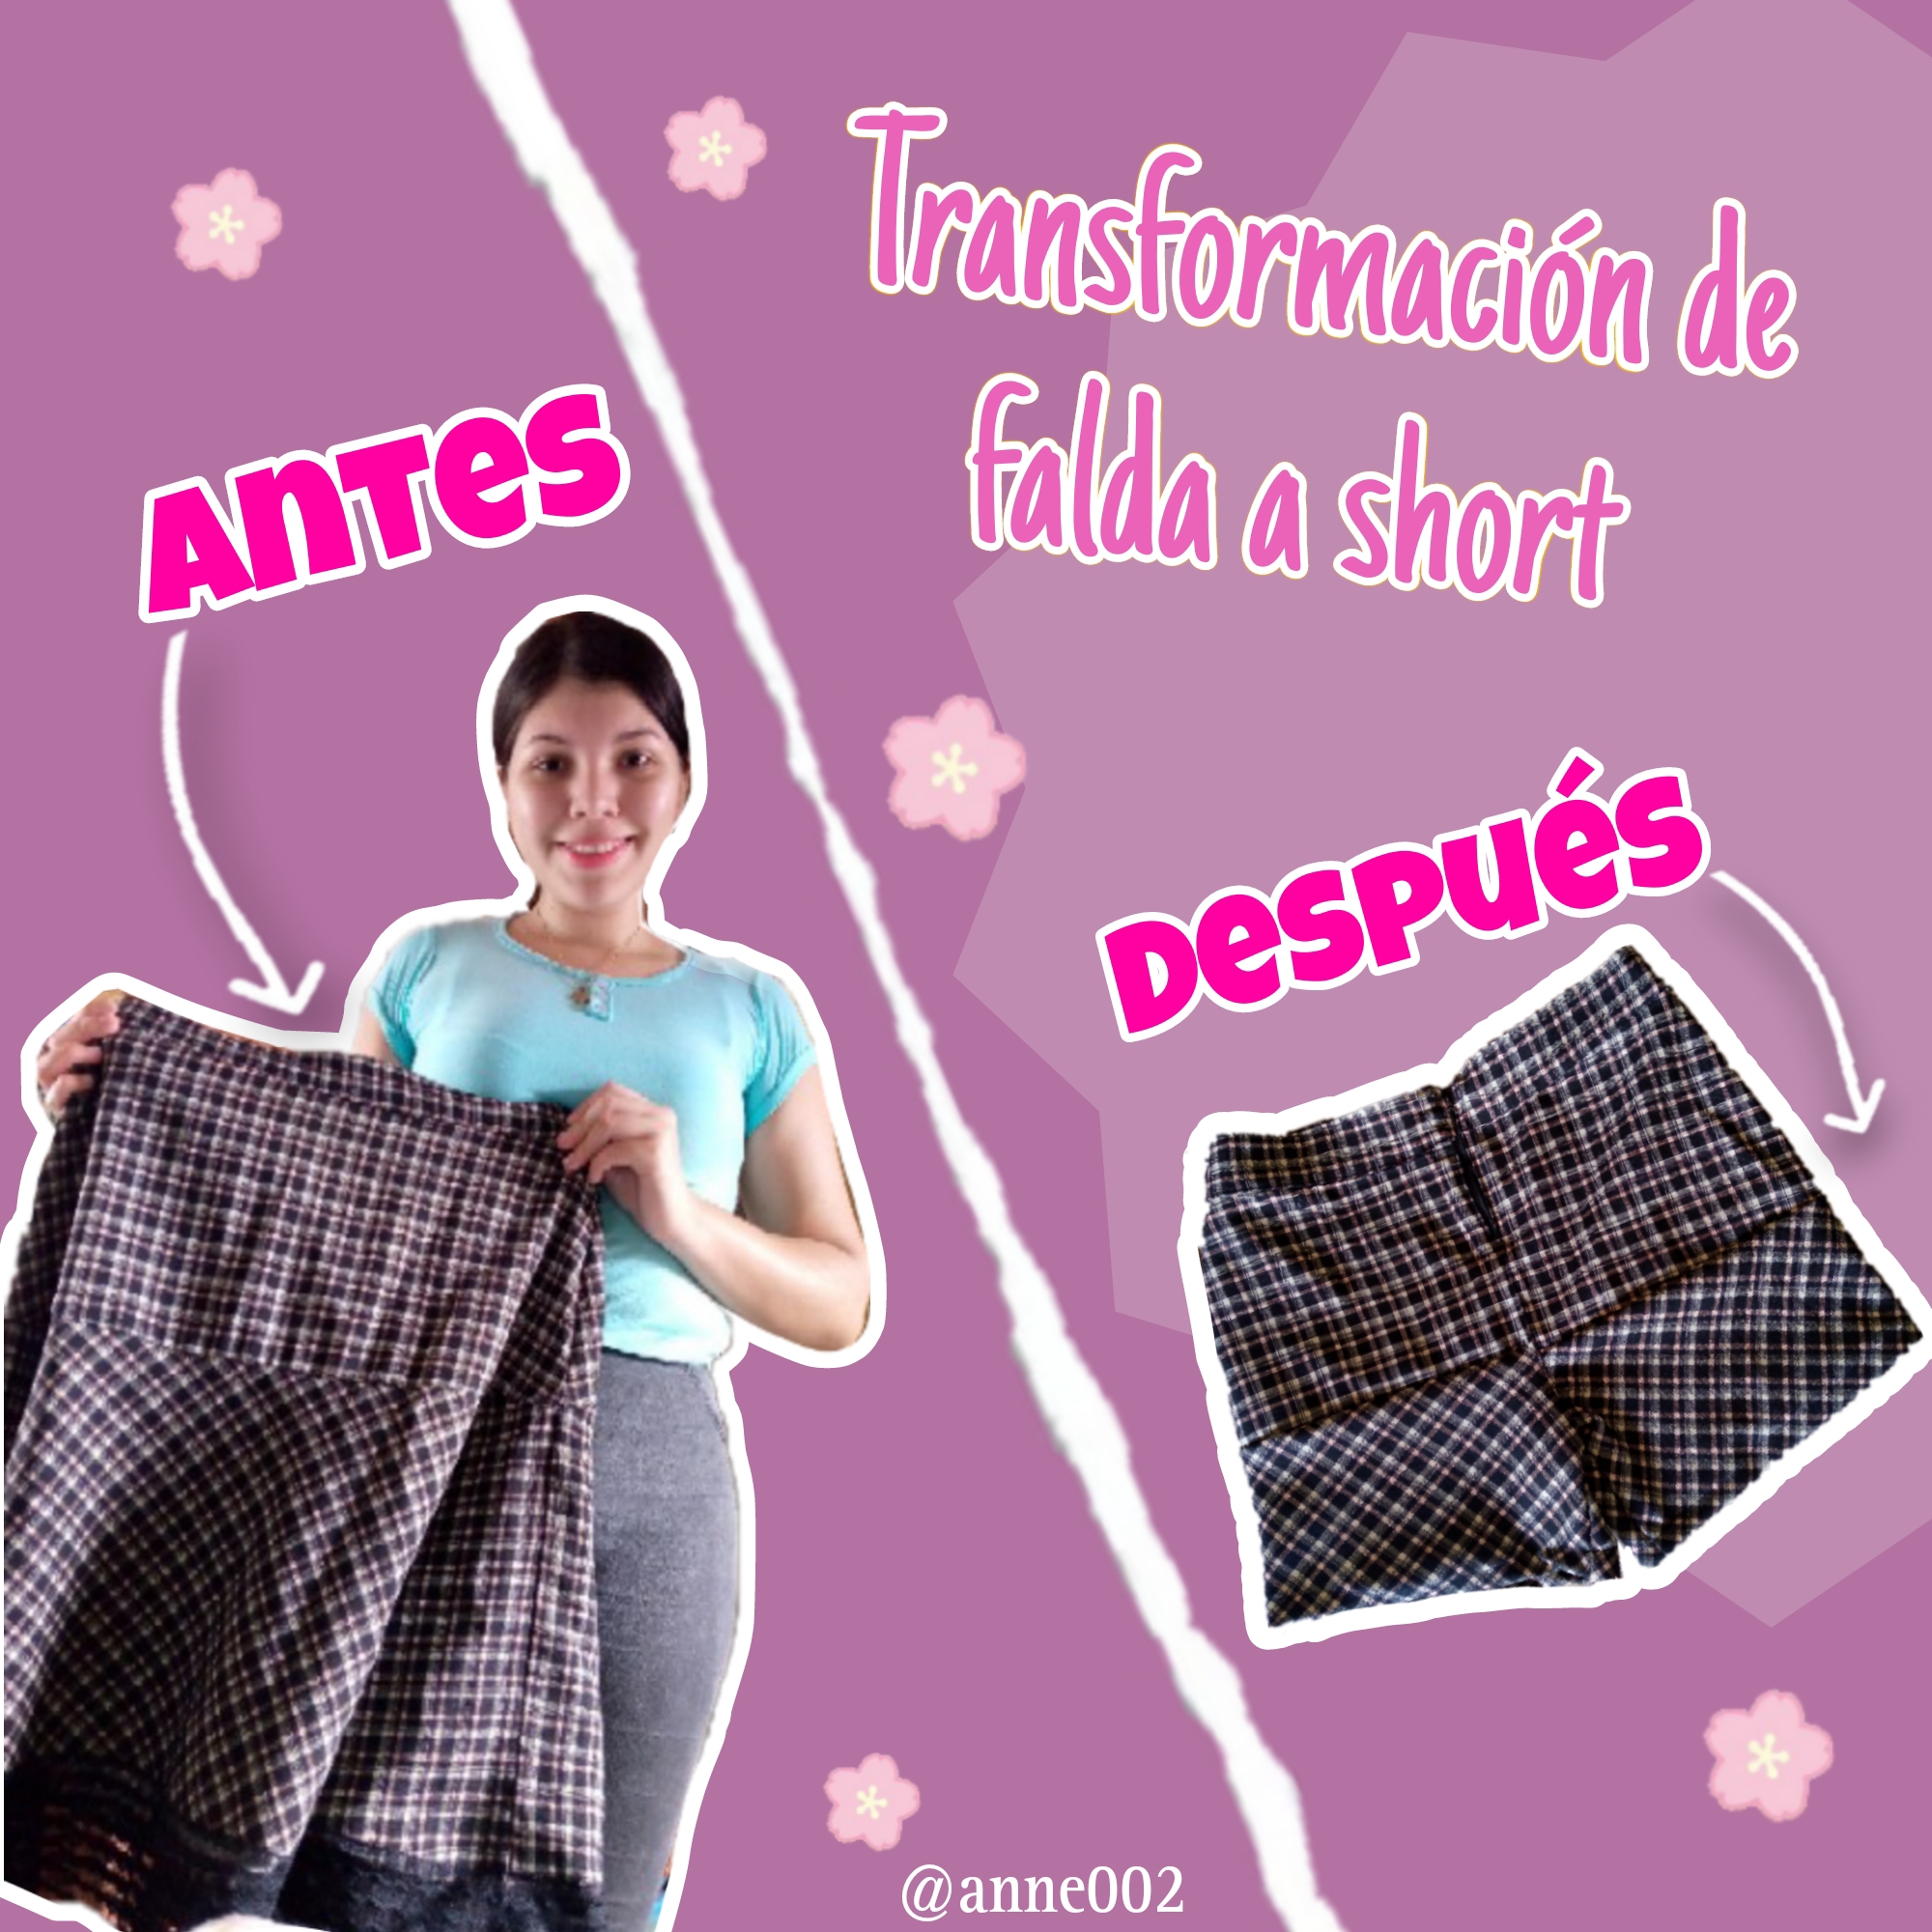

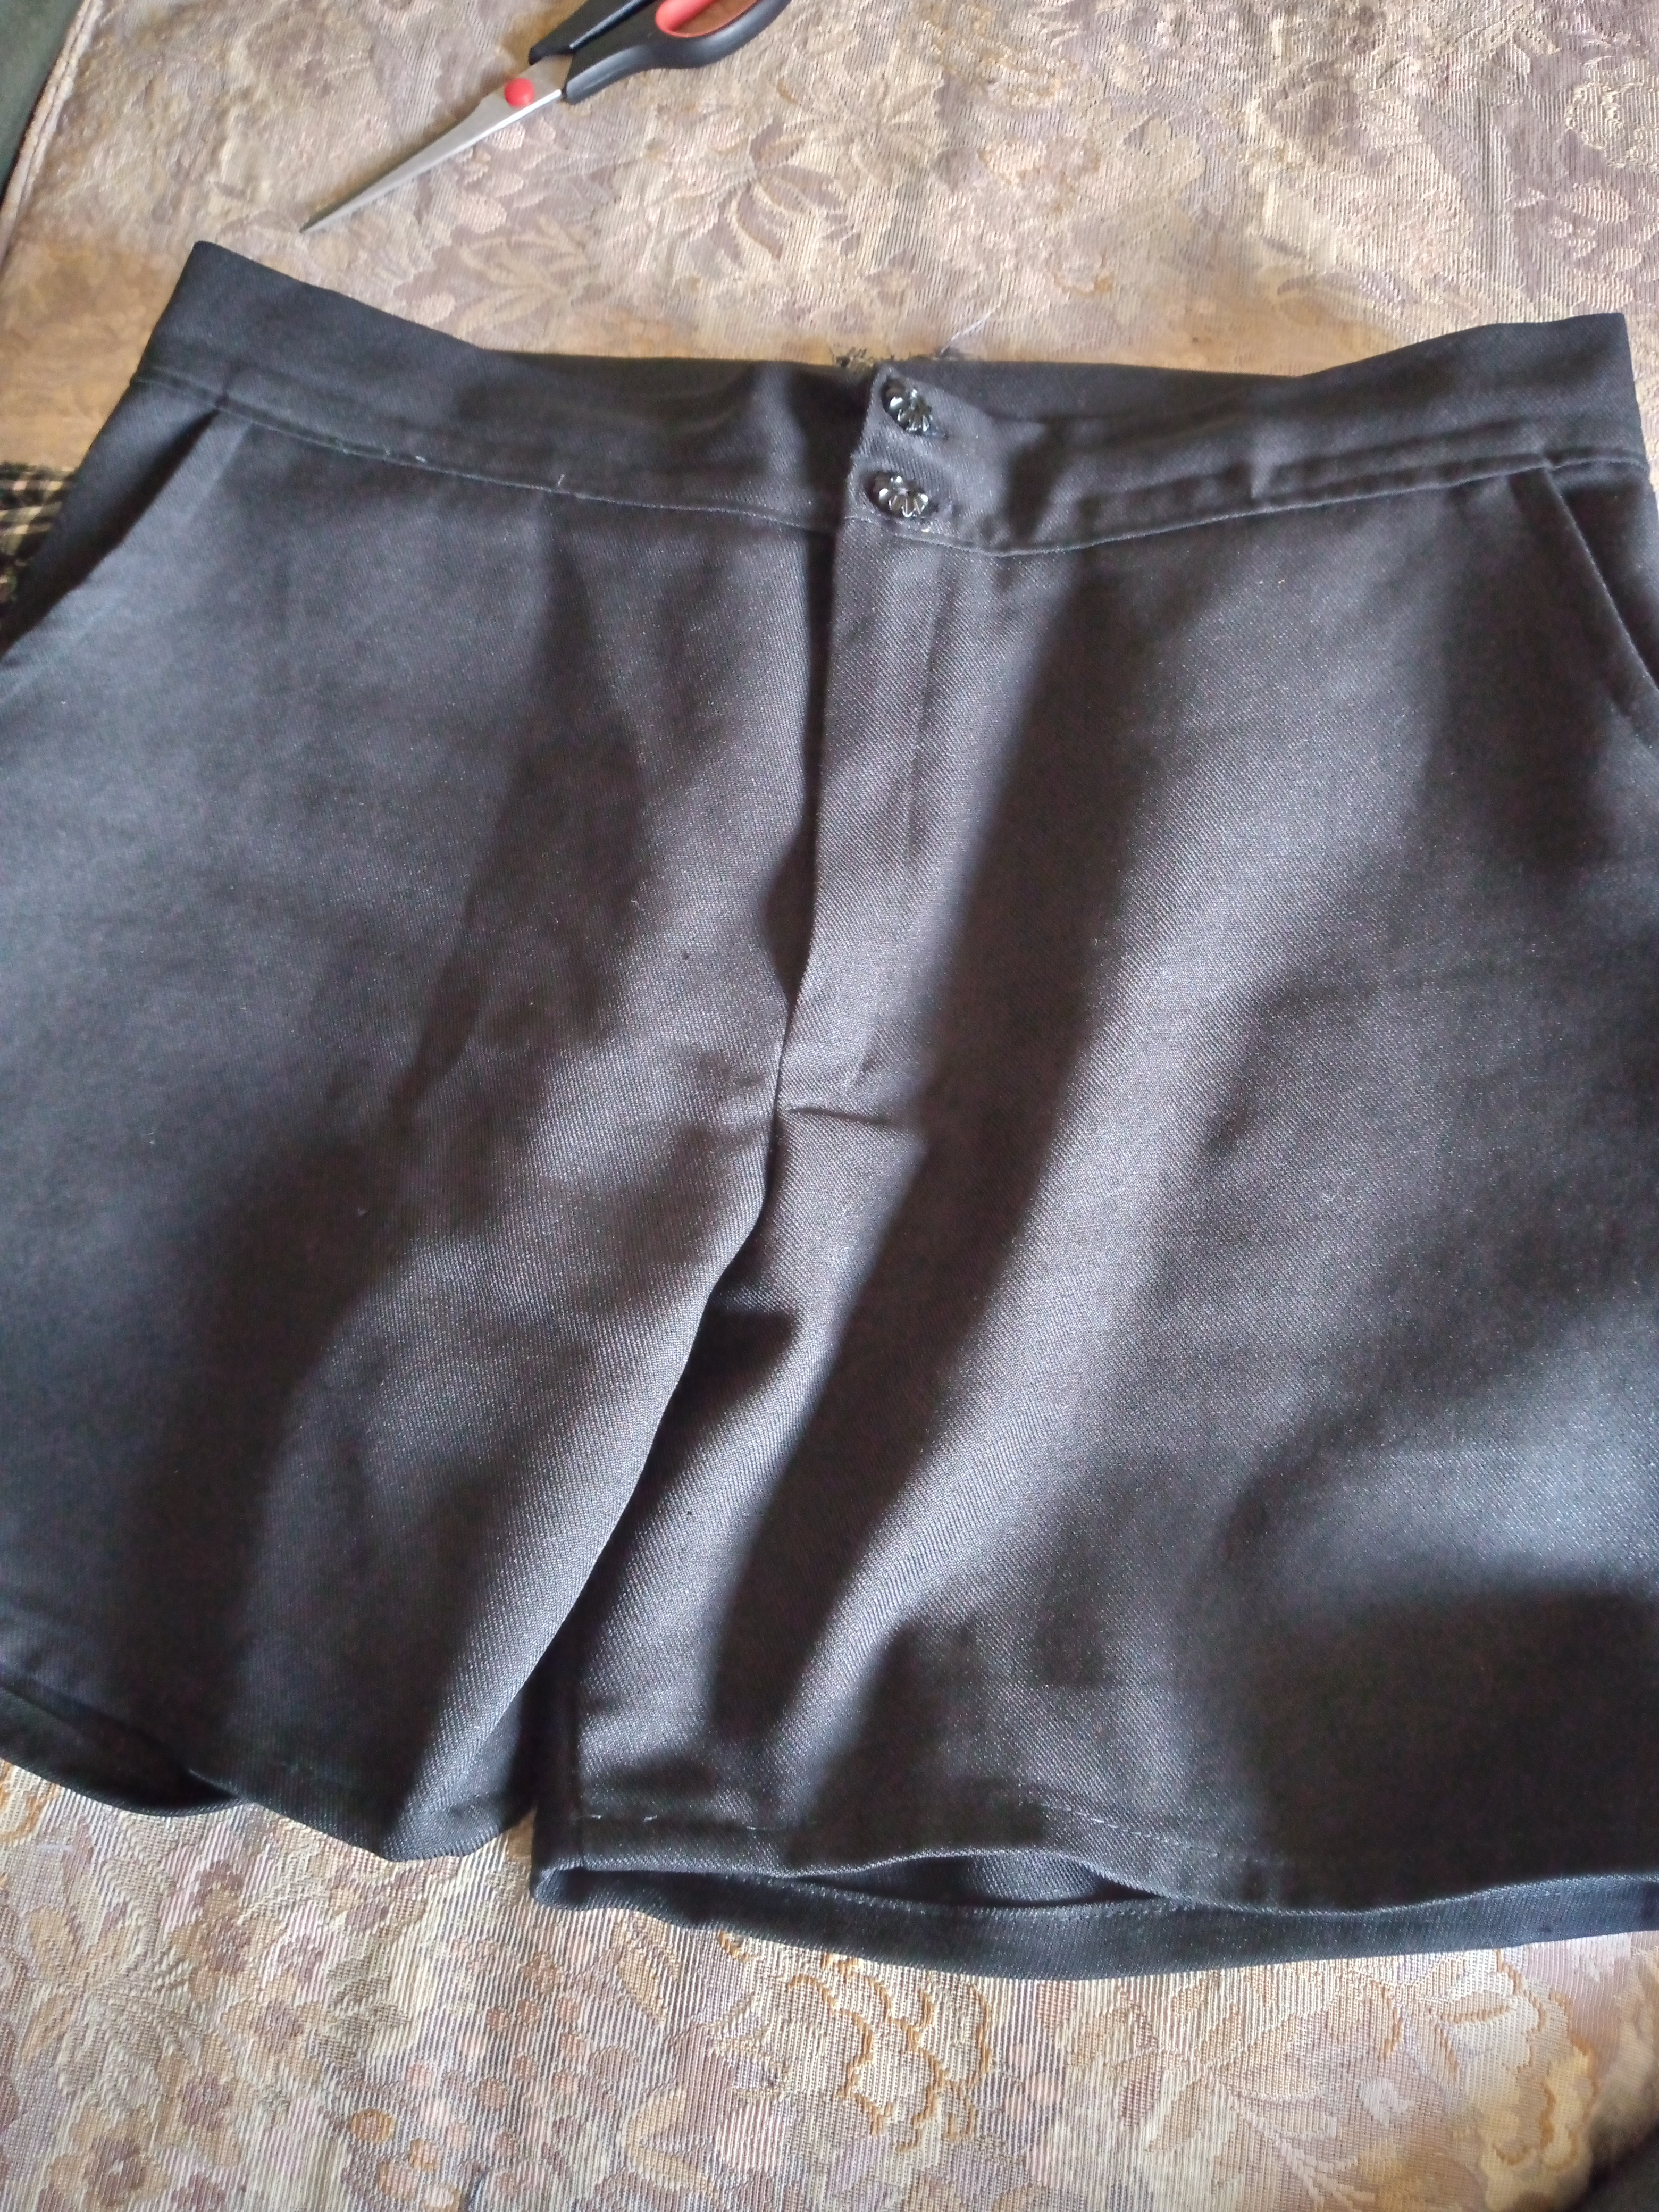
Hello creative friends, welcome to a new tutorial 😊✨❤️we are going to transform this little skirt that no longer fit me well, we will be making a nice short to be at home, what I did first was unstitch the pieces of the skirt like the part of top and bottom to remove the pieces that make up the shorts, I also unstitched the lace that was on the bottom to be able to cut the pieces well, I have used this black short as a measurement to be able to cut since it fits me very well.
If you are a lover of clothing transformations, you will love this tutorial, I invite you to stay and appreciate the final result.😊
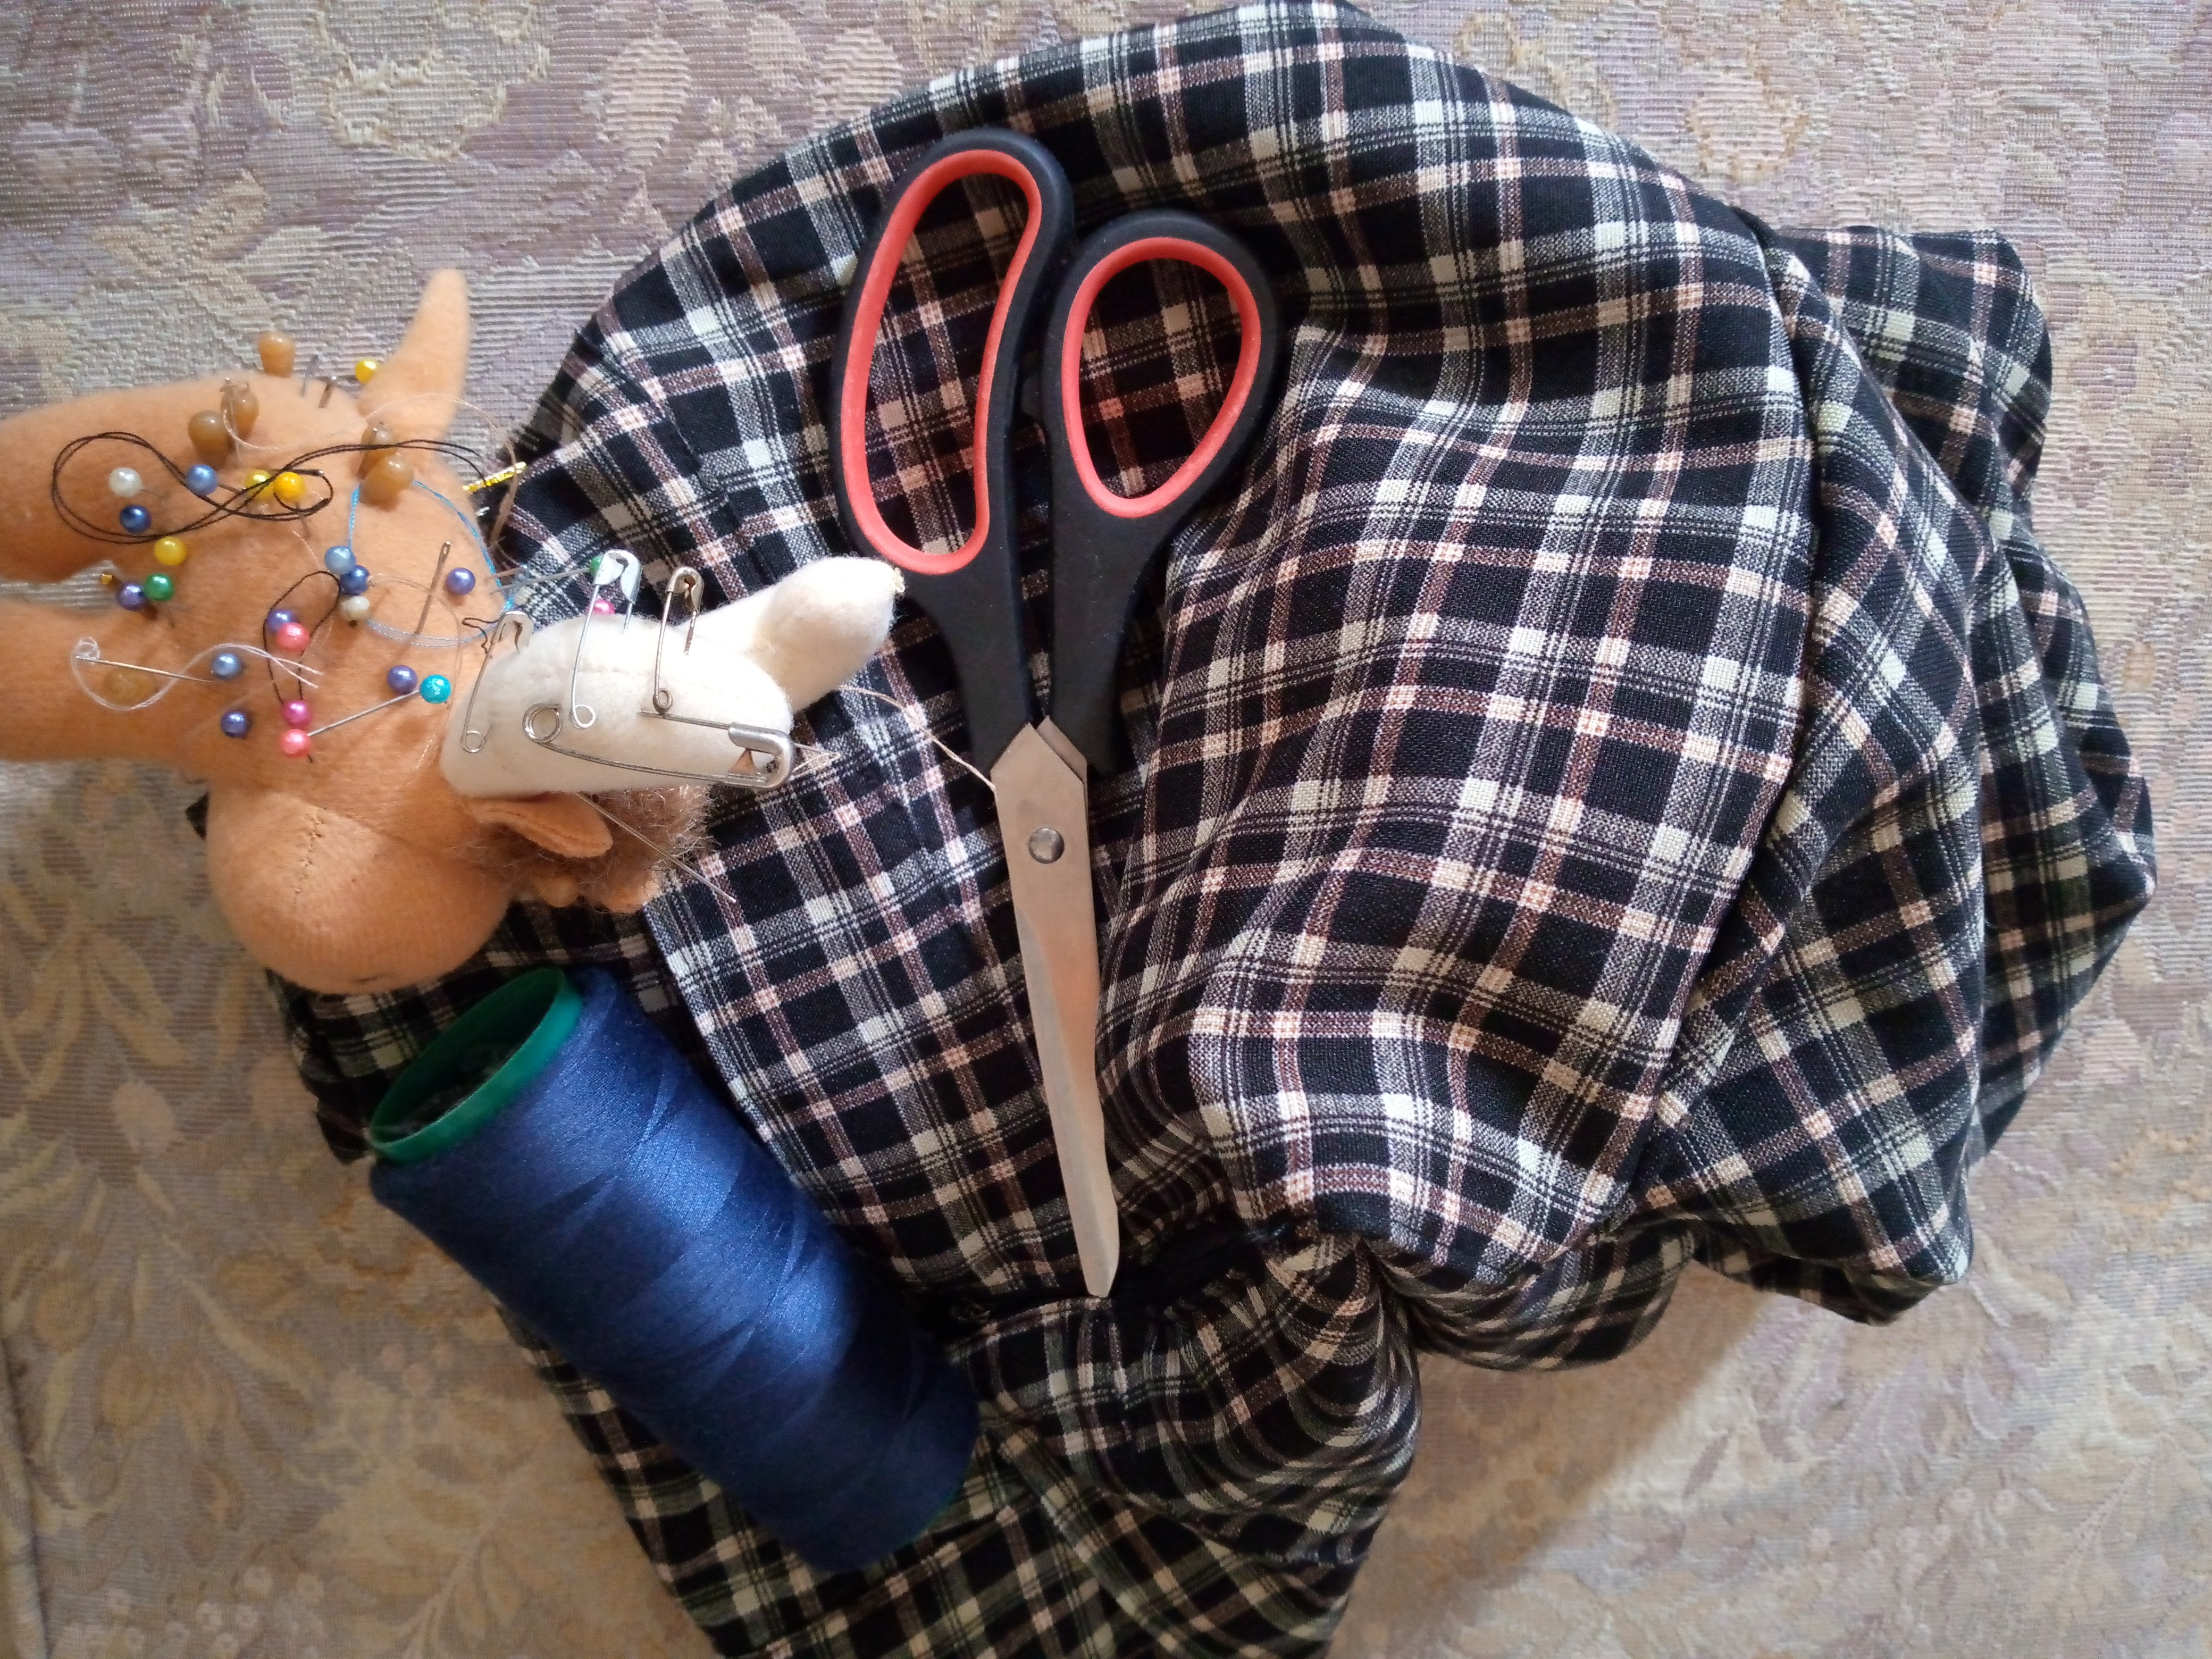

Materiales que usé:
Materials i used:

- Falda para transformar
- Tijeras
- Hilo
- Alfileres
- Máquina de coser
- Skirt to transform
- Scissors
- Thread
- Pins
- Sewing machine

Pasos a seguir:
Steps to follow:

Paso 01
Step 01
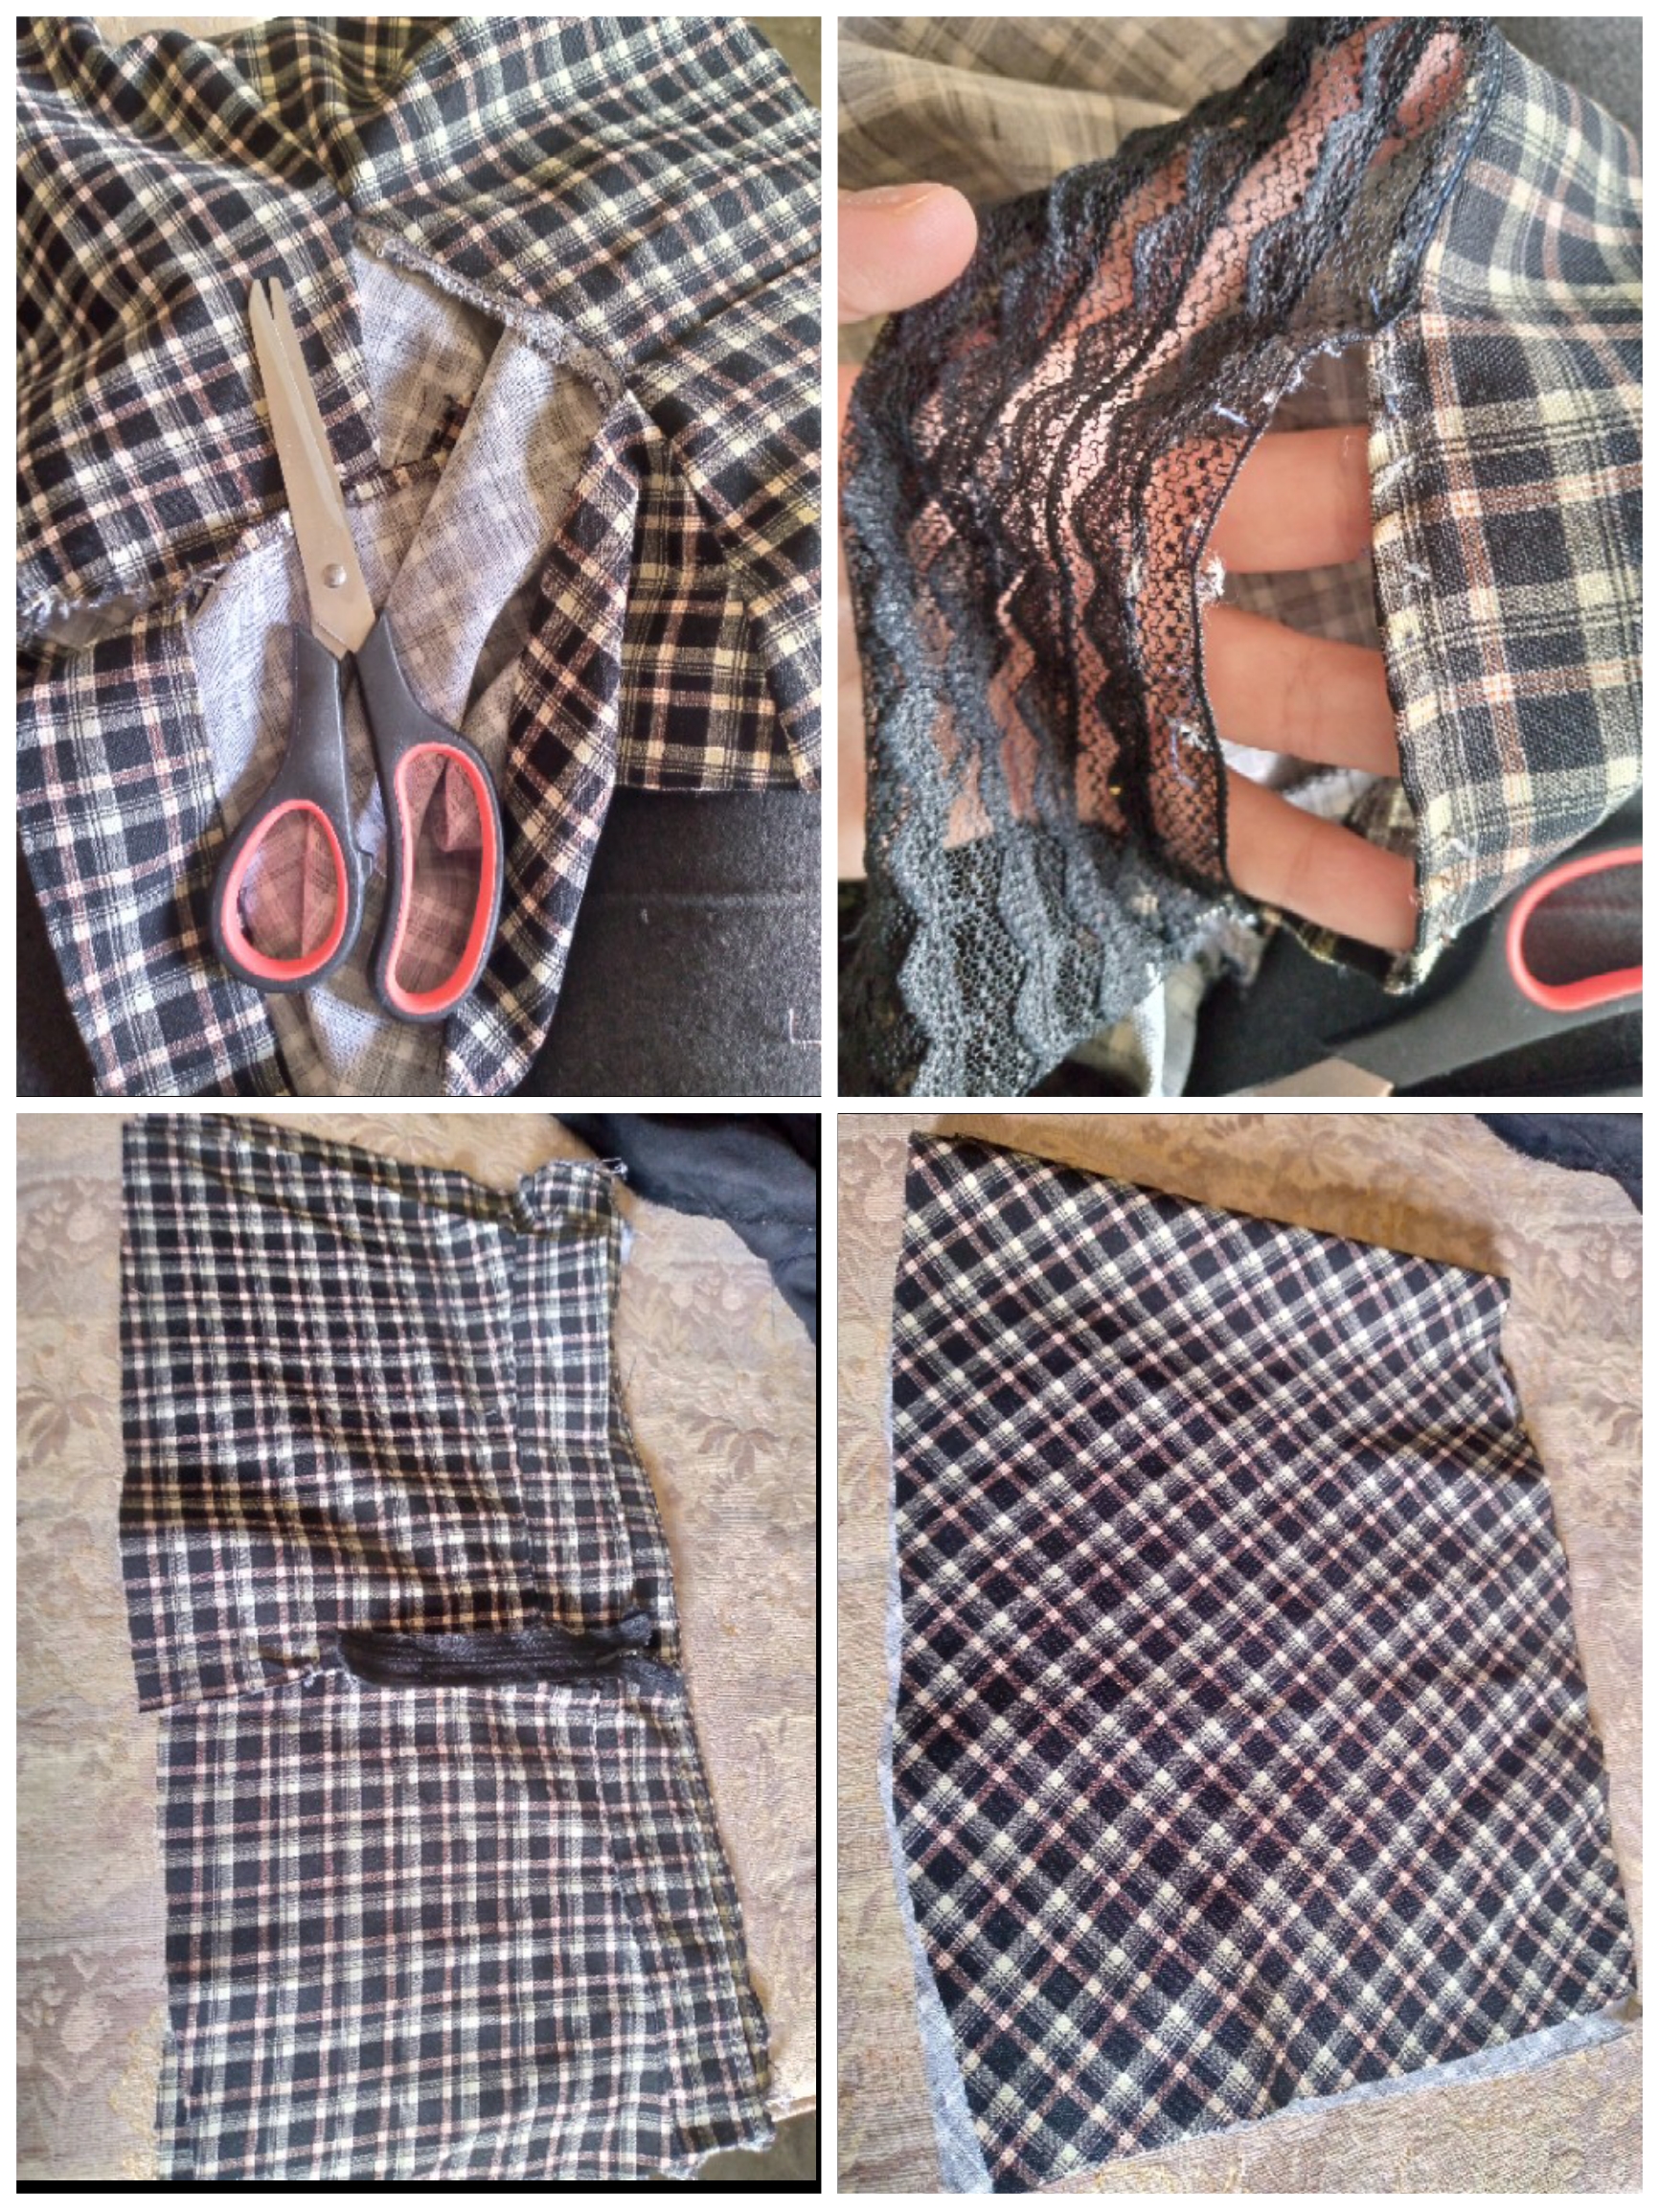
As I mentioned at the beginning of the blog, we are going to be cutting and unstitching pieces and we are going to have them ready to take off the shorts. I have decided to leave the waistband at the top of the skirt on the shorts and continue using this waist measurement. I unstitched the closure. which came on one side and I cut the hem since this skirt had a bell cut.
Paso 02
Step 02
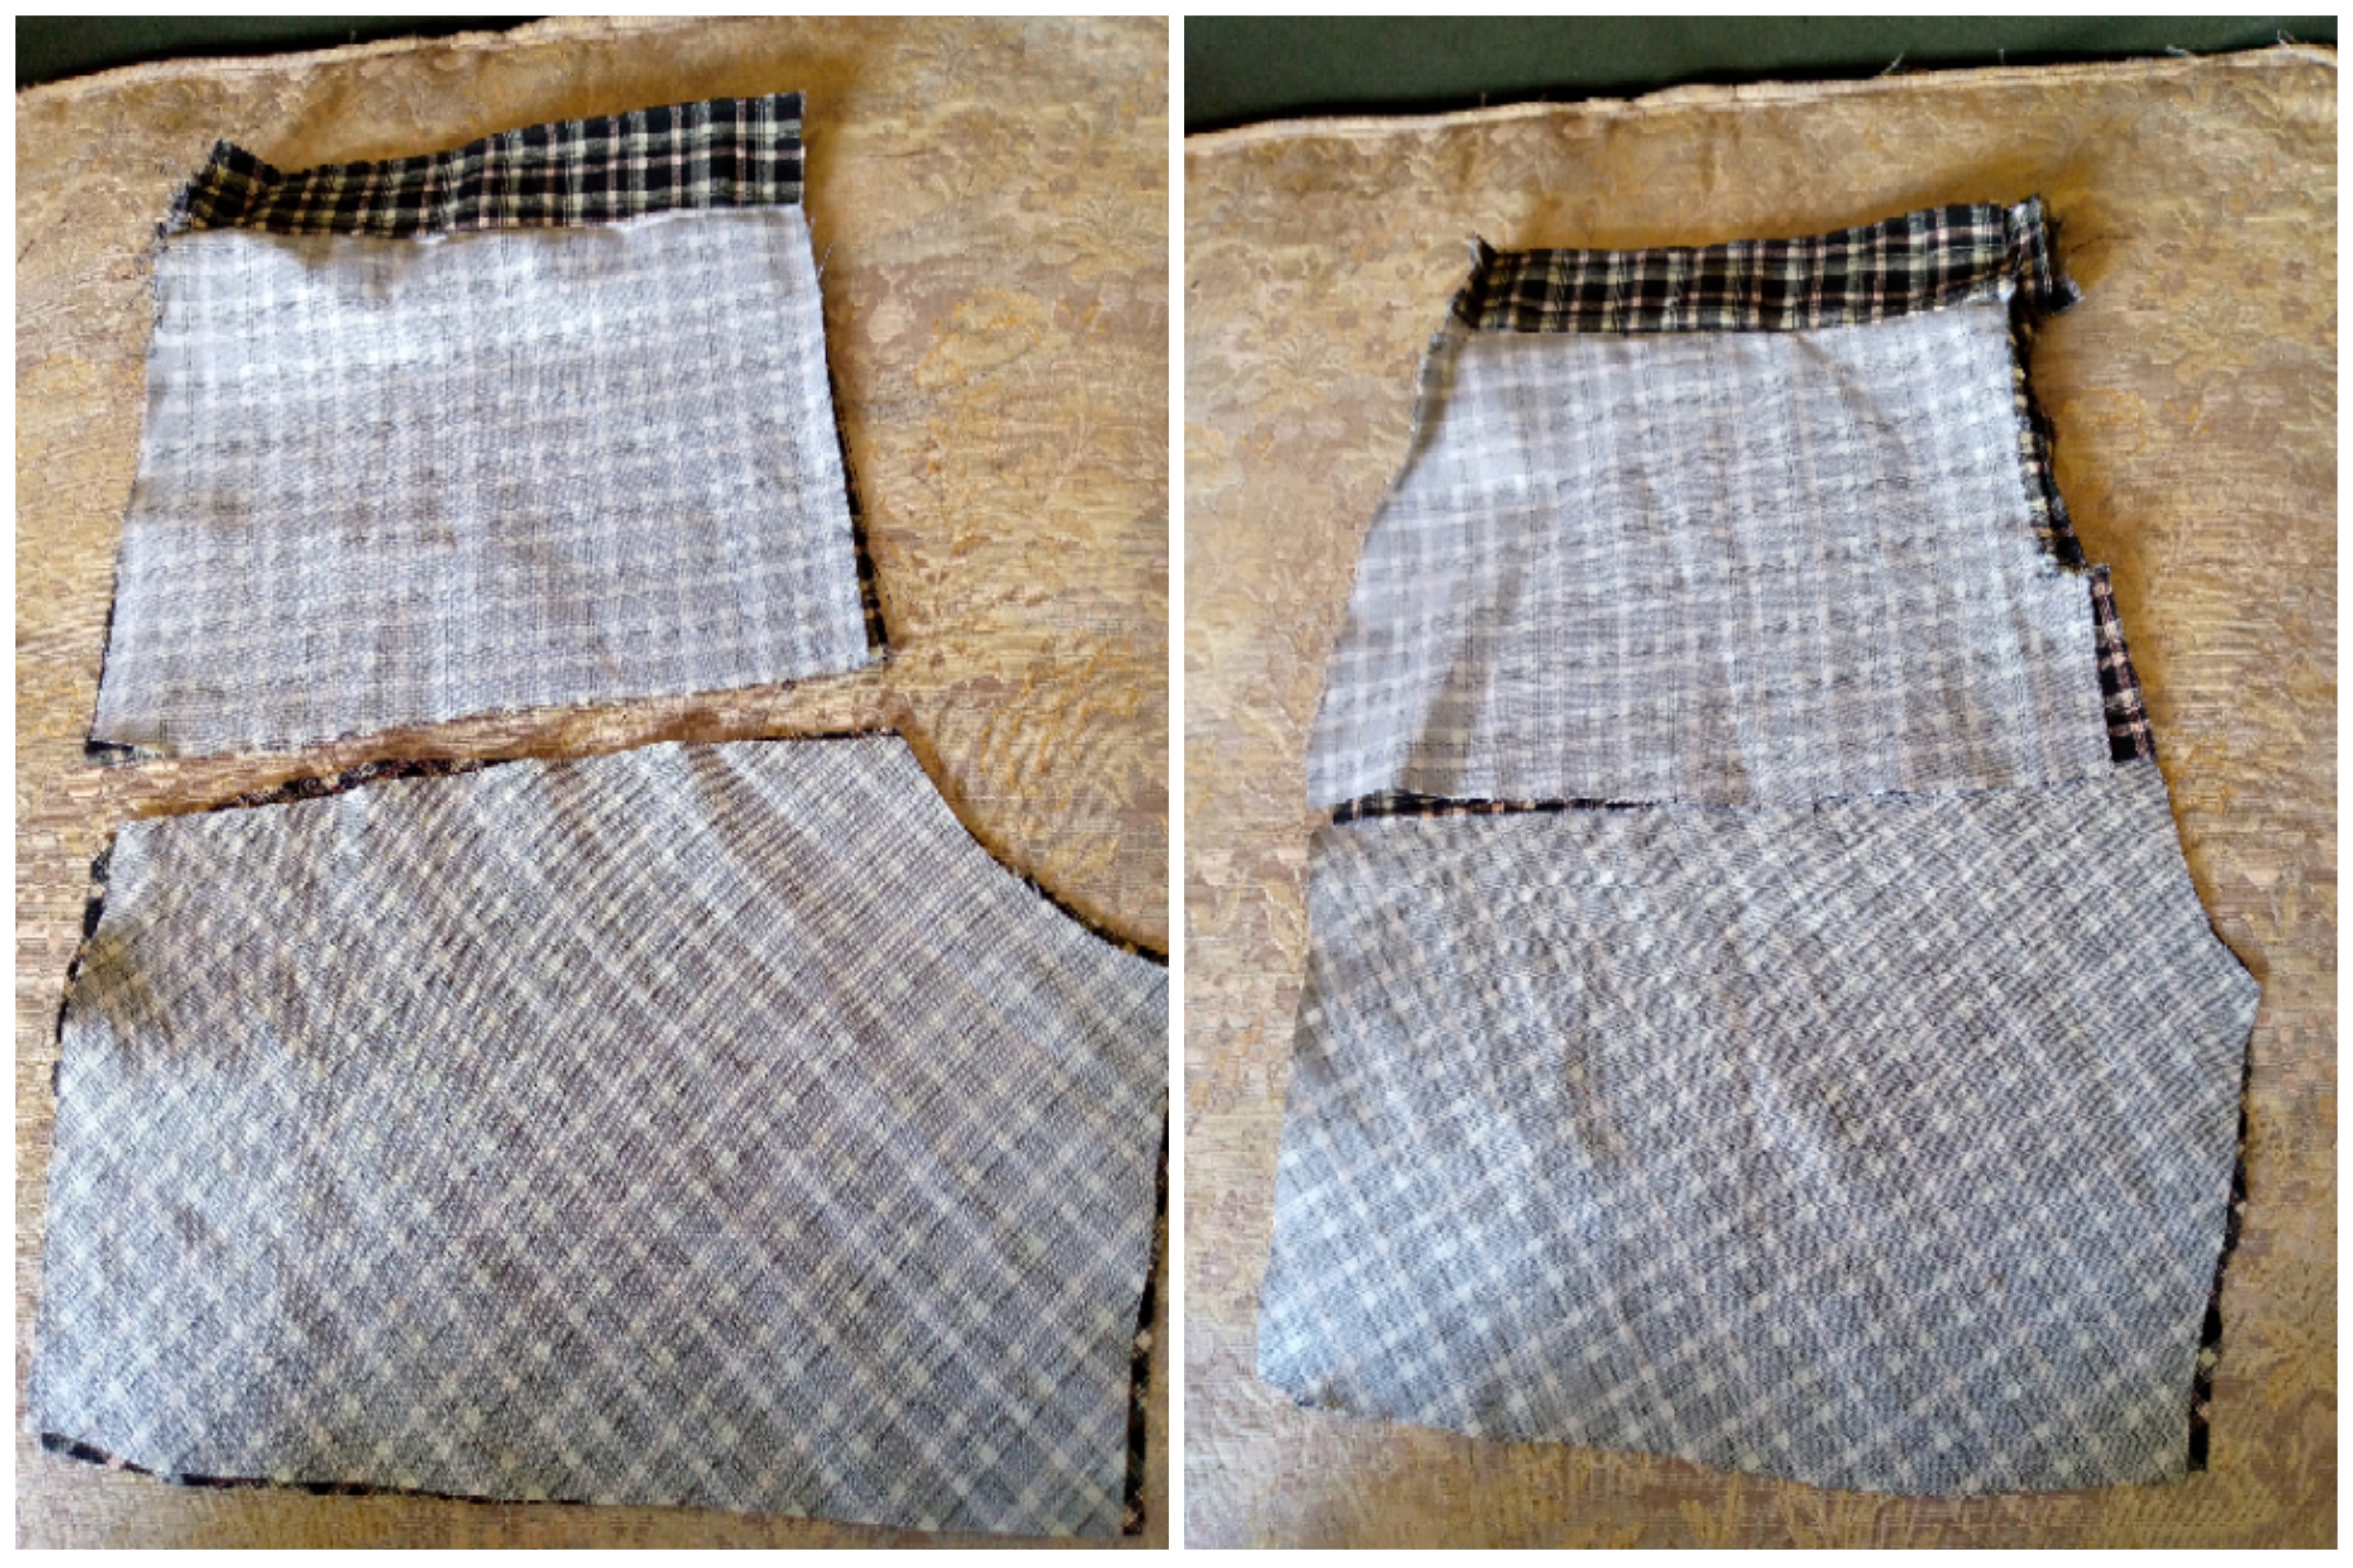
As the next step here I already cut the pieces of the shorts, the front and the back, always the fall of the rise, the back is longer while the front is shorter, I am also going to join the hip piece or sew it with the from below and then sew the sides.
Paso 03
Step 03
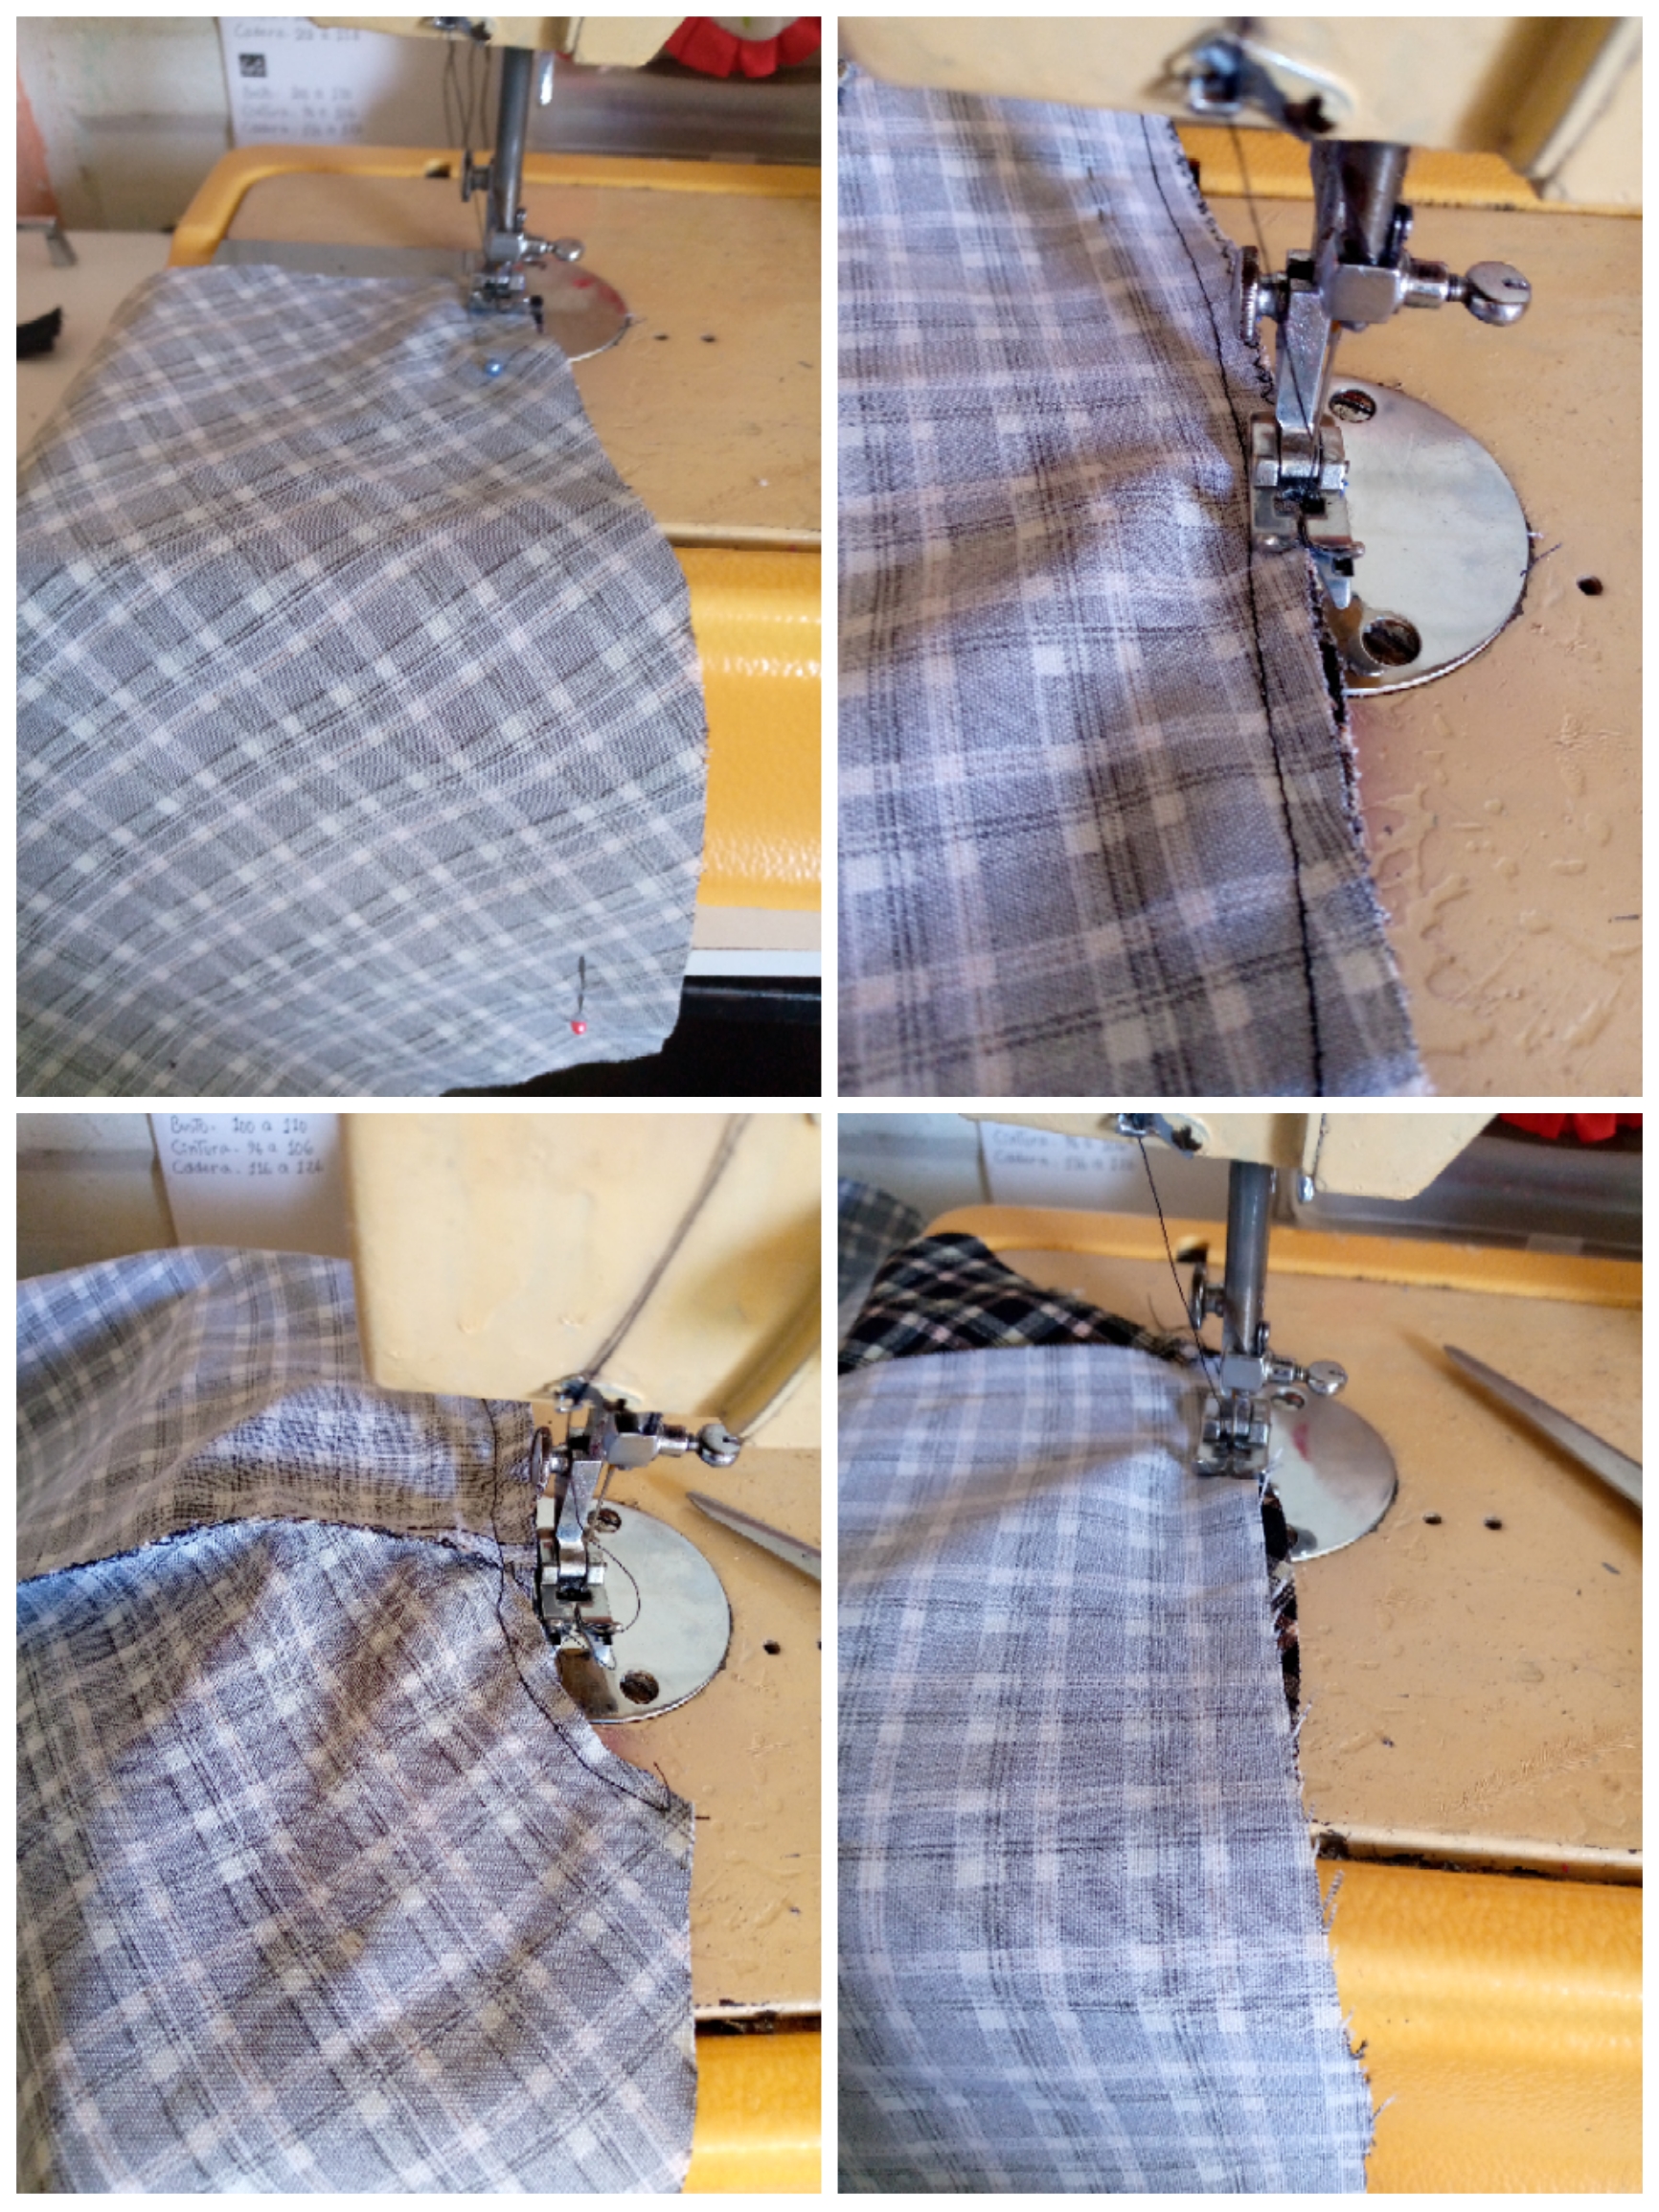
Well, the next thing we will do is then tie that piece, and with the help of pins we join the two fabrics to sew it, and I also proceeded to join the throw and I have reinforced it with a zig zag around the contour.
Paso 04
Step 04
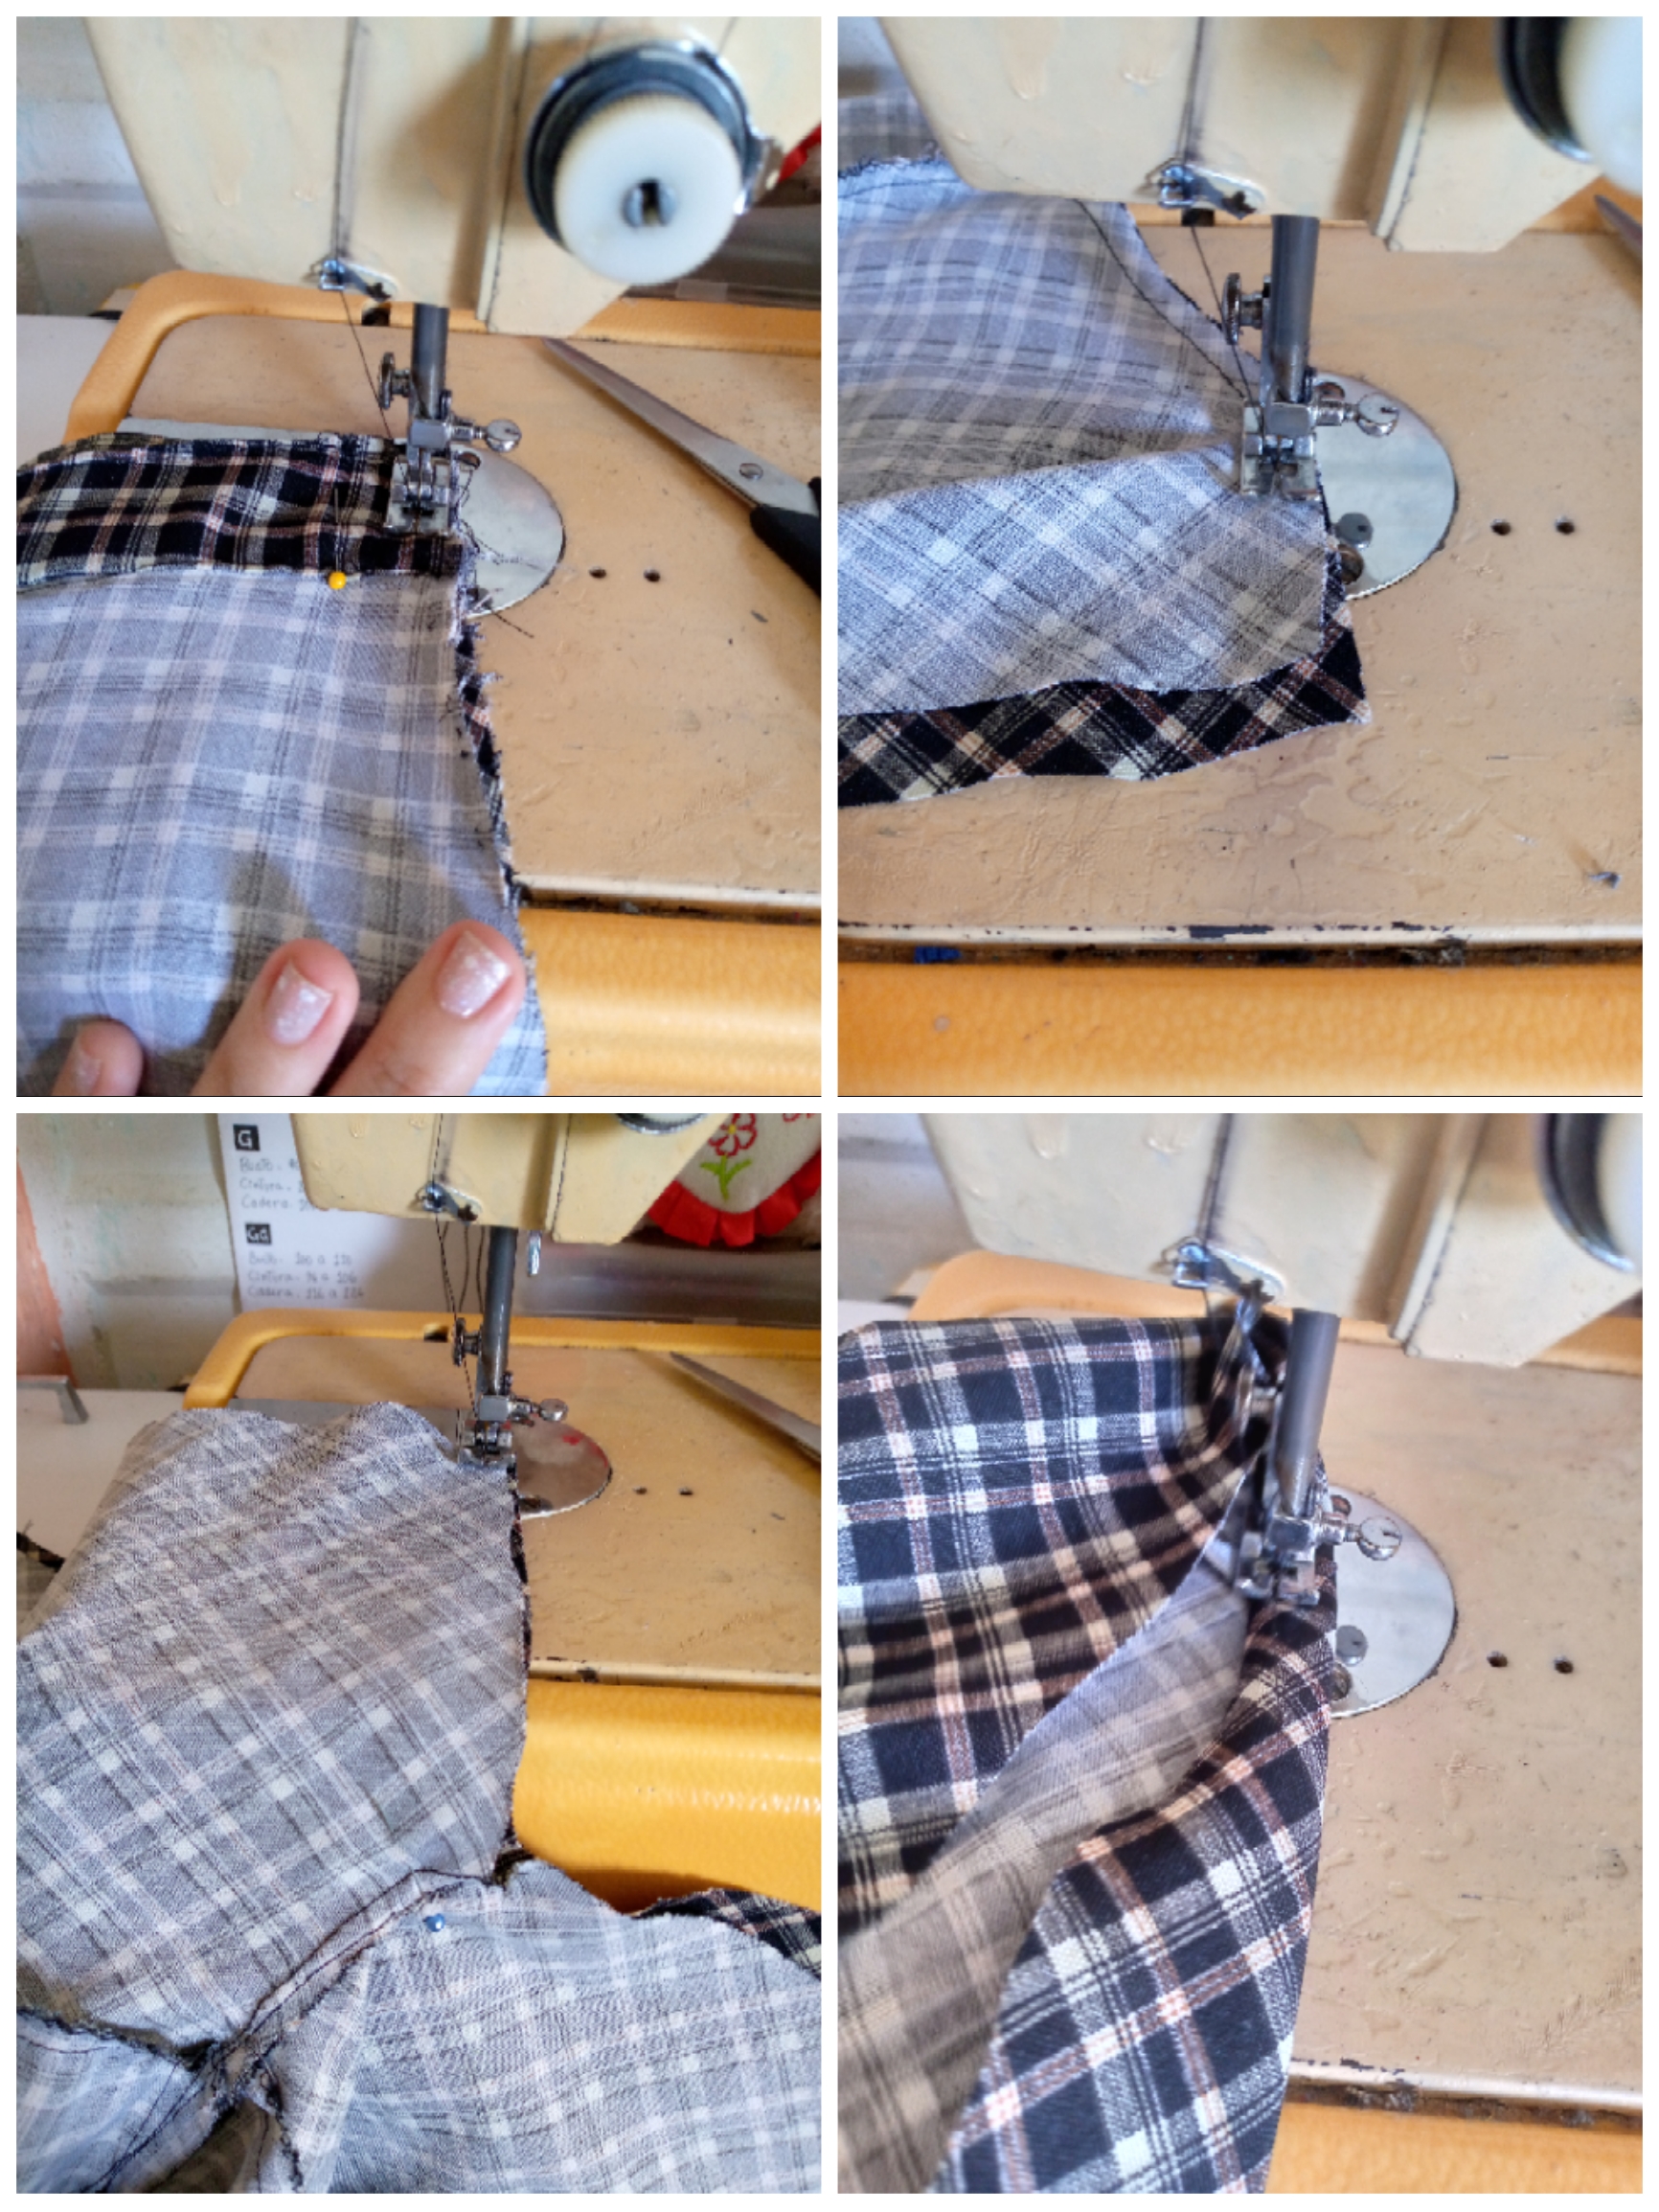
We proceed to sew the pull on the back as well and I sewed the closure with a needle and thread previously to hold it in place and then we pass the seam over the closure, we will place it on the front before sewing the sides and we sew above the fabric one shelf below the closure to reinforce that part of the shorts.

Paso 05
Step 05
We finish by simply joining the bottom with our pins and sewing it, we also sew the sides of our shorts and hem each leg of it and that's it.

Resultado:
Result:

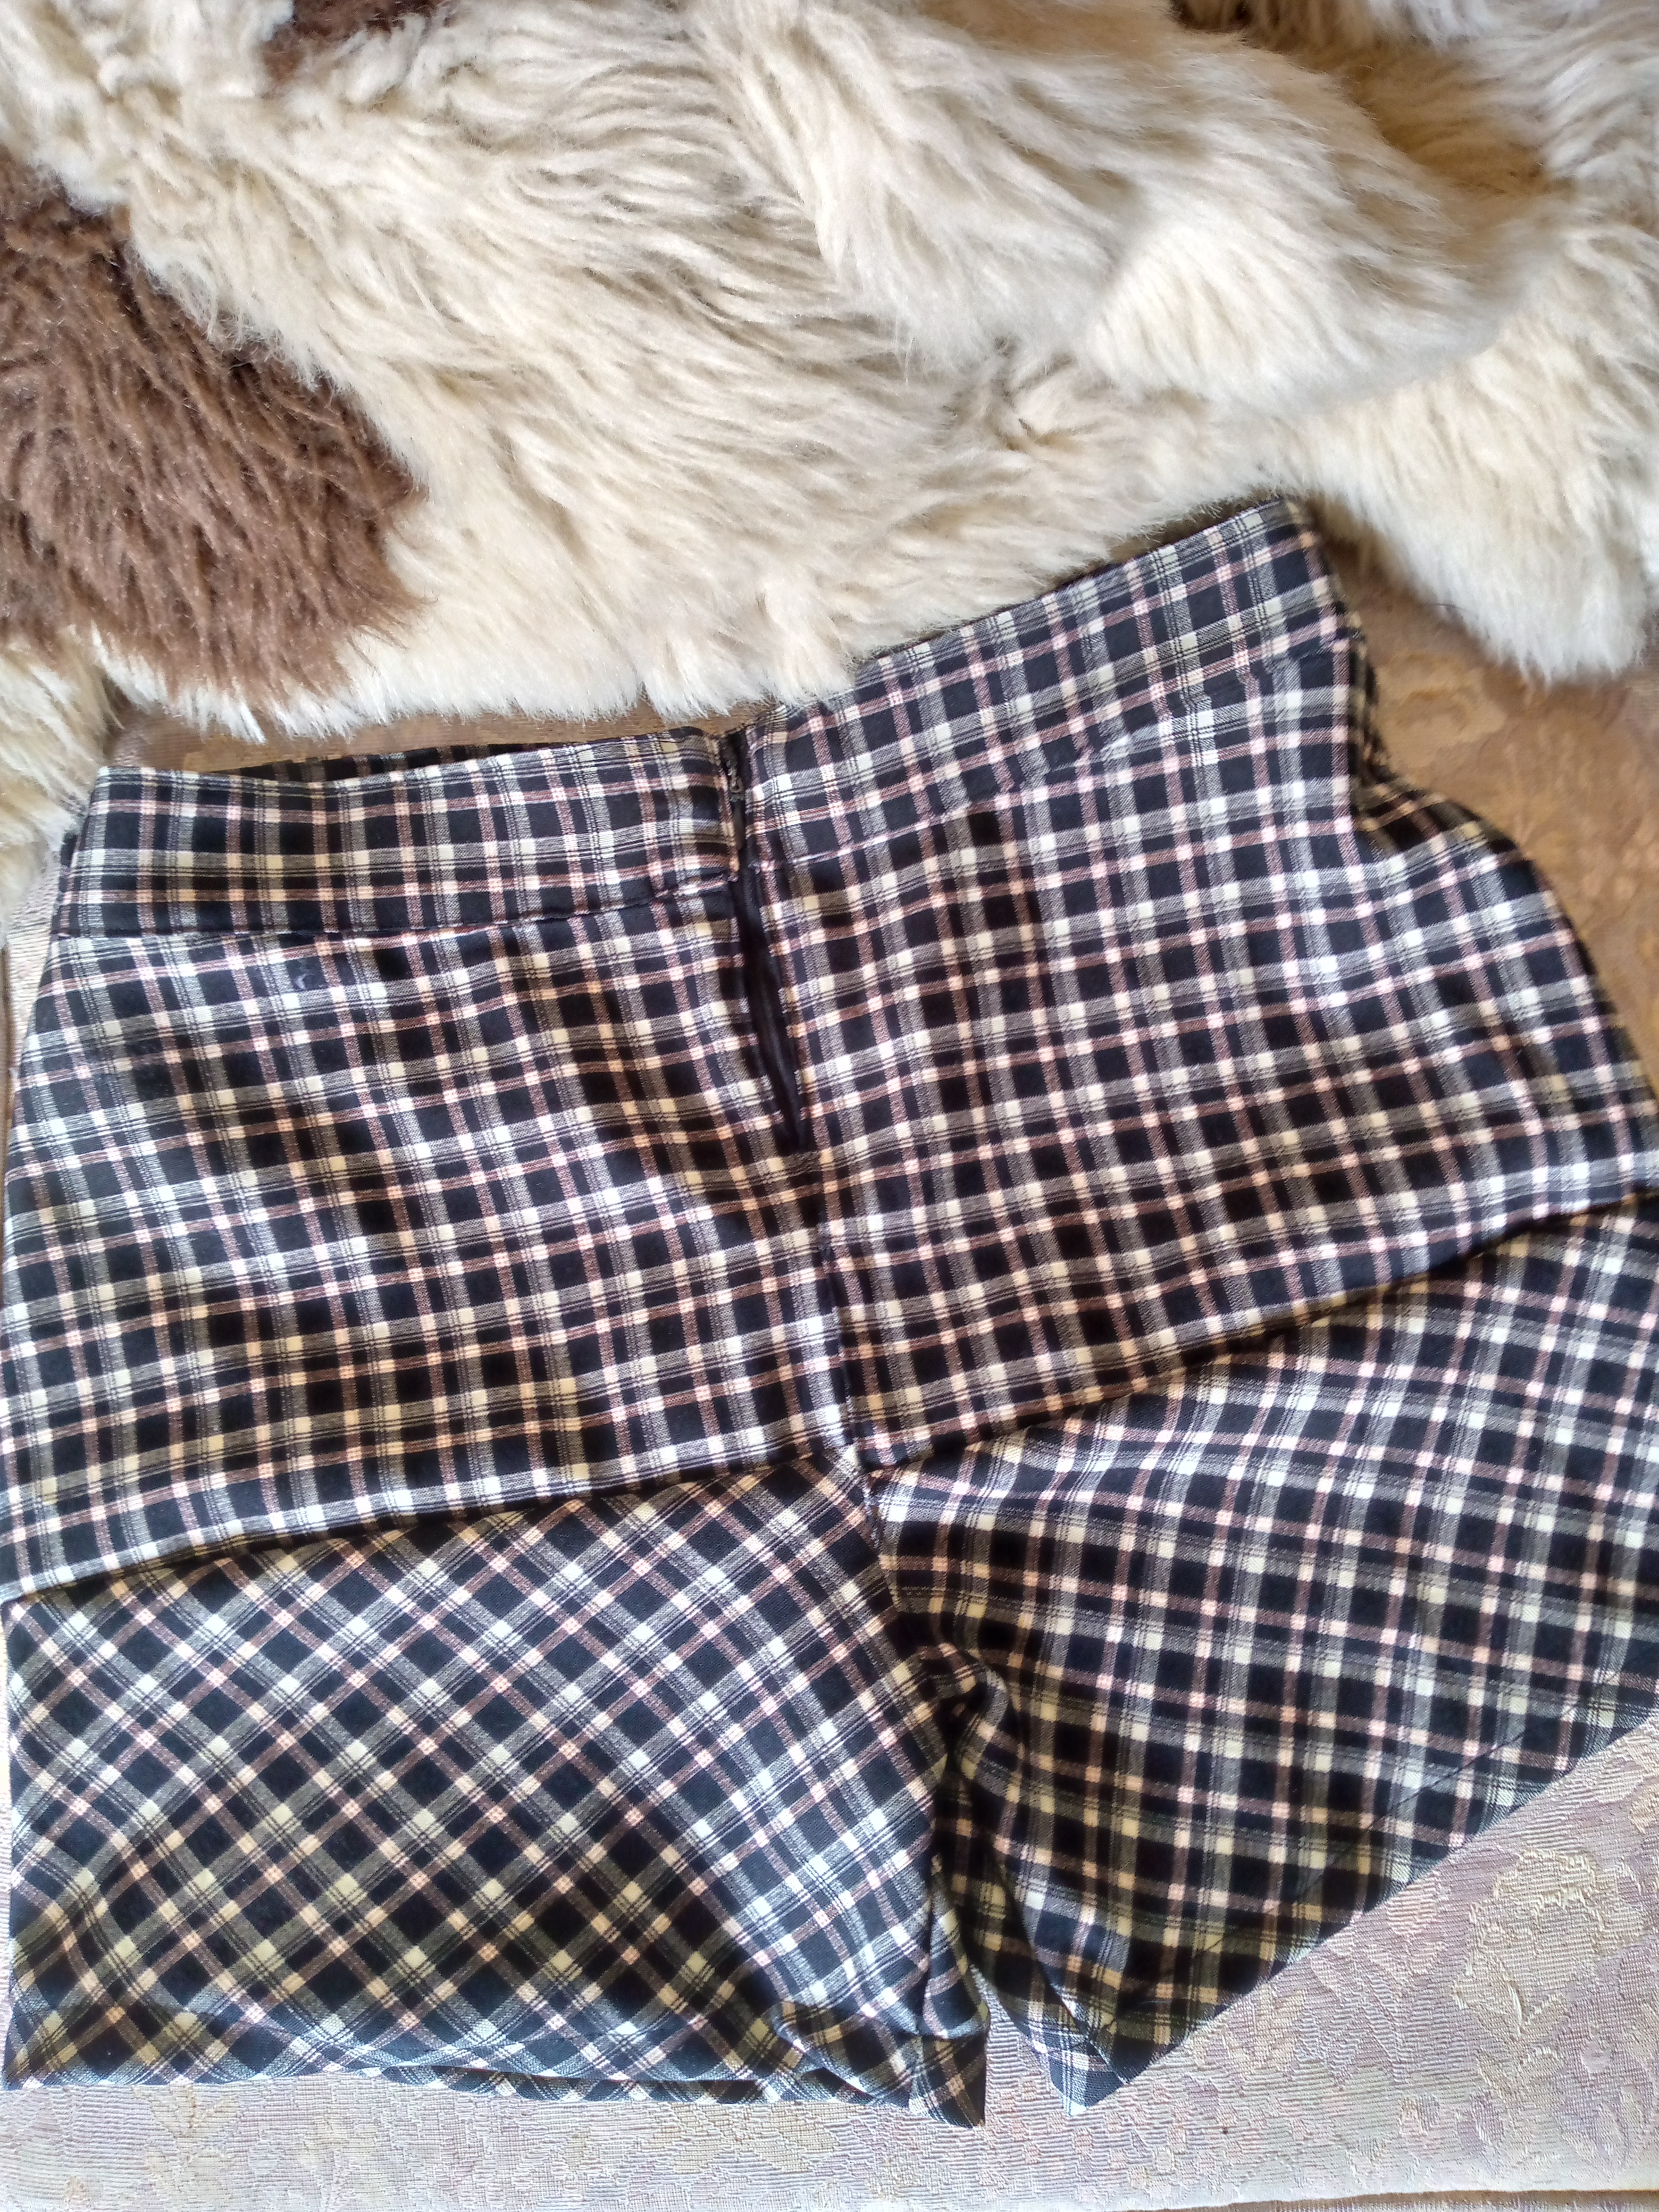
In this way my shorts are ready, the truth is I didn't think they would look so pretty since I had never done such a transformation from a skirt to a short so it's my first time doing this job🤭...If you liked it This blog, don't forget to leave your nice comment and share it with your friends, I love you very much, until another time.👋🏻😊


Felicidades amiga te quedó excelente está transformación, que excelente idea para reciclar nuestra ropa vieja, gracias por compartir.
Muchas gracias amiga @emmaris pasa feliz día me alegra te guste esta idea 🥰💕
Te quedo bonito el short, Gracias por compartir el paso a paso
Saludos @anne002
Feliz noche amiga gracias a ti por apreciar este tutorial,tu comentario me anima muchísimo 🥰✨
Esta abejita te manda un te quiero ♥️🐝
Qué genial es transformar nuestras piezas y darle otra perspectiva. Bellísimo amiga @anne002
https://inleo.io/threads/view/hive-130560/re-leothreads-nkhstggu
Muchas gracias por el apoyo 🥰
Al menos nunca tuviste la intención de tirarlos, sino que los utilizaste para crear algo increíble. Esto es realmente agradable que debo decir gracias por compartir con nosotros 😍😘
Hola amiga me alegra te haya gustado esta genial idea 😍aprecio tu comentario