Te enseño a hacer fáciles y sencillos aretes elegantes con retazos de tela//I teach you how to make easy and simple elegant earrings with scraps of fabric🌹💙[Esp~Eng]
.jpg)
Happy and nice afternoon beautiful community of @jewelry I am pleased to be with you after some time, as I have mentioned, I am not very good at making many jewelry things but when I do them I try to get a little inspired, for today's project I will be making these stud earrings to give as gifts to someone special, they are very pretty and are inspired by a blue rose, I wanted to make them with silk fabric for the petals
but unfortunately I did not find the correct type of fabric or silk because it has to be a soft and special fabric, a light fabric for the petals, but I have made them with this blue fabric that I have gotten in my fabric basket, I also found another one that by the way has some sequins glued on and the texture it has is somewhat silky.
To make the flowers, as you can see, I only used very small circles. You just have to fold them, make the ones you prefer, and fold each petal twice until you get several folds. While we sew them, I tried to stick them together, but it didn't work. Of course, if you have a silicone stick, since it's hot, it might stick, but you have to be very careful because it's very small and you could burn your fingers. I used thread and a needle to sew all the petals together and make the flower.
If you really like these fabric earrings where we make any figure with small scraps of fabric, this is your chance to learn how to make them. I have done it and the people I have shown them to have been delighted by the delicacy and beauty of these special earrings to wear with elegant dresses for a meeting and with your hair up. That is why I invite you to appreciate the result and tell me what you think. Below I will show you the materials and the step by step, let's go.
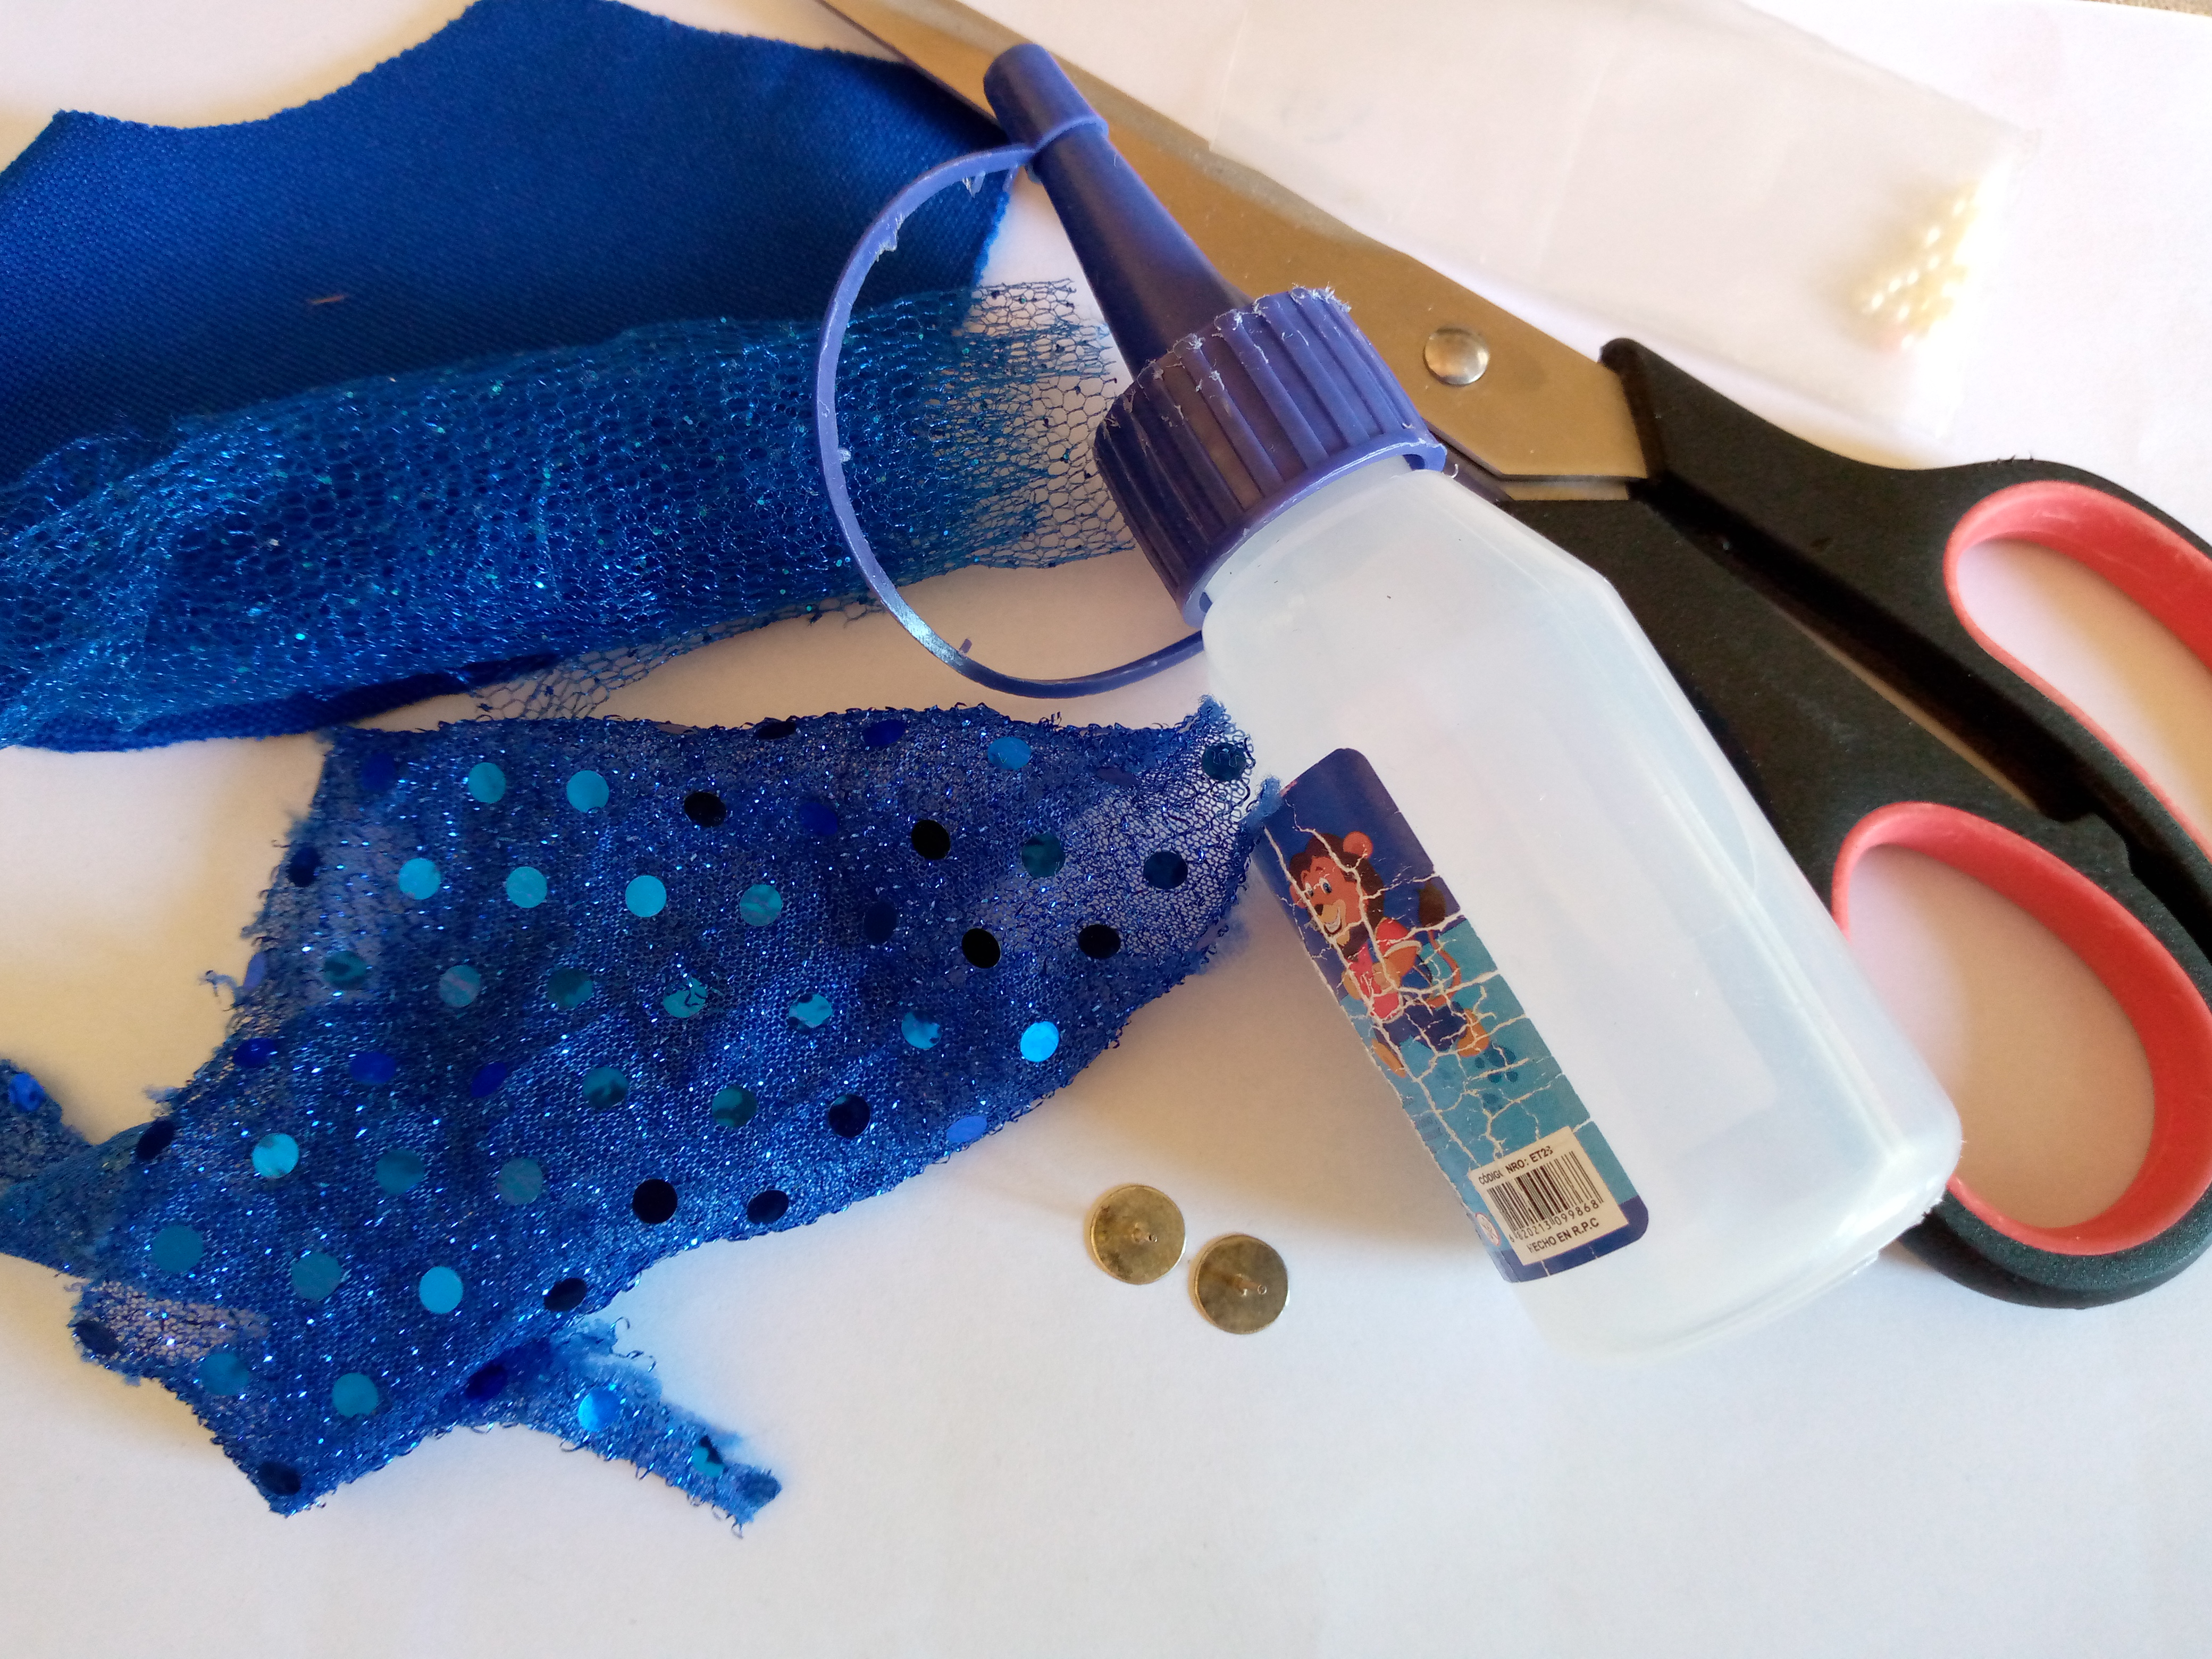
Materiales que usé:
Materials i used:
- Trozos pequeños de tela de tu preferencia
- Tijera
- Silicón líquido
- Brillantina o escarcha en polvo
- Clavitos o ganchitos de bisutería para aretes
- Hilo y aguja
- Small pieces of fabric of your choice
- Scissors
- Liquid silicone
- Glitter or powdered glitter
- Jewelry clips or hooks for earrings
- Thread and needle
Pasos a seguir:
Steps to follow:
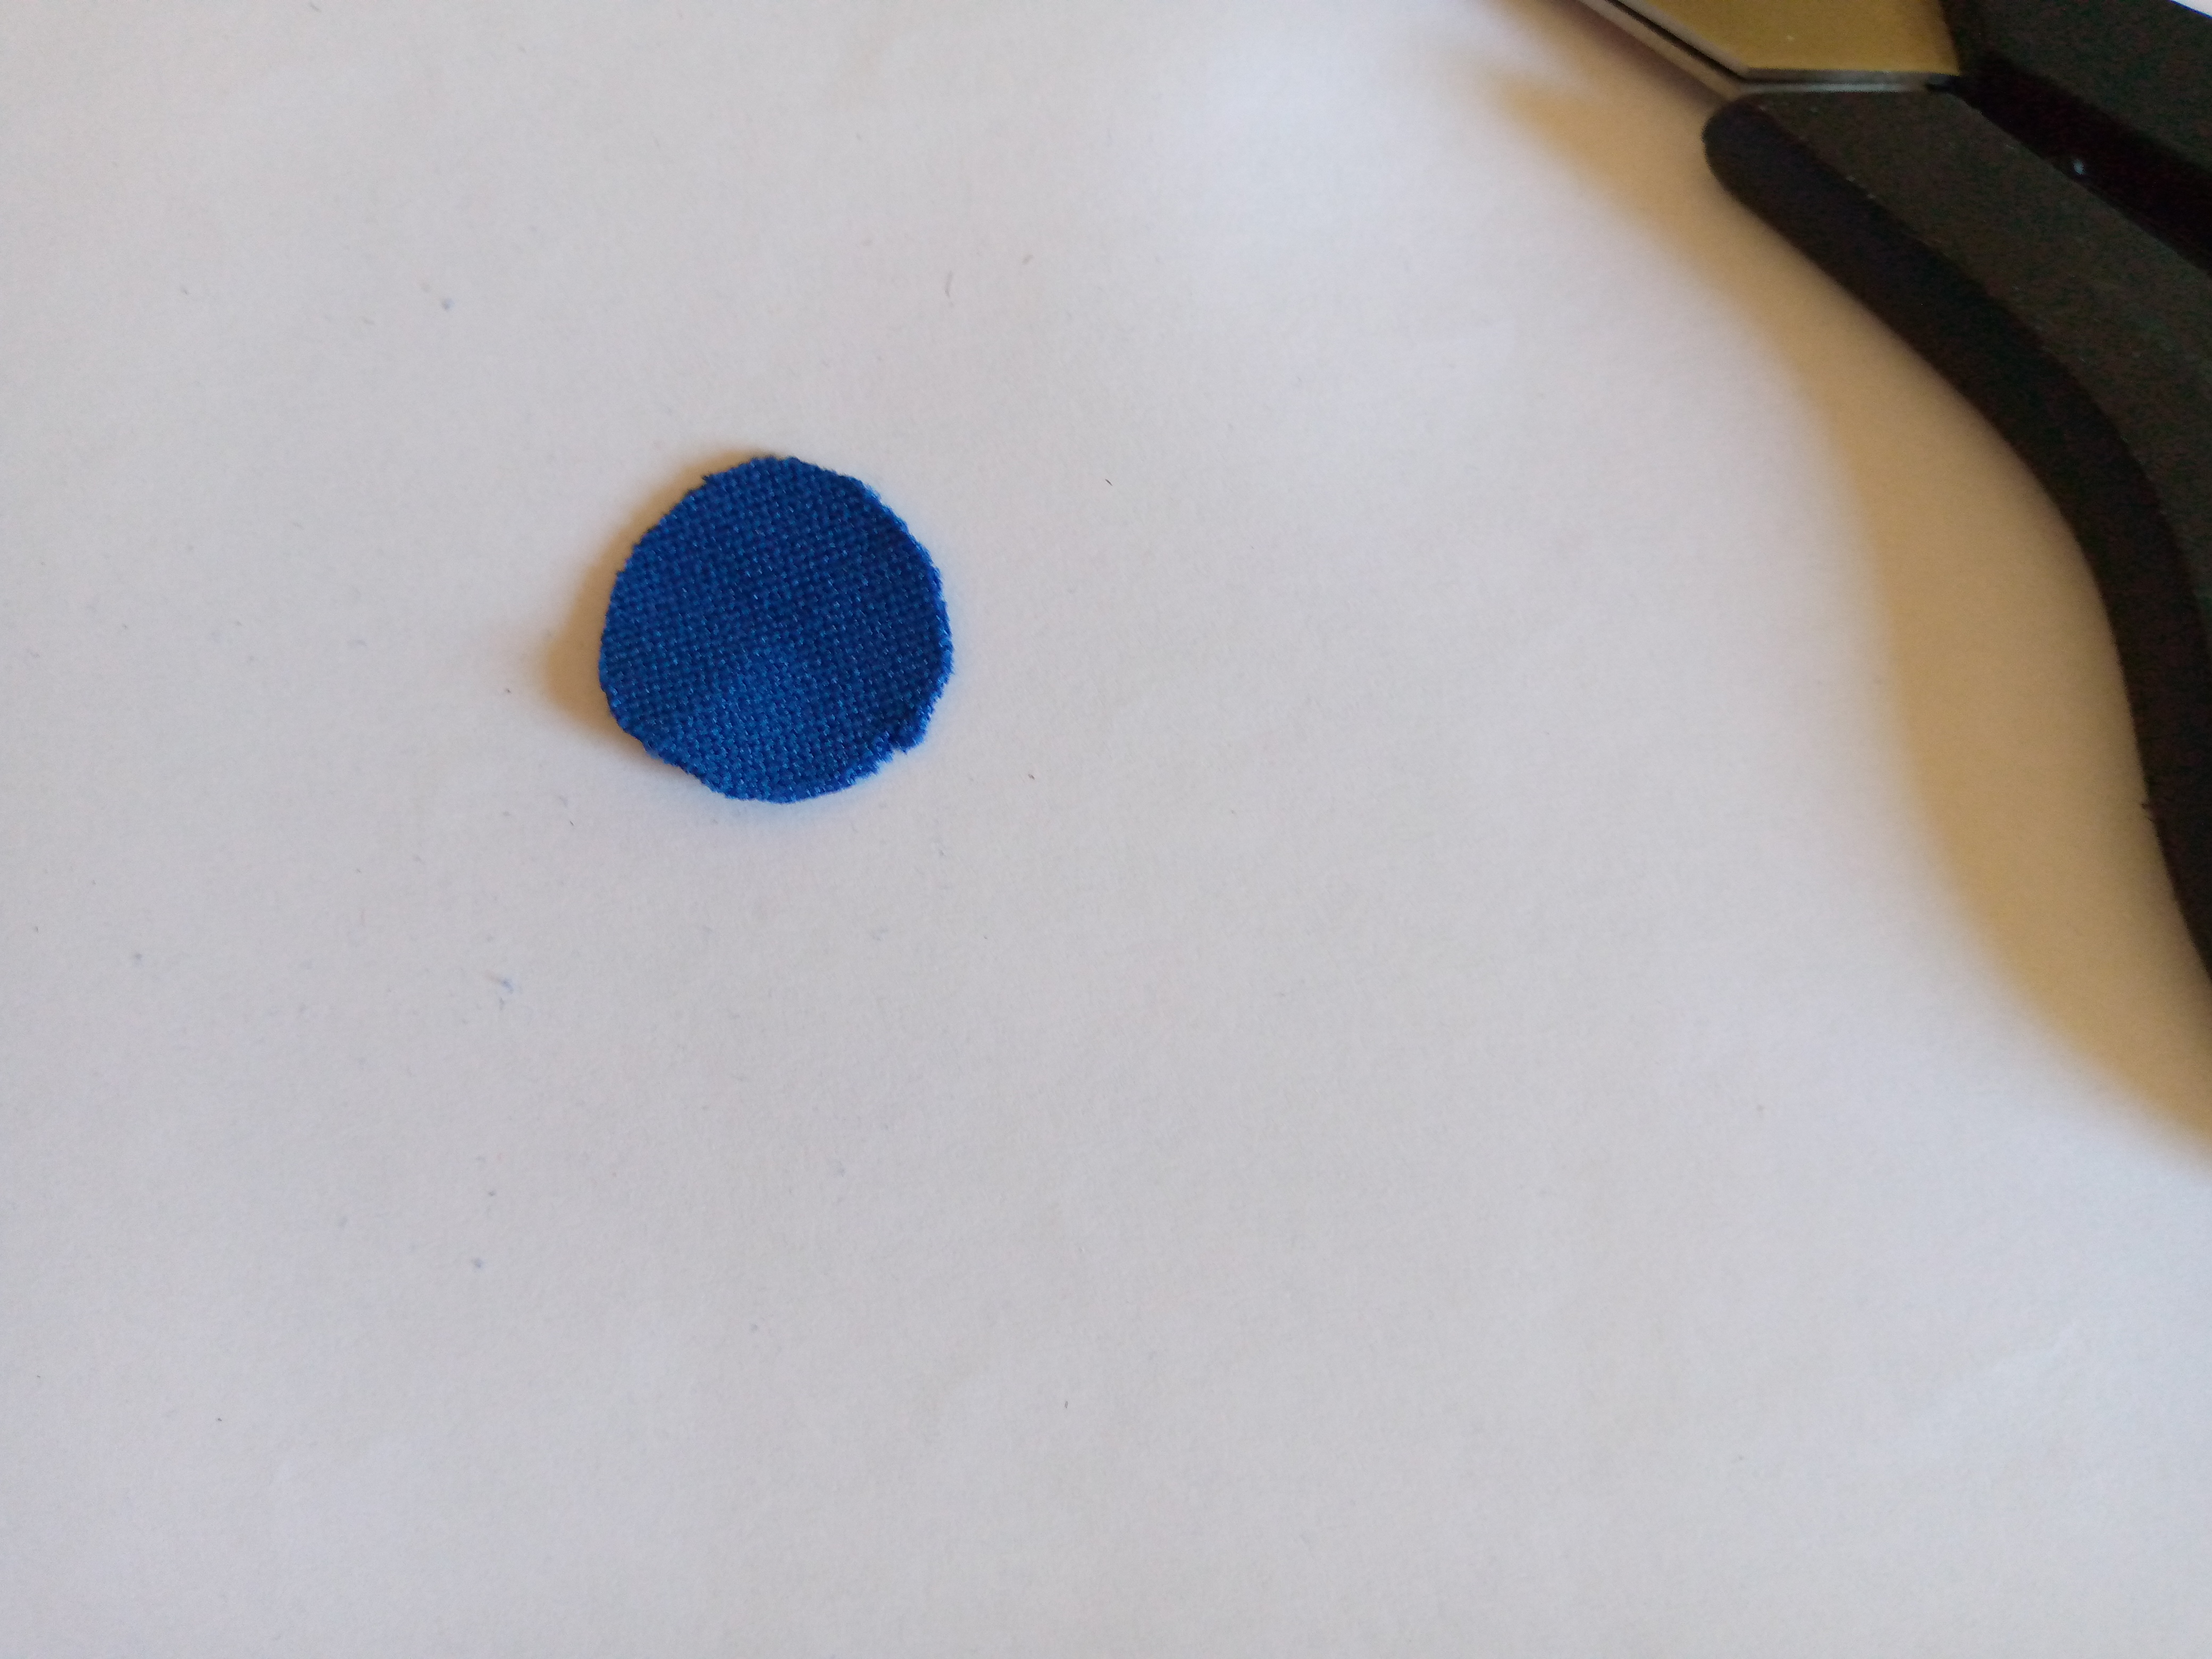
Paso 01
Step 01
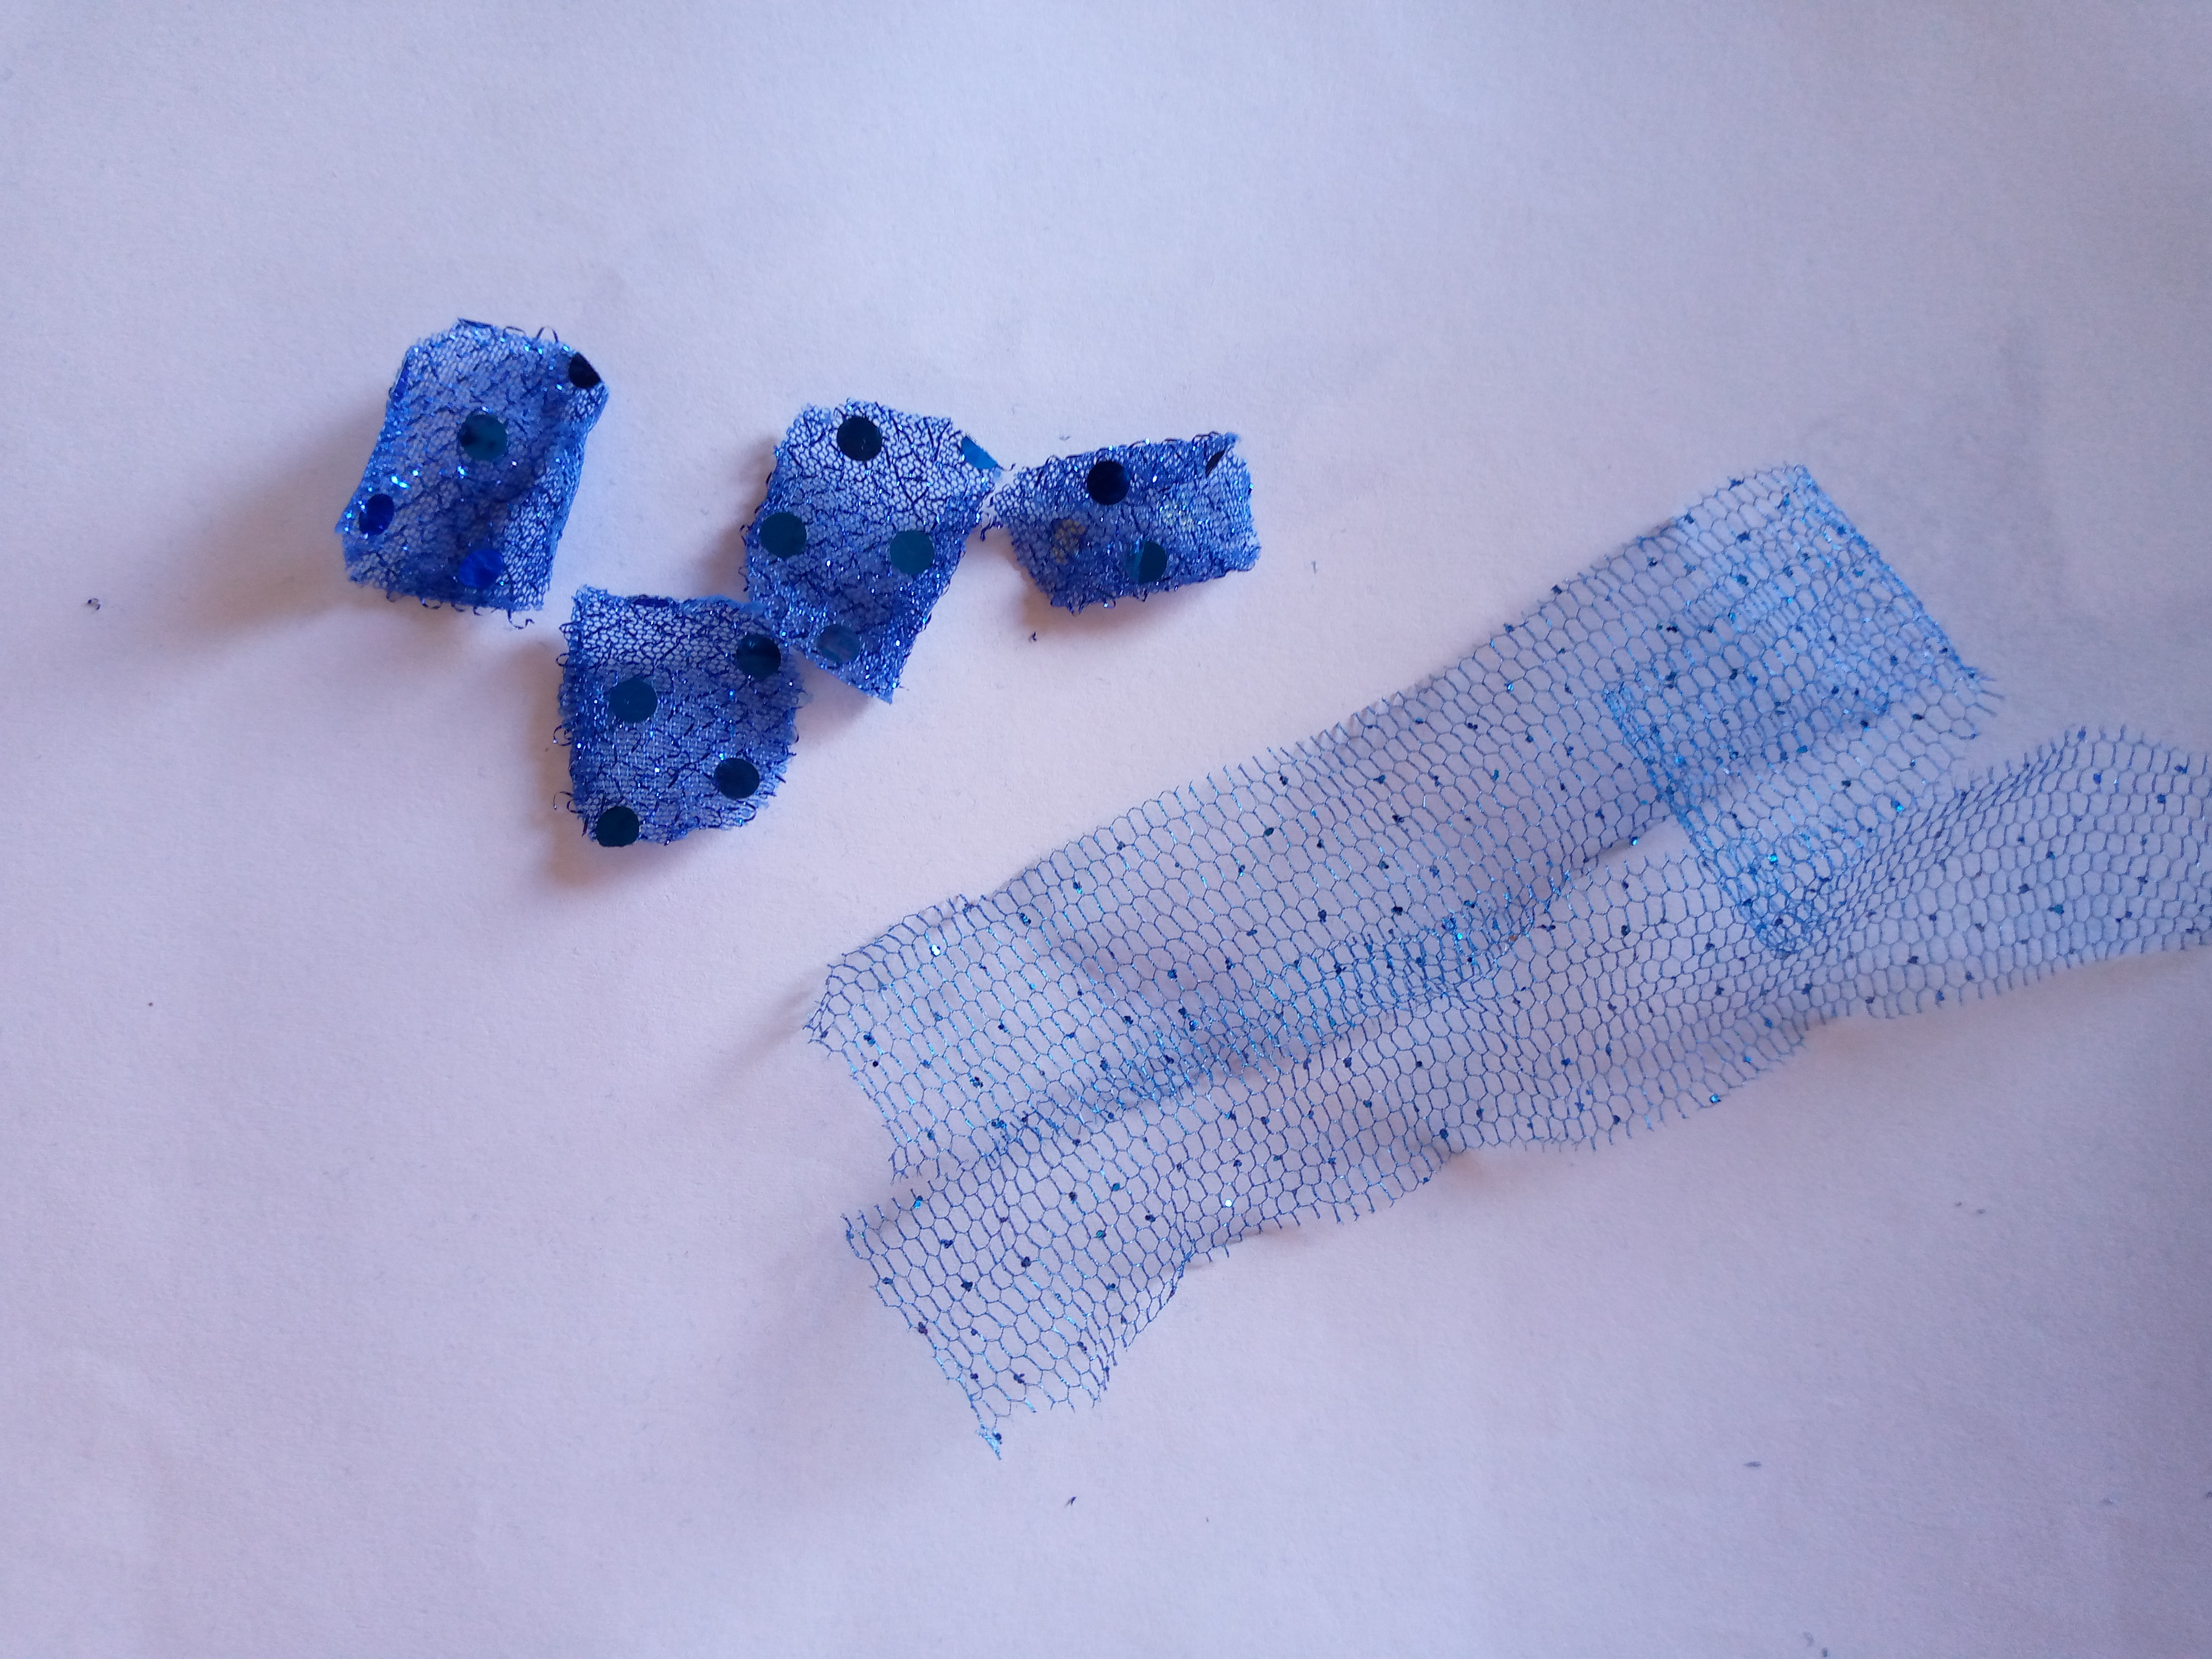
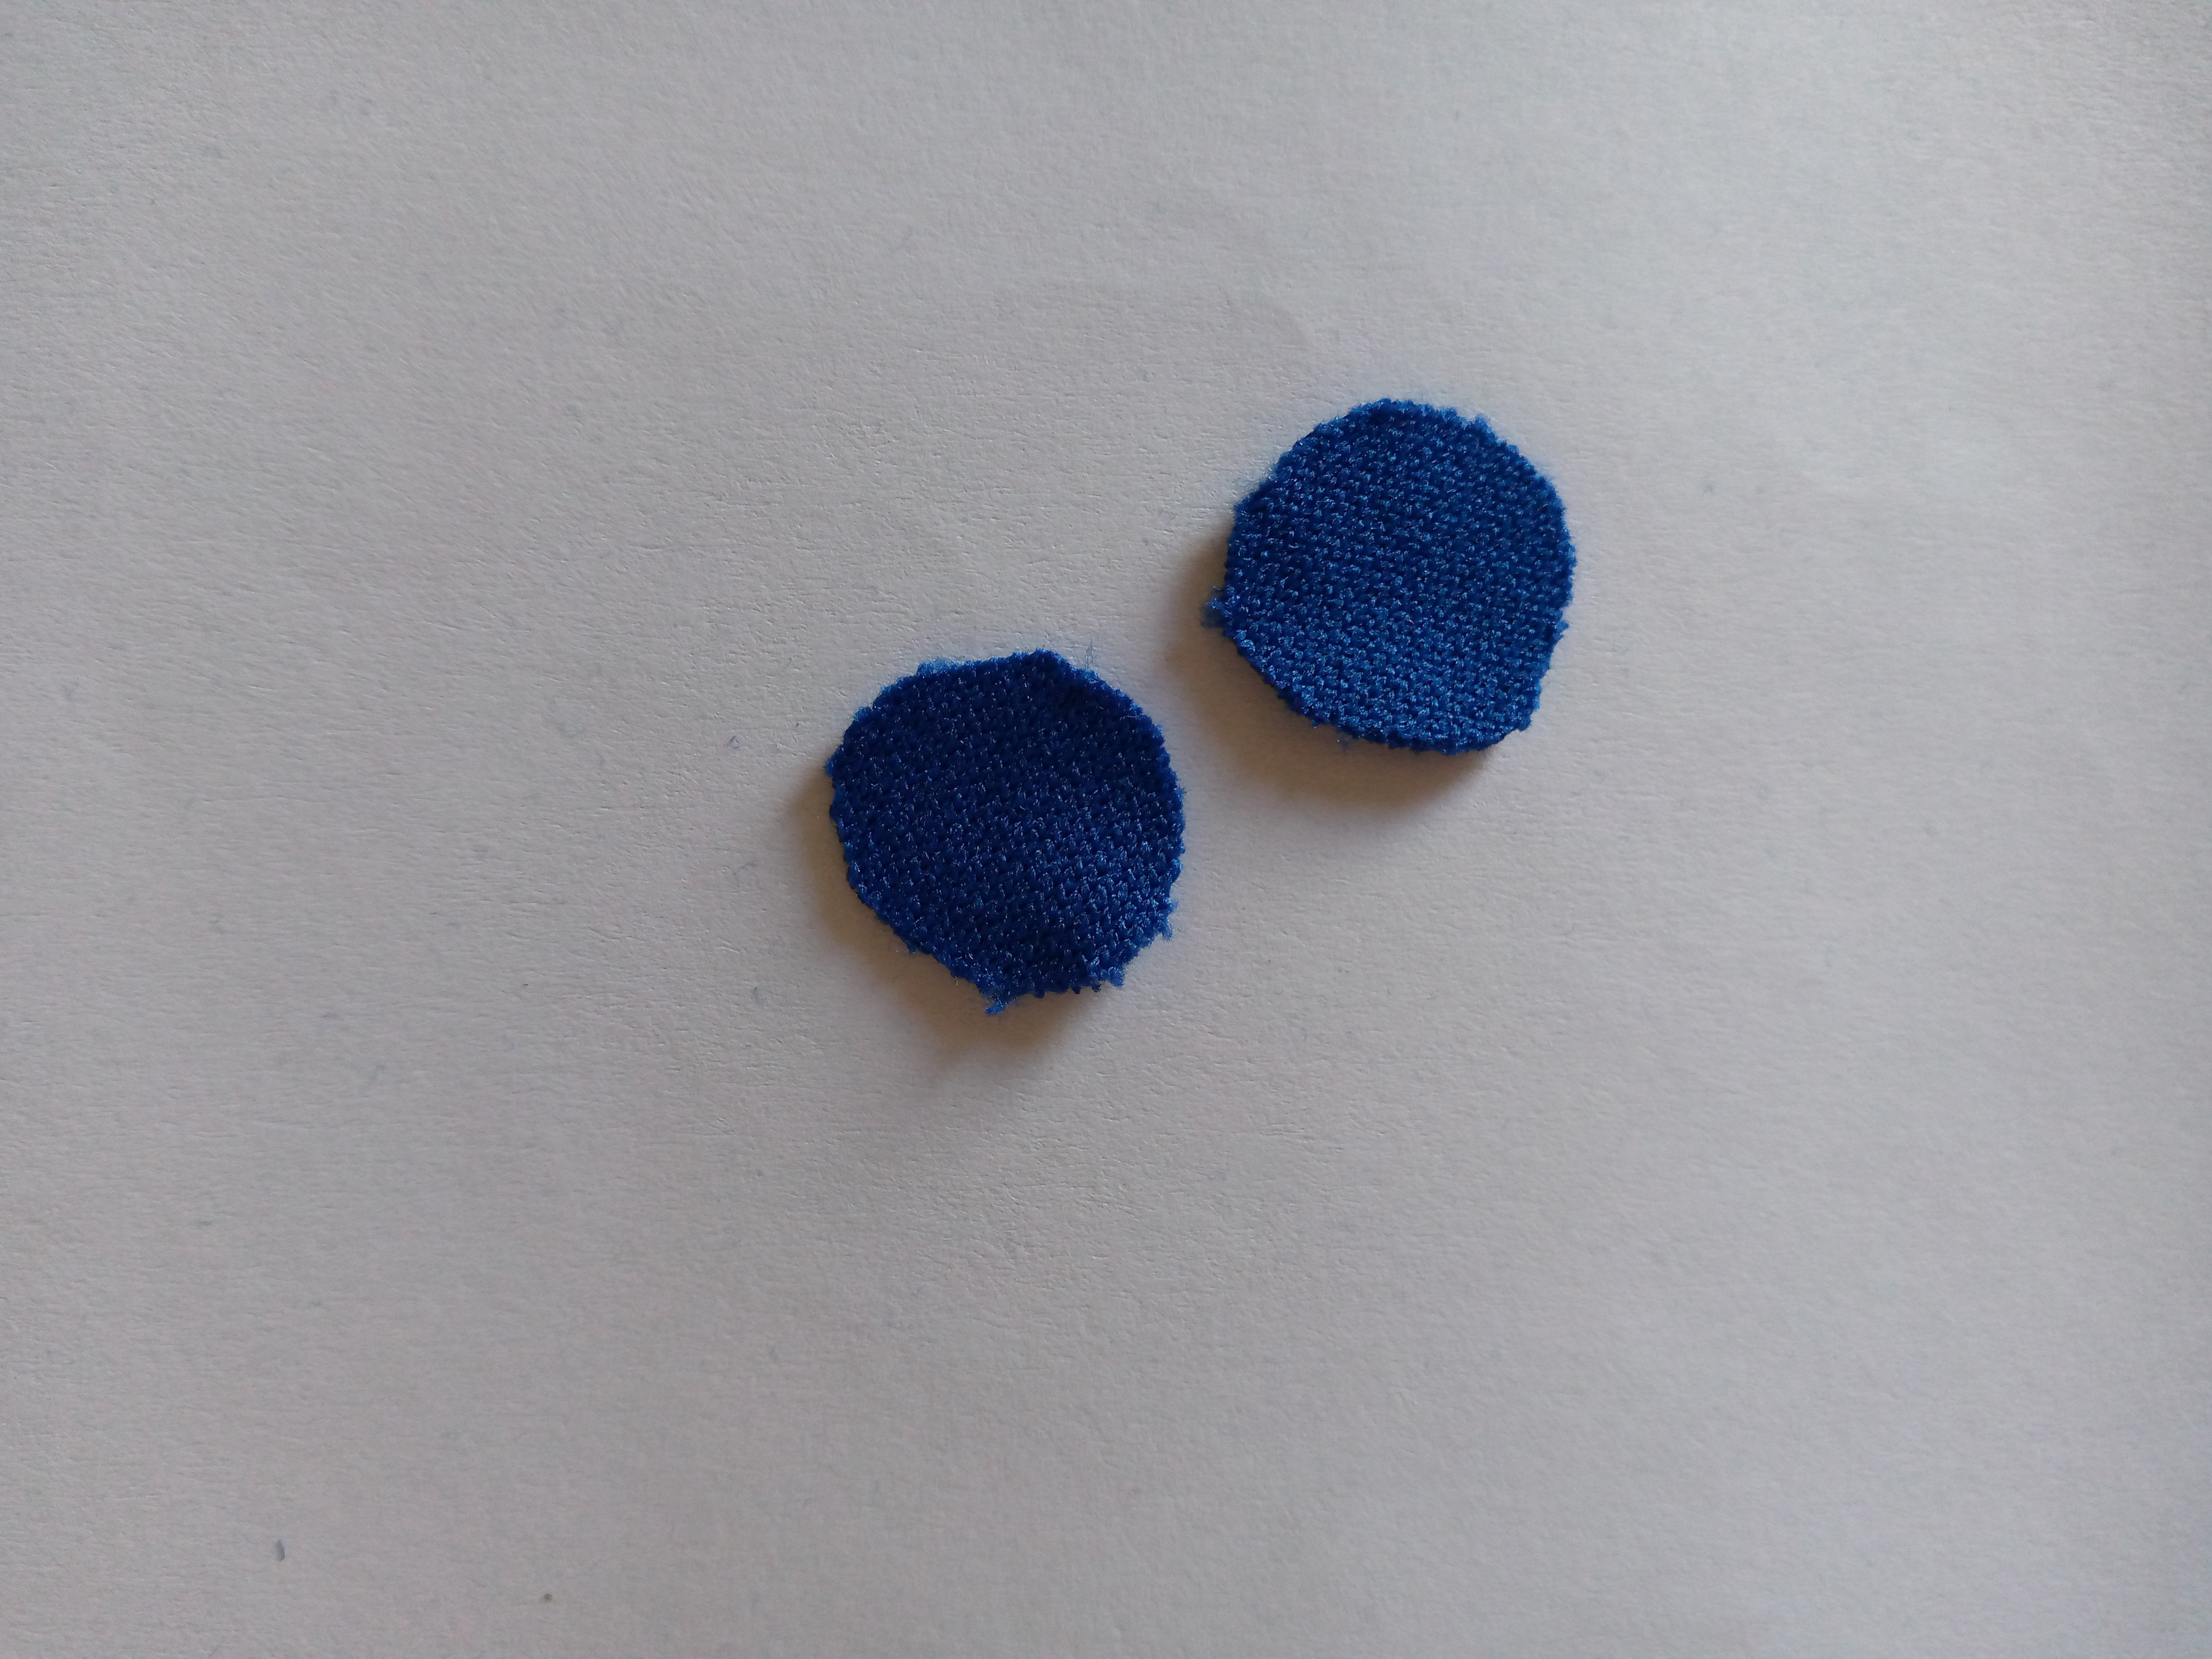
We start my friends first by cutting as you know our pieces or circles that we will be using for the earrings, this time we will cut the circles with this somewhat hard fabric that I got, of course it is not that hard but it is manageable to be able to make my petals, we will cut 10 petals from the base fabric and two from the shiny fabric of your preference, also with shiny tulle fabric I cut two rectangles, we will use these to gather them and decorate the bottom of the earring when we place the flower, the idea is to glue it under it to give it a more open effect.

.jpg)
Paso 02
Step 02
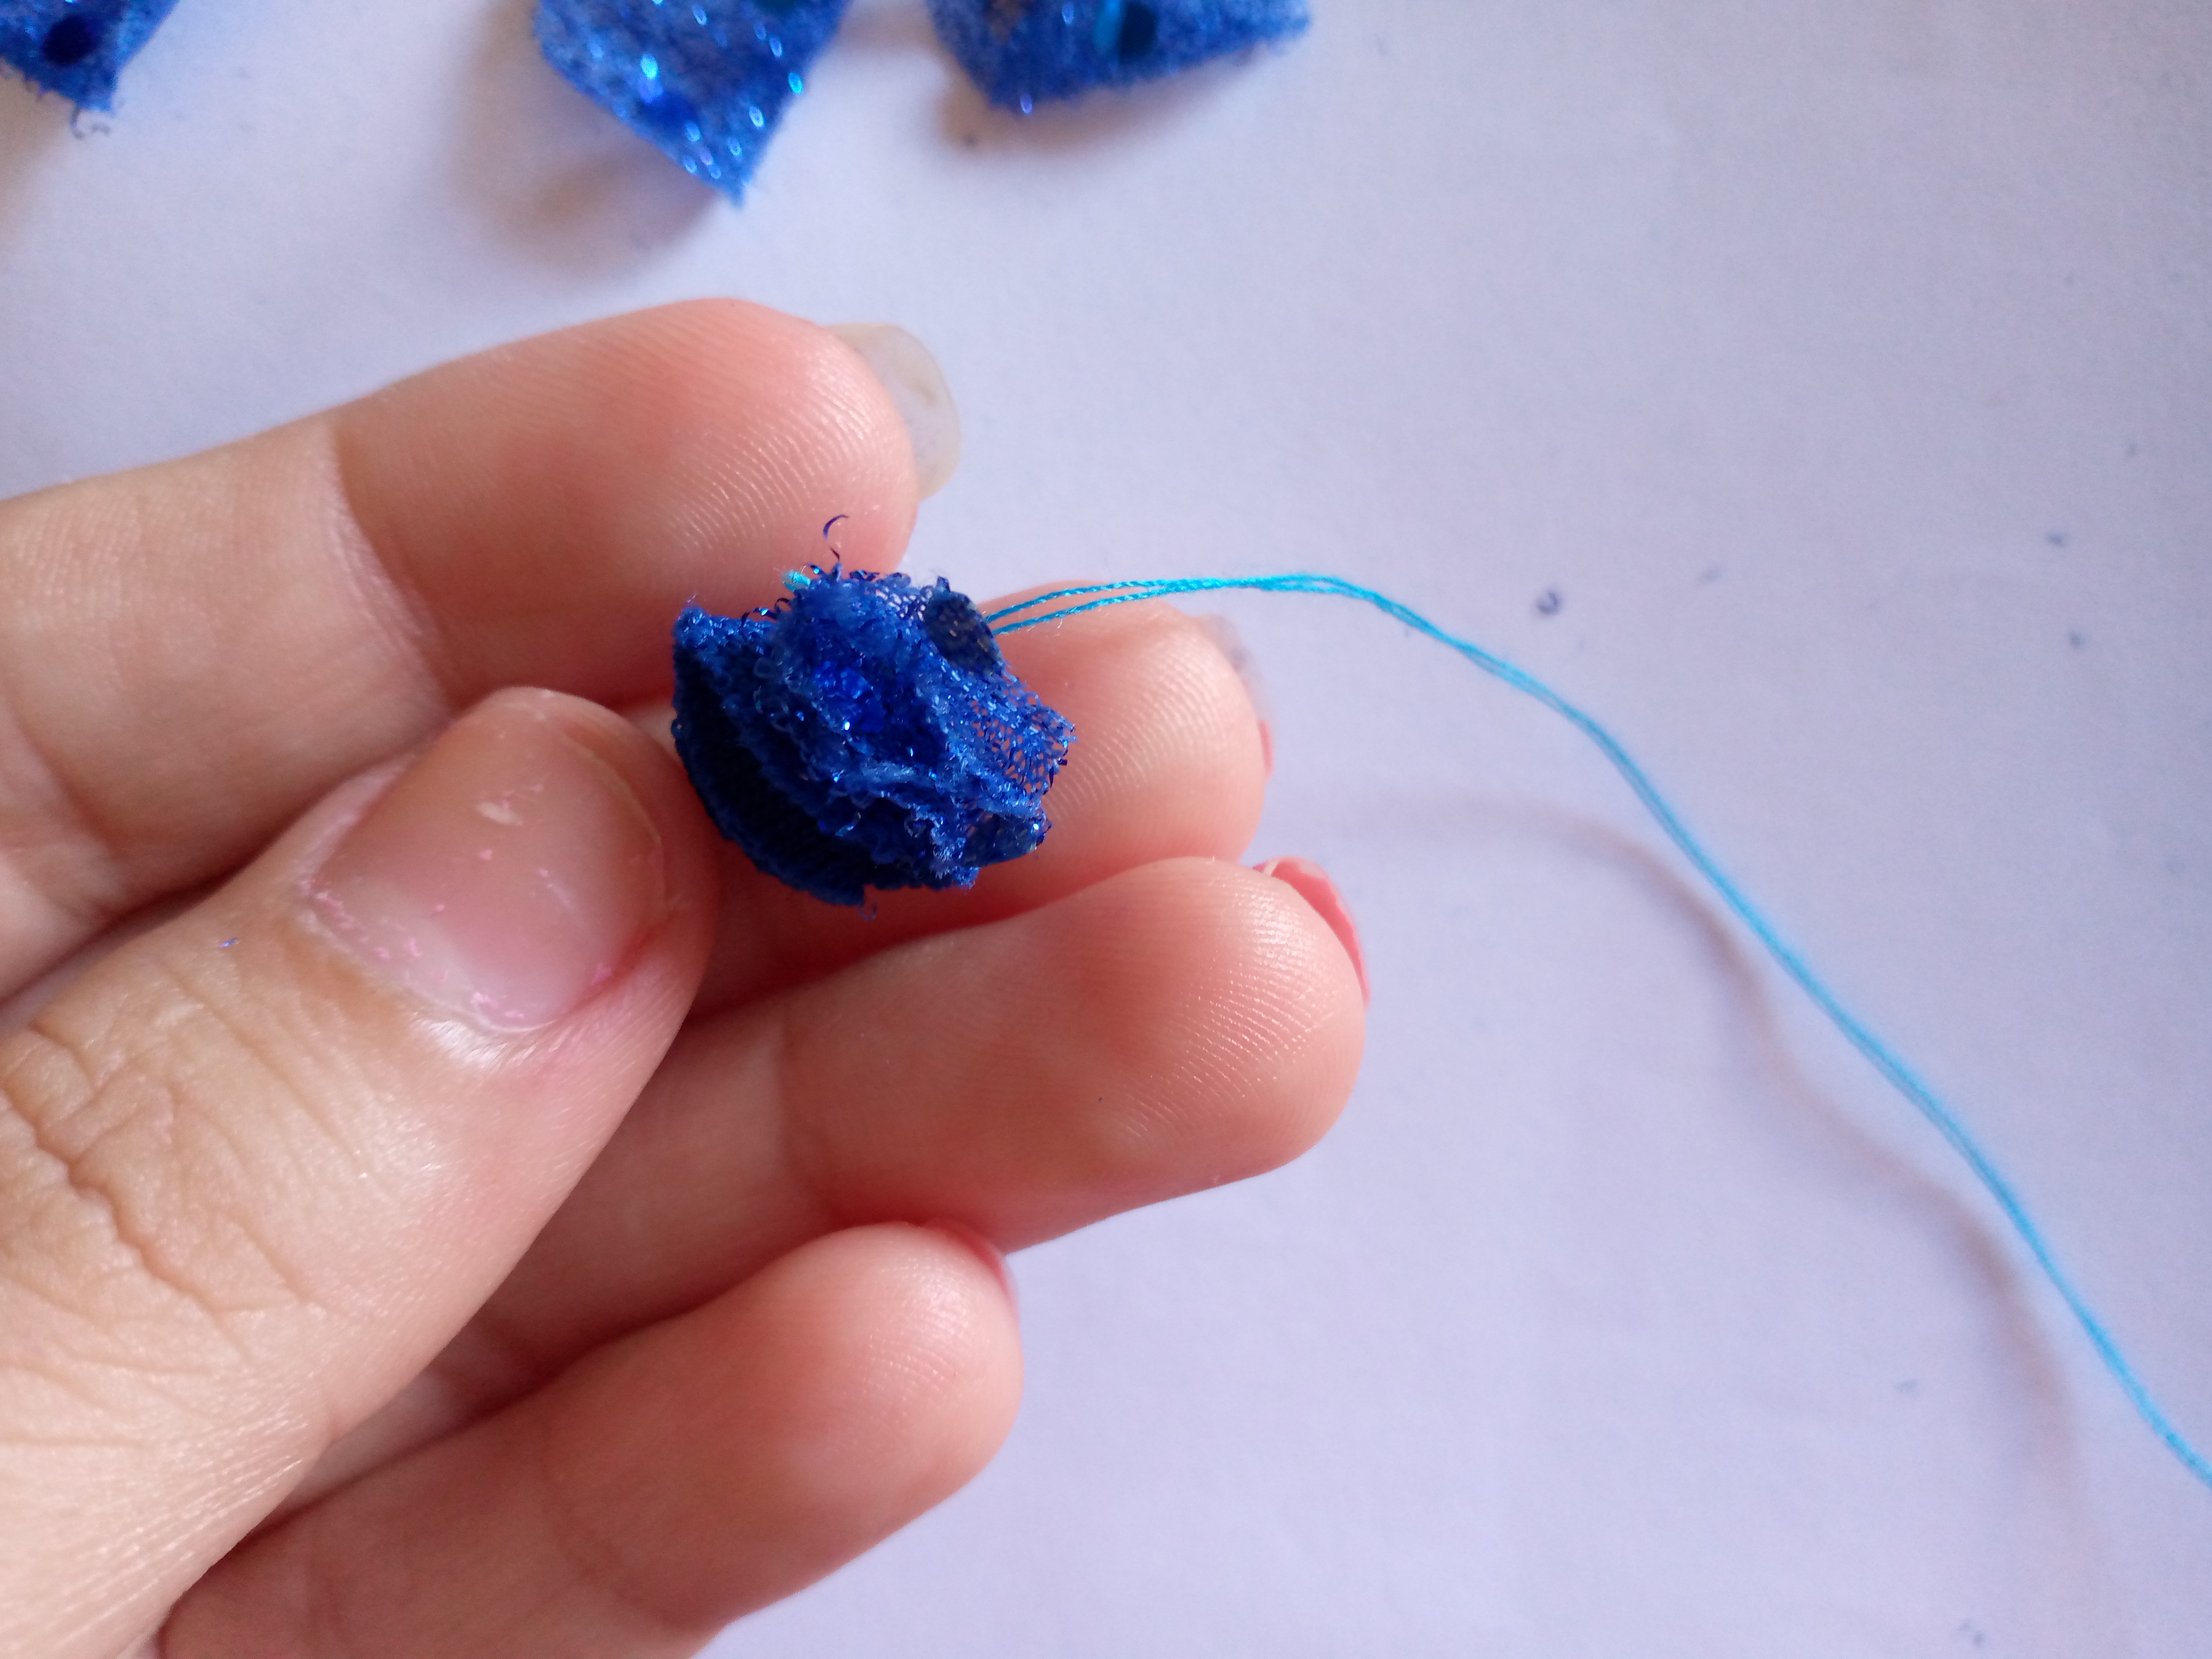
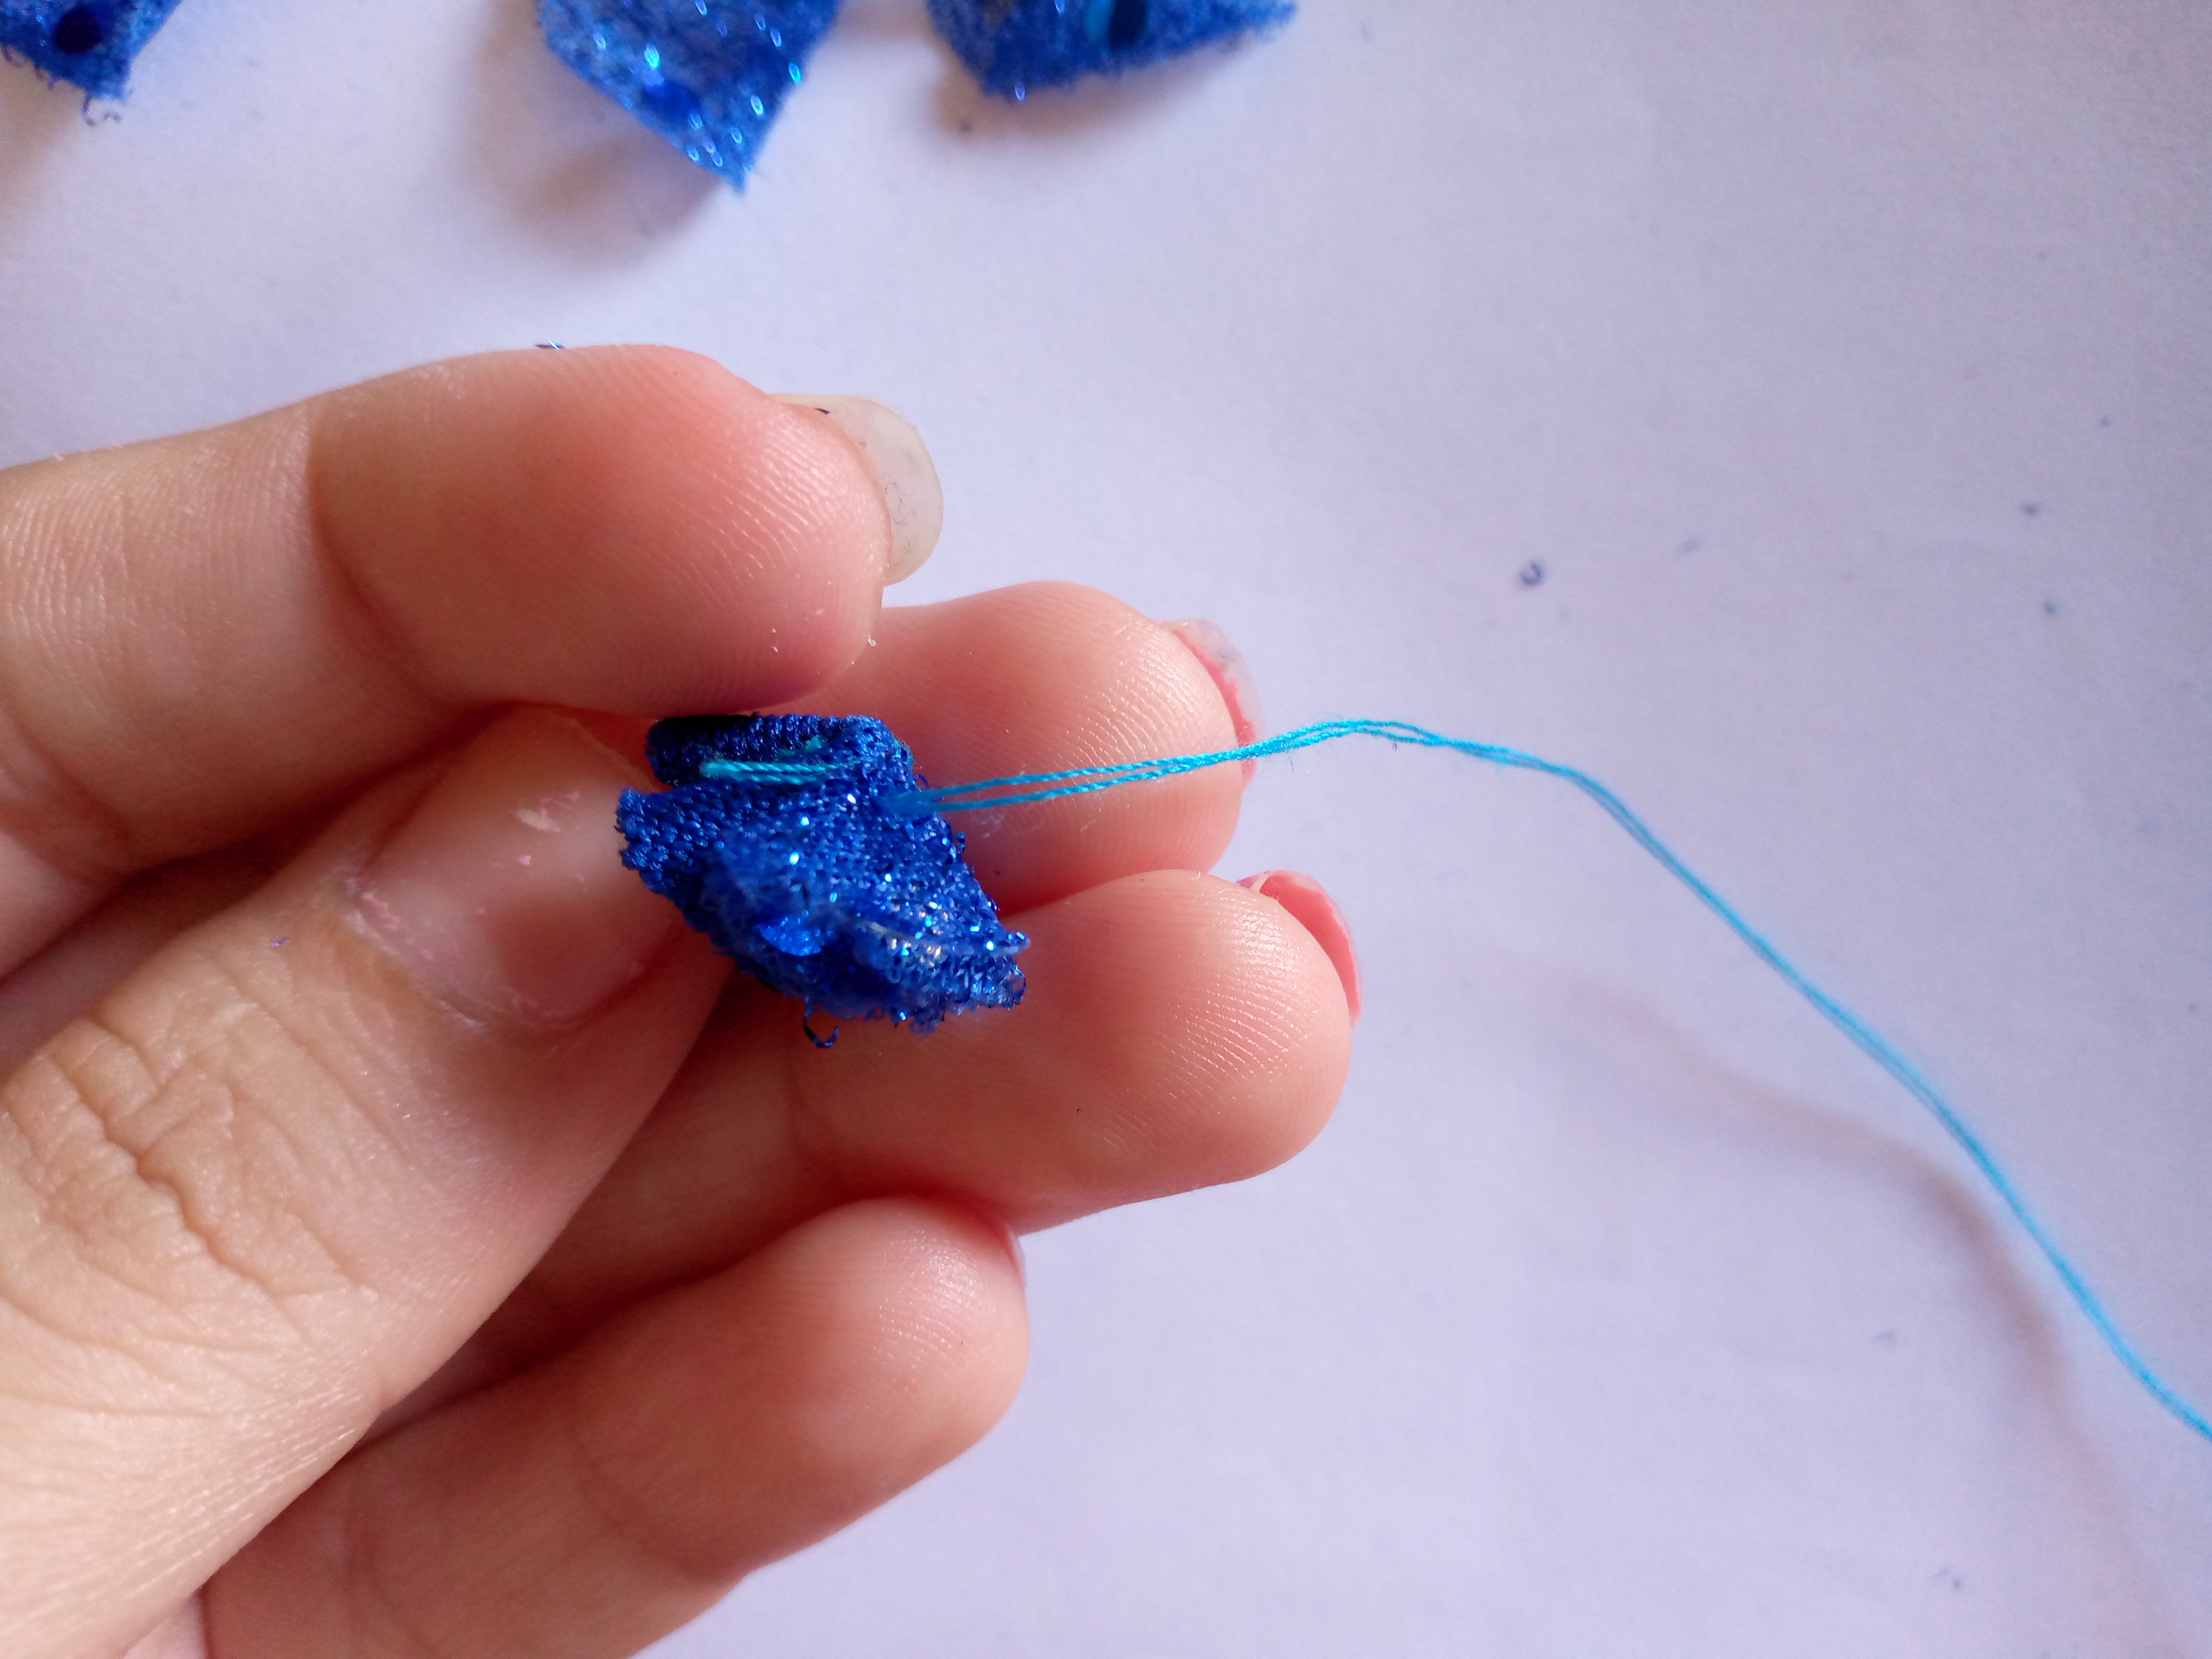
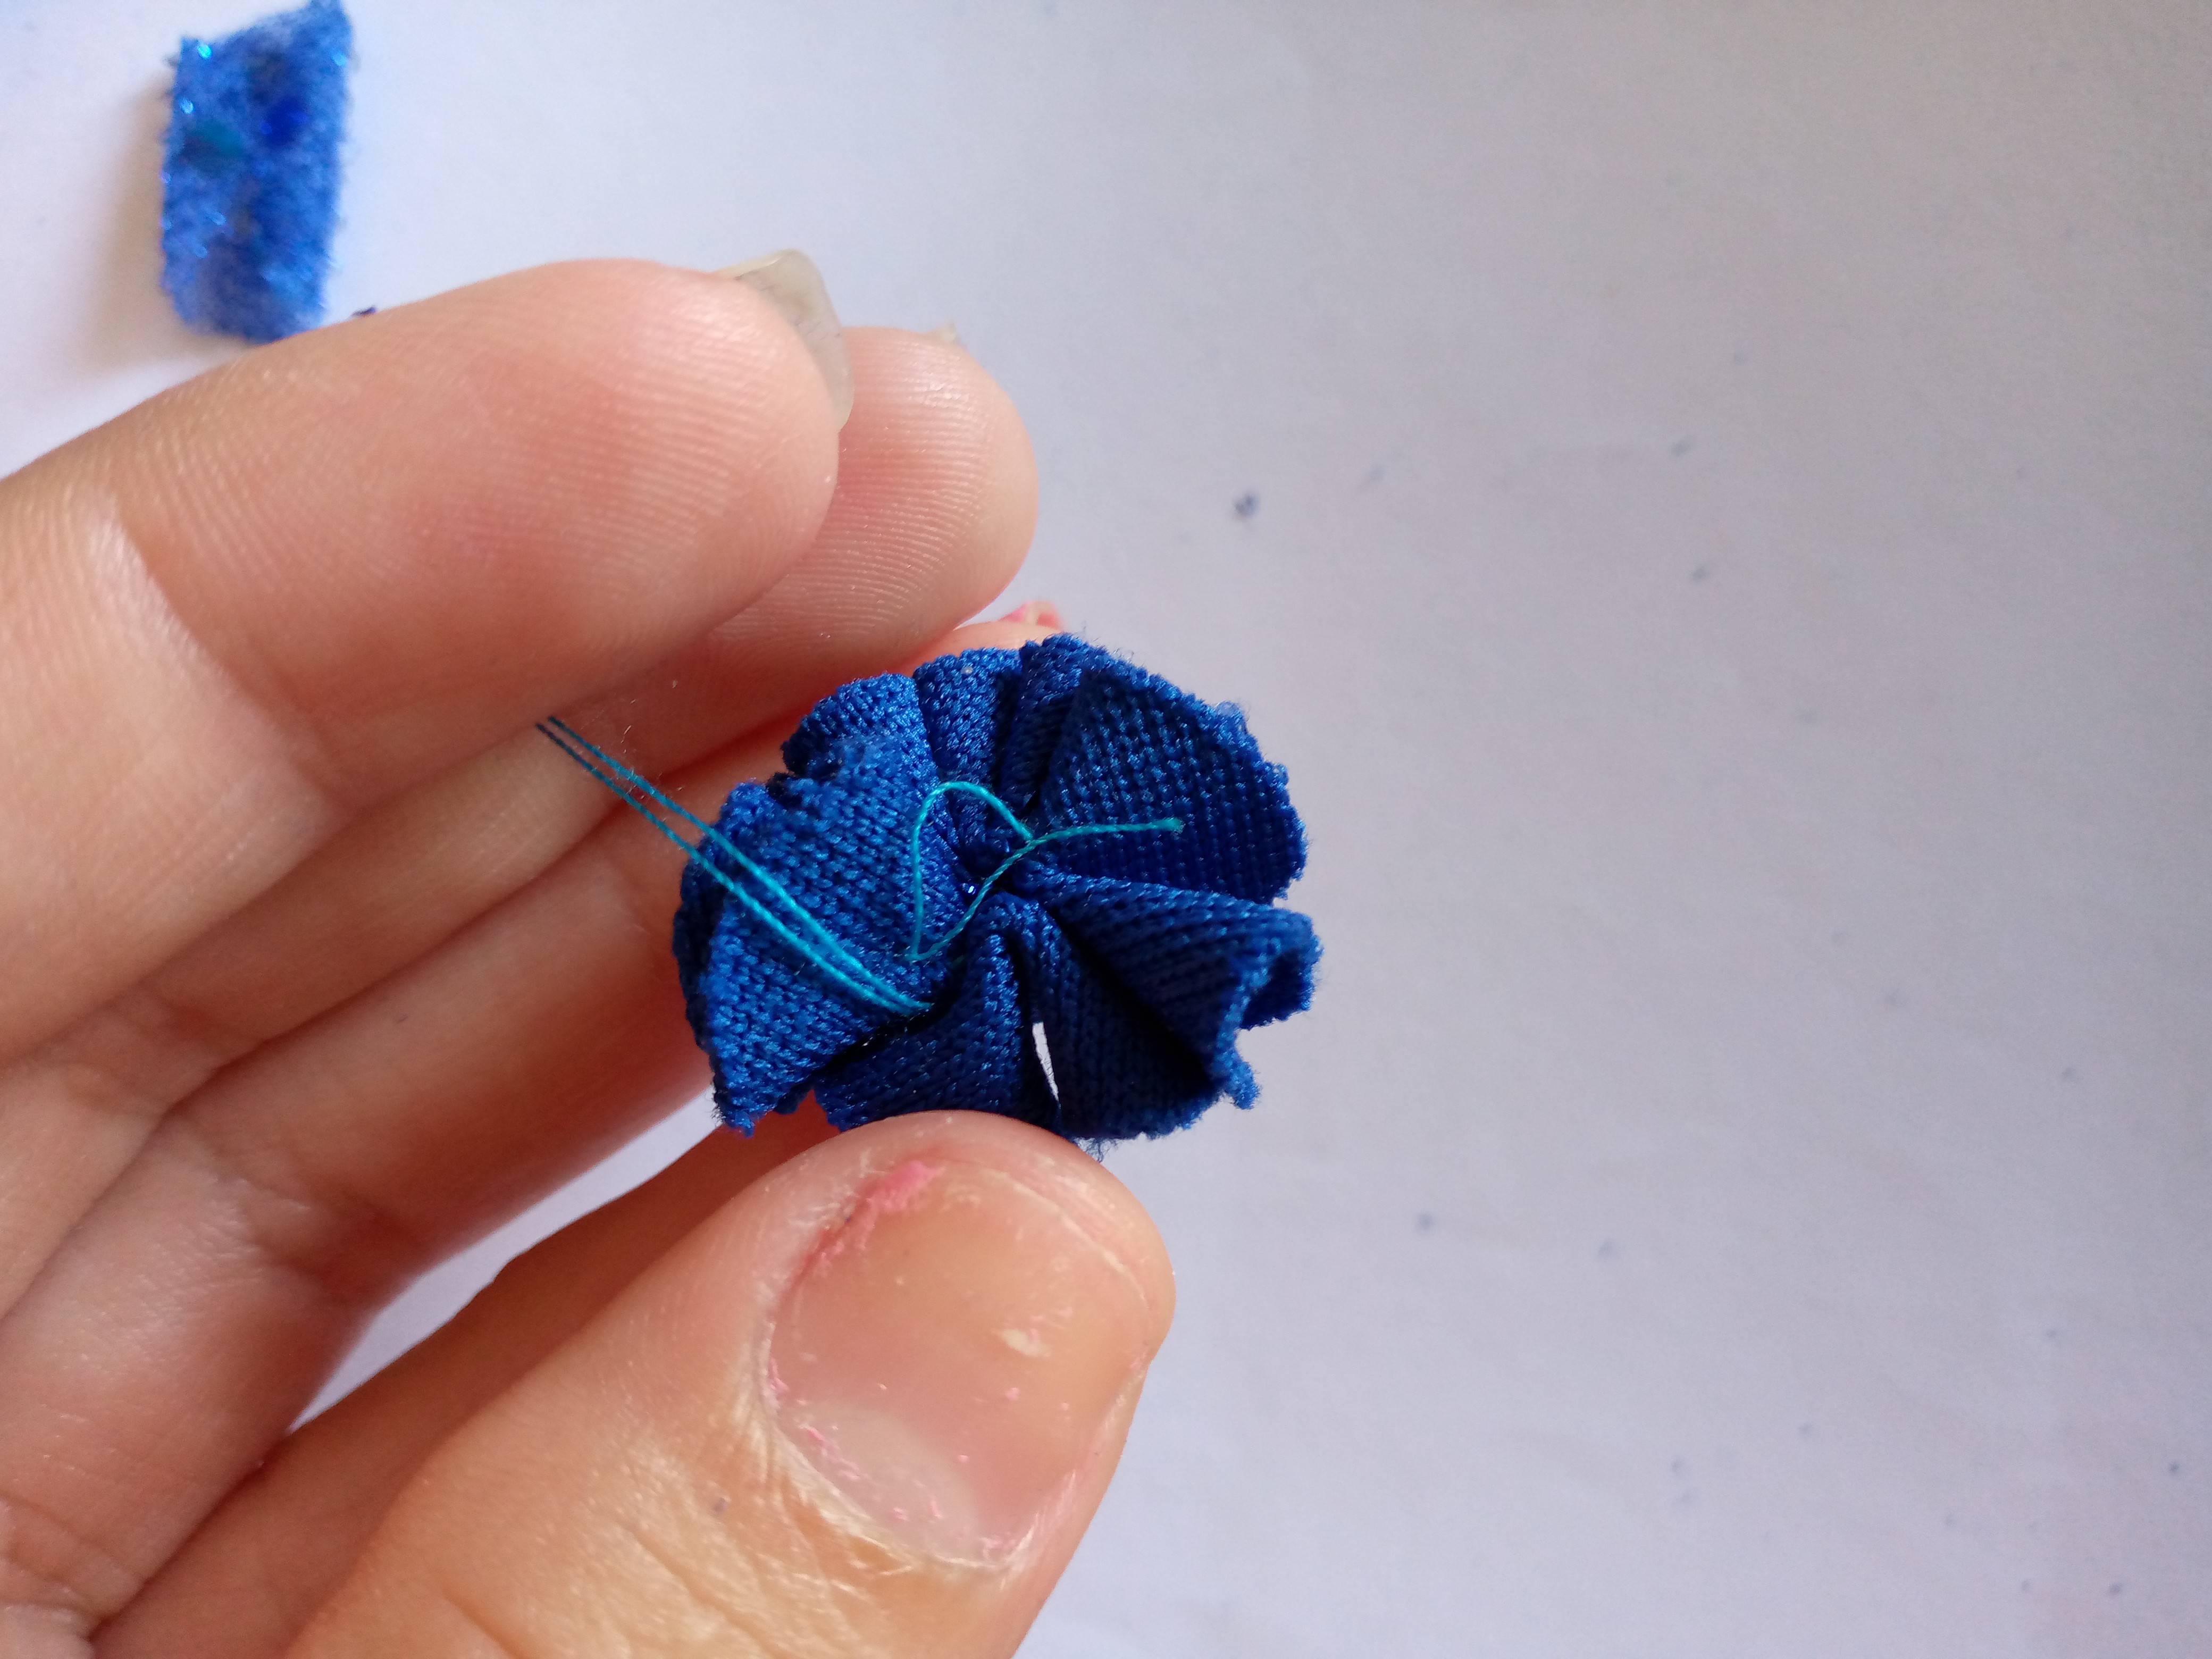
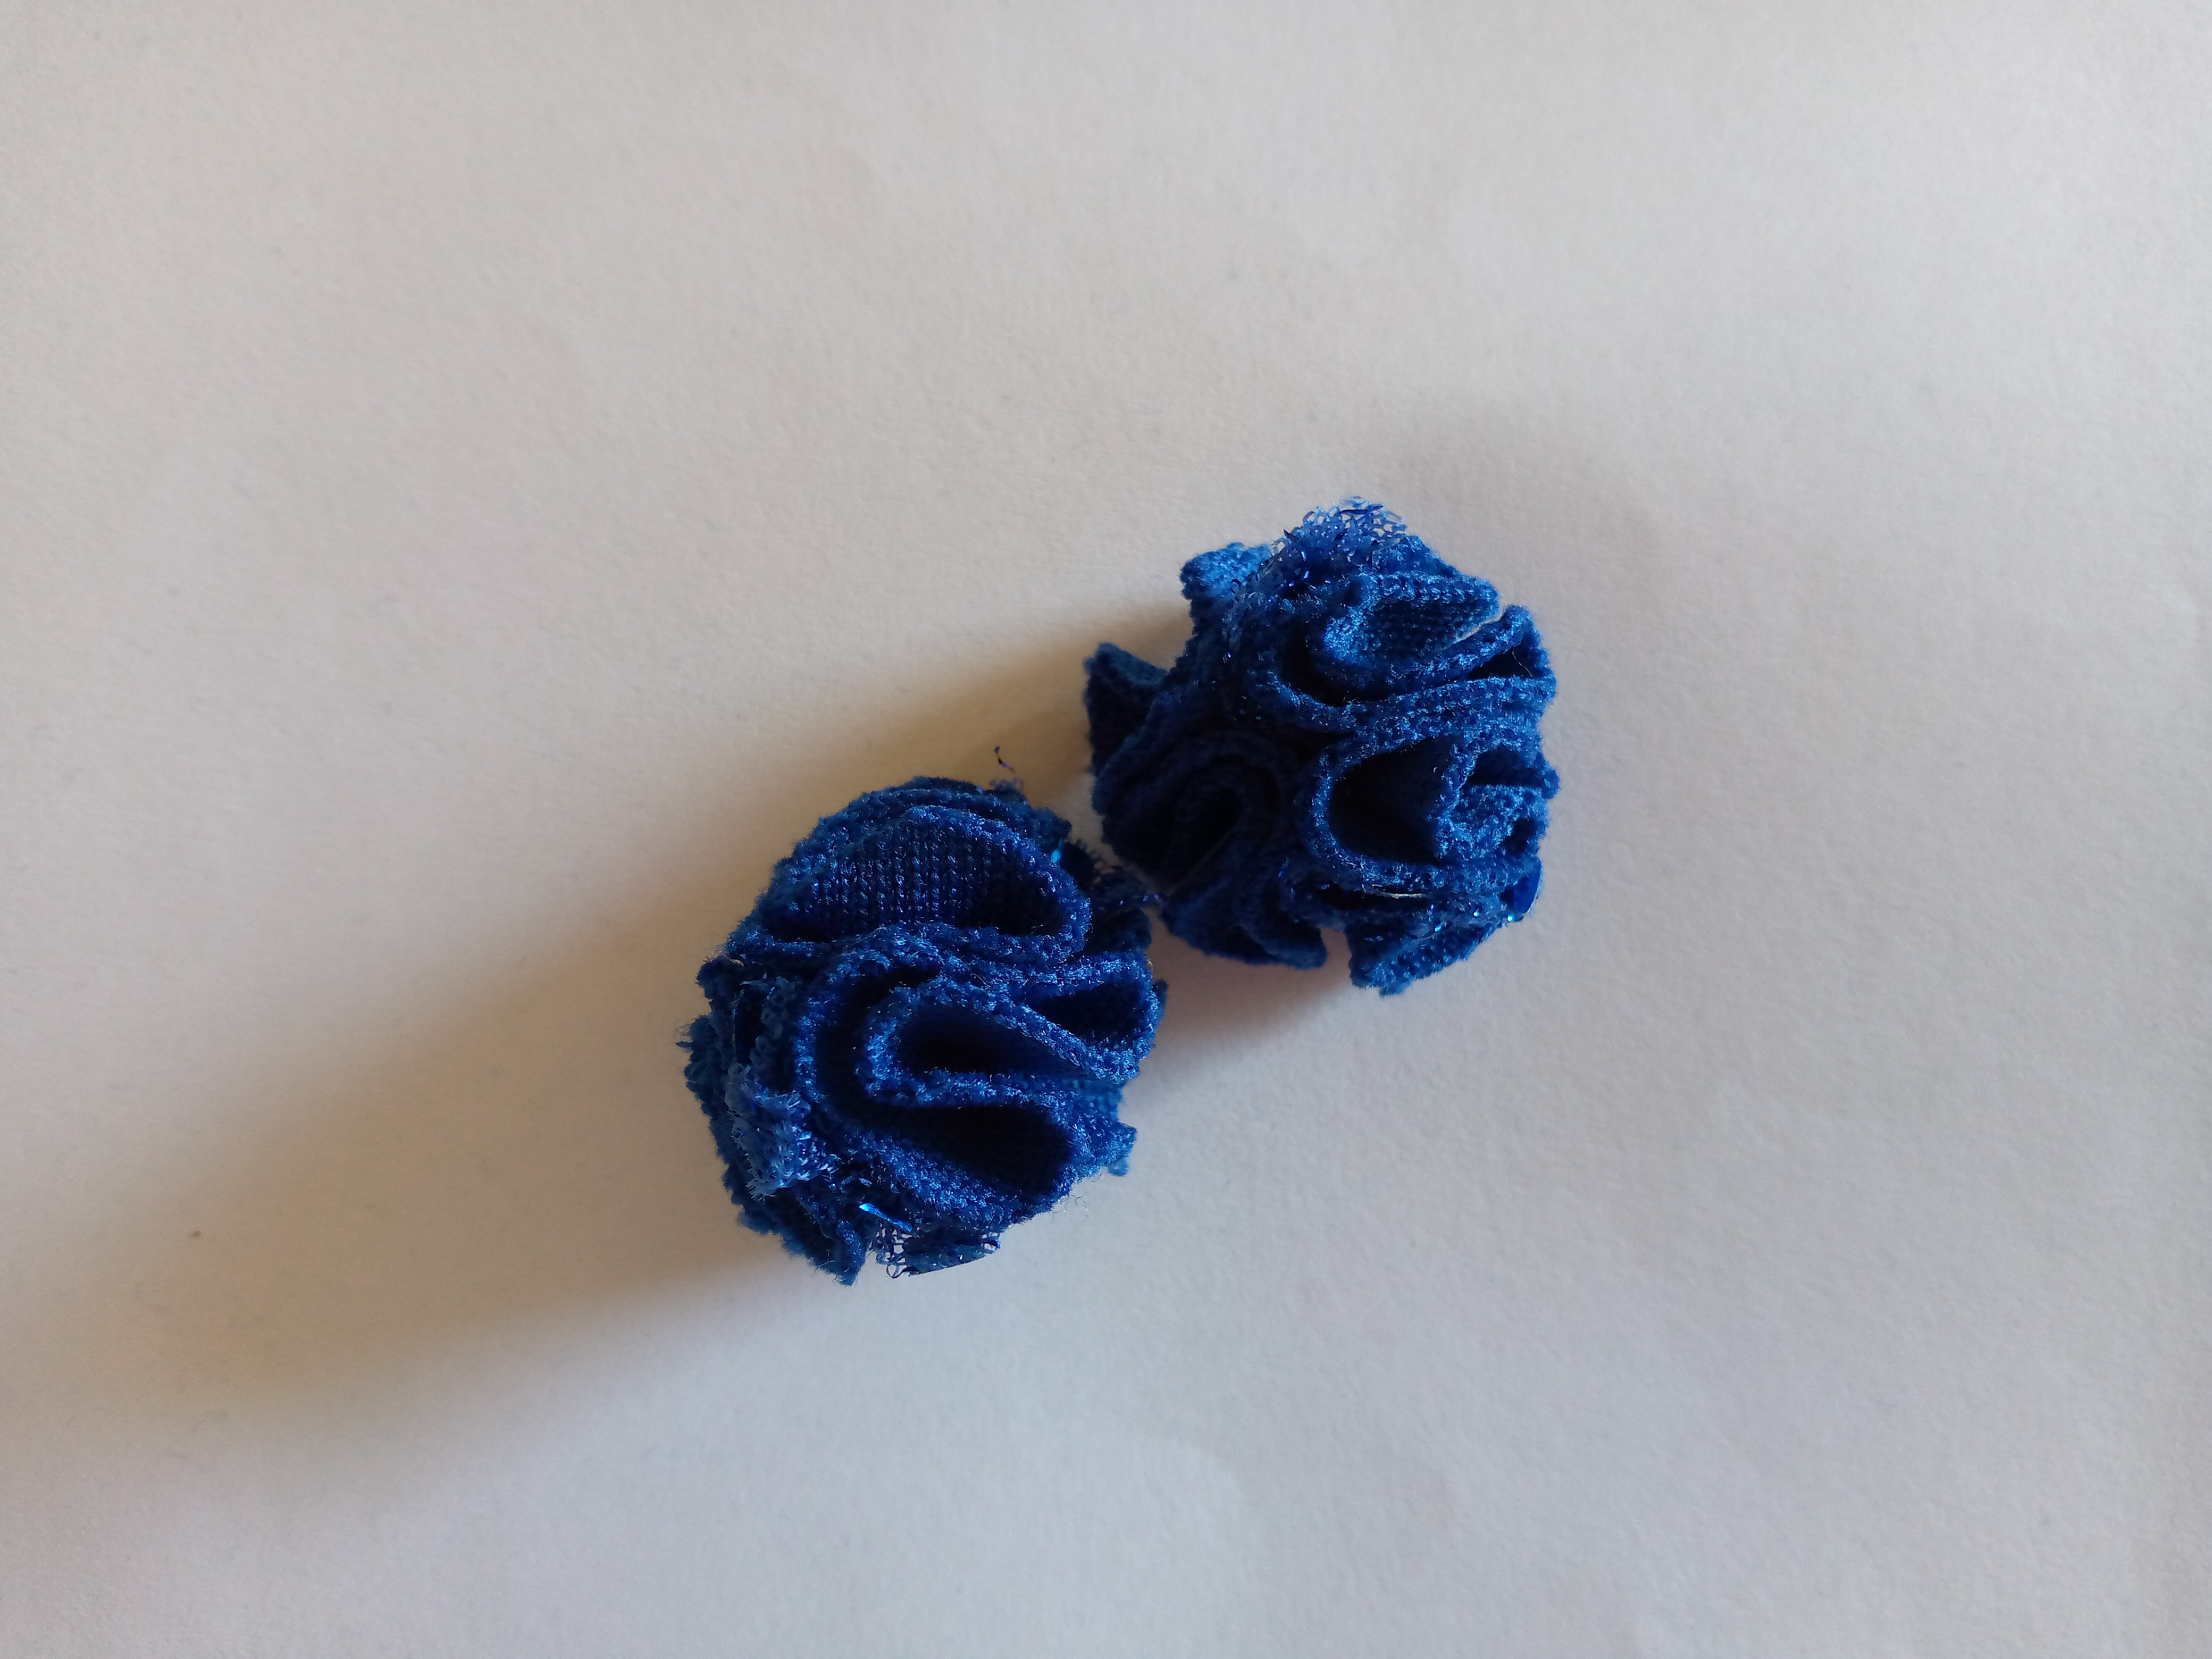
We will then fold each petal twice, first in half, then fold again to form a kind of triangle and then I will sew the first one and insert a second petal of shiny fabric and two of normal fabric, then another shiny one and finish with the two of normal fabric. While we fold the petals we insert them to the thread with the needle to form the rose, then we easily roll the petals in a single turn and that is how we have our small roses.

Paso 03
Step 03
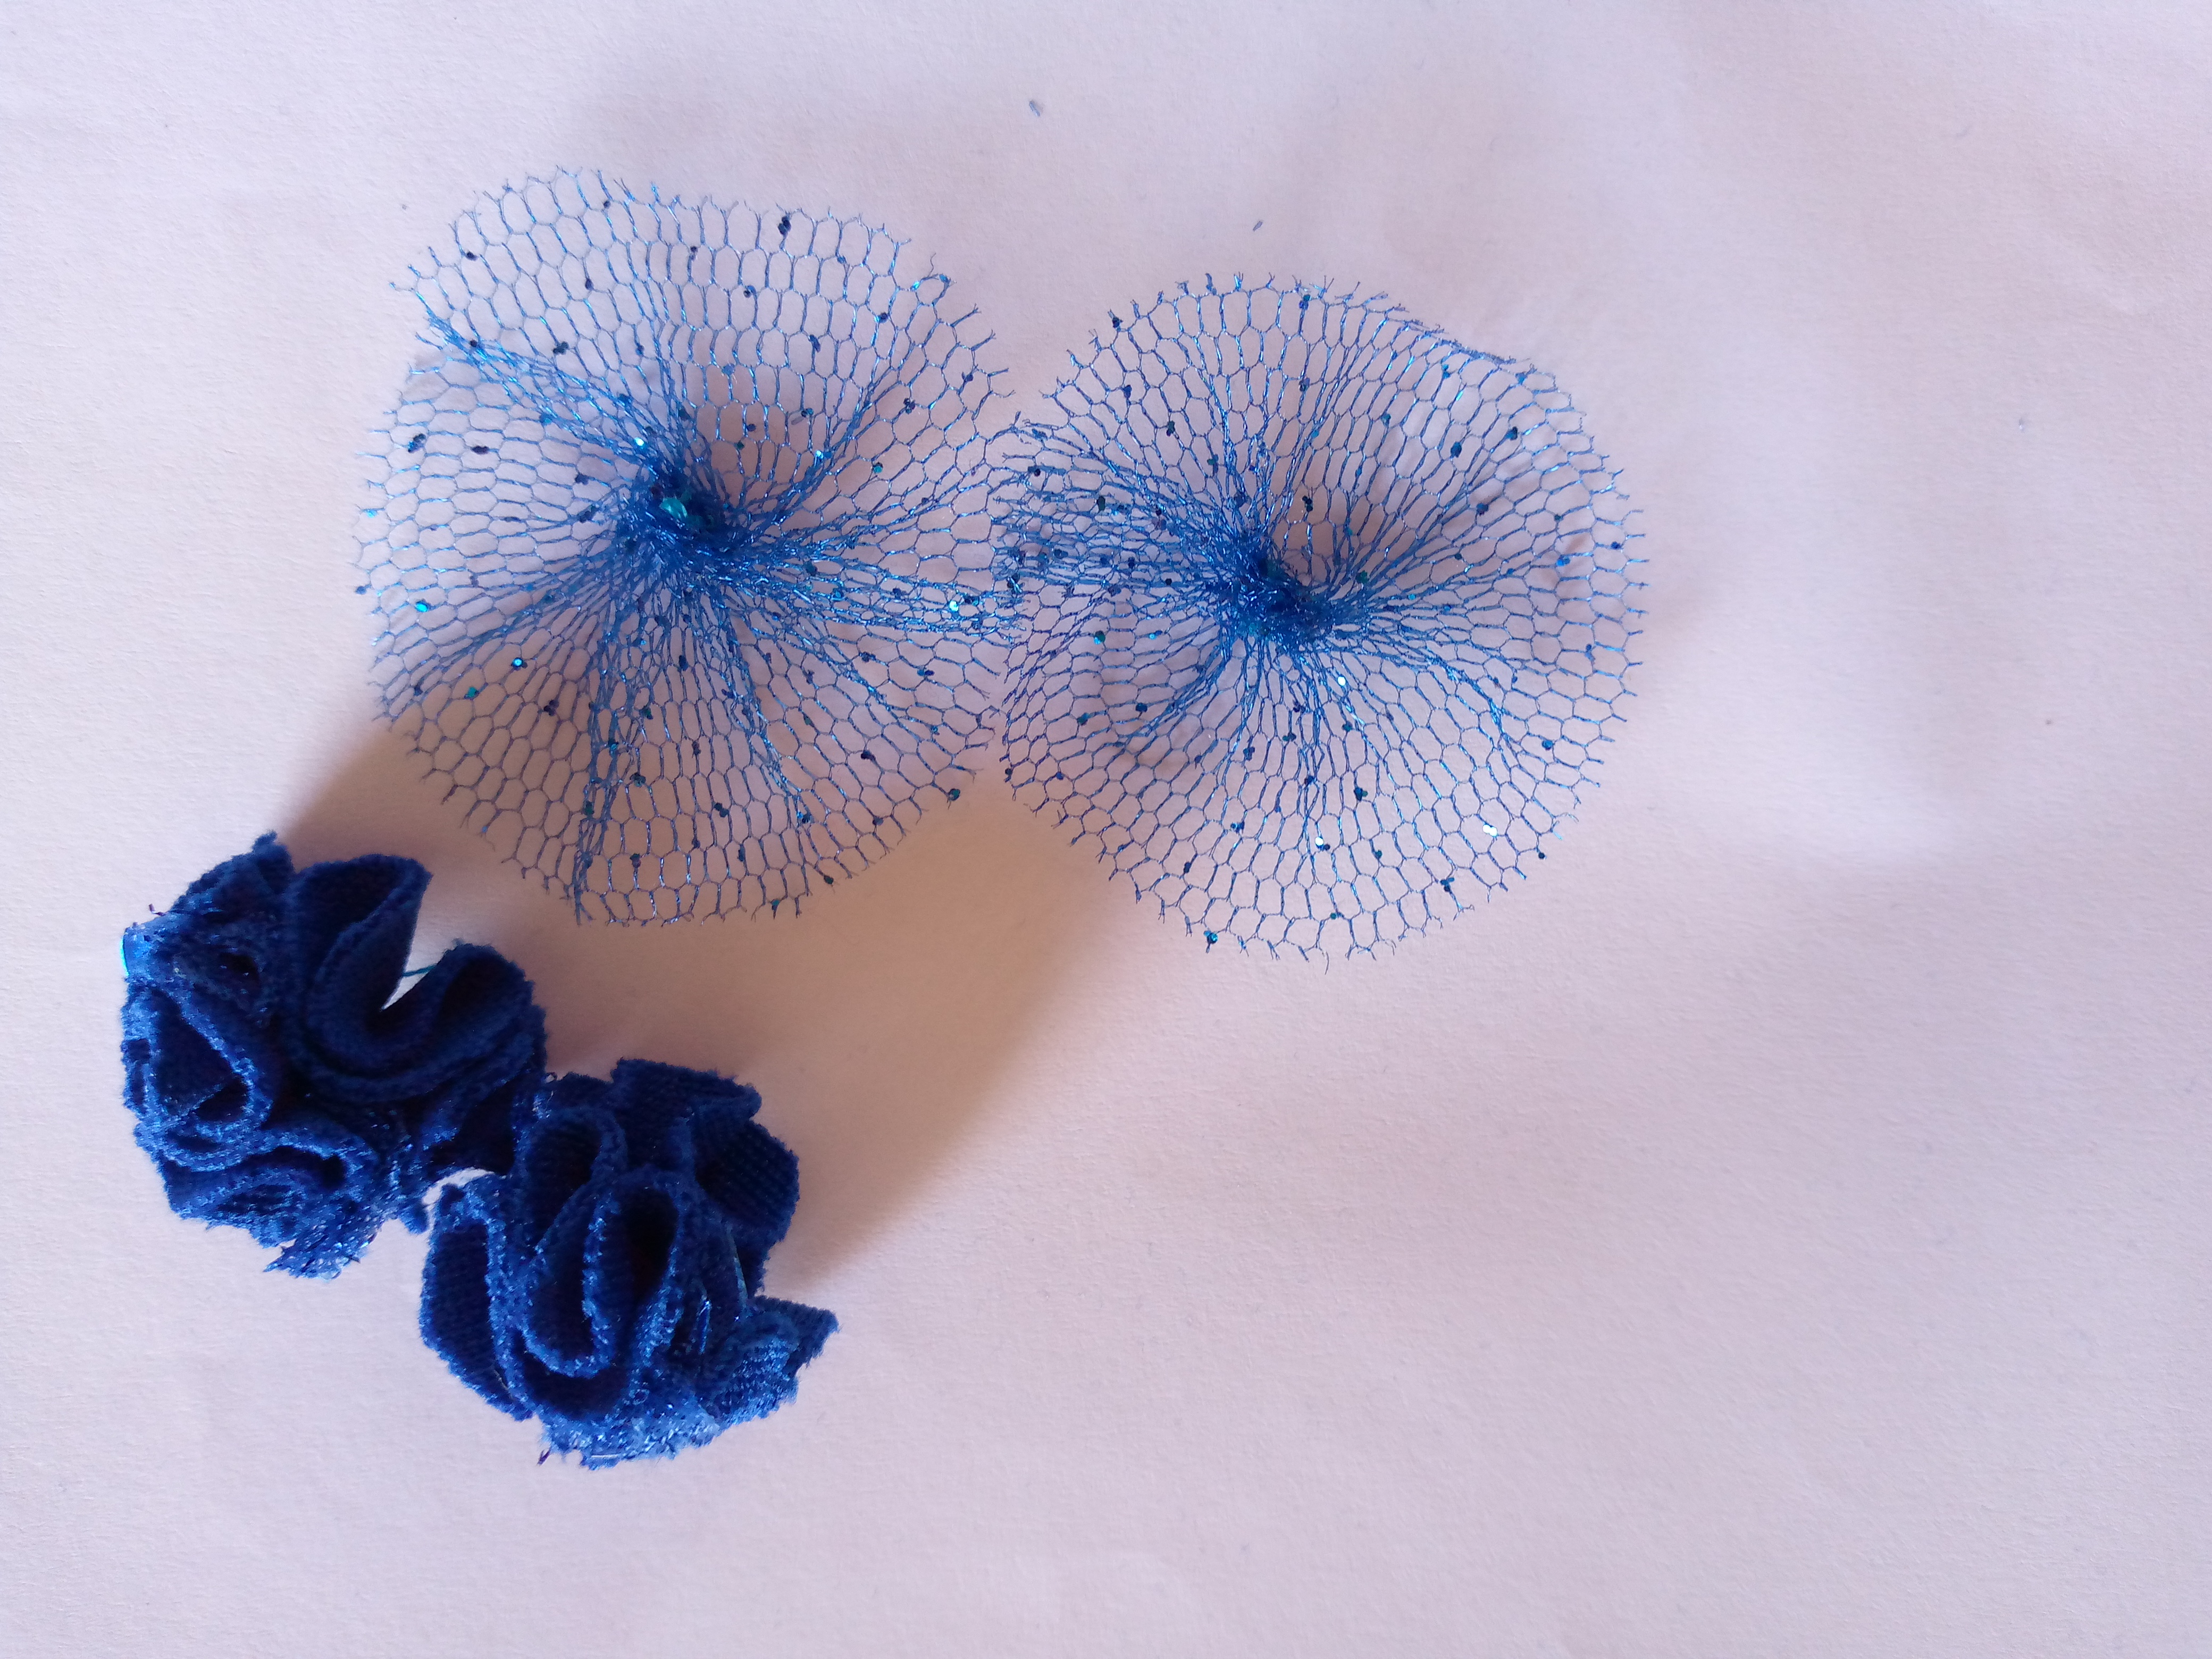
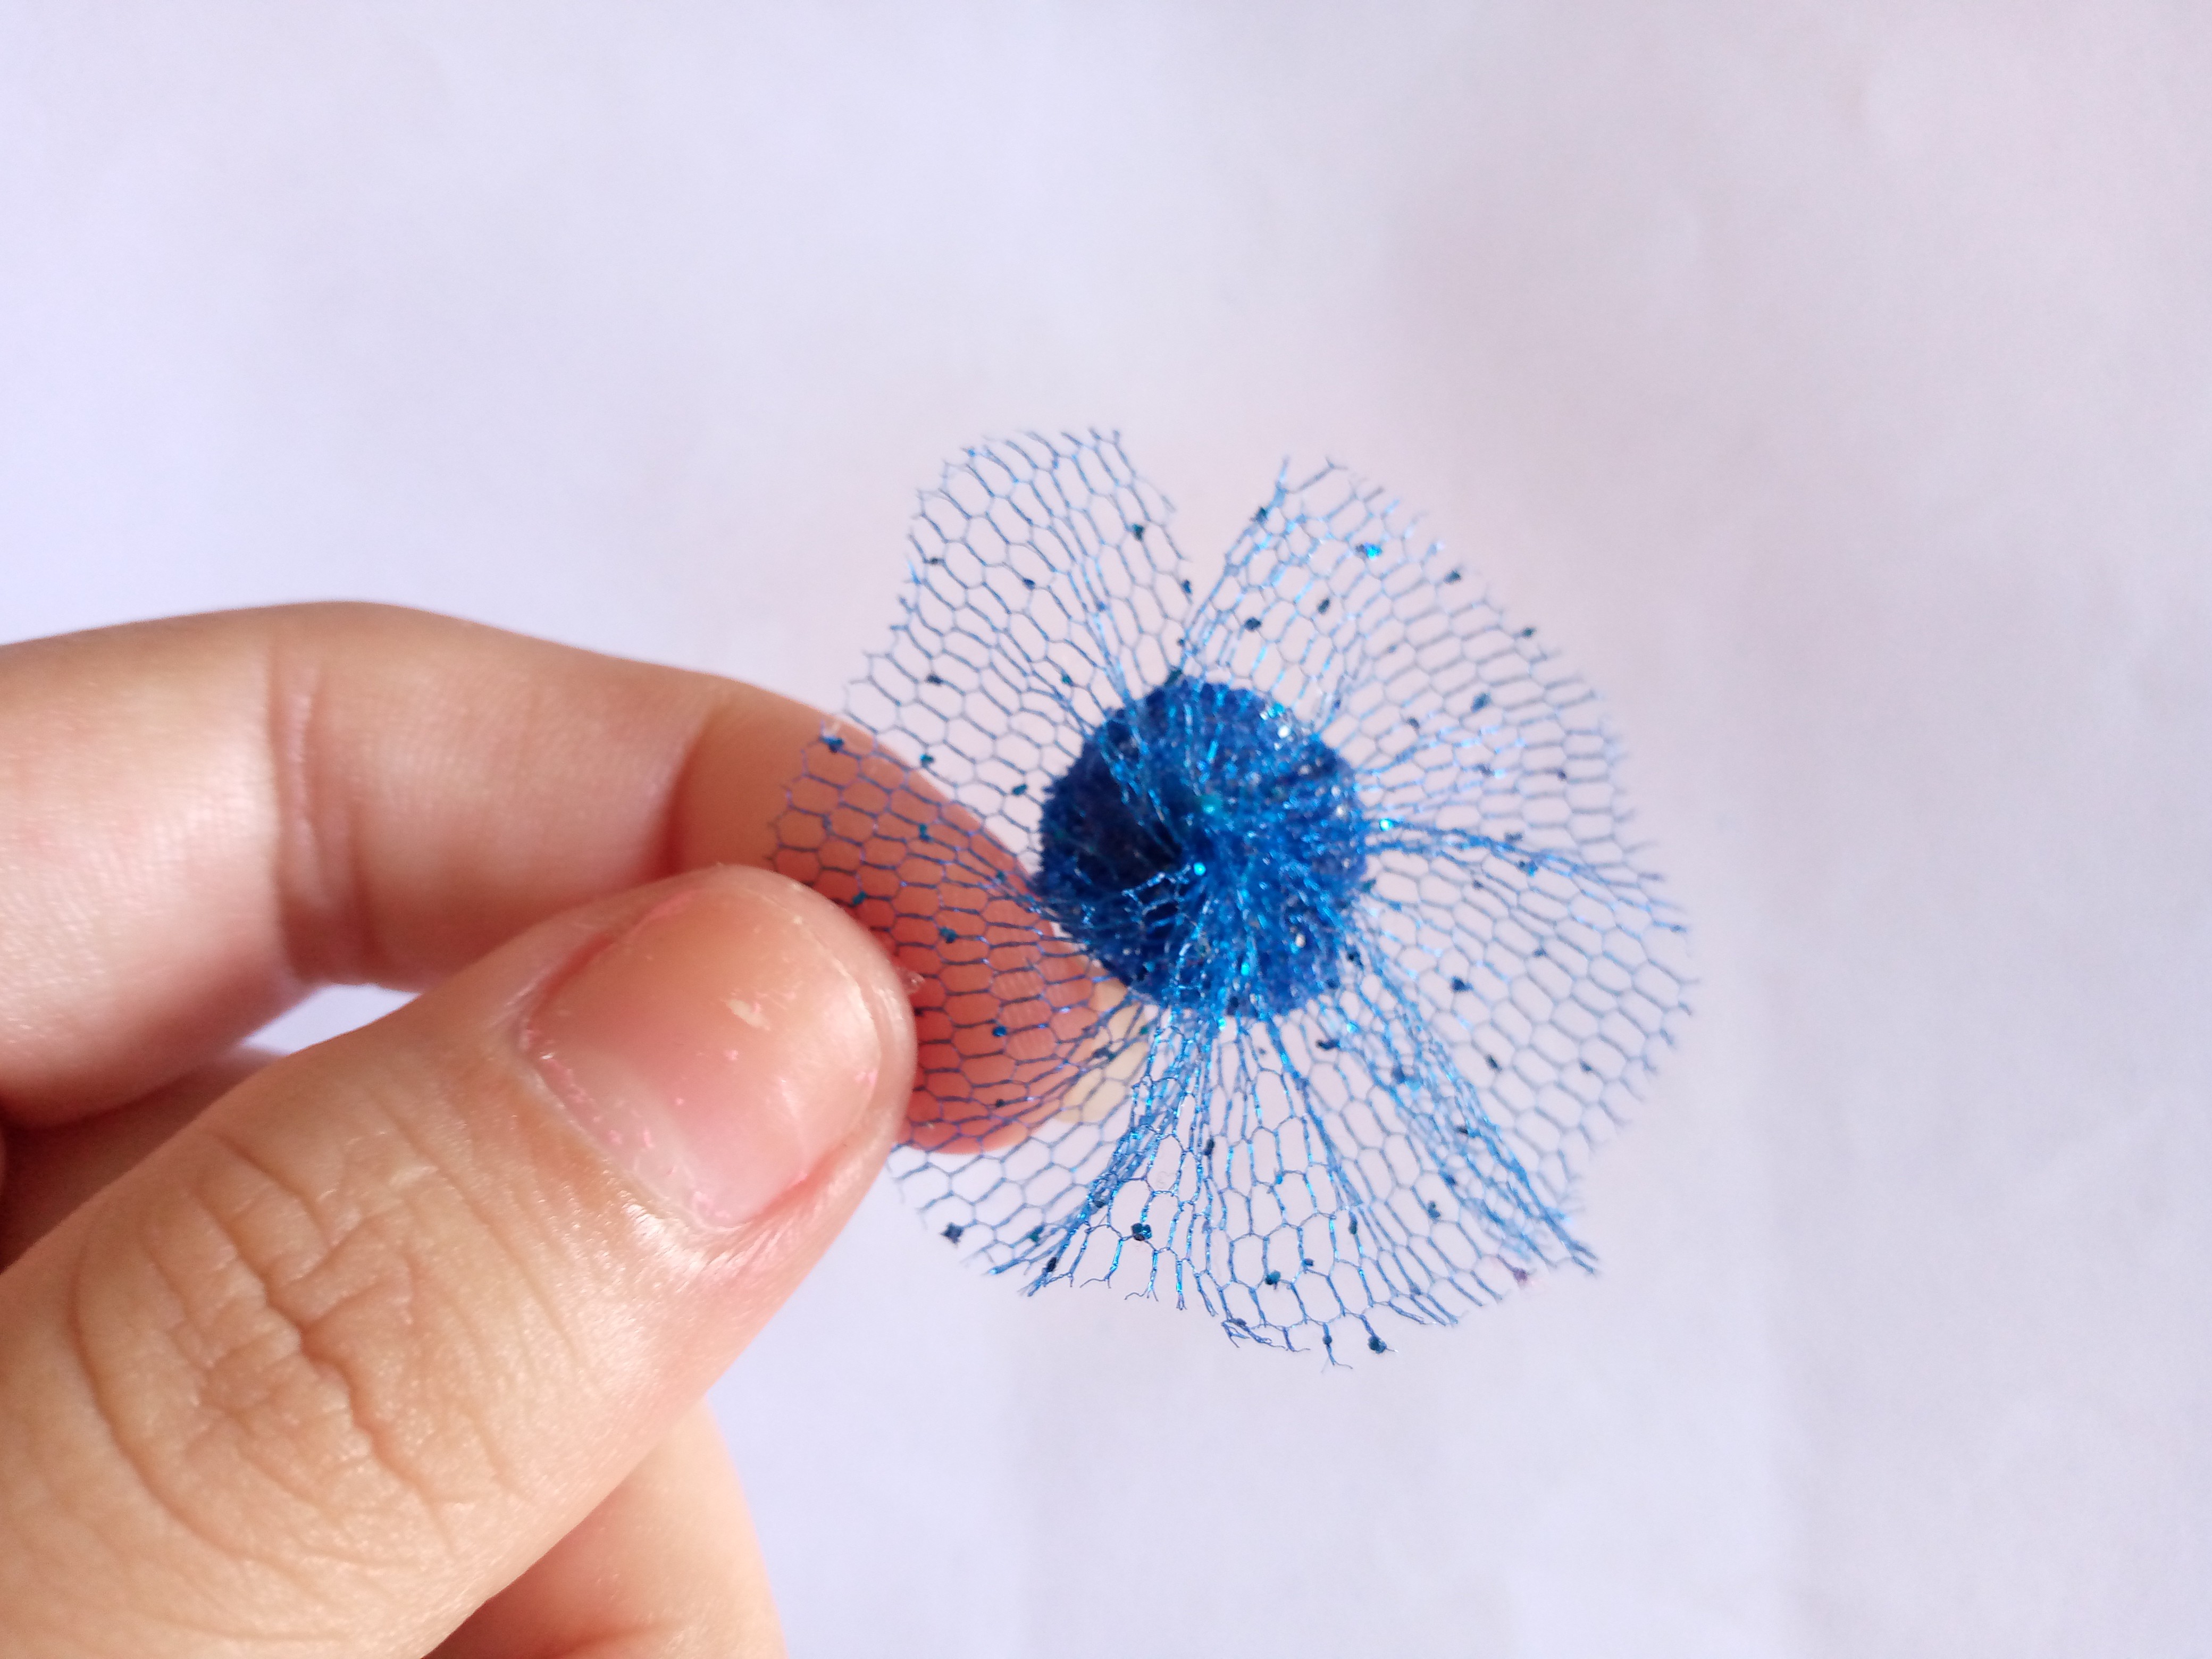
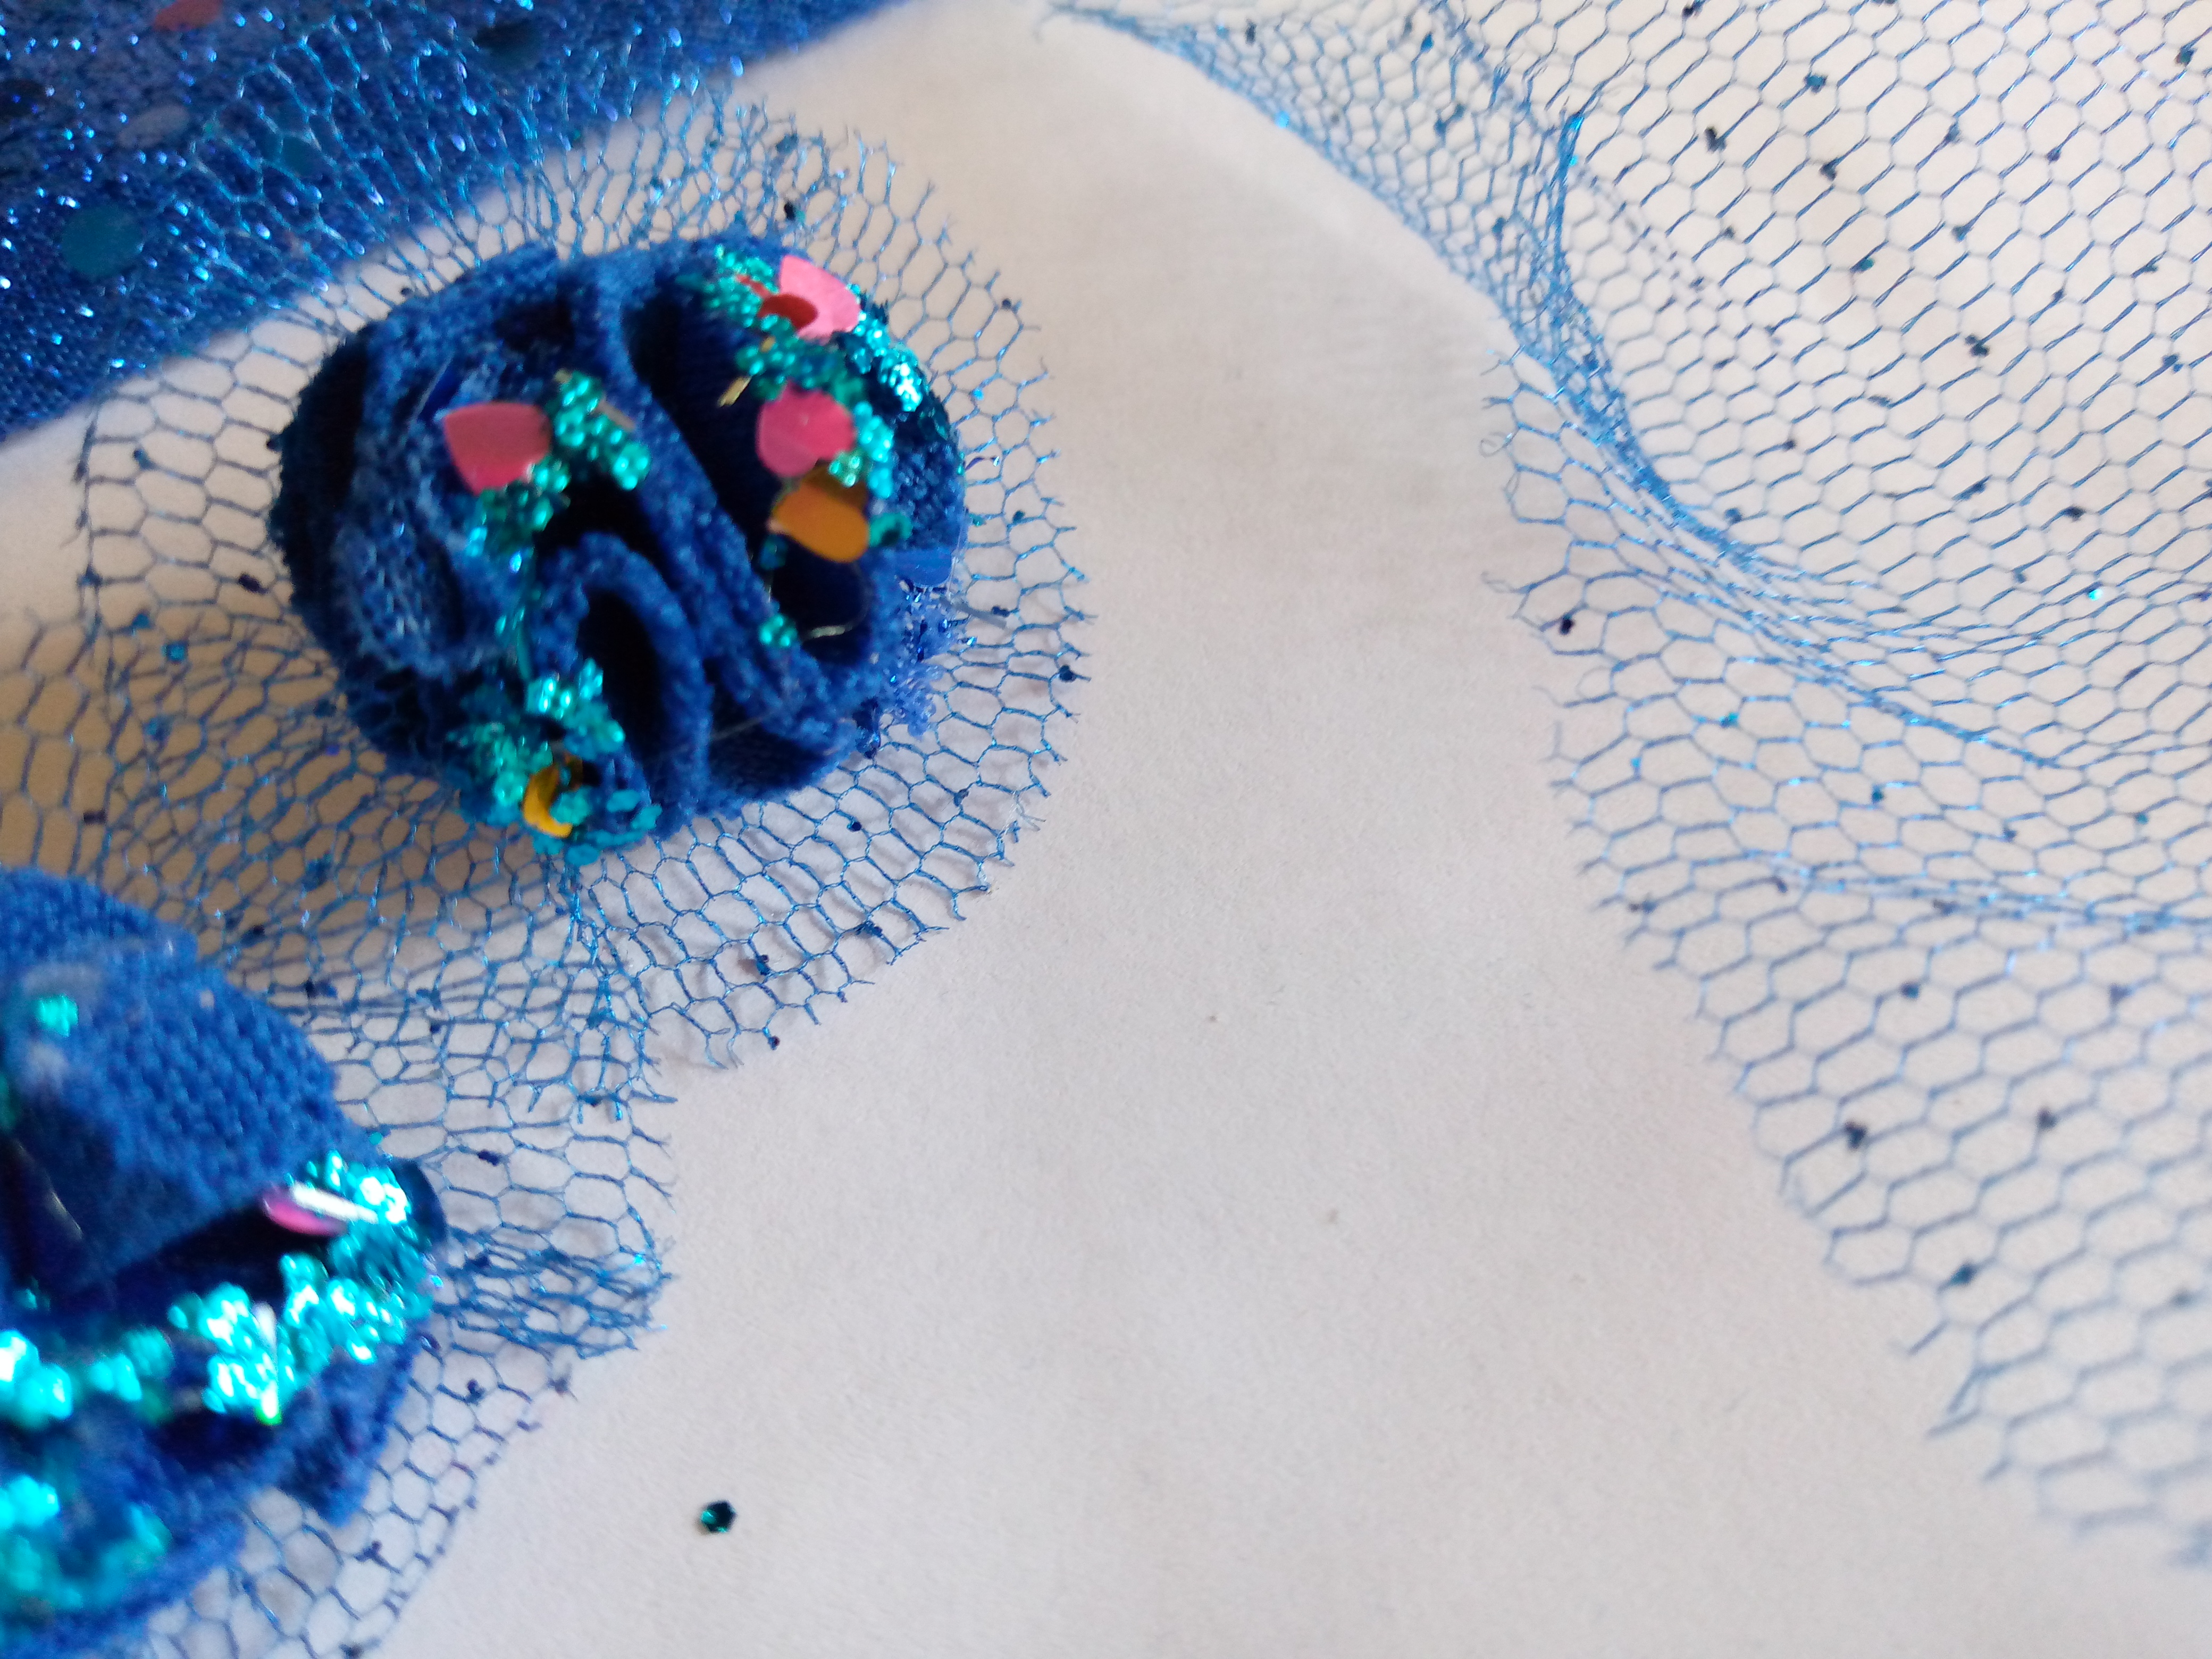
I'm going to move on to making the bottom piece with the tulle fabric. Once we finish making the roses, I'll take the rectangle of tulle fabric and I'm going to gather it with thread and a needle along one side of the edge of it and I'll pull the thread to gather this piece. I'll make one for each earring. I've also cut out two small circles that I'll use to glue them to the nail and glue my roses. This will be like a base. I took the opportunity to glue my piece of tulle that we made.
Paso 04
Step 04
So to finish what we will do is glue our nail to the other earring and we will do the same step of gluing the tulle and then the rose, then I wanted to decorate them with glitter on top, I added silicone to the rose on top and added the glitter and I just waited for them to dry and voila, the earrings are finished.
Resultado:
Result:
💙✨I liked the result of these beautiful, dreamy and very elegant earrings. I hope you like them, my friends, and leave your reaction here in the comments. I will thank you with all my heart that you liked this blog. I wish you a nice afternoon and I leave you some photos of the result. I like them very much. ✨💙

WOW! It is elegant, stylish, and attractive. Love its design. It looks really beautiful. Great work! Thanks!
Good afternoon, thank you very much for appreciating this blog and these earrings, you agree with me that they are elegant for any occasion 😊 greetings
Eres muy modesta al decir que se te da poco, porque honestamente pienso que lo haces de manera hermosa.
Se puede apreciar que cuidas muy bien los acabados, por eso tienes un trabajo muy prolijo.
Felicidades.
Hola lindo día ay muchas gracias amiga por tan motivador comentario 🥰 igualmente saludos