🐝Mi participación en el concurso "Día mundial de las abejas"🐝//🐝My participation in the "World Bee Day"🐝 contest[Esp~Eng]
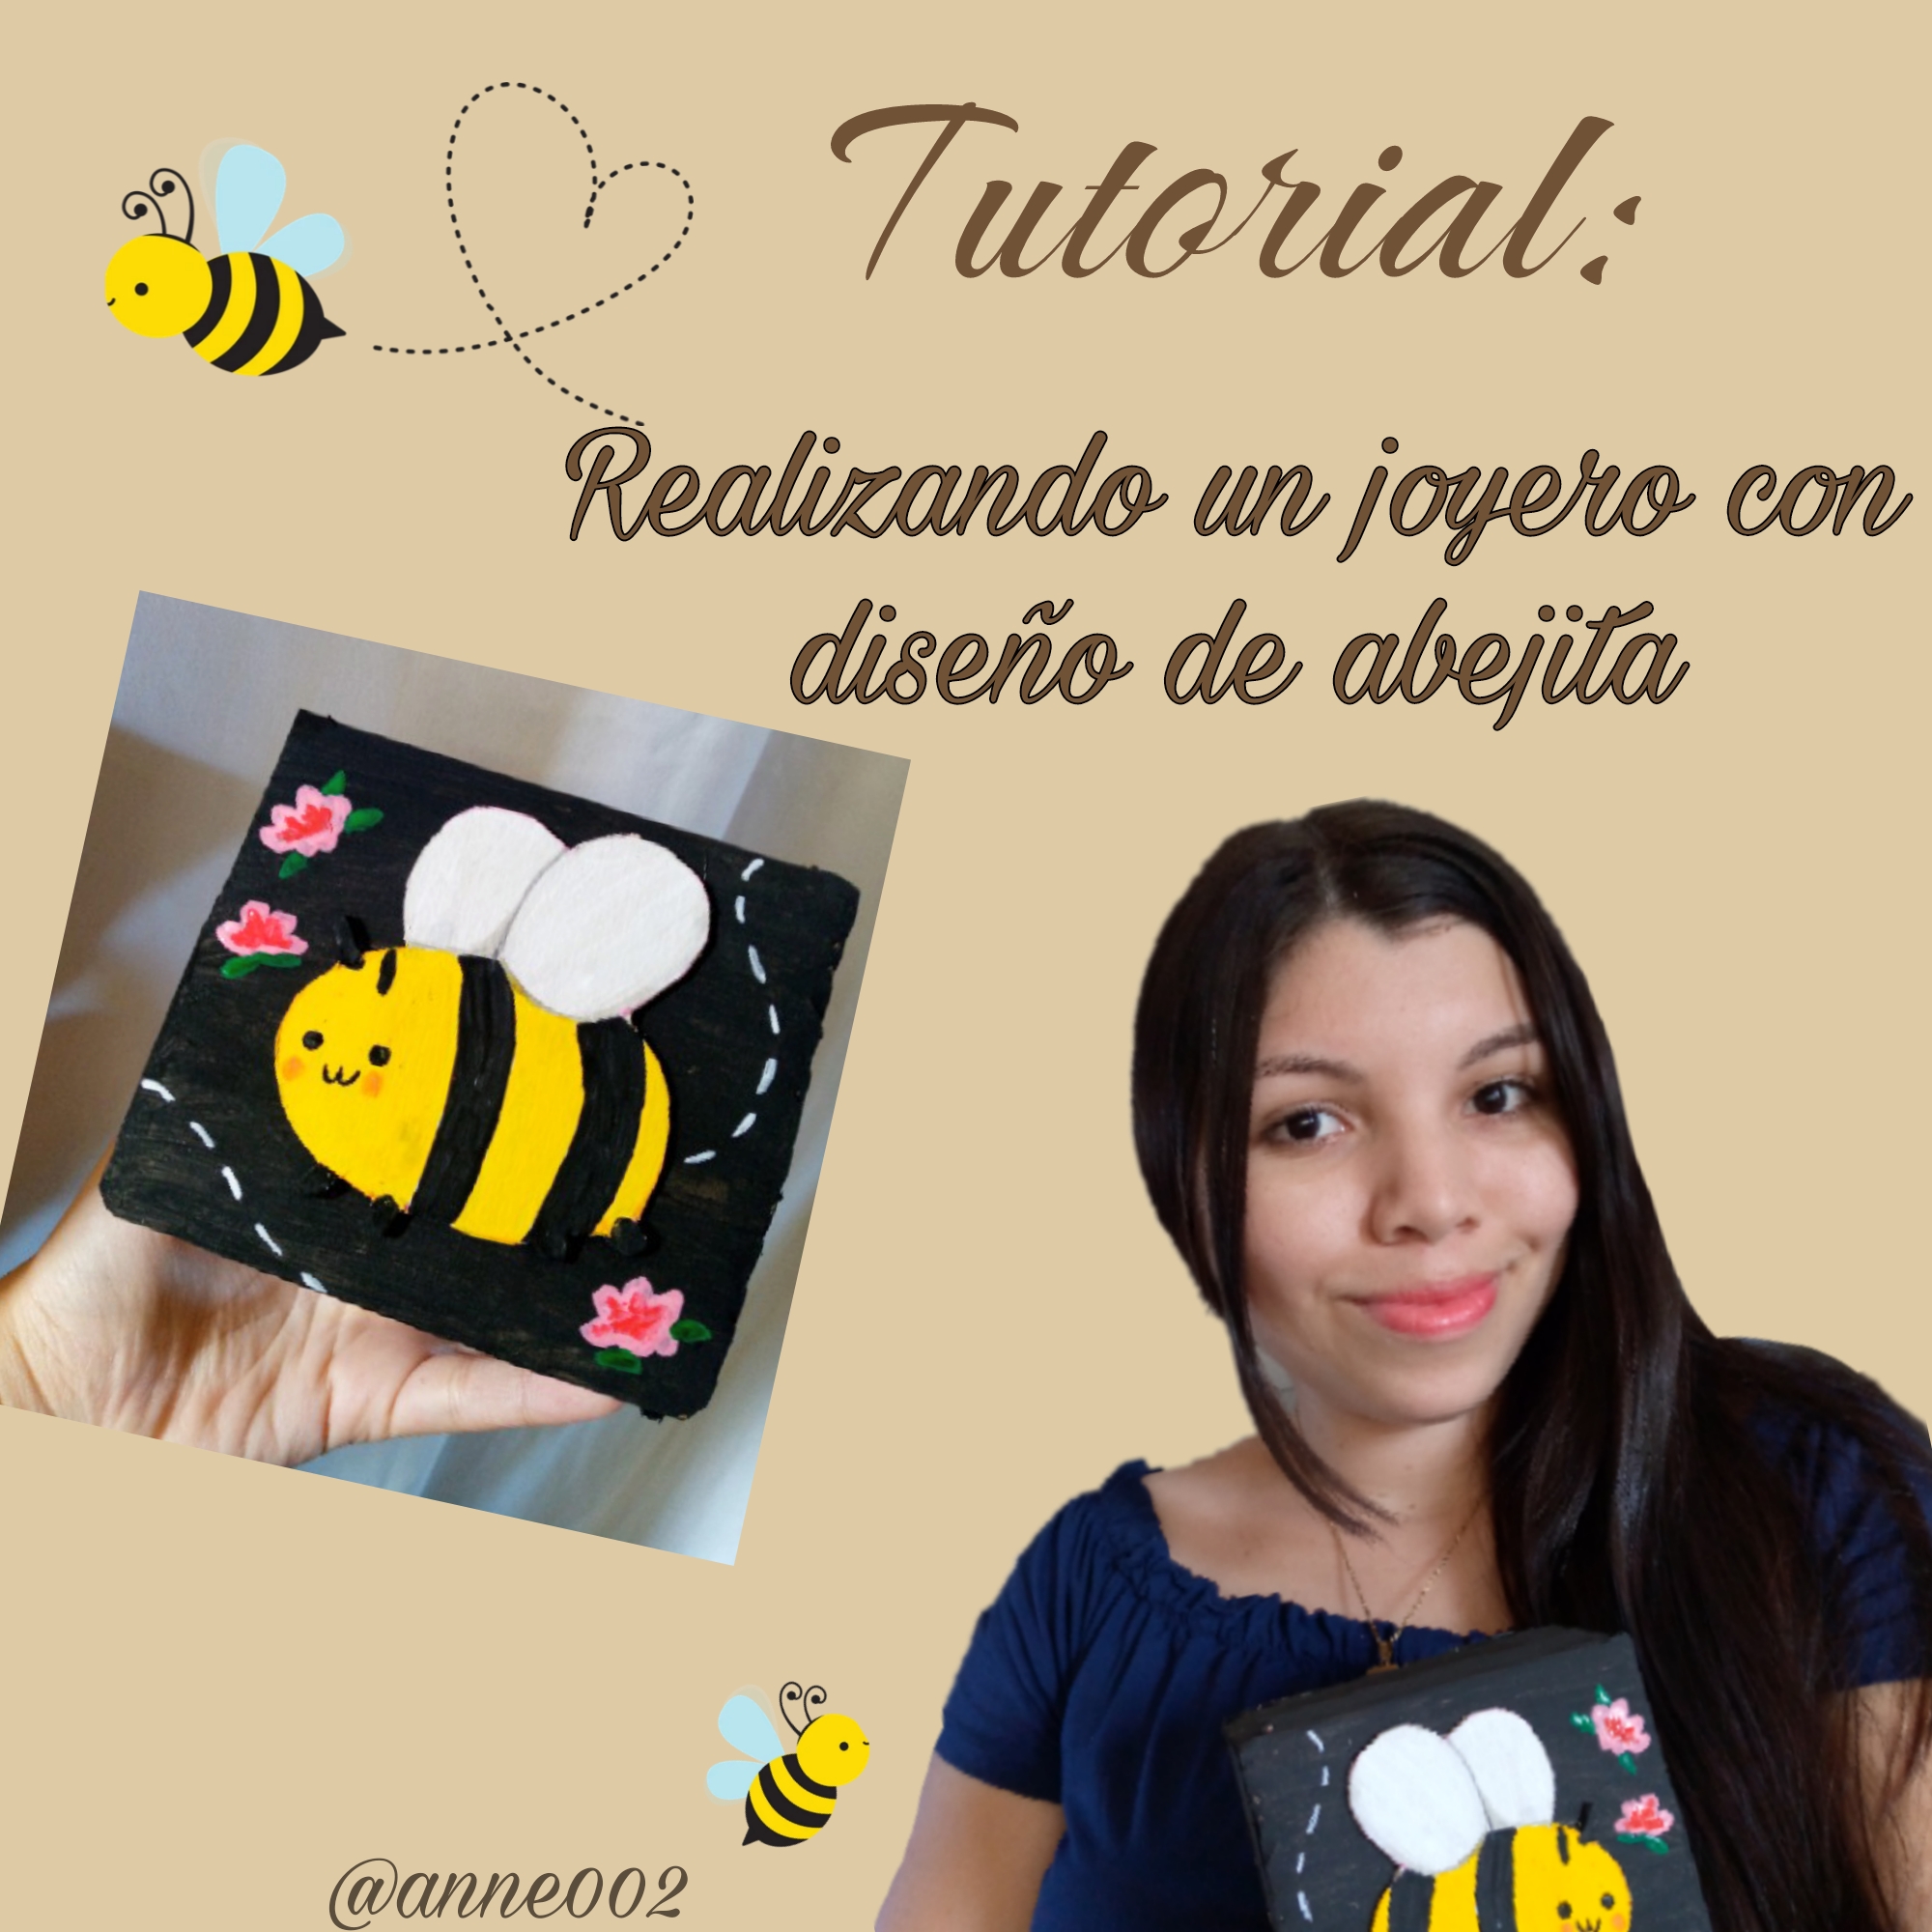

Cute and beautiful happy afternoon friends 🌤️. Welcome to a new creative tutorial! 🎨🖌️ .... Today I have decided to participate in this contest for the first time since I was able to observe that last year it was held in this community ☺️, I tell you that for me it was a challenge to think about what I could do regarding the theme of bees 🥺 many ideas really went through my head so once again I wanted to do something recycled and thus contribute to these cute little animals, what would life be without them 😔 They are very important for our ecosystem and for us, more and more are threatened due to climate change that affects our planet and they are the animals that are first affected, it is very sad the truth because we are always reminded of the importance of taking care of them and it is our duty to do so.
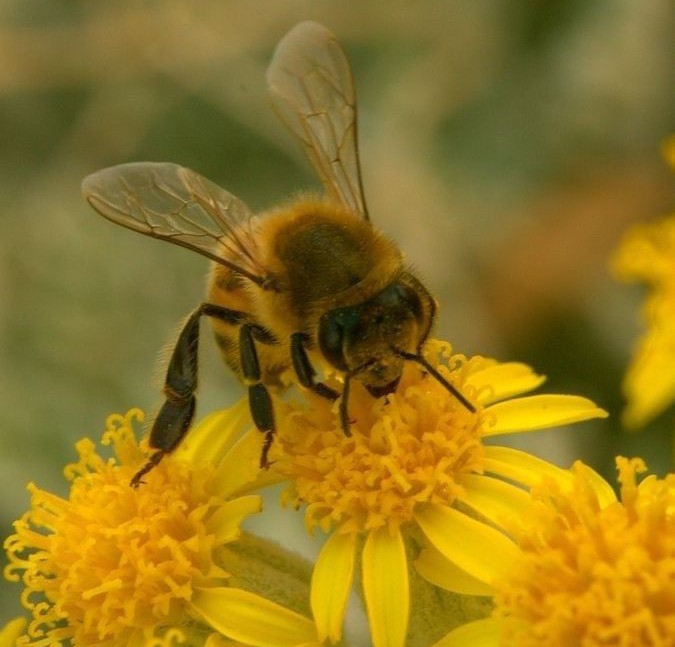
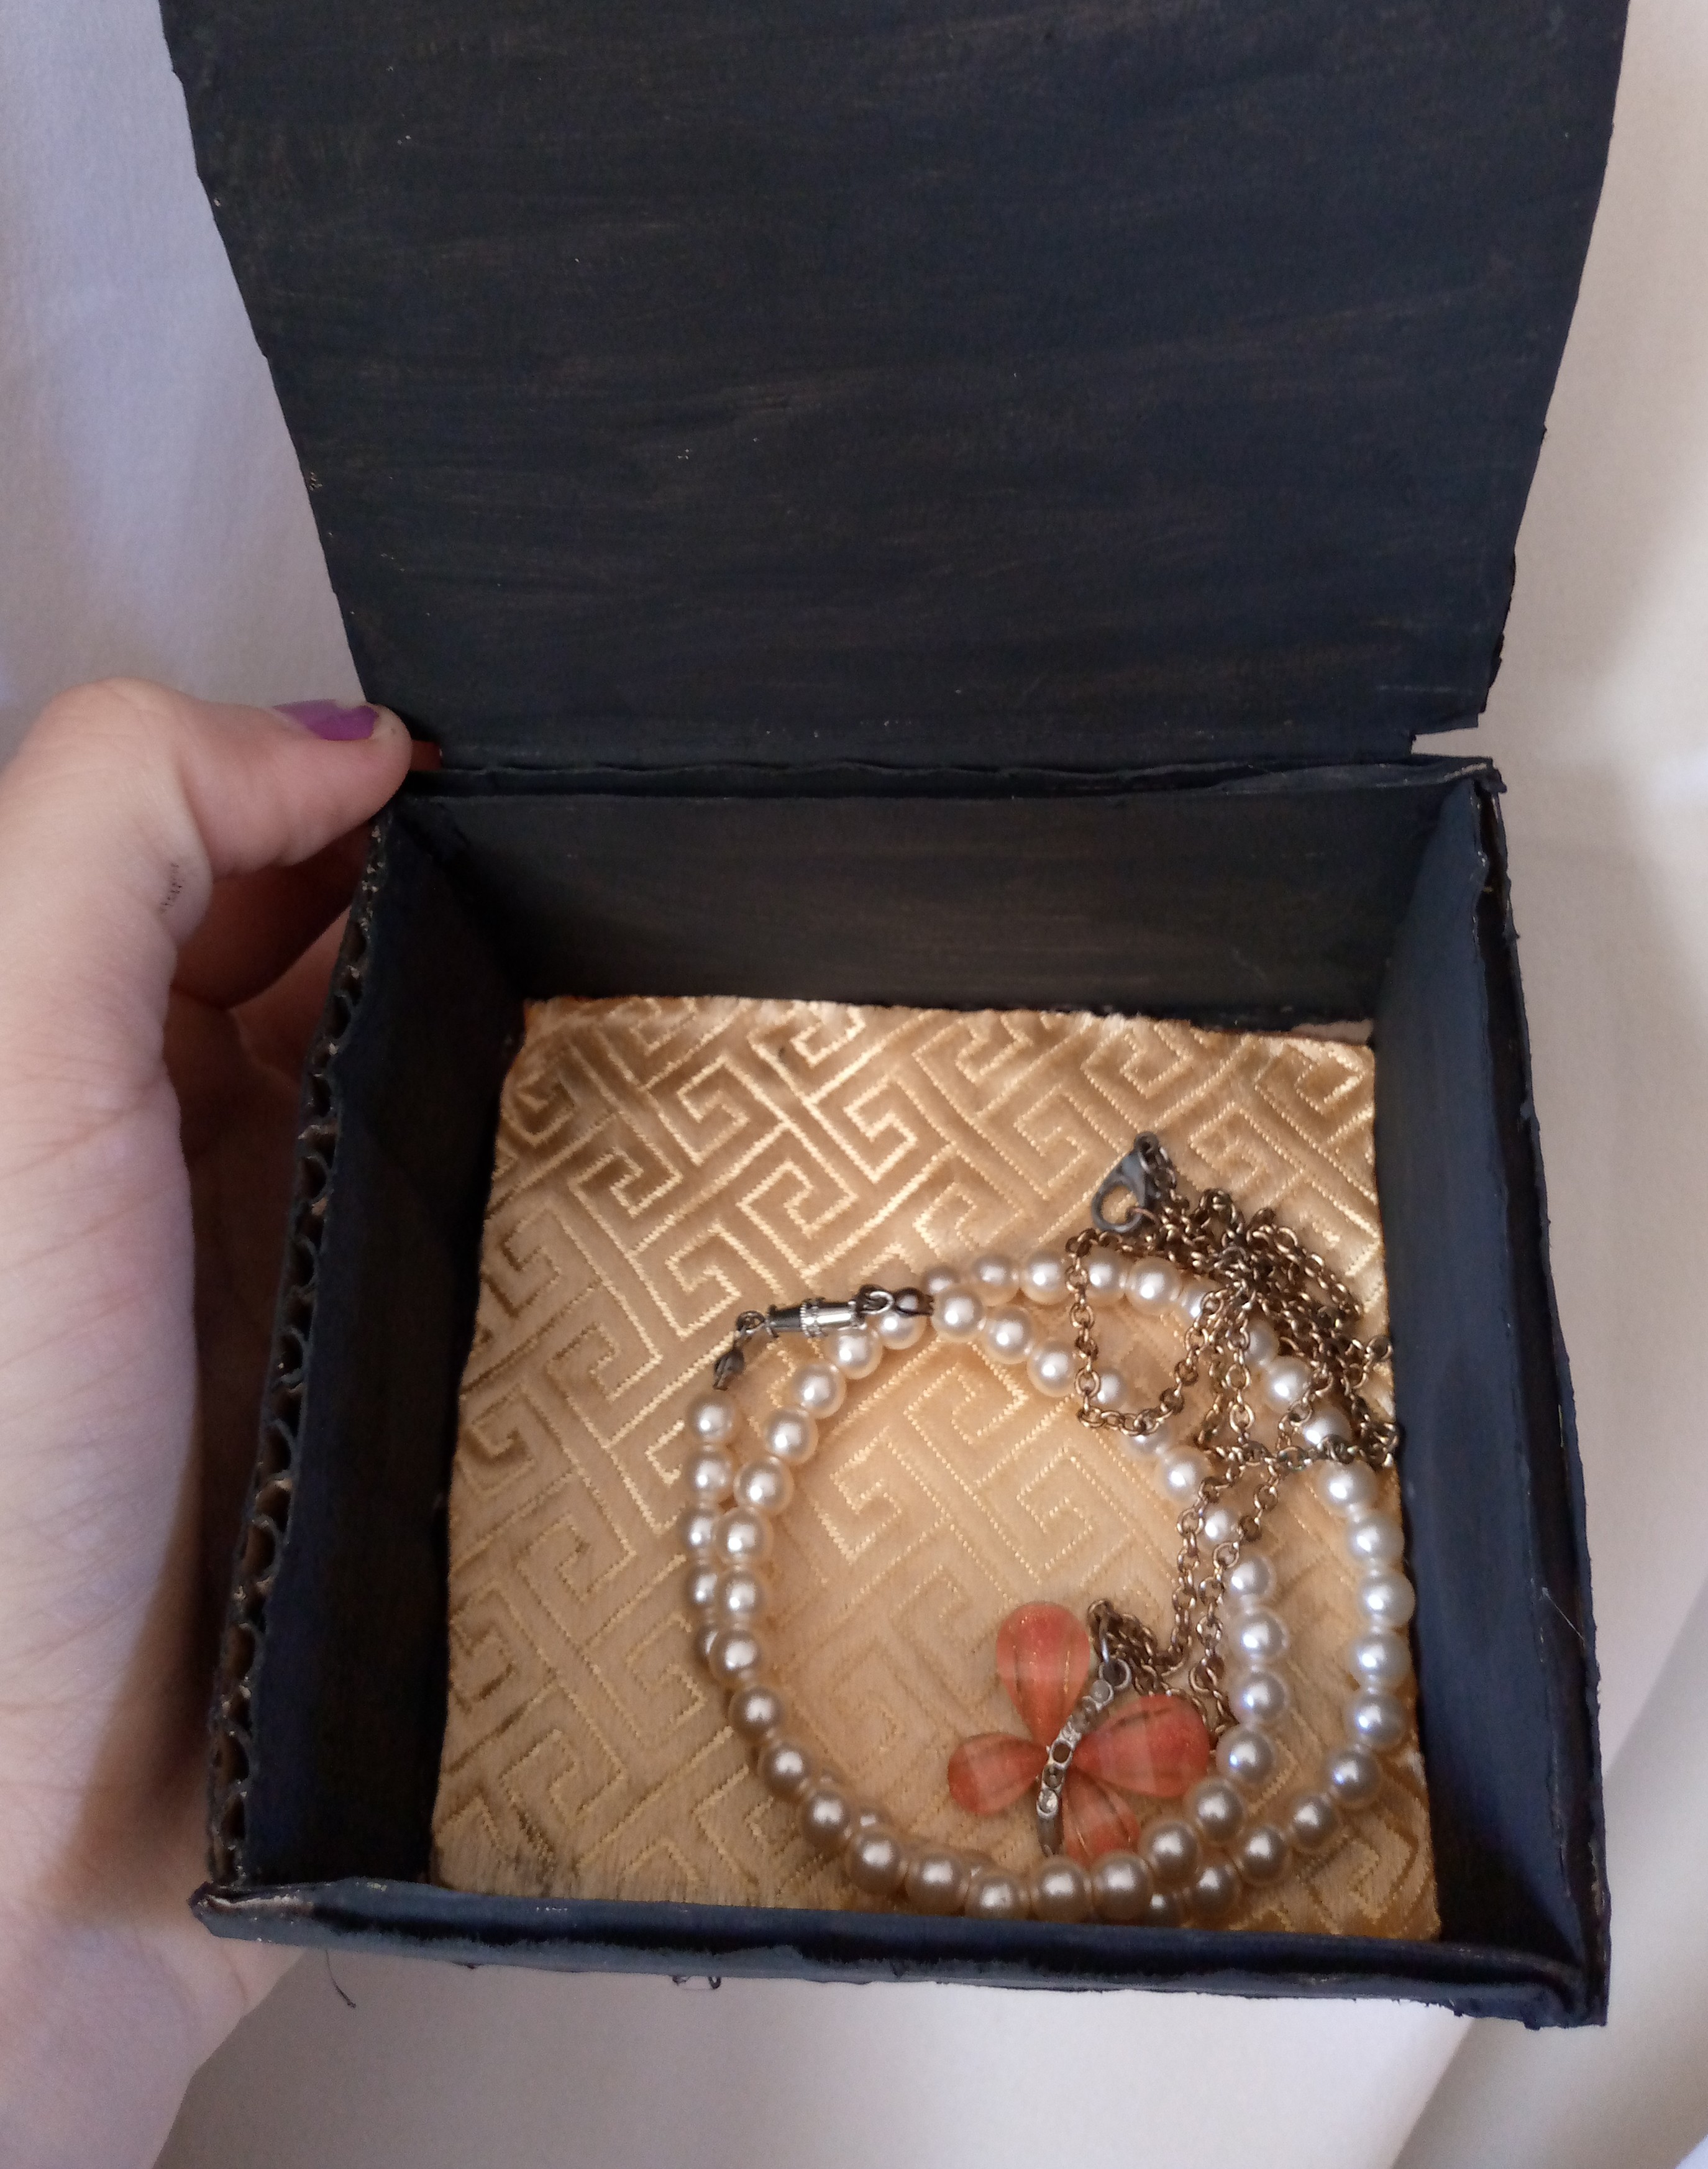
I want to thank the @diyhub team for encouraging us once again through this year's contest and making us see how important it is to take care of our friends the bees🐝 so today I join in supporting these little animals by making a nice work that reminds me how important it is to take care of them, my work is a nice jewelry box for our clothes and necklaces, it may be ideal to put other things in but I will put my clothes in and thus prevent them from always being out of place, I invite you if you have not participated to do so and thus support the care of our environment and the home of animals like bees and more, below I show you the step by step creation of this cute jewelry box and the final result, you will like it a lot ☺️.
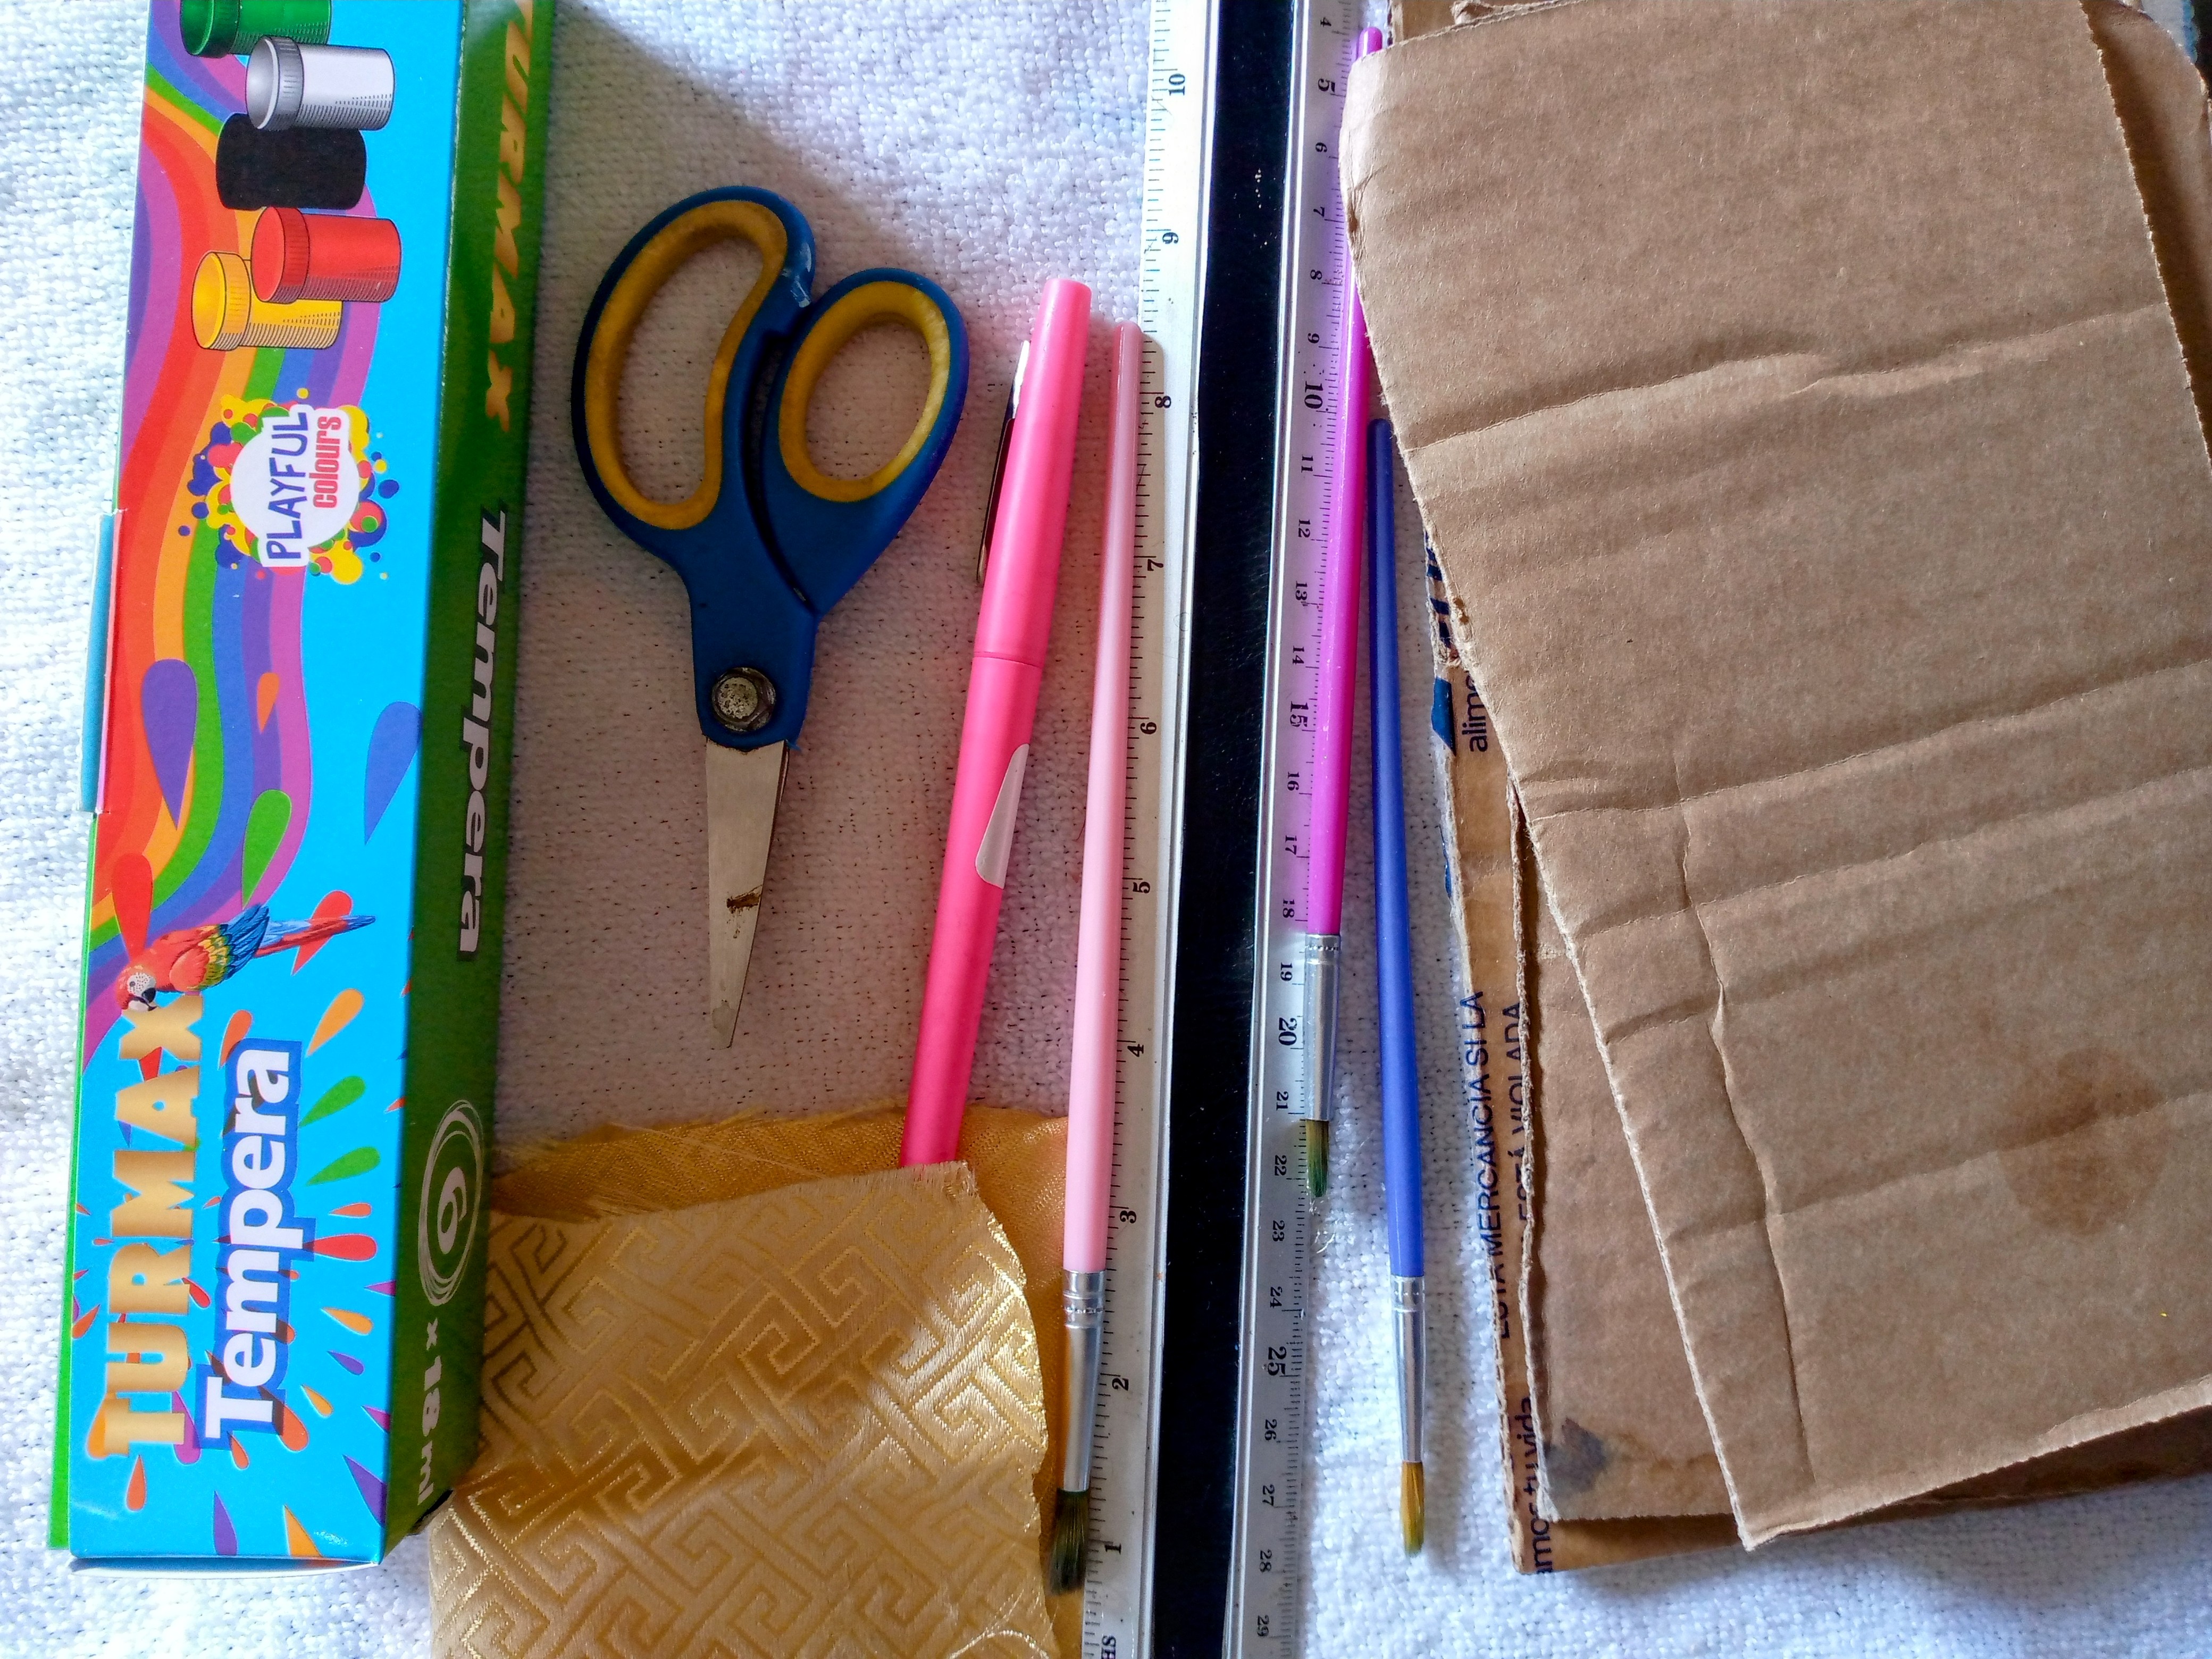

🐝Materiales que usé:🐝
Materials i used :

- Temperas o pinturas en los siguientes colores:🟡 Amarillo ⚫Negro⚪Blanco
🔴 Rojo🟢Verde - Tijeras
- Pincel grueso y delgado
- Trozo pequeño de tela
- Trozos de cartón de caja
- Regla
- Lápiz
- Silicón
- Tempera or paints in the following colors:🟡 Yellow ⚫ Black ⚪ White🔴 Red 🟢 Green
- Scissors
- Thick and thin paintbrush
- Small piece of fabric
- Pieces of cardboard from a box
- Ruler
- Pencil
- Silicone

🐝Pasos a seguir:🐝
Steps to follow:

Paso 01
Step 01
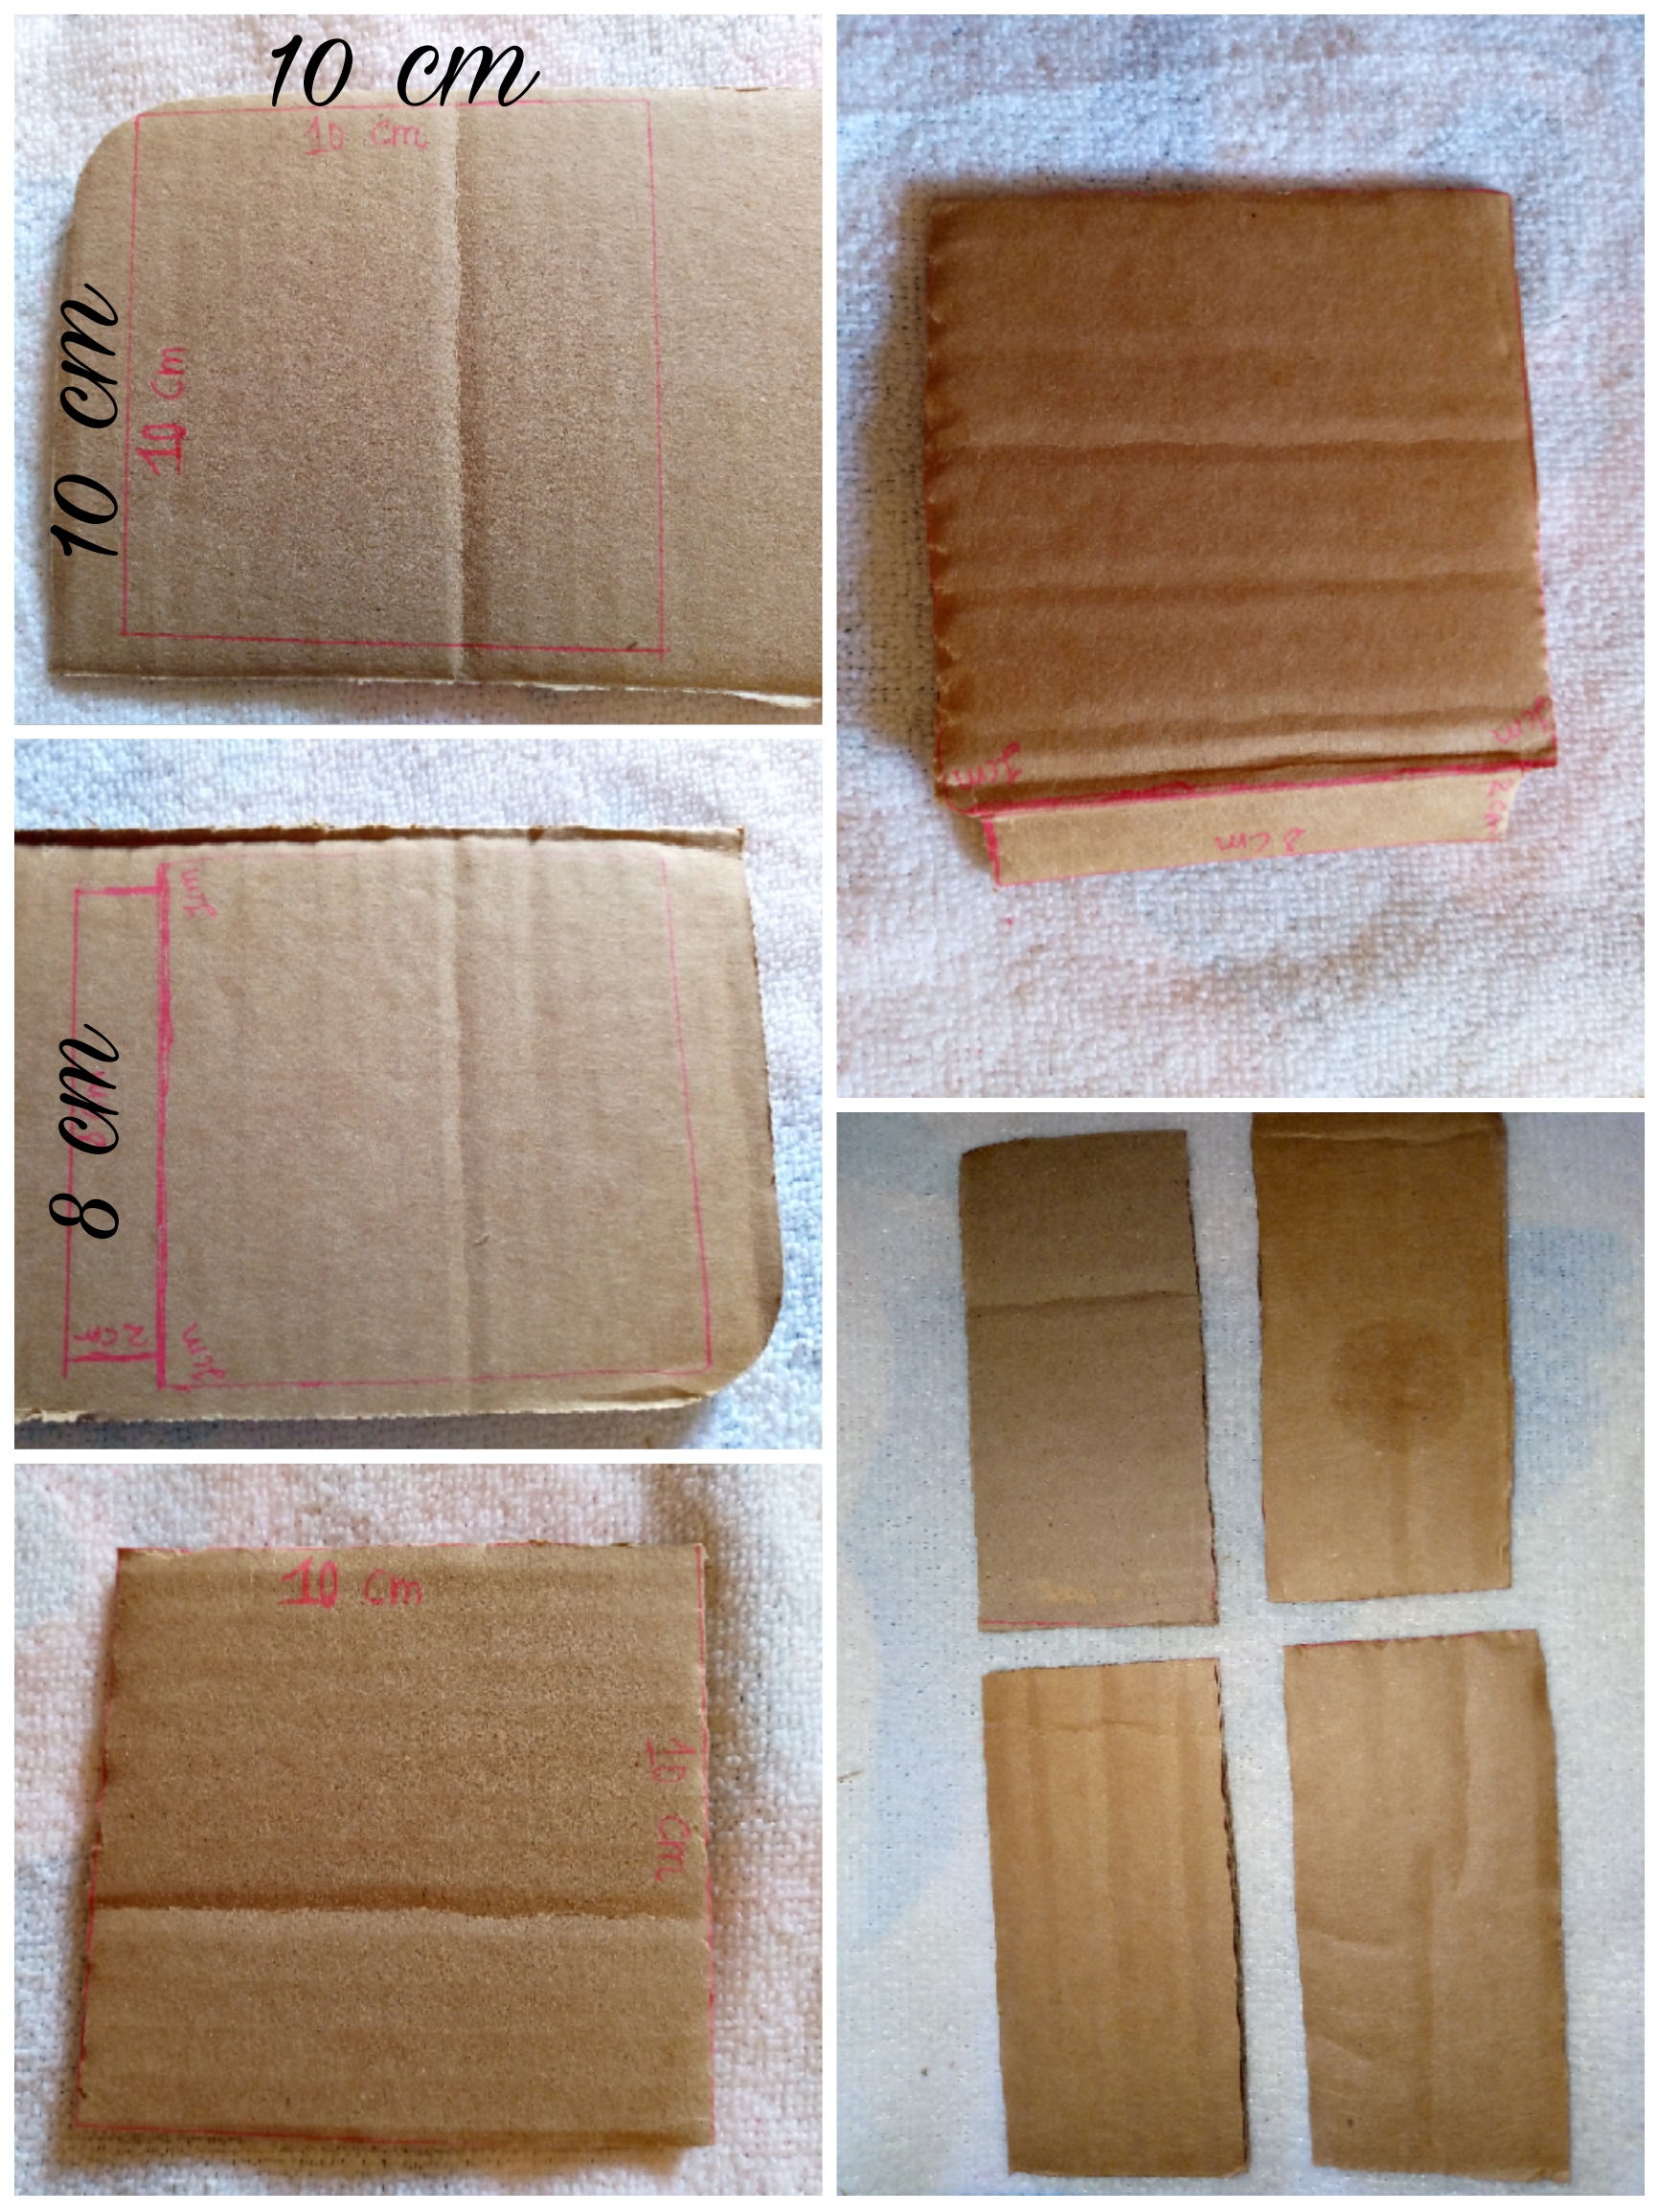
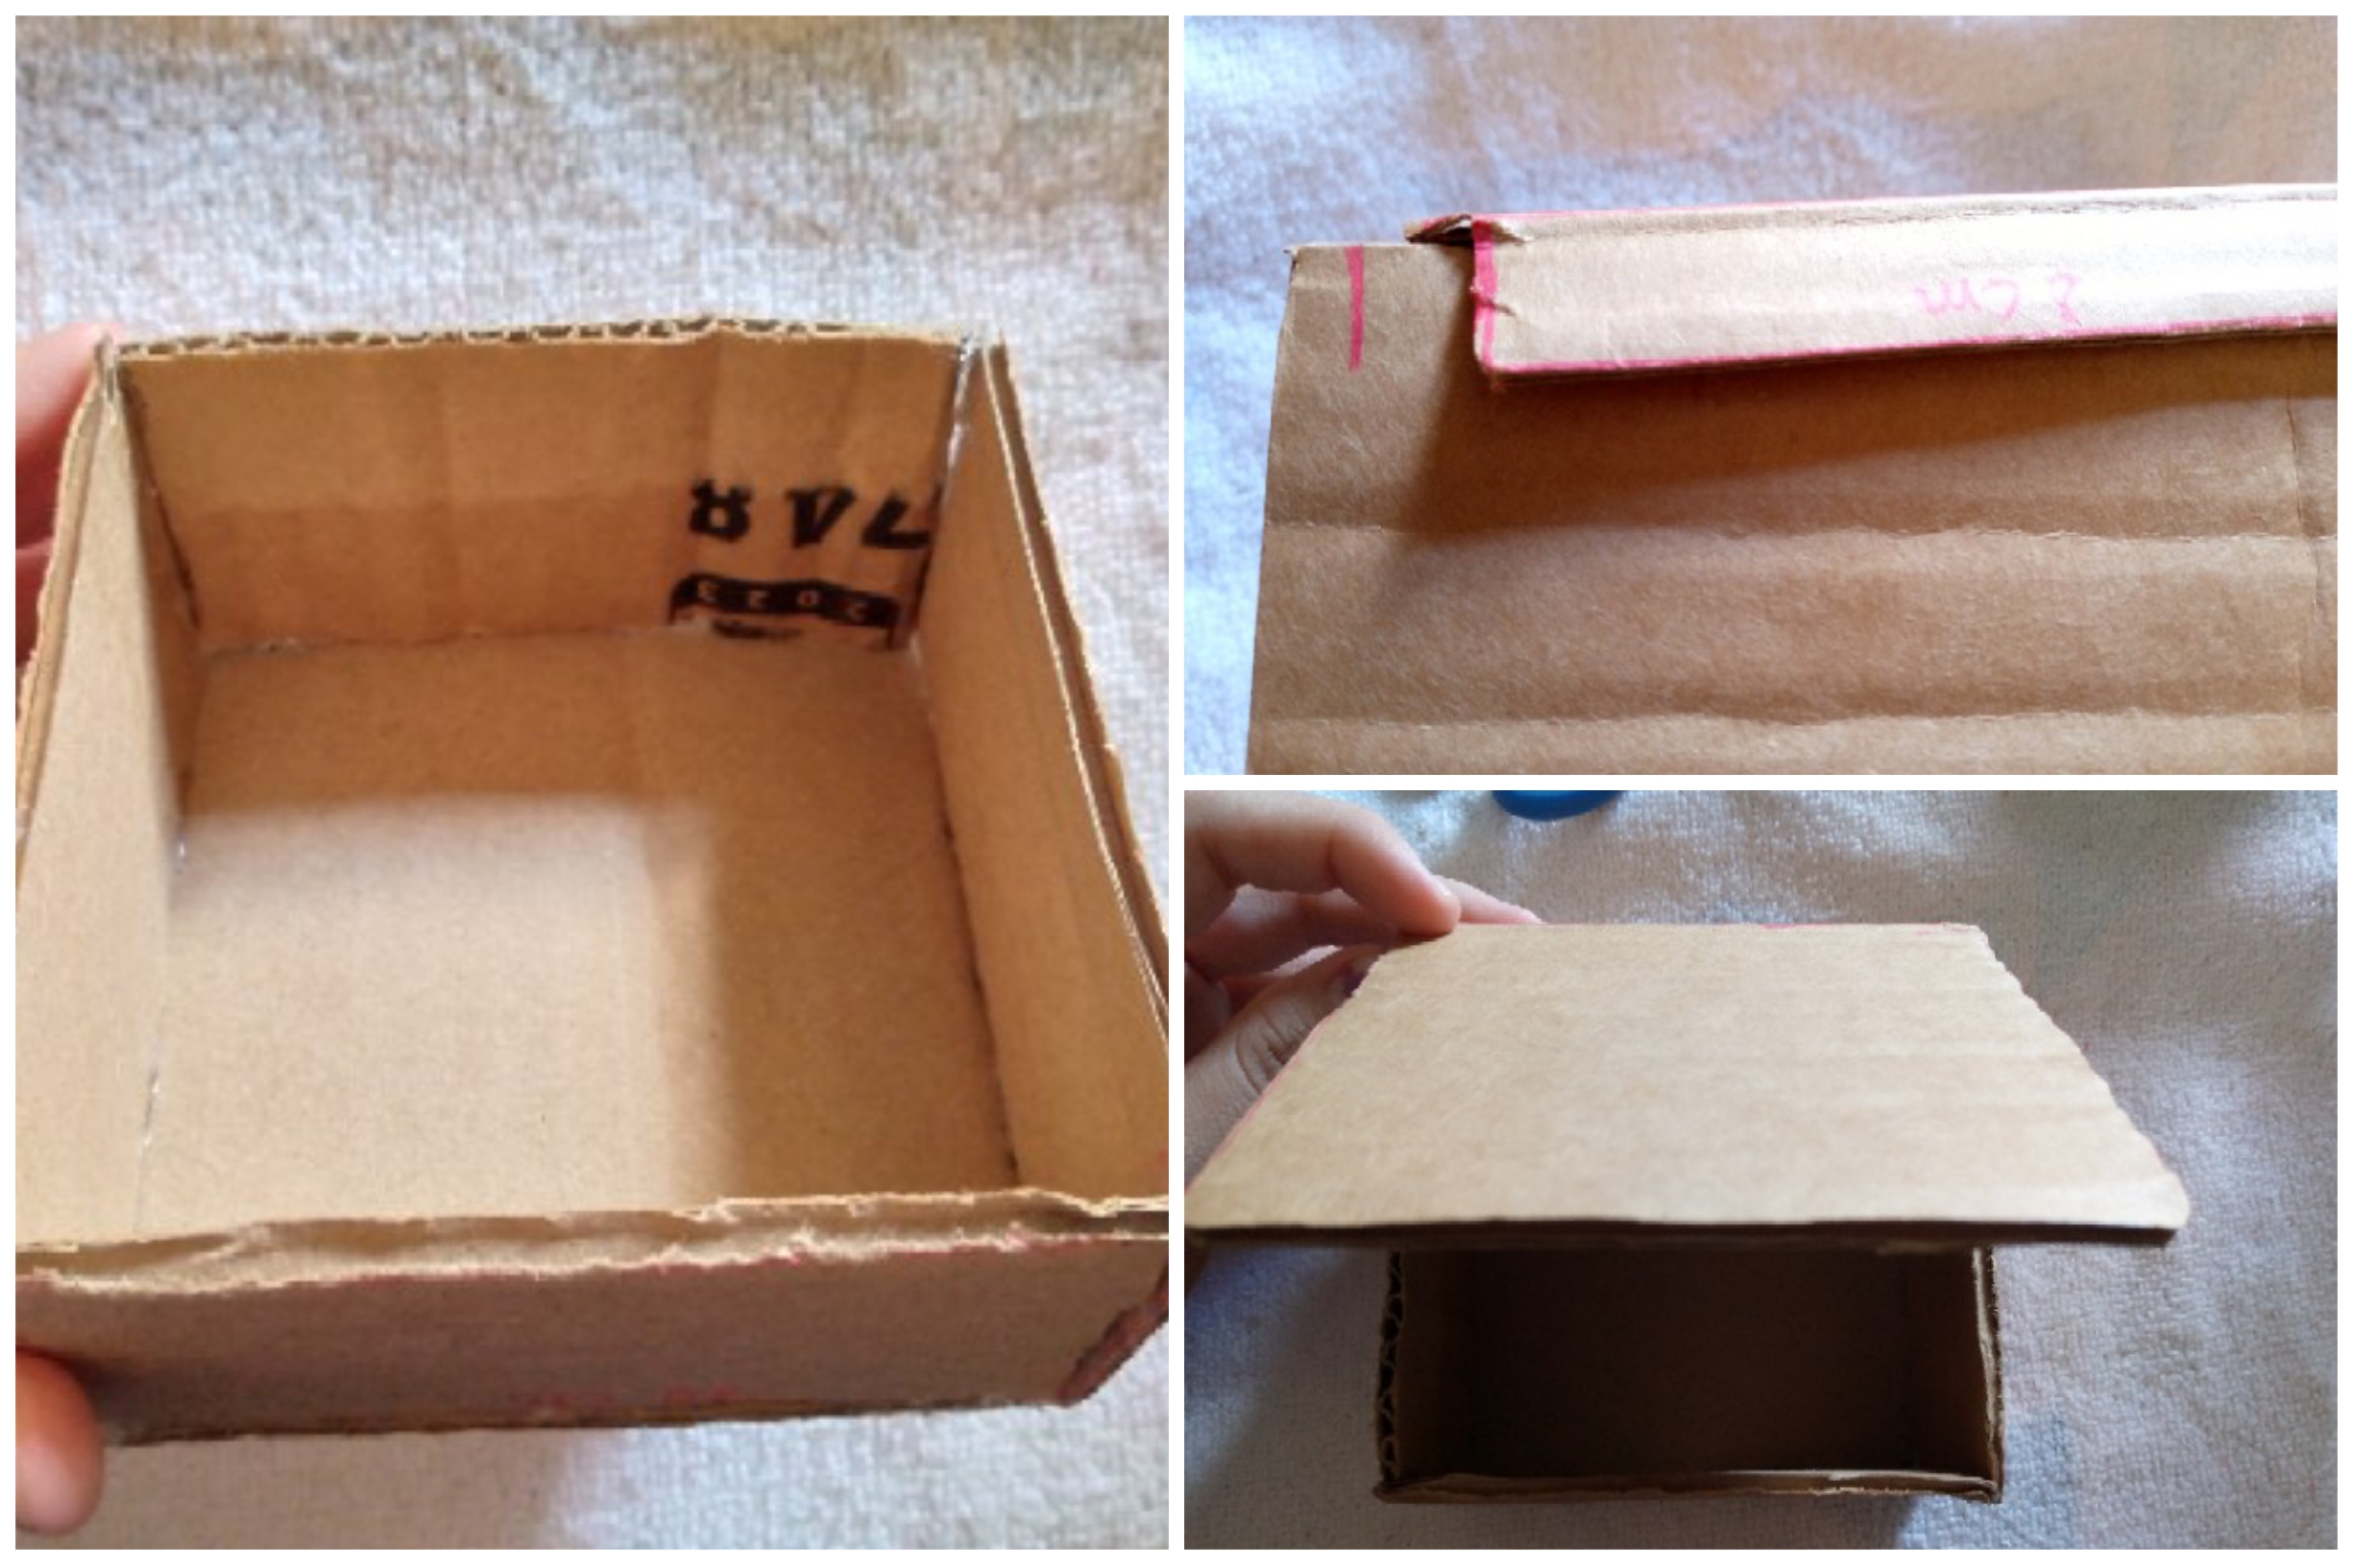
Well we start by cutting the pieces of the jewelry box for this we are going to start by making a square measuring 10 cm wide x 10 cm long and we also make the lid with the same pieces only we are going to add a small amount of cardboard to be able to hold it to the base what we do is leave 1 cm on each side of the square and we take the ruler to the top marking 2 cm and the length from there we mark a line horizontally with the help of the 8 cm pencil, we make other rectangles to assemble the four sides of the jewelry box these pieces are 5 cm long x 10 cm wide as I show you here below in the images.
Paso 02
Step 02
We simply glue our four pieces to the base to form the bottom of the jewelry box, then we mark 1 cm on each side of one of the pieces and glue the lid onto the piece we have cut so that the box can open and close easily.
Paso 03
Step 03
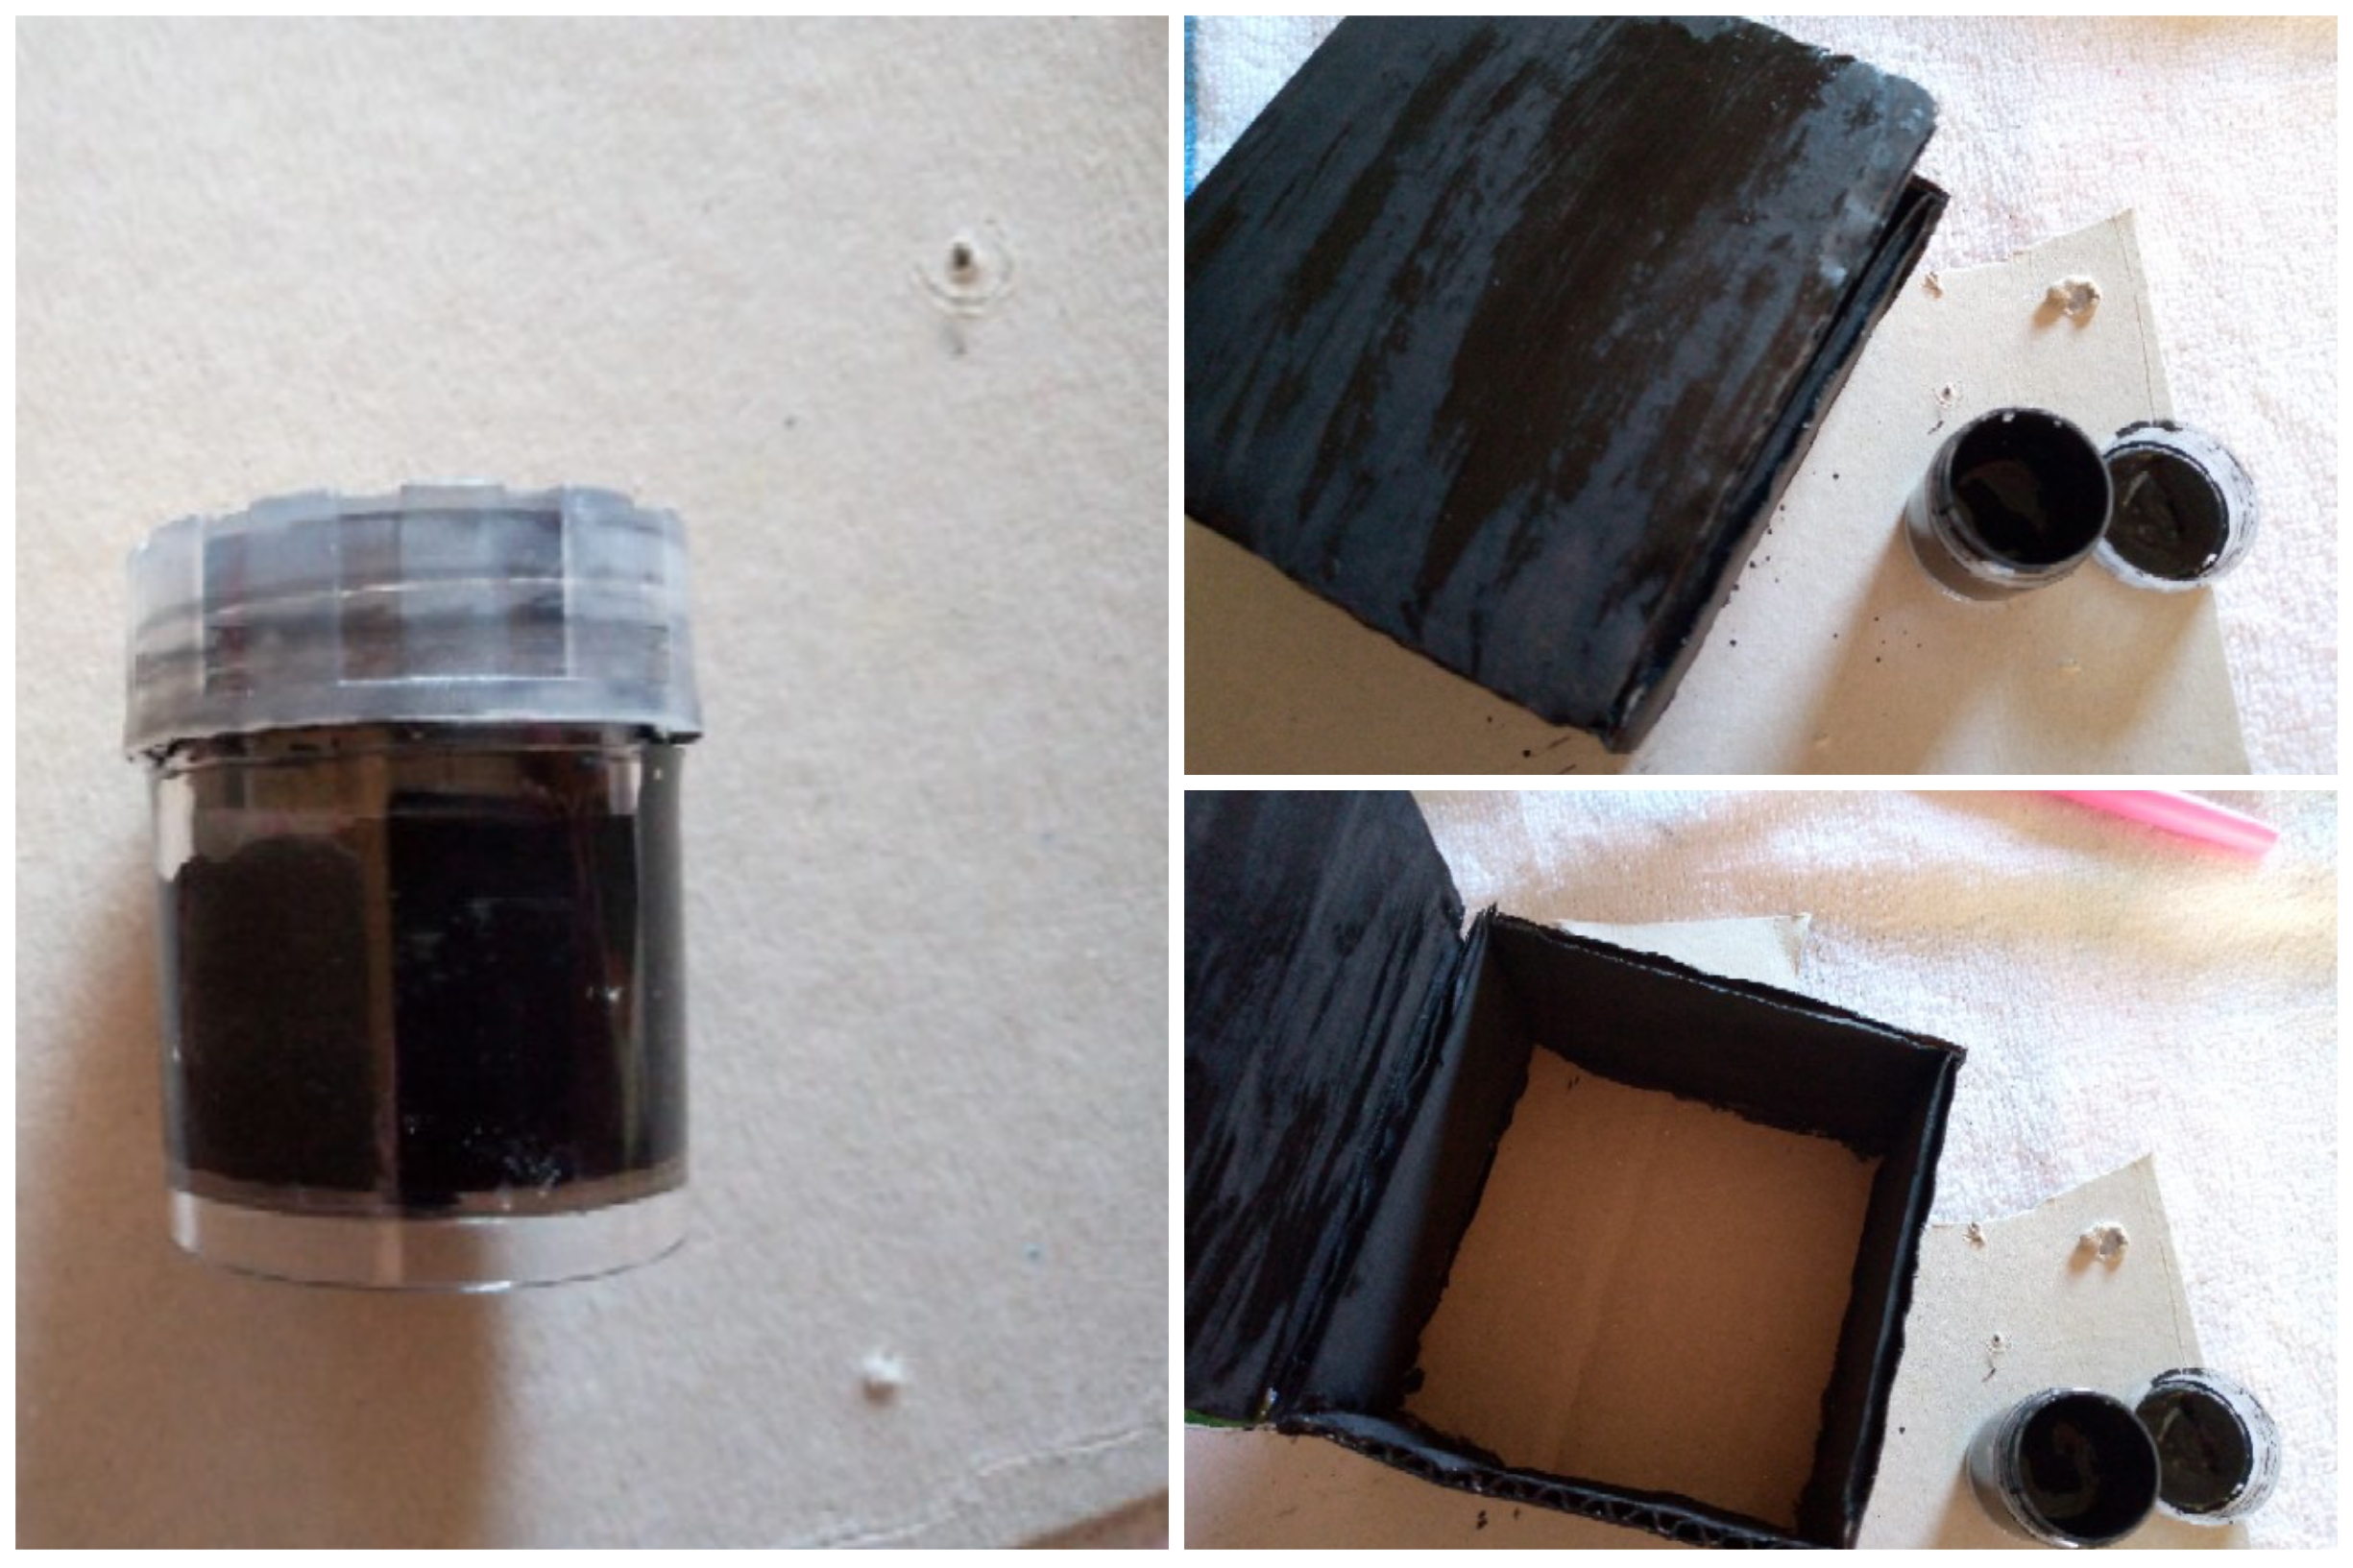
I proceed to paint the bottom of the previously assembled box, and with our black paint we will also paint the outside of the box such as the lid.
Paso 04
Step 04
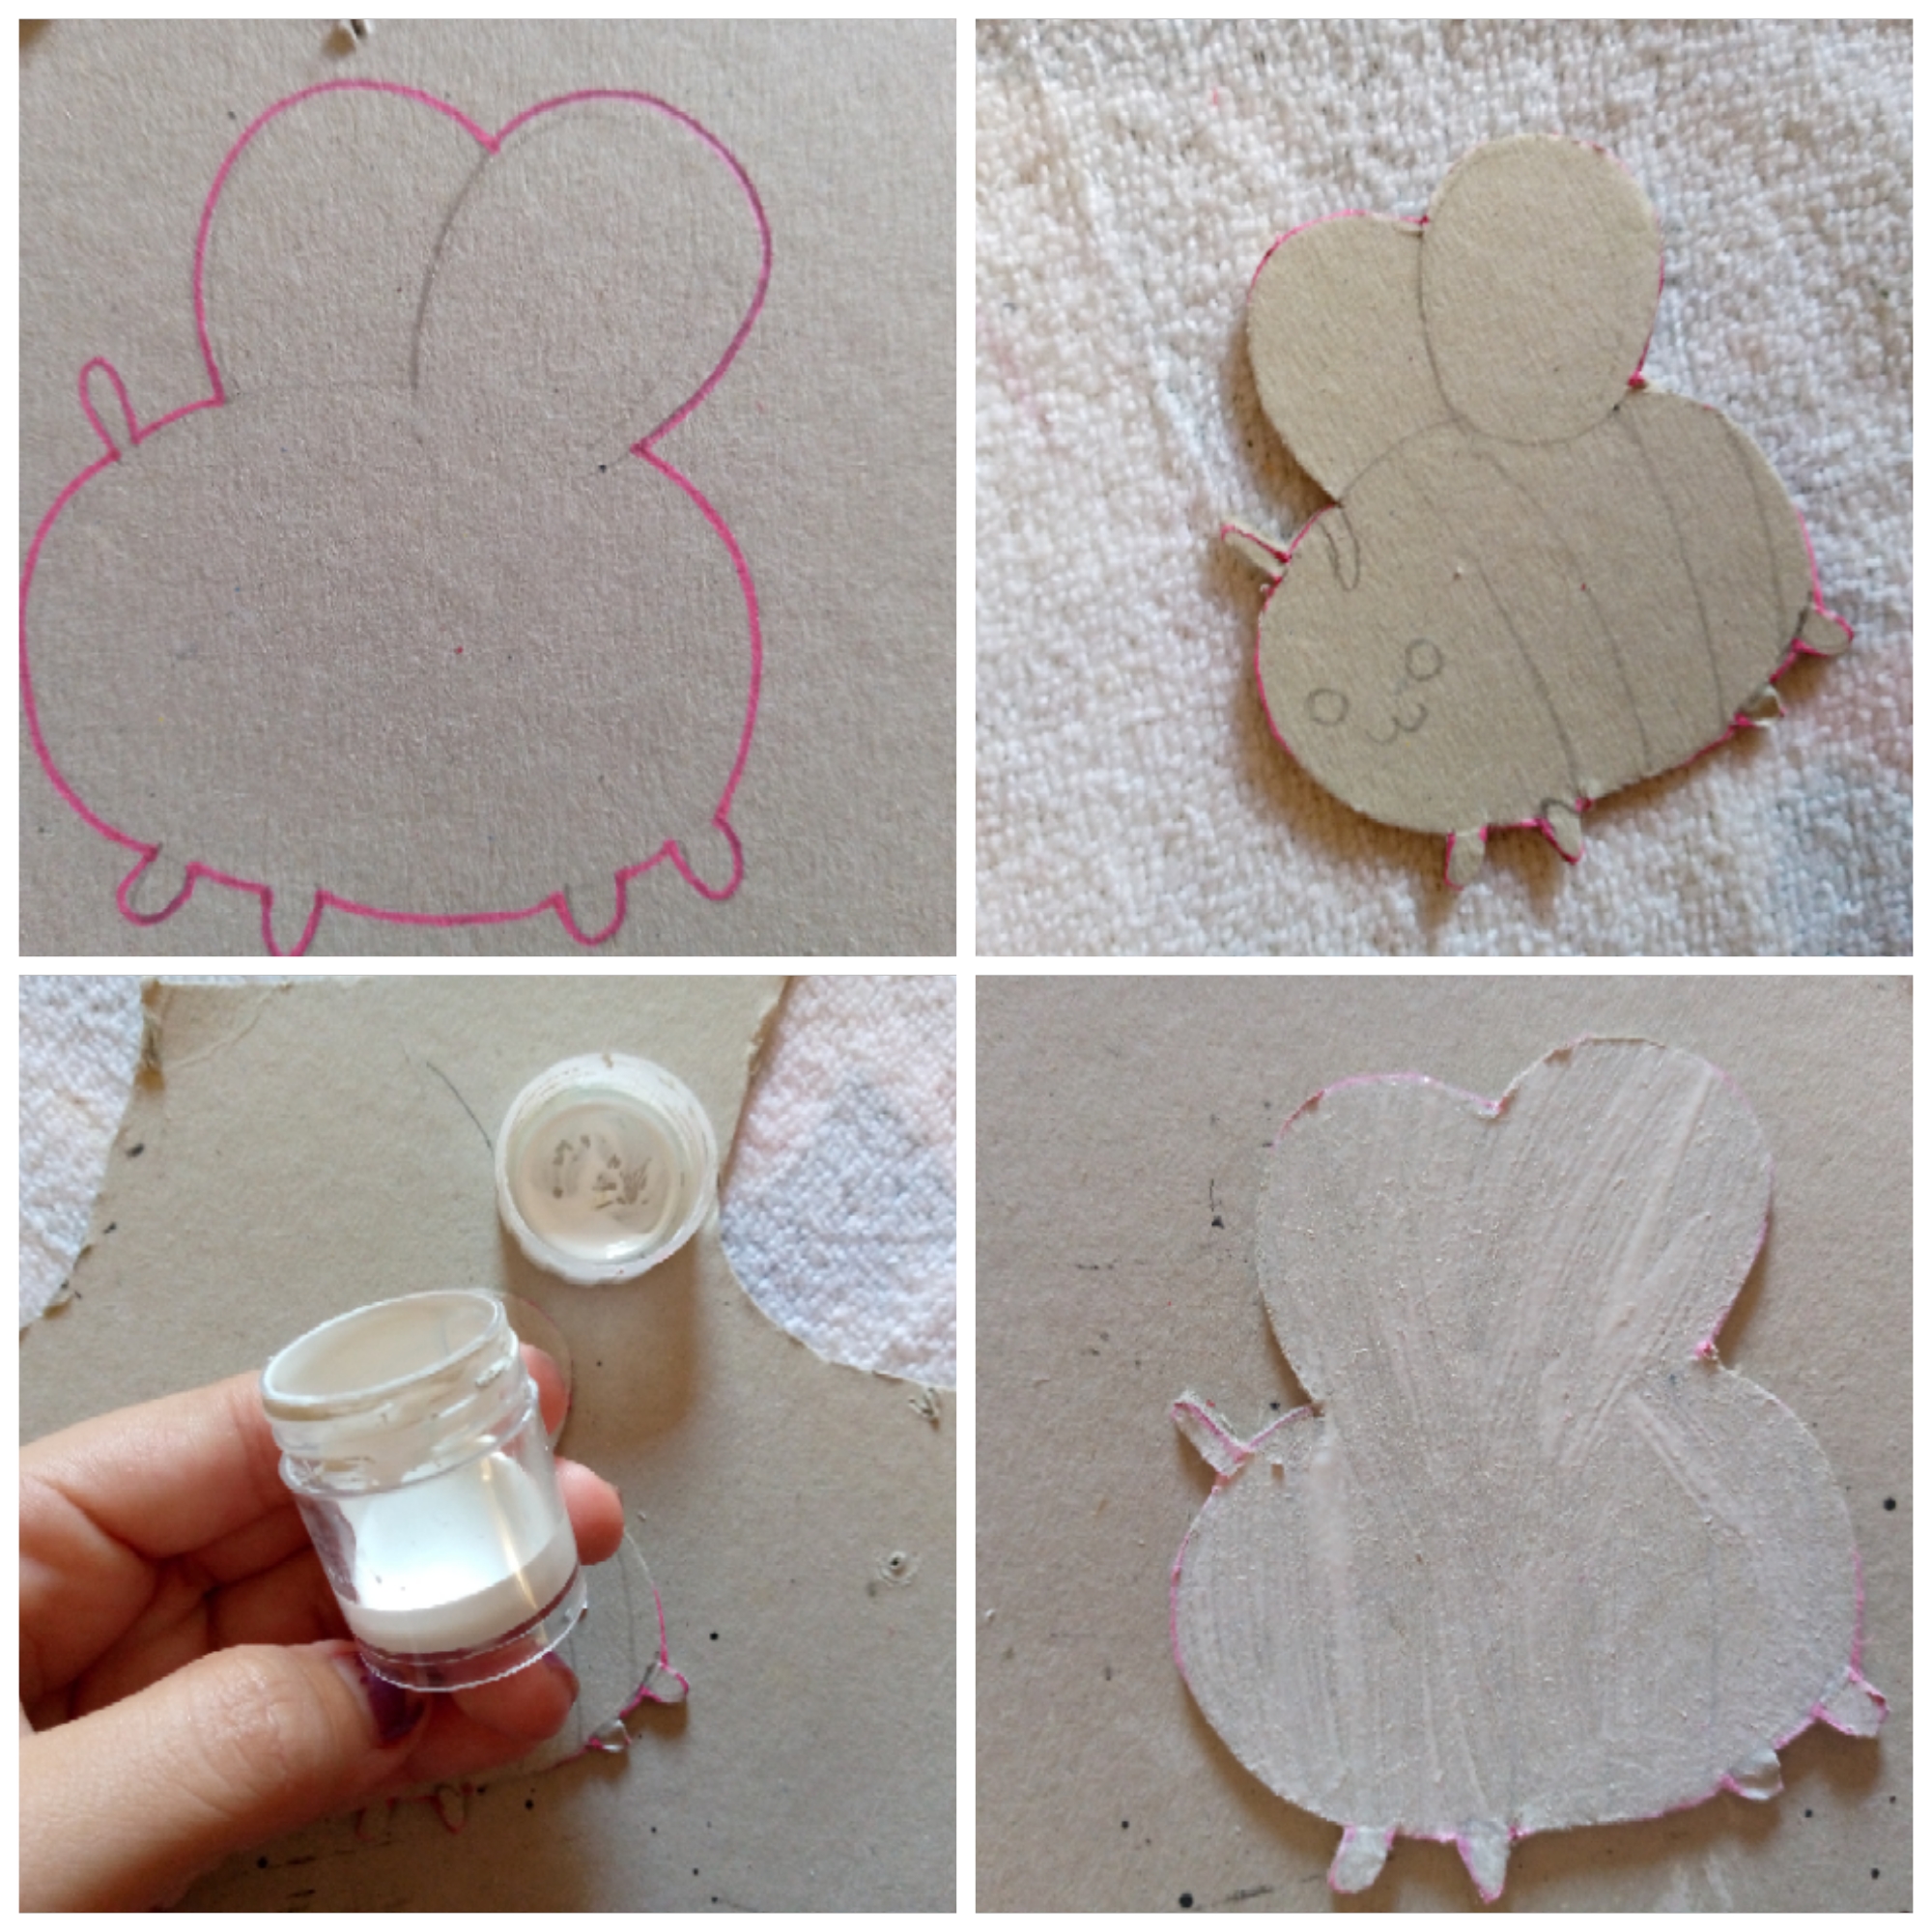
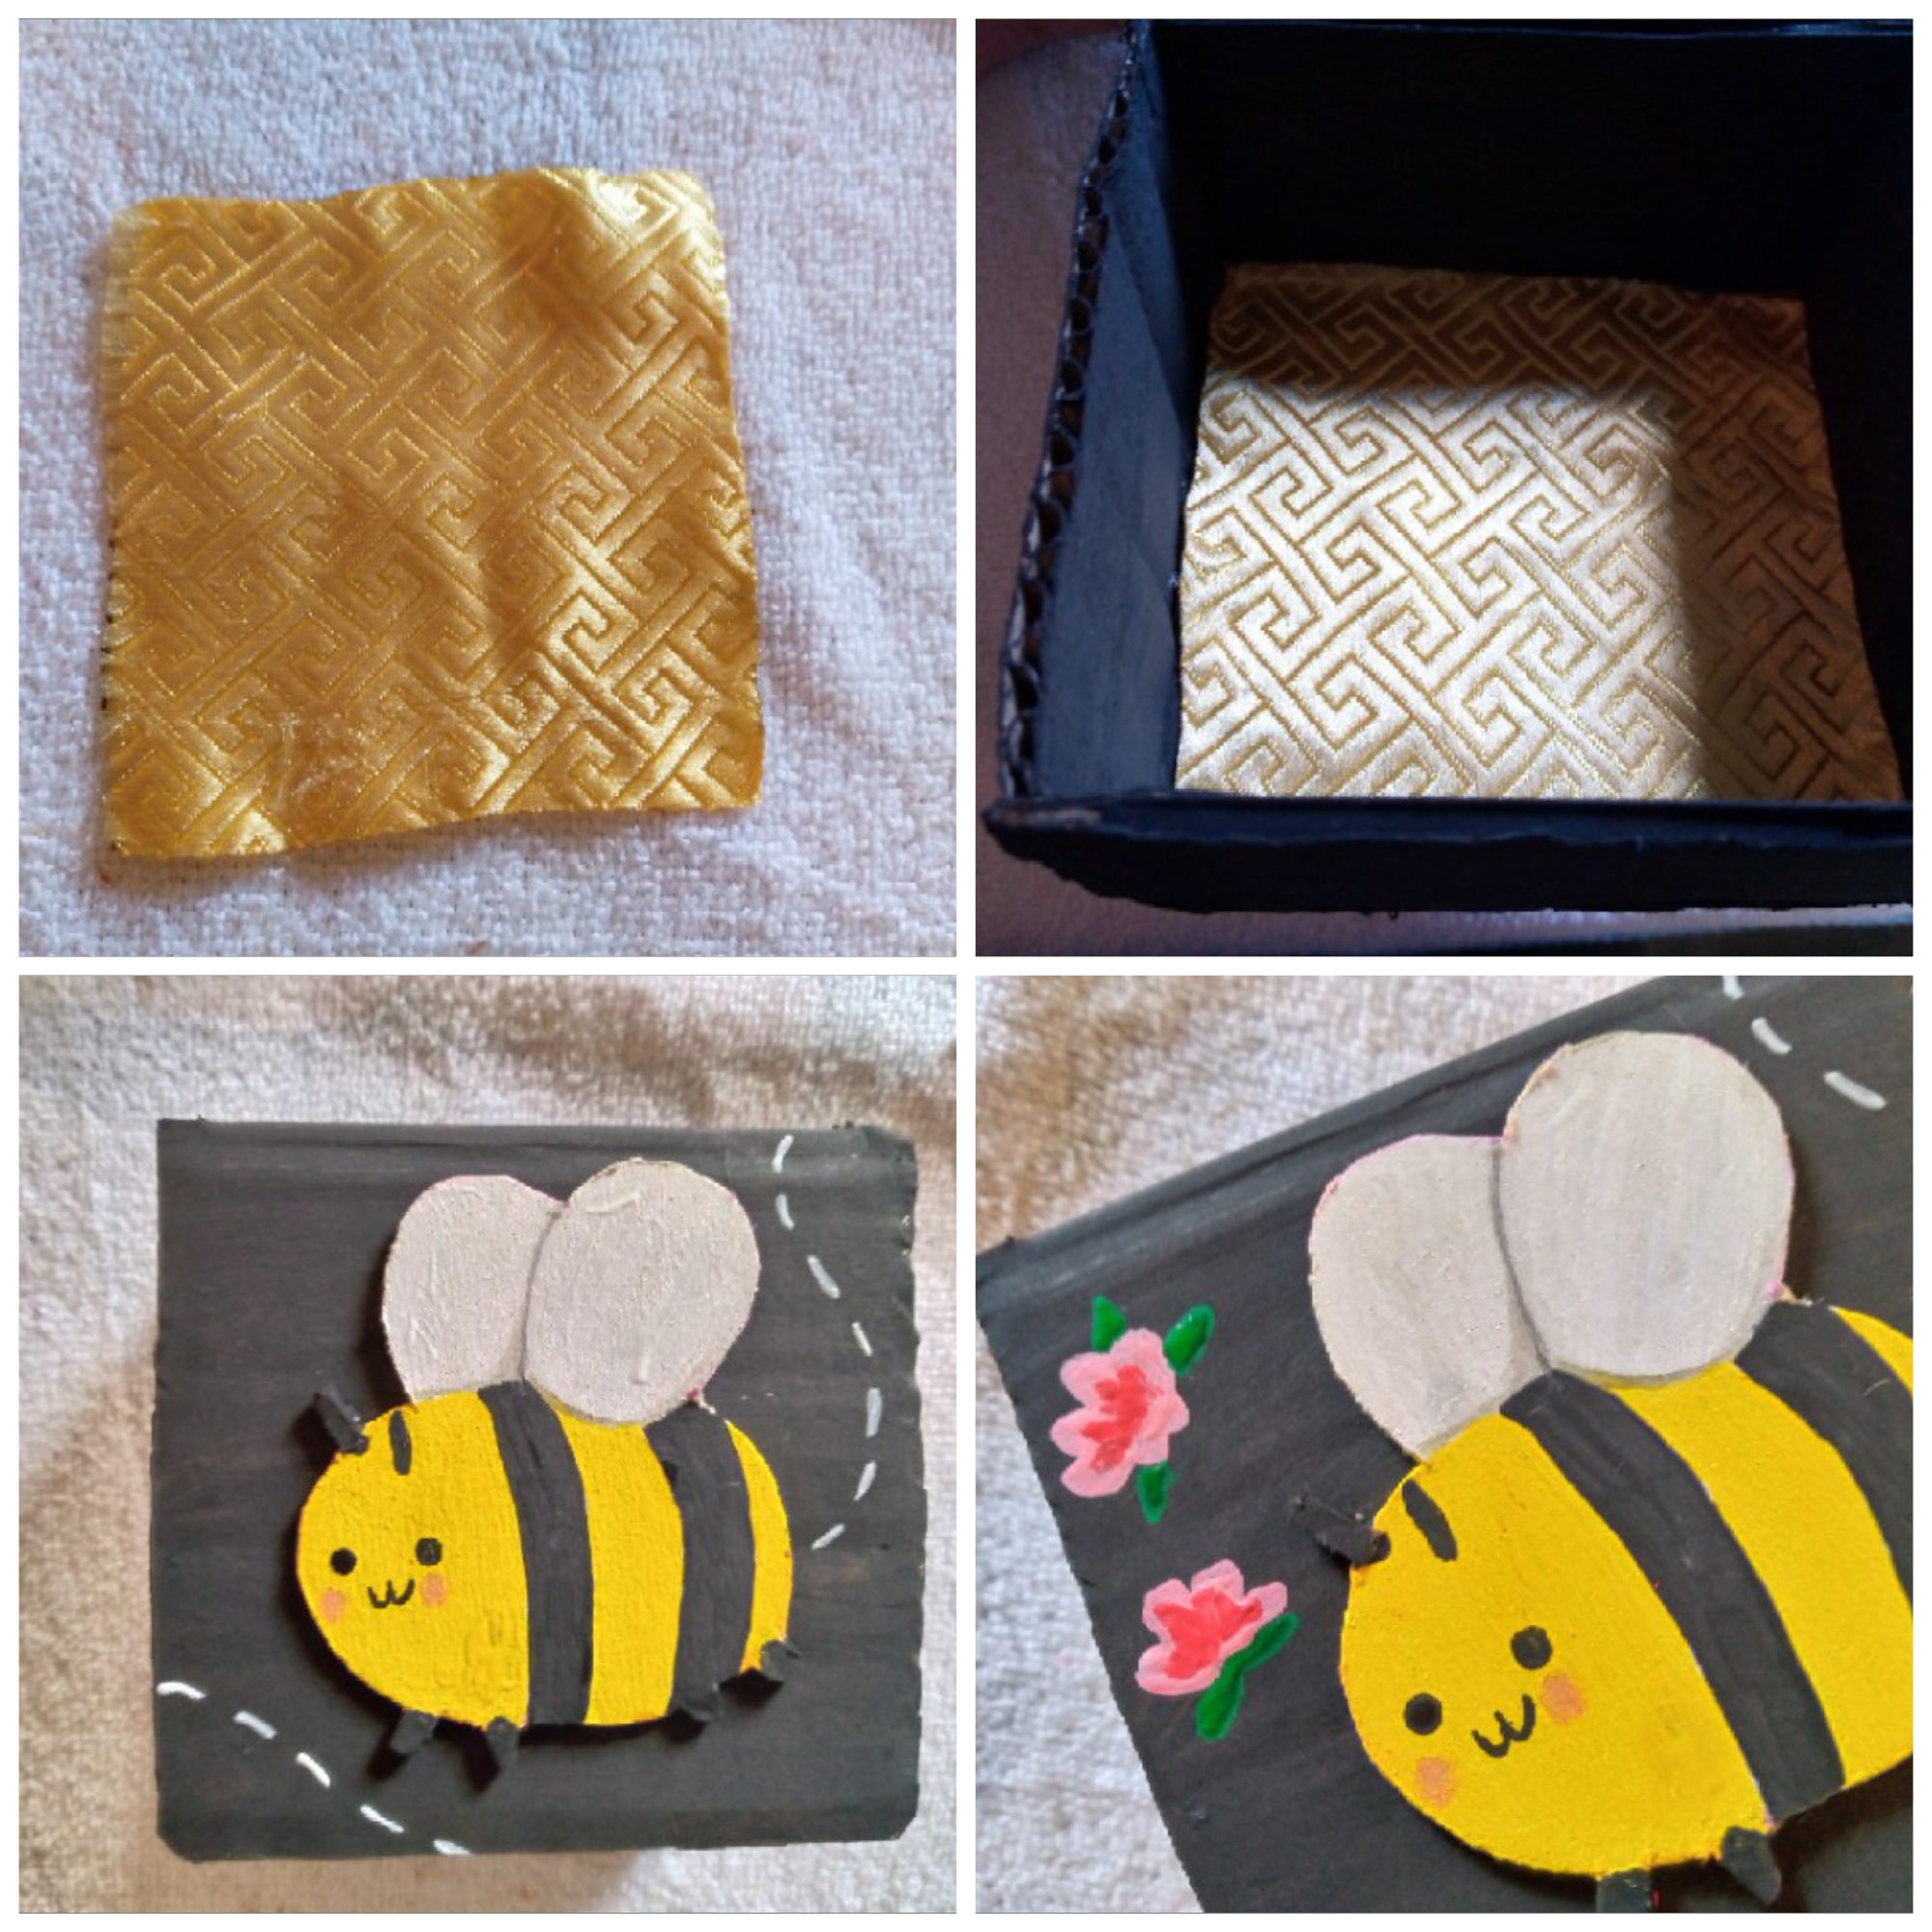
To make our little bee 🐝✨ we are going to draw the round body, the wings and the face on a piece of cardboard. It should be noted that this little bee is a cute little bee, so I will make its face with two dots on both sides and a wavy mouth like the very kawaii anime faces 🤭 then I made the antennae and legs and with the scissors we are going to cut out the figure of our bee and paint the base in white on the cardboard since painting it in another color will make our painting stand out much more.
Paso 05
Step 05
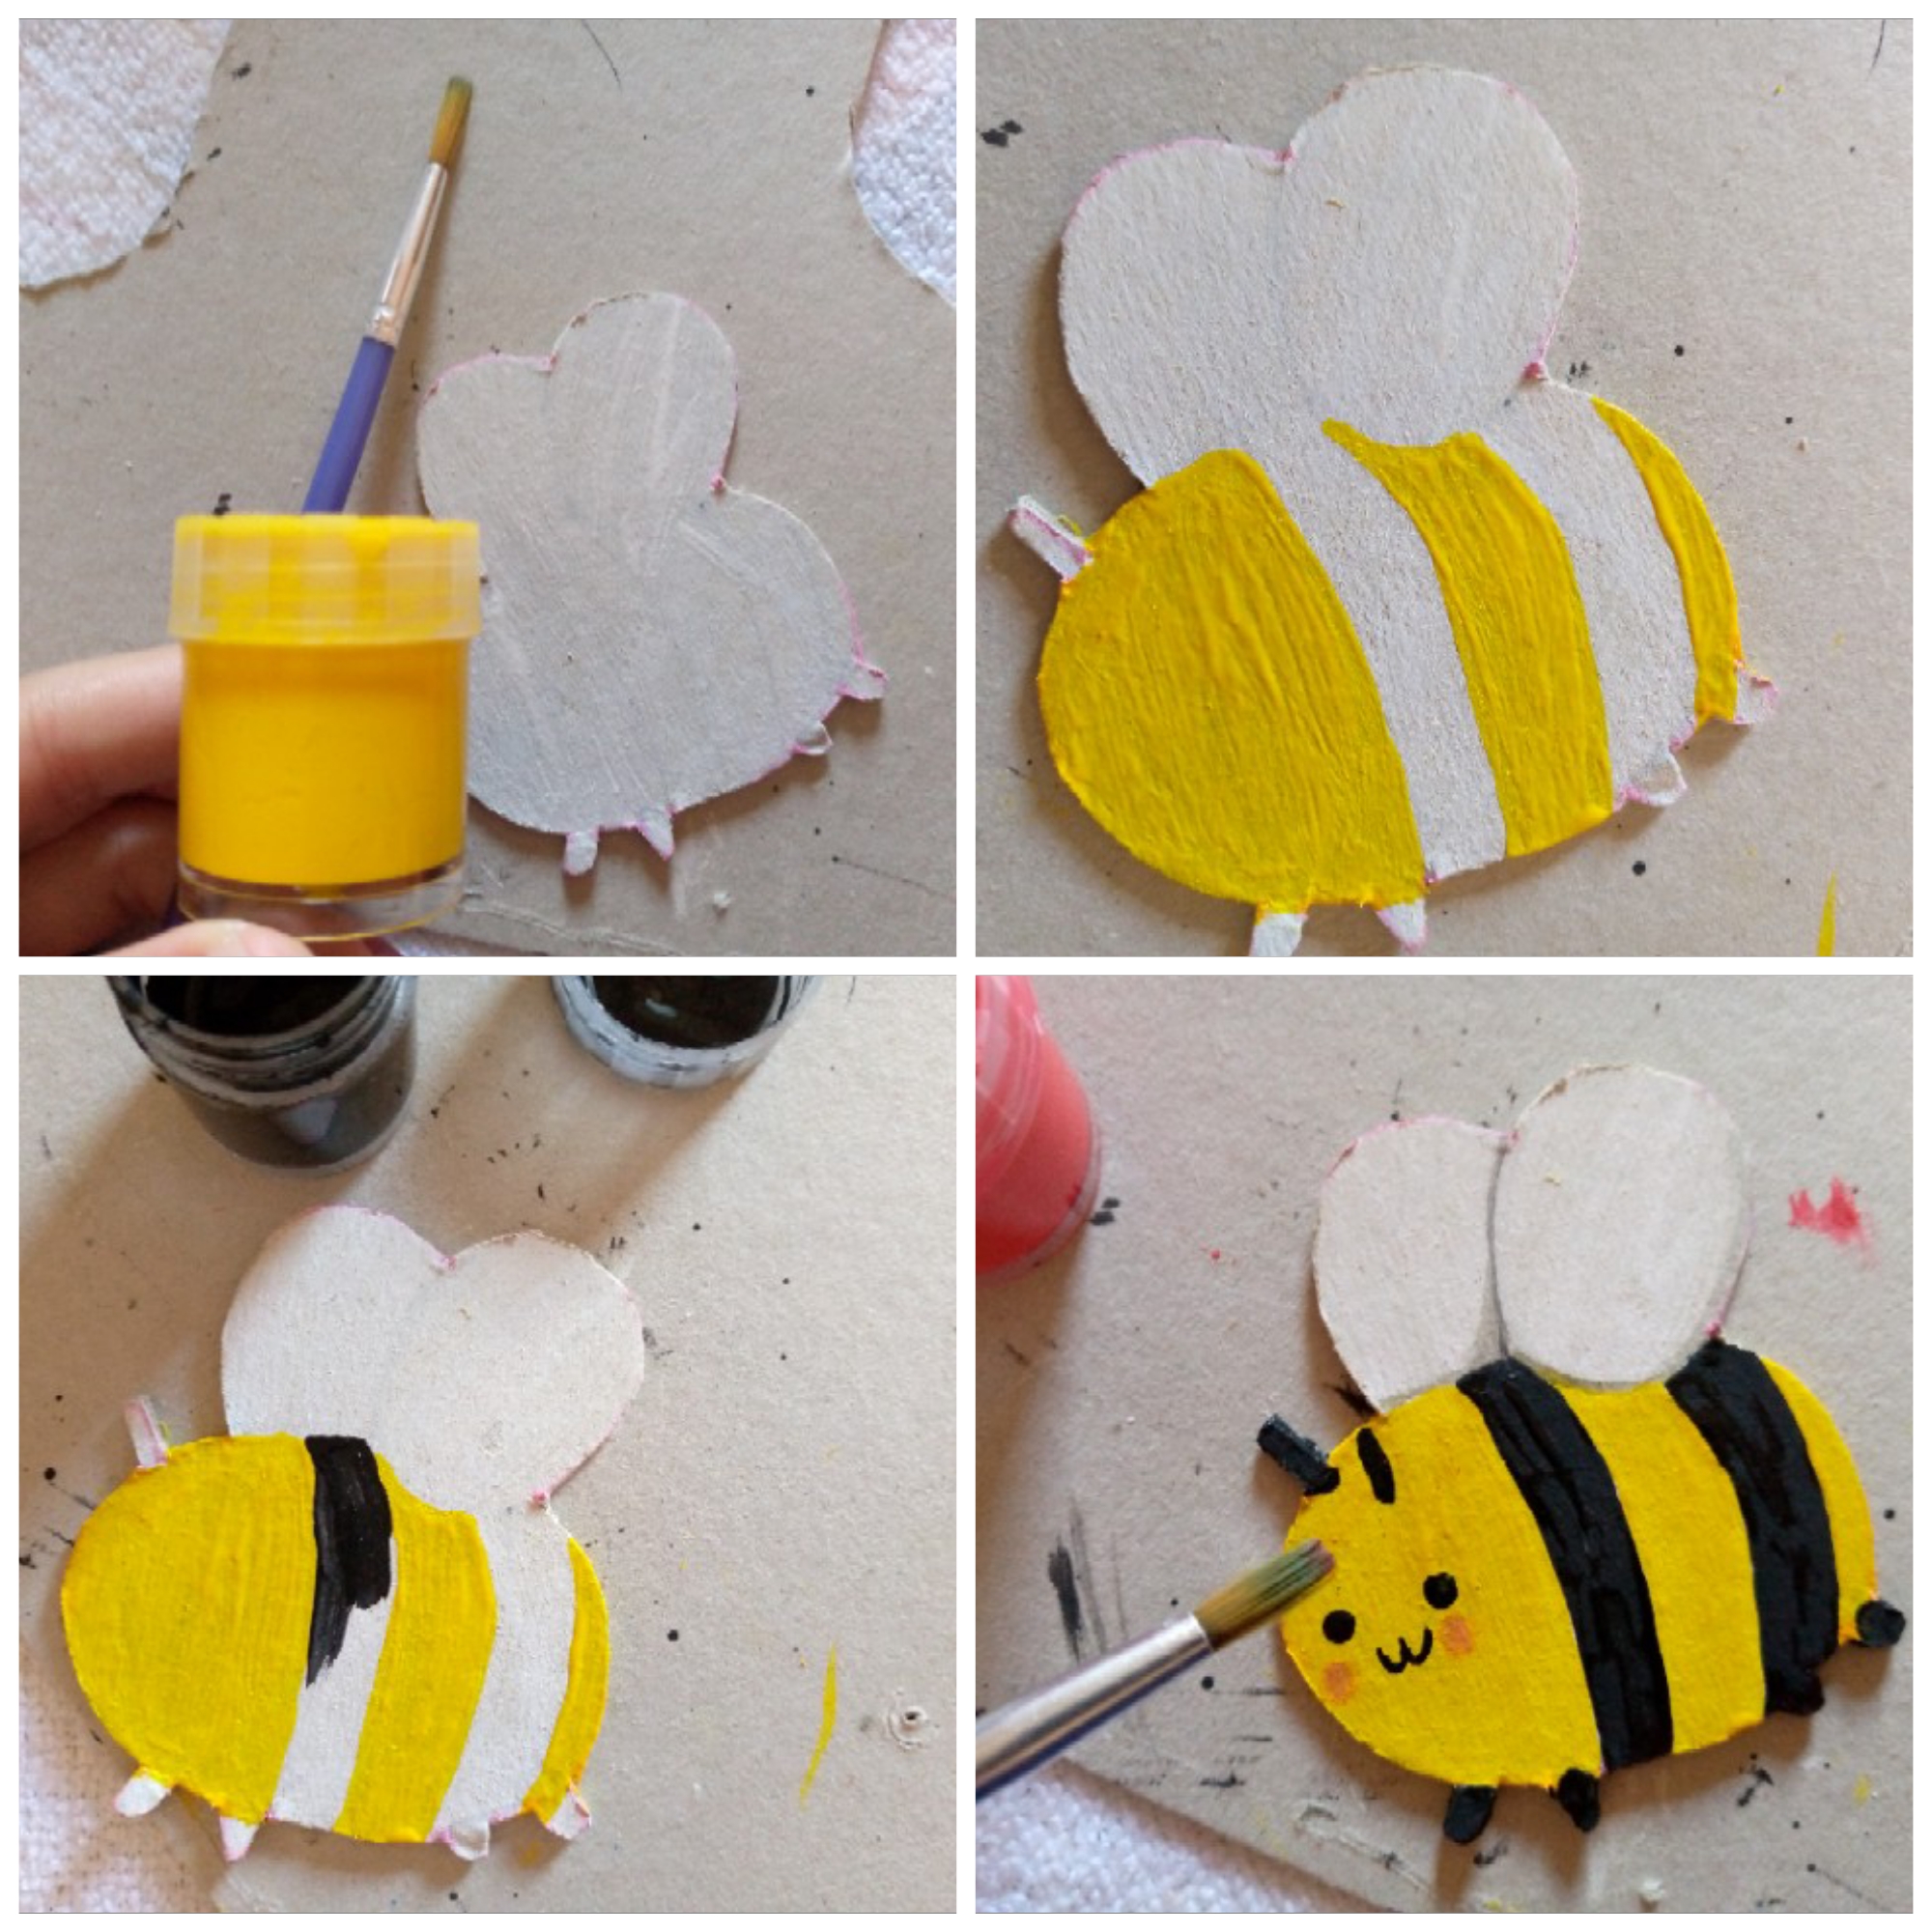
With the yellow paint I paint the face and the rest of the body since as they have yellow and black stripes we went on to do it like this on their little body ☺️then we paint the face and with a little bit of red paint we blur it on the cardboard and paint their cheeks without pressing the brush so that they are not very marked, the idea is that she looks a little blushed with this color.
Paso 06
Step 06
We finish by cutting a piece of fabric the same width and length as the jewelry box and we are going to glue it inside at the bottom or our base so that the clothes and jewelry that we insert there are not damaged but are kept, we go on to paint some flowers with their leaves and some animated details of bees like the path they leave in the air and so we finish this cute jewelry box. 😍

🐝Resultado:🐝
Result:

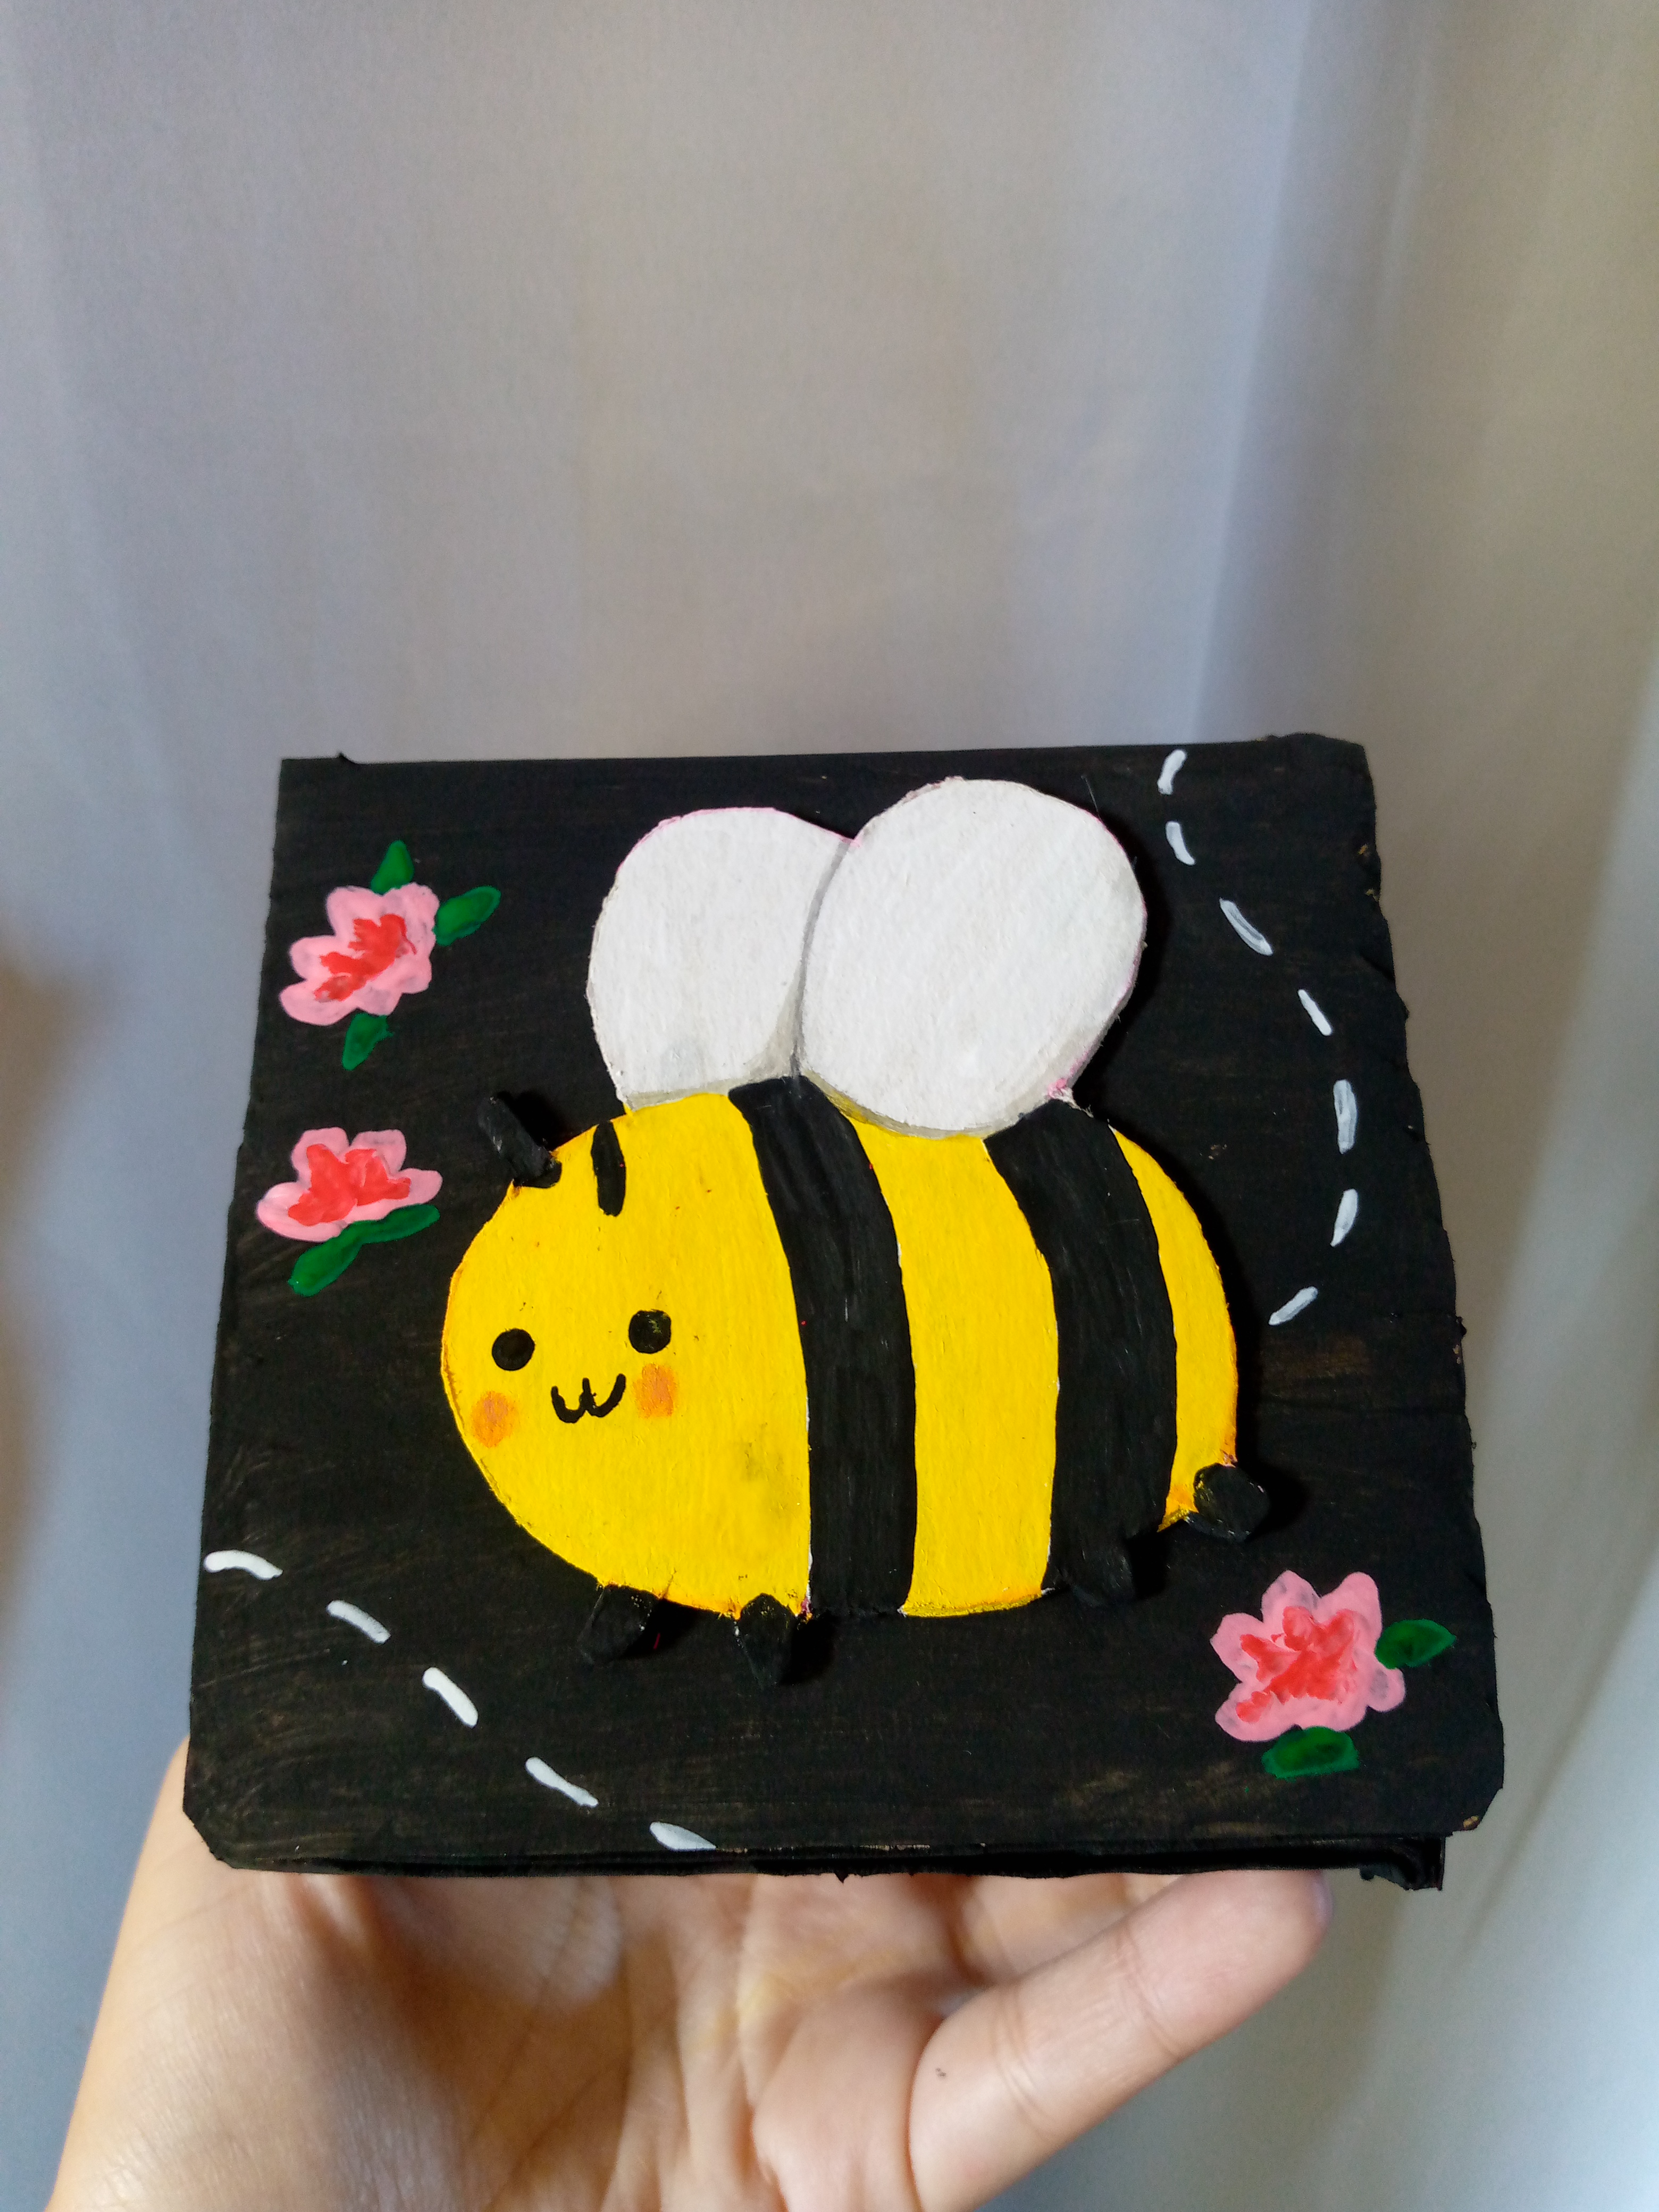
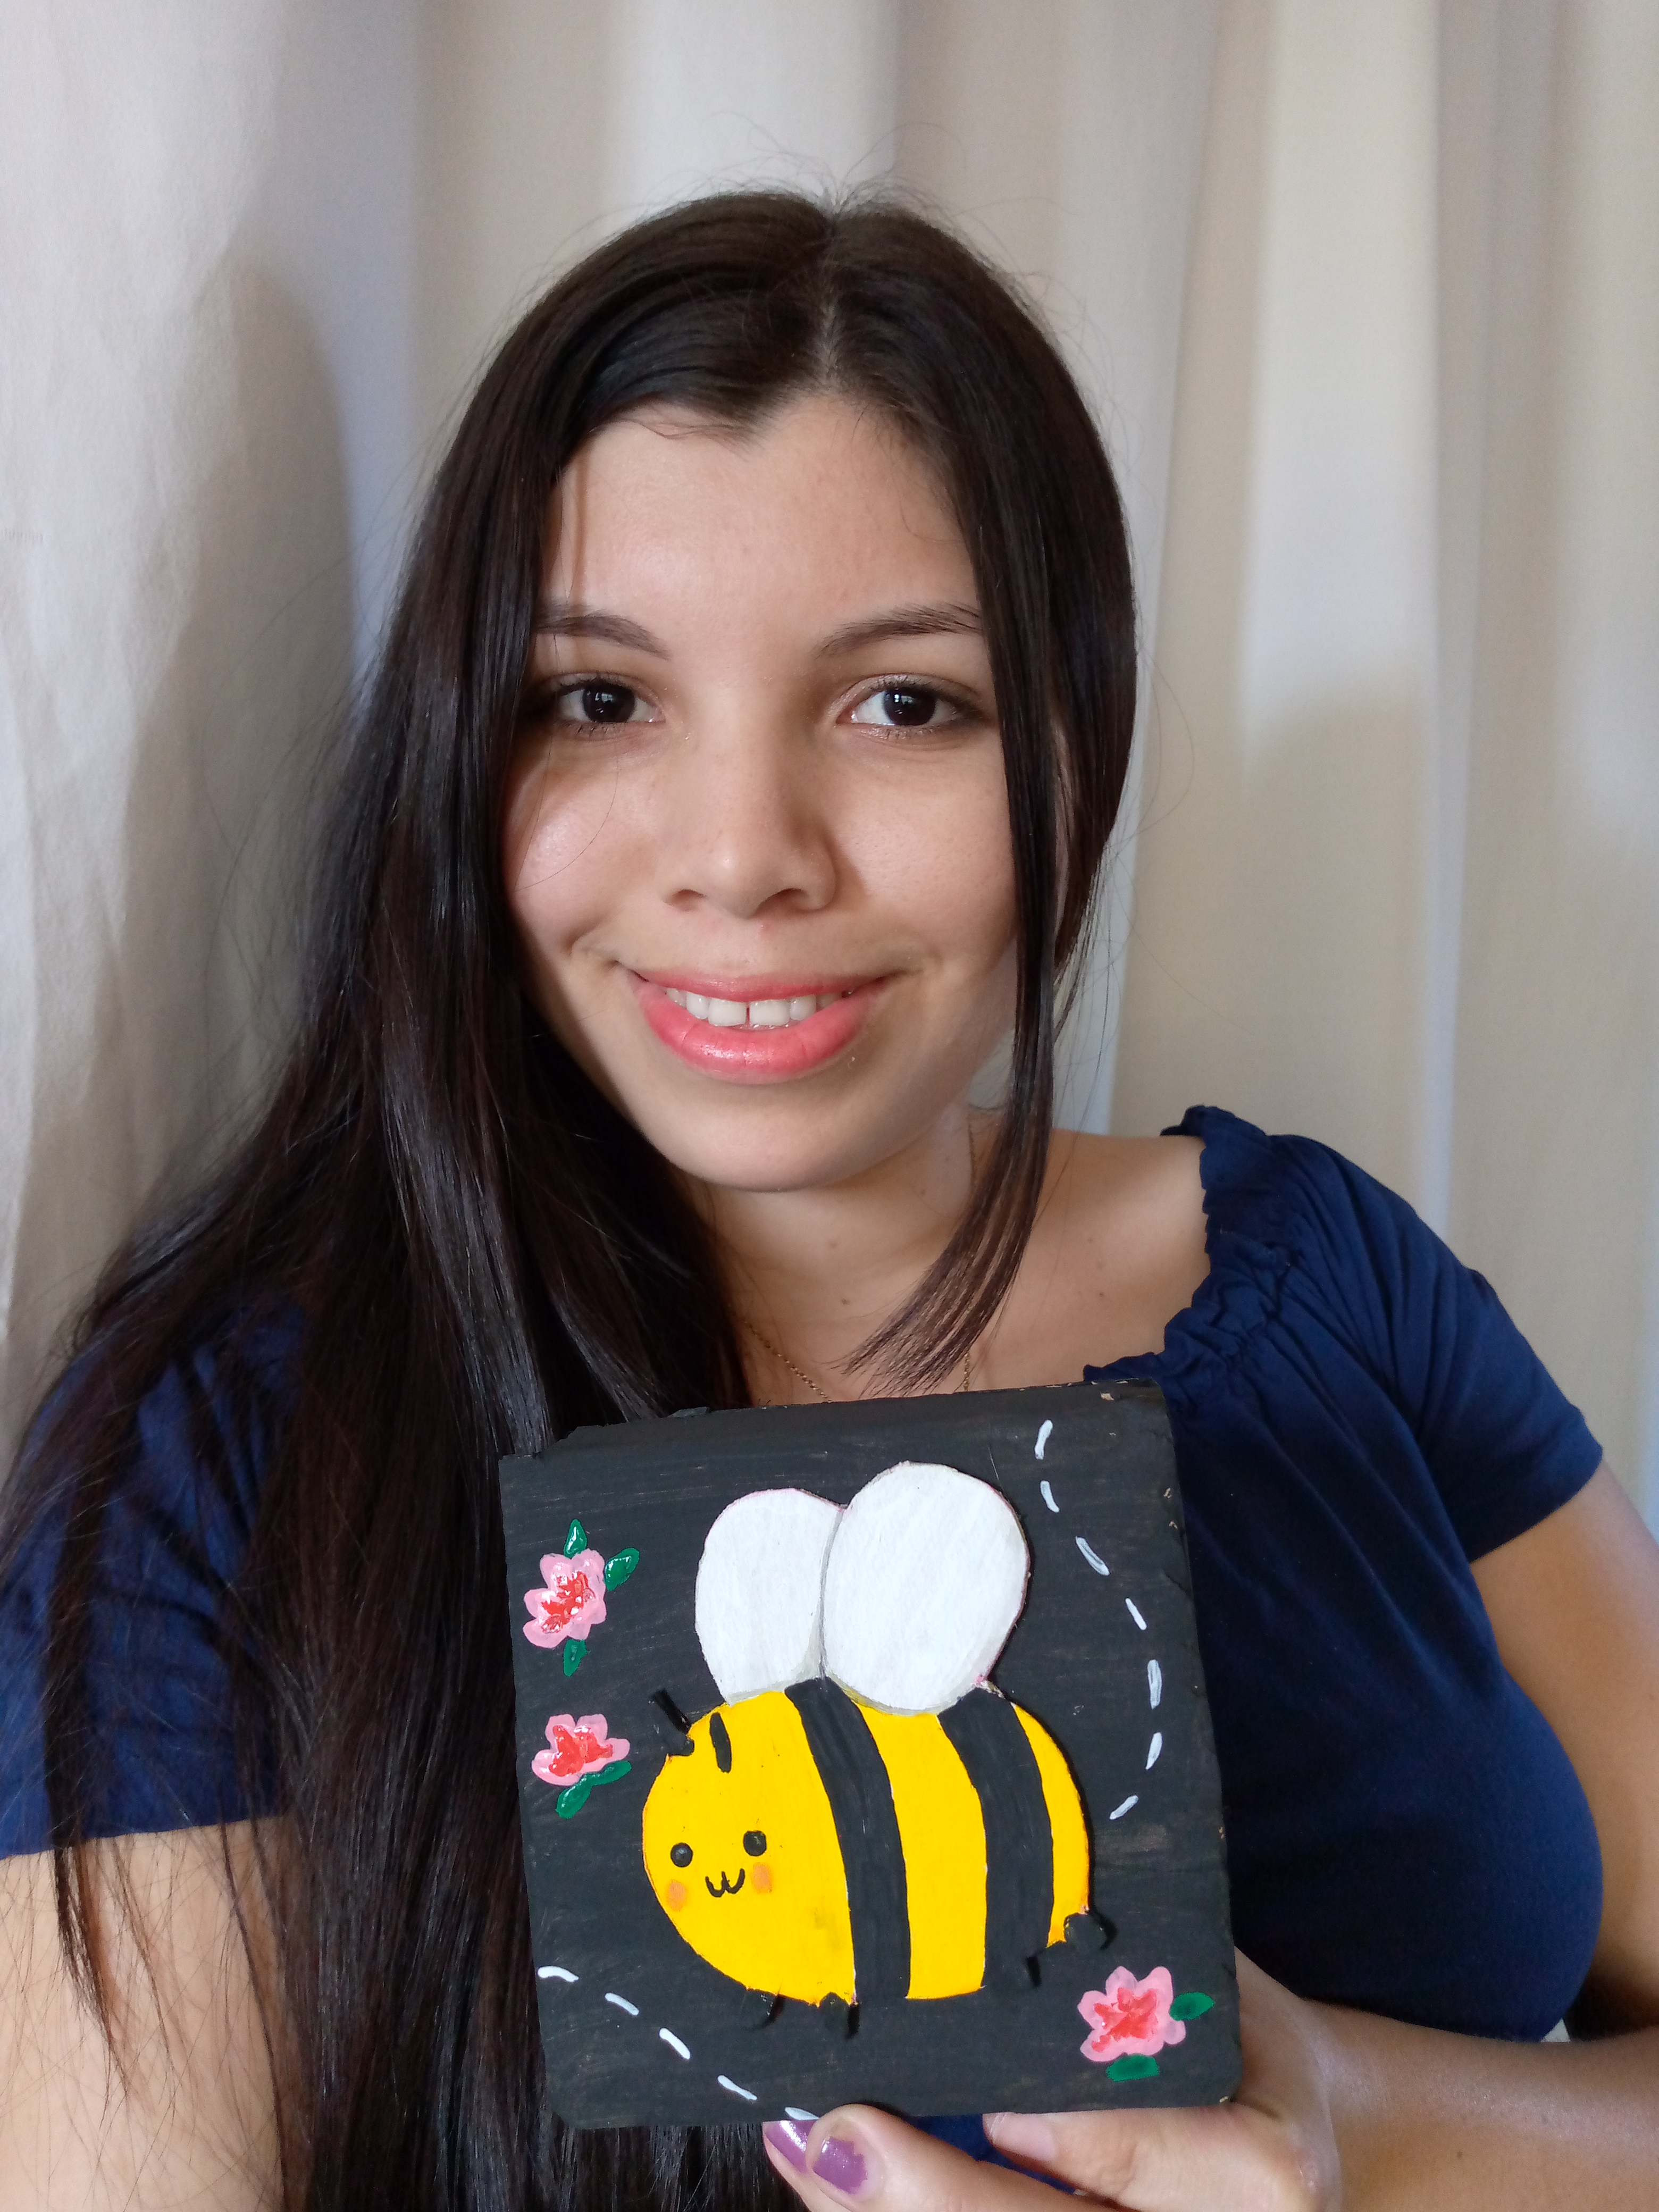
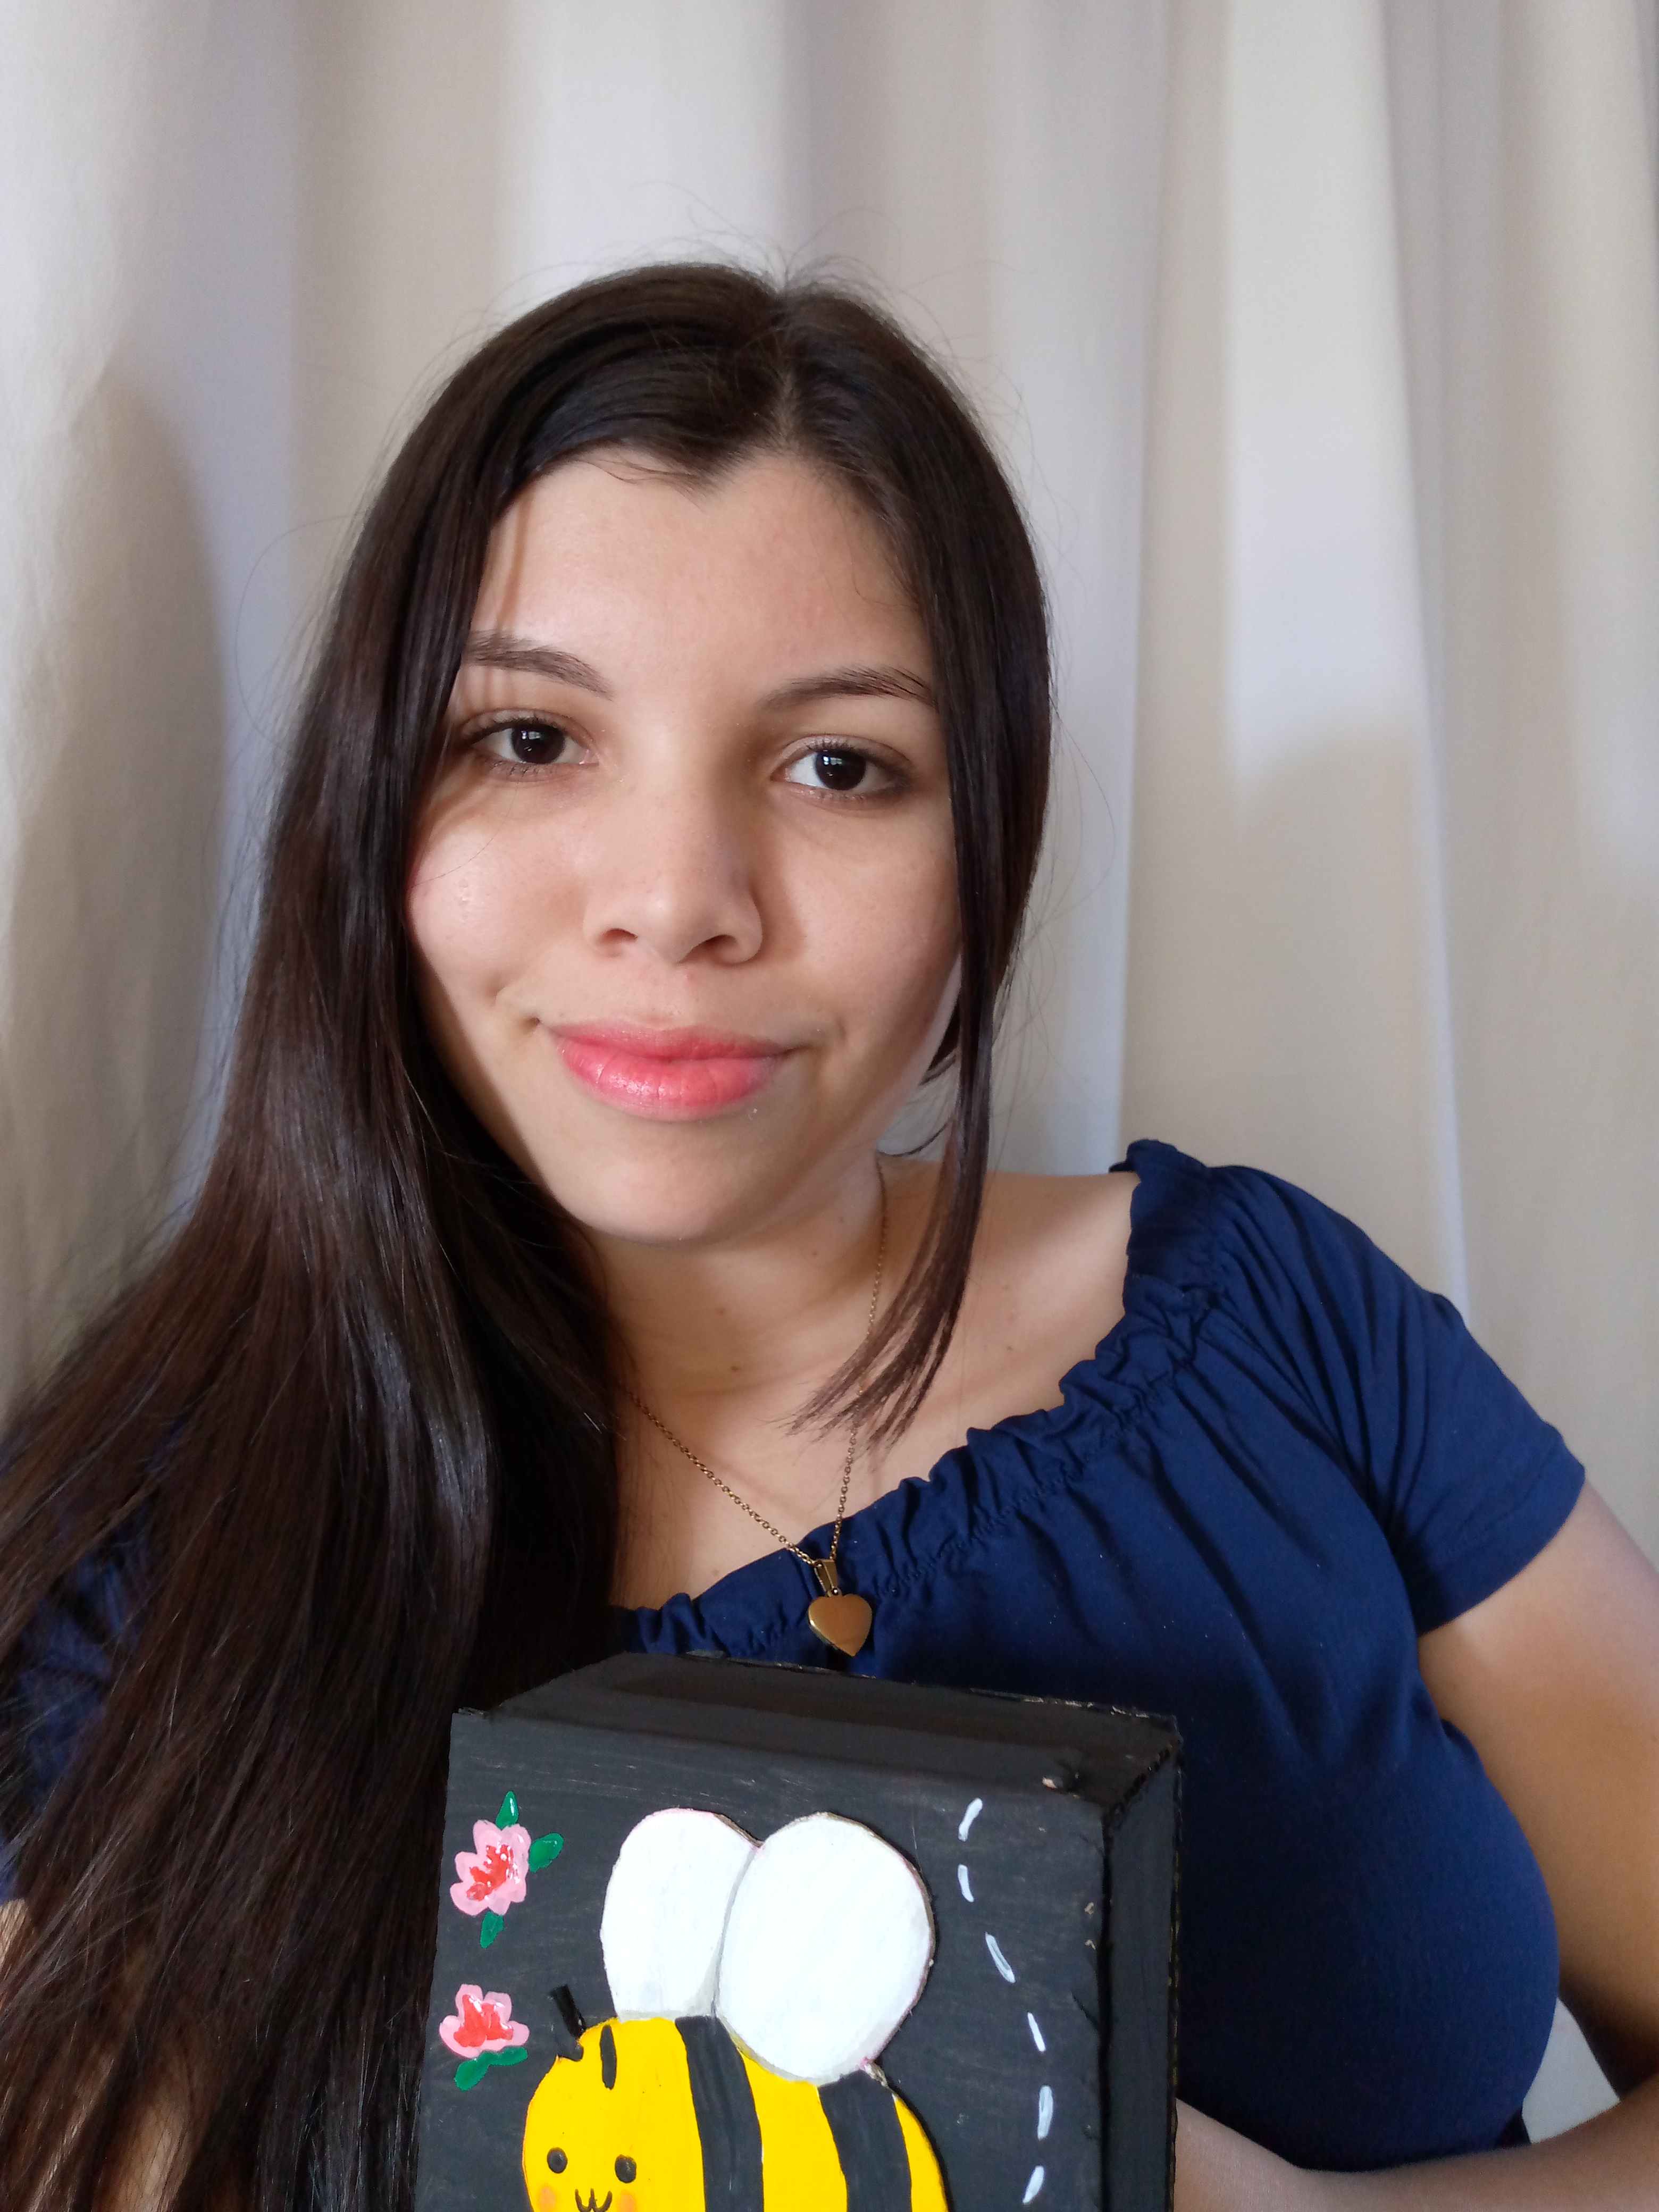
I hope you like my work a lot and tell me what you think of it 😇 I really liked it... I thank you for getting to the end of this blog and I hope to continue sharing some of my tutorials with you. Below I'll leave you with photos of the final result and I'll see you another time. I wish you a happy and beautiful afternoon.
¡Cuidemos las abejitas!🐝
Let's take care of the bees!🐝

Genial quedó linda la cajita ideal para guardar joyas....suerte en el concurso
@leidys01✨hola amiga feliz noche muchísimas gracias ❤️
Saludos @anne002, que hermoso joyero, la abeja se ve adorable, las joyas estarán organizadas y bien cuidadas por la abejita, has hecho un gran trabajo,además una genial idea para reciclar y crear lindos proyectos. Éxito en el concurso! 🐝🐝 ❤️
Feliz fin de semana!
!DIY
Hola amiga lindo día me alegra te haya gustado mucho gracias por el apoyo, bendiciones 🥰✨
You can query your personal balance by
!DIYSTATSBeautiful creativity.
Thanks 👍
The jewelry box is a useful work. Thank you for entering the contest. Good luck
Oh thanks ♥️☺️Thanks for the support
está muy bonito, un trabajo muy bueno!
it's very nice, very good work!
¡Felicitaciones!
Estás participando para optar a la mención especial que se efectuará el domingo 11 de agosto del 2024 a las 8:00 pm (hora de Venezuela), gracias a la cual el autor del artículo seleccionado recibirá la cantidad de 1 HIVE transferida a su cuenta.
¡También has recibido 1 ENTROKEN! El token del PROYECTO ENTROPÍA impulsado por la plataforma Steem-Engine.
1. Invierte en el PROYECTO ENTROPÍA y recibe ganancias semanalmente. Entra aquí para más información.
2. Contáctanos en Discord: https://discord.gg/hkCjFeb
3. Suscríbete a nuestra COMUNIDAD y apoya al trail de @Entropia y así podrás ganar recompensas de curación de forma automática. Entra aquí para más información sobre nuestro trail.
4. Visita nuestro canal de Youtube.
Atentamente
El equipo de curación del PROYECTO ENTROPÍA
Te ha quedado muy bonito y original amiga. Suerte y felicidades para el concurso!
Feliz noche ..🌛muchas gracias amiga @divergente1
Quedó muy bonito , está muy tierna la abejita
Gracias amiga✨☺️feliz y bonita noche
You are so creative 😁 I love your cute Bee 🐝
!diy
Thanks @princess-dara😊
You can query your personal balance by
!DIYSTATS