✨Making a simple bag with wrapping paper🎀🛍️

.jpg)
Hello friends, how are you? I hope you are all doing well on this beautiful day. I am pleased to greet each and every one of you and welcome to this creative blog where I will be teaching you how to make these cute little bags with wrapping paper that you can make in the comfort of your own home.
I made this little bag to give a nice gift to my friend who I will be seeing soon and I always give her things that she likes just as she likes me, so this time I wanted to make her a more peculiar detail and something that she could do at home since she likes those little things that I make completely by hand, I will be using a paoel pattern to make them so you can make them too, I invite you to see the process.

.jpg)
Materials:
- Pretty patterned wrapping paper
- Scissors
- Pencil
- Liquid silicone
- A piece of shiny foam in the color of your choice
- Pattern for the bag
.jpg)
Steps to follow:
Step 01
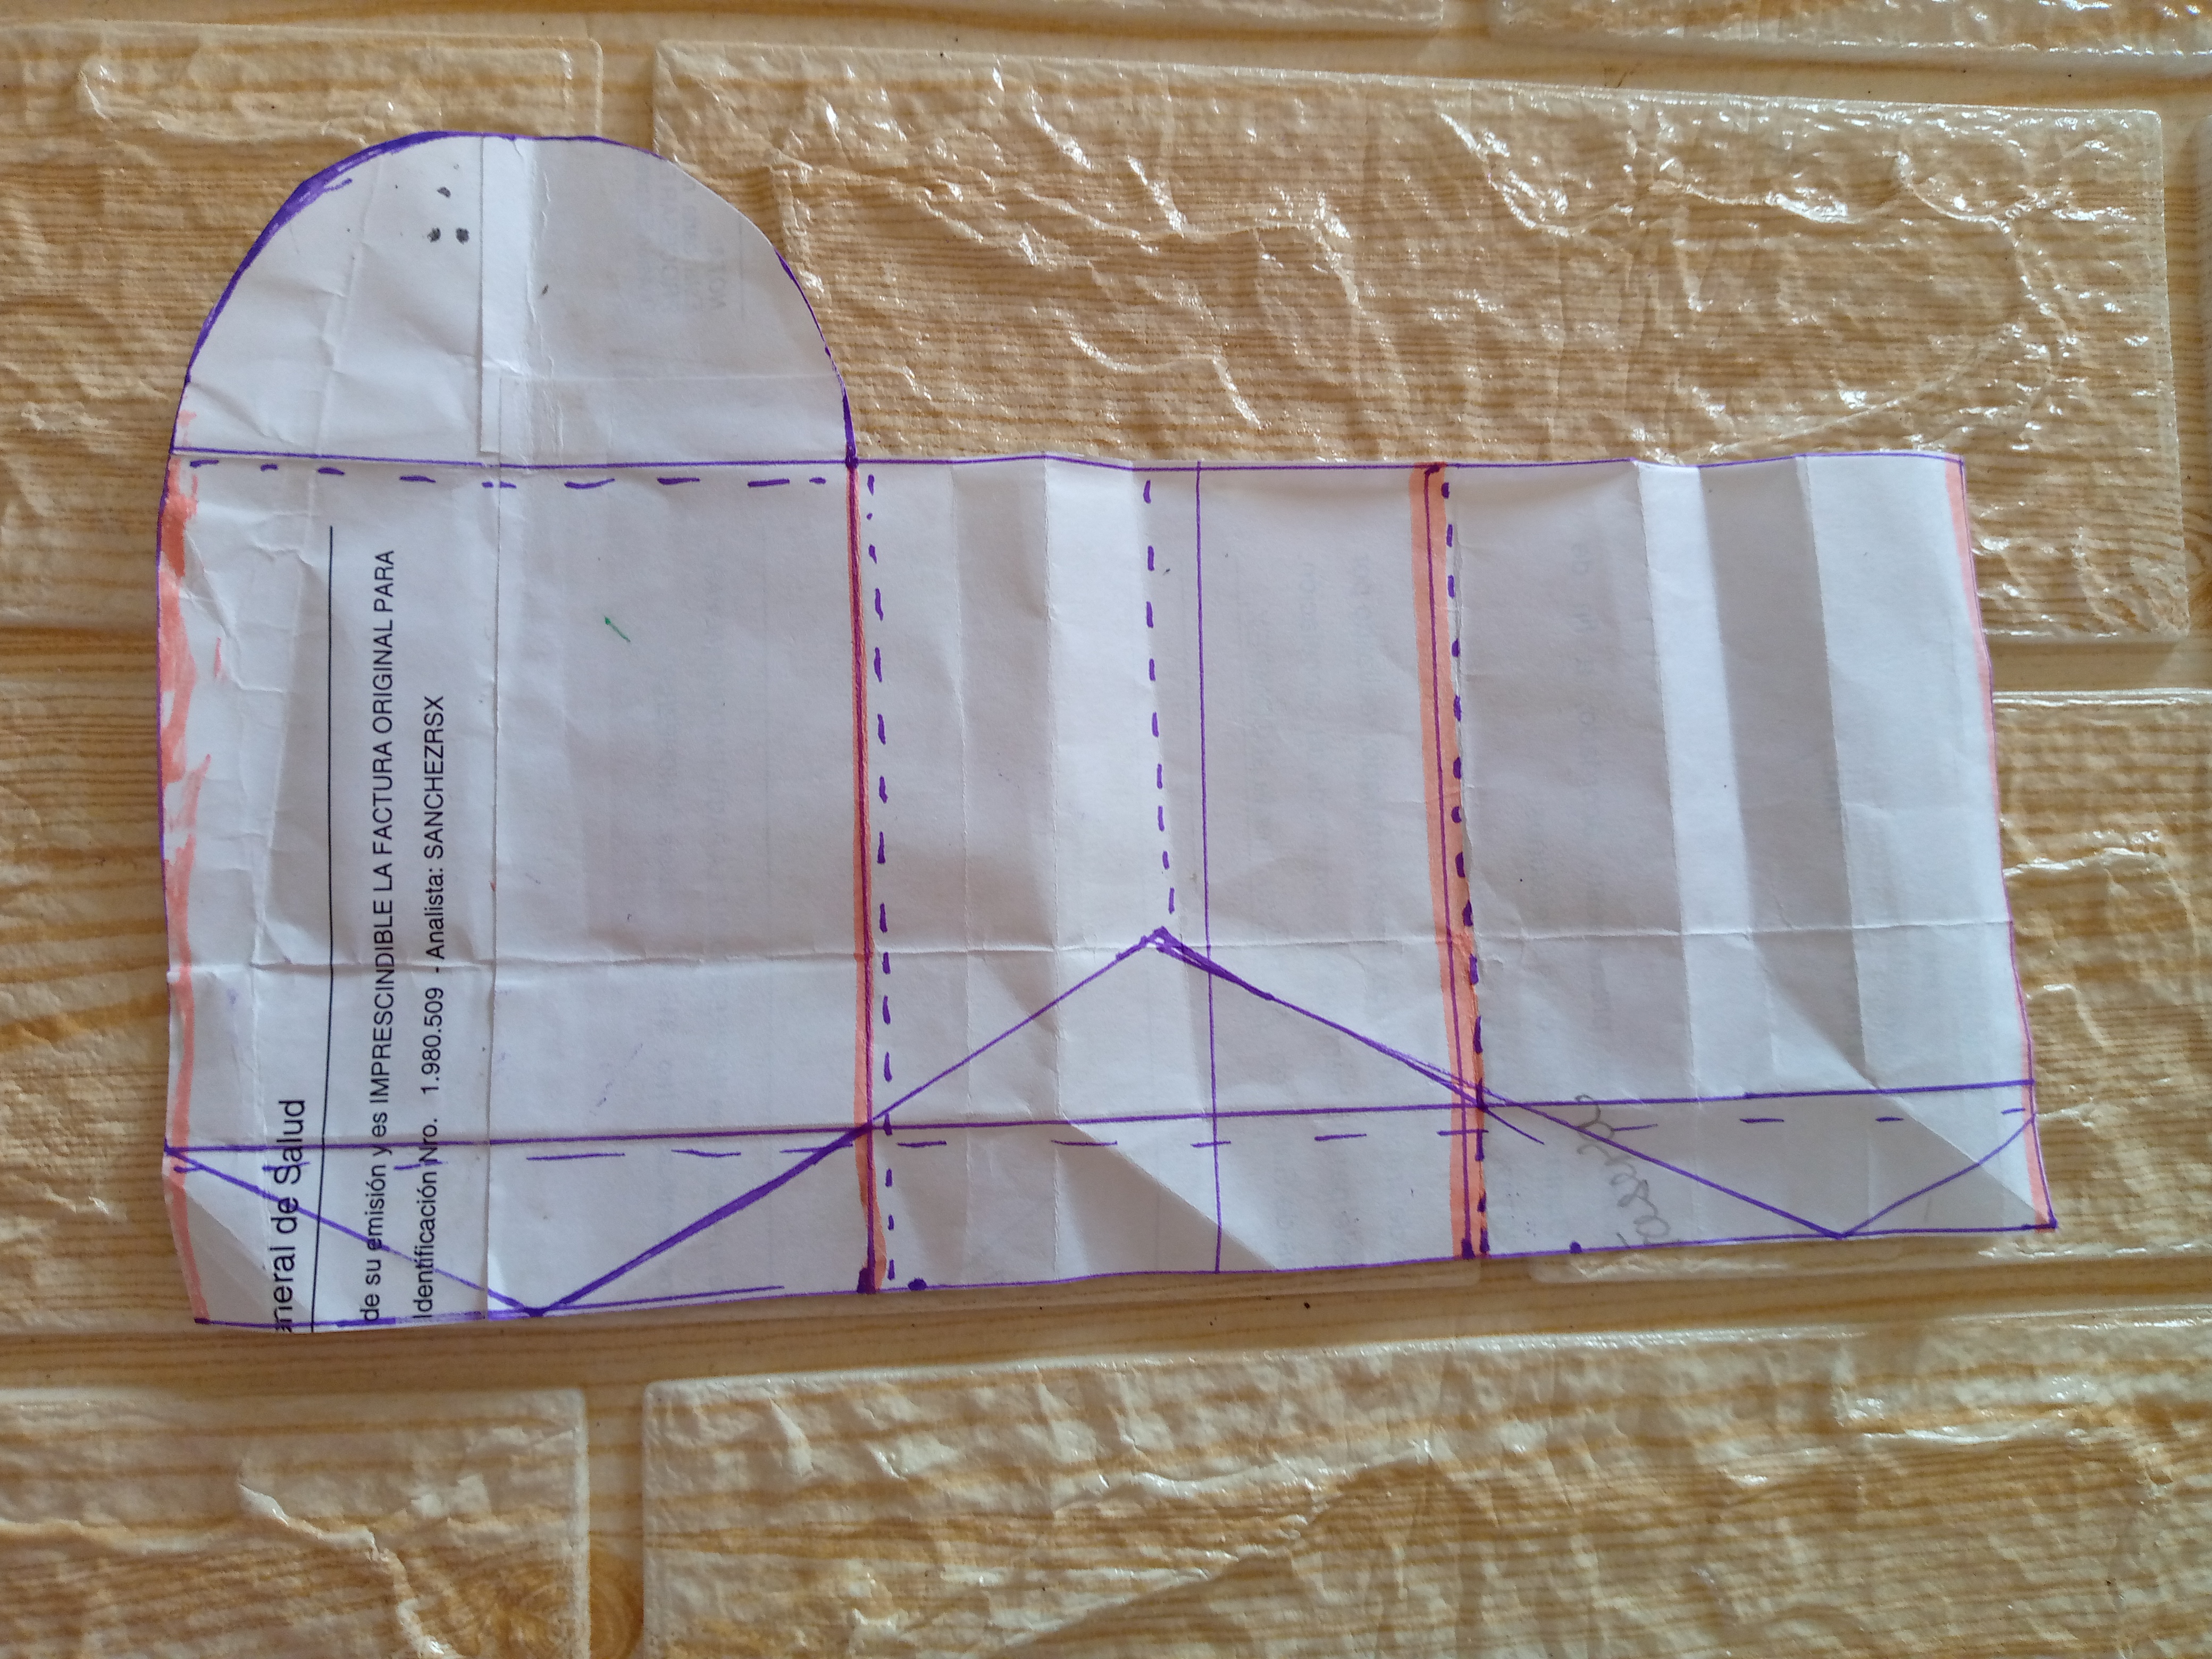
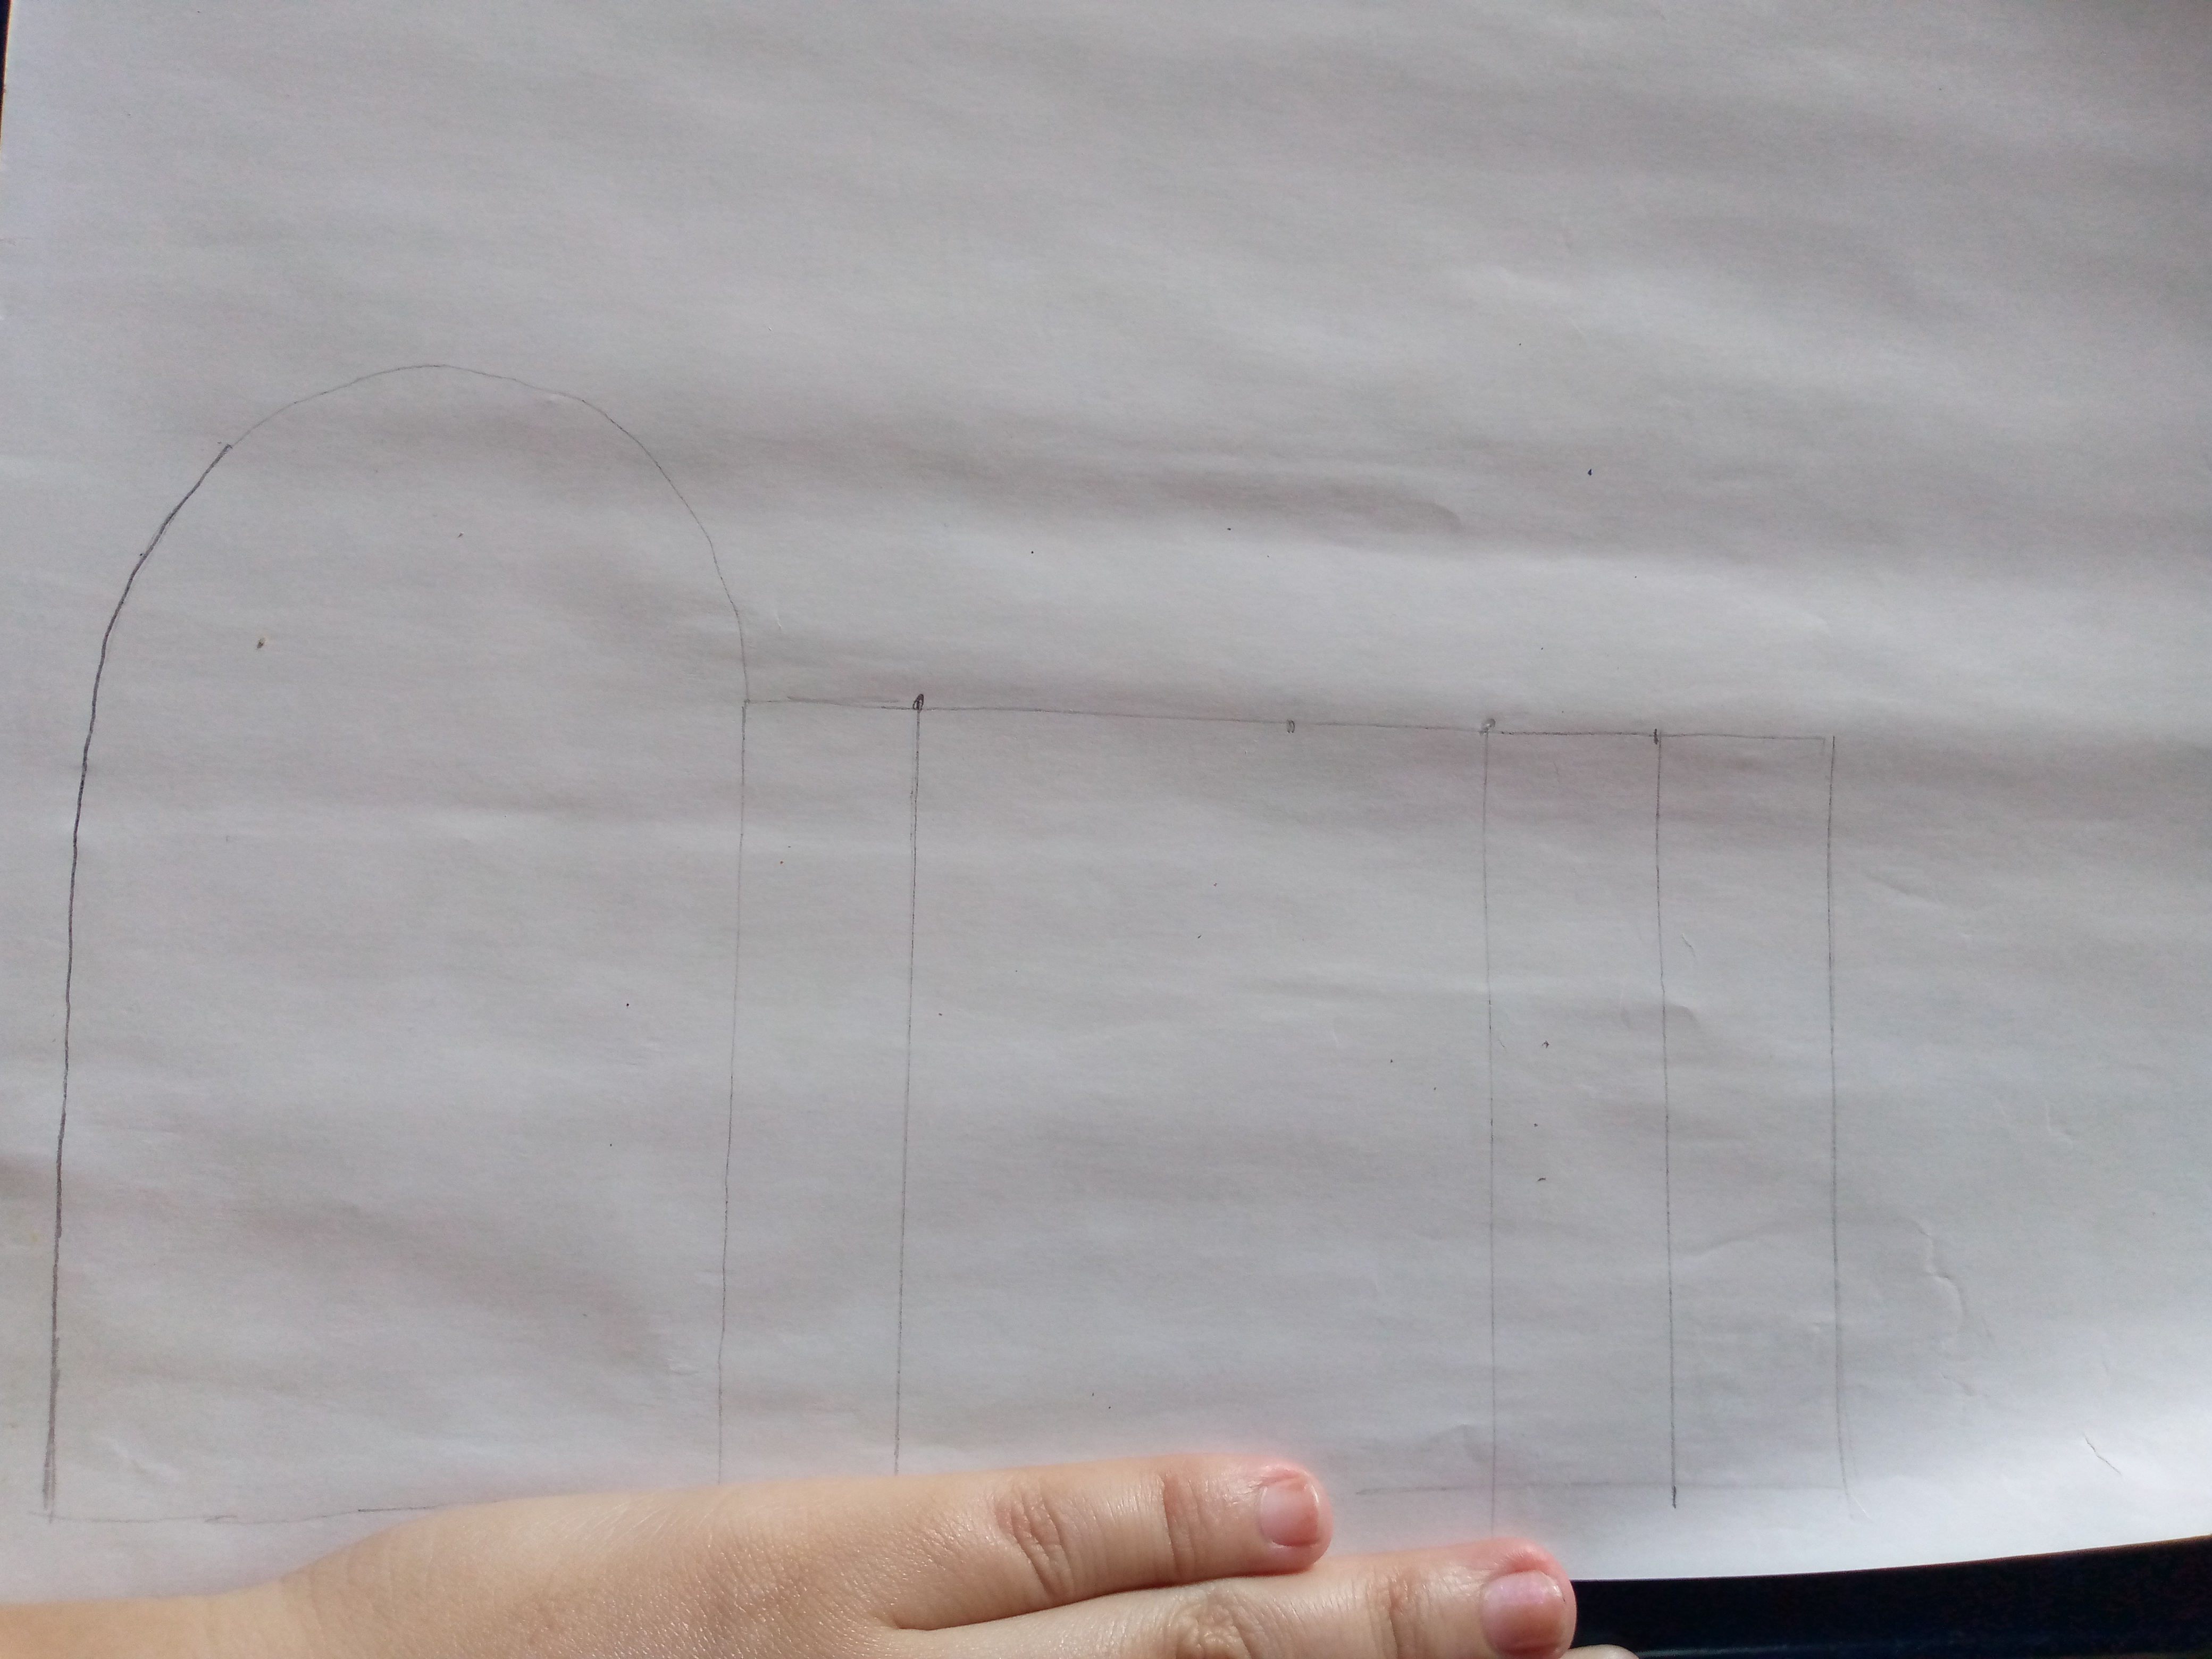
To start working we are going to mark the pattern of my bag on the wrapping paper on the inside and white part of the paper. There we will be marking or going over our pattern around the edges and with the help of our ruler we will make the marks where we will make the folds since this is where we will guide ourselves and we will know when it is time to fold and shape our bag and we will move on to cut our bag around the edge with the scissors.


Step 02
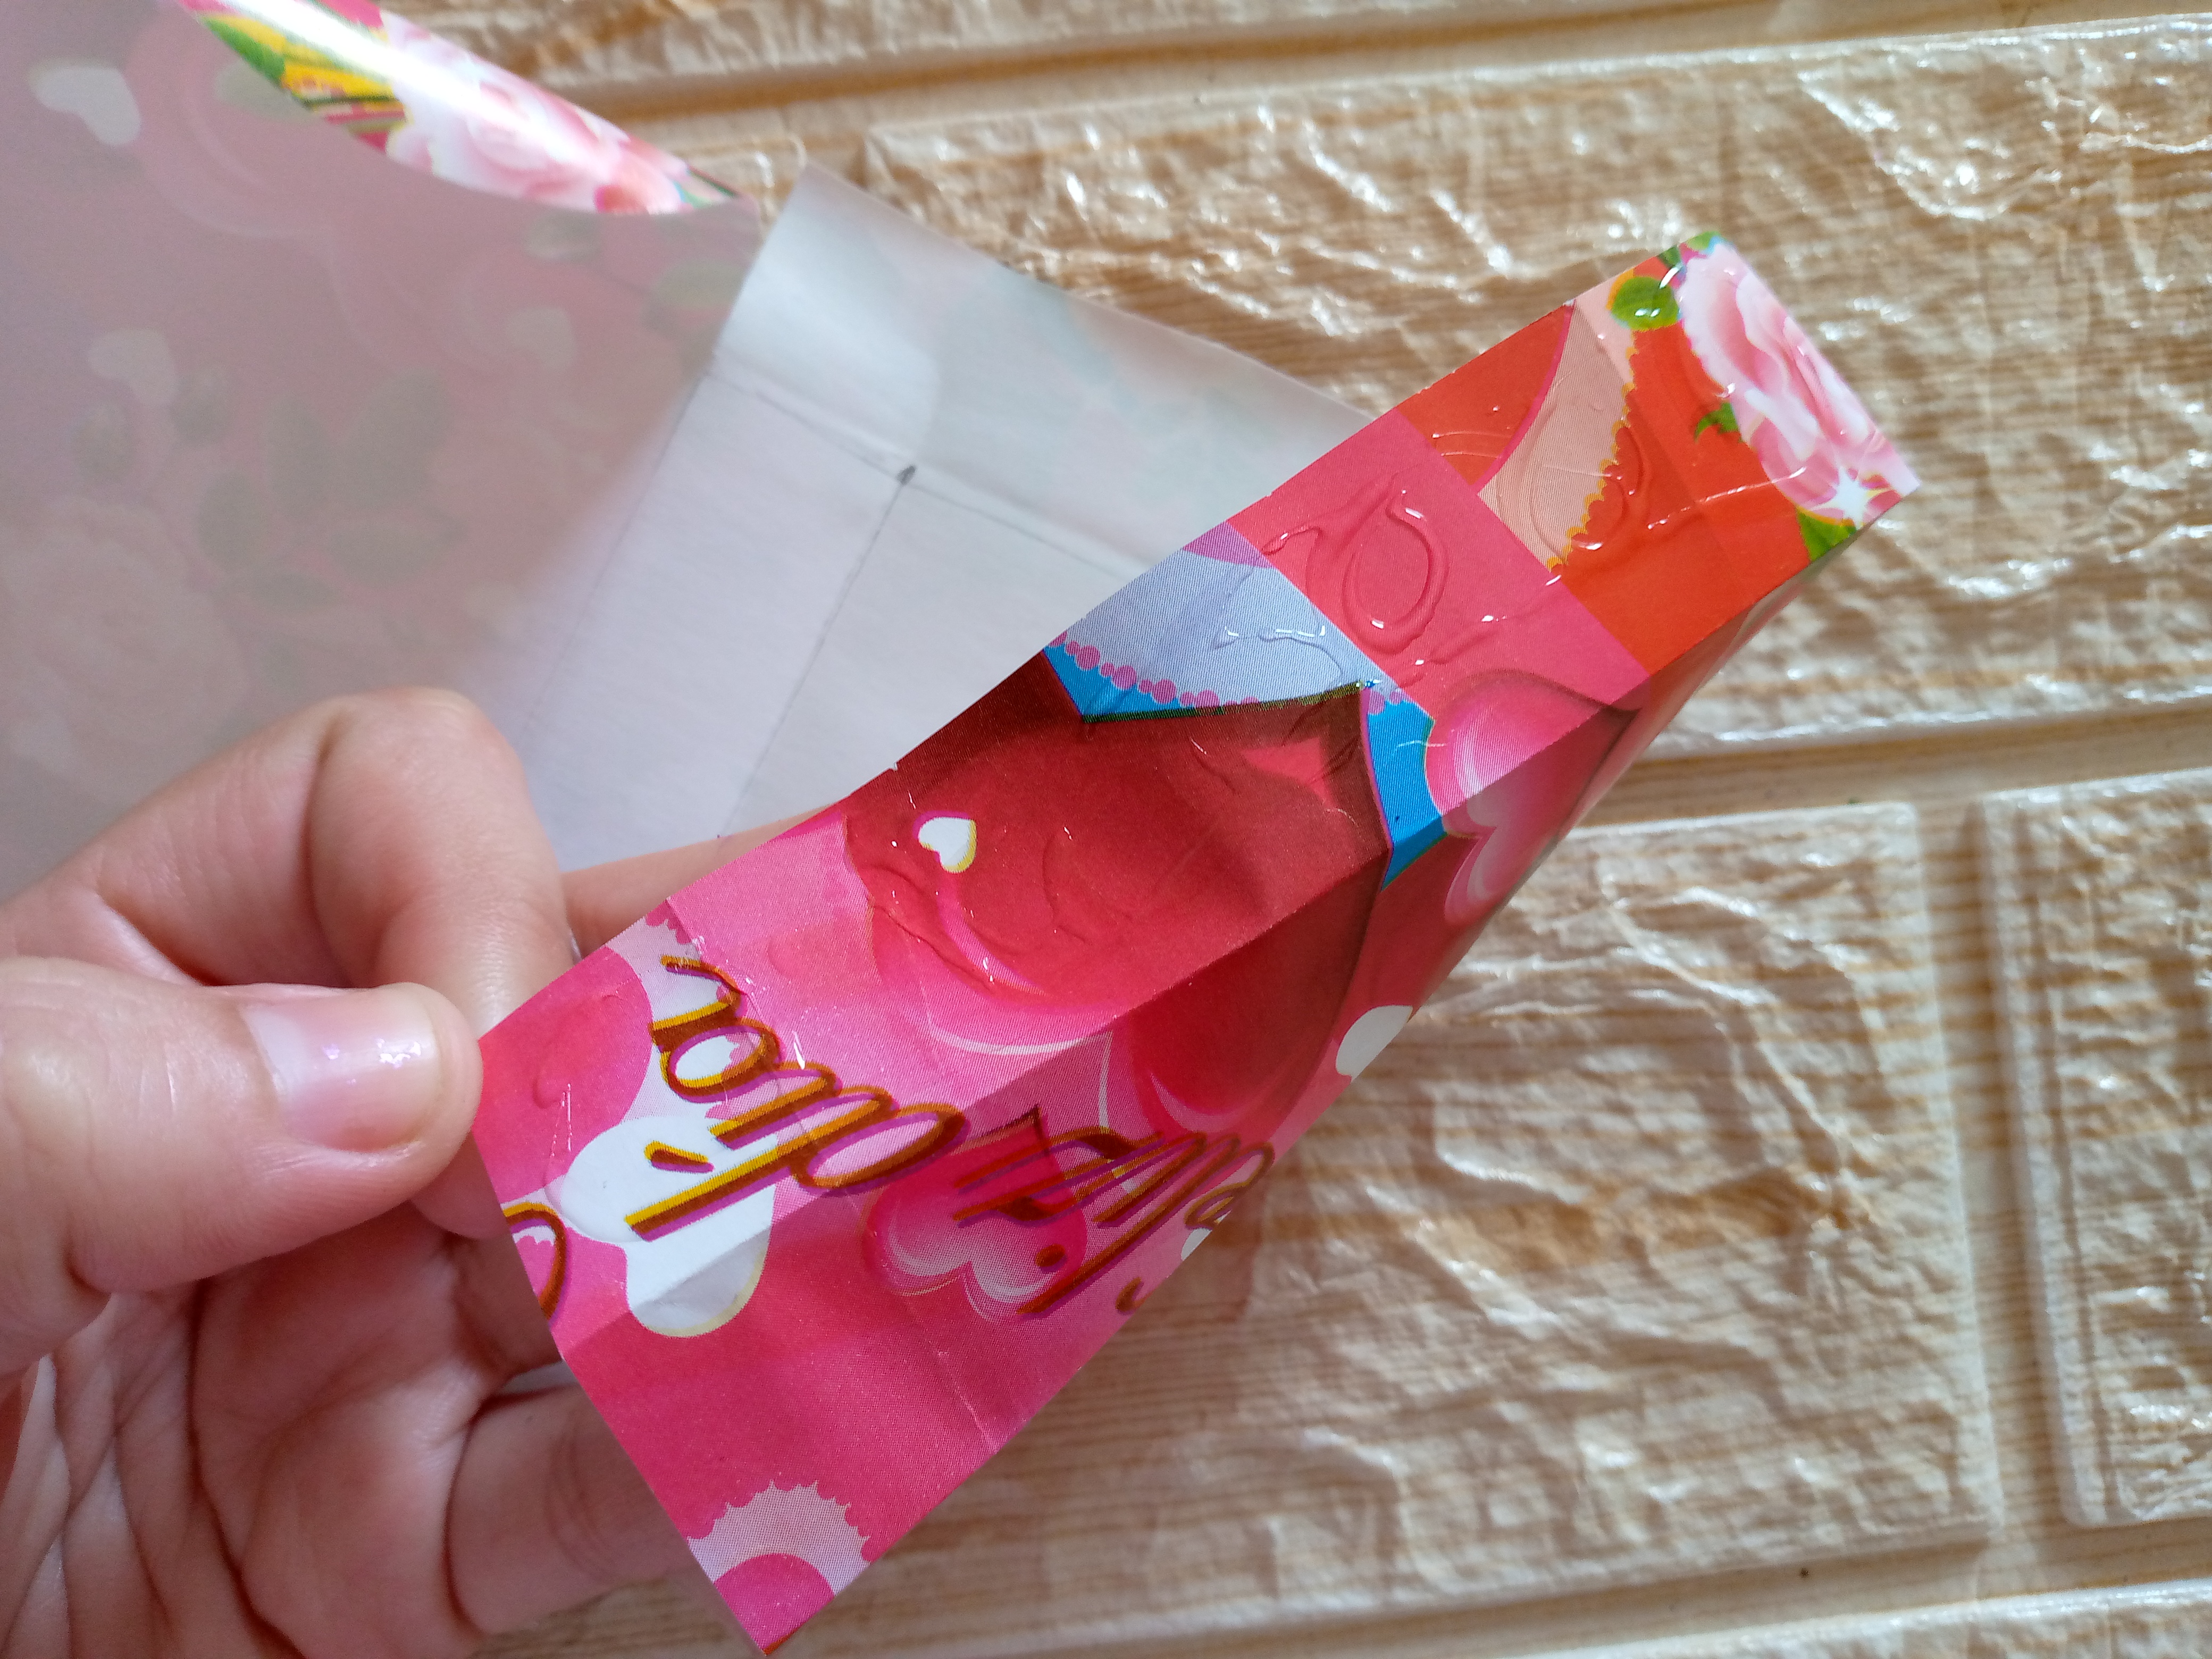
After having cut the paper, what we will do is stick it on the back of the bag, that flap that is seen, we will stick it inwards, then we will fold along the lines that we have made inside and we will begin to assemble the bag.

Step 03
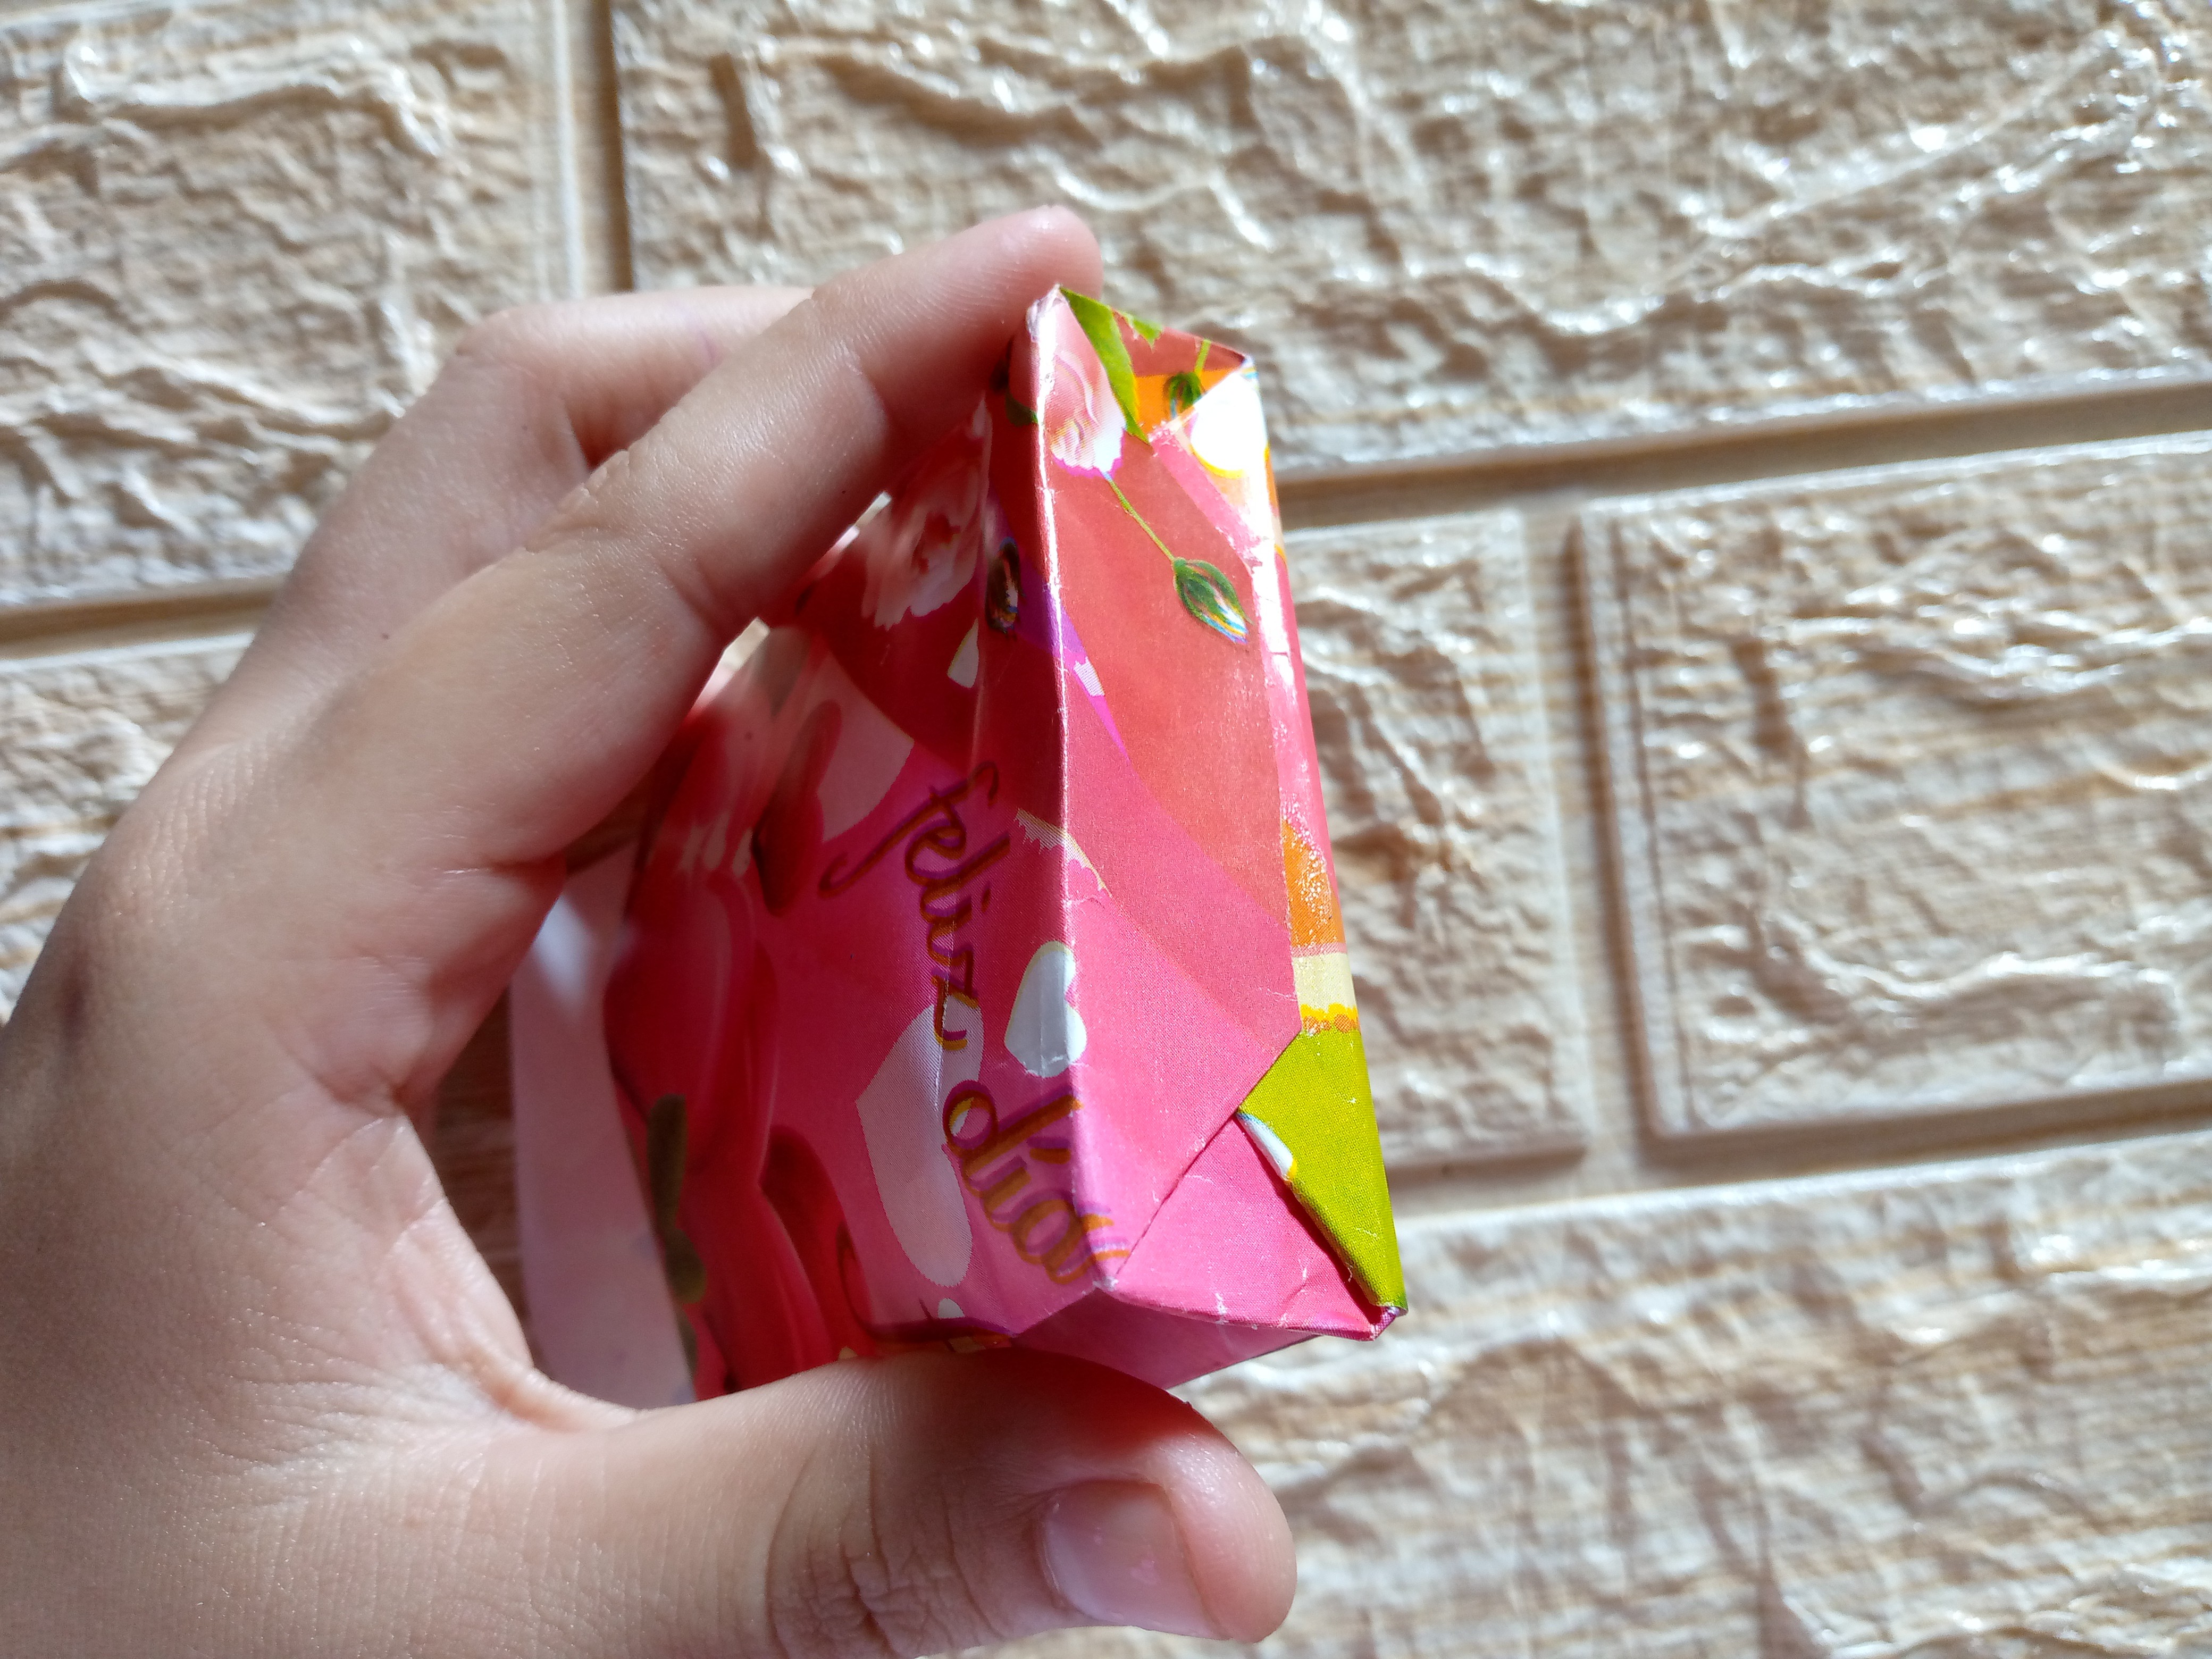
I will be folding it downwards and gluing the bottom parts so that the bag does not come loose or what we put inside does not fall out.


Step 04
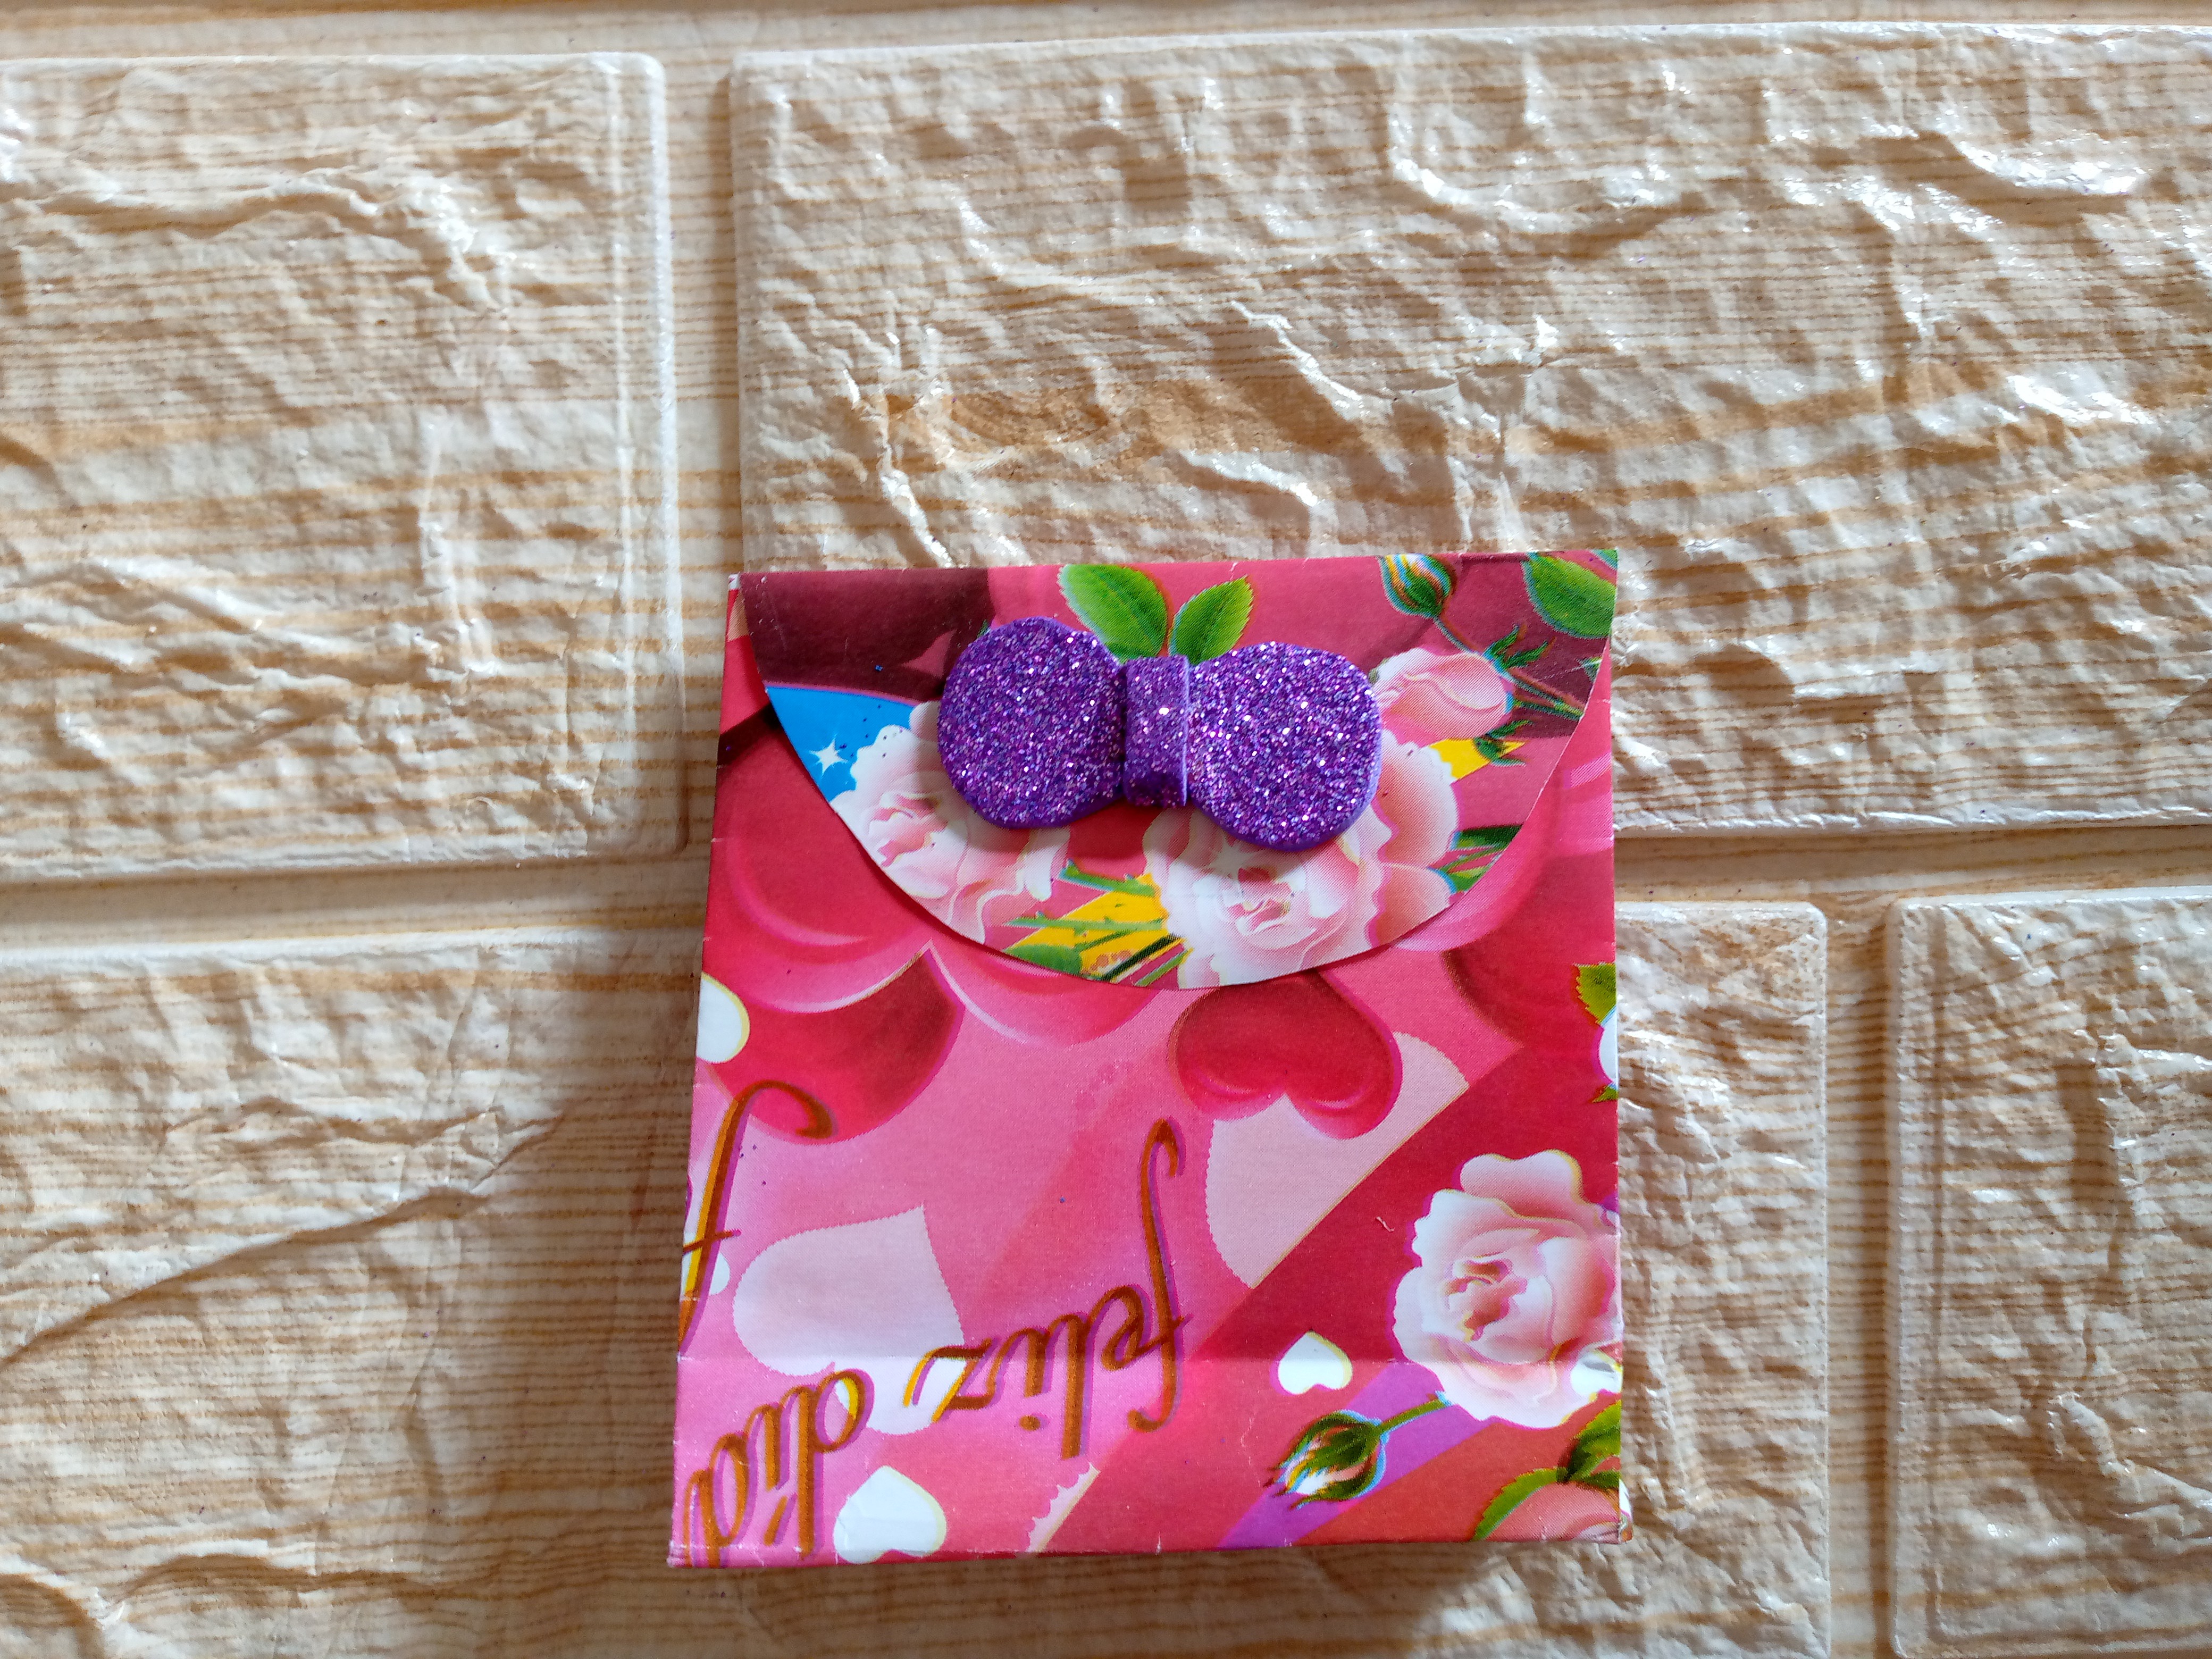
After gluing and assembling our bag, it's time to make a very nice detail. I decided to make a purple bow in shiny foam. I cut the pieces in the shape of the bow and then I glued them together so that I could stick them in the middle of the wing of the bag at the top so that the bow could be seen better.


Step 05
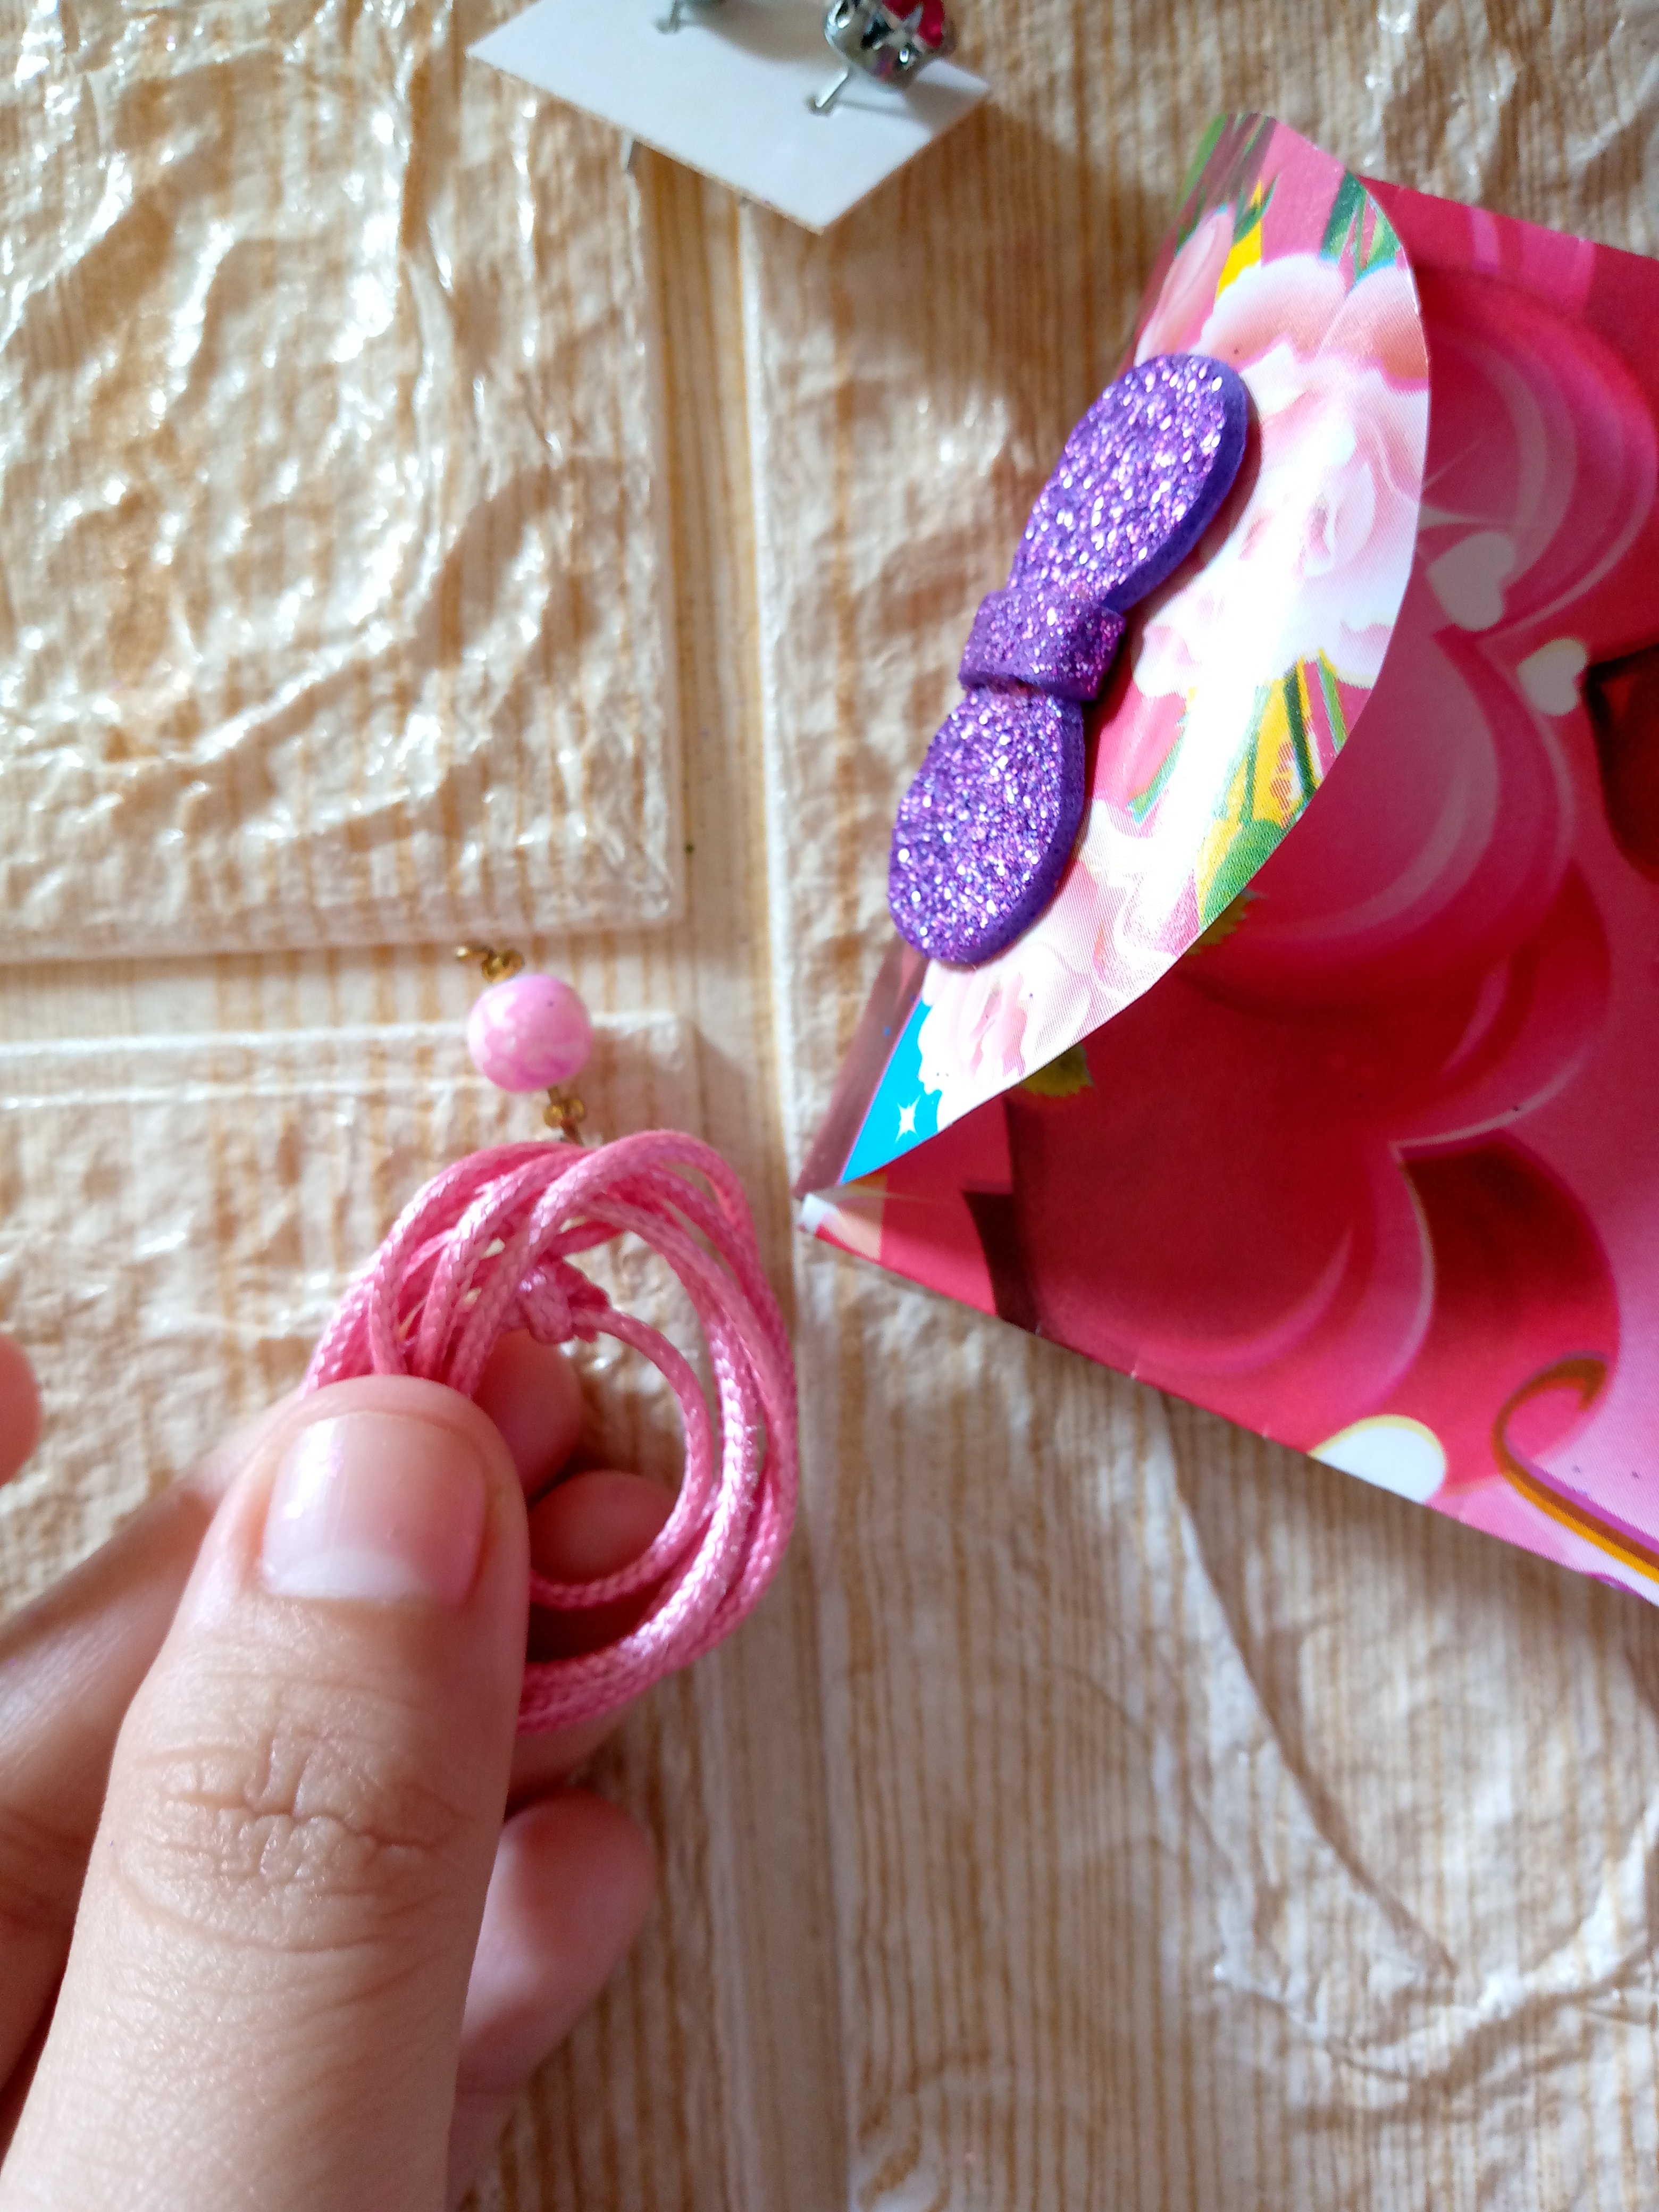
Here I finished by putting in the little things and accessories that I will be giving to my friend, some earrings and a pretty necklace. I inserted these things with great care and so we have the finished detail and our little bag.


.jpg)
Result:
This is how we finished our small gift bag, this is how it turned out, in the end I wanted to seal our wing with a small drop of liquid silicone so that the things inside would not come out, I let it dry and that's it, it was super simple and easy to make this little bag, I hope you liked the process a lot and tell me what you thought, I leave you all wishing you a happy and warm day. 👋🏻🥰

.jpg)
0
0
0.000
A beautiful and striking design. It was an excellent job, congratulations.
Oh thanks friend 😊
You made it very well as well as you put little and cute girly stuff inside it this is the most unique and little gift pack I ever seen
Good night friend, thank you very much, I'm glad you liked it, greetings, thanks for commenting
This is a very beautiful work and admirable for its details. Thank you for sharing it on DIYHub Community and giving the example to follow step by step, it is a post that will be useful to many.
Congratulations @anne002! You have completed the following achievement on the Hive blockchain And have been rewarded with New badge(s)
Your next target is to reach 40000 upvotes.
You can view your badges on your board and compare yourself to others in the Ranking
If you no longer want to receive notifications, reply to this comment with the word
STOP¡Felicitaciones!
Estás participando para optar a la mención especial que se efectuará el domingo 24 de noviembre del 2024 a las 8:00 pm (hora de Venezuela), gracias a la cual el autor del artículo seleccionado recibirá la cantidad de 1 HIVE transferida a su cuenta.
¡También has recibido 1 ENTROKEN! El token del PROYECTO ENTROPÍA impulsado por la plataforma Steem-Engine.
1. Invierte en el PROYECTO ENTROPÍA y recibe ganancias semanalmente. Entra aquí para más información.
2. Contáctanos en Discord: https://discord.gg/hkCjFeb
3. Suscríbete a nuestra COMUNIDAD y apoya al trail de @Entropia y así podrás ganar recompensas de curación de forma automática. Entra aquí para más información sobre nuestro trail.
4. Visita nuestro canal de Youtube.
Atentamente
El equipo de curación del PROYECTO ENTROPÍA