💙👩🏻🎓Gomitas de niña para el cabello ideal para graduaciones👩🏻🎓💙//💙👩🏻🎓Girl's hair gums ideal for graduations👩🏻🎓💙
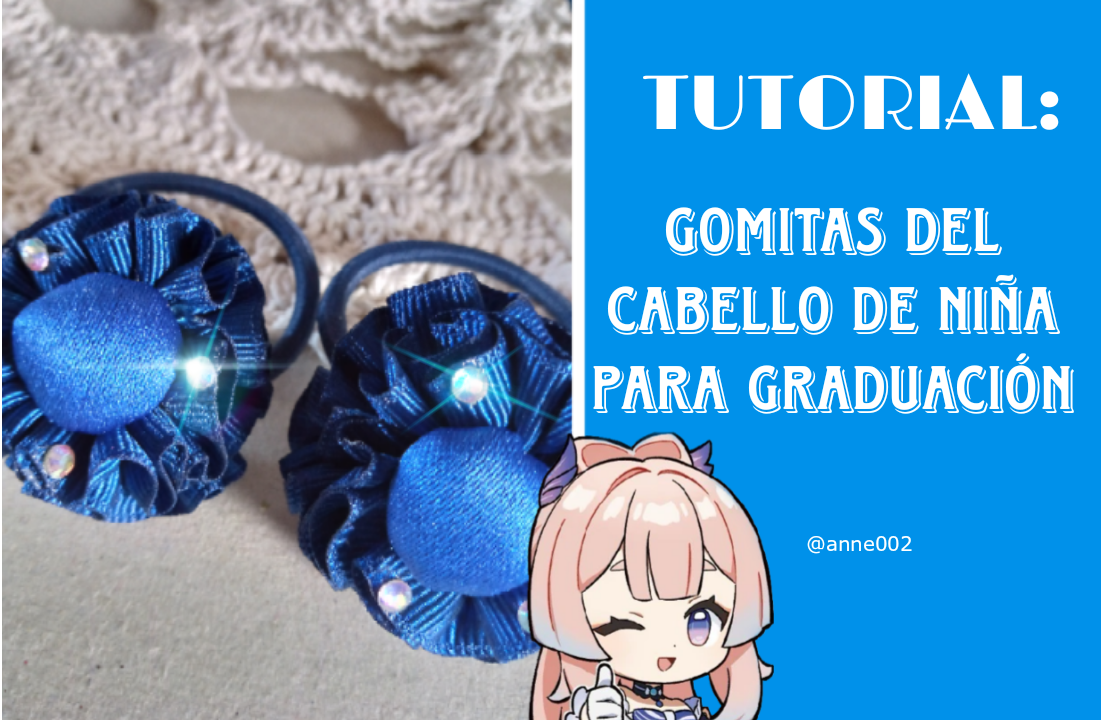
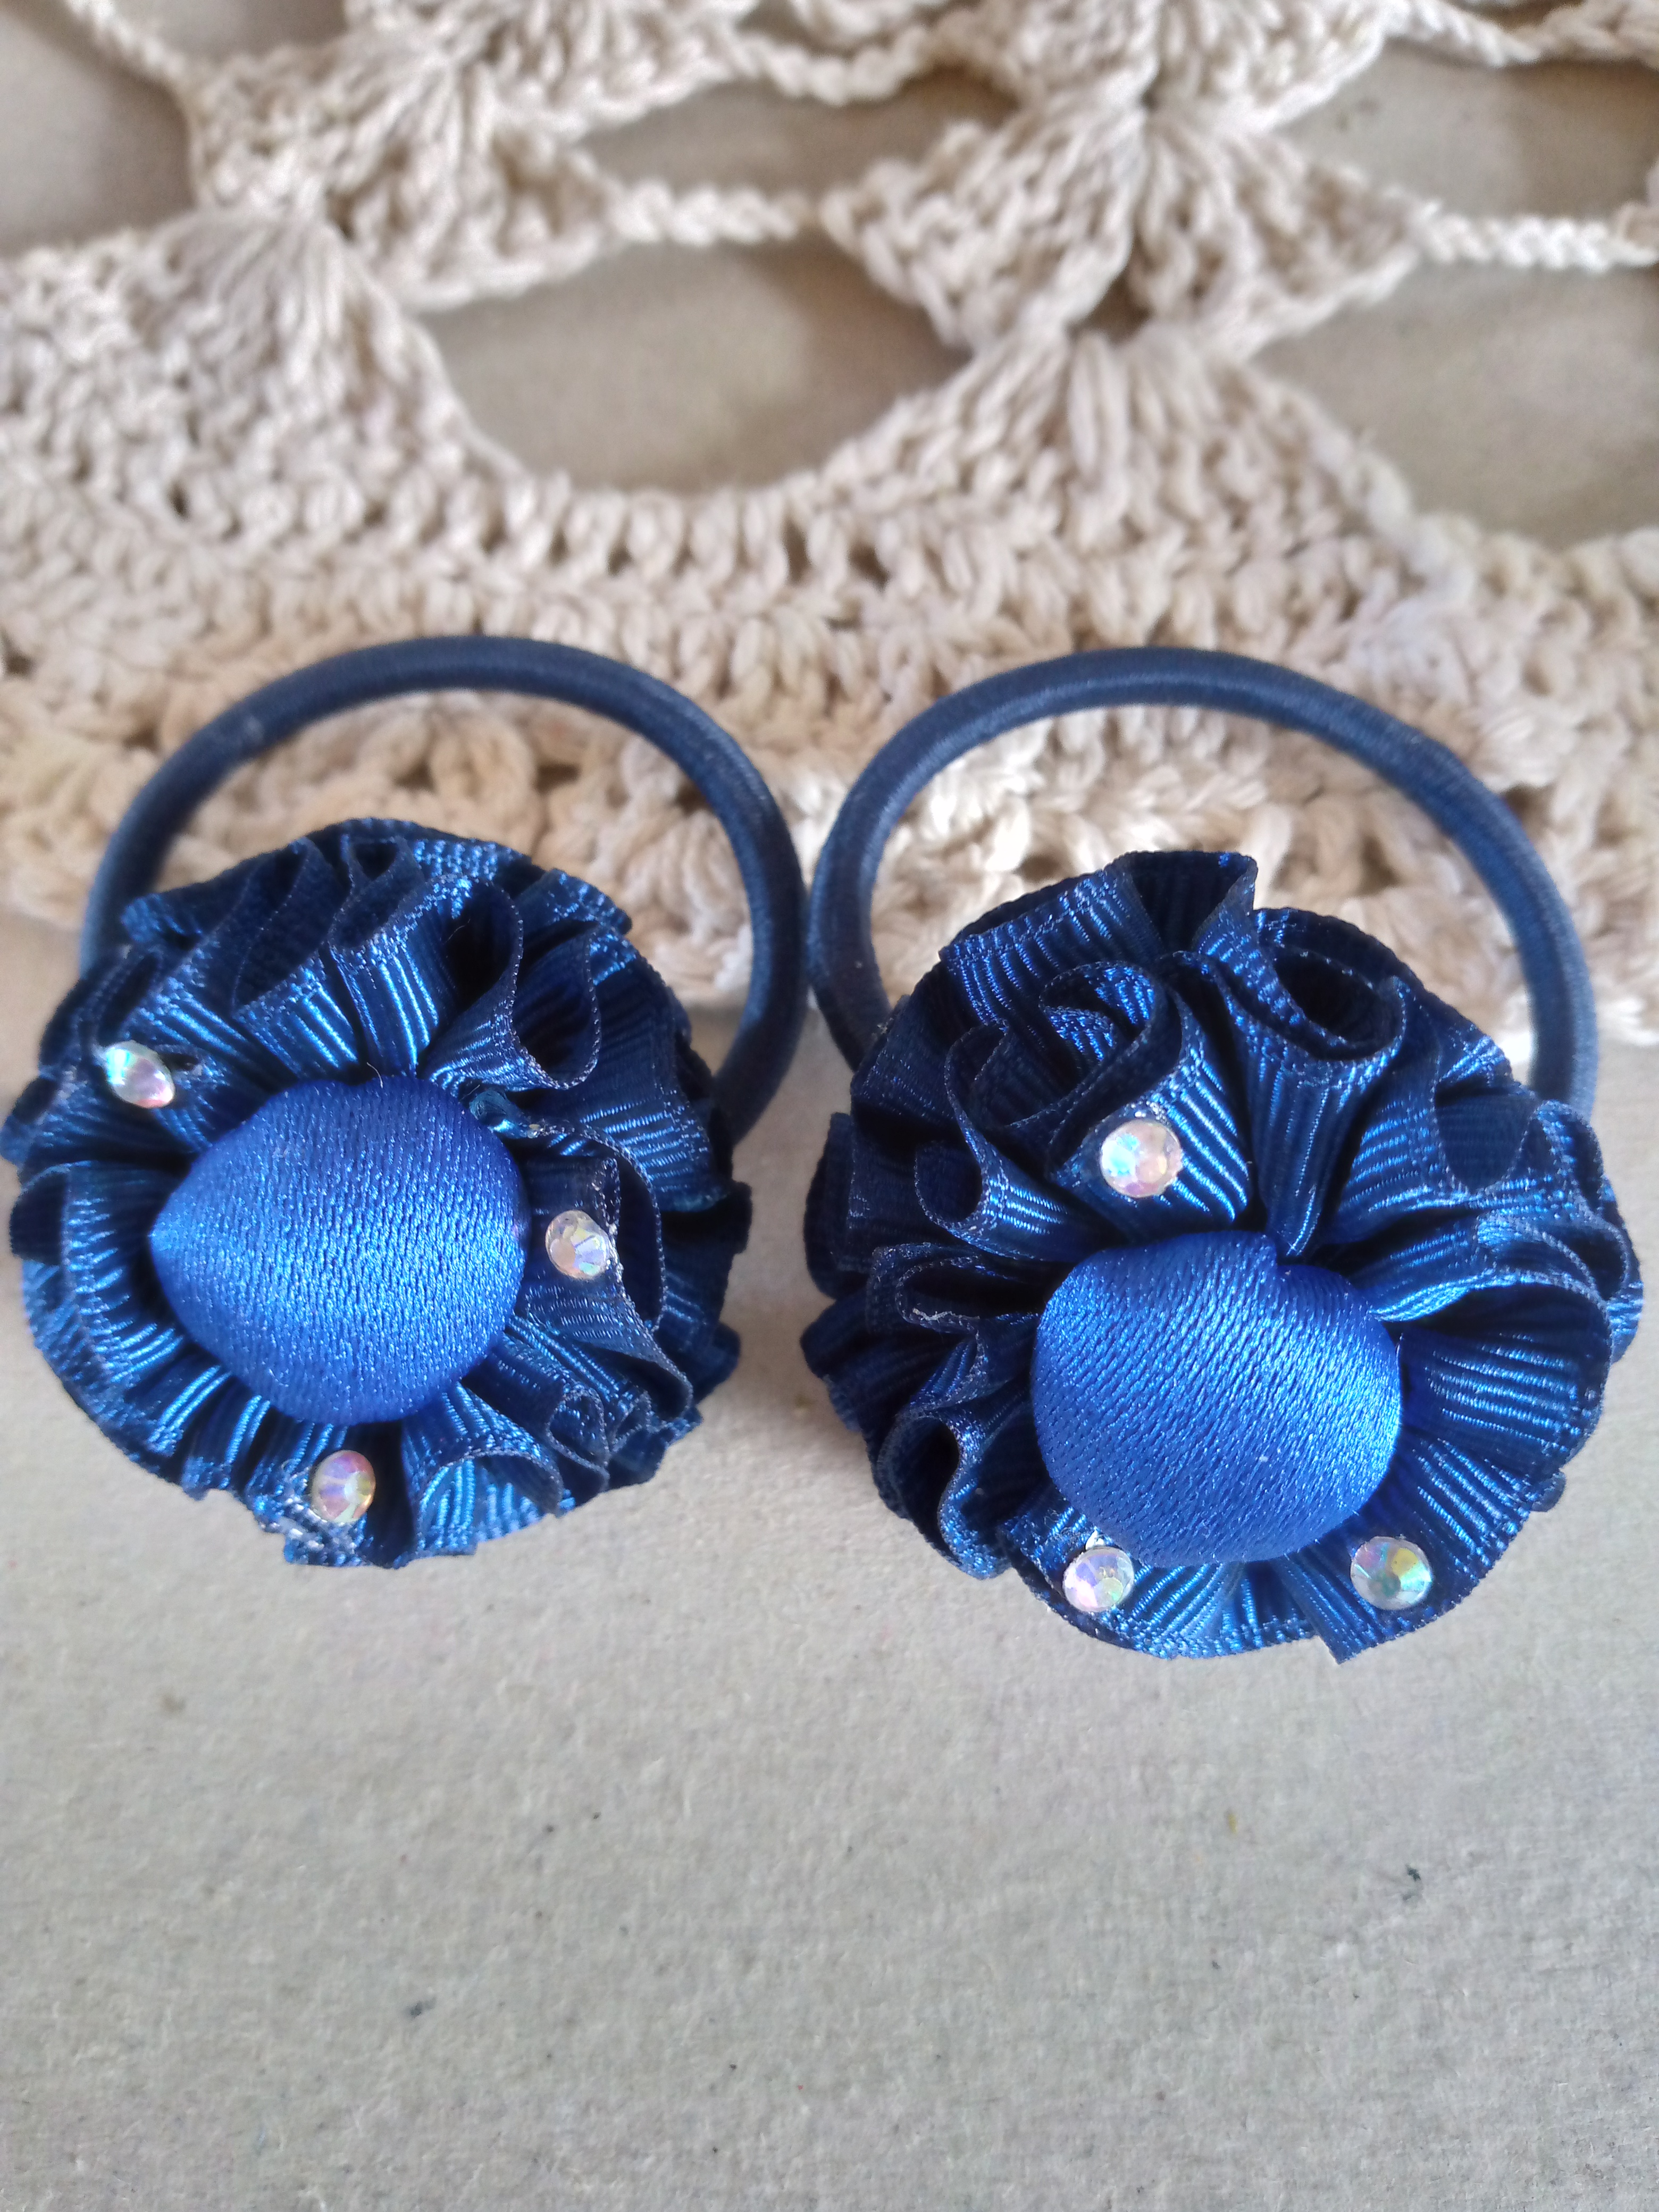
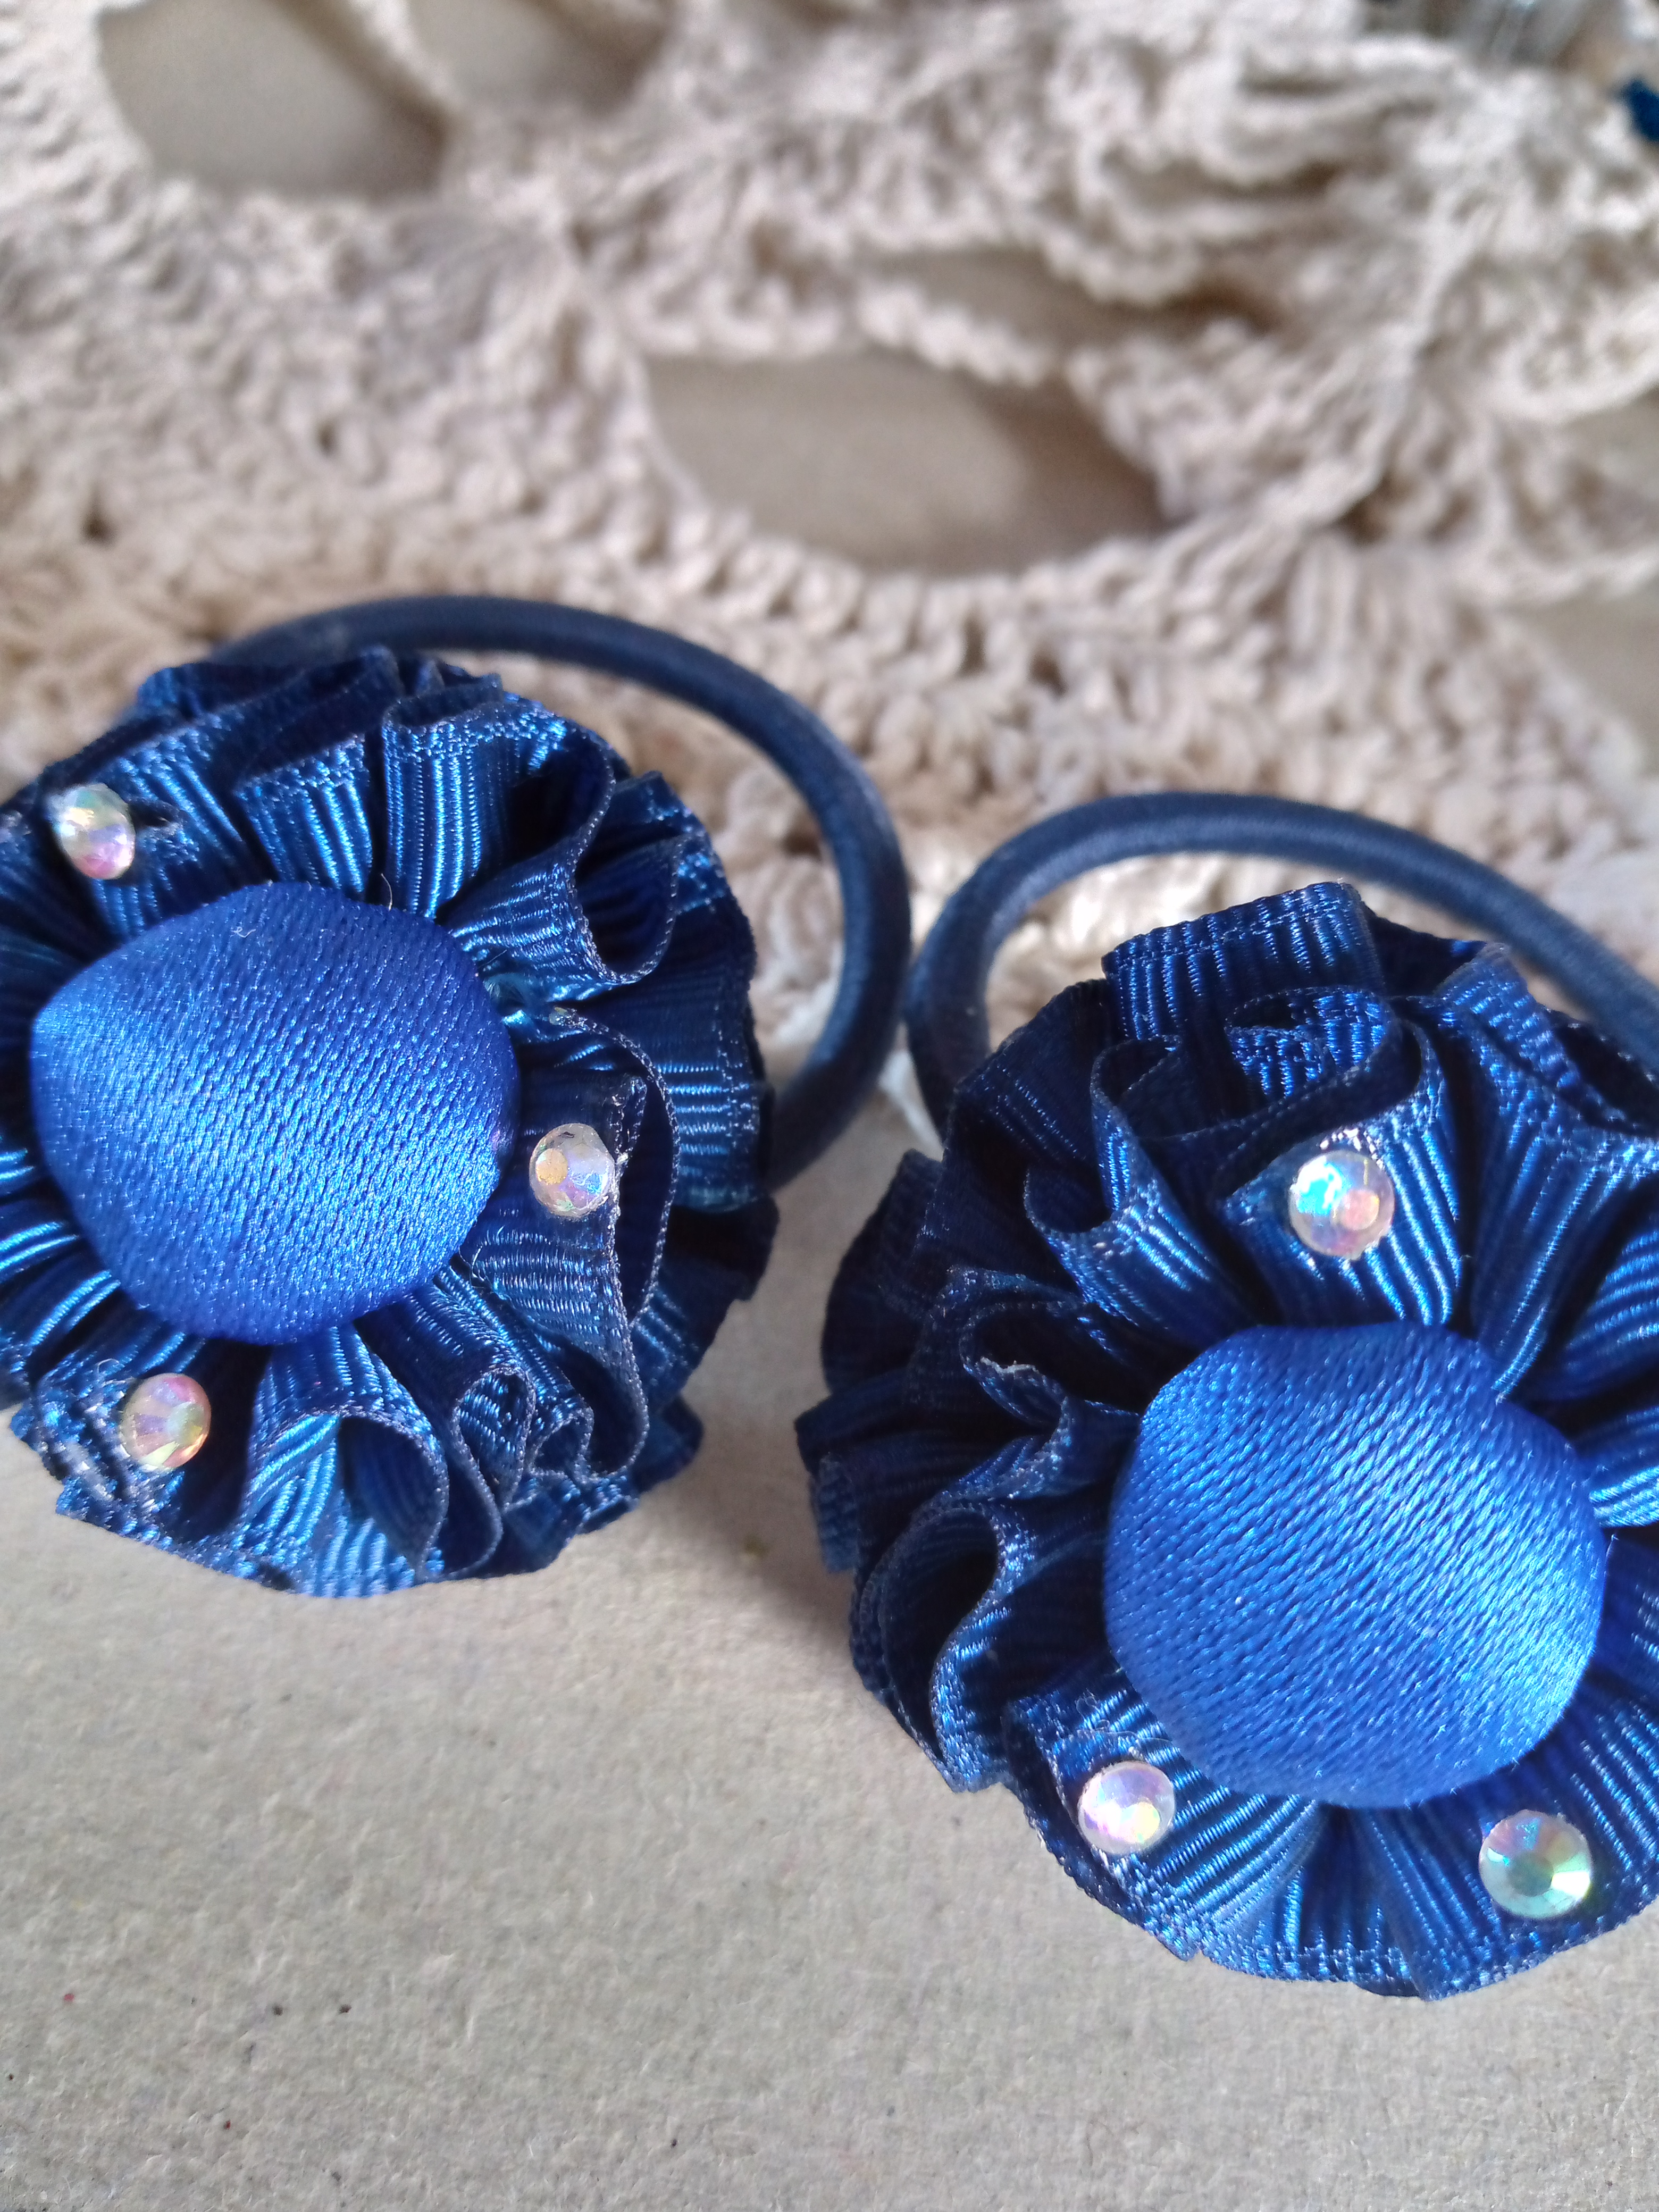
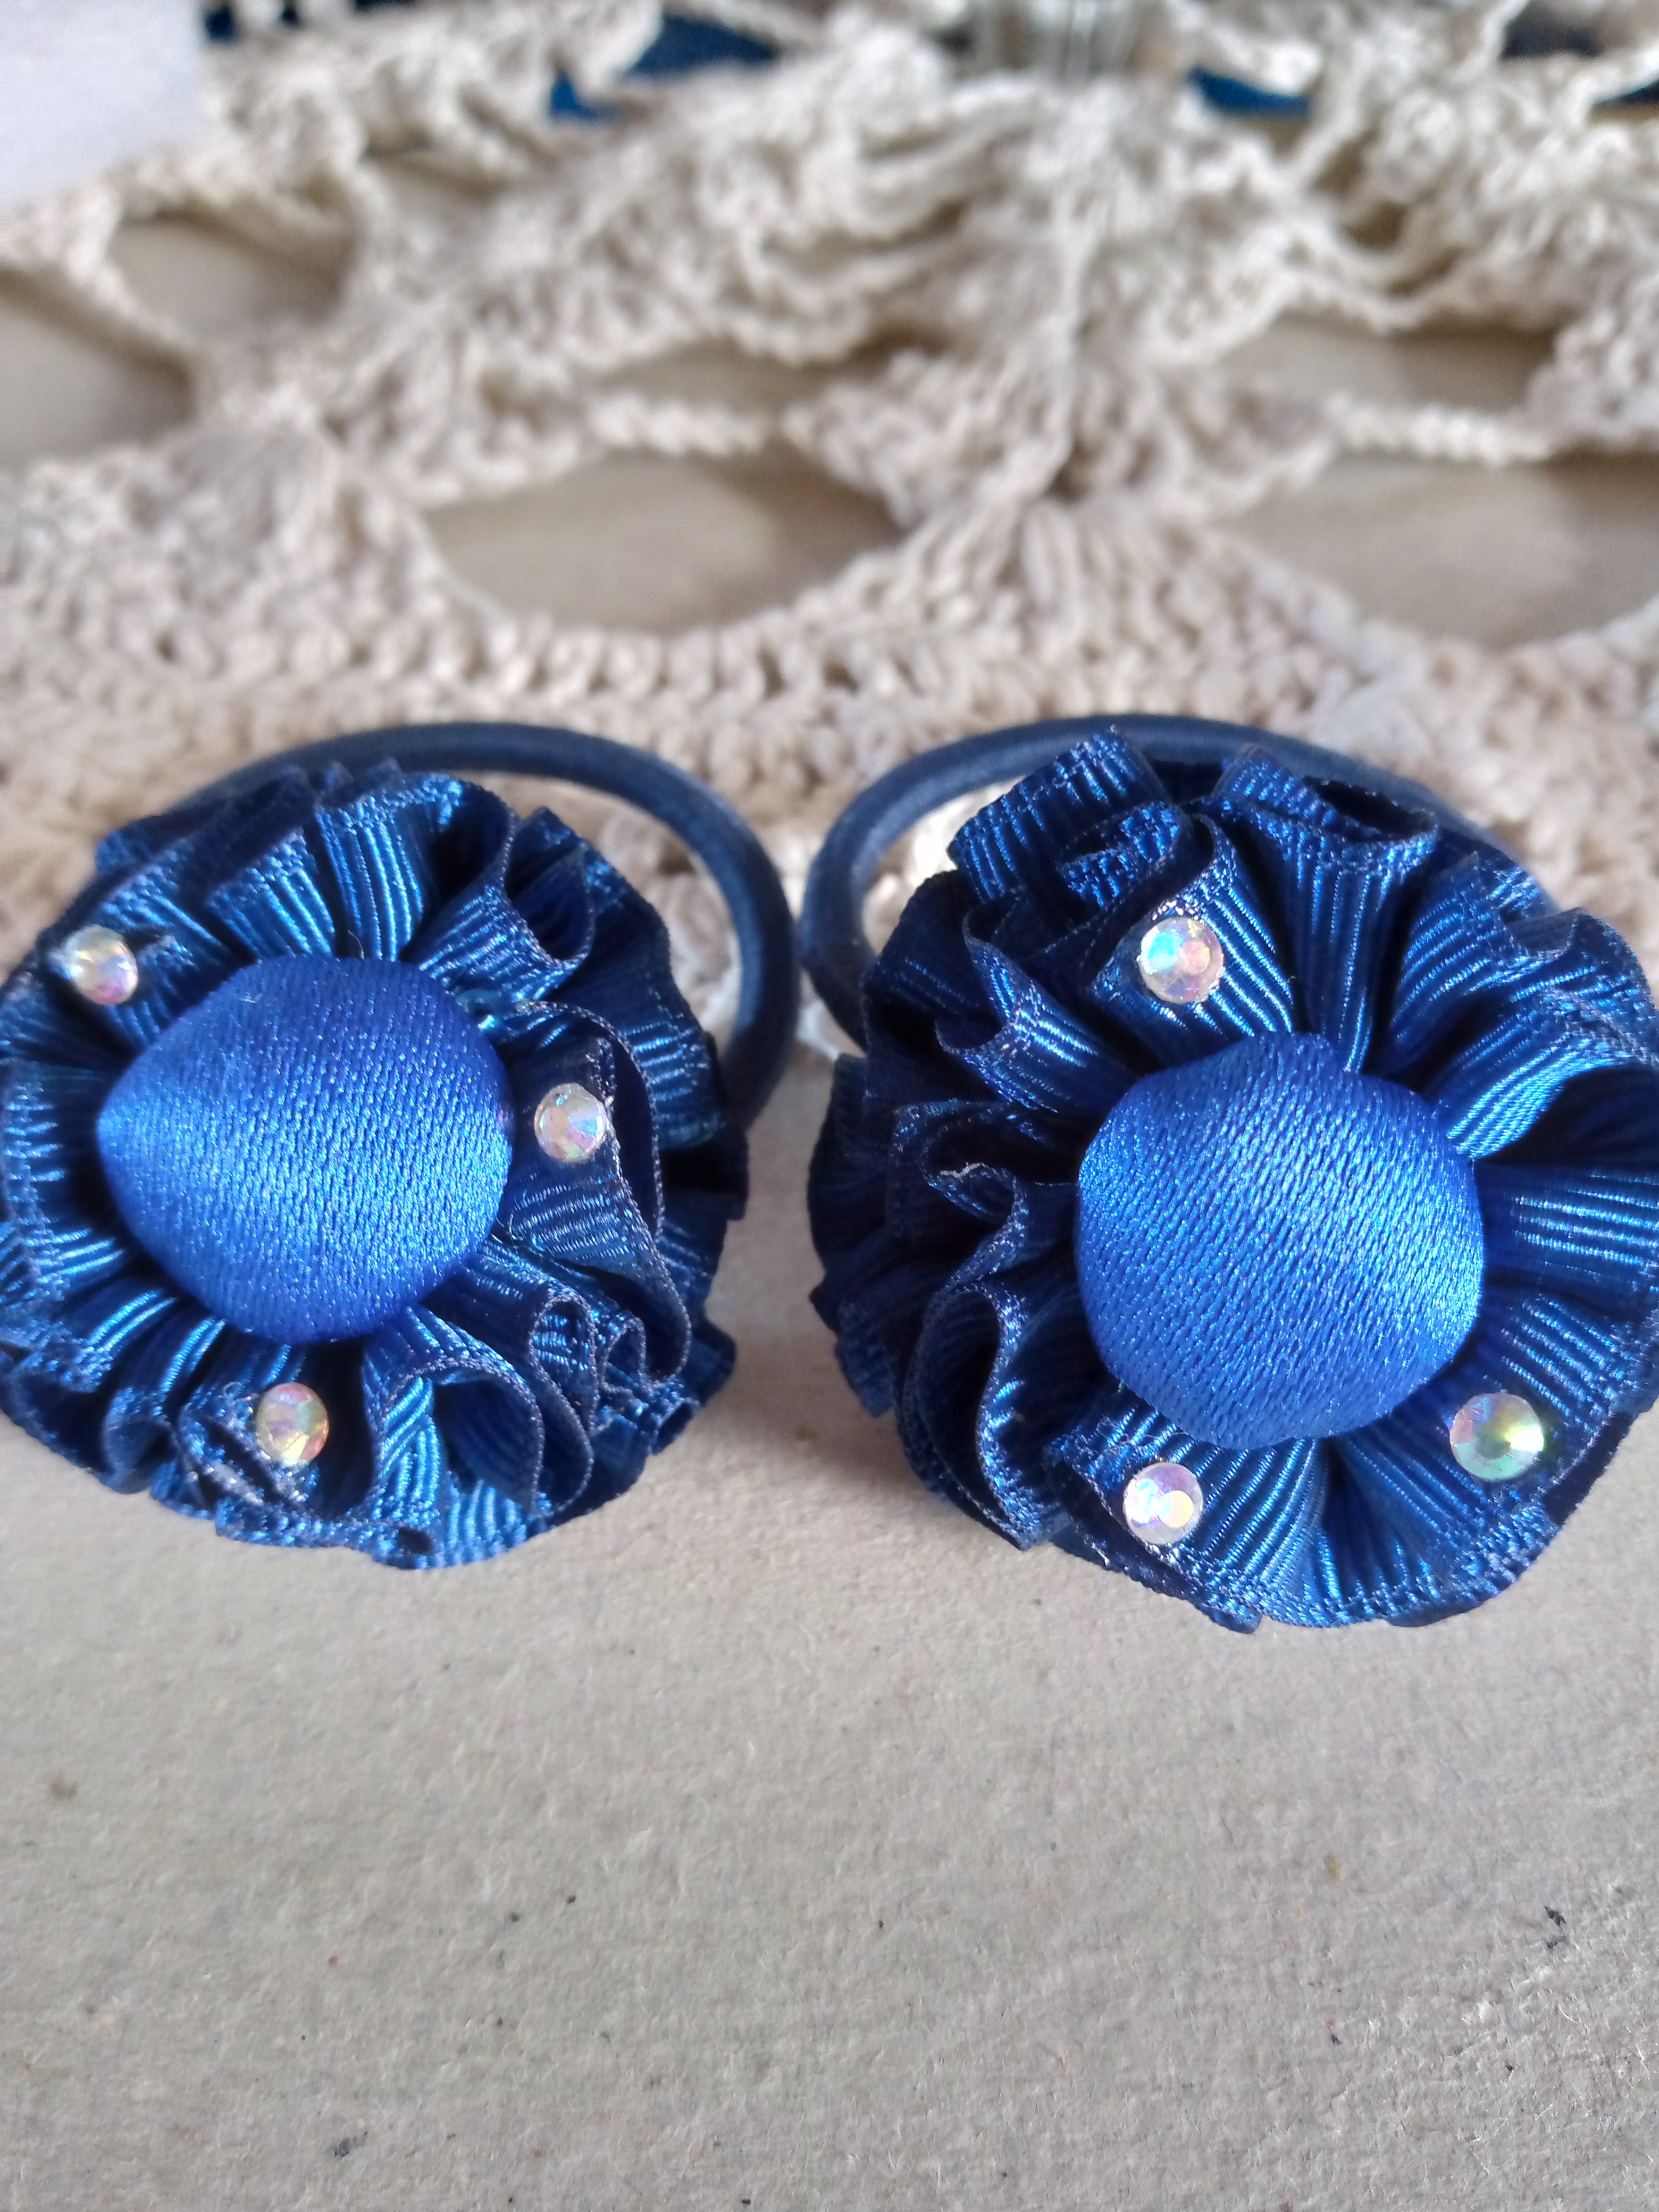
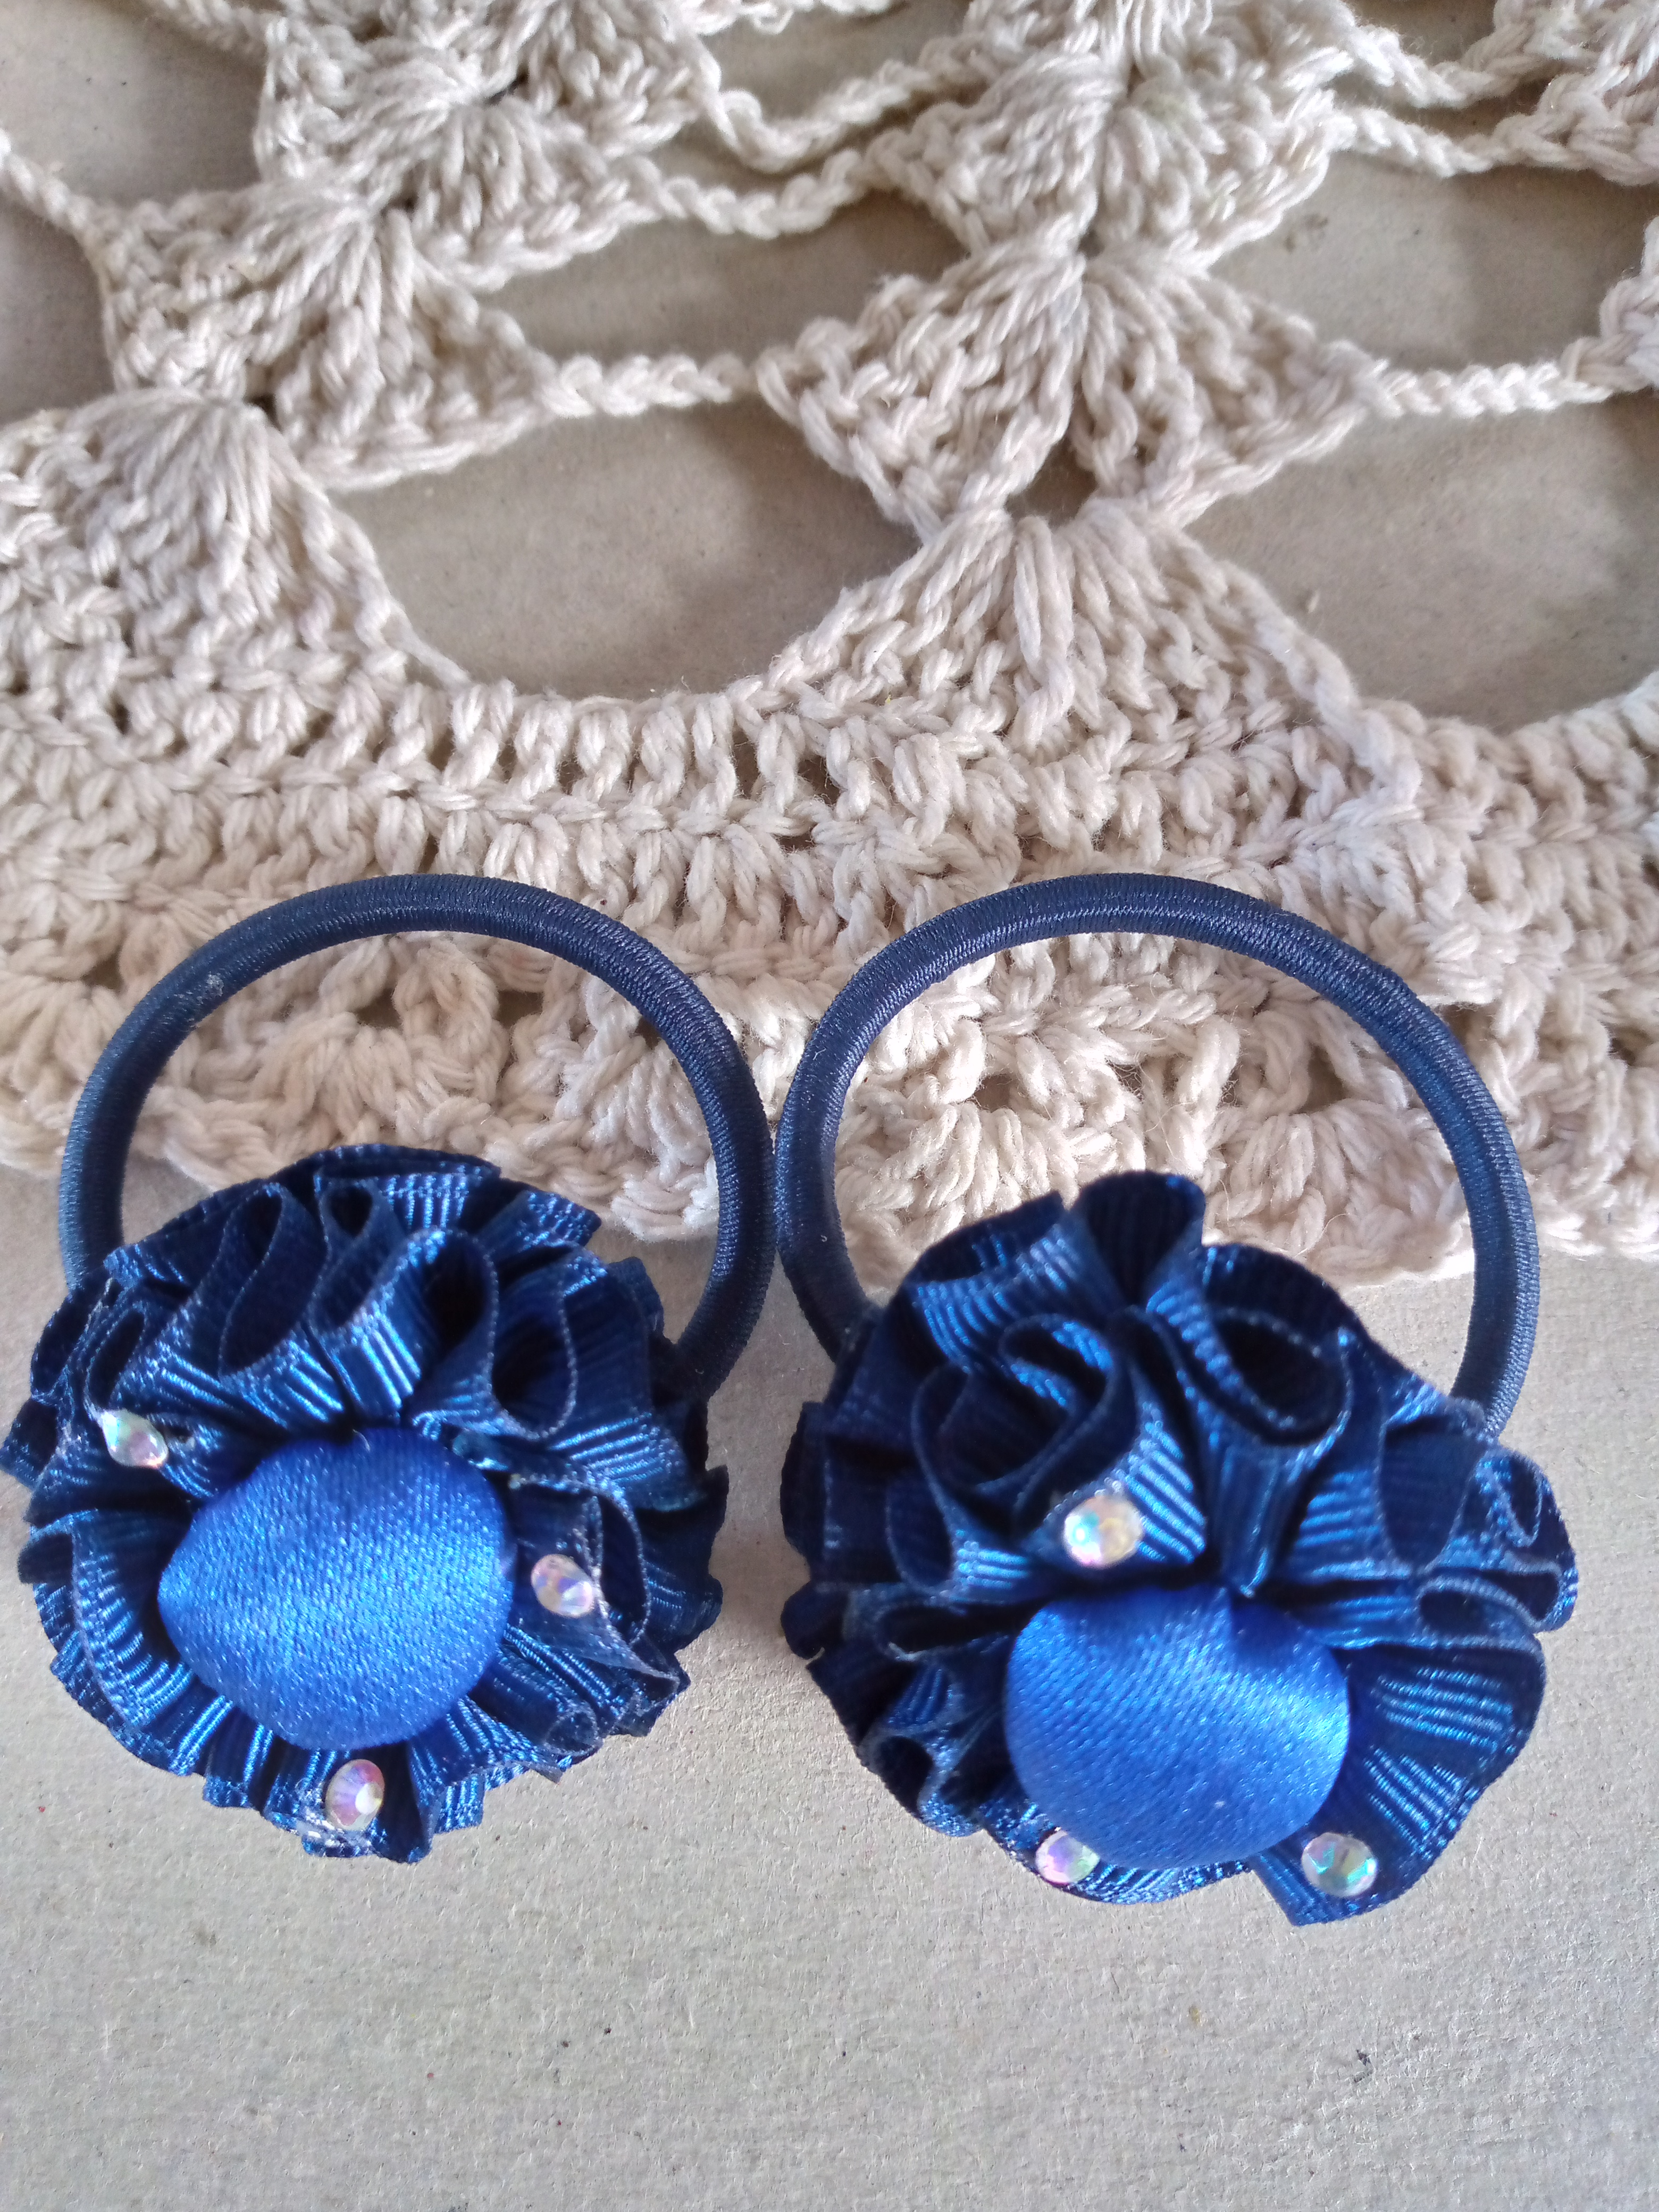
Nice day my friends from @jewelry, welcome to a new creative blog ✨, today I want to show you how I made these cute little hair ponytails for the little ones in the house, this time I wanted to make them for a very important event that These are graduation ceremonies, these gummies are special for those events. If you have little girls at home and their graduation is soon, this is a small detail to put on them that day.
Below I show you the materials I used and the step by step of these beautiful gummies with flower shapes and sparkles you will love the result.
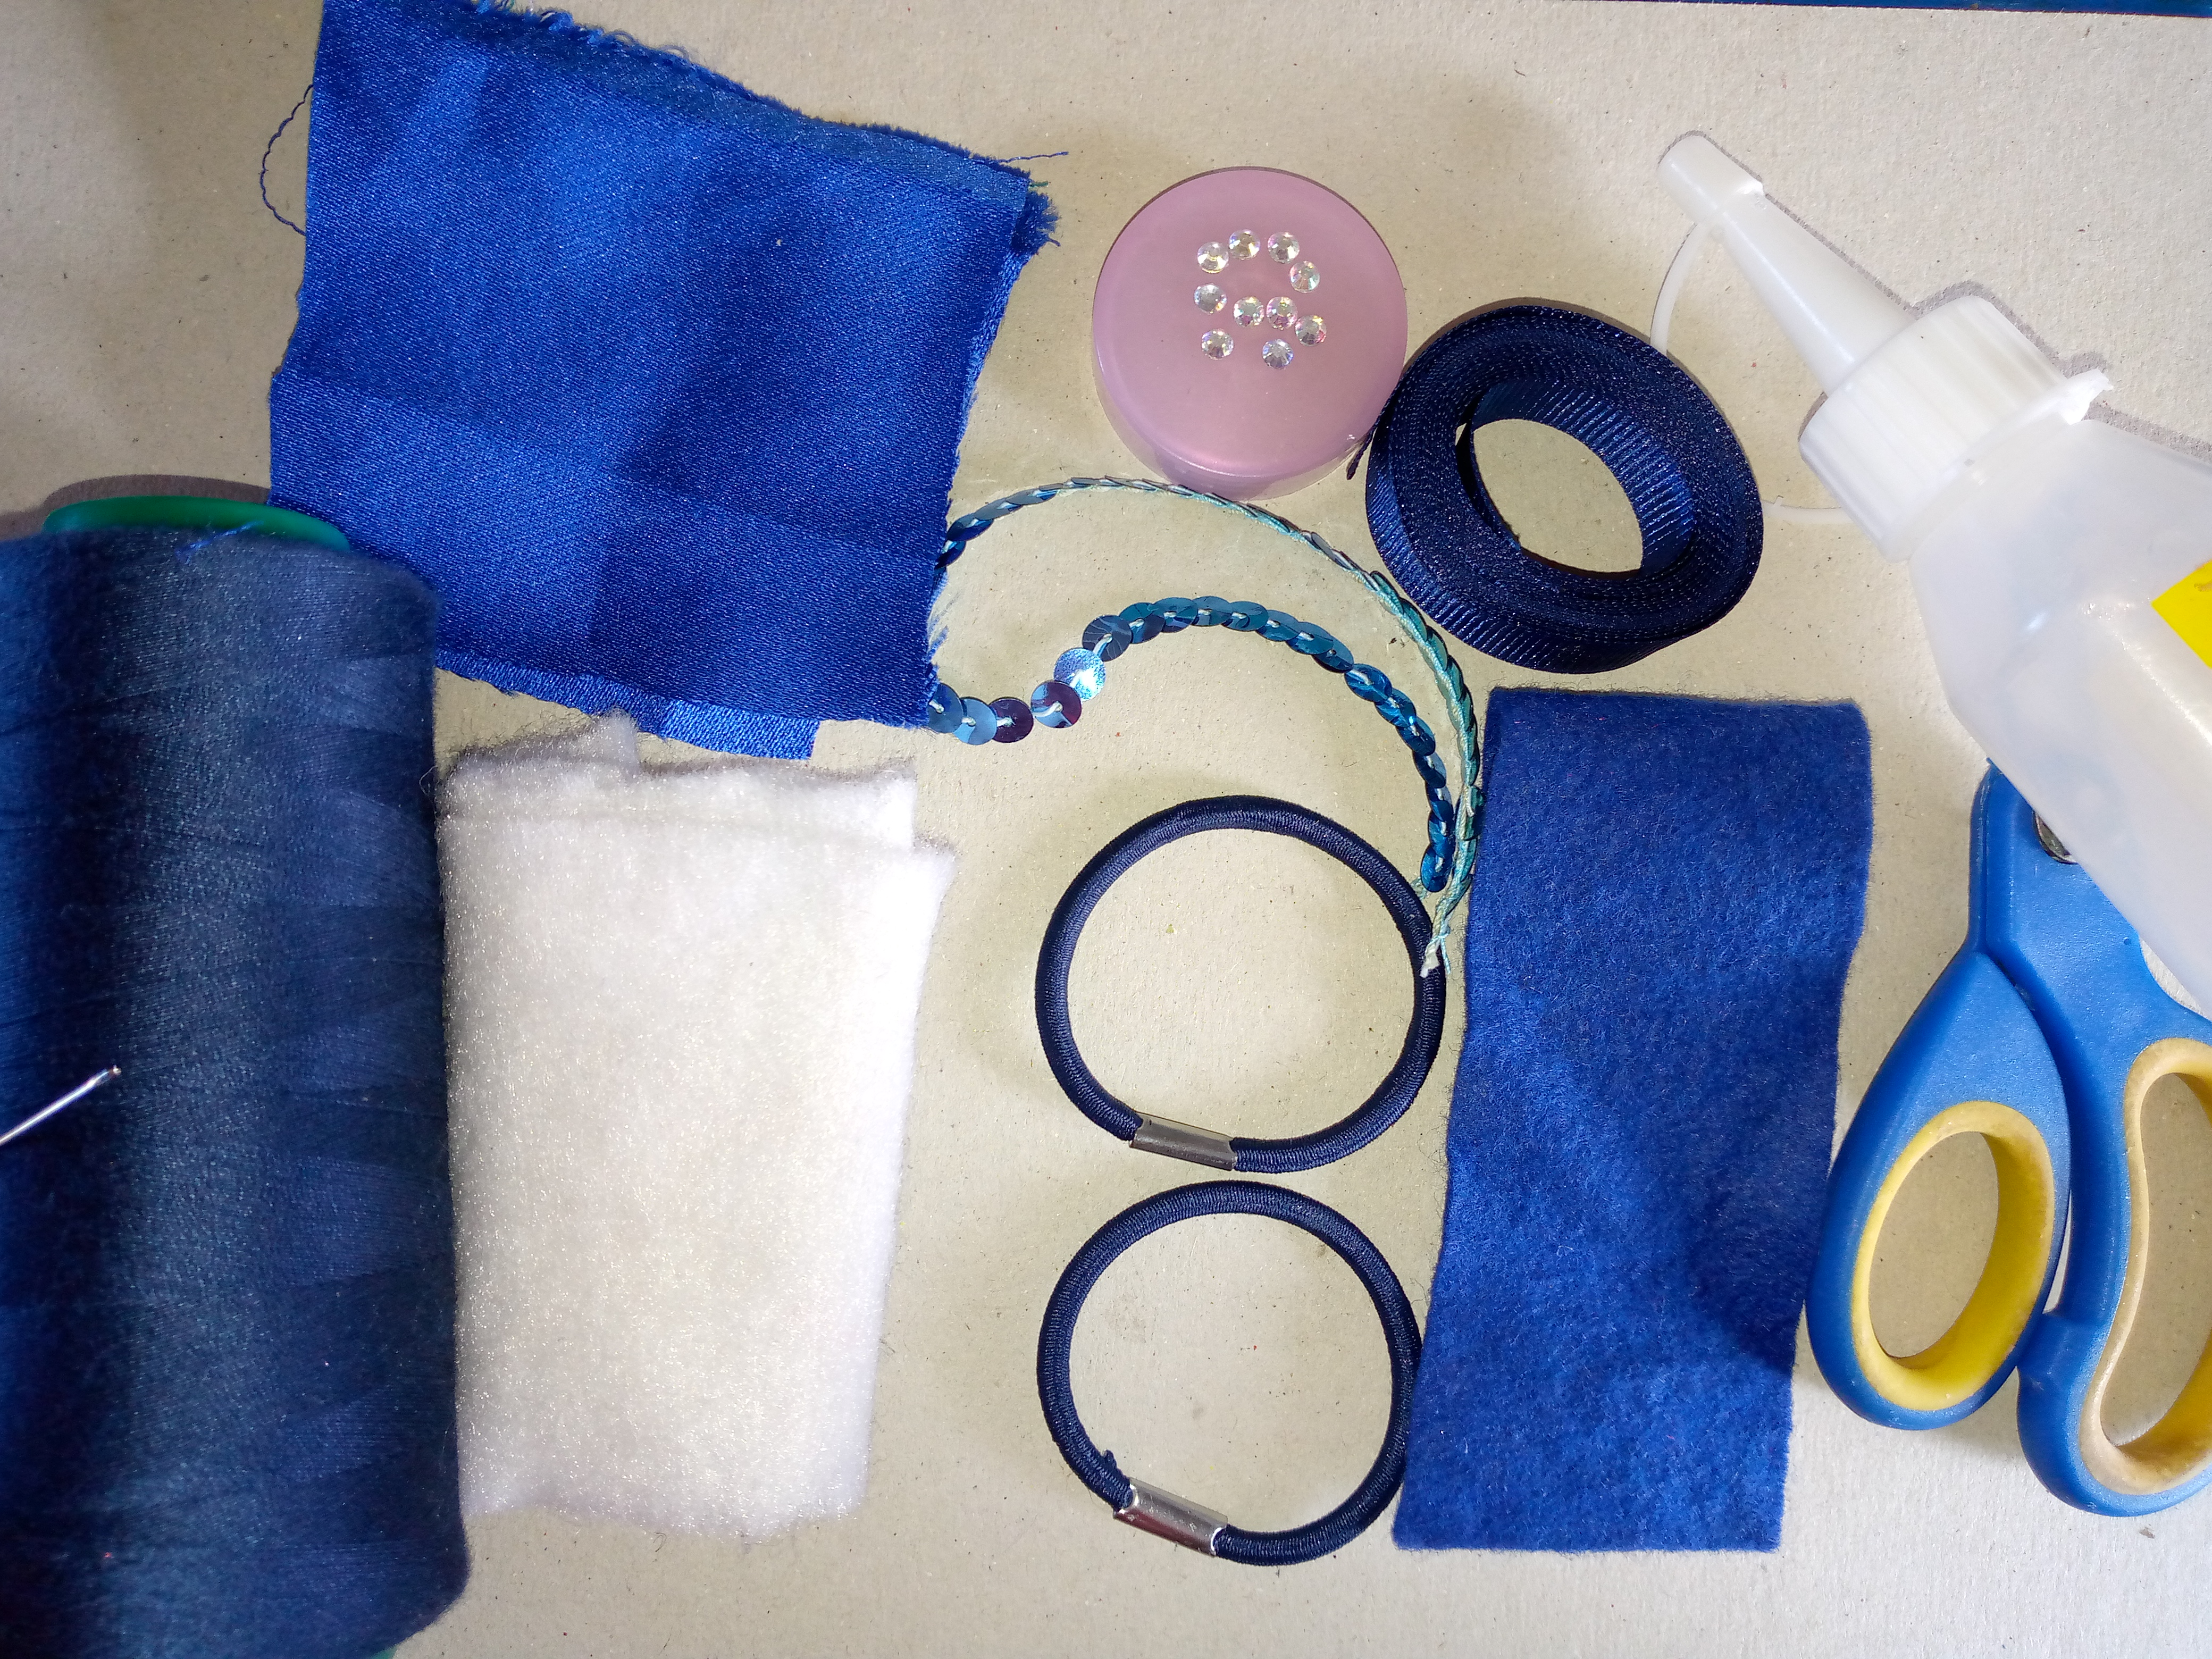
💙Materiales que usé :💙
Materials i used :
- Cinta azul 80 cm de largo
- Tijeras
- Silicón
- Piedras brillantes o lentejuelas
- Gomitas para el cabello del mismo color de la cinta
- Un pedazo pequeño de fieltro
- Un pedazo pequeño de tela
- Relleno
- Hilo y aguja
- Blue ribbon 80 cm long
- Scissors
- Silicone
- Shiny stones or sequins
- Hair ties of the same color as the ribbon
- A small piece of felt
- A small piece of fabric
- Stuffed
- Thread and needle
💙Pasos a seguir:💙
Steps to follow:
Paso 01
Step 01
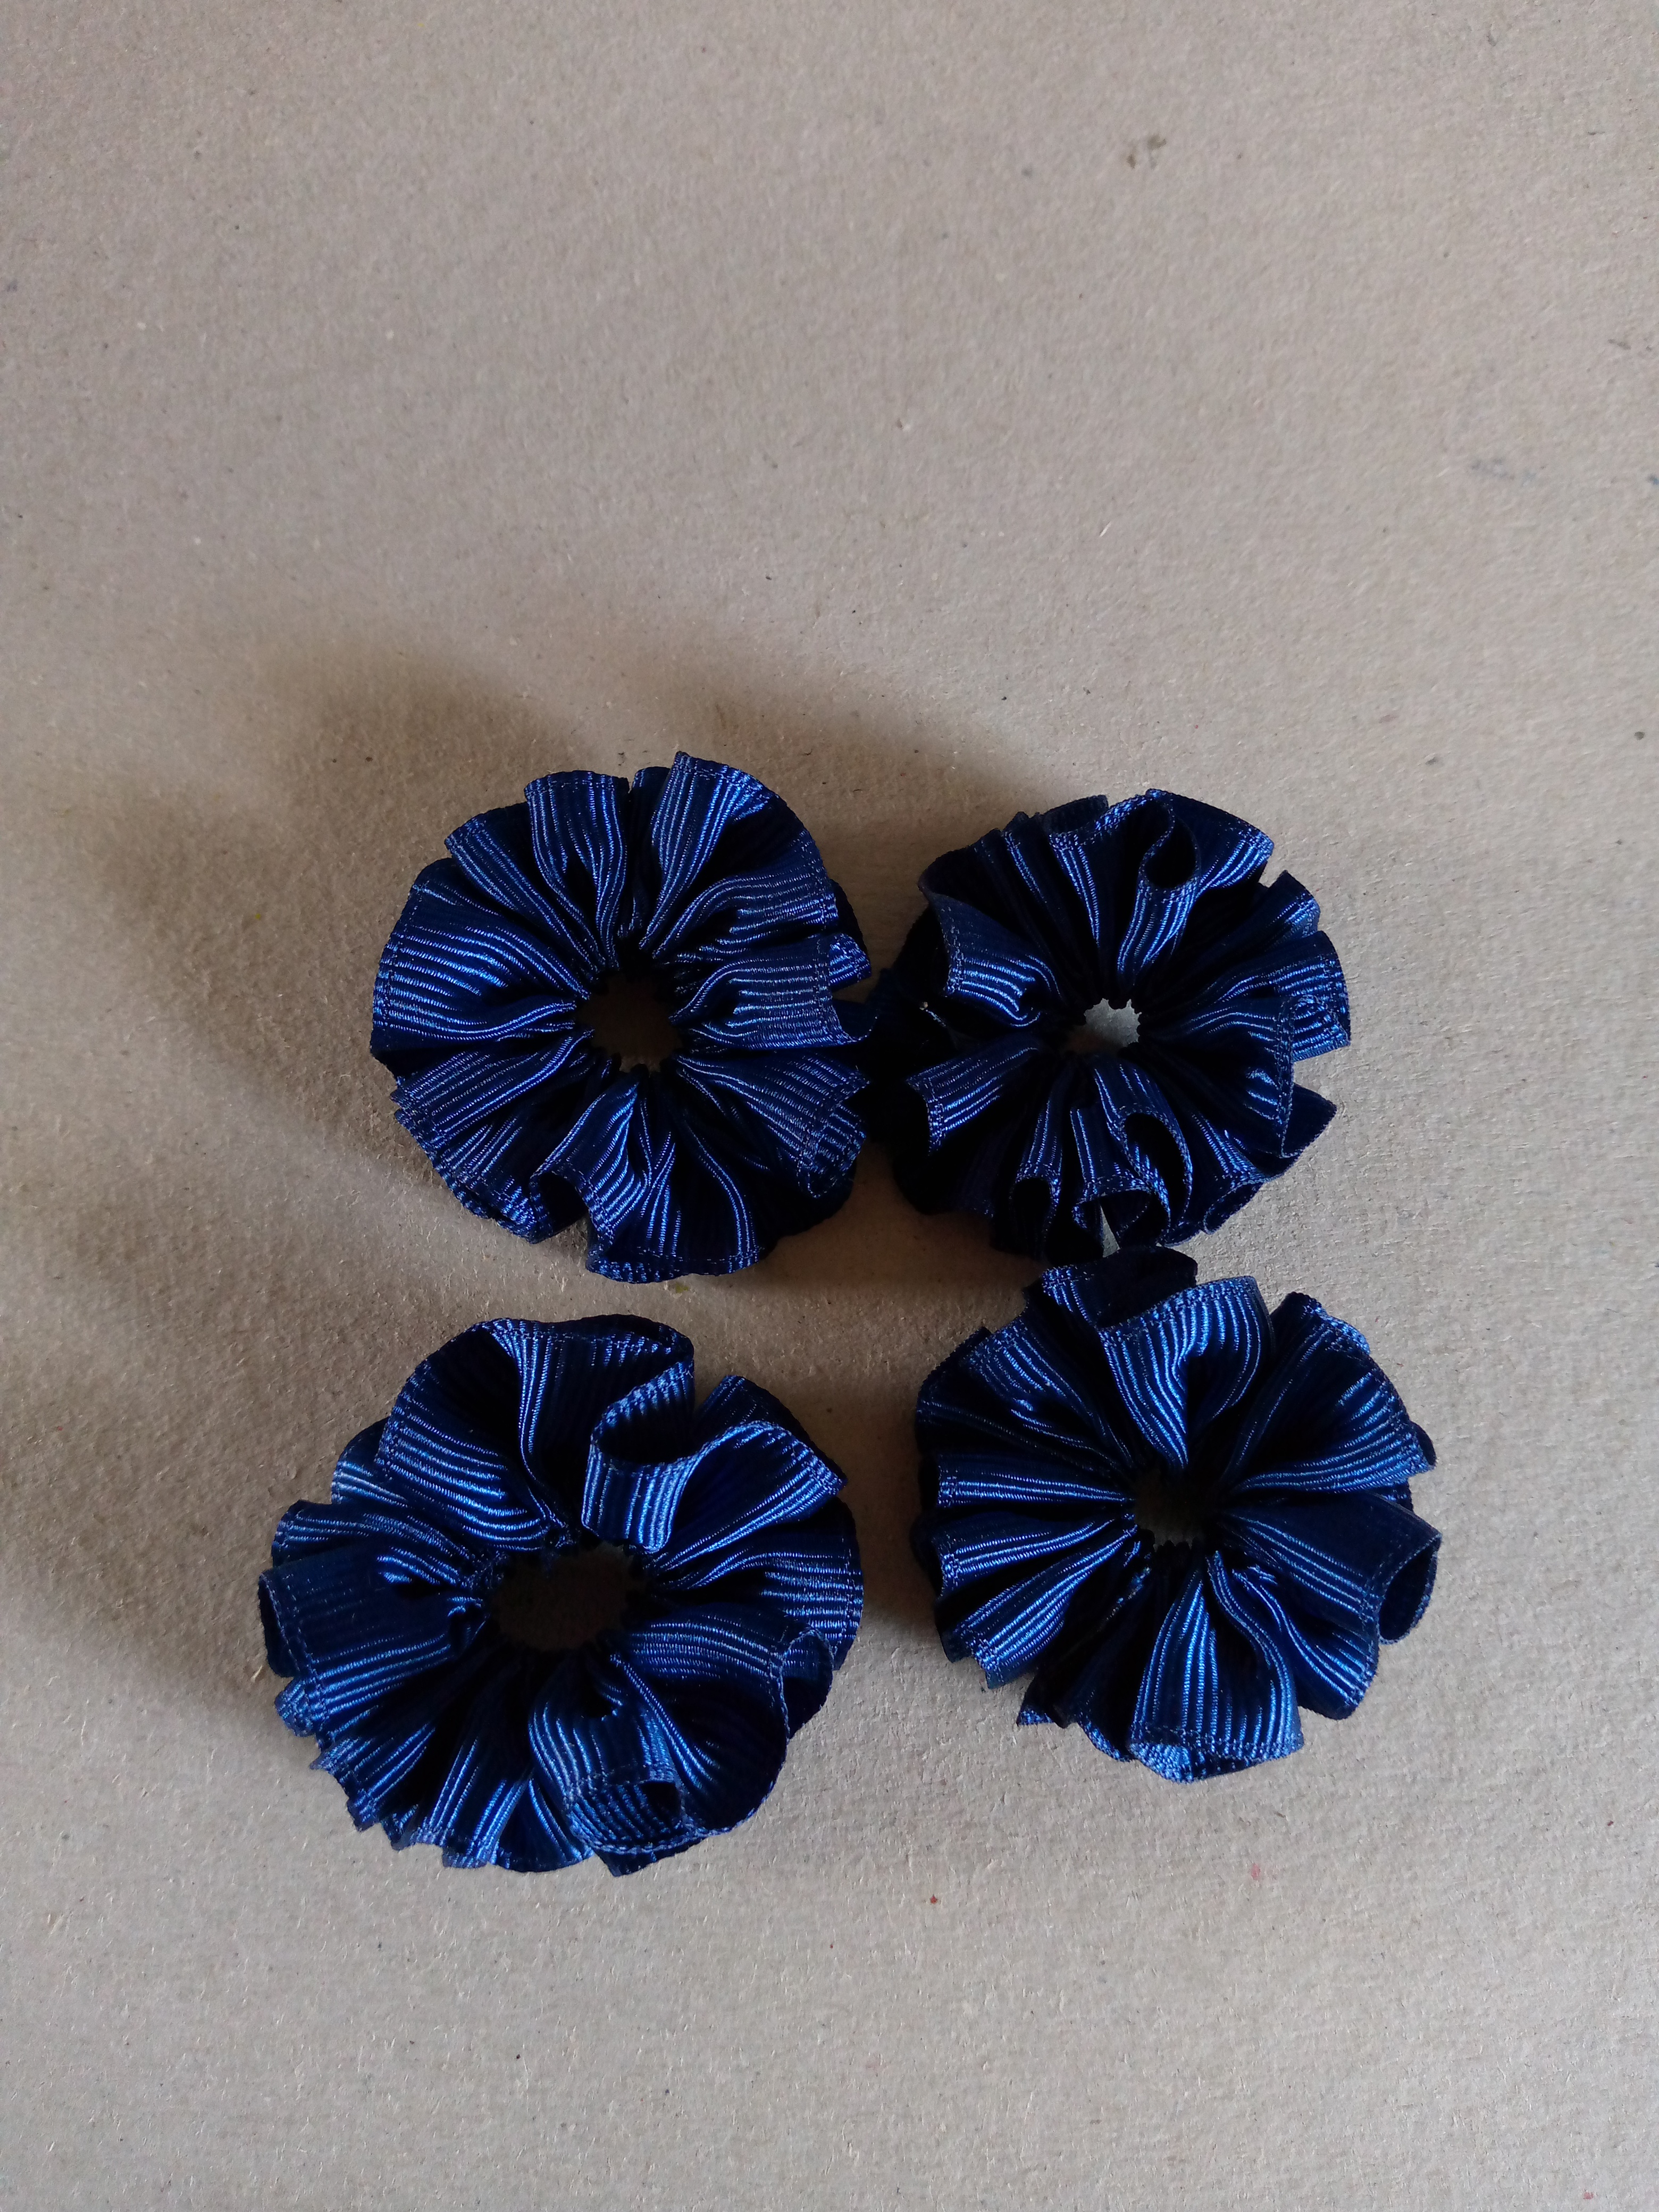
I started by cutting four pieces of my ribbon, each piece is 20 cm long each, this way we will make four flowers.

Paso 02
Step 02
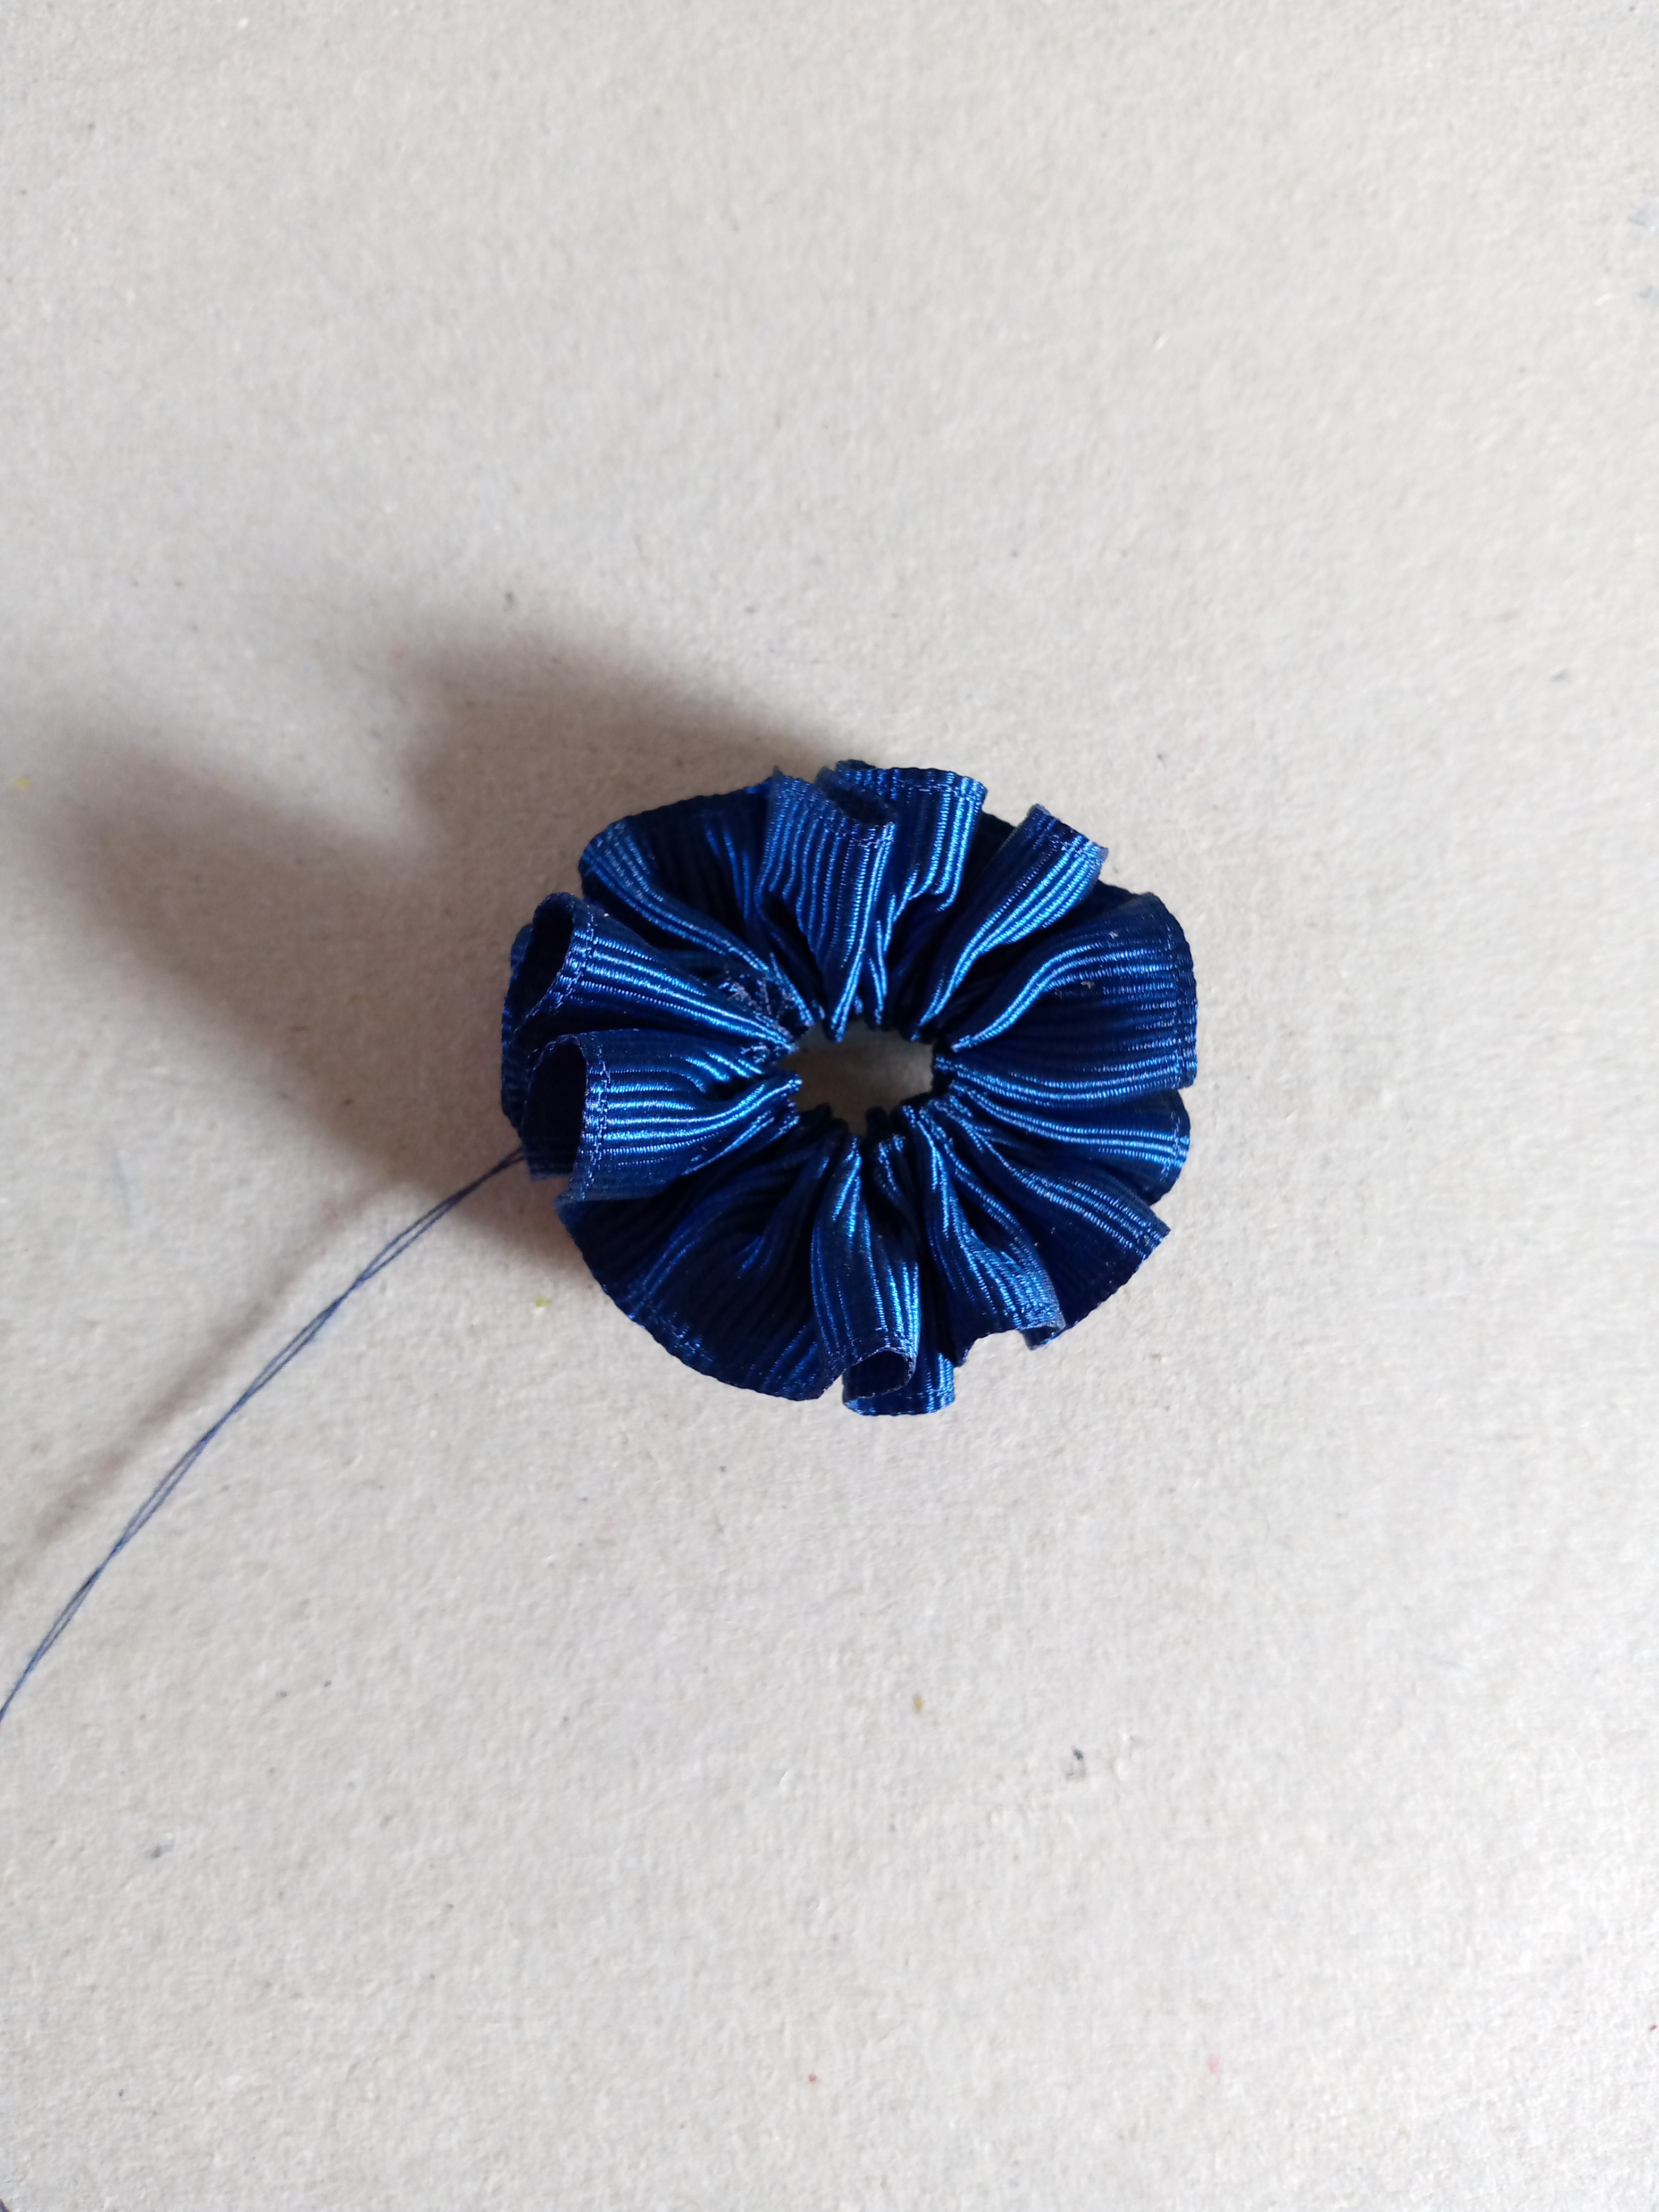
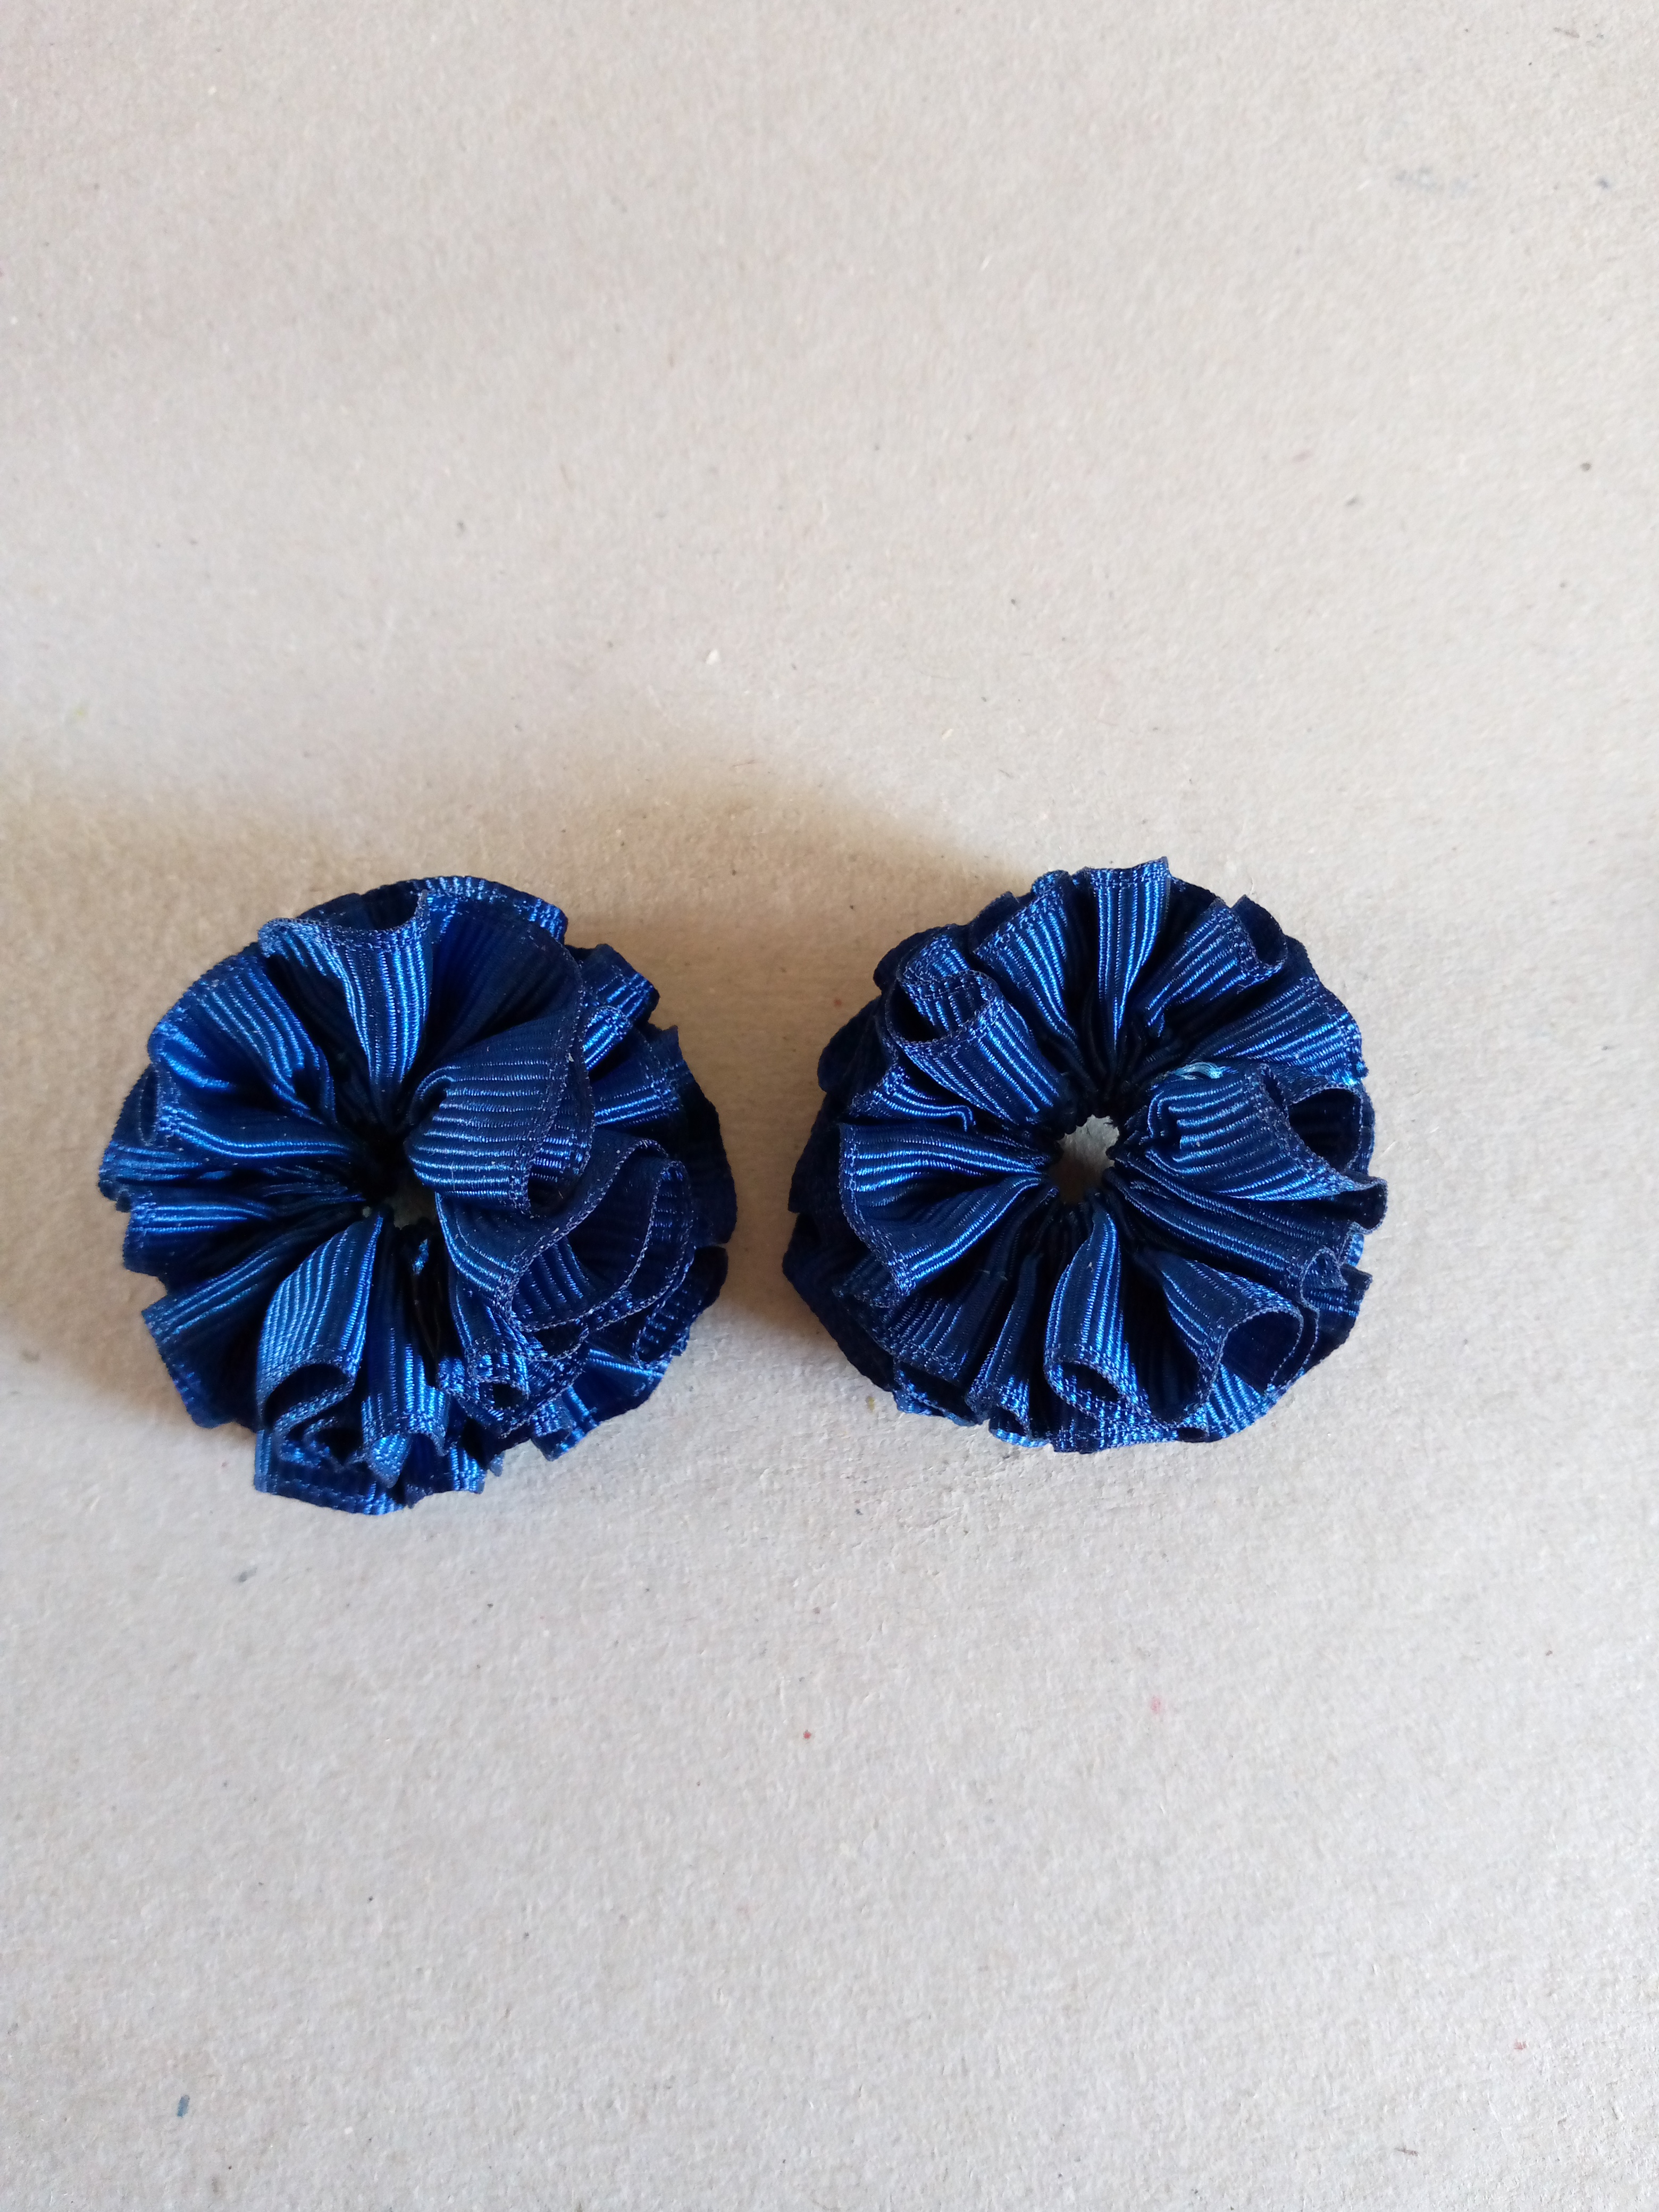
We proceed to sew each piece of our ribbon and gather it to form small flowers. We are going to use these first two as a base so the gathering we make should not be so tight.


Paso 03
Step 03
The following flowers that go above are going to be gathered tighter so that they are a little smaller. In this way, we are going to sew the flower piece from the top to the base with our needle and thread, thus we form a complete flower for each gummies that we make.
Paso 04
Step 04
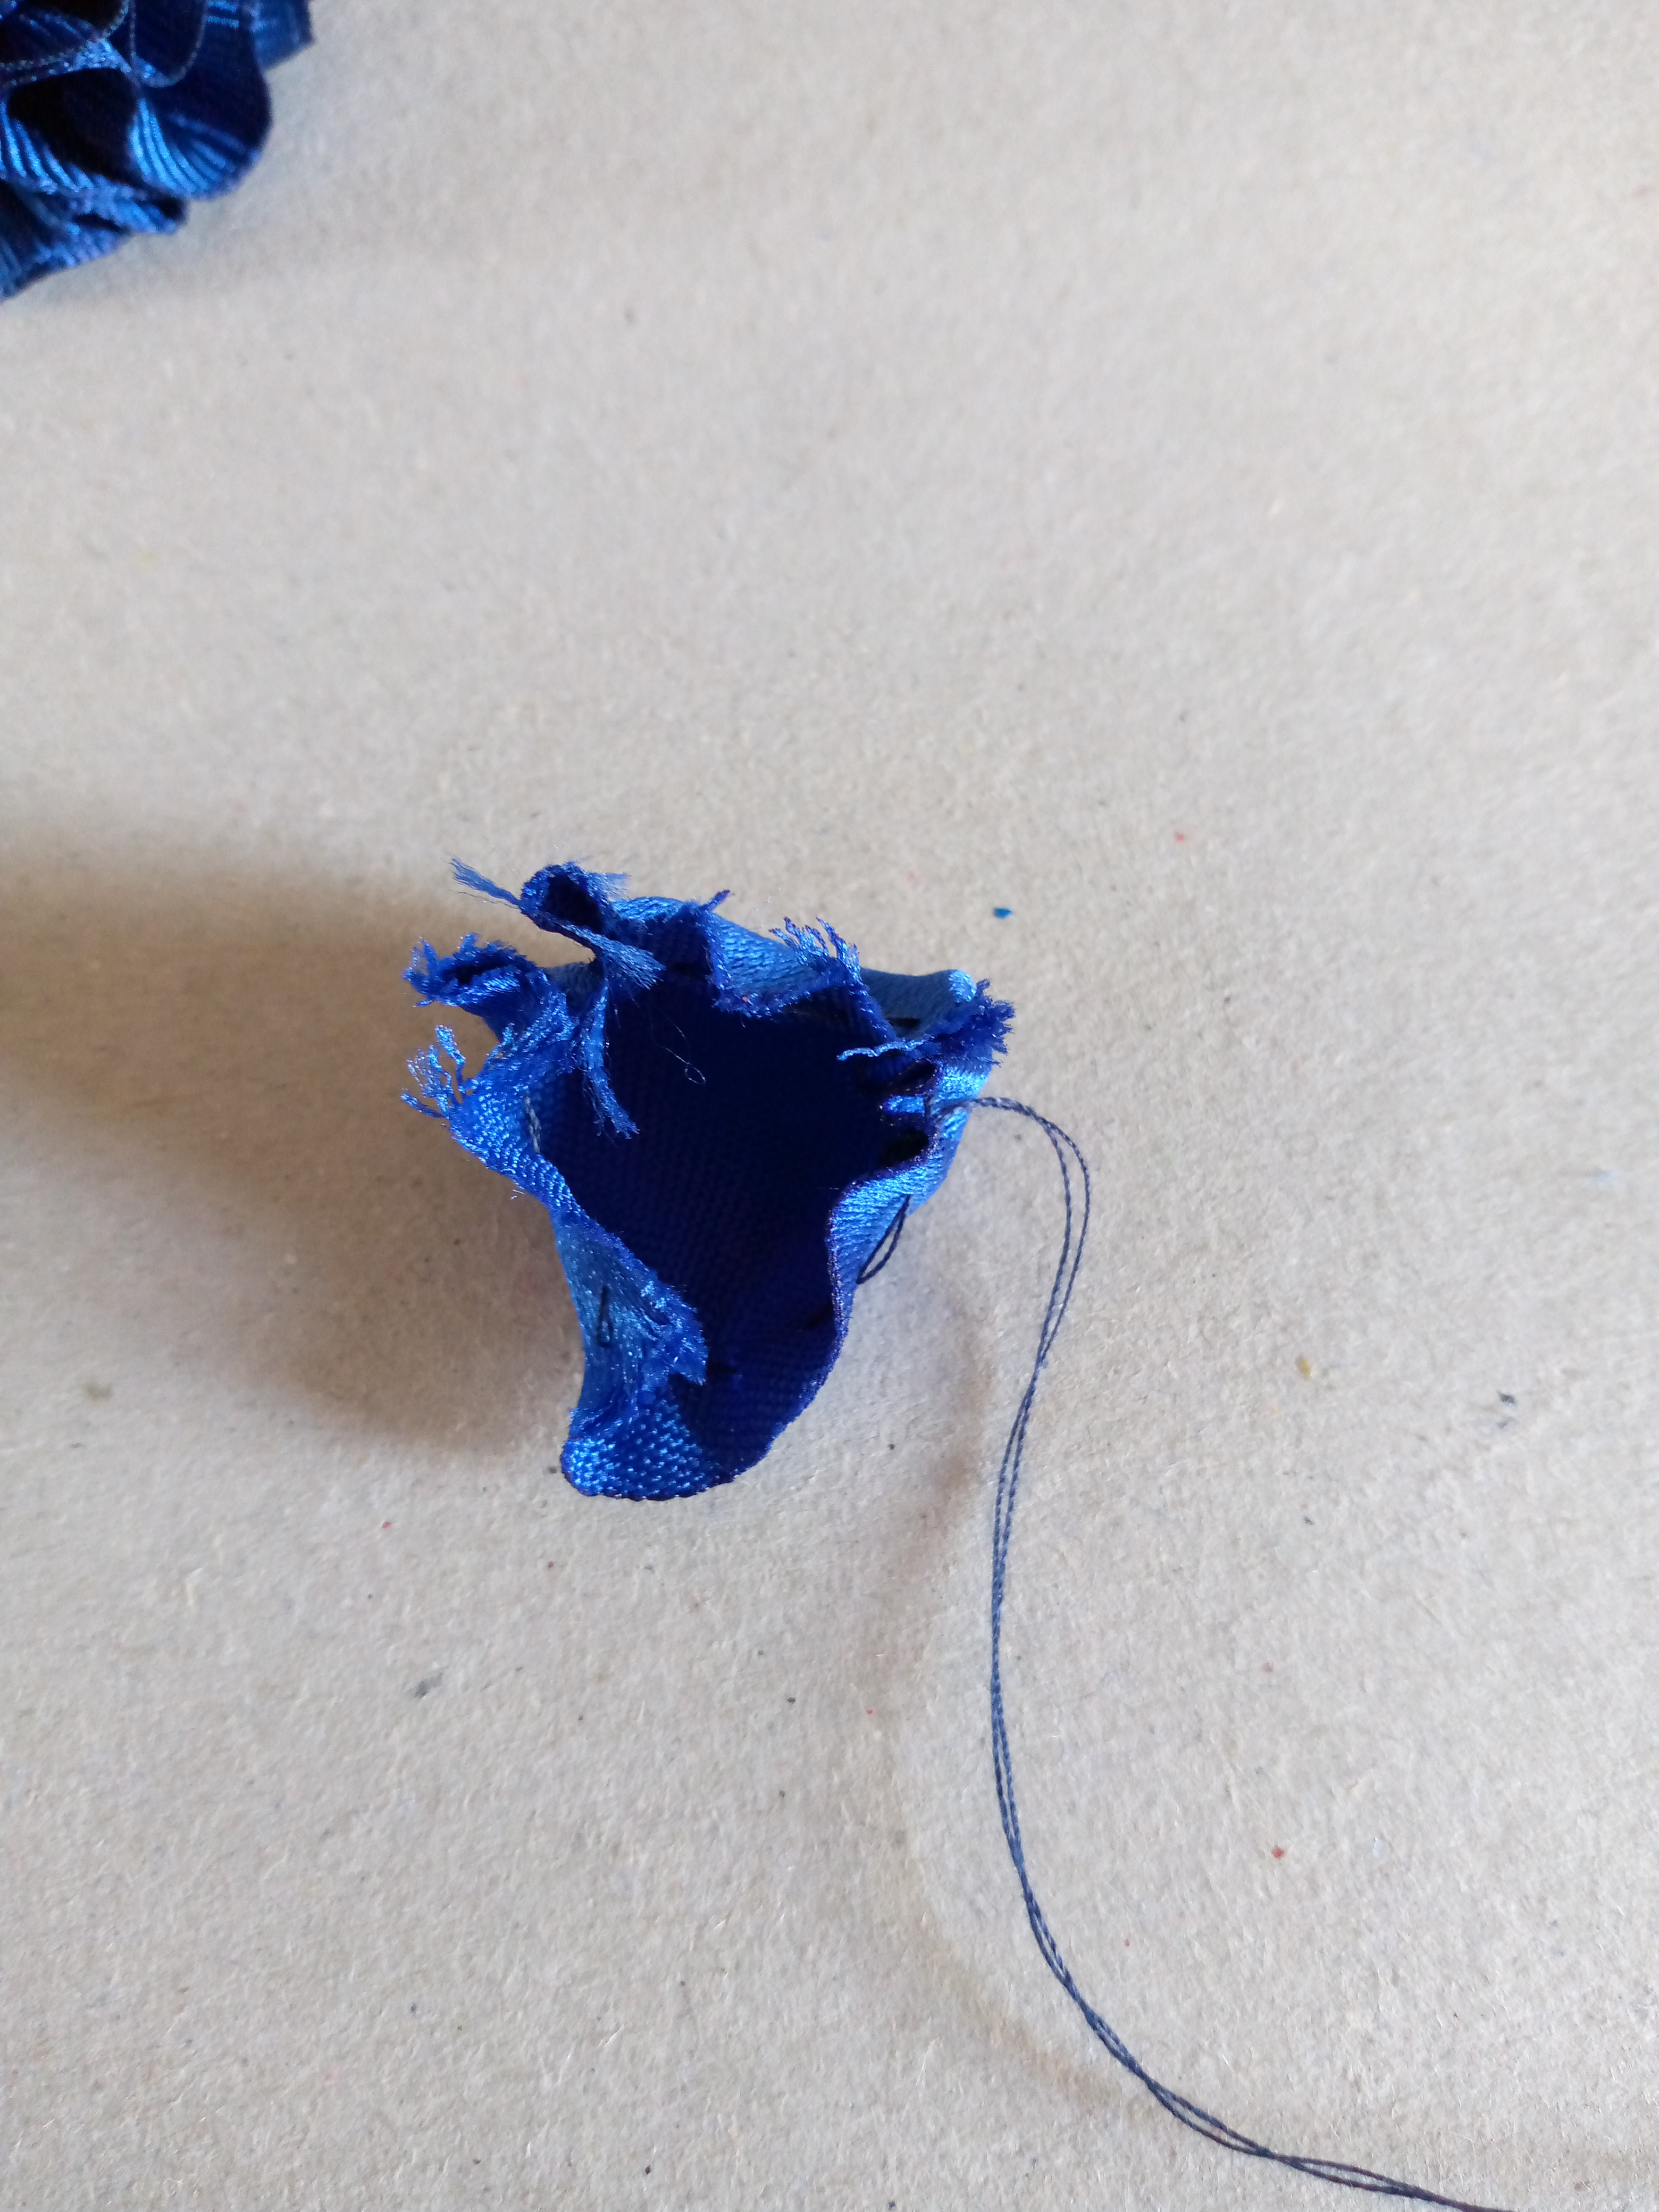
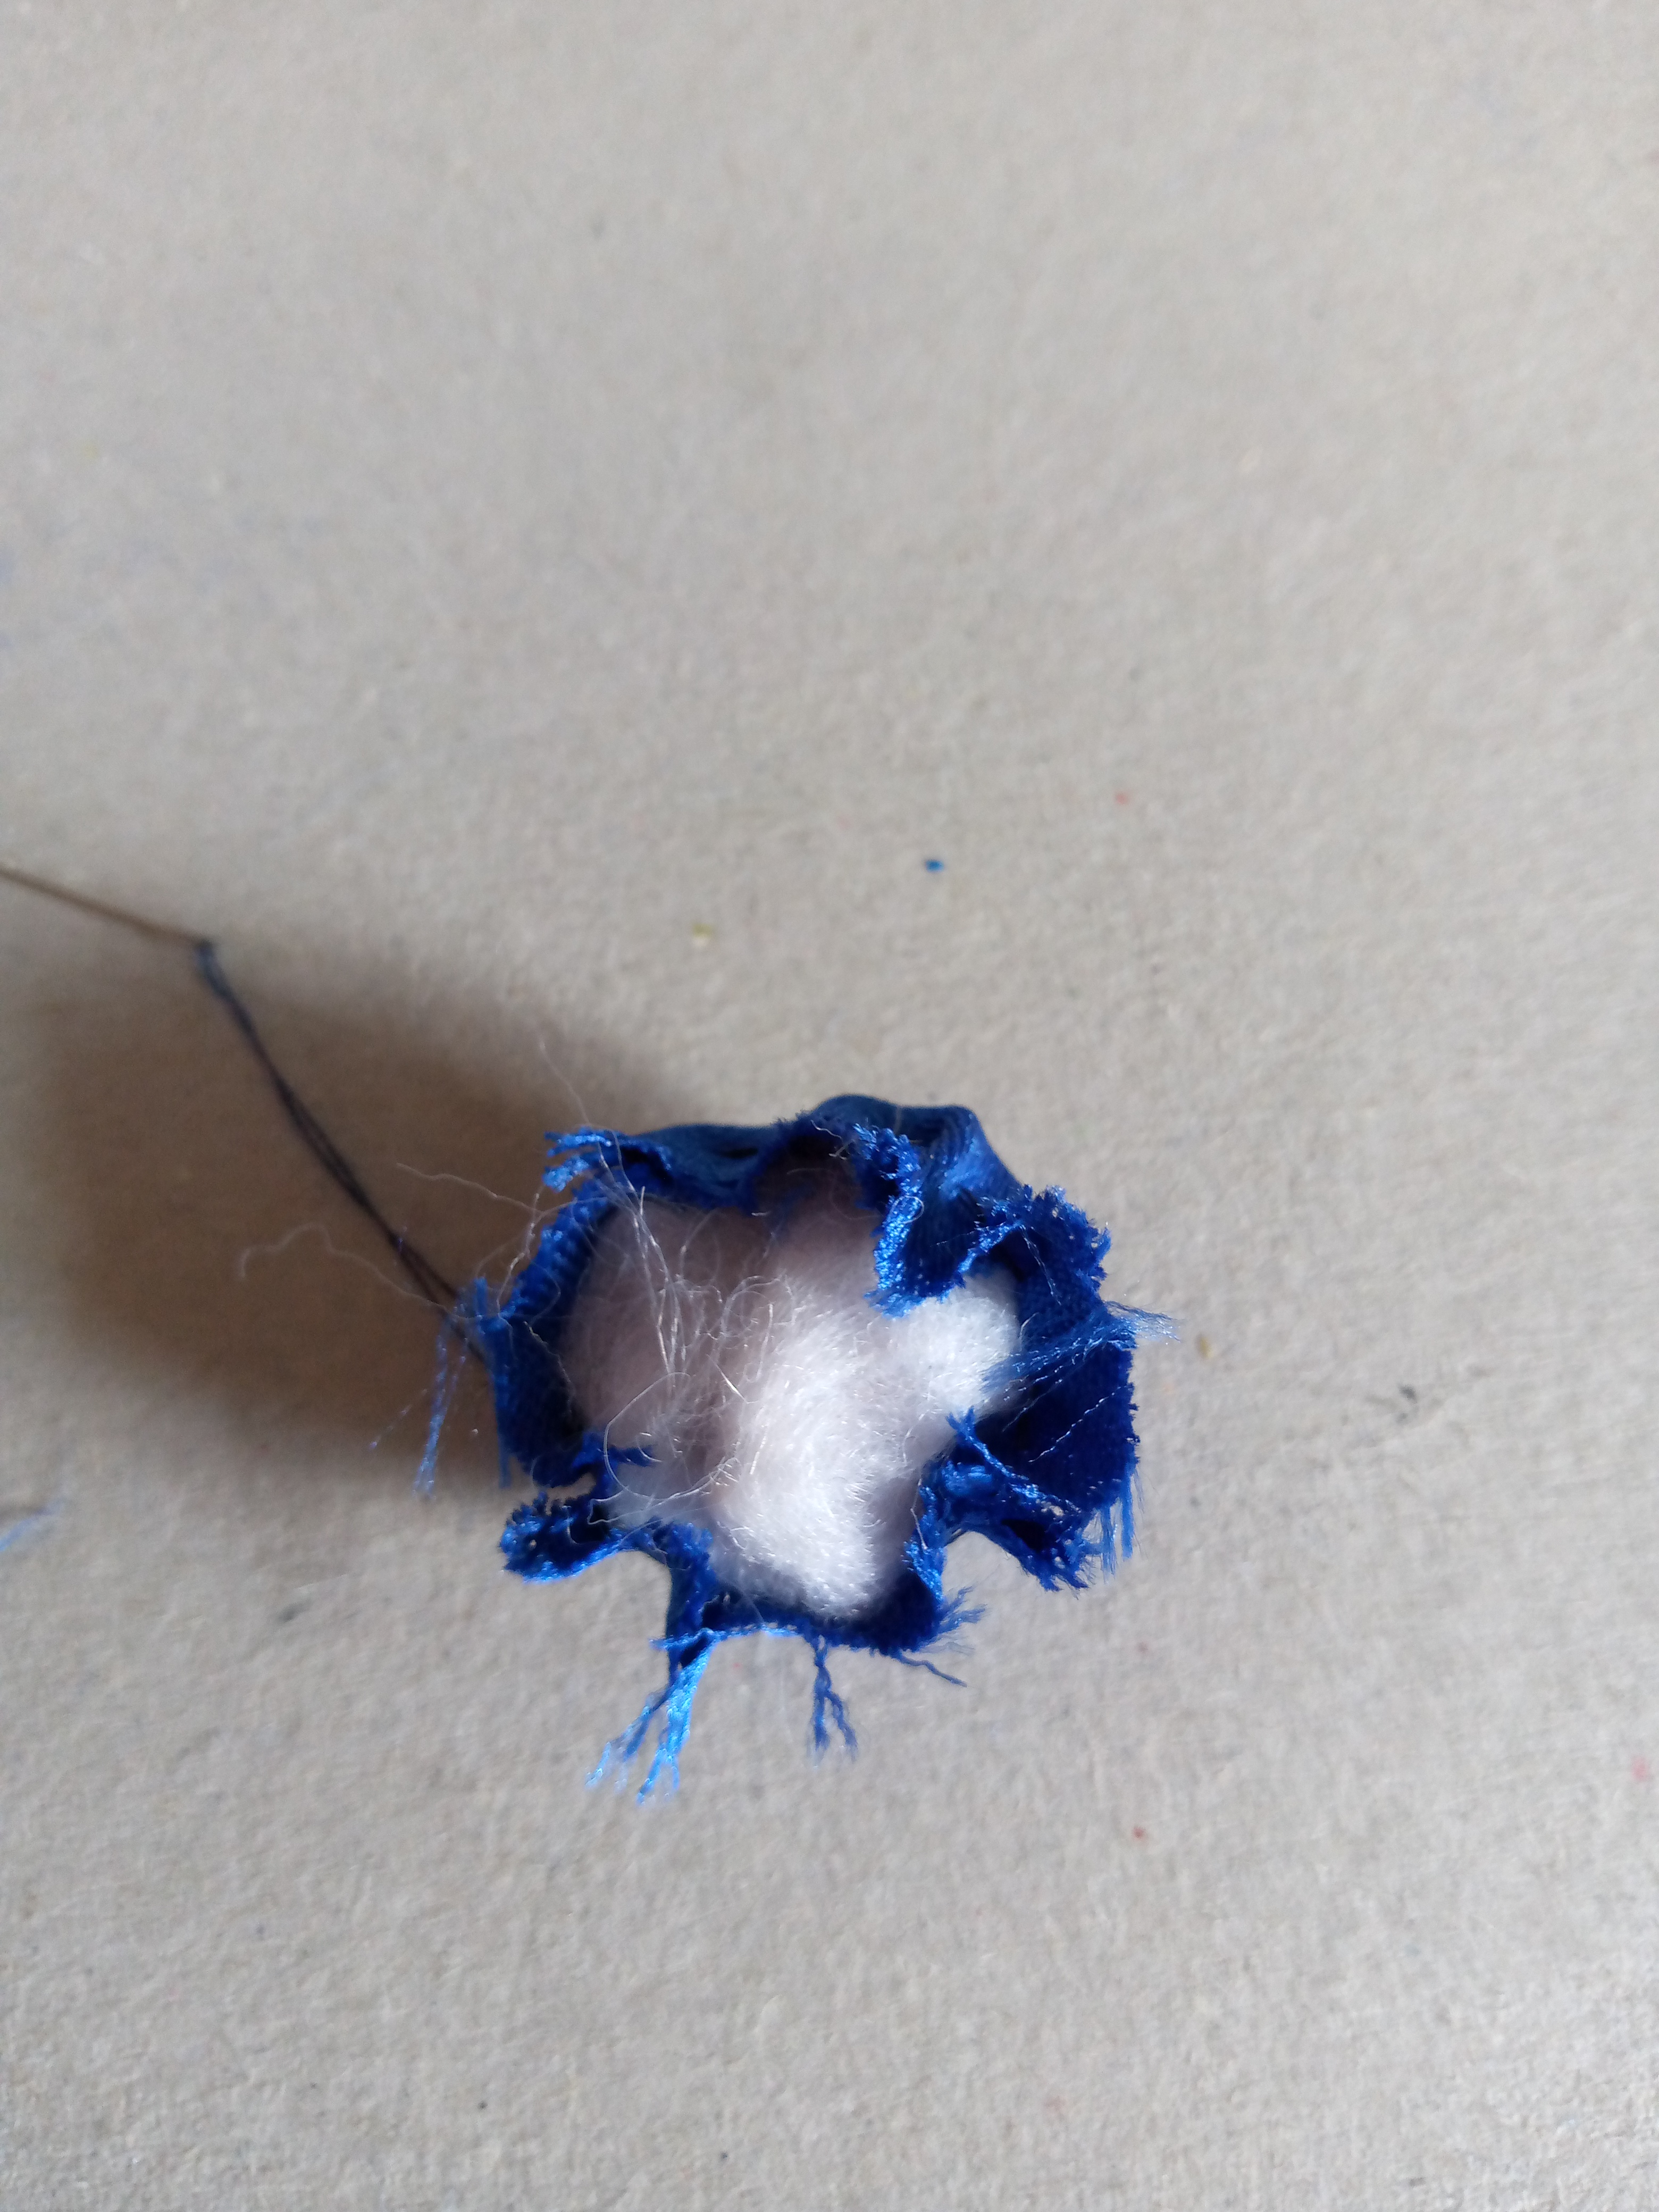
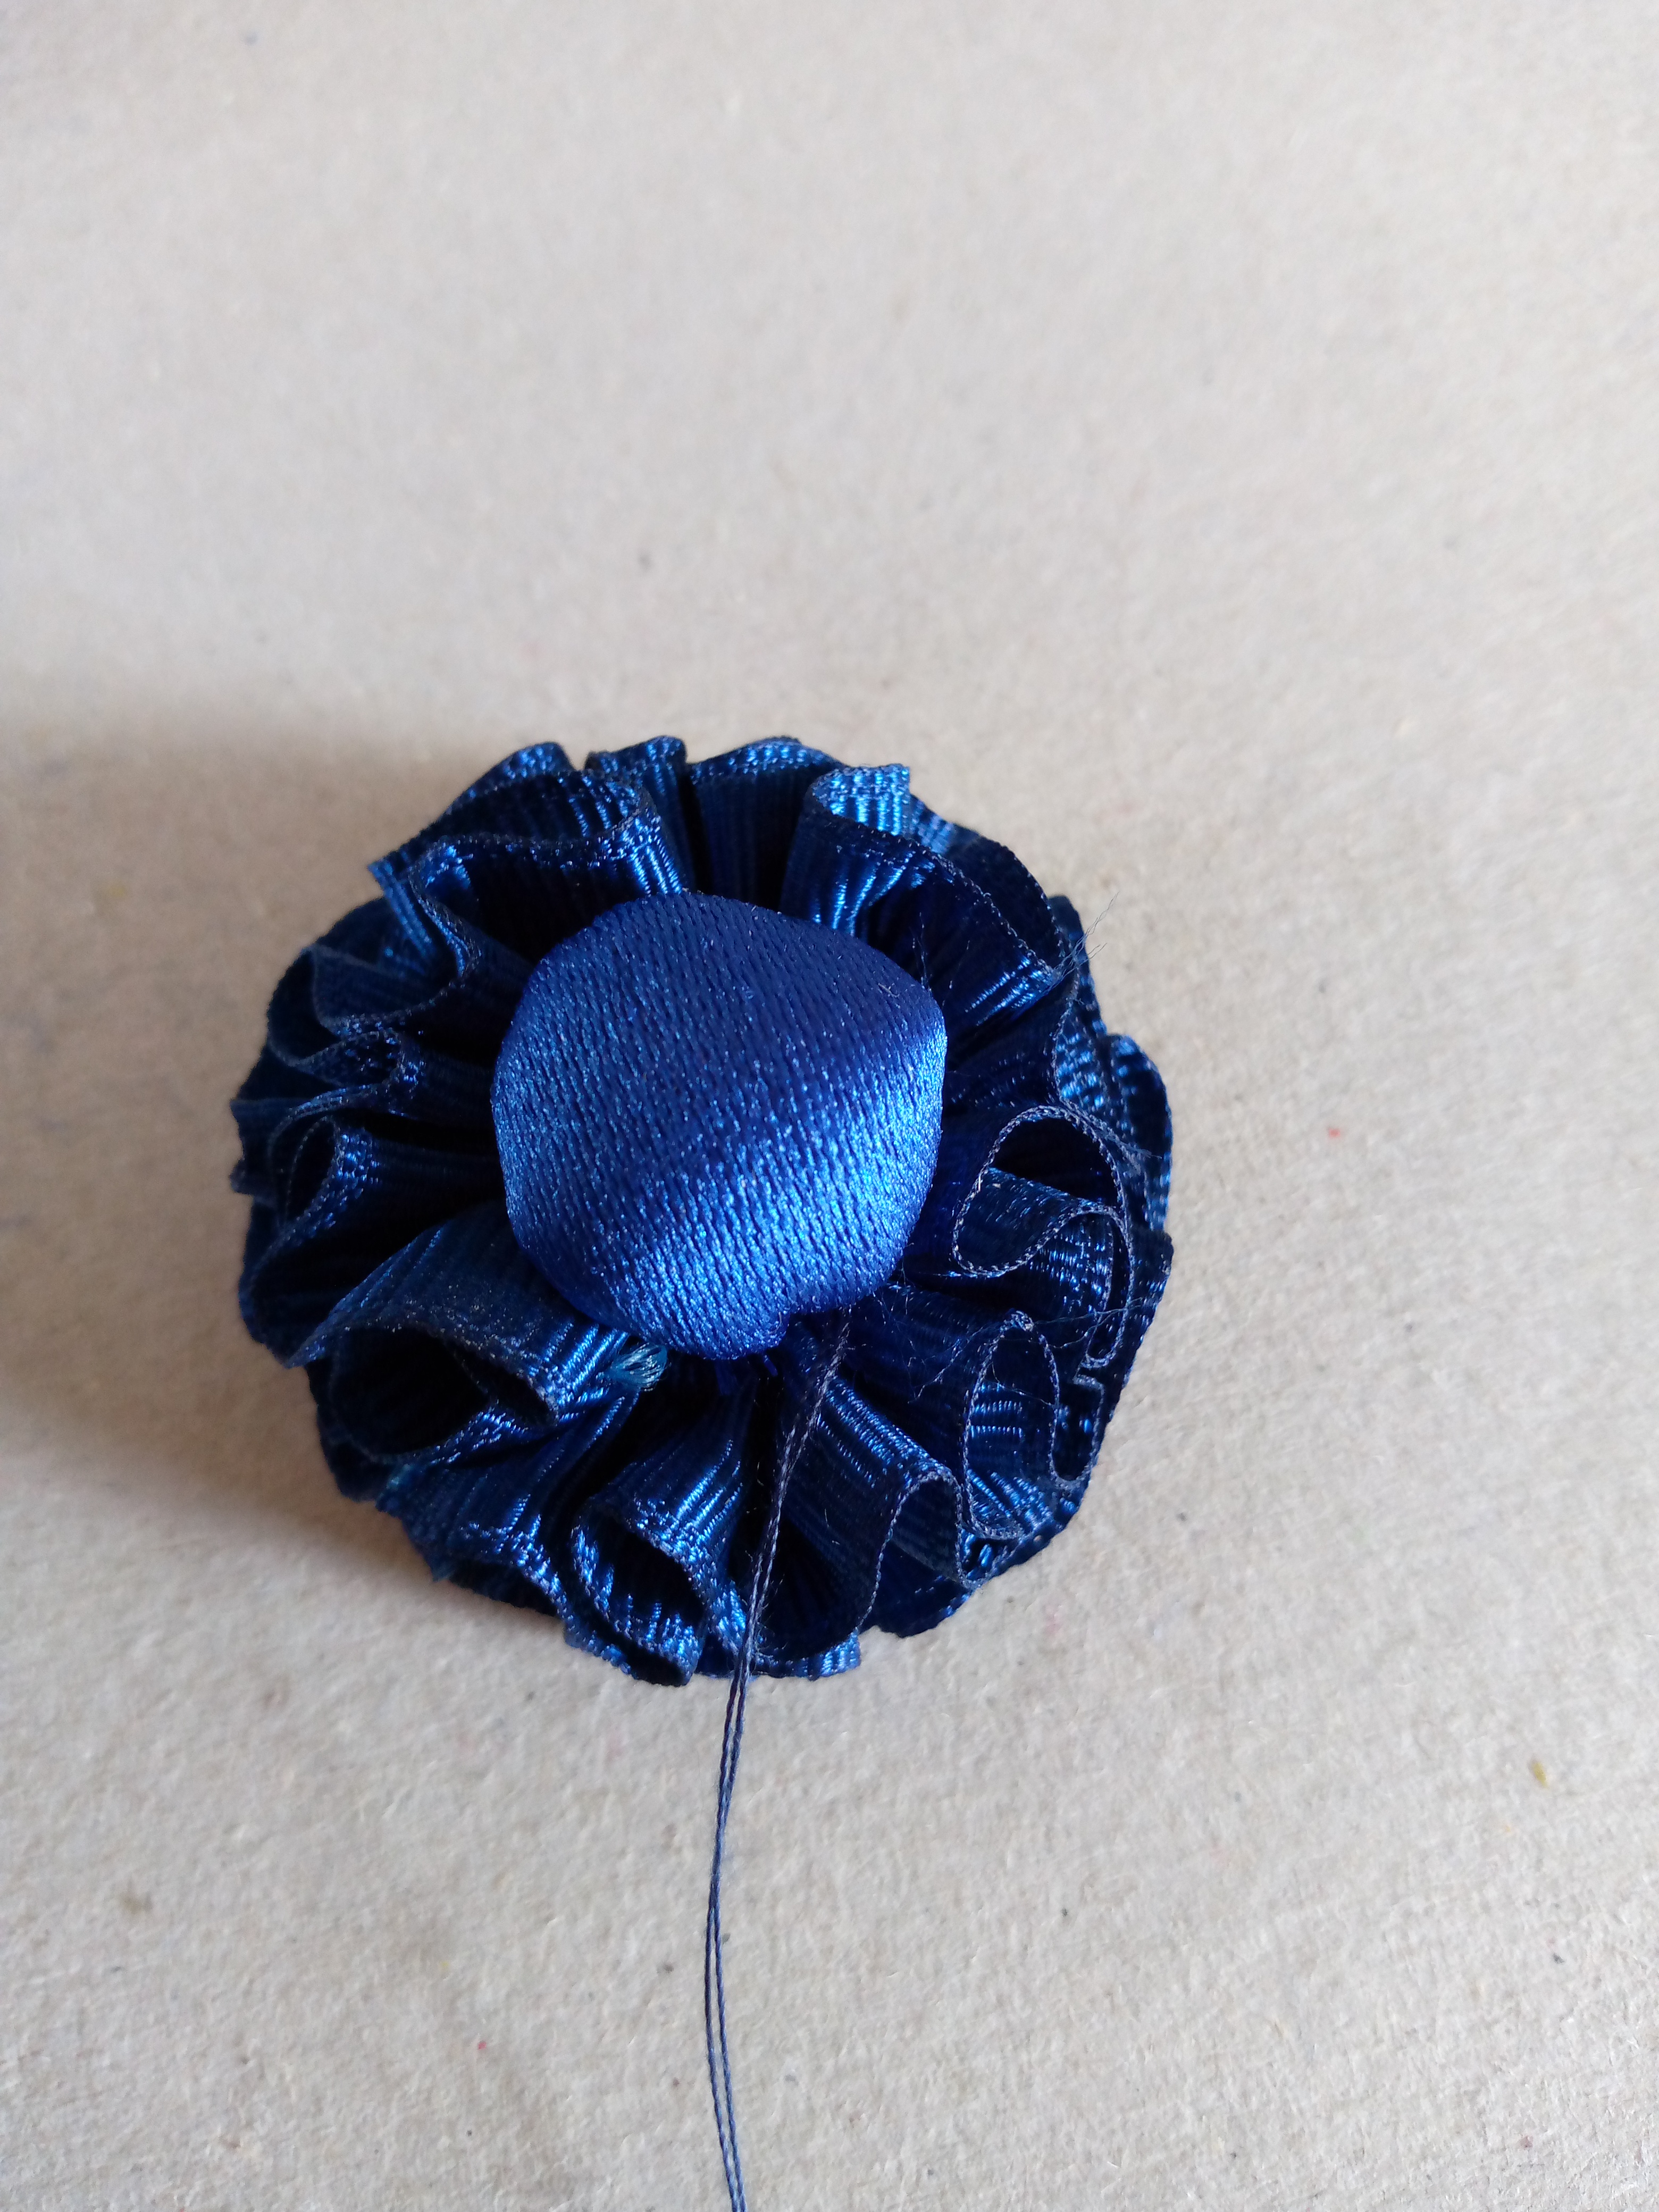
Once we have these pieces ready, we move on to make two small circles on our piece of blue fabric that we will use to decorate the top part of our flower. We sew, fill with the stuffing for dolls and gather, try to make it fit well and proceed to sew it to For our flowers, we do this step with the other circle.
.jpg)
Paso 05
Step 05
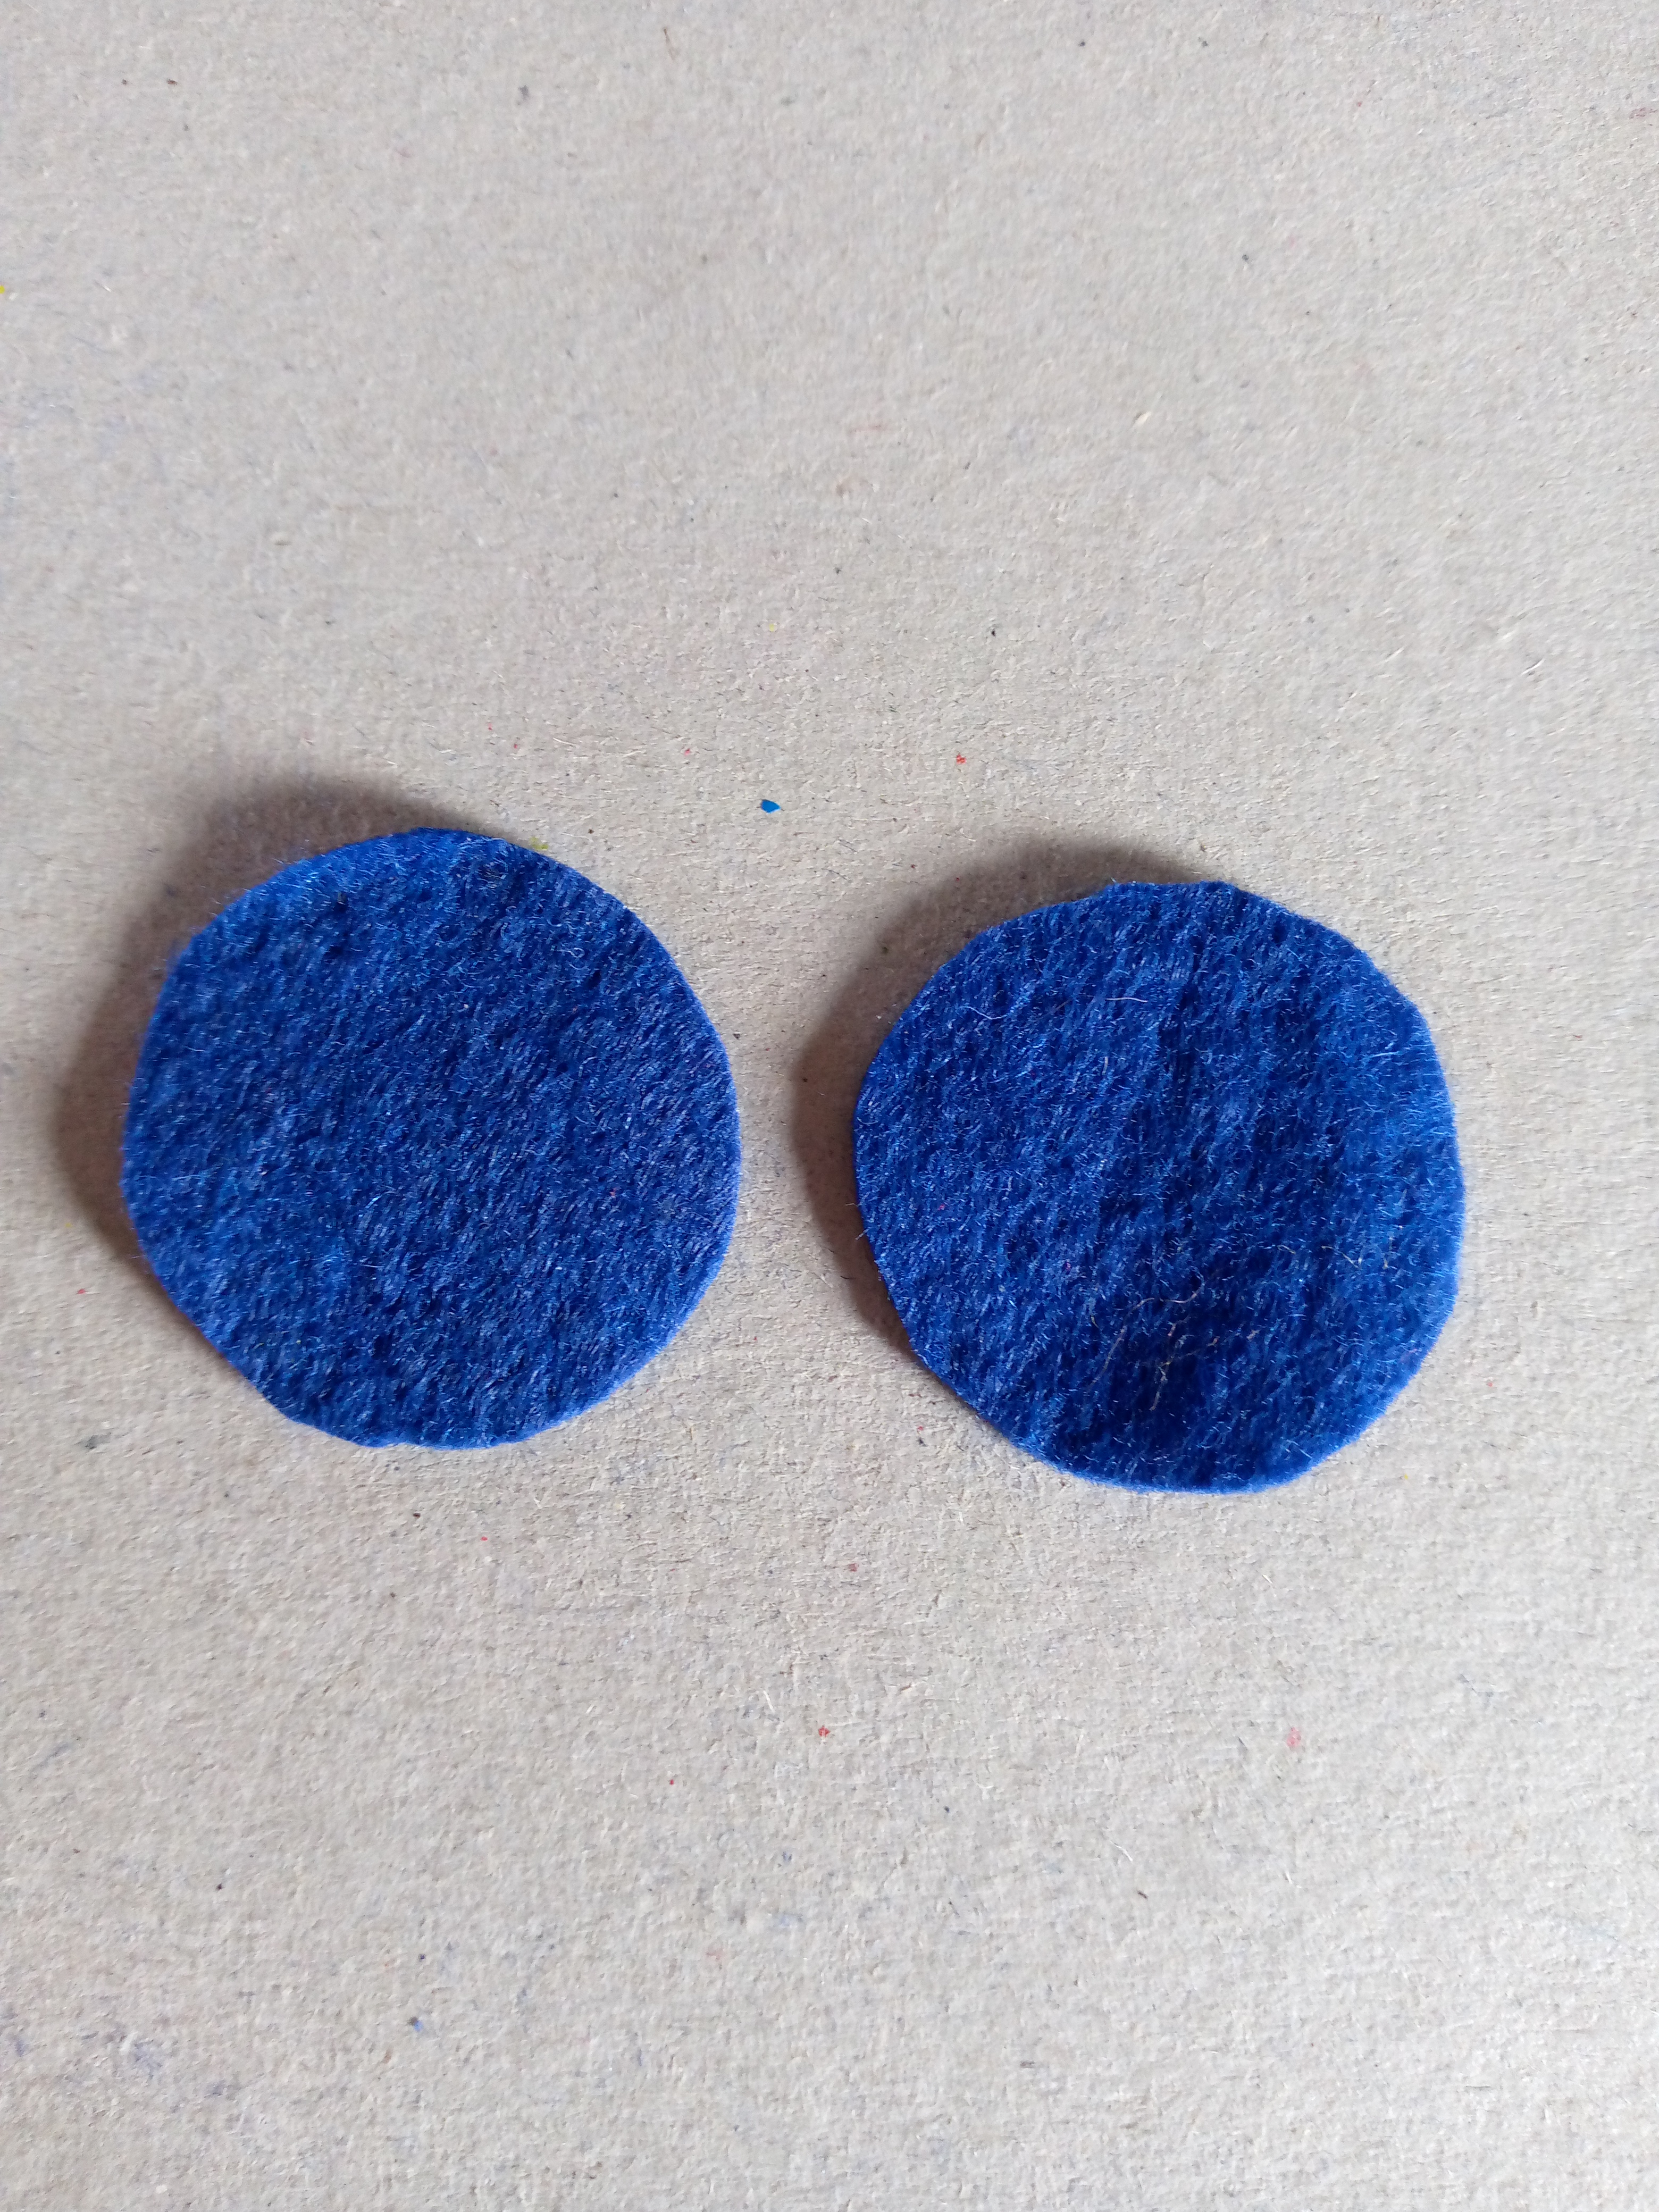
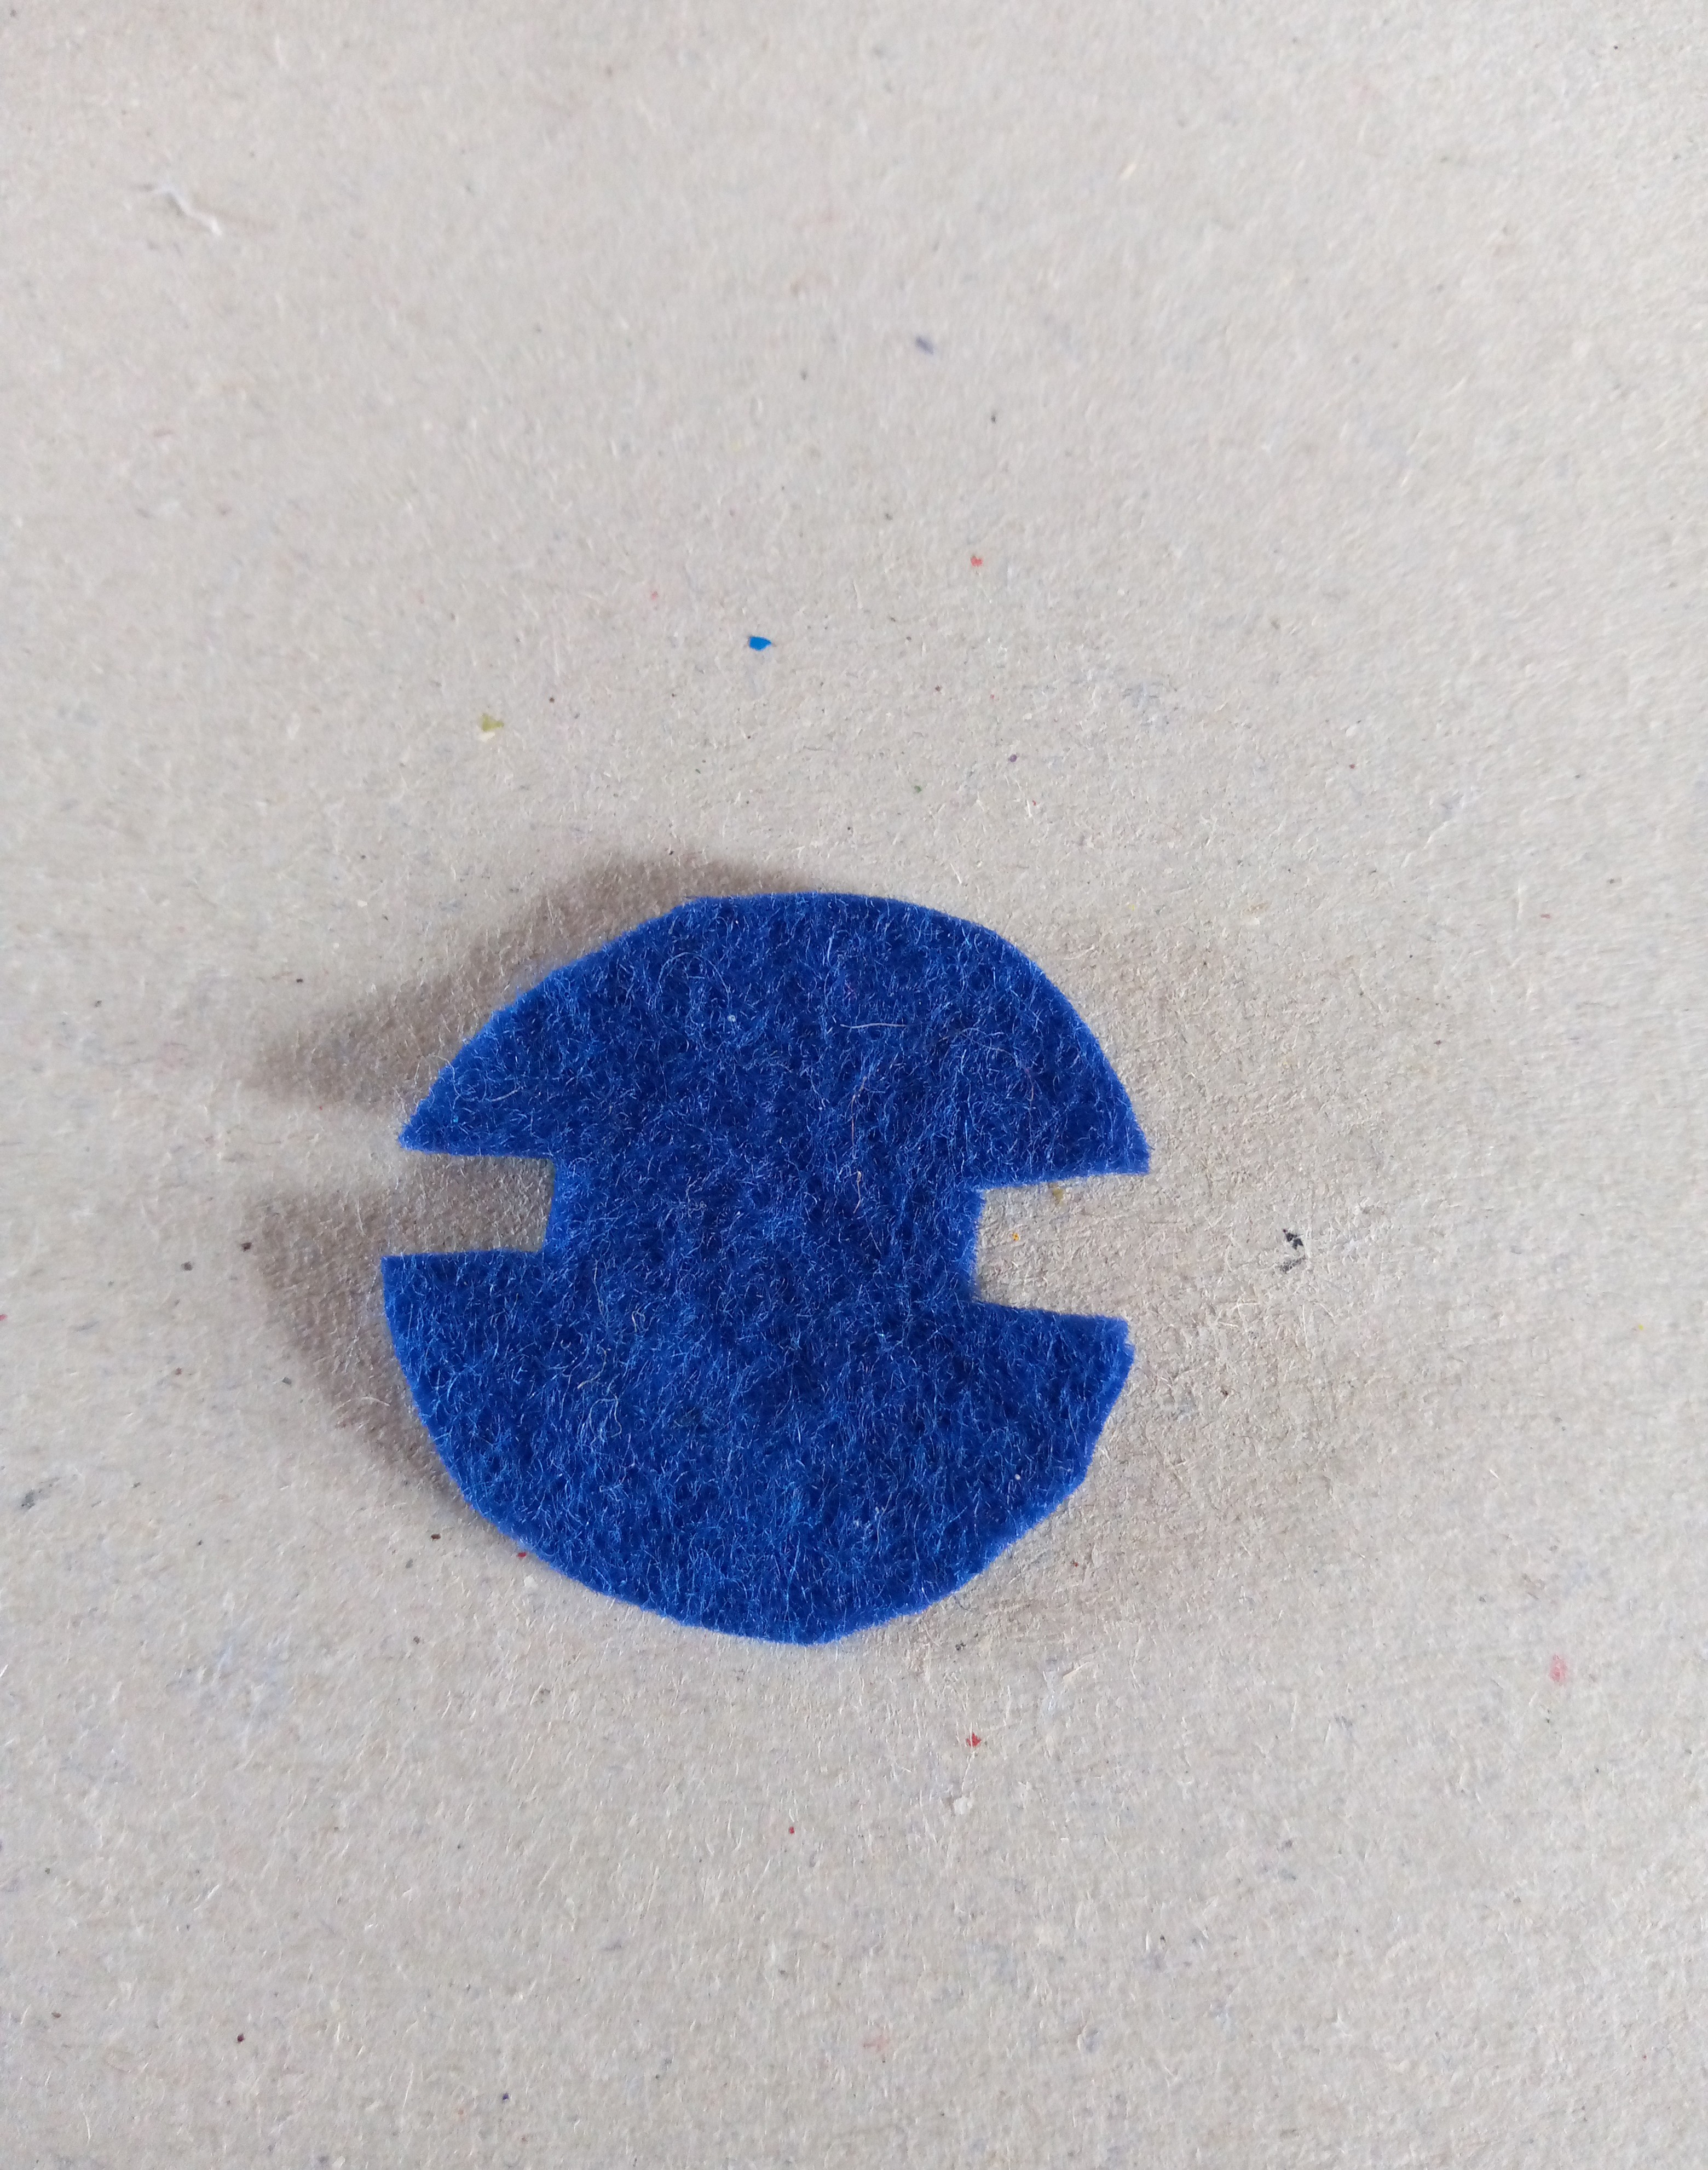
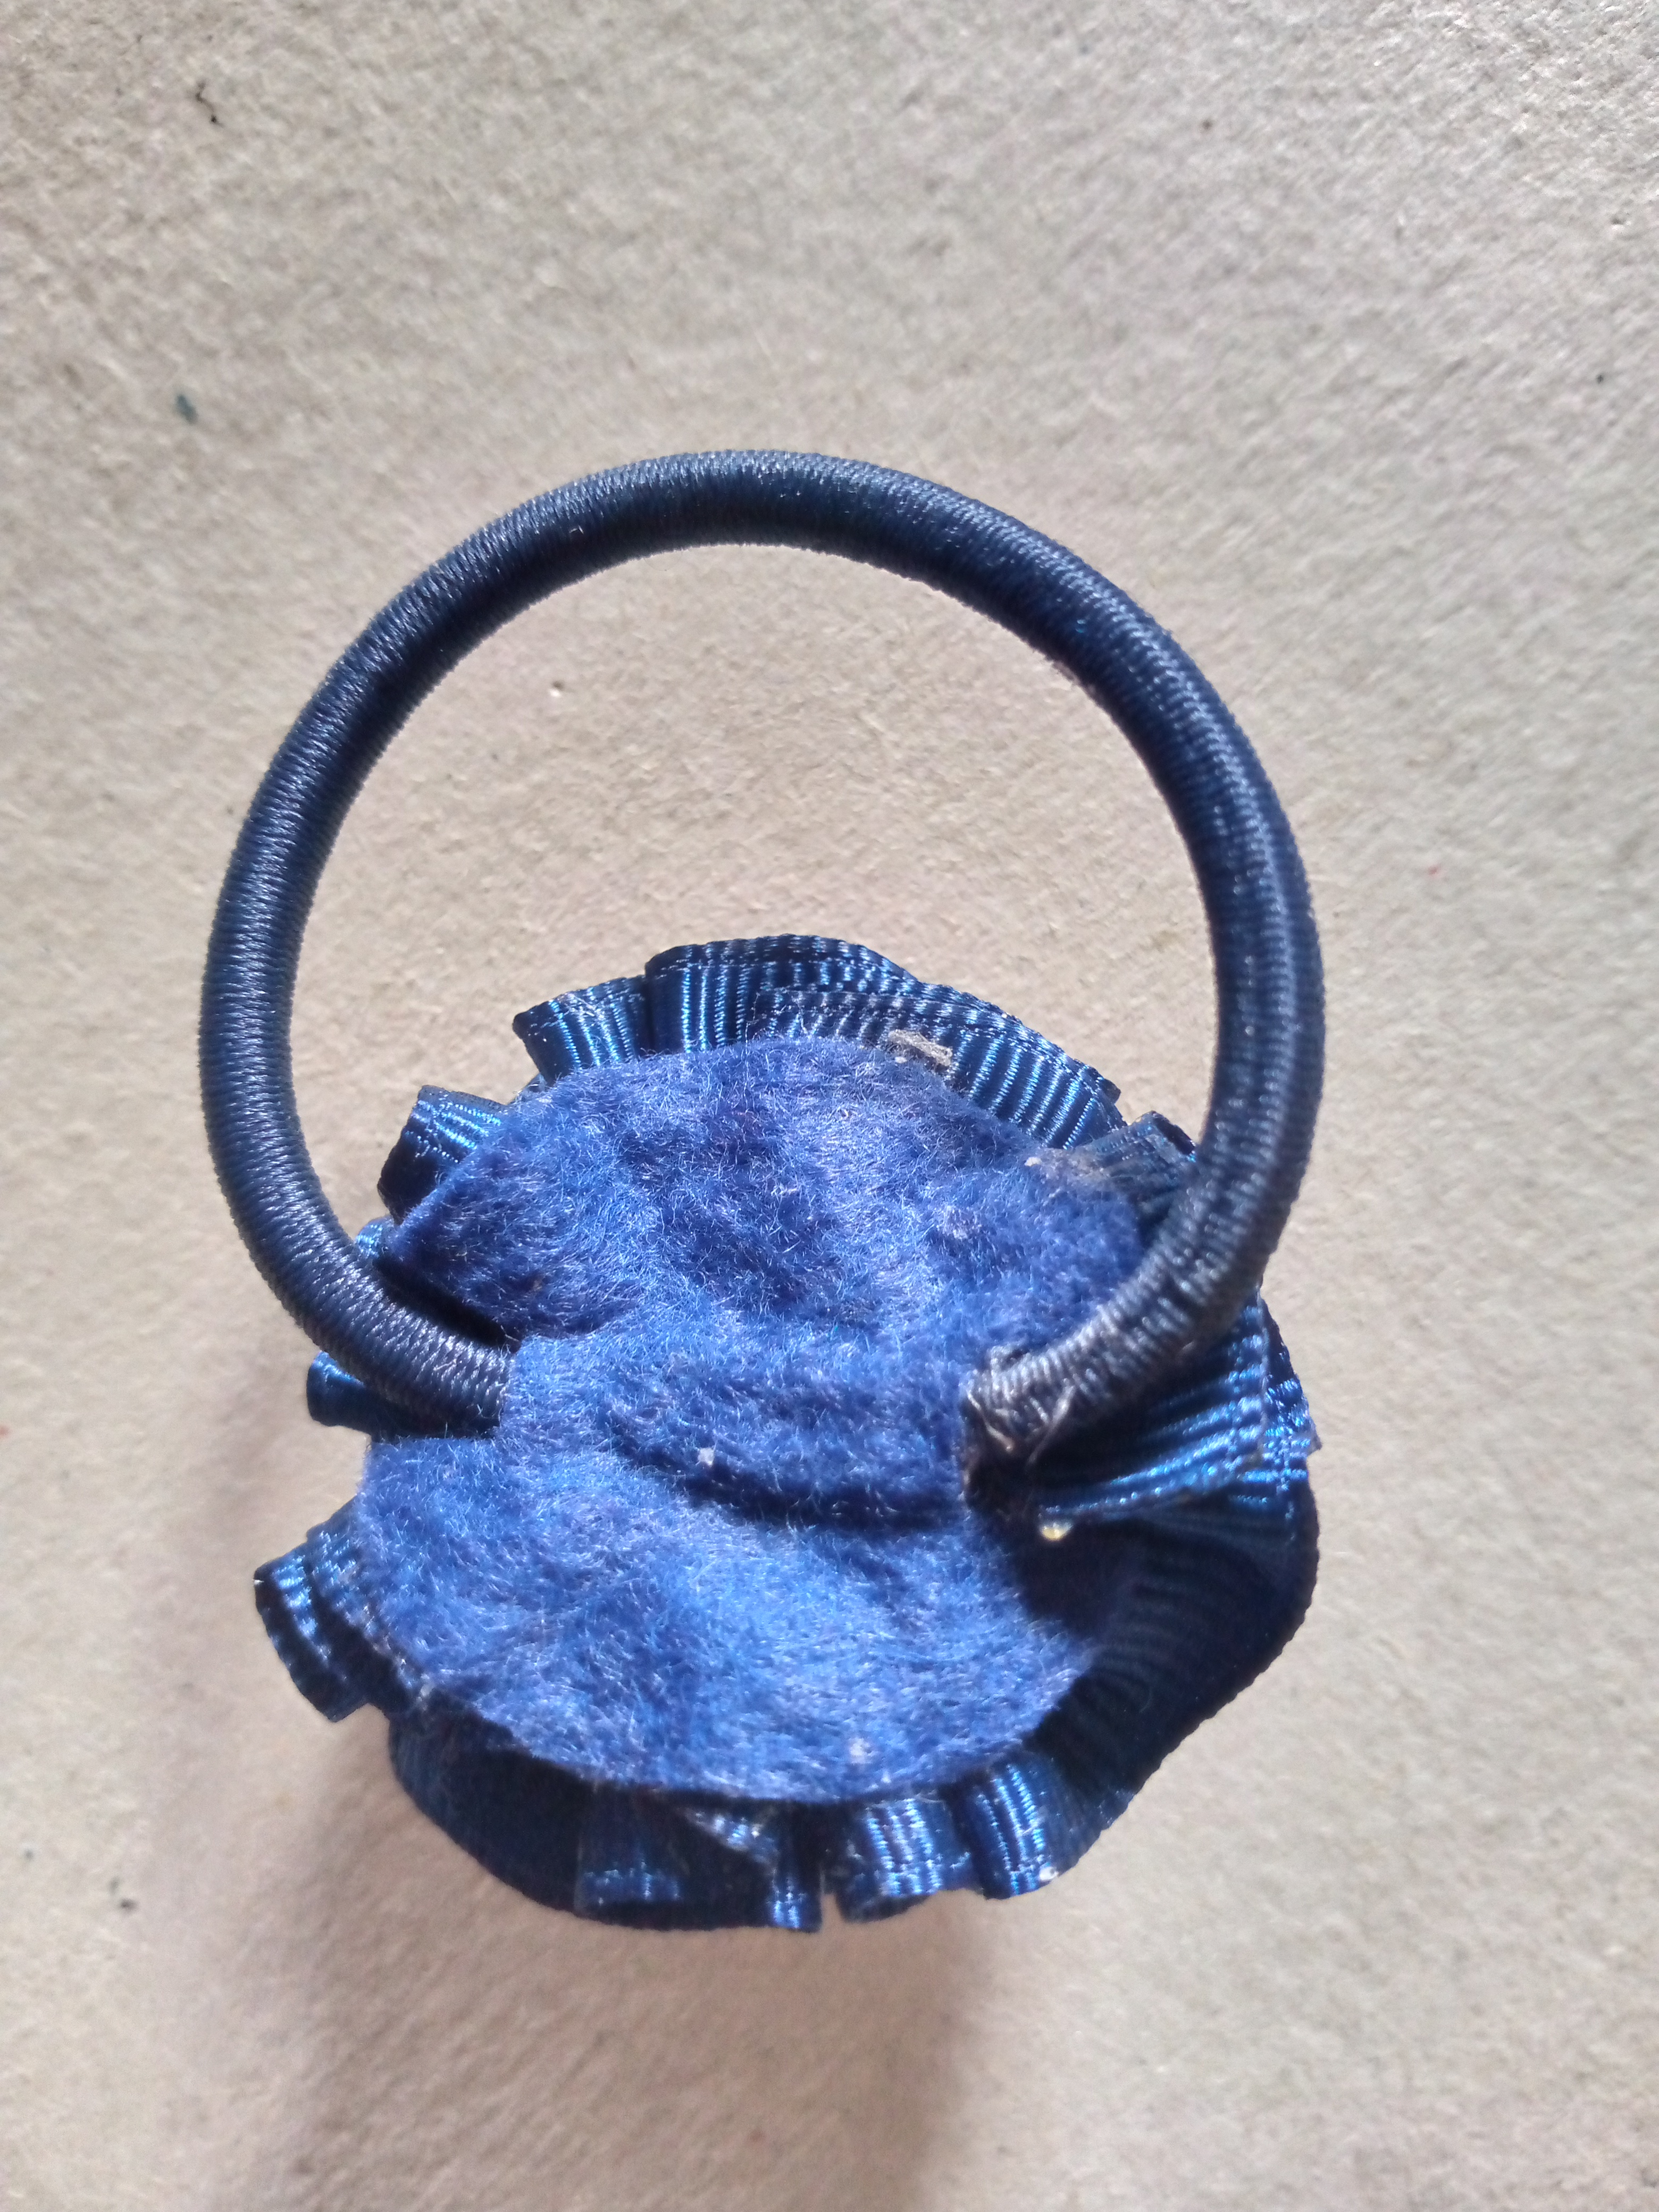
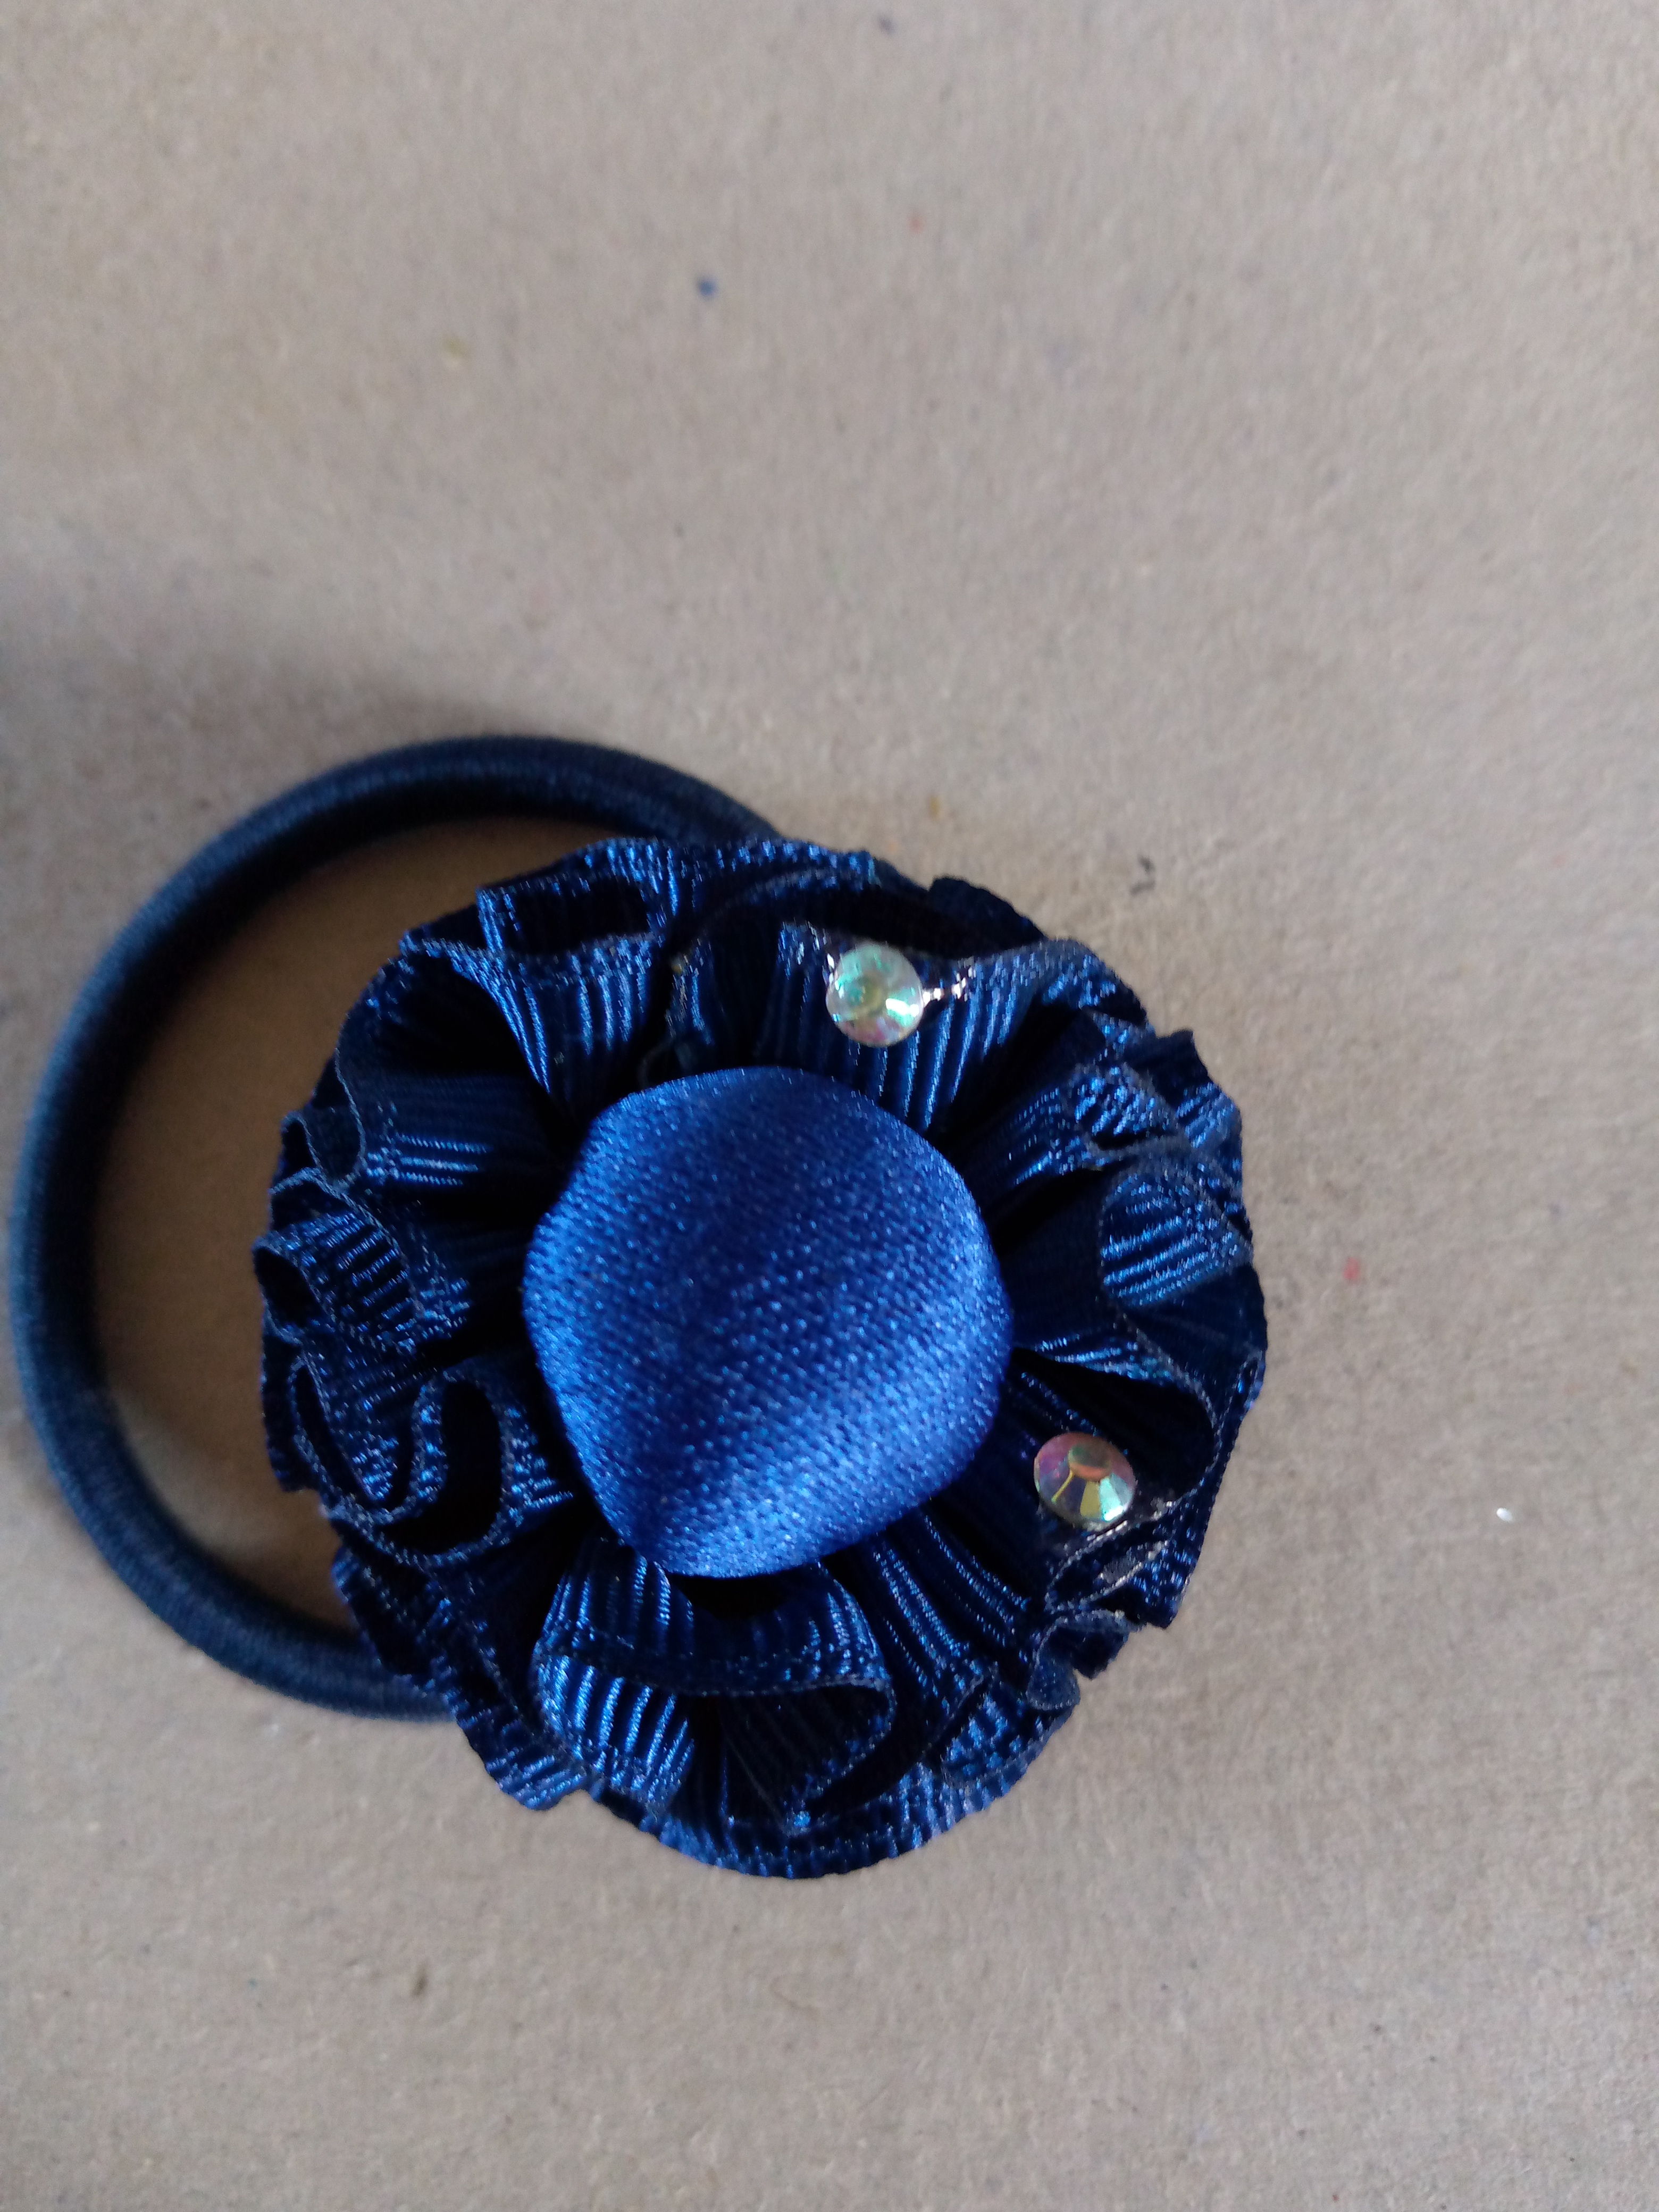
As the fifth and last thing happened with our piece of felt, we will also cut out two circular pieces that we will use to cover where we place our rubber band so you won't see, we make some small square cuts inwards and then we glue it with our silicone, we end up decorating it with some shiny stones or If you want with sequins, that's how our gummies are ready.
.jpg)
💙Resultado💙
Resultado
Espero les haya gustado mucho esta súper fácil y sencillo esta idea de gomita para el cabello en forma de florecillas ,nos vemos en otro próximo blog creativo mis amores ,pasen un lindo jueves y me despido tiernamente de ustedes con un lindo abrazo,nos vemos chicos.🤗✨💙
I hope you really liked this super easy and simple hair band idea in the shape of little flowers, see you in another next creative blog my loves, have a nice Thursday and I tenderly say goodbye to you with a nice hug, we See you guys.
Congratulations @anne002! You have completed the following achievement on the Hive blockchain And have been rewarded with New badge(s)
Your next payout target is 500 HP.
The unit is Hive Power equivalent because post and comment rewards can be split into HP and HBD
You can view your badges on your board and compare yourself to others in the Ranking
If you no longer want to receive notifications, reply to this comment with the word
STOPCheck out our last posts:
Una monería estas coletas para el cabello nos agrada mucho,para los actos de graduación están perfectos un hermoso trabajo
@hive-189504 Estoy totalmente de acuerdo gracias por el lindo comentario 🤗
Están muy lindas las gomitas. El color azul se ve precioso. Me encantó tu creación.
Muchas gracias por tu comentario me alegra te haya gustado 🥰 feliz noche
Beautiful 👍
Gracias 🥺🥰
Se ven súper tiernas 😍 hermoso trabajo 😊
¡Felicitaciones!
Estás participando para optar a la mención especial que se efectuará el domingo 9 de junio del 2024 a las 8:00 pm (hora de Venezuela), gracias a la cual el autor del artículo seleccionado recibirá la cantidad de 1 HIVE transferida a su cuenta.
¡También has recibido 1 ENTROKEN! El token del PROYECTO ENTROPÍA impulsado por la plataforma Steem-Engine.
1. Invierte en el PROYECTO ENTROPÍA y recibe ganancias semanalmente. Entra aquí para más información.
2. Contáctanos en Discord: https://discord.gg/hkCjFeb
3. Suscríbete a nuestra COMUNIDAD y apoya al trail de @Entropia y así podrás ganar recompensas de curación de forma automática. Entra aquí para más información sobre nuestro trail.
4. Visita nuestro canal de Youtube.
Atentamente
El equipo de curación del PROYECTO ENTROPÍA