✨🌸Falda de tablones pequeños para niña //✨🌸Girls' Little Plank Skirt[Esp-Eng)
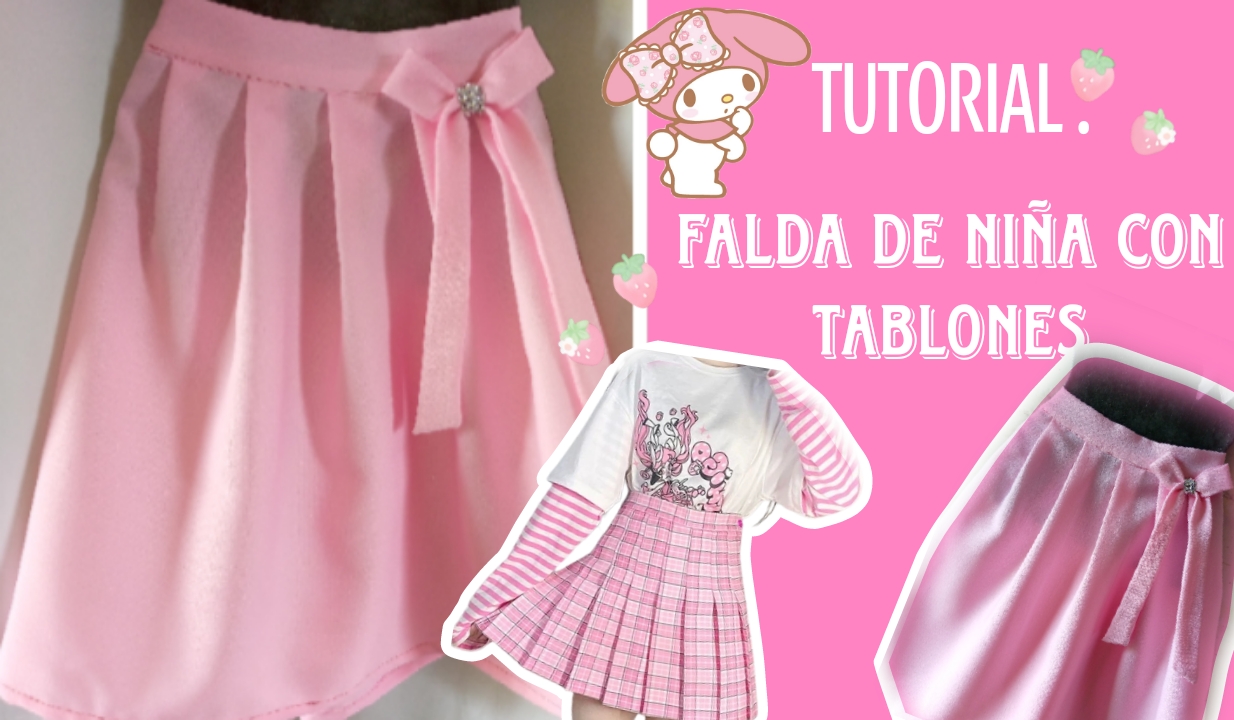
Hello hello dear creative community, welcome to a new blog, I hope you are having a great day, I am cold because we are already starting the winter season in my country Venezuela.
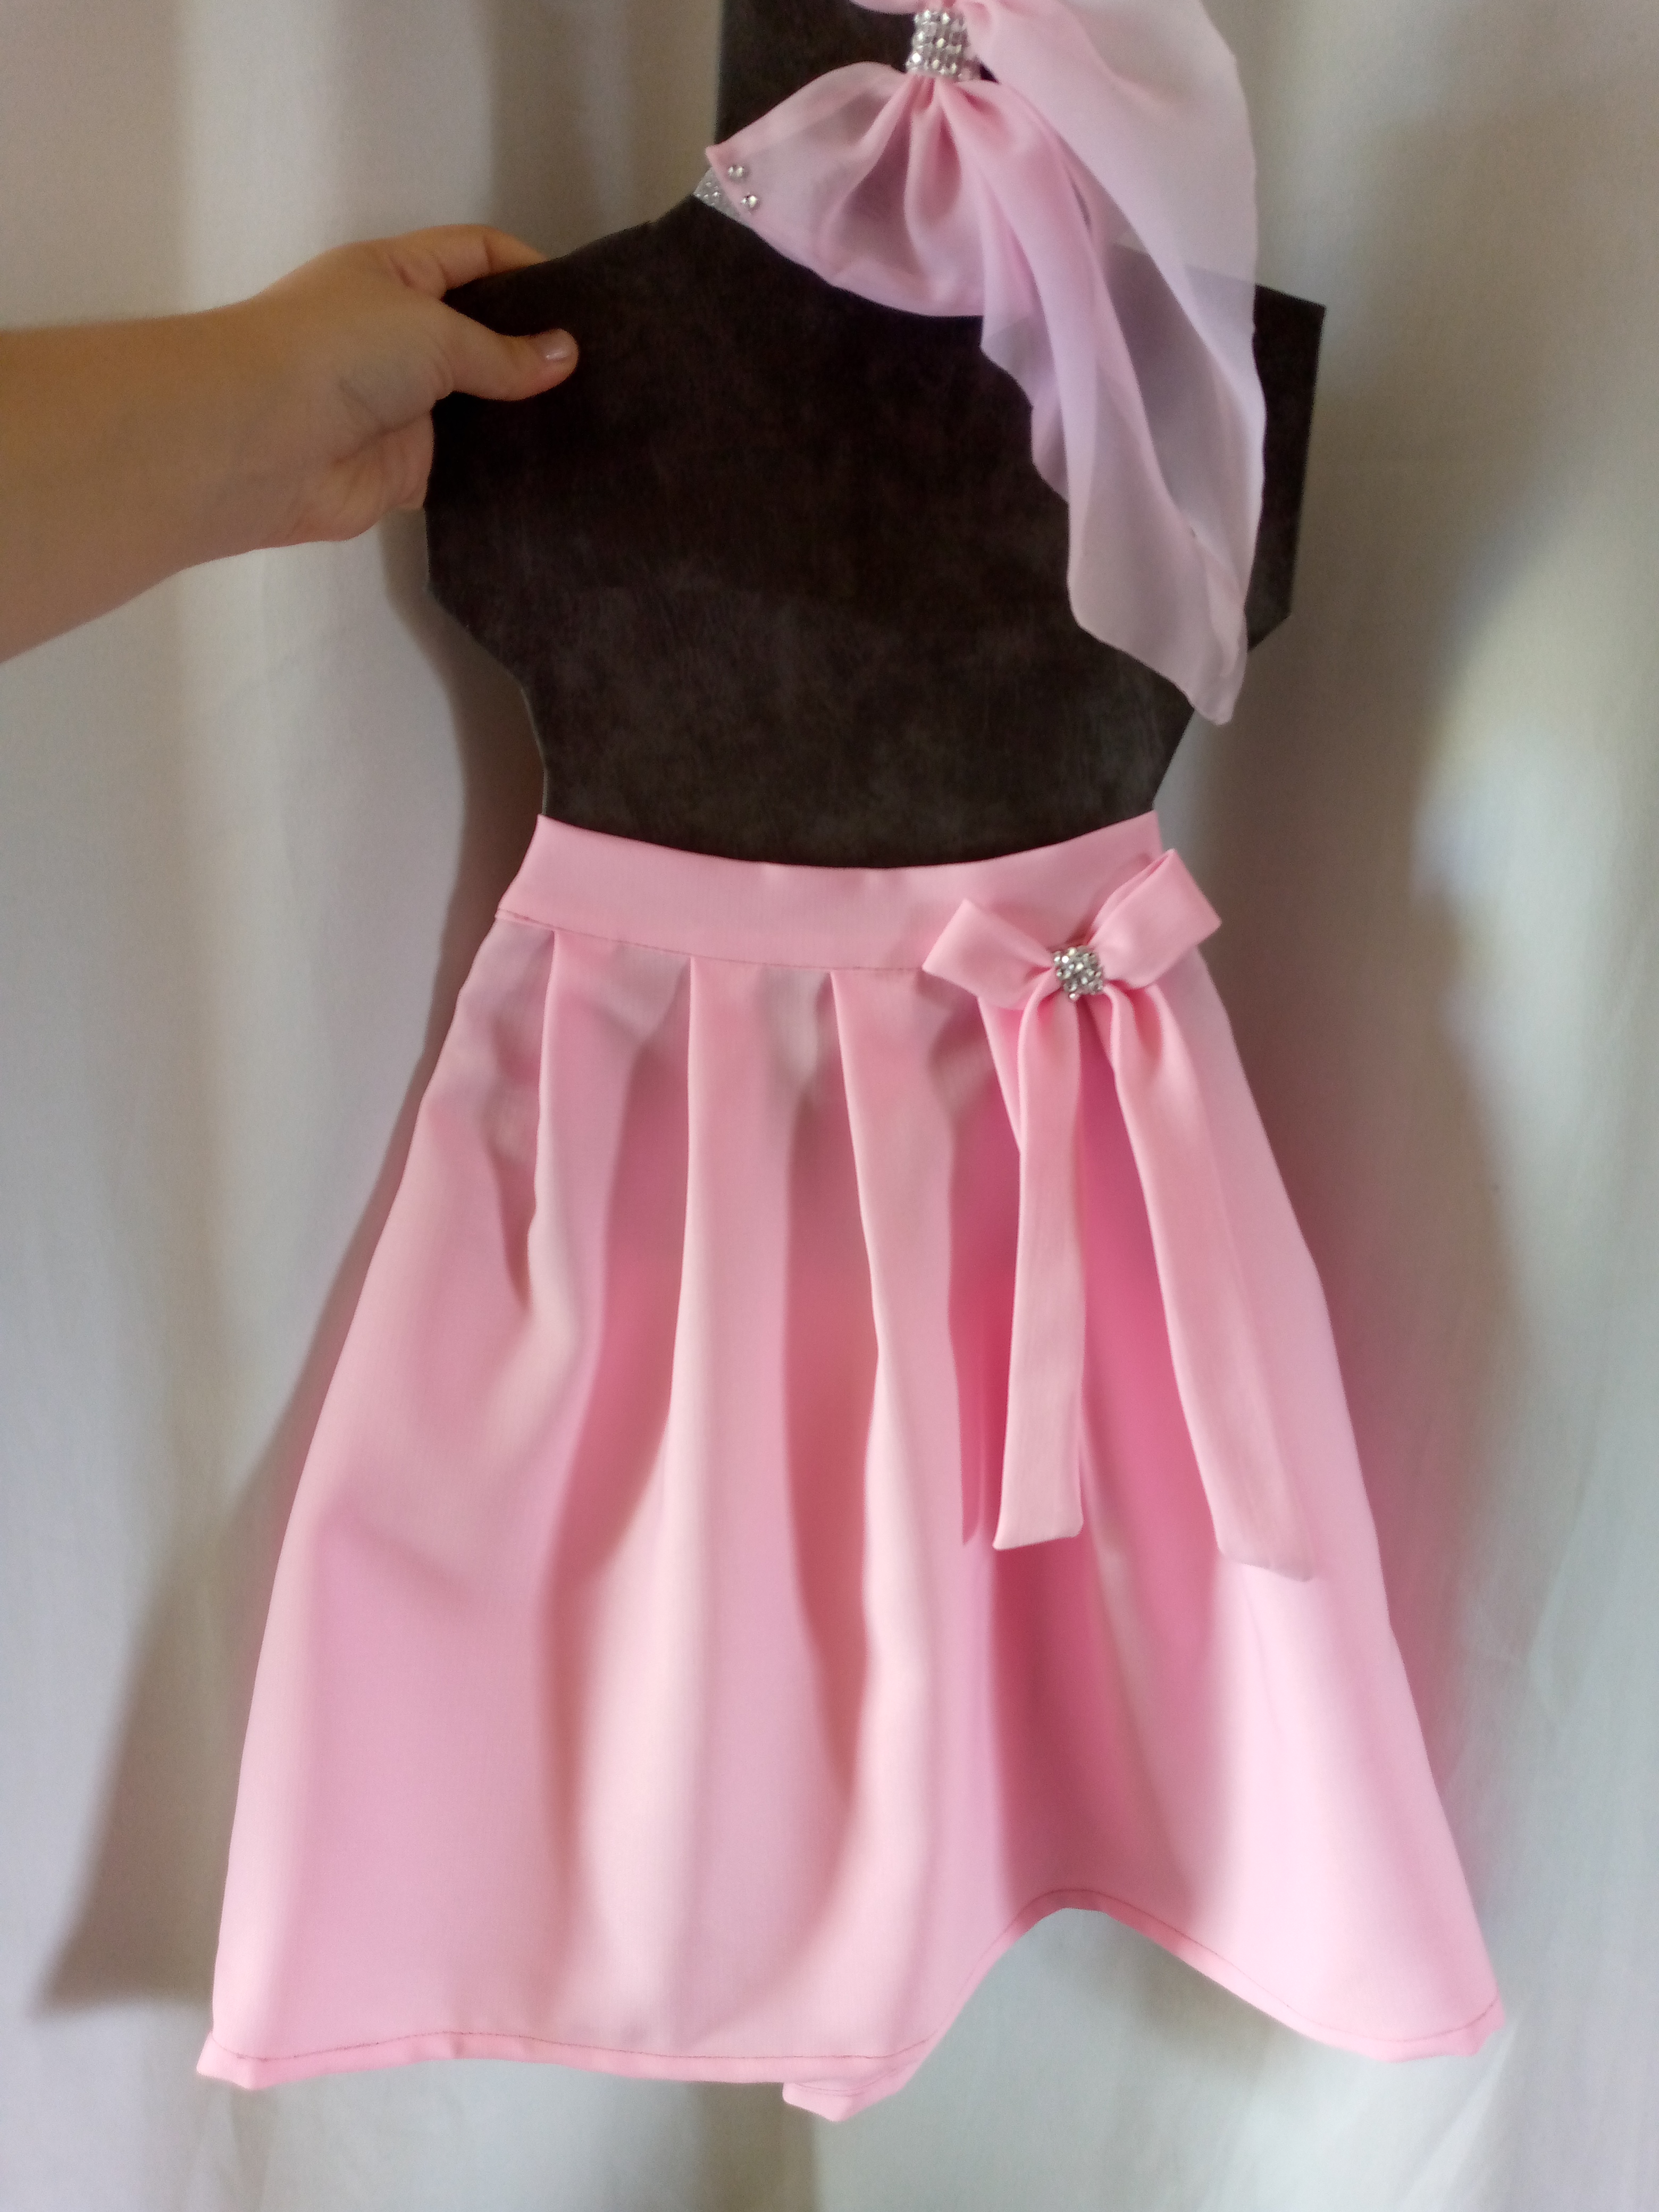
Today afternoon I show you how to make this cute and beautiful skirt made of small planks for the girls and even for yourself, my dear seamstress friends. It is very easy and simple to make. I have also decorated it with a pretty bow that gives it a touch of delicacy to the garment, stay with me until the end to appreciate the result and how it was made, so let's go!!
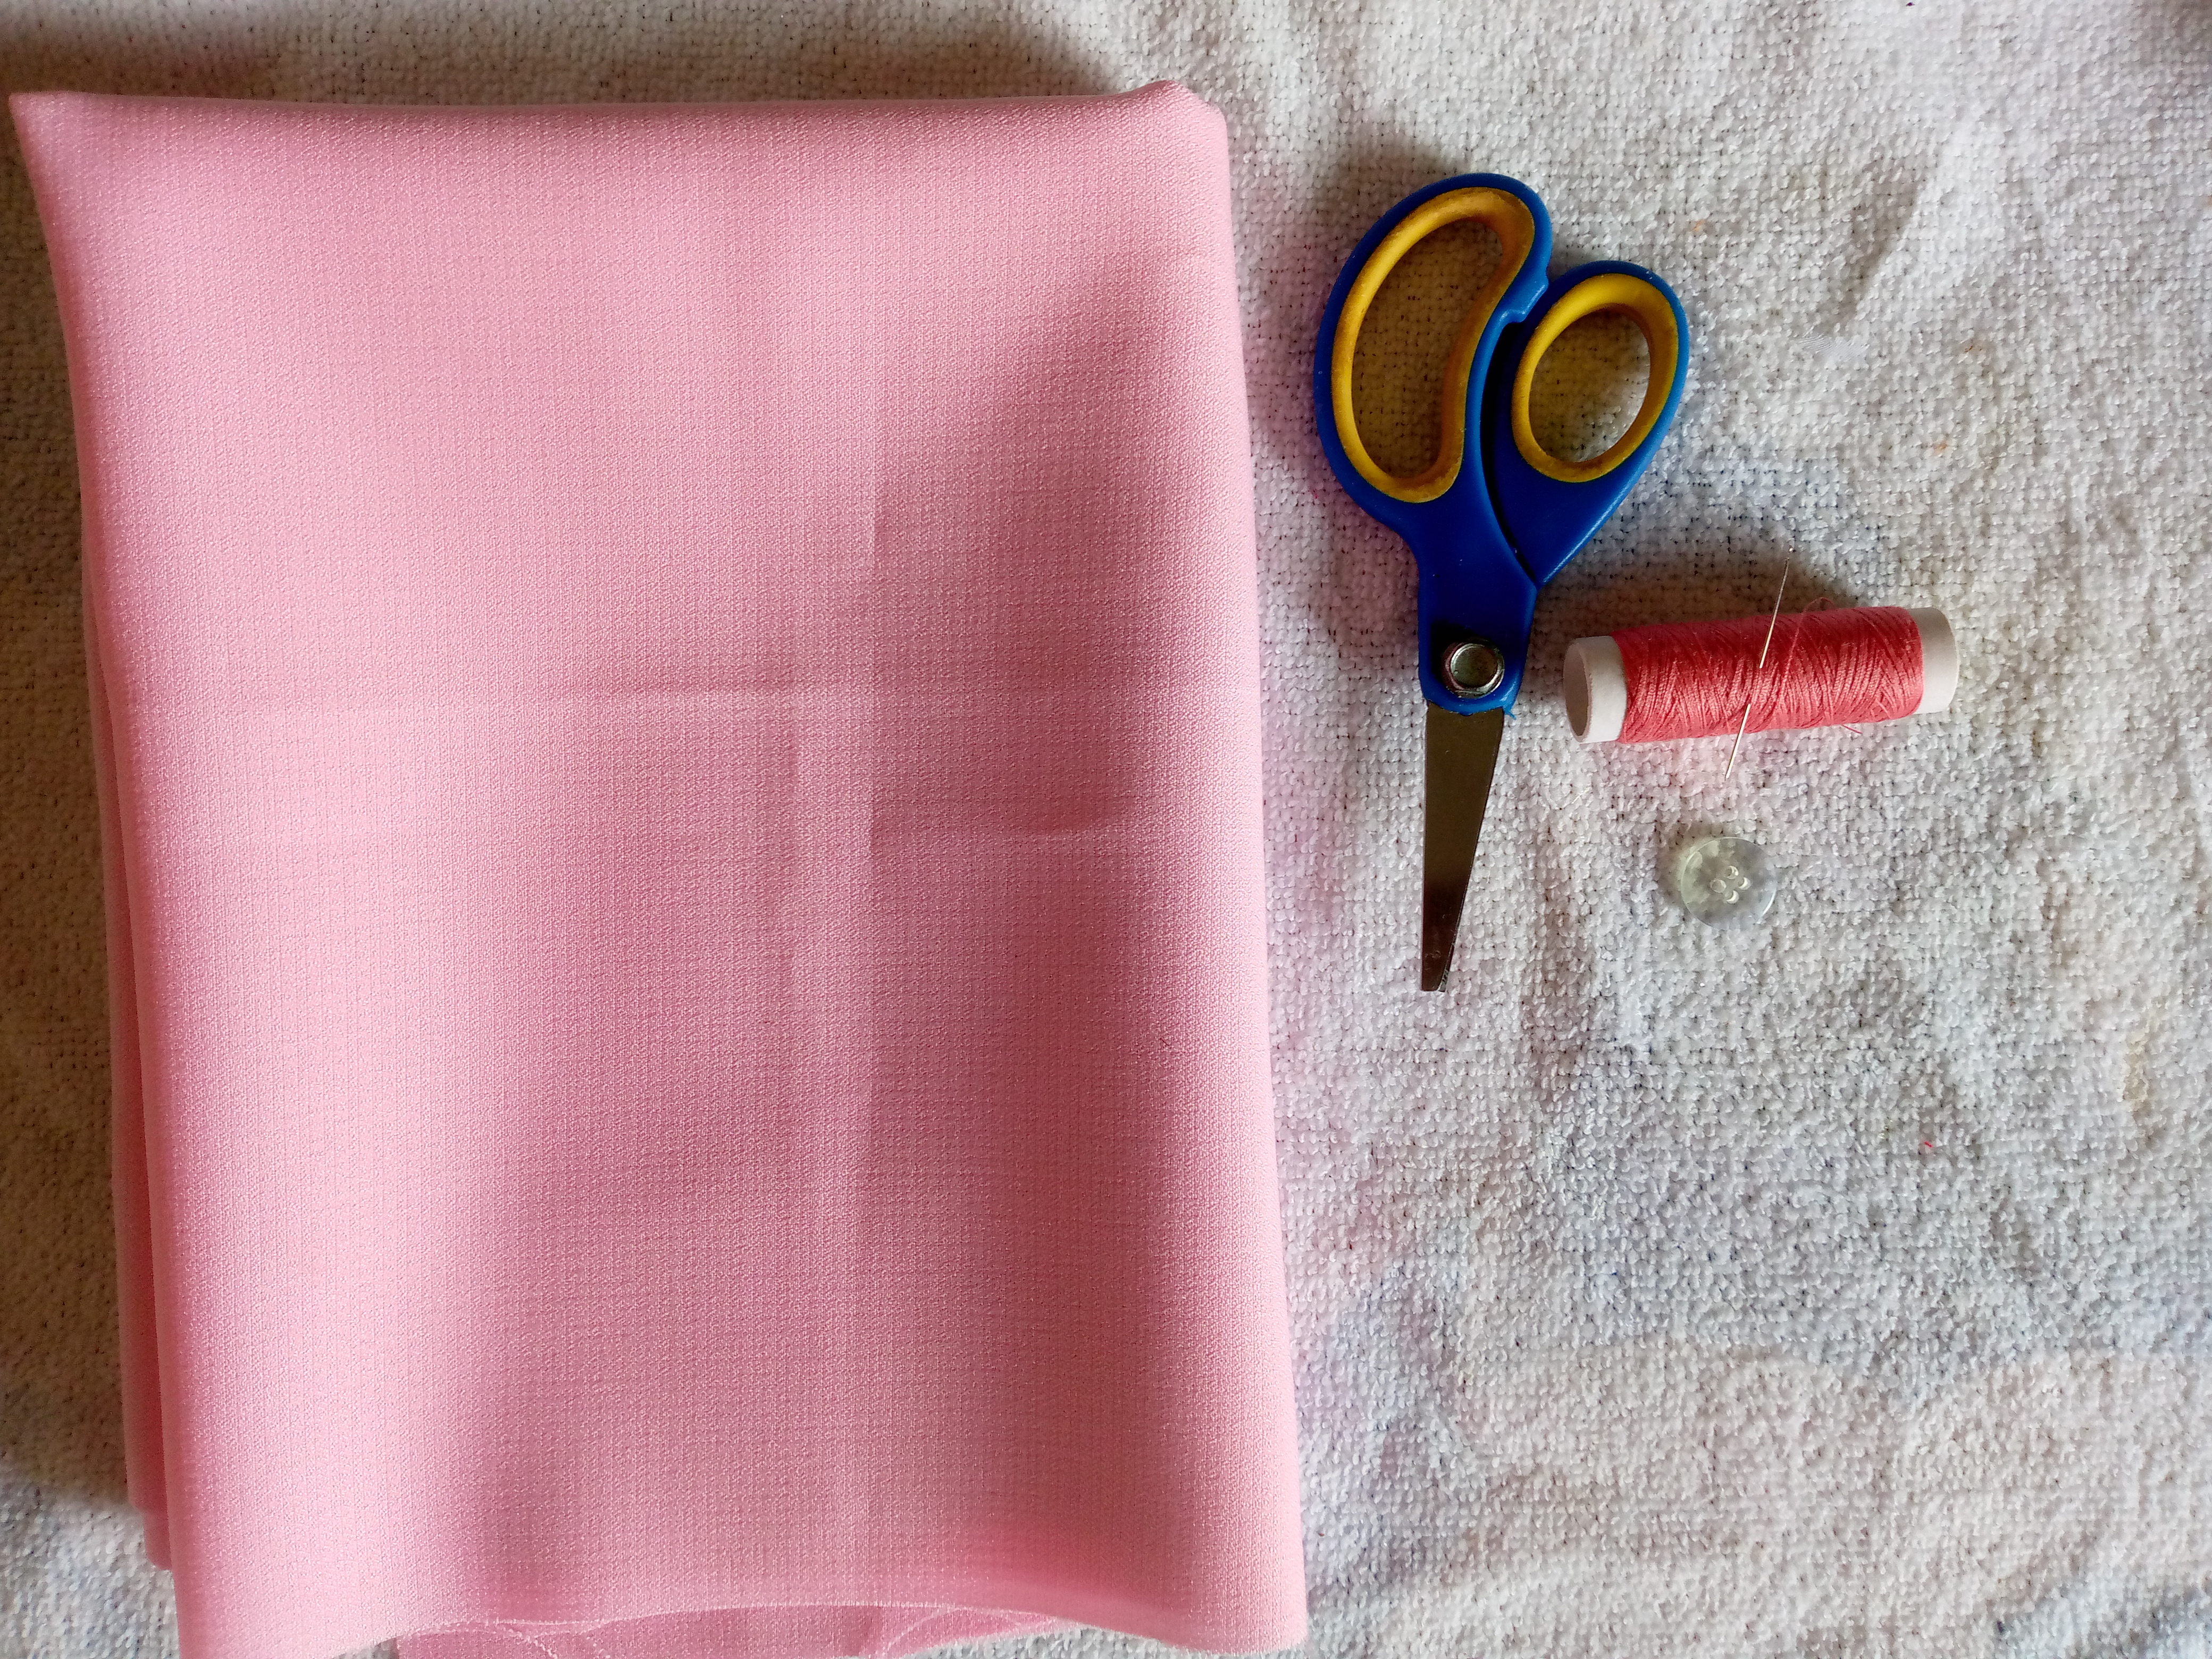
🌸Materiales que usaremos:🌸
Materials i used :
- Tela 50 cm
- Tijeras
- Aguja y hilo
- 1 boton
- 1 cierre
- Máquina de coser
- Decoración brillante para el moño
- Fabric 50 cm
- Scissors
- Needle and thread
- 1 button
- 1 closure
- Sewing machine
- Sparkly decoration for the bun
🌸Pasos a seguir:🌸
Steps to follow:
Paso 01
Step 01
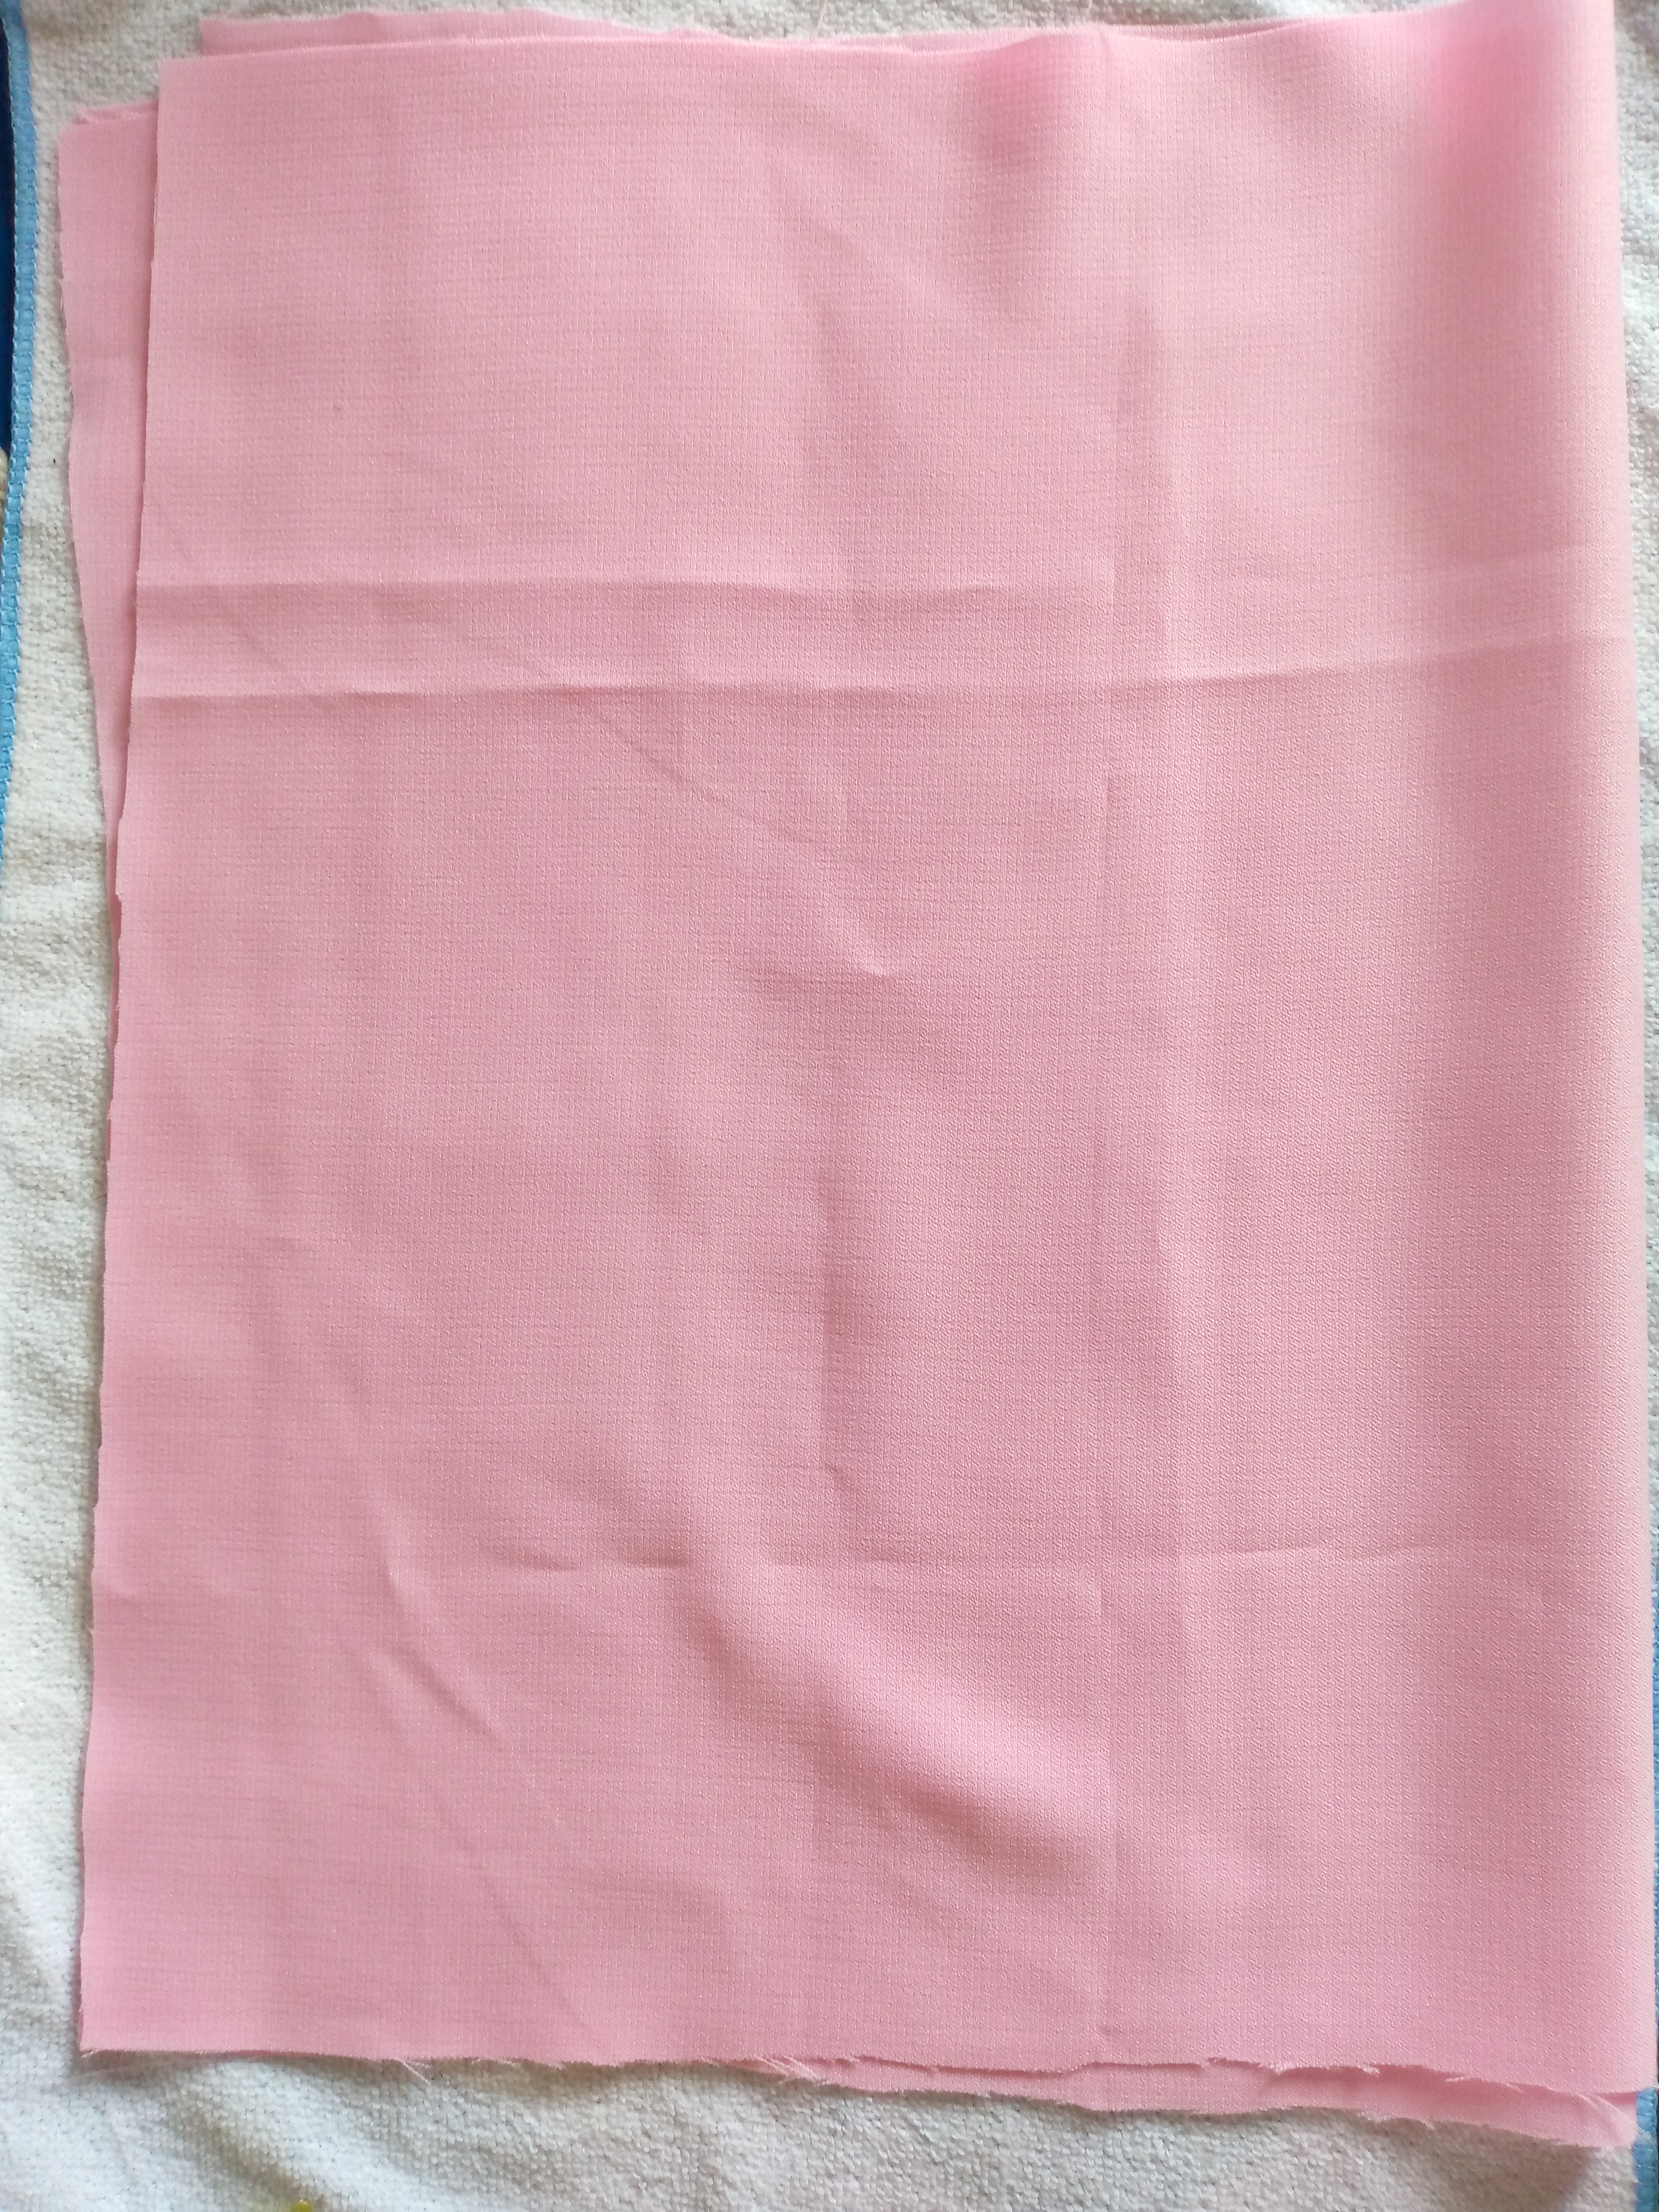
I first started by cutting a rectangle with the following measurements: 70 cm wide x 47 cm long, for the waistband I cut a rectangle 60 cm wide x 12 cm long, and a fabric ribbon 40 cm long x 8 cm wide, it should be noted that these measurements are for a 9 year old girl so you can adapt the skirt or make it to your size, I went on to trim one side of the fabric to join the piece and be able to make the planks.

Paso 02
Step 02
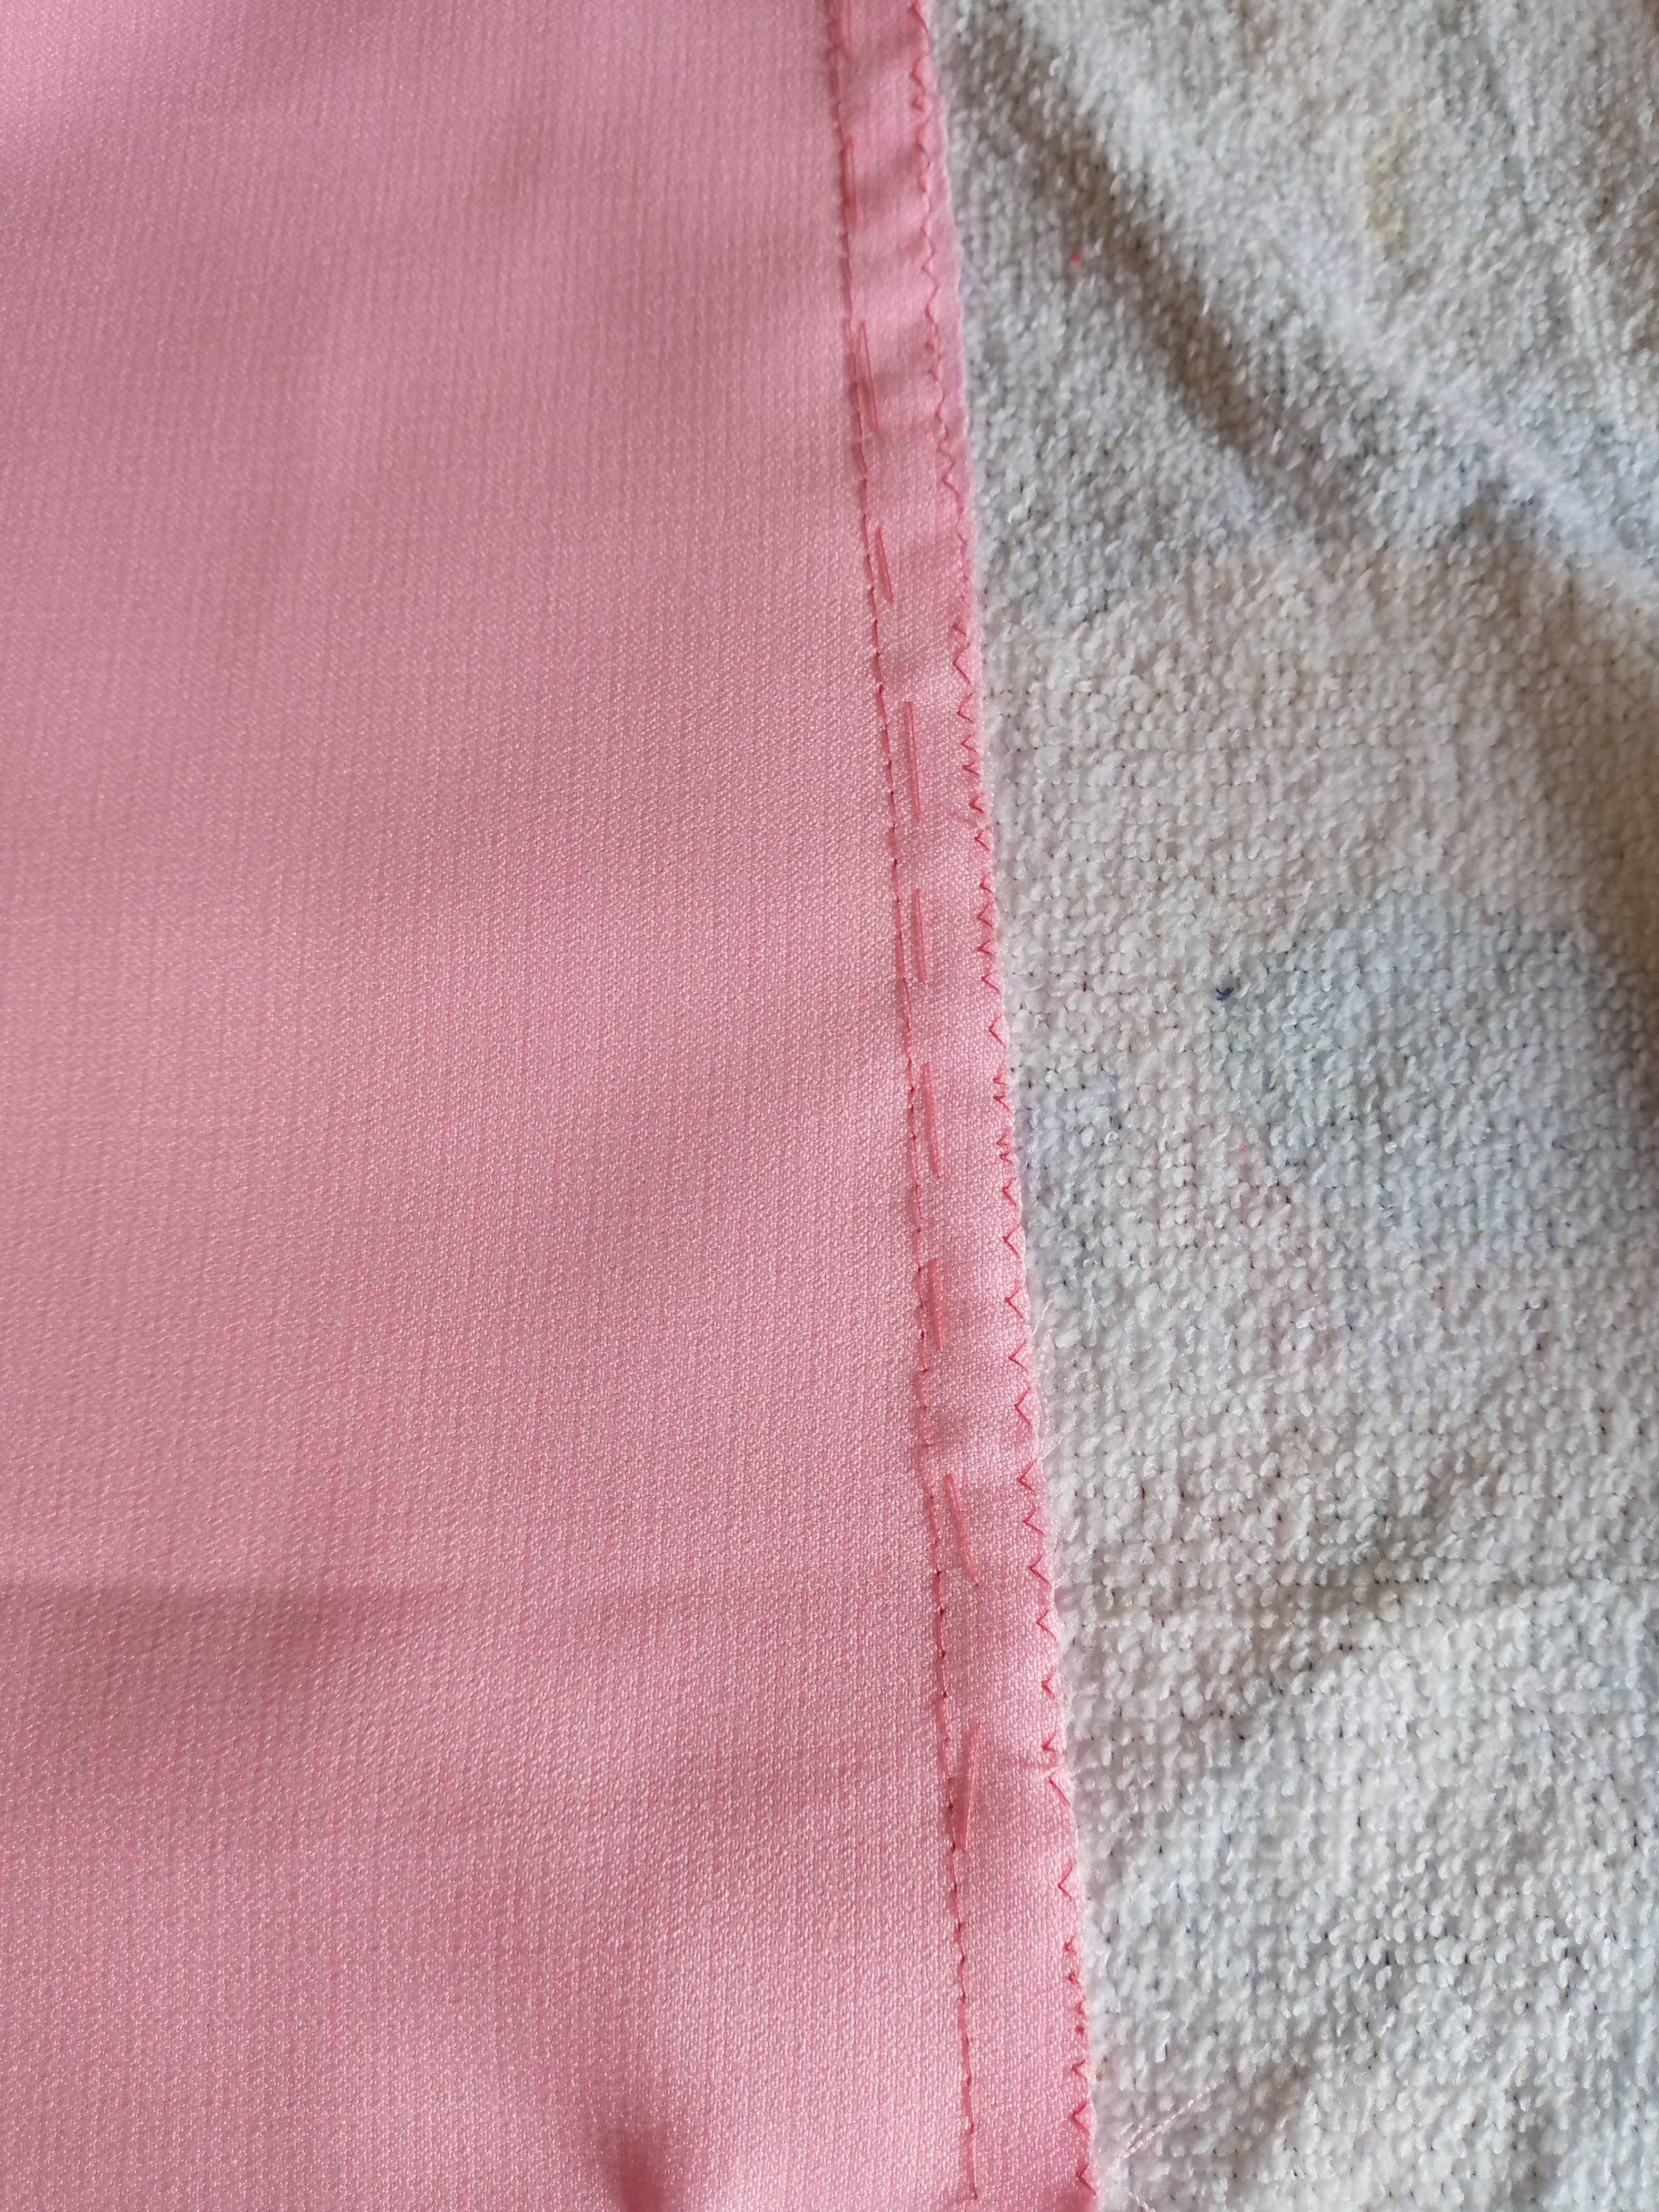
For the next step we are going to make our planks of approximately 3 cm each, we will make these planks until we finish our complete fabric.


Paso 03
Step 03
We sew the 1 cm hem along the entire bottom edge of the skirt.

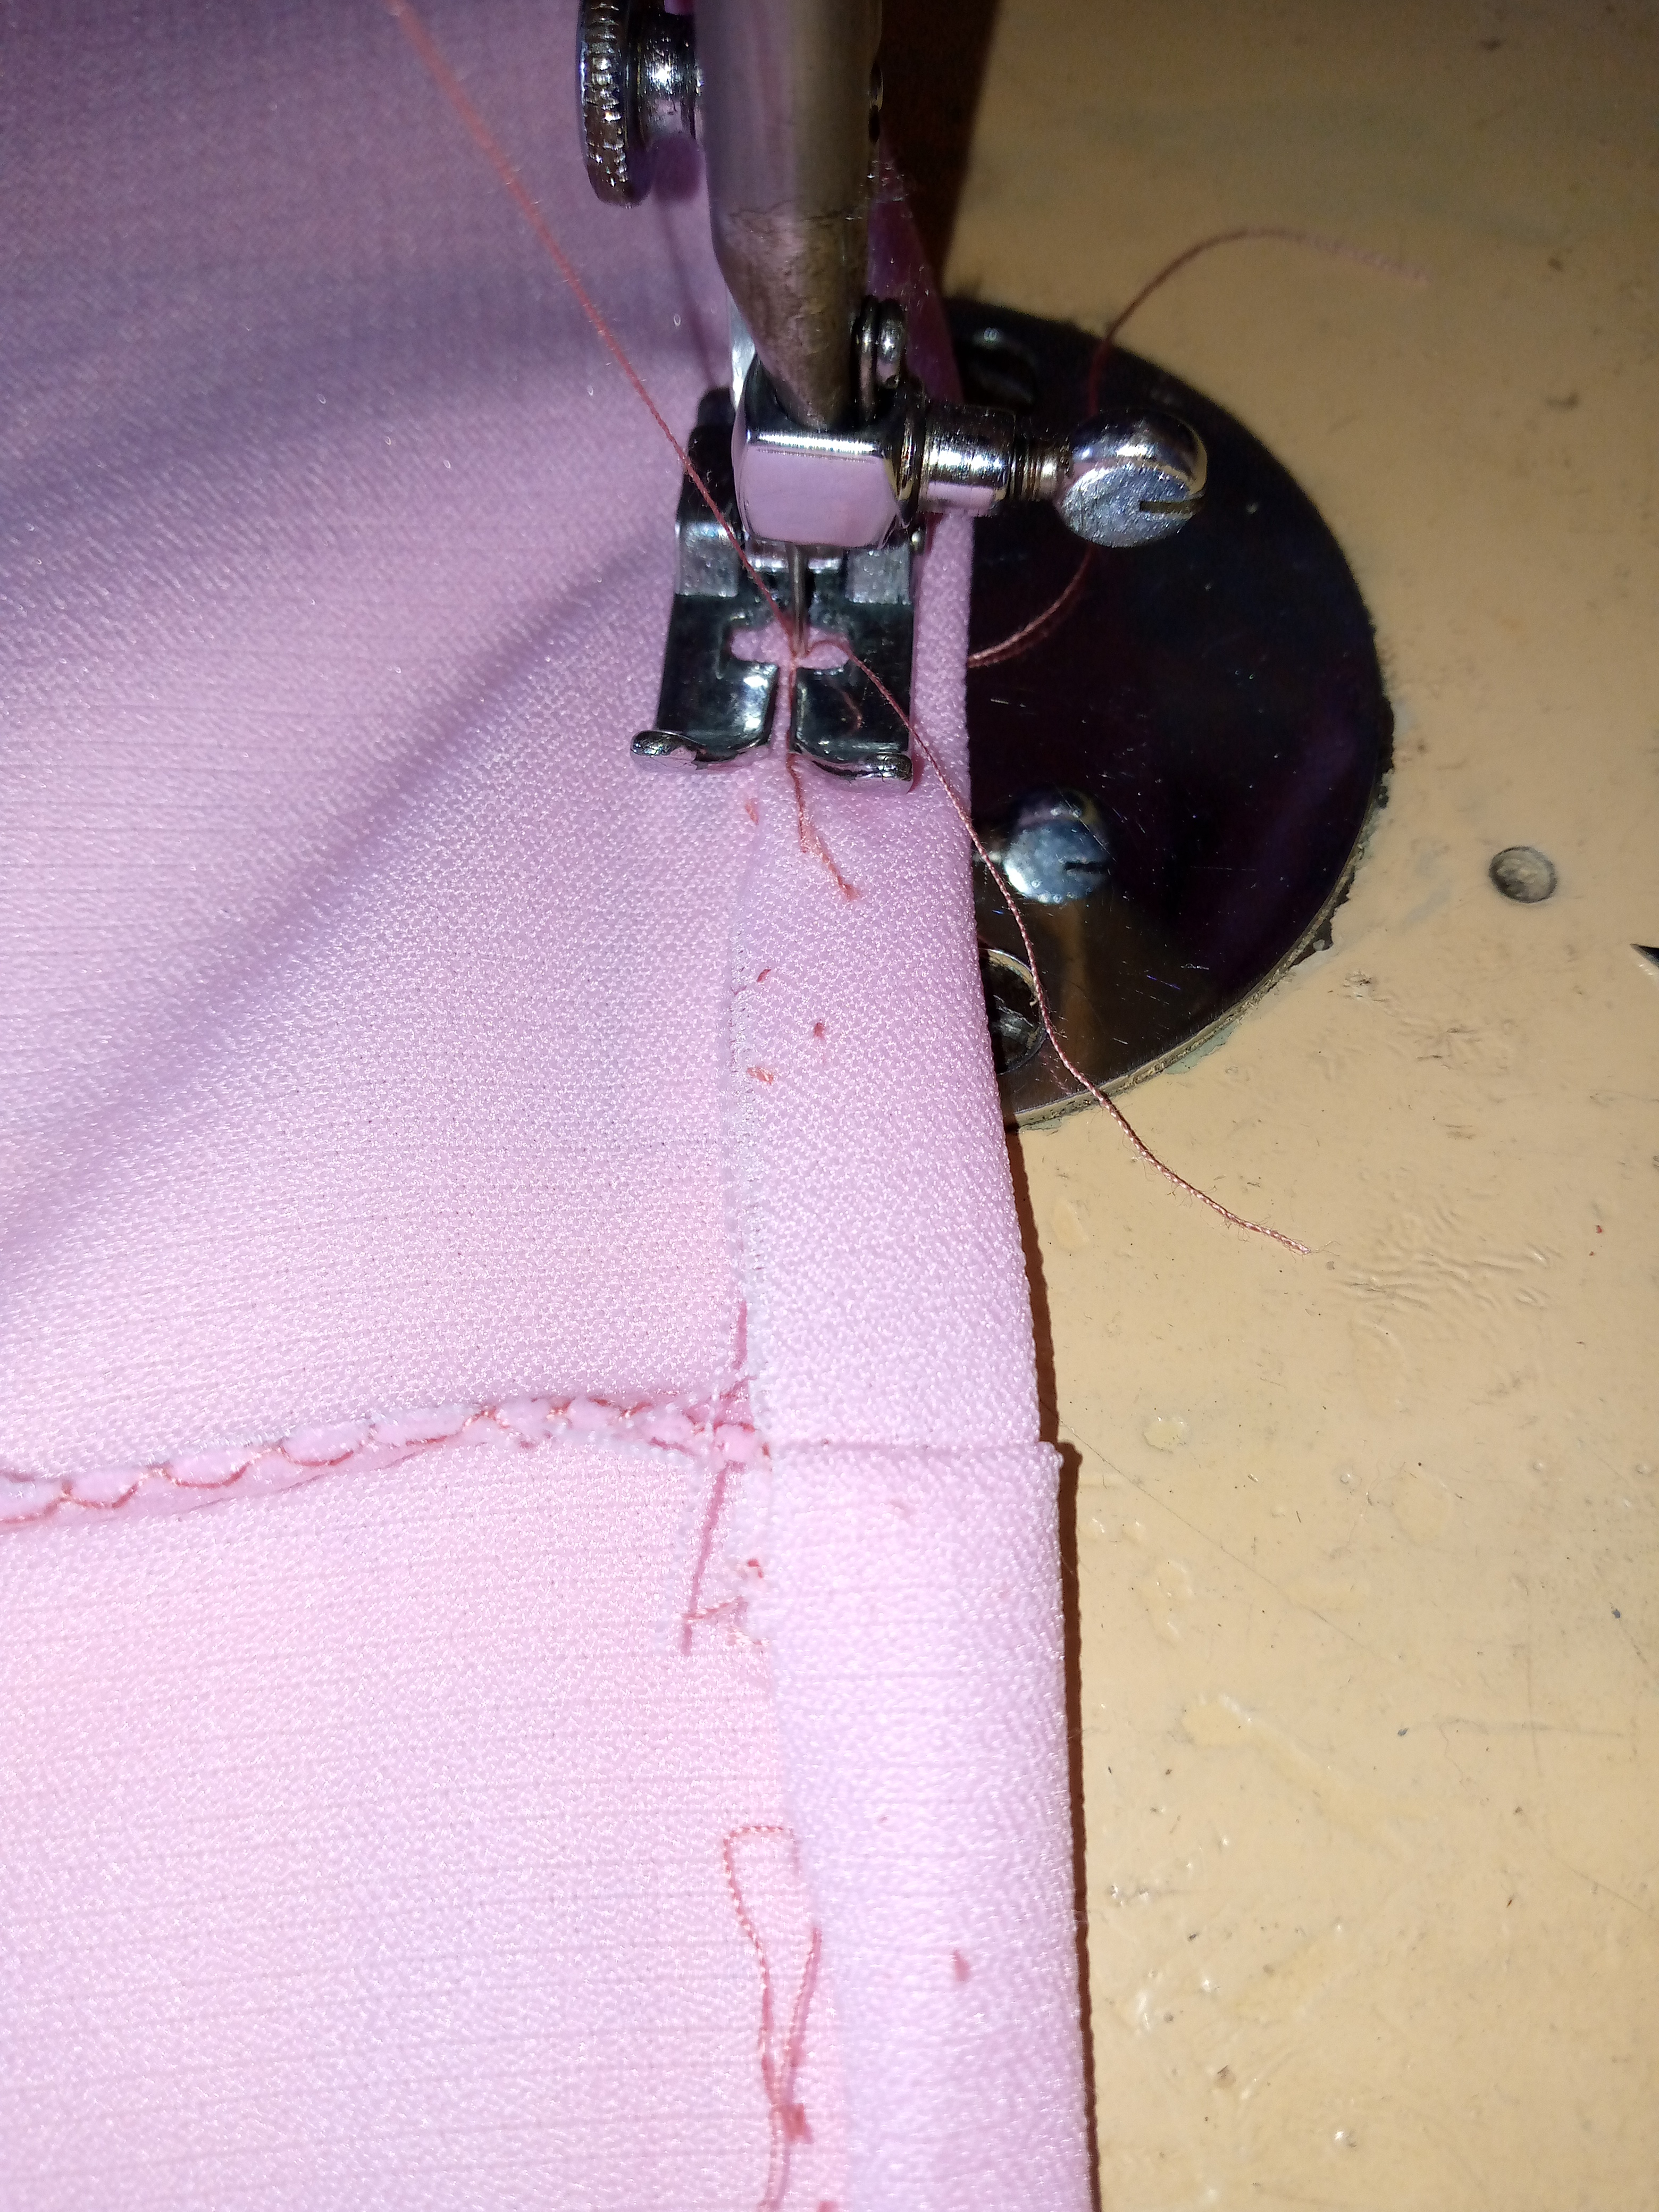
Paso 04
Step 04
We proceed to sew the closure to one side of our skirt, we sew one side first, then the other, we turn it over and sew it with a straight seam on top. This way the closure fits snugly and will not move from place.

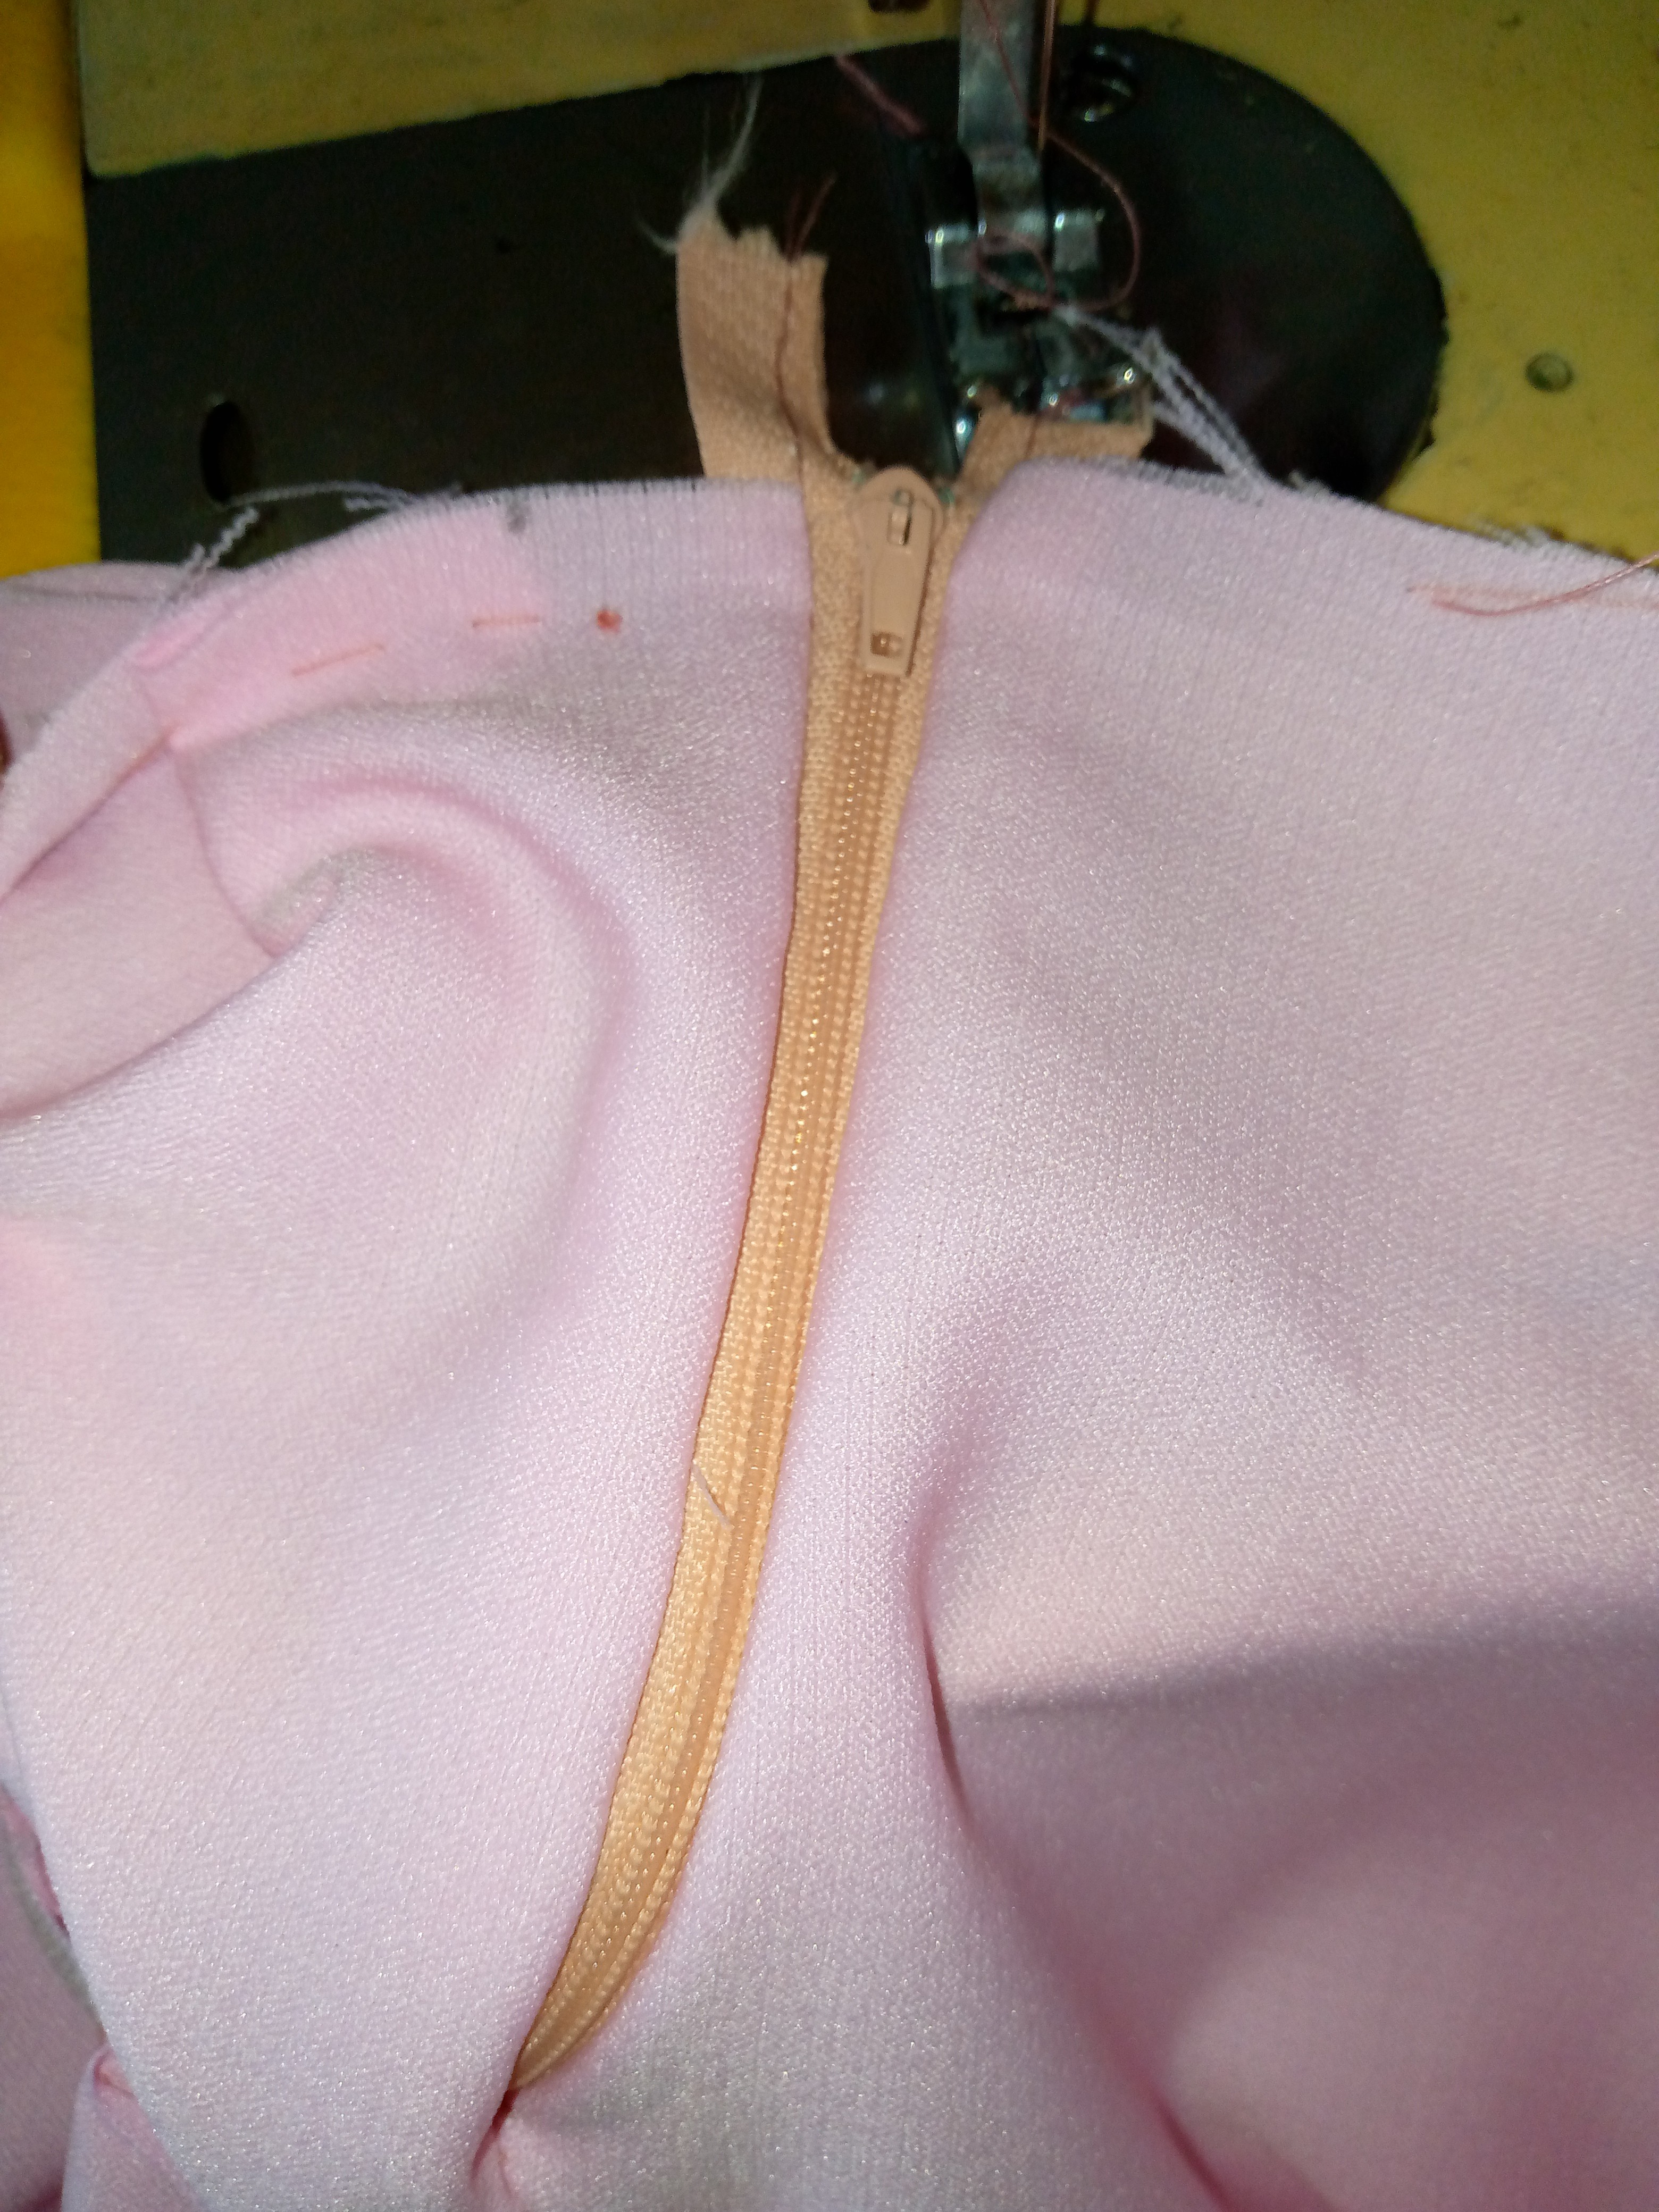

Paso 05
Step 05
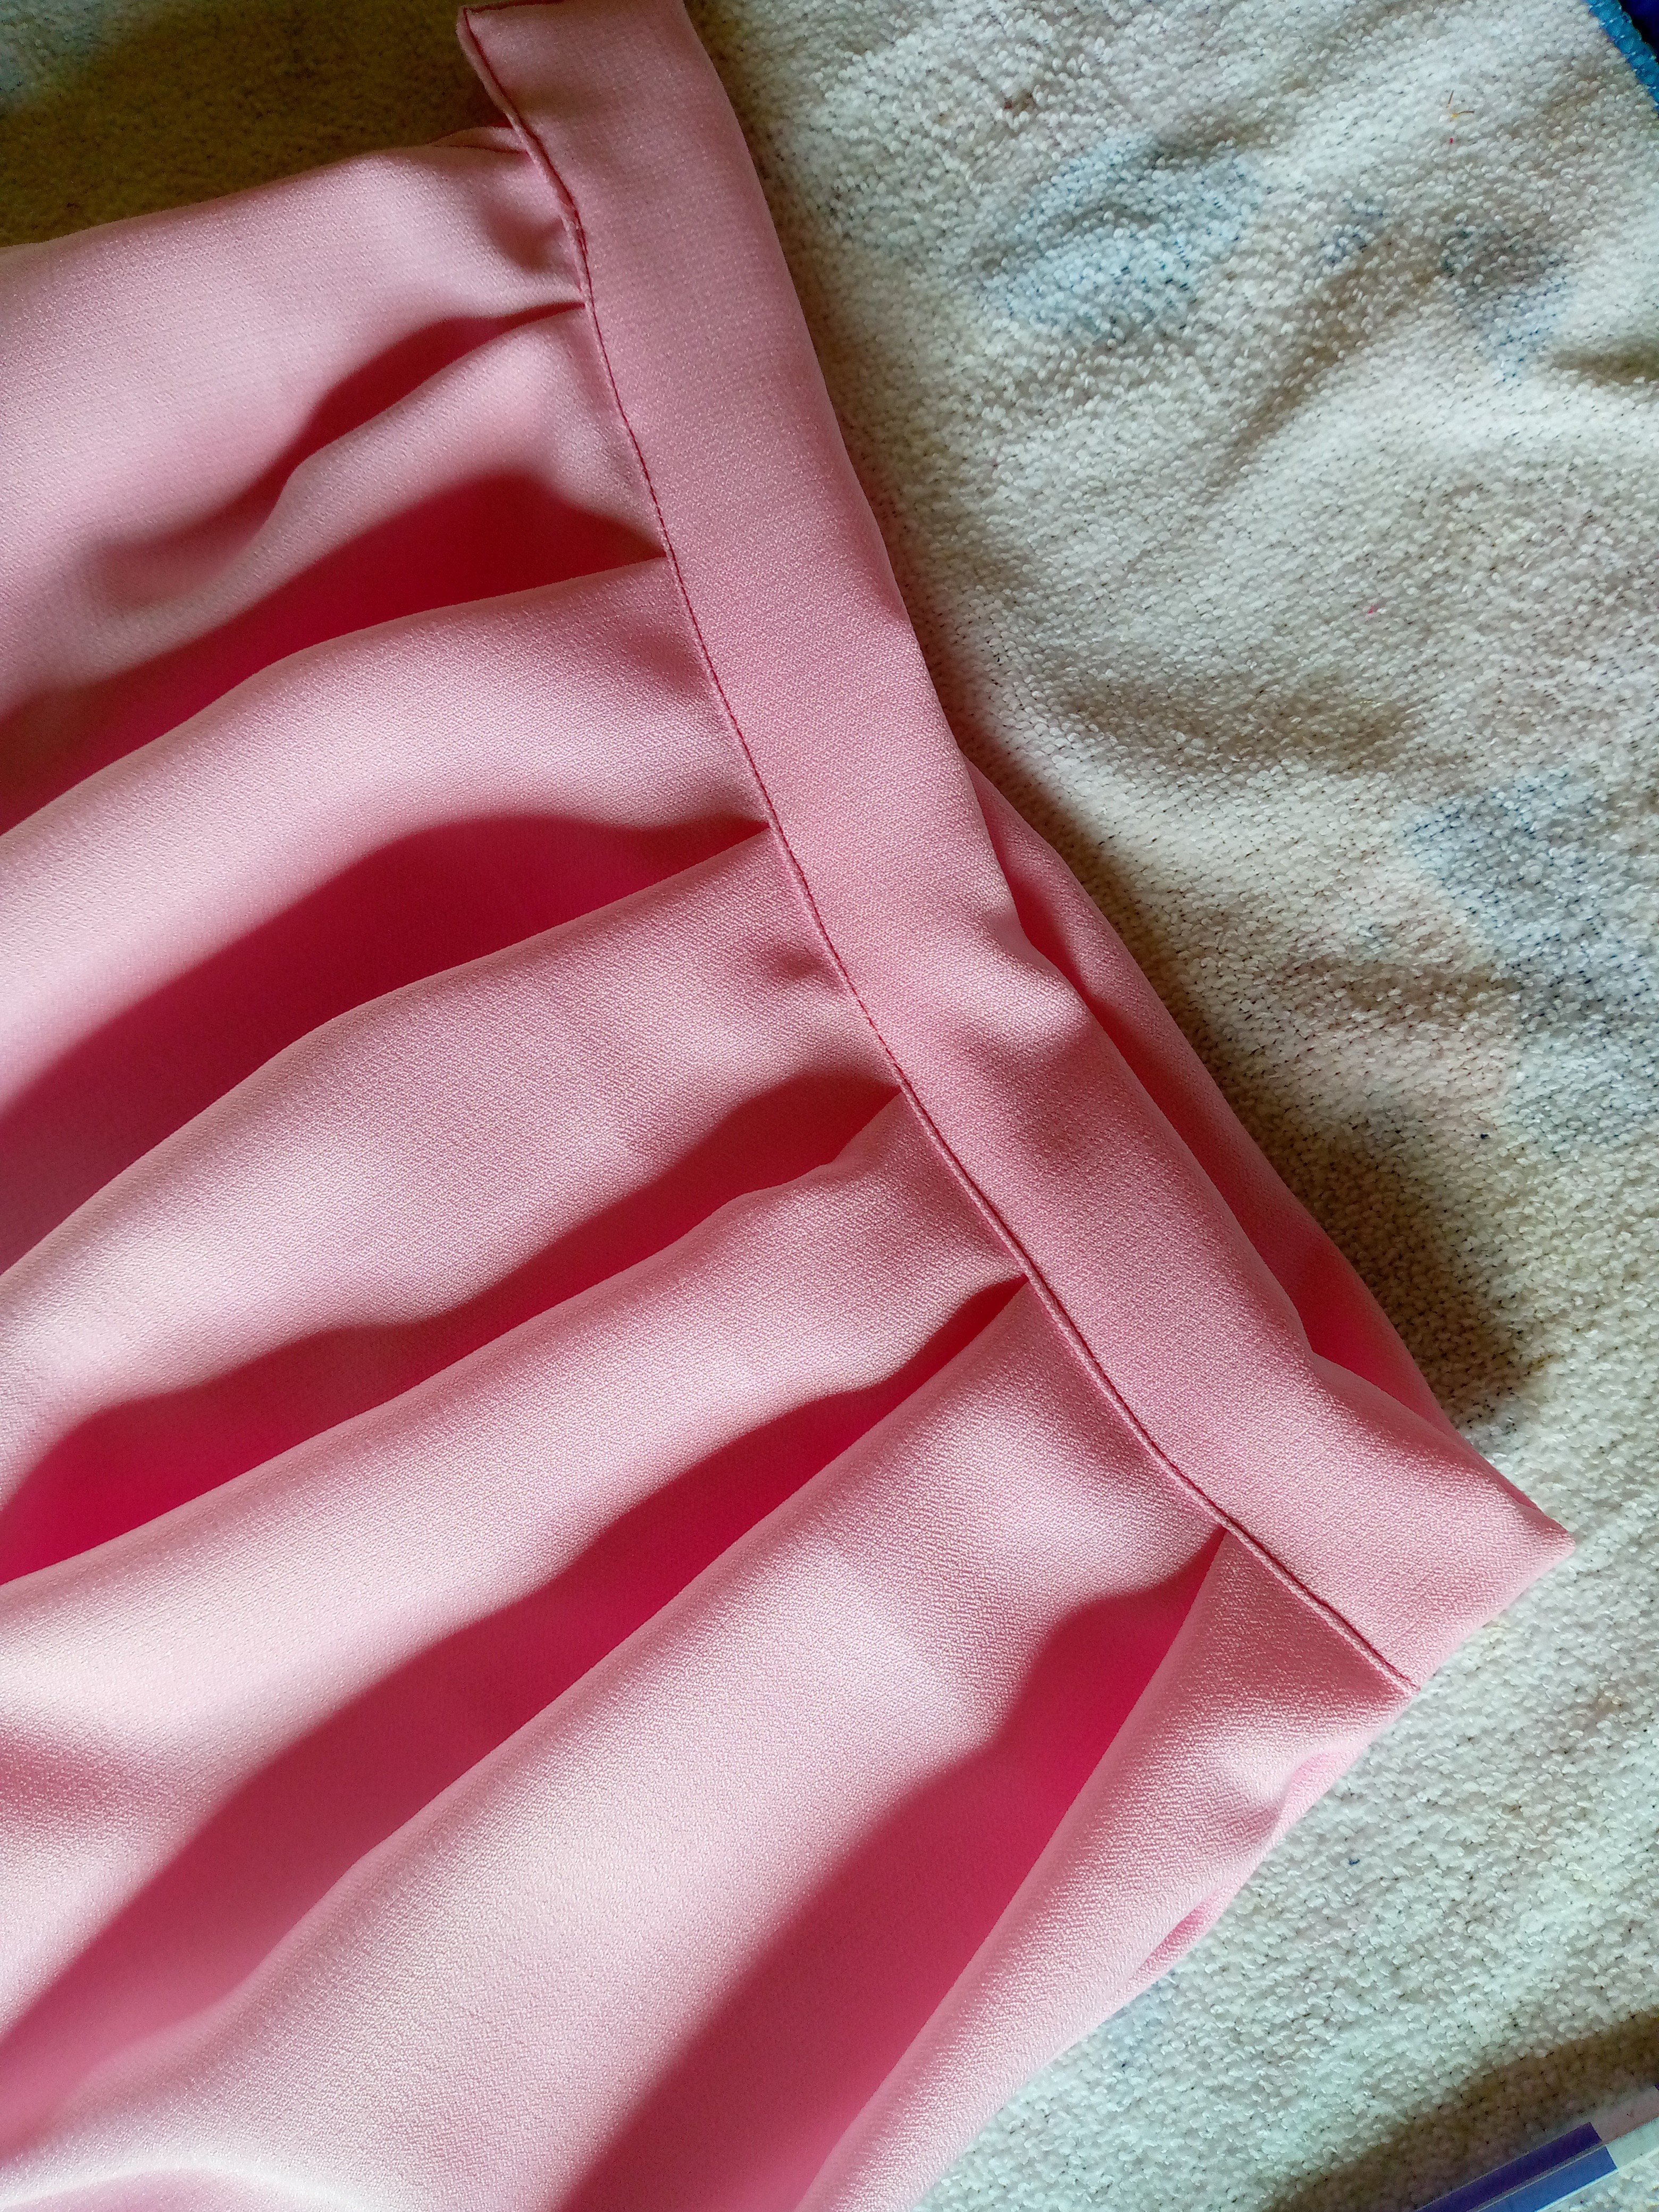
We sew our waistband on the inside of the skirt and sew on the upper part of the skirt so the seam of the skirt will not be visible on the inside.
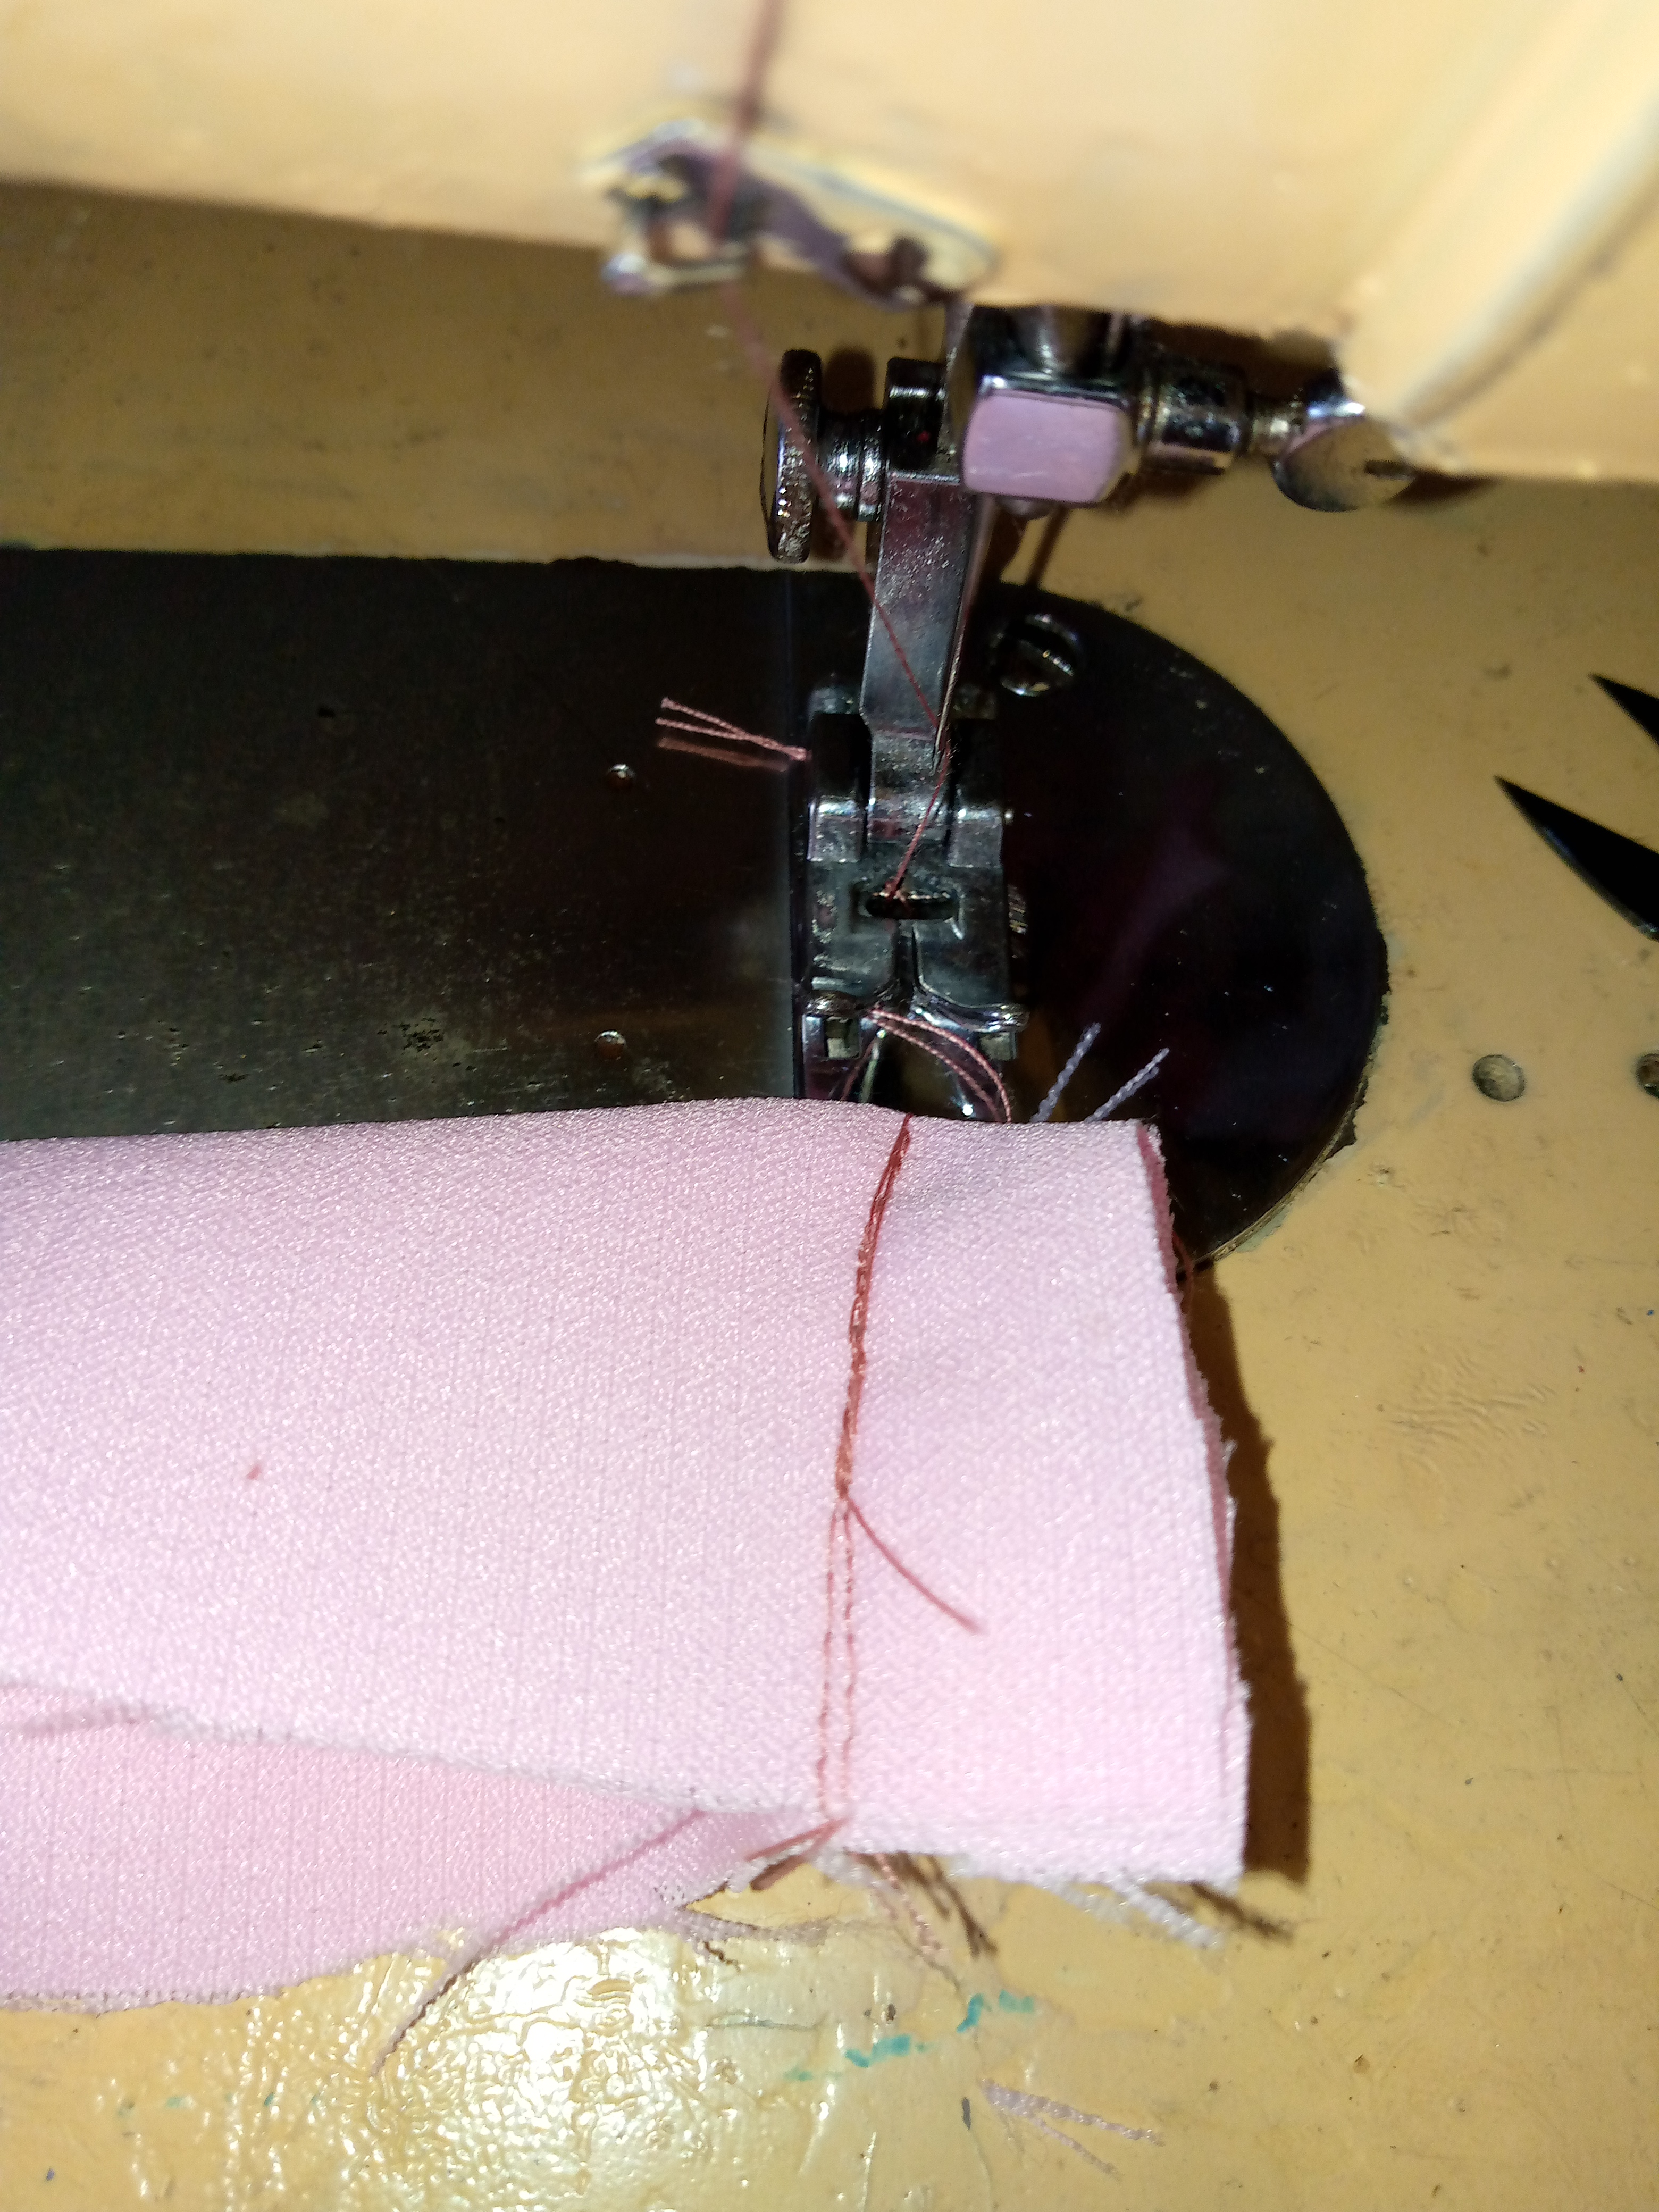
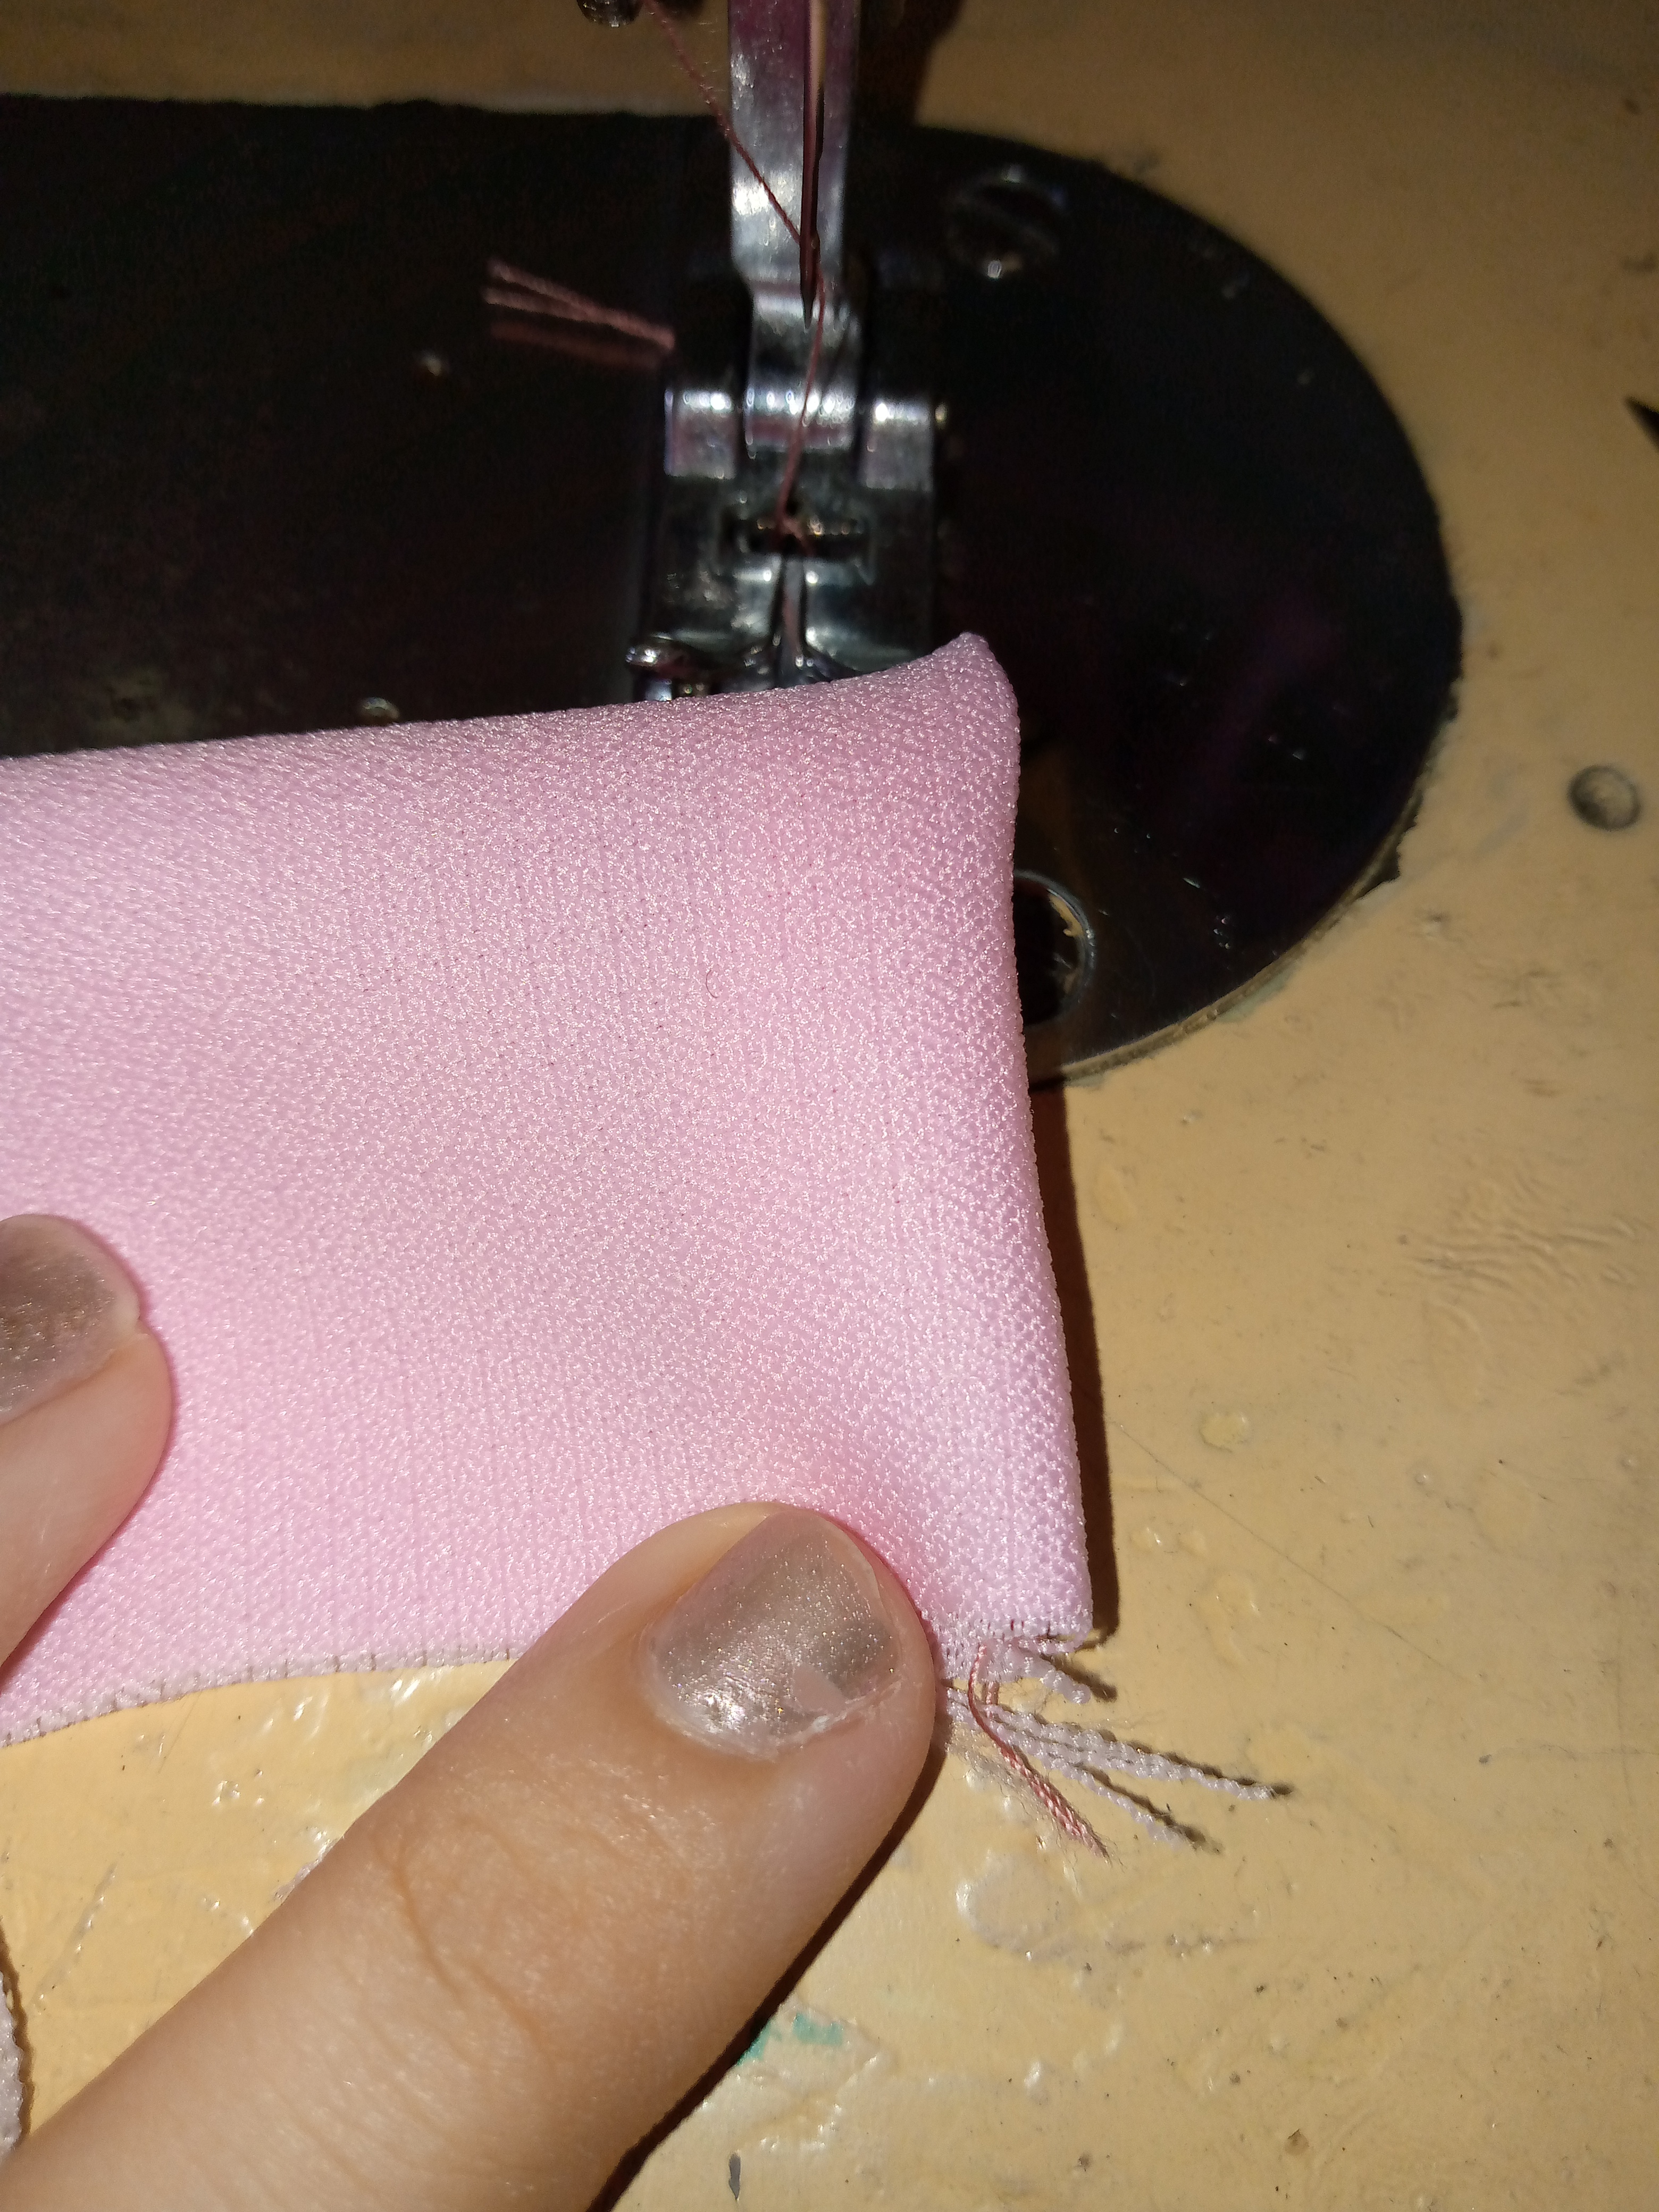


Paso 06
Step 06
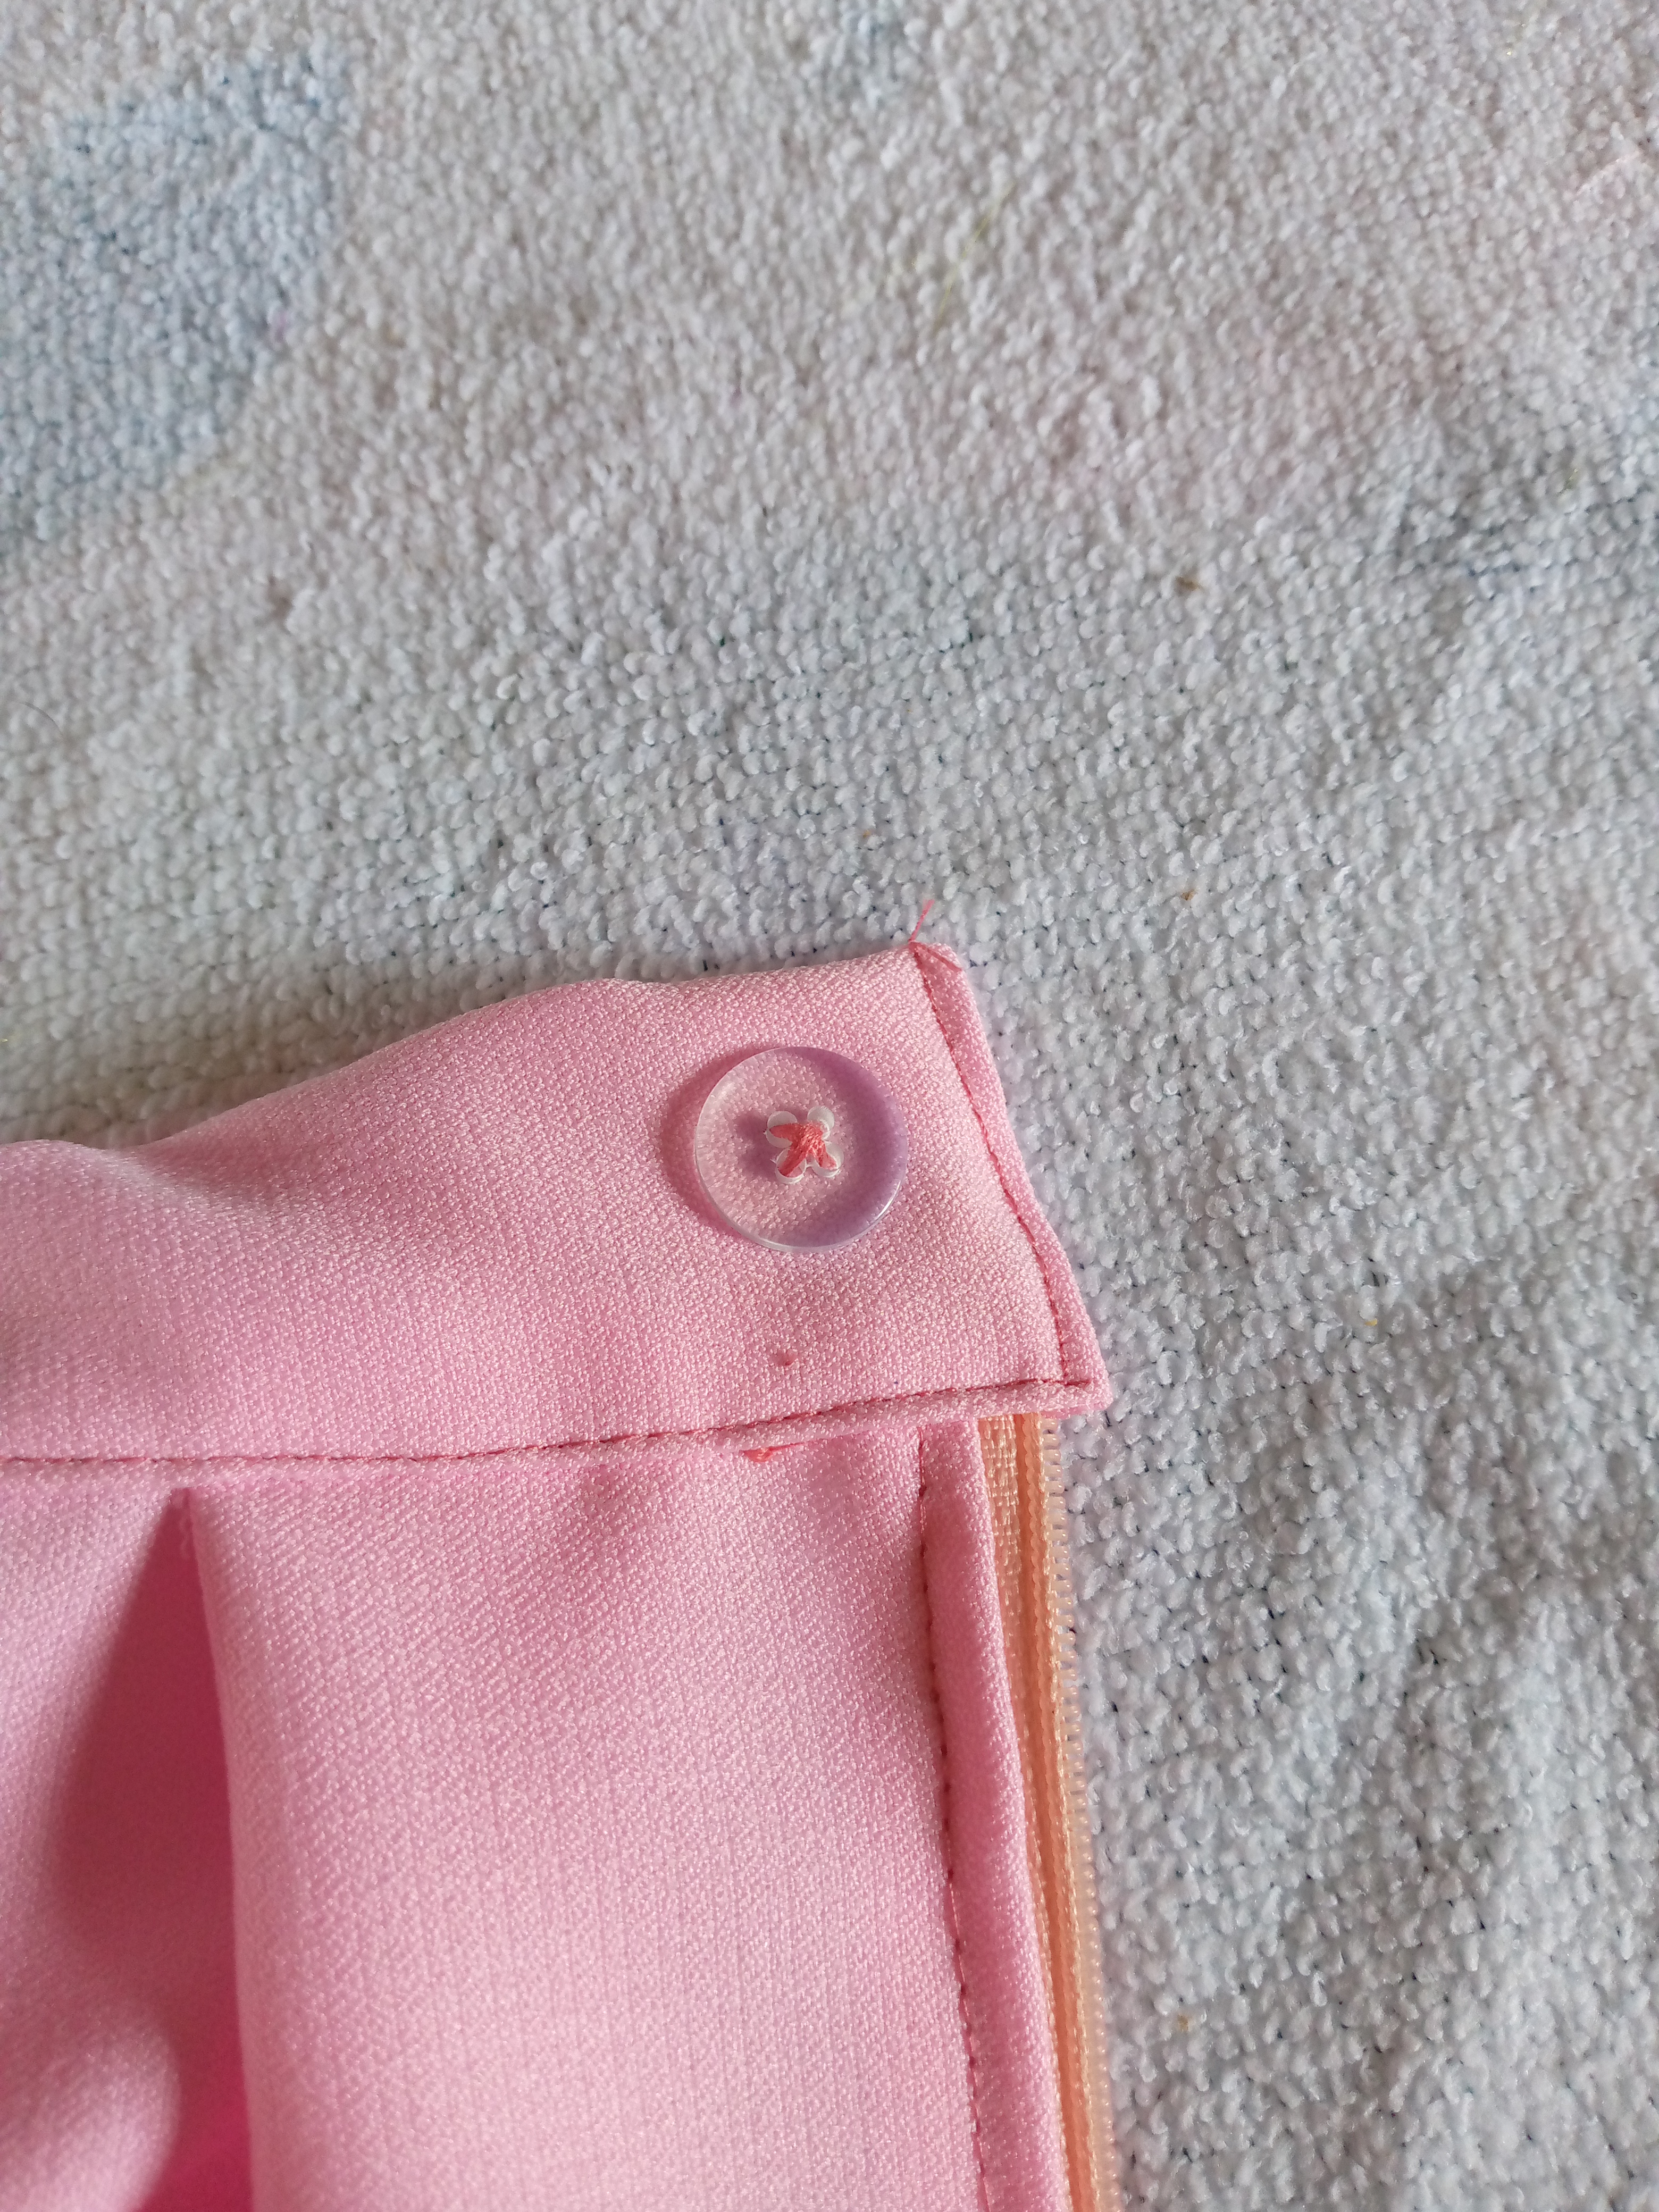
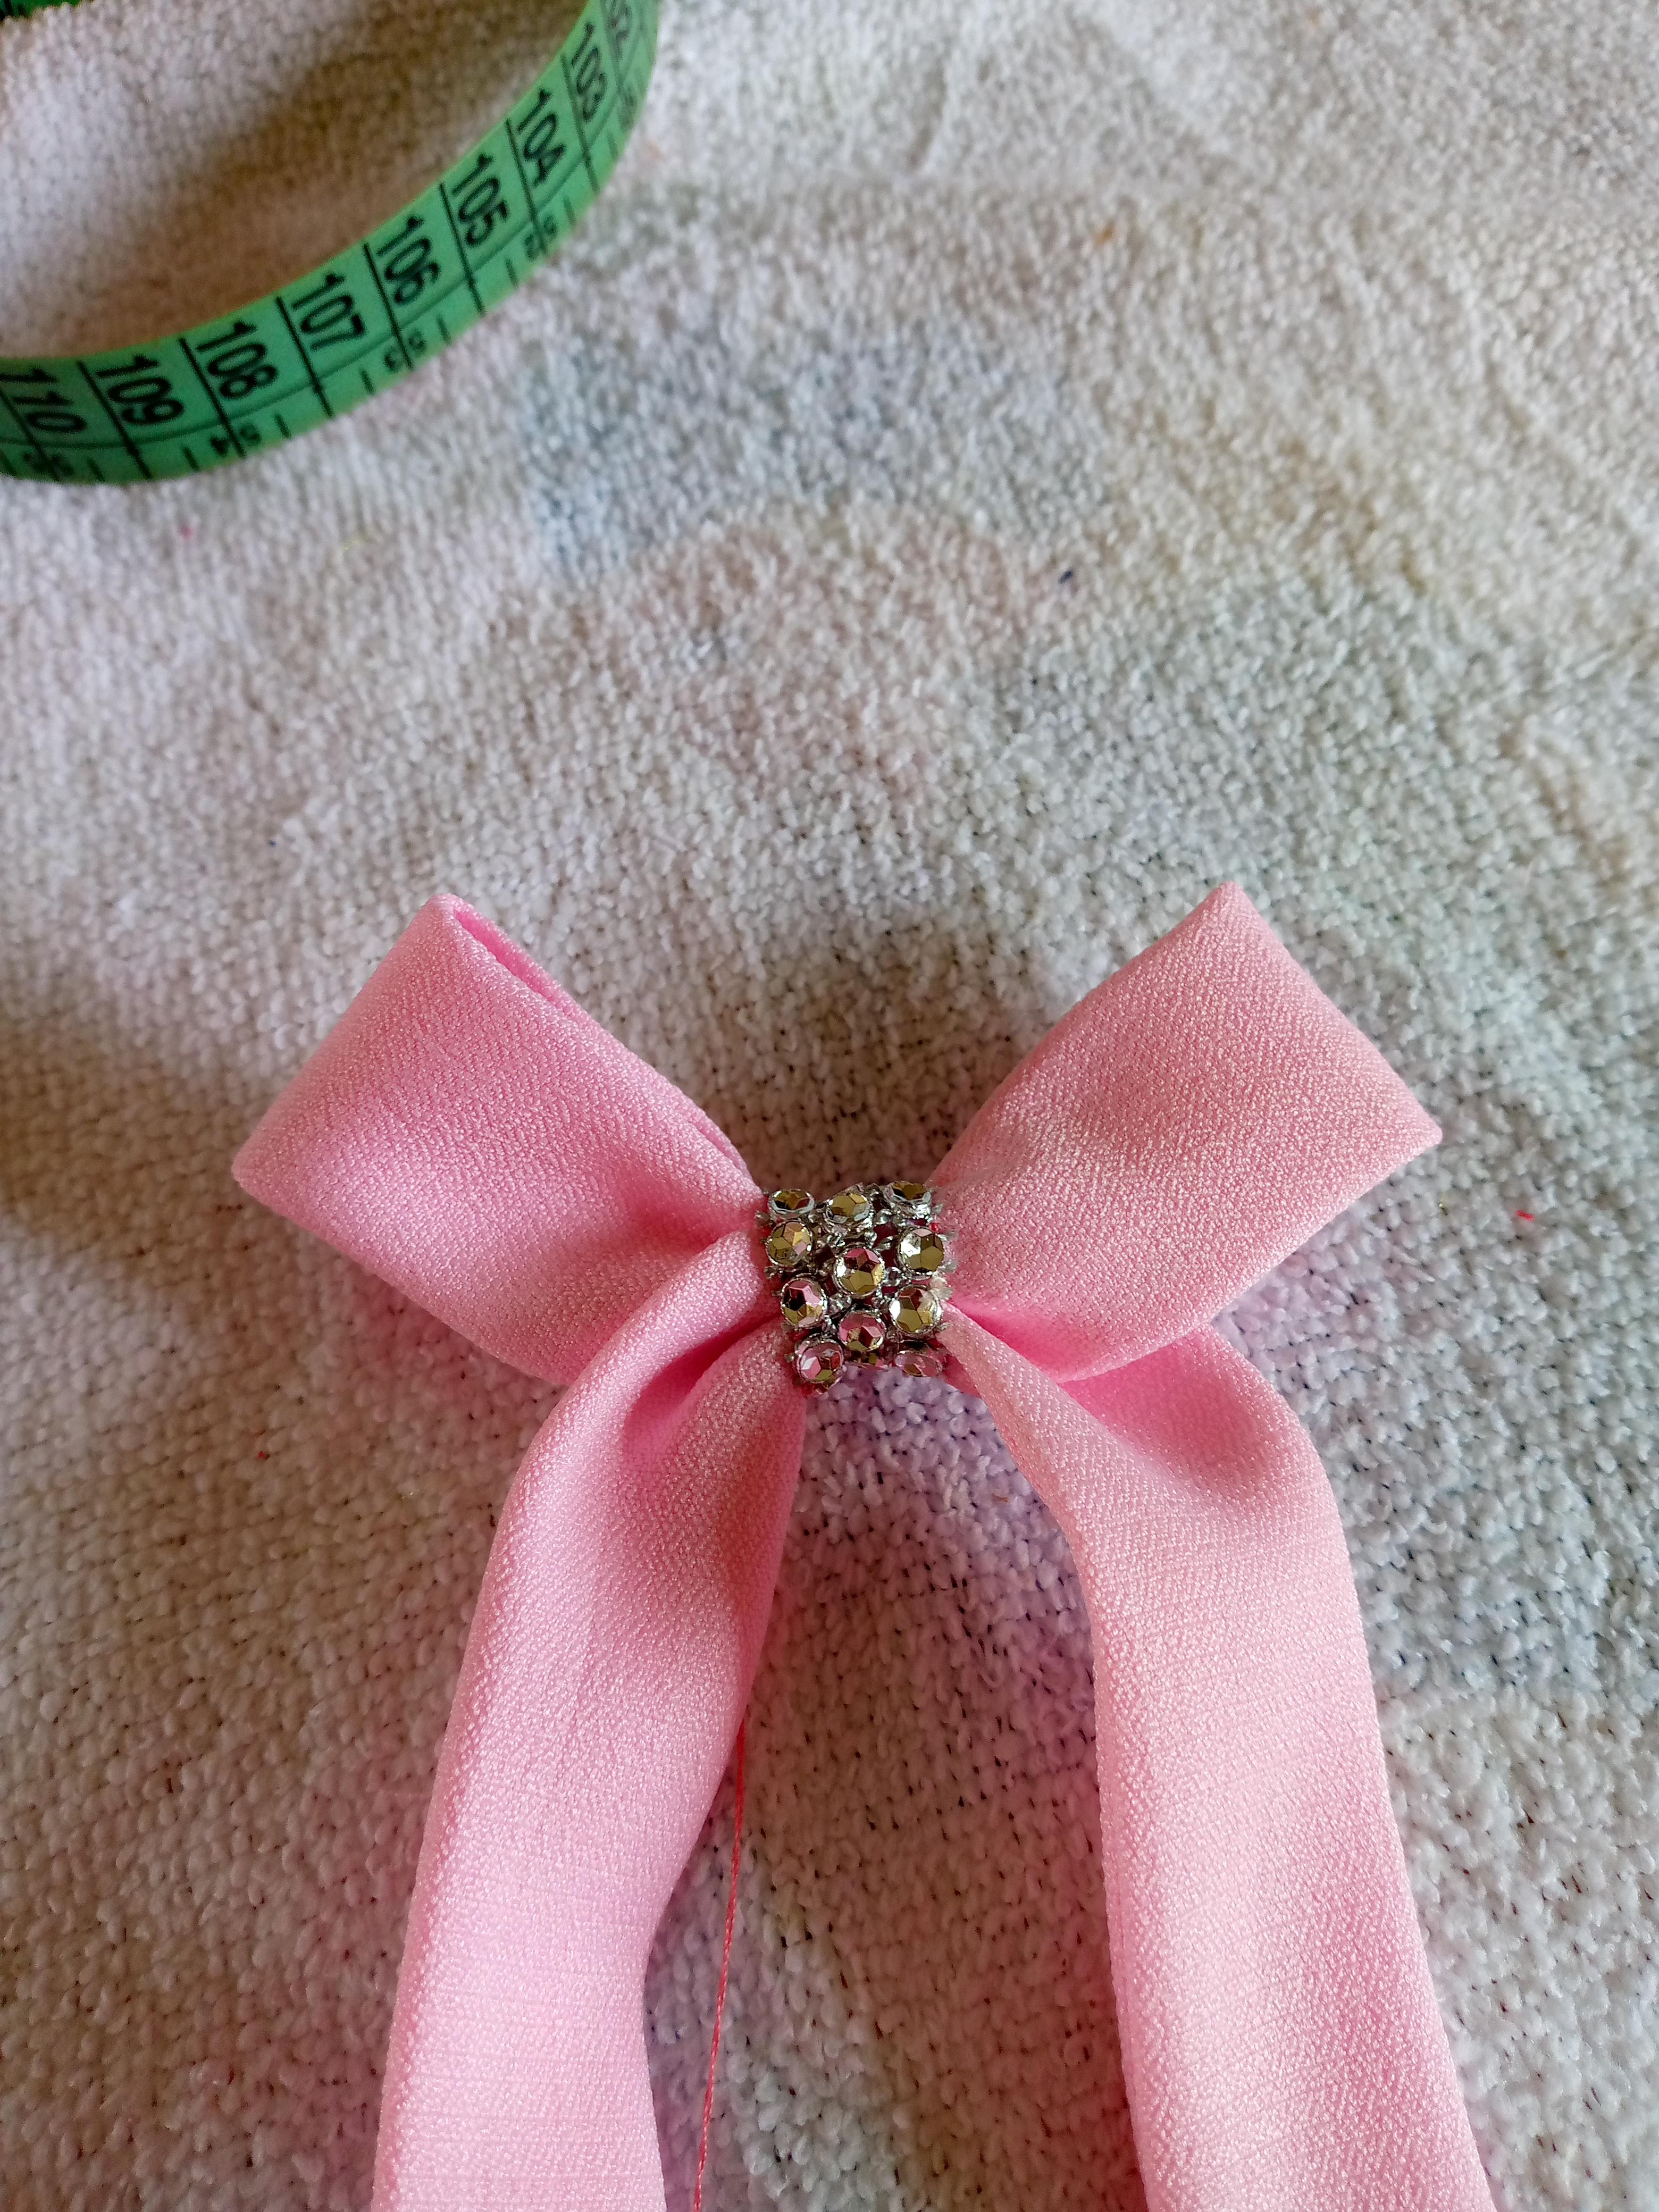
I proceed to make the buttonhole and place my button on the pretrine, to make the bow with my ribbon of the same fabric, I turn it over and I am going to place them as shown in the pattern images below, I make a seam in the middle of the bow and I proceed to gather it to adjust it, I decorate it with a silver design and I sew it to the skirt, placing it on one side so it is ready.

.jpg)
🌸Resultado🌸
Resultado
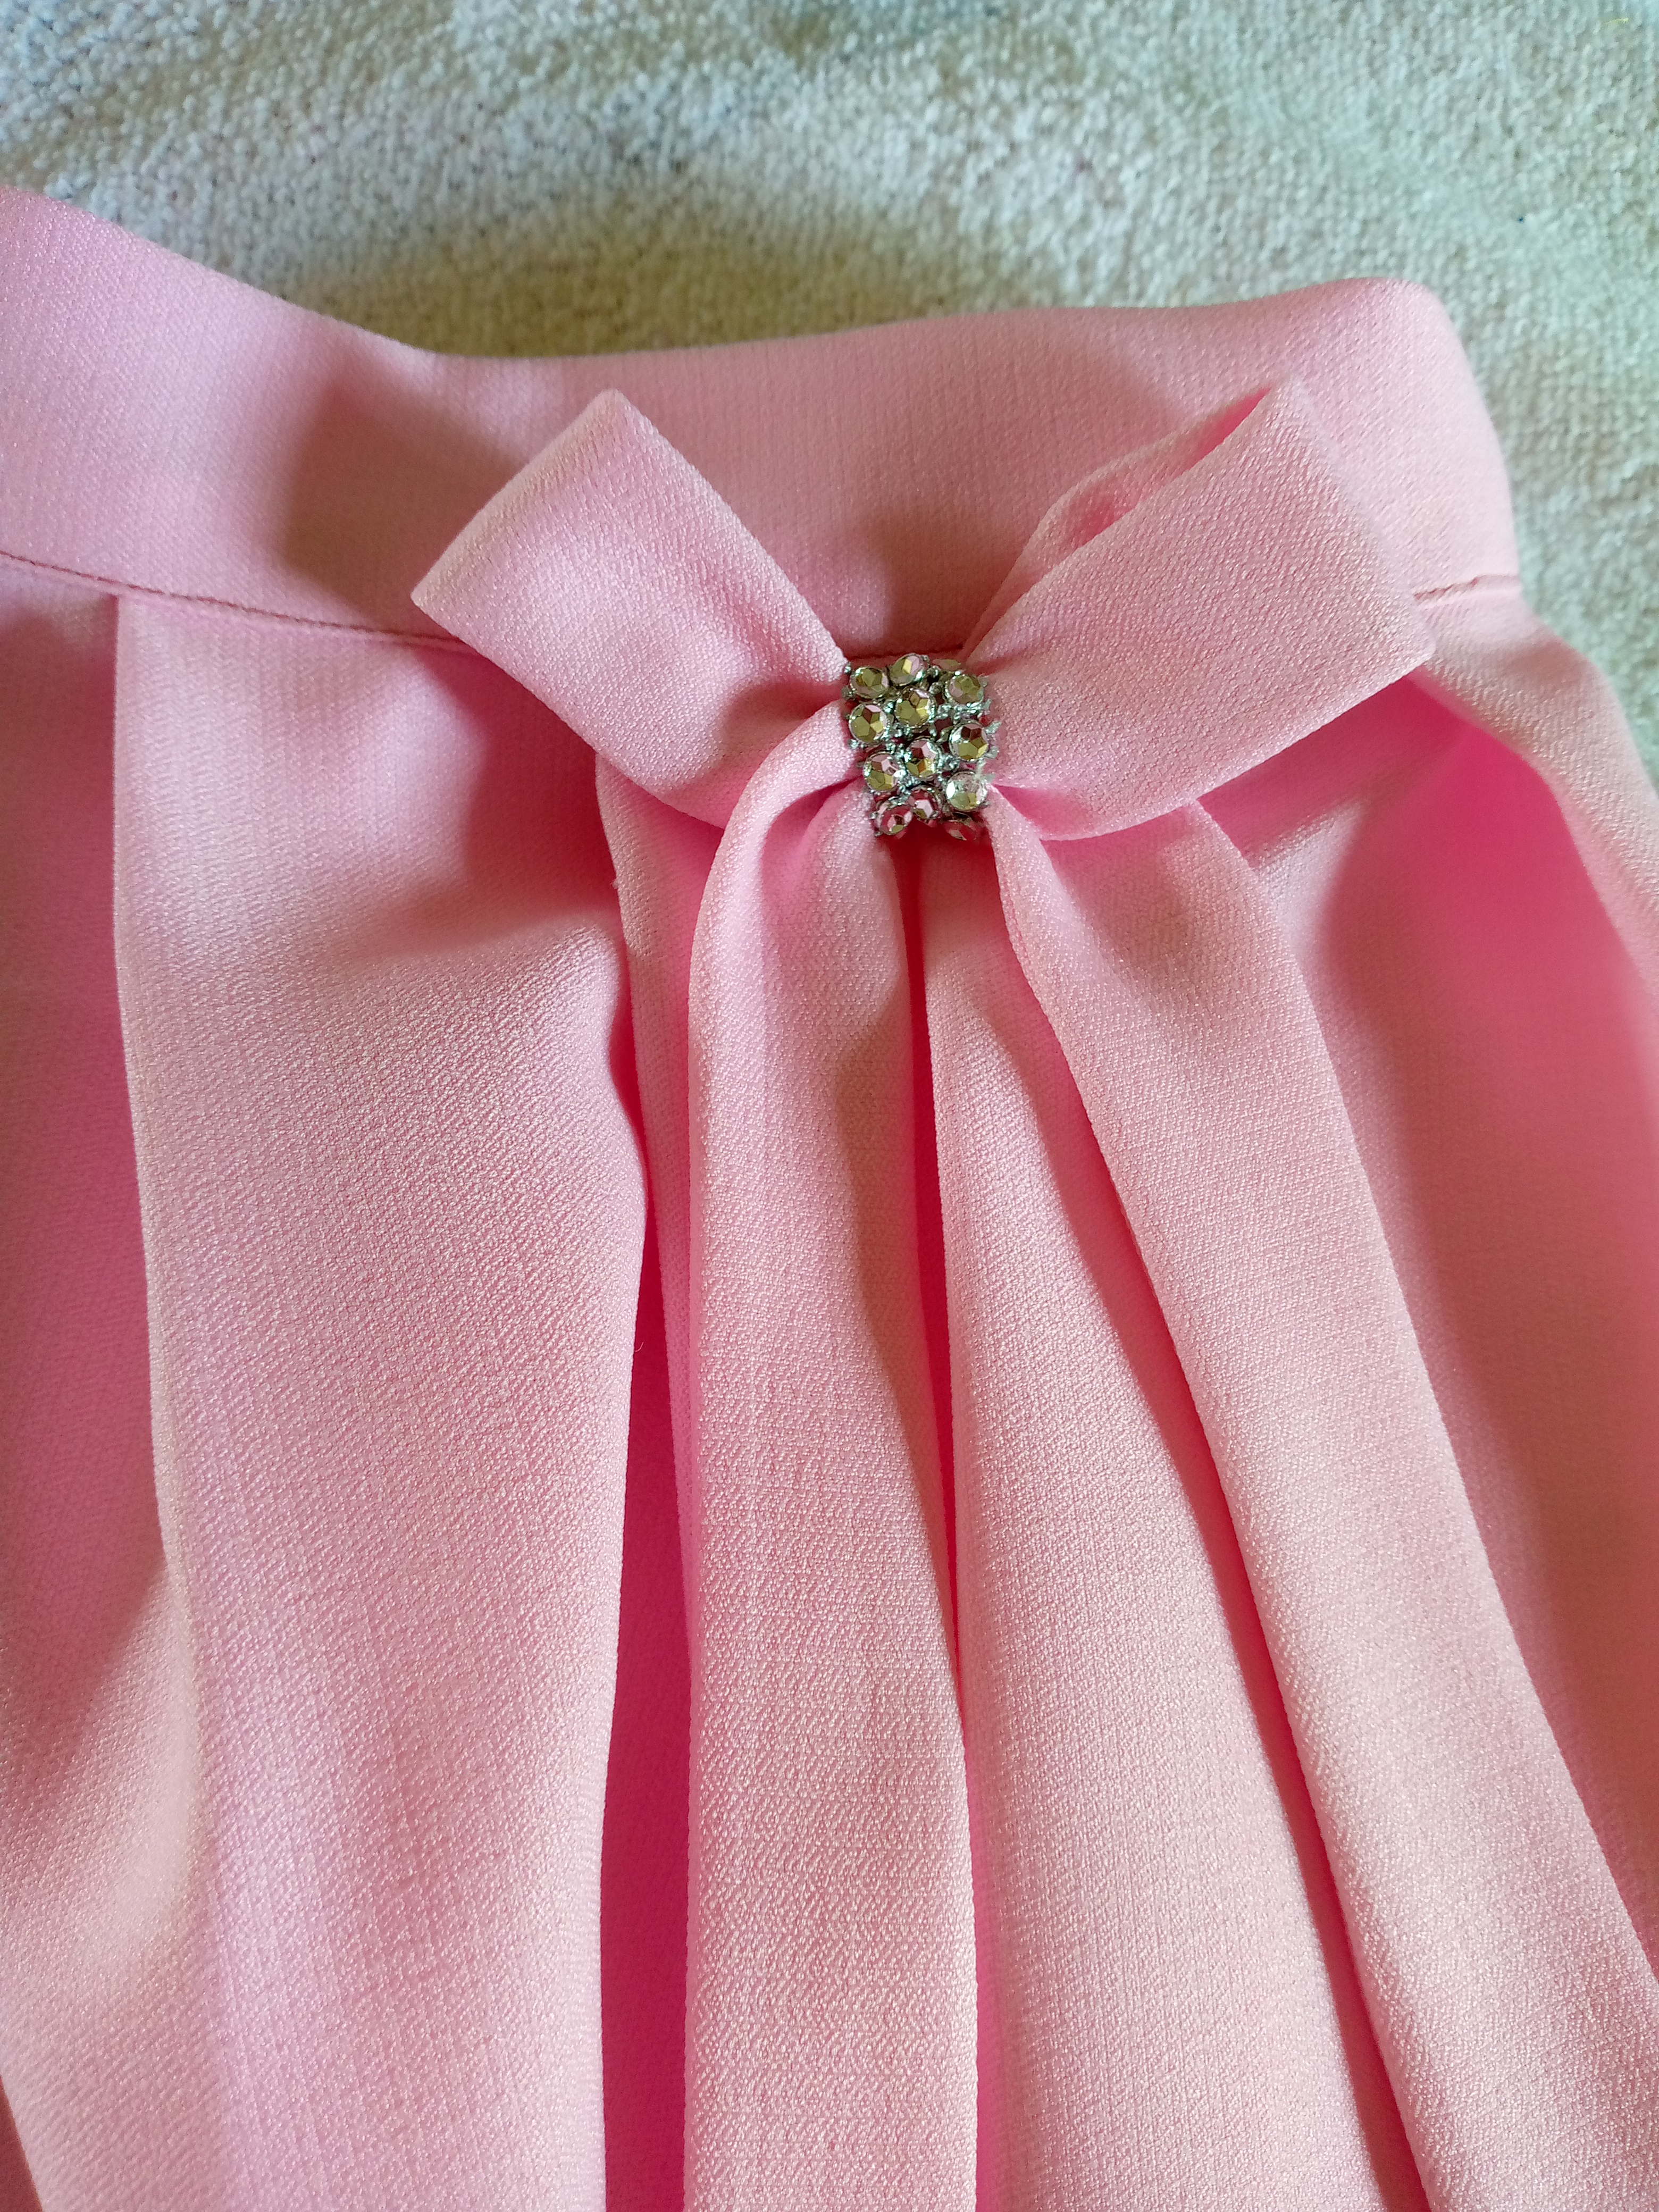
This is how beautiful this very simple little skirt turned out for us. I hope you loved it as much as I loved the result and it is a little skirt that I would make for myself to go out for a walk and go to the plaza to eat ice cream. I invite you to make it yourself. Also and tag me on your blog, I was happy to share this beautiful work with you and without further ado I say goodbye tenderly with a big hug and thank you for always supporting me, goodbye friends, have a beautiful and happy afternoon.❤️
.jpg)
Congratulations @anne002! You have completed the following achievement on the Hive blockchain And have been rewarded with New badge(s)
Your next target is to reach 50 posts.
You can view your badges on your board and compare yourself to others in the Ranking
If you no longer want to receive notifications, reply to this comment with the word
STOPTe quedo demasiado linda la faldita, sobre todo adoro el aplique del lazo y el color, me recuerda que use muchas de esas, y me está dando ganas de usarlas de nuevo, son tan lindas. Gracias por este tutorial quedo genial.
@lauracraft hola hermosa a mi también me encantan en un tiempo como tú las usé y son fáciles de hacer me alegra te haya gustado 🥰 feliz día y bendiciones
❤️❤️❤️❤️❤️✨
Me encanta cada publicación tuya, esta falda te ha quedado realmente hermosa, el color y la tela seleccionada hacen que el resultado haya sido lo que es.
https://x.com/hivediy47901/status/1800428607606833391
Yennysferm71 holi muchas gracias me alegra te haya gustado y si el color es muy bonito y delicado, gracias por el apoyo 😊😍
Te quedó preciosa 🥰 me encanta el color y el detalle del lazo 🎀
@marile21 a mi también me encantó el resultado gracias amiga 😊
Ahhh está preciosa!!
Gracias ✨❤️
aha that looks so cute, thanks for sharing keep up the good work.
Thank you very much and appreciated for the support immediately grateful @diyhub
Una prenda muy bonita y sobretodo elegante, el color sensacional, una pregunta que tipo de tela es esa, como se llama?
Hola hermosa que bueno te haya gustado,por acá se llama tela minimatt 😊 bendiciones para ti
Muy bonita esa tela, veré si la consigo