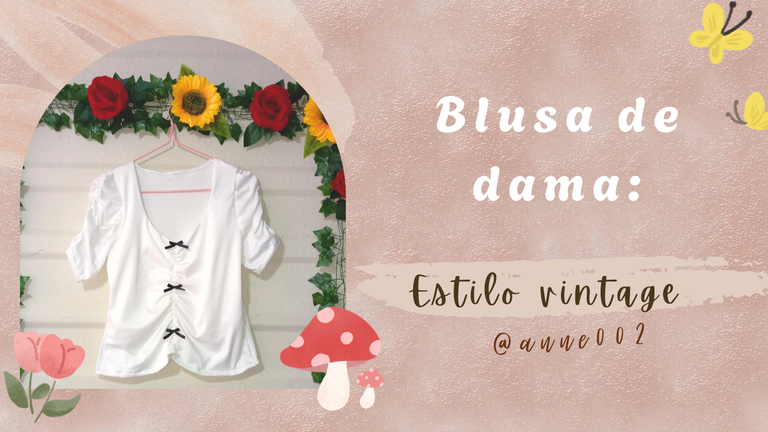
🧵🪡🍁Cutting and sewing of vintage summer style blouse //🍁🪡🧵Cutting and sewing of vintage summer style blouse[Esp~Eng]
Good night beautiful community dear needle lovers welcome to a new sewing blog, it had already passed me this day to show you how I made this blouse this morning but due to lighting problems where I live I had not been able to show you but before going on my break here I leave you this great idea of a lady's blouse that I had wanted to make for a long time, and a long time my dear friends will see I always go to meetings and I love to go dressed elegantly and more than being inspired by the designs that Pinterest has at the mercy of the day, you enter and you can't find it afterwards how to exit the application of so many ideas if you click on one many others appear and so it is somewhat addictive but I love it above all because I like to take ideas from there and make clothes to my liking pretty and elegant.
You see, this idea of making somewhat vintage clothes was because I saw pretty clothes on SheIn and I said that I wanted to make this style of fresh, casual clothing for myself that I could wear at any time. I like simple things and fresh colors. I had never tried making clothes in this light color, although I have had clothes in white tones with a print. I couldn't say that I had a white blouse because I really didn't have one, but well, from time to time I say that in our closet there can't be a lack of a white or black garment. It's the law to have one of those shades of colors that are the ones that one mainly uses the most, of course the same with the other colors.
Blouses in solid tones combine with dark solid-colored pants and prints that highlight our figure. I will use this blouse that I made precisely to wear it with solid-colored skirts and give my outfits an elegant and simple style. Well, I hope you like it and tell me what you think of this pretty blouse.
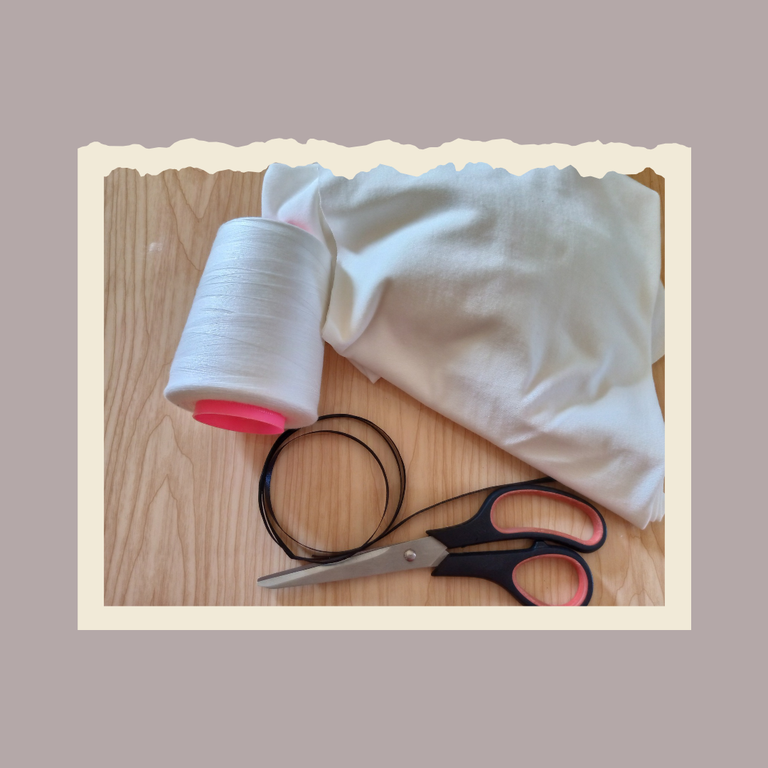
Materiales:// Materials:
- 1 metro de tela microdurazno color champagne
- Tijeras
- Hilo y aguja
- Cinta de 1 cm color negro
- Máquina de coser
- Elástico delgado 30 cm
- 1 meter of champagne-colored micropeach fabric
- Scissors
- Thread and needle
- 1 cm black ribbon
- Sewing machine
- 30 cm thin elastic
Pasos a seguir://Steps to follow:
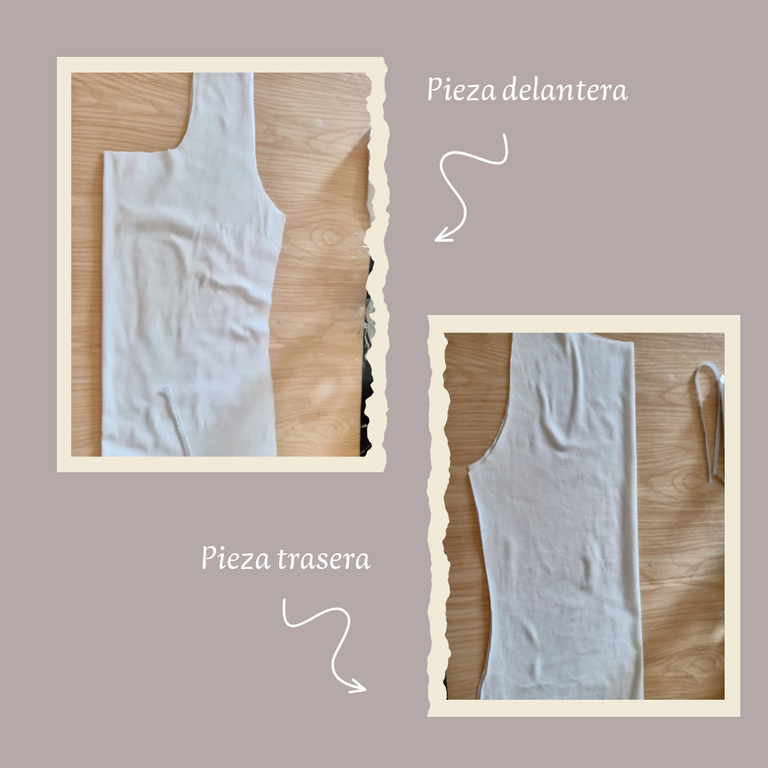
Paso 01
Step 01
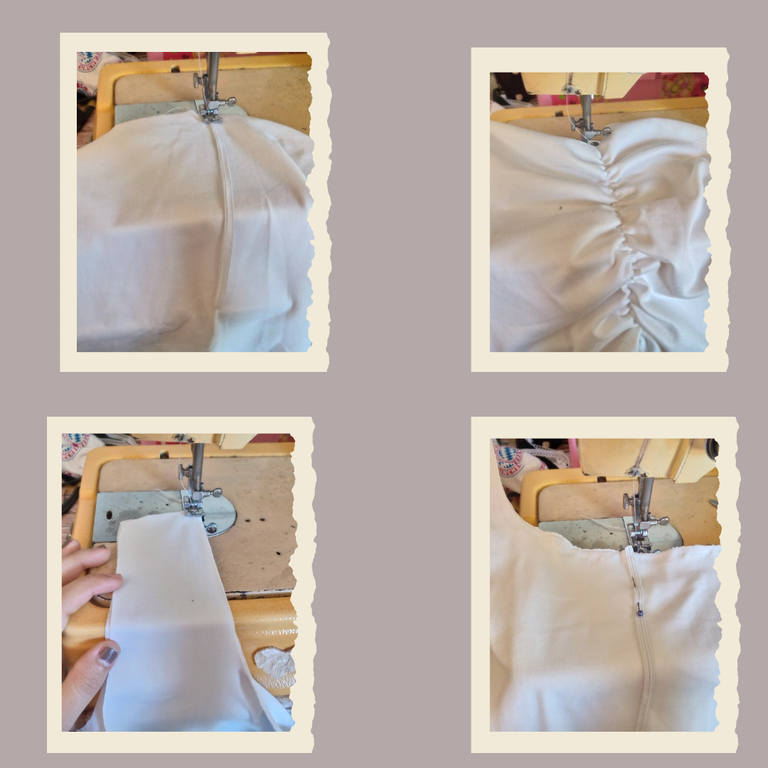
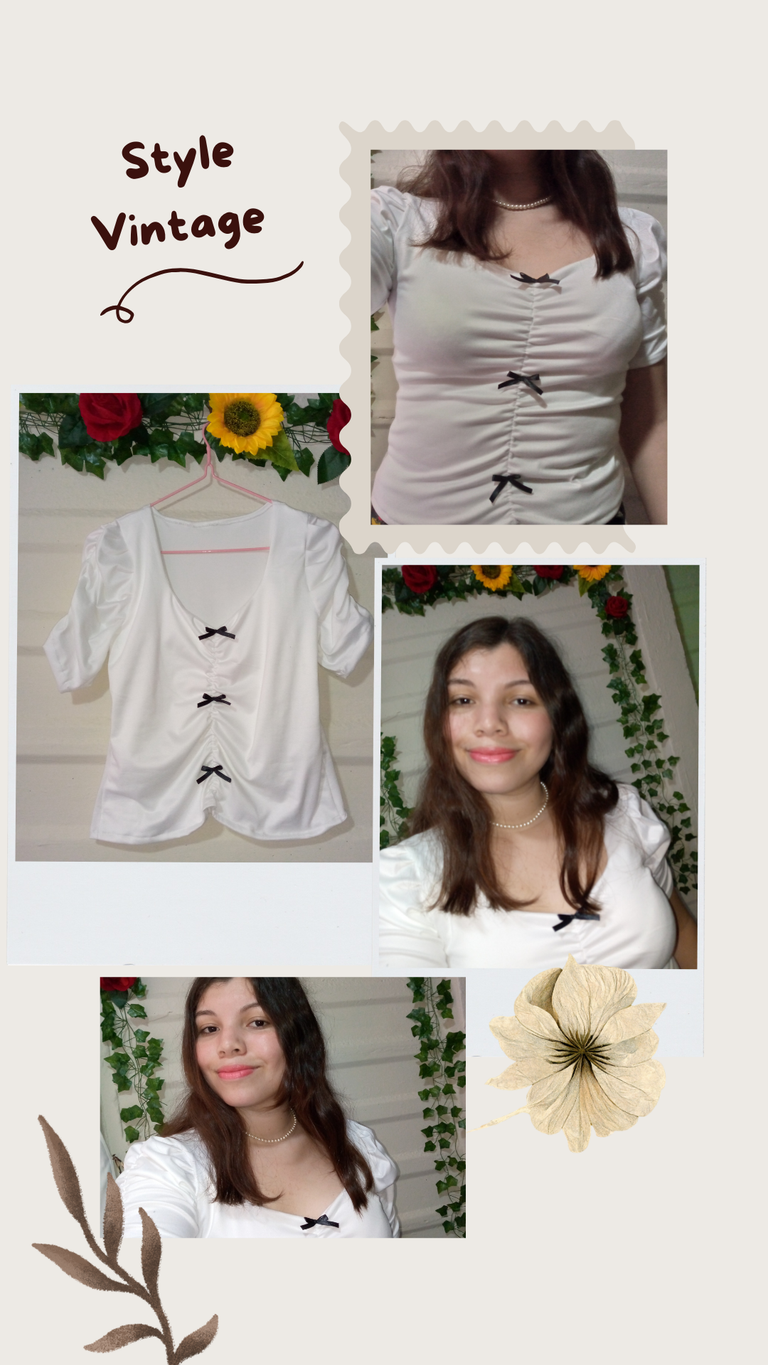
The cut of this blouse is simple with an oval or square neck, for this I made the front piece double and thus reinforce this part in order to be able to make the neck and have it stay this way, I took as a reference to cut a blouse that fit me well and we proceeded to cut a double front piece, 1 piece of the back with 1 cm of neck drop and the two sleeves that of course I cut wide because I will be making a gather so that they look baggy.
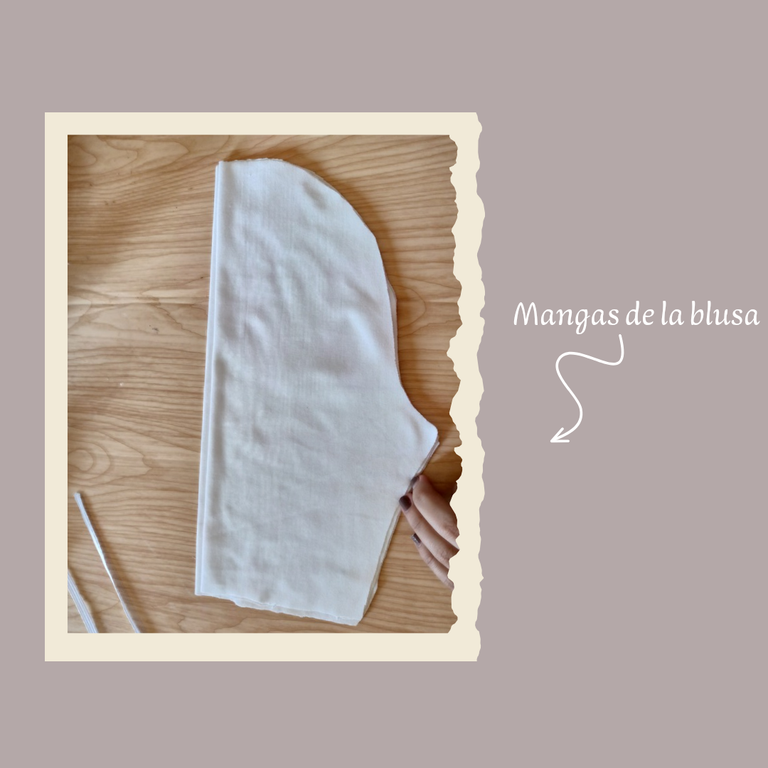
Paso 02
Step 02
I then proceed to make a cut in the middle of the sleeve, a cut with the tip of my scissors because that is where I will be guiding myself to place the elastic of the sleeve because I plan to gather it, so I take the elastic and place it on the part of the tip of the sleeve to the other tip, which would be half for each sleeve. I cut 10 cm of elastic and stretch it as much as I can, then we will sew the double part of the neck and we will also place the 15 cm long elastic here and we continue sewing the neck so that our elastic remains inside both pieces.
Paso 03
Step 03
Then we move on to stretching the elastic on the inside, not too much so that this part doesn't look so bulky, just a little. Then we sew the neck onto the back piece and make a 1 cm hem with the normal straight sewing machine. We sew. Then we will join the shoulders of the front and back pieces and sew the two parts.
Paso 04
Step 04
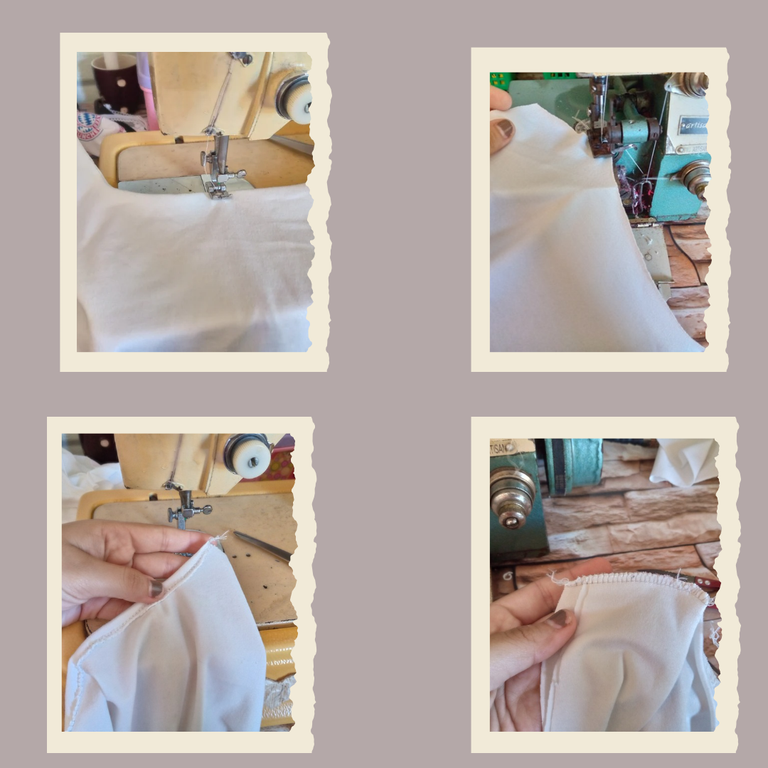
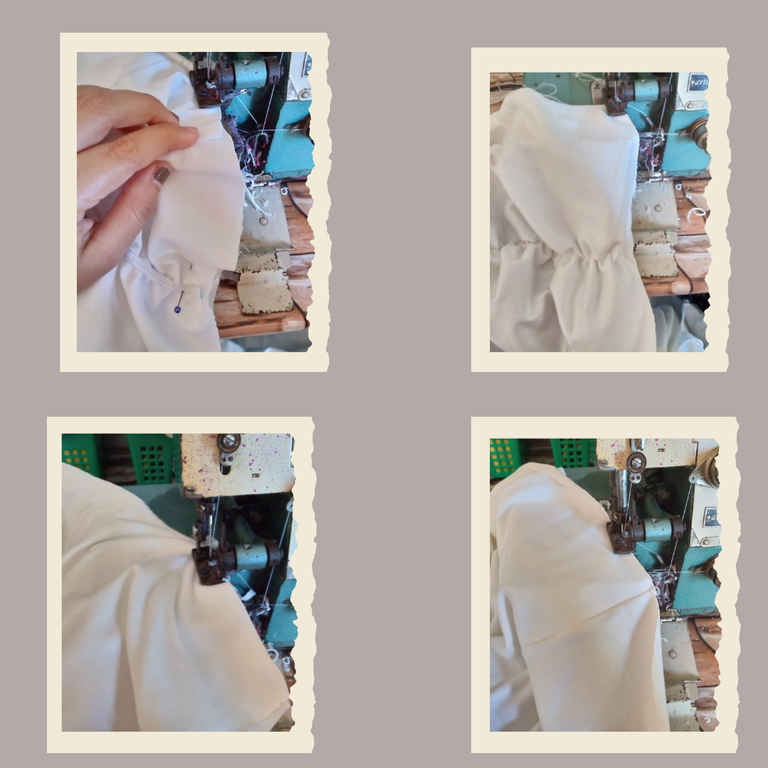
I will then proceed to open the armhole section and place the sleeve with a pin. I will hold it and sew it without forgetting to make the small panels that will make my sleeve gather and gather while I sew it. I will also sew the sleeves below and then I will close the blouse and sew it on the sides as well as below. I will seal it with an overlock, which is the part where I will make the hem.
Paso 05
Step 05
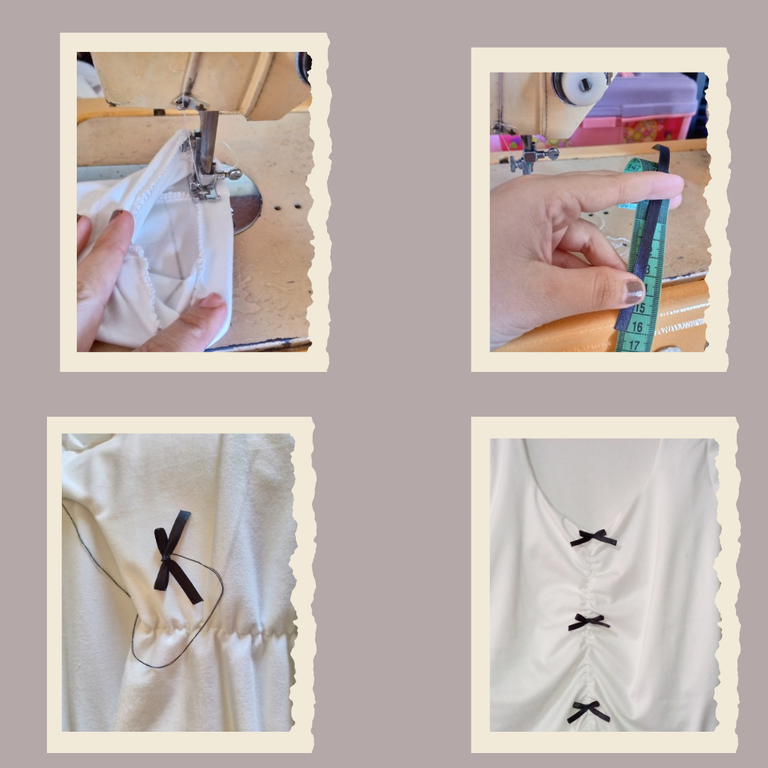
I finish by sewing the hem of the sleeve and the bottom of the blouse. I will take my tape measure and measure 16 cm of tape because with this measurement we will make the little monkeys that will adorn this blouse and make it look vintage. I will make the little monkeys with that length of ribbon that I cut and with needle and thread I will sew each one leaving a distance of 7 cm. I only made three little monkeys that I sewed well to the blouse so that they would not come loose when I put it on.
Resultado:// Result:
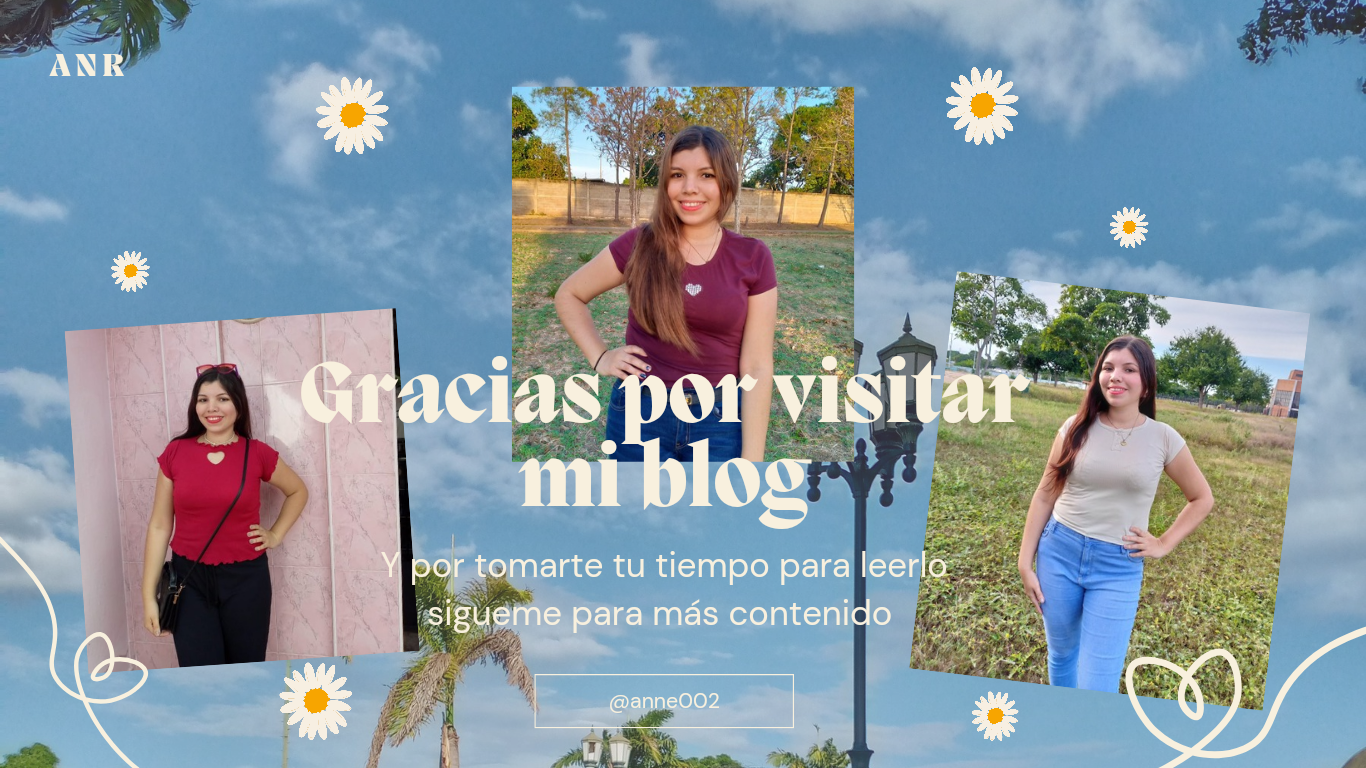
If you got to the end of this tutorial it is because you wanted to know how this blouse looked and so here with this I leave you photos of how the final result looks and already put on, I can't wait to wear it, personally I really liked this blouse because I wanted one like this from so many that I saw and I as a seamstress thought about how was it possible that I didn't have one seeing so many designs 🤭 but well I can say that I am satisfied with this work and with the ability I have to make my own clothes, I hope you are encouraged to make this blouse if it is your style, any questions you have about it you can leave them in the comments so I can know how I can help you a little more in the making of this garment, have a happy night and thank you in advance for reading my blog and taking a minute of your time to do so, goodbye friends 👋🏻😊.
Creating things with love 🌷❤️
🦋✨ All the images in this publication are my author ,📱taken with my TecnoSpark8C cell phone |📸Photos edited in PicsArt and Canva. Text translated in Google Translate.
¿ᴺᵉᶜᵉˢᶦᵗᵃˢ ᴴᴮᴰ? ᵀᵉ ˡᵒ ᵖʳᵉˢᵗᵃᵐᵒˢ ᶜᵒⁿ @ruta.loans
Te felicito tu blusa quedó muy hermosa, que la disfrutes
I love the neckline and it so beautiful and sexy
Vaya amiga pero es que haces de todo, y todo lo haces muy bien. Esta blusa quedó preciosa
Adoro esta blusa amiga, es como de mi estilo total, color y diseño.❤️
Muchas gracias amiga estás como yo entonces este modelo nos gusta mucho 😄
😄Si amiga estamos de acuerdo jajajaja te felicito eres increíble.🤗
Se ve tan fresca. Me gusta para mi hija.