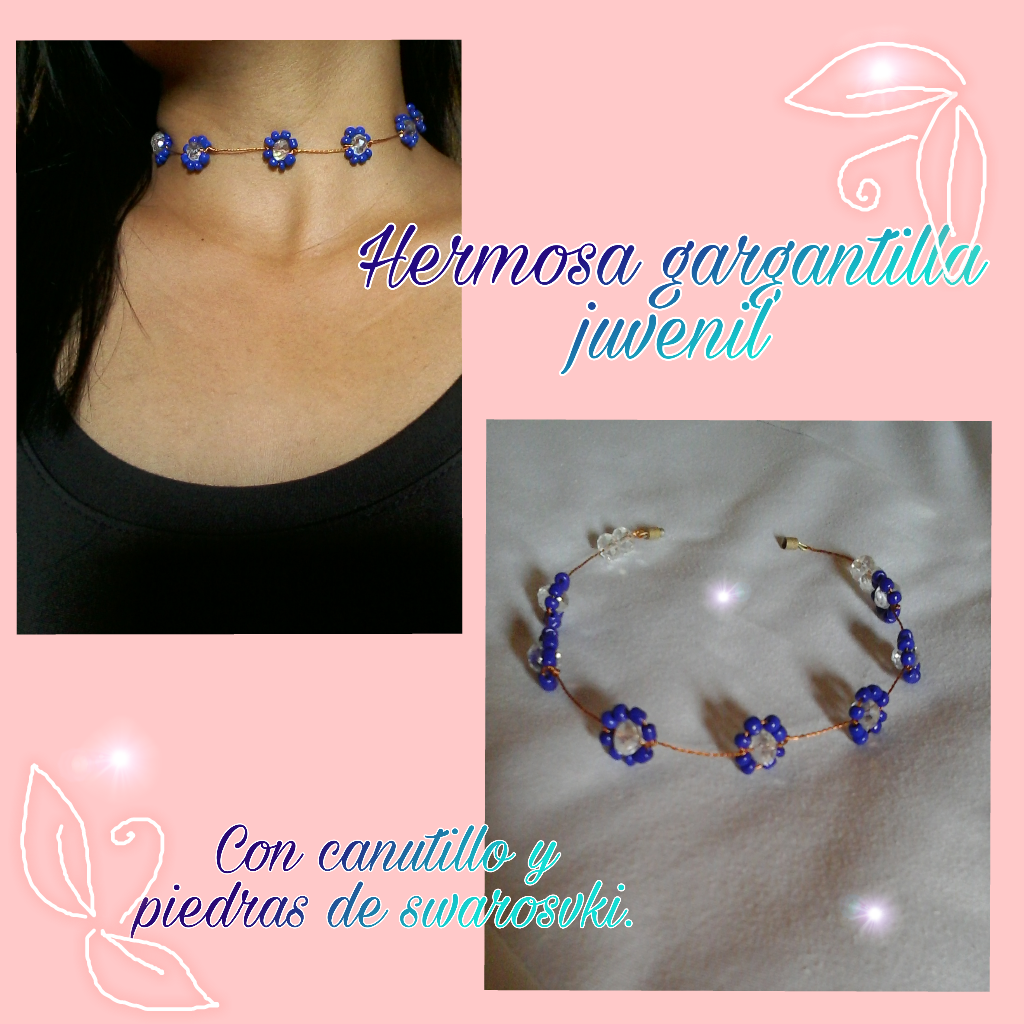
[Esp/Ing] Hagamos una gargantilla de canutillo y swarosvki💎🌹🌸//Let's make a beaded and swarosvki choker💎🌹🌸.
Hello friends!🌹
¡Feliz y bendecido domingo para todos! En esta hermosa tarde quiero compartir con todos un fácil y muy lindo tutorial para todas esas hermosas chicas que les encanta las gargantillas así que no te pierdas el procedimiento.
Happy and blessed Sunday to all! On this beautiful afternoon I want to share with everyone an easy and very nice tutorial for all those beautiful girls who love chokers so don't miss the procedure.
This time I bring you a beautiful choker, made with blue beads and Swarovski crystals, ideal for girls who love to look beautiful on any occasion. This accessory is very easy to make and it will be very beautiful to wear on any occasion, I tell you that it has been a long time since I made a necklace, yesterday I decided to make this accessory that was very easy to make. I want to invite you to read the procedure to the end, so come along, let's go.
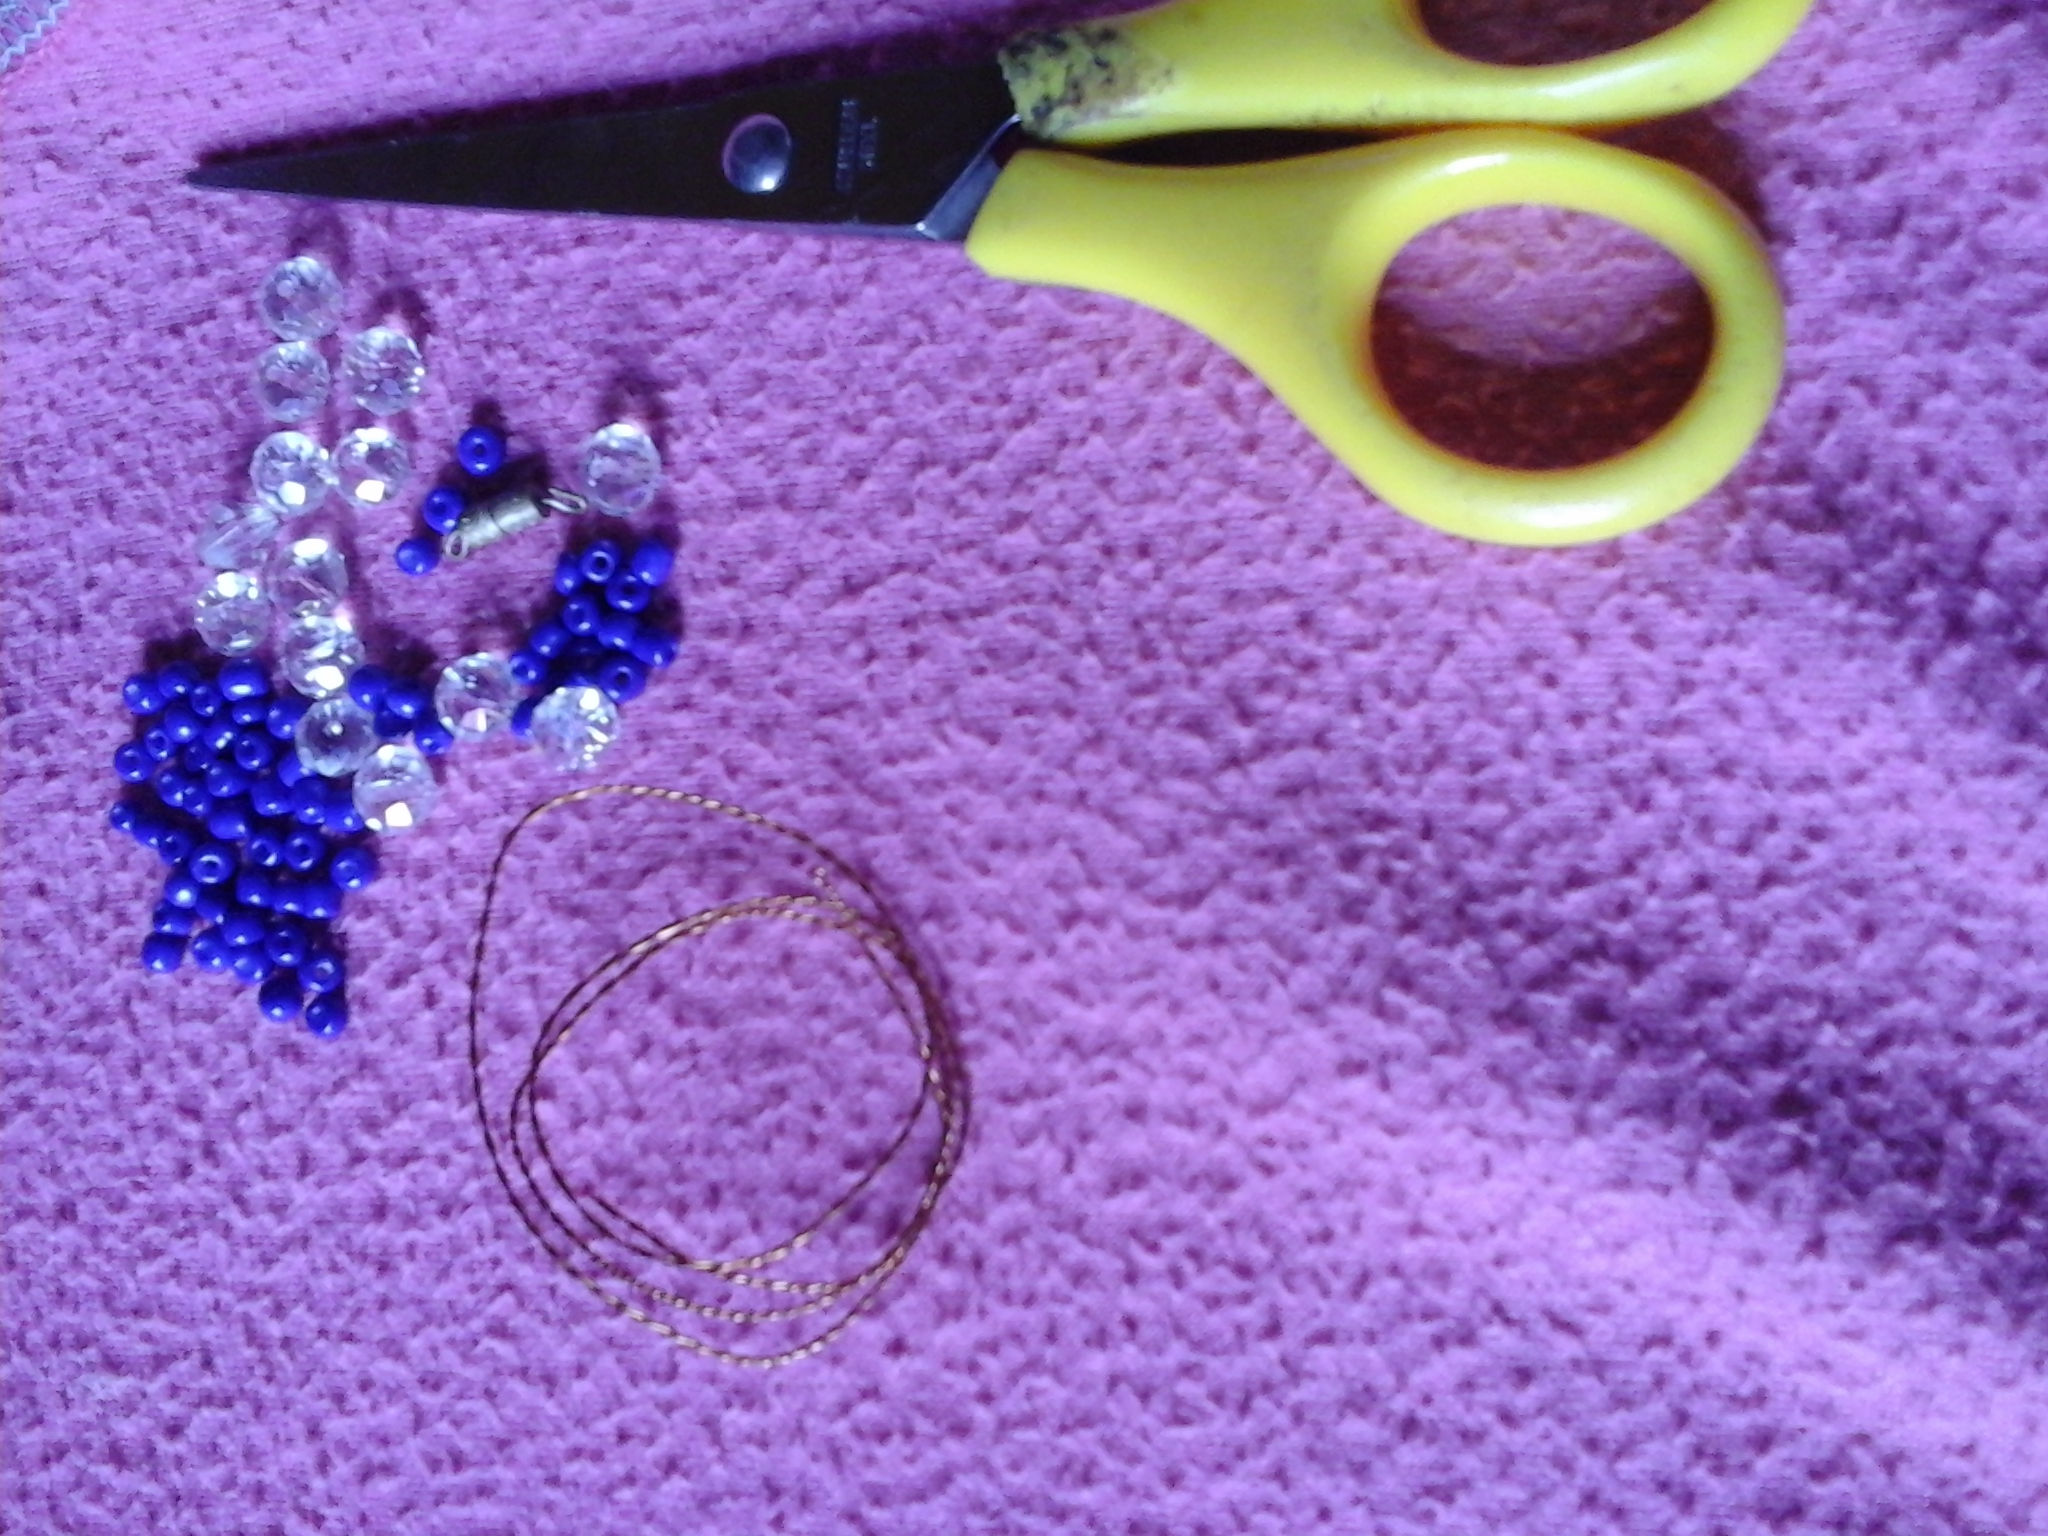
Materiales.
- Canutillo azul.
- Cristales.
- Tijera.
- Alambre.
- Broches barril para cerrar collares.
Materials.
- Blue tube.
- Crystals.
- Scissors.
- Wire.
- Barrel clasps to close necklaces.
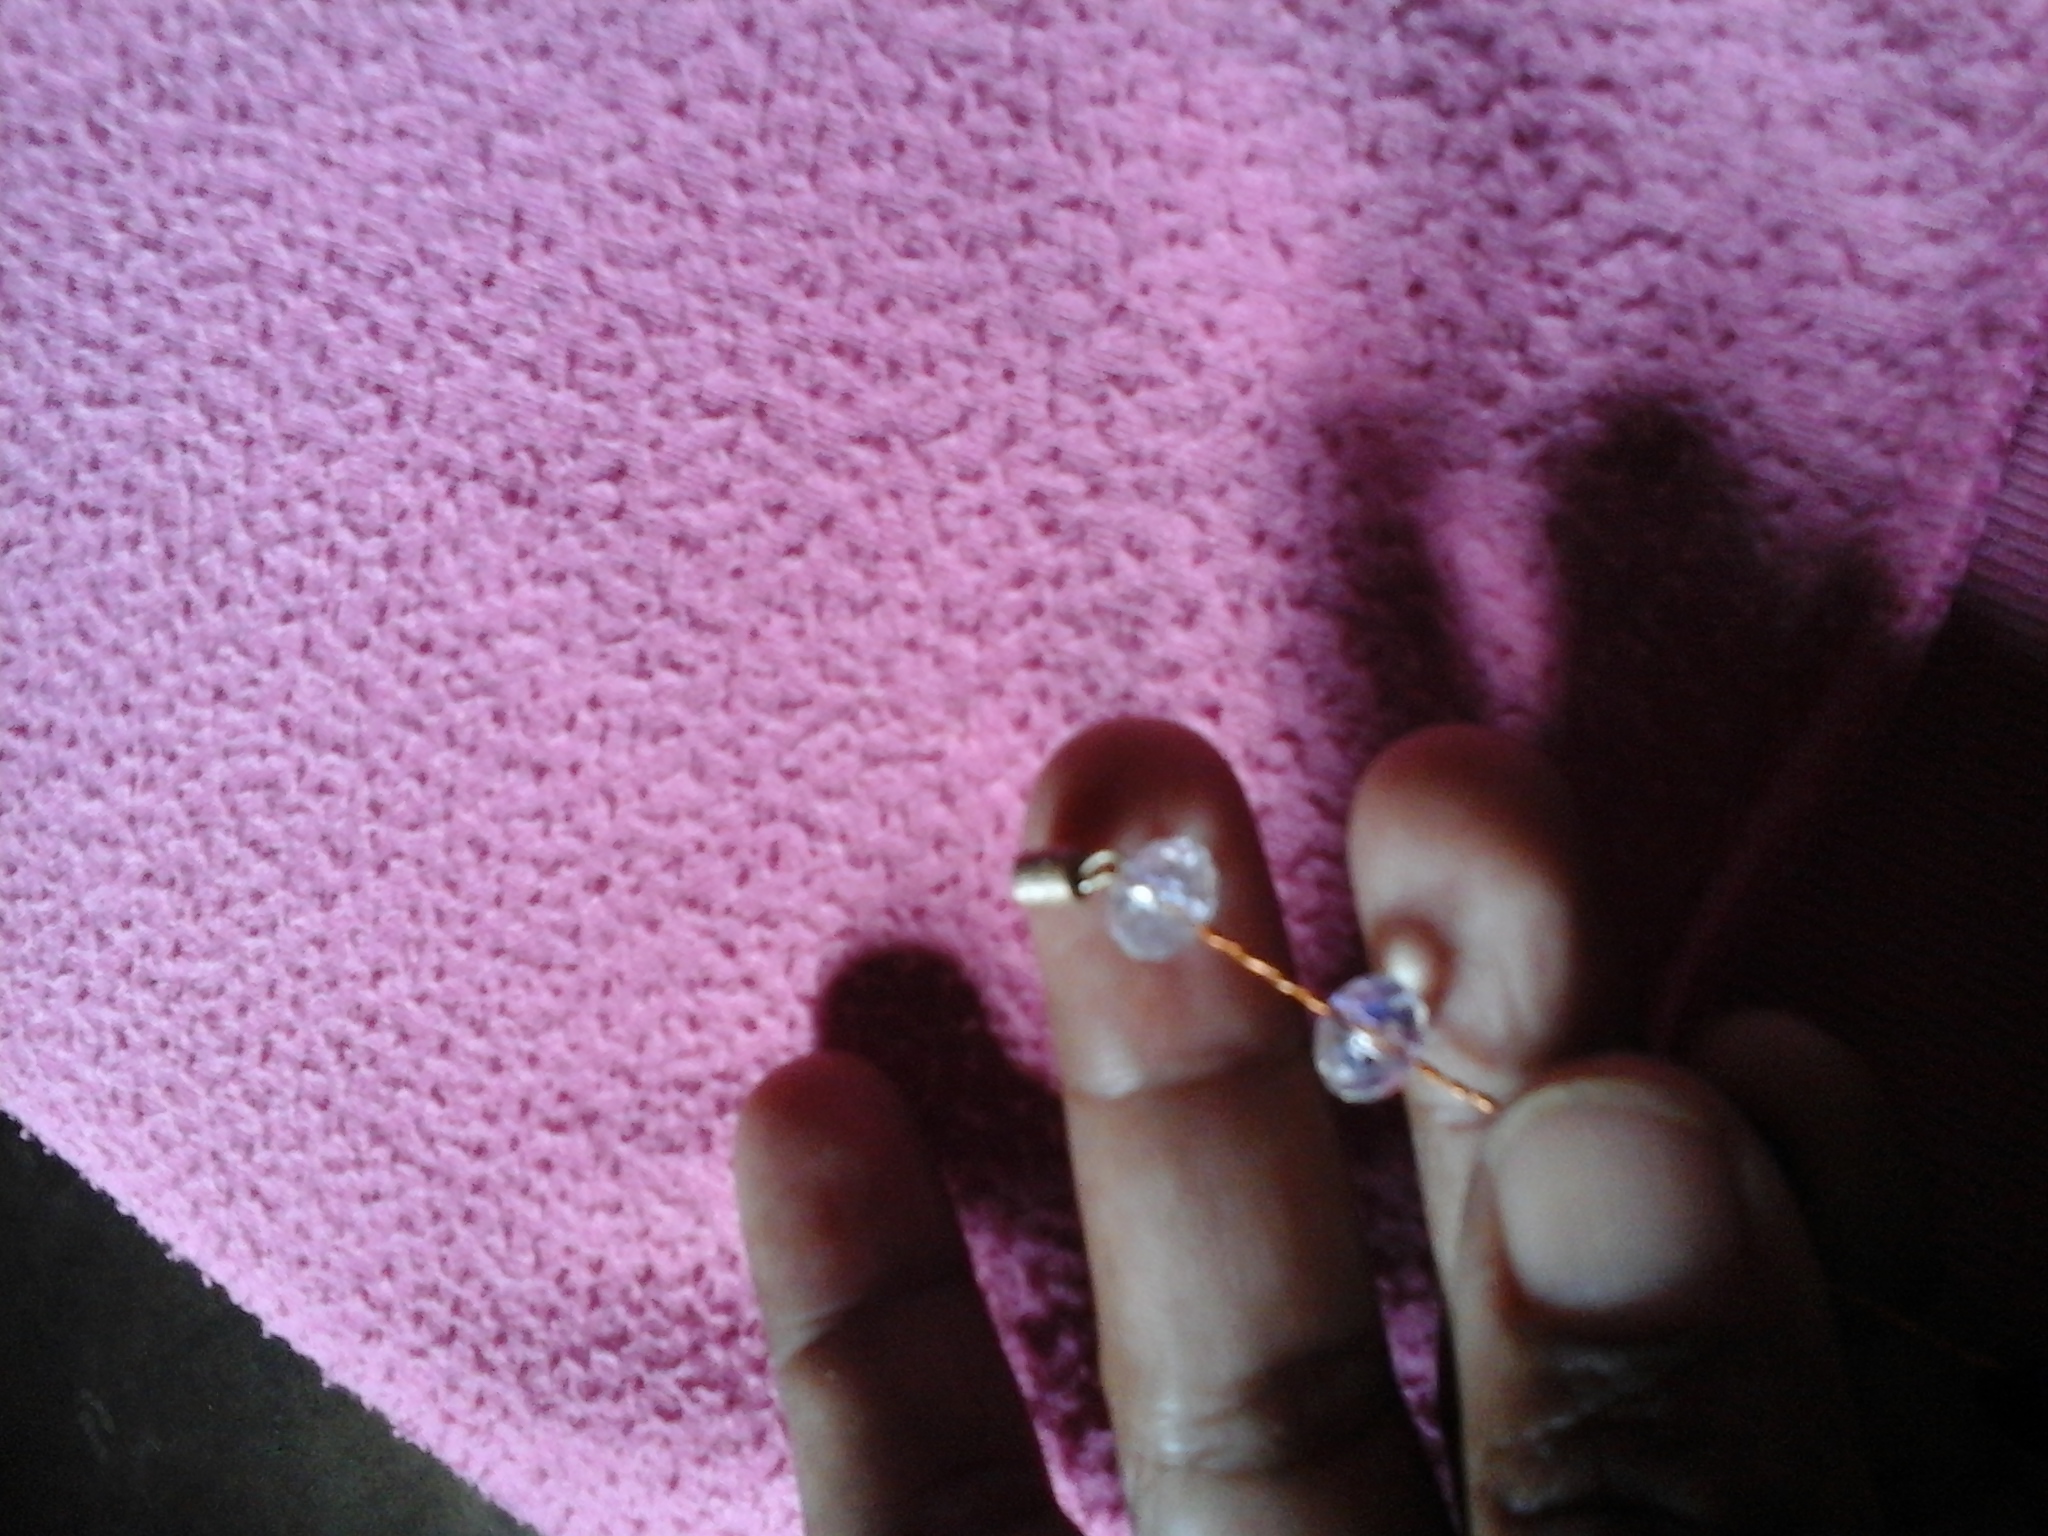
To begin the elaboration of this beautiful necklace, we must cut 20cm of wire, thread or any material that you want to use as a cord, we introduce two swarosvki stones and we make a knot so that we can place it later the barrel broque in this case, or you can place any other hook.
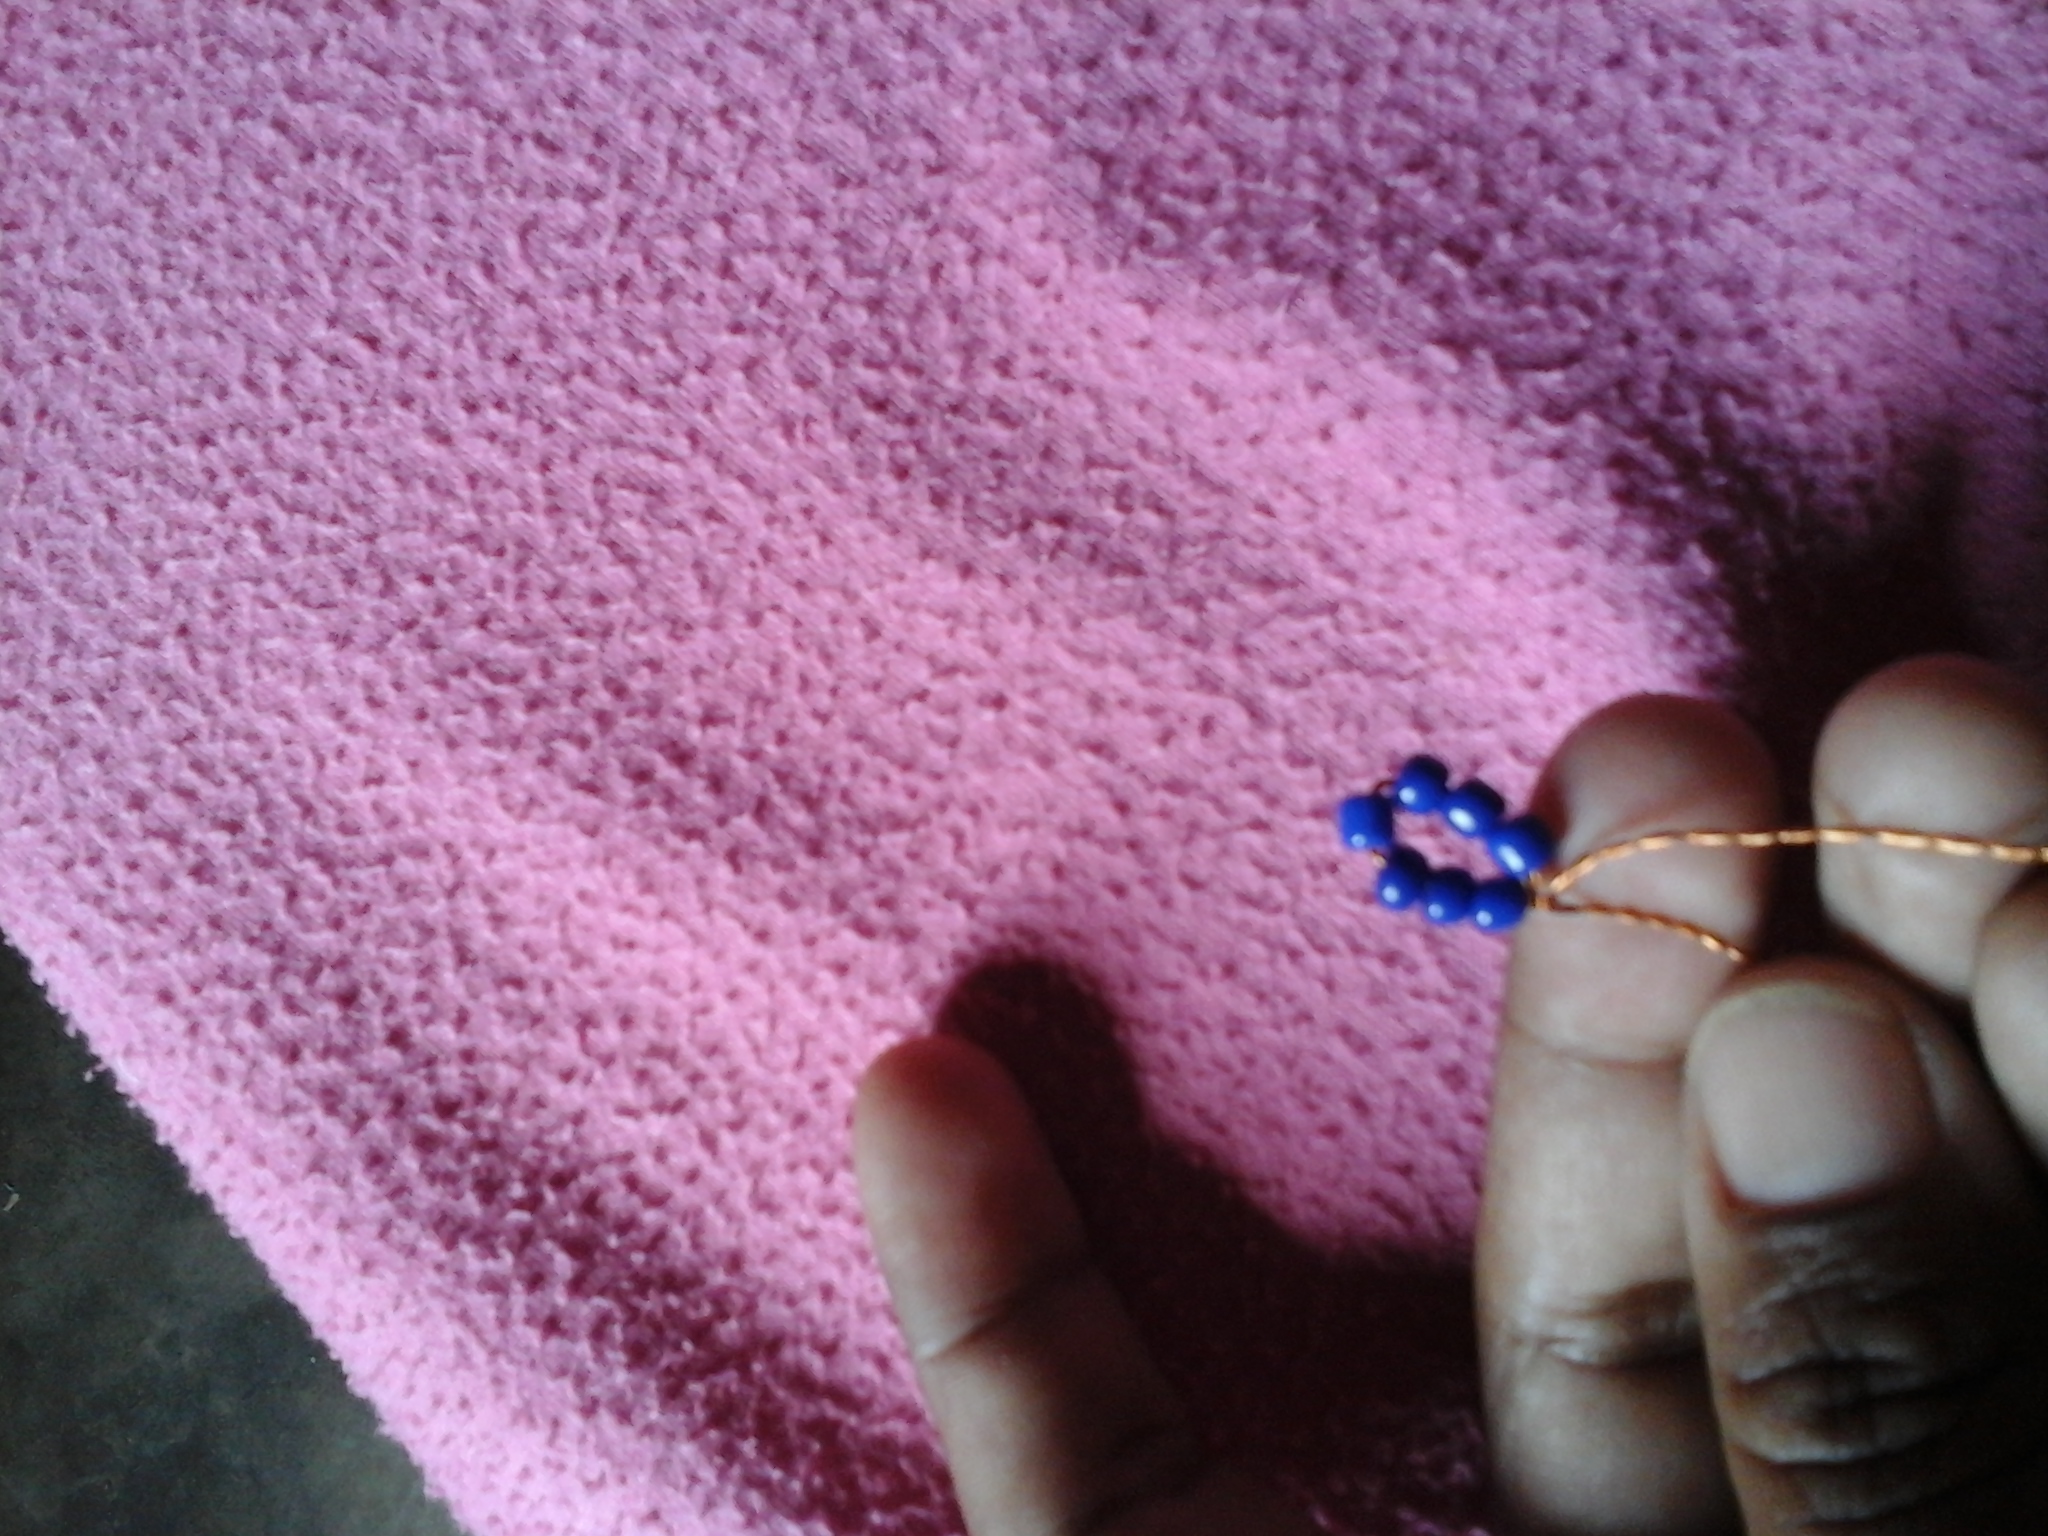
To start making the flowers, we must introduce eight beads, if you are going to use larger stones you must place only five stones and the one in the center. Next we bend the wire and twist a little so that it looks like an earring or similar, let's see how it should look.
En uno de los extemos introducimos una pierda de swarosvki para que la misma quede en el centro y forme la flor.
In one of the ends we introduce a loss of swarosvki so that it remains in the center and forms the flower.
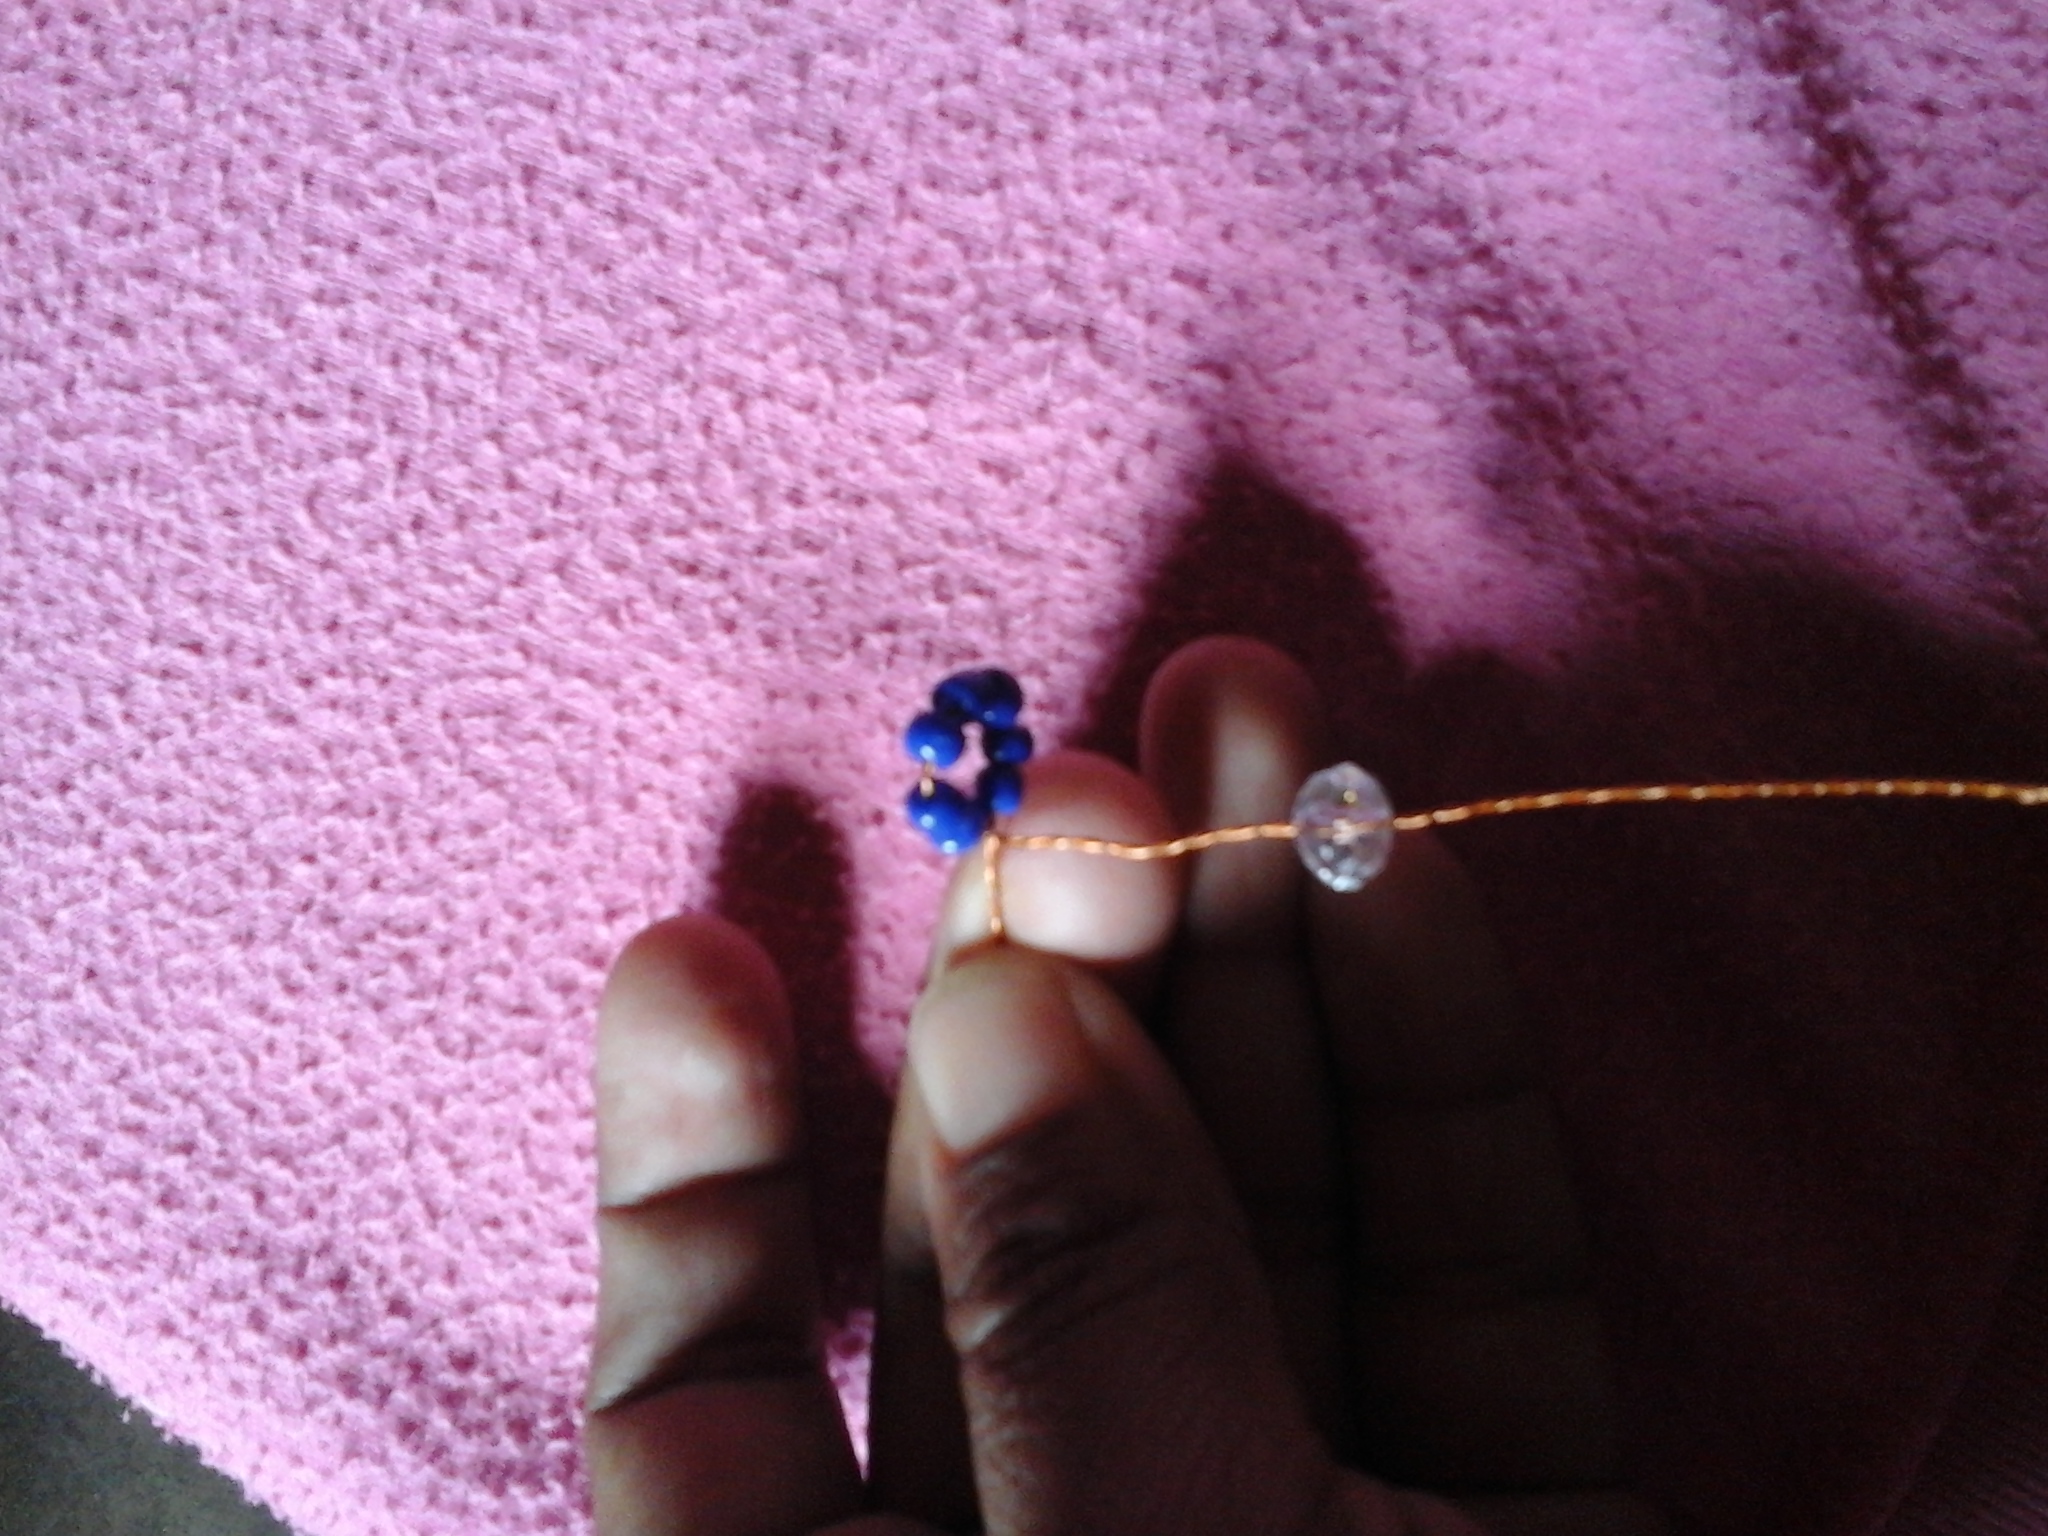
Observe, once we have placed the stone, pass the same wire or cord between the eight beads so that it is in the center, tie a knot and continue making the flowers.
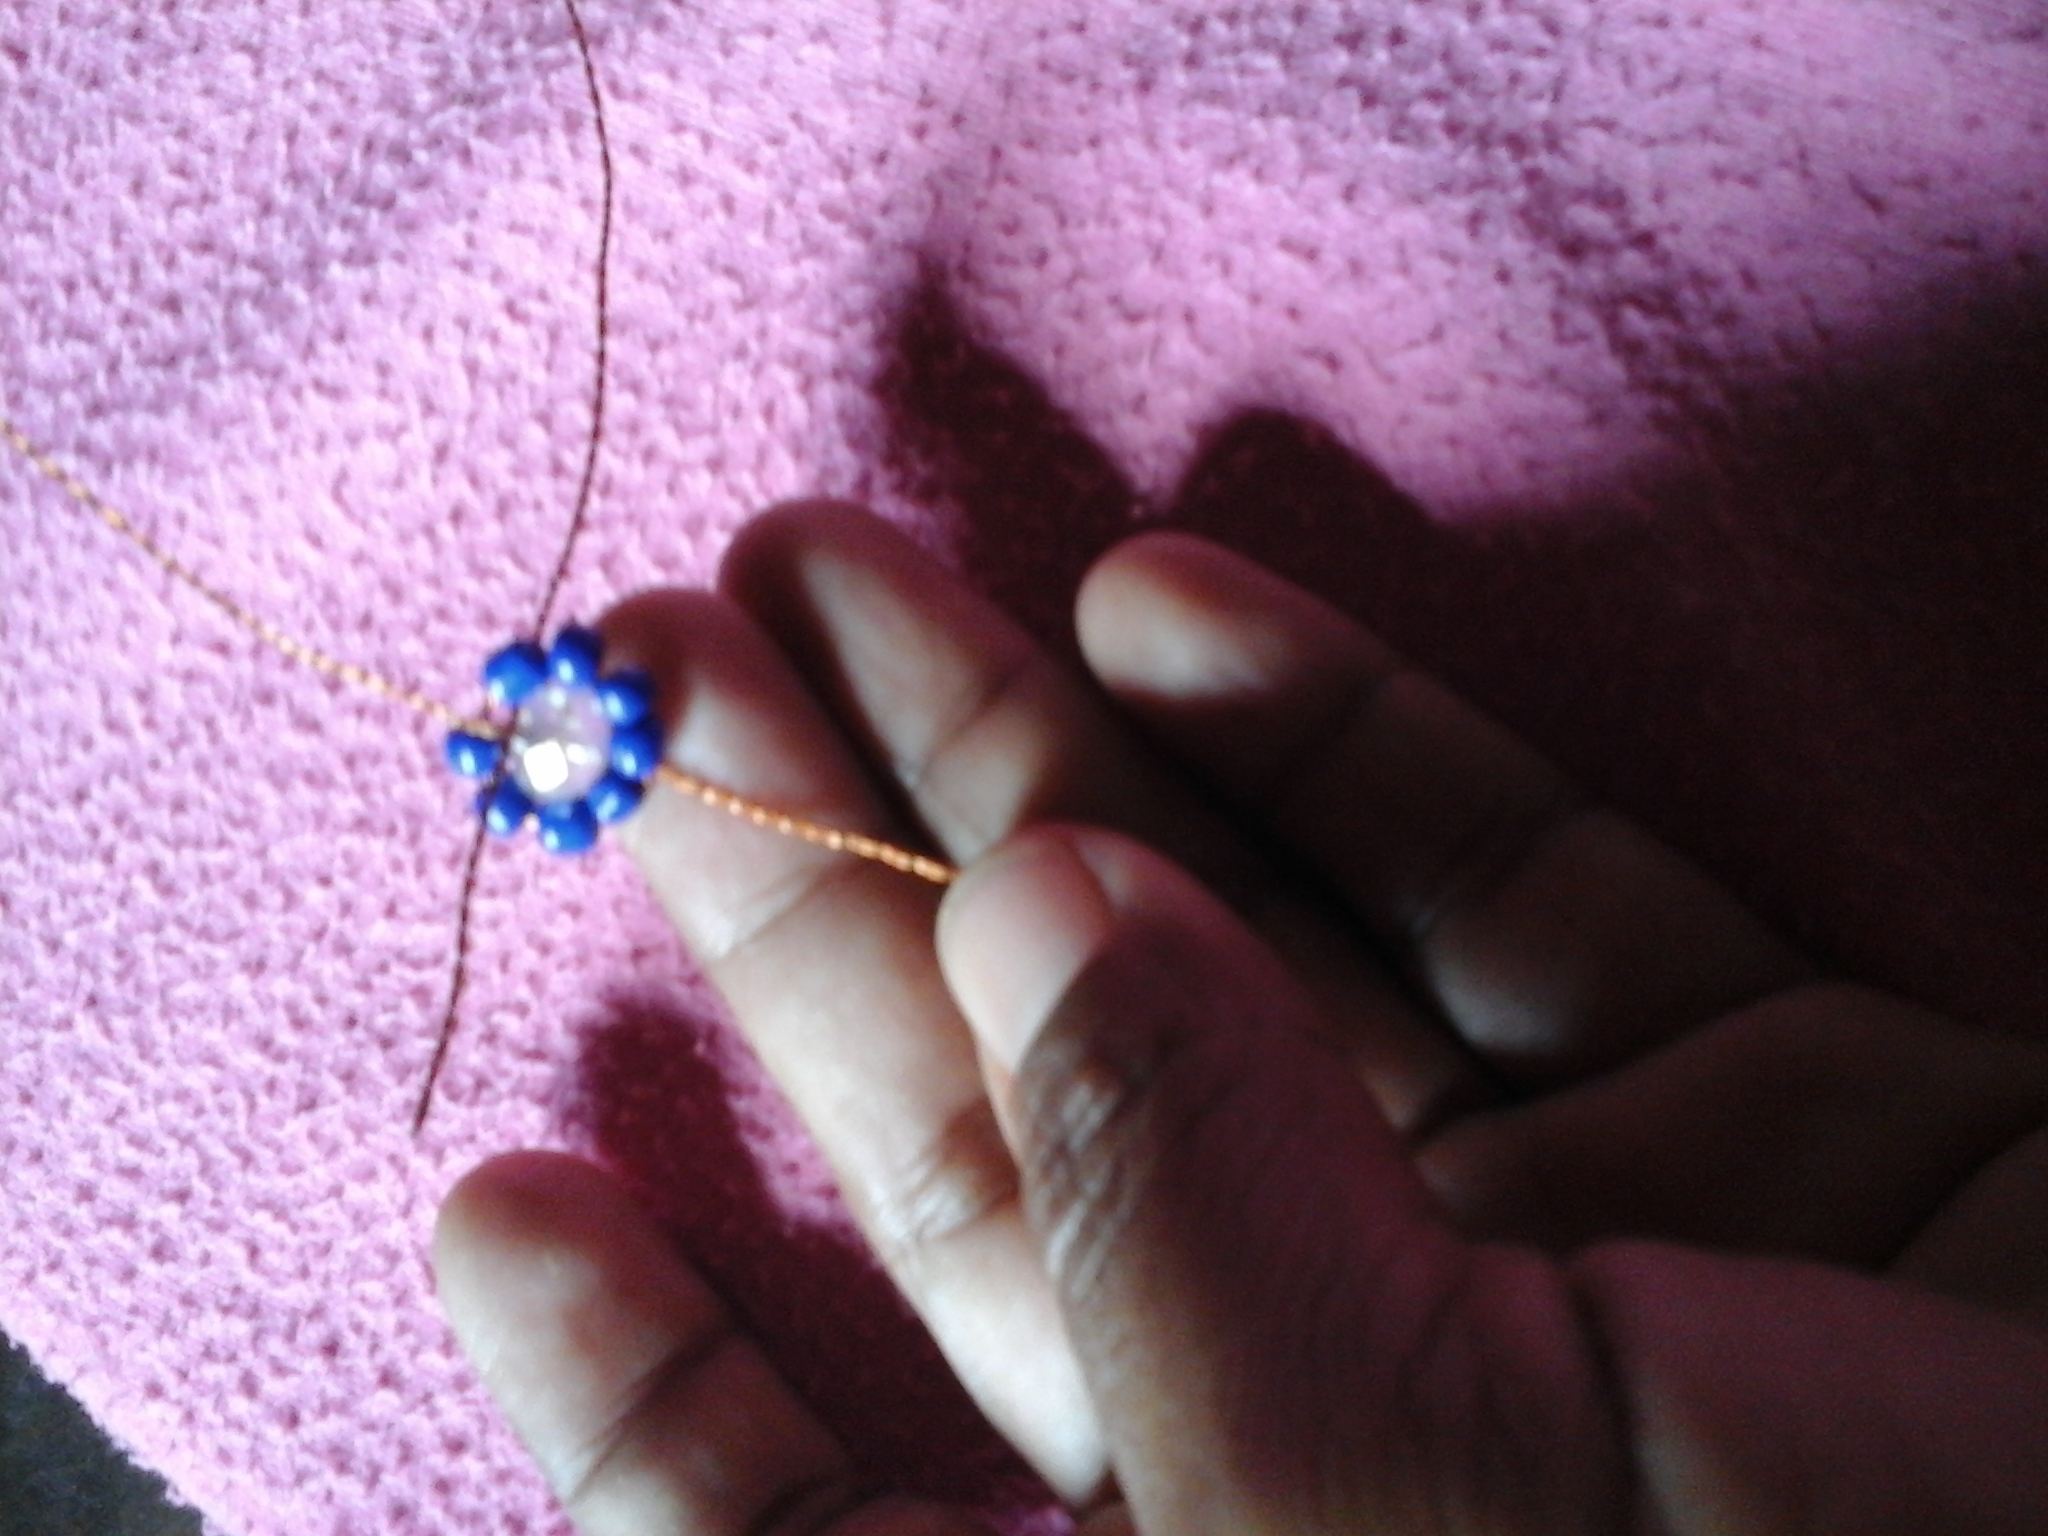
Así hemos elaborado la primera flor, seguimos haciendo la segunda flor, repetimos el procedimiento anterior para hacer dicha flor.
This is how we have made the first flower, we continue making the second flower, we repeat the previous procedure to make said flower.
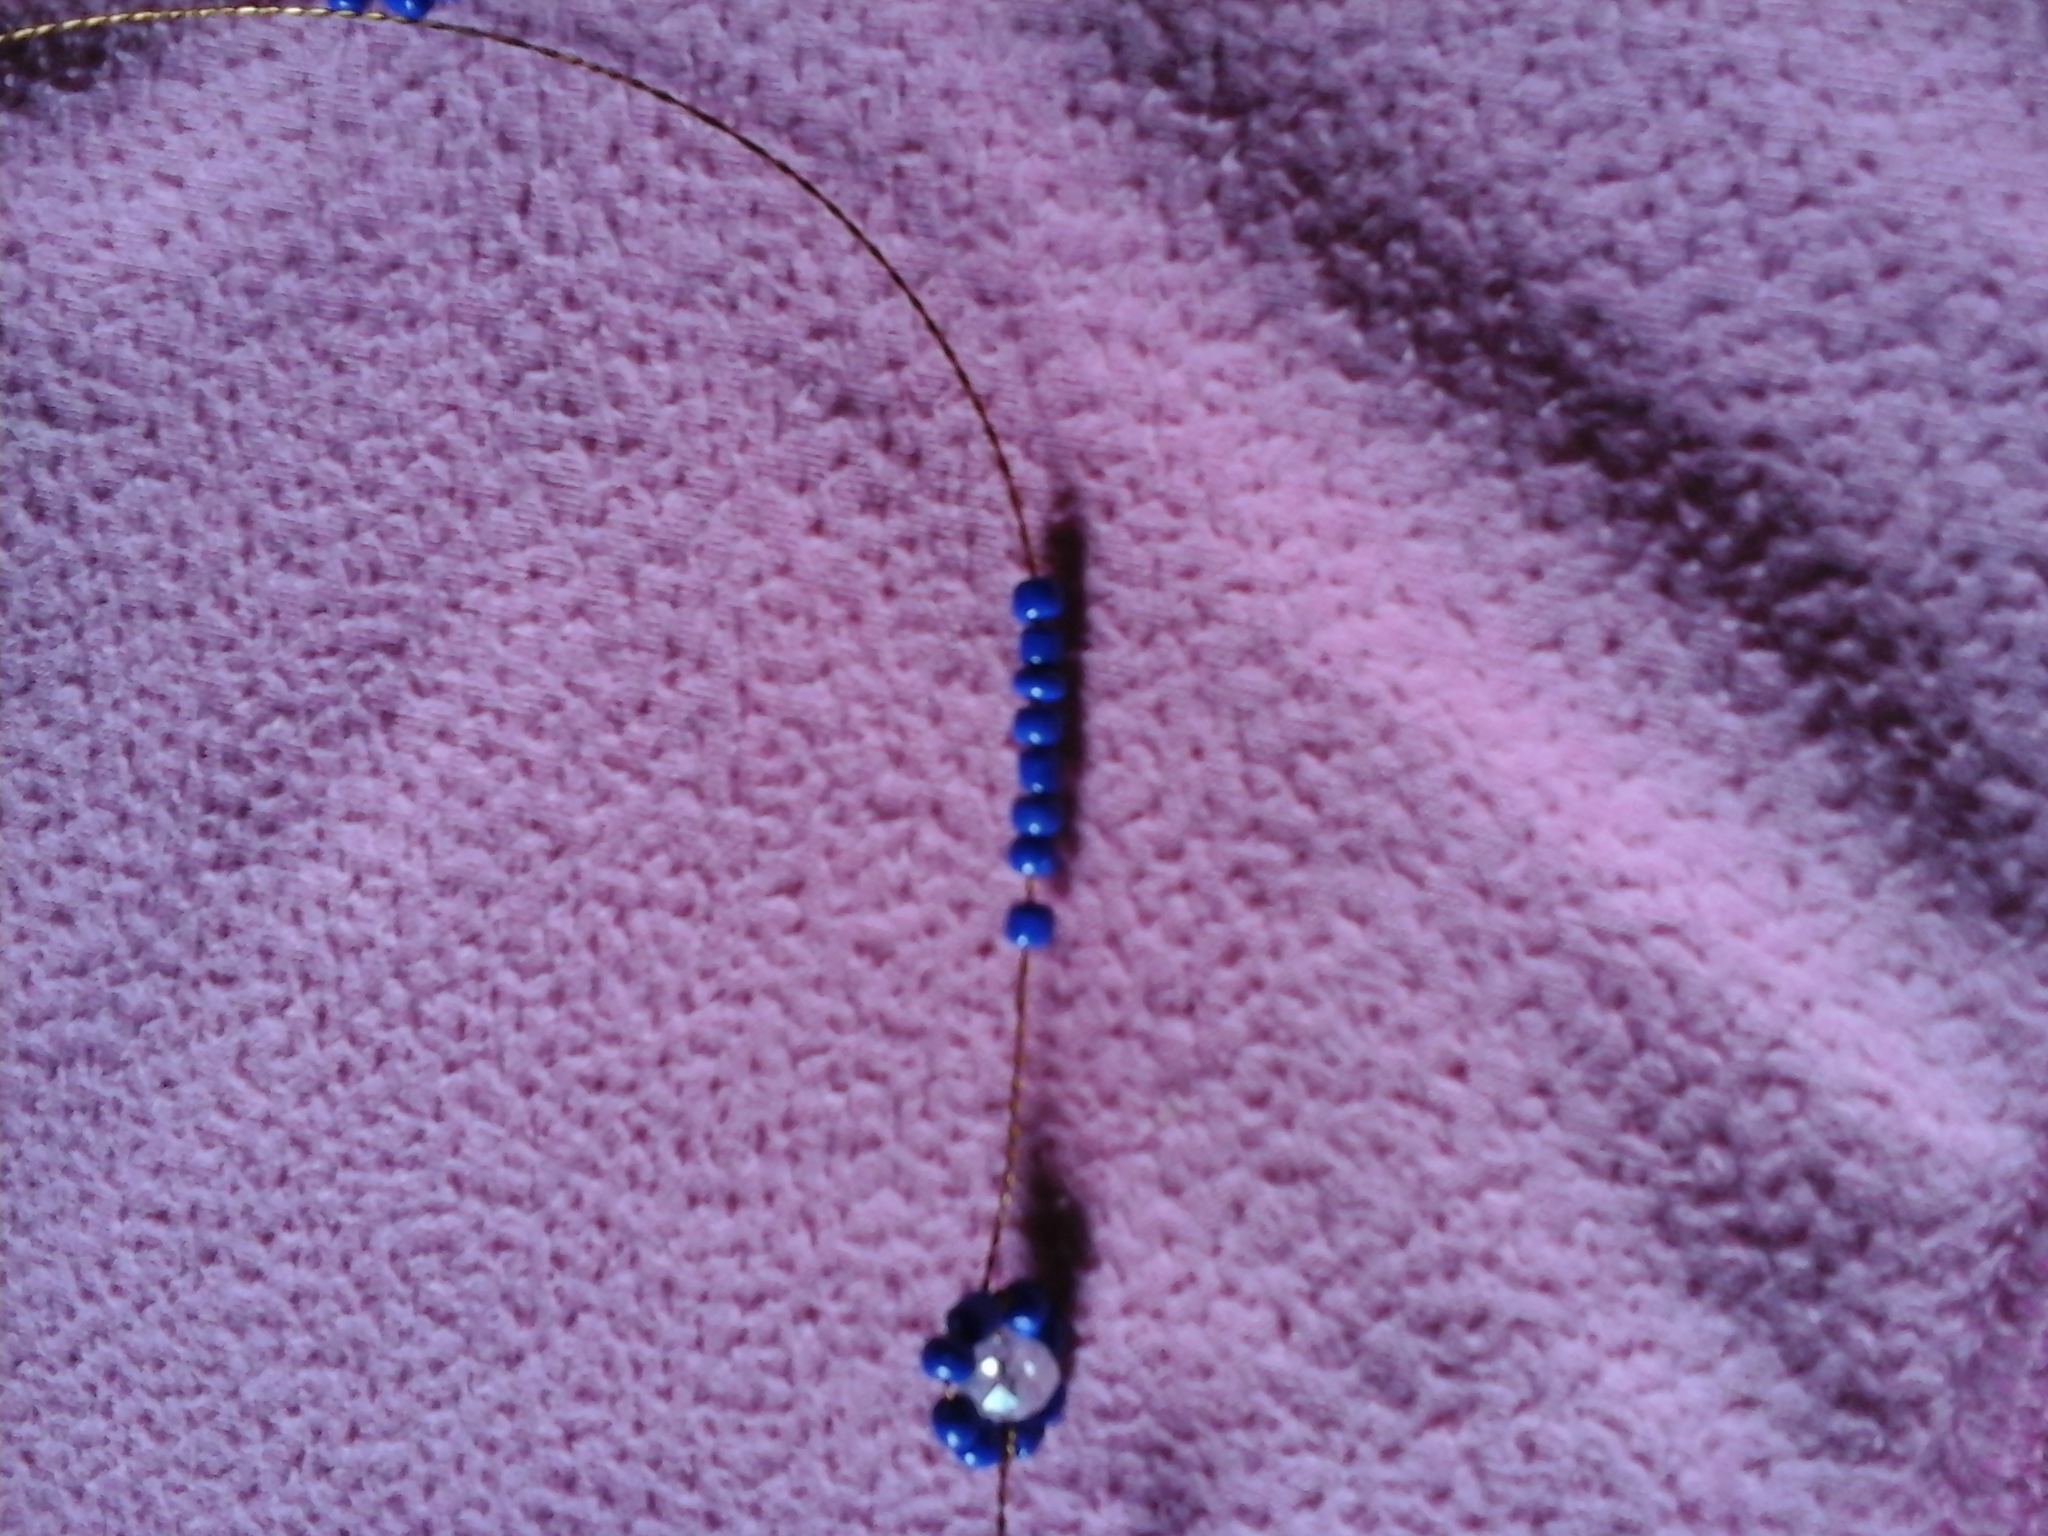
Observen como queda, asi debemos seguir elaborando todas las flores de nuestra gargantilla, es muy fácil de hacer.
Observe how it looks, so we must continue making all the flowers of our necklace, it is very easy to do.
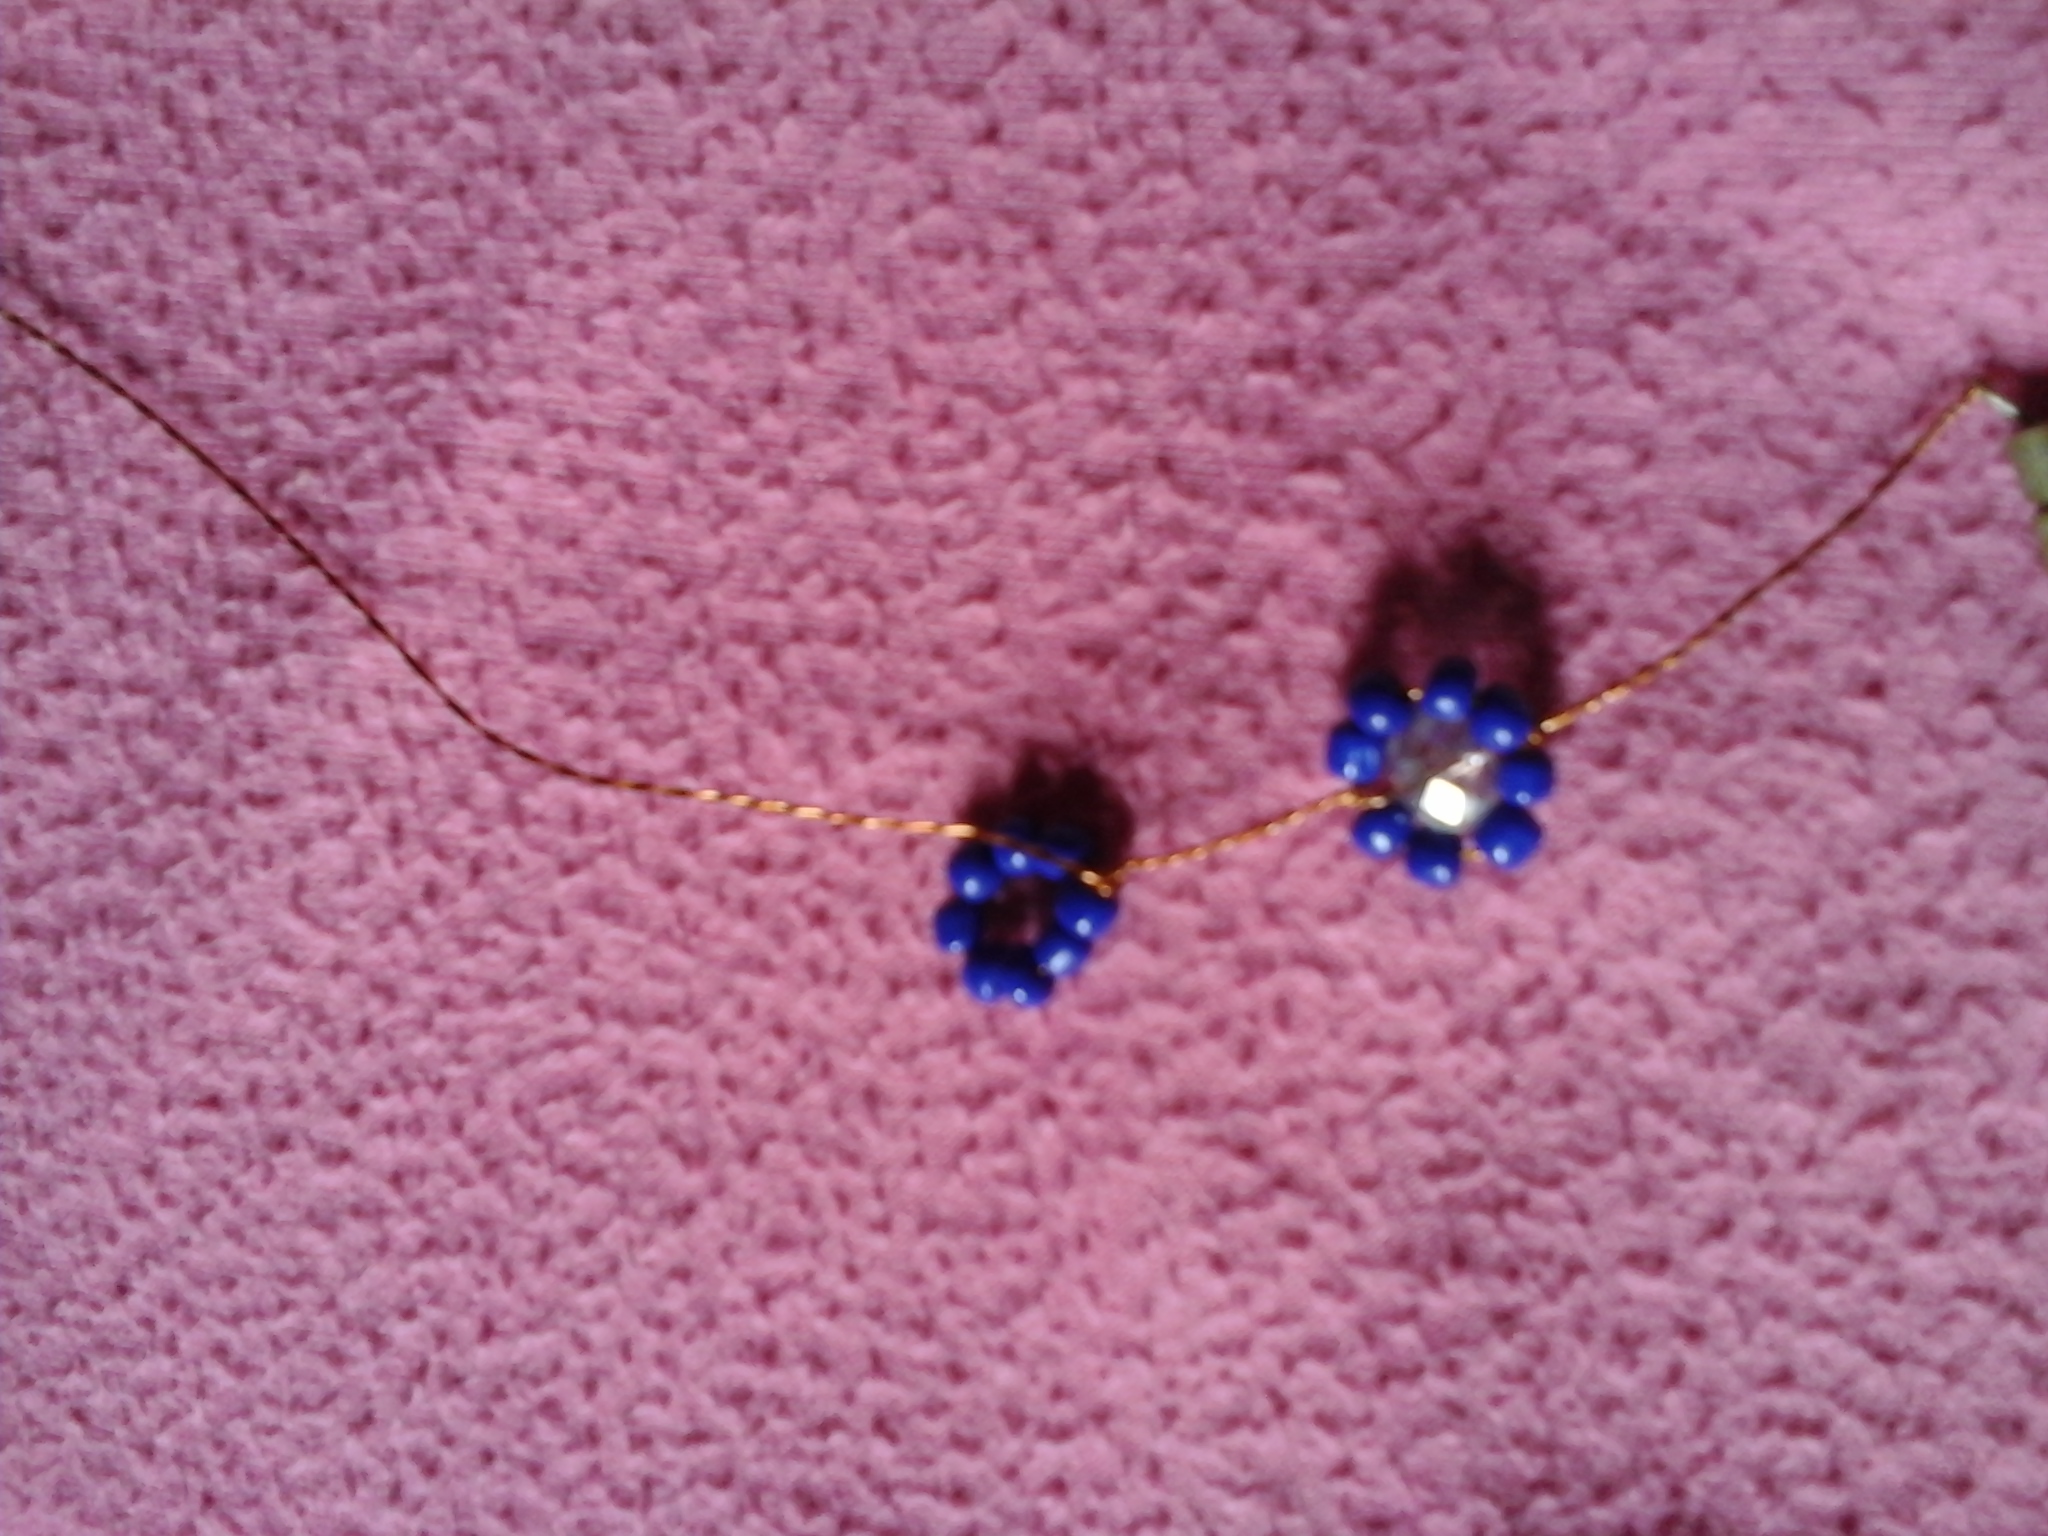
Here I have placed a stone and made the knot, to make this necklace I recommend using thread as it is easier when tying the knots.
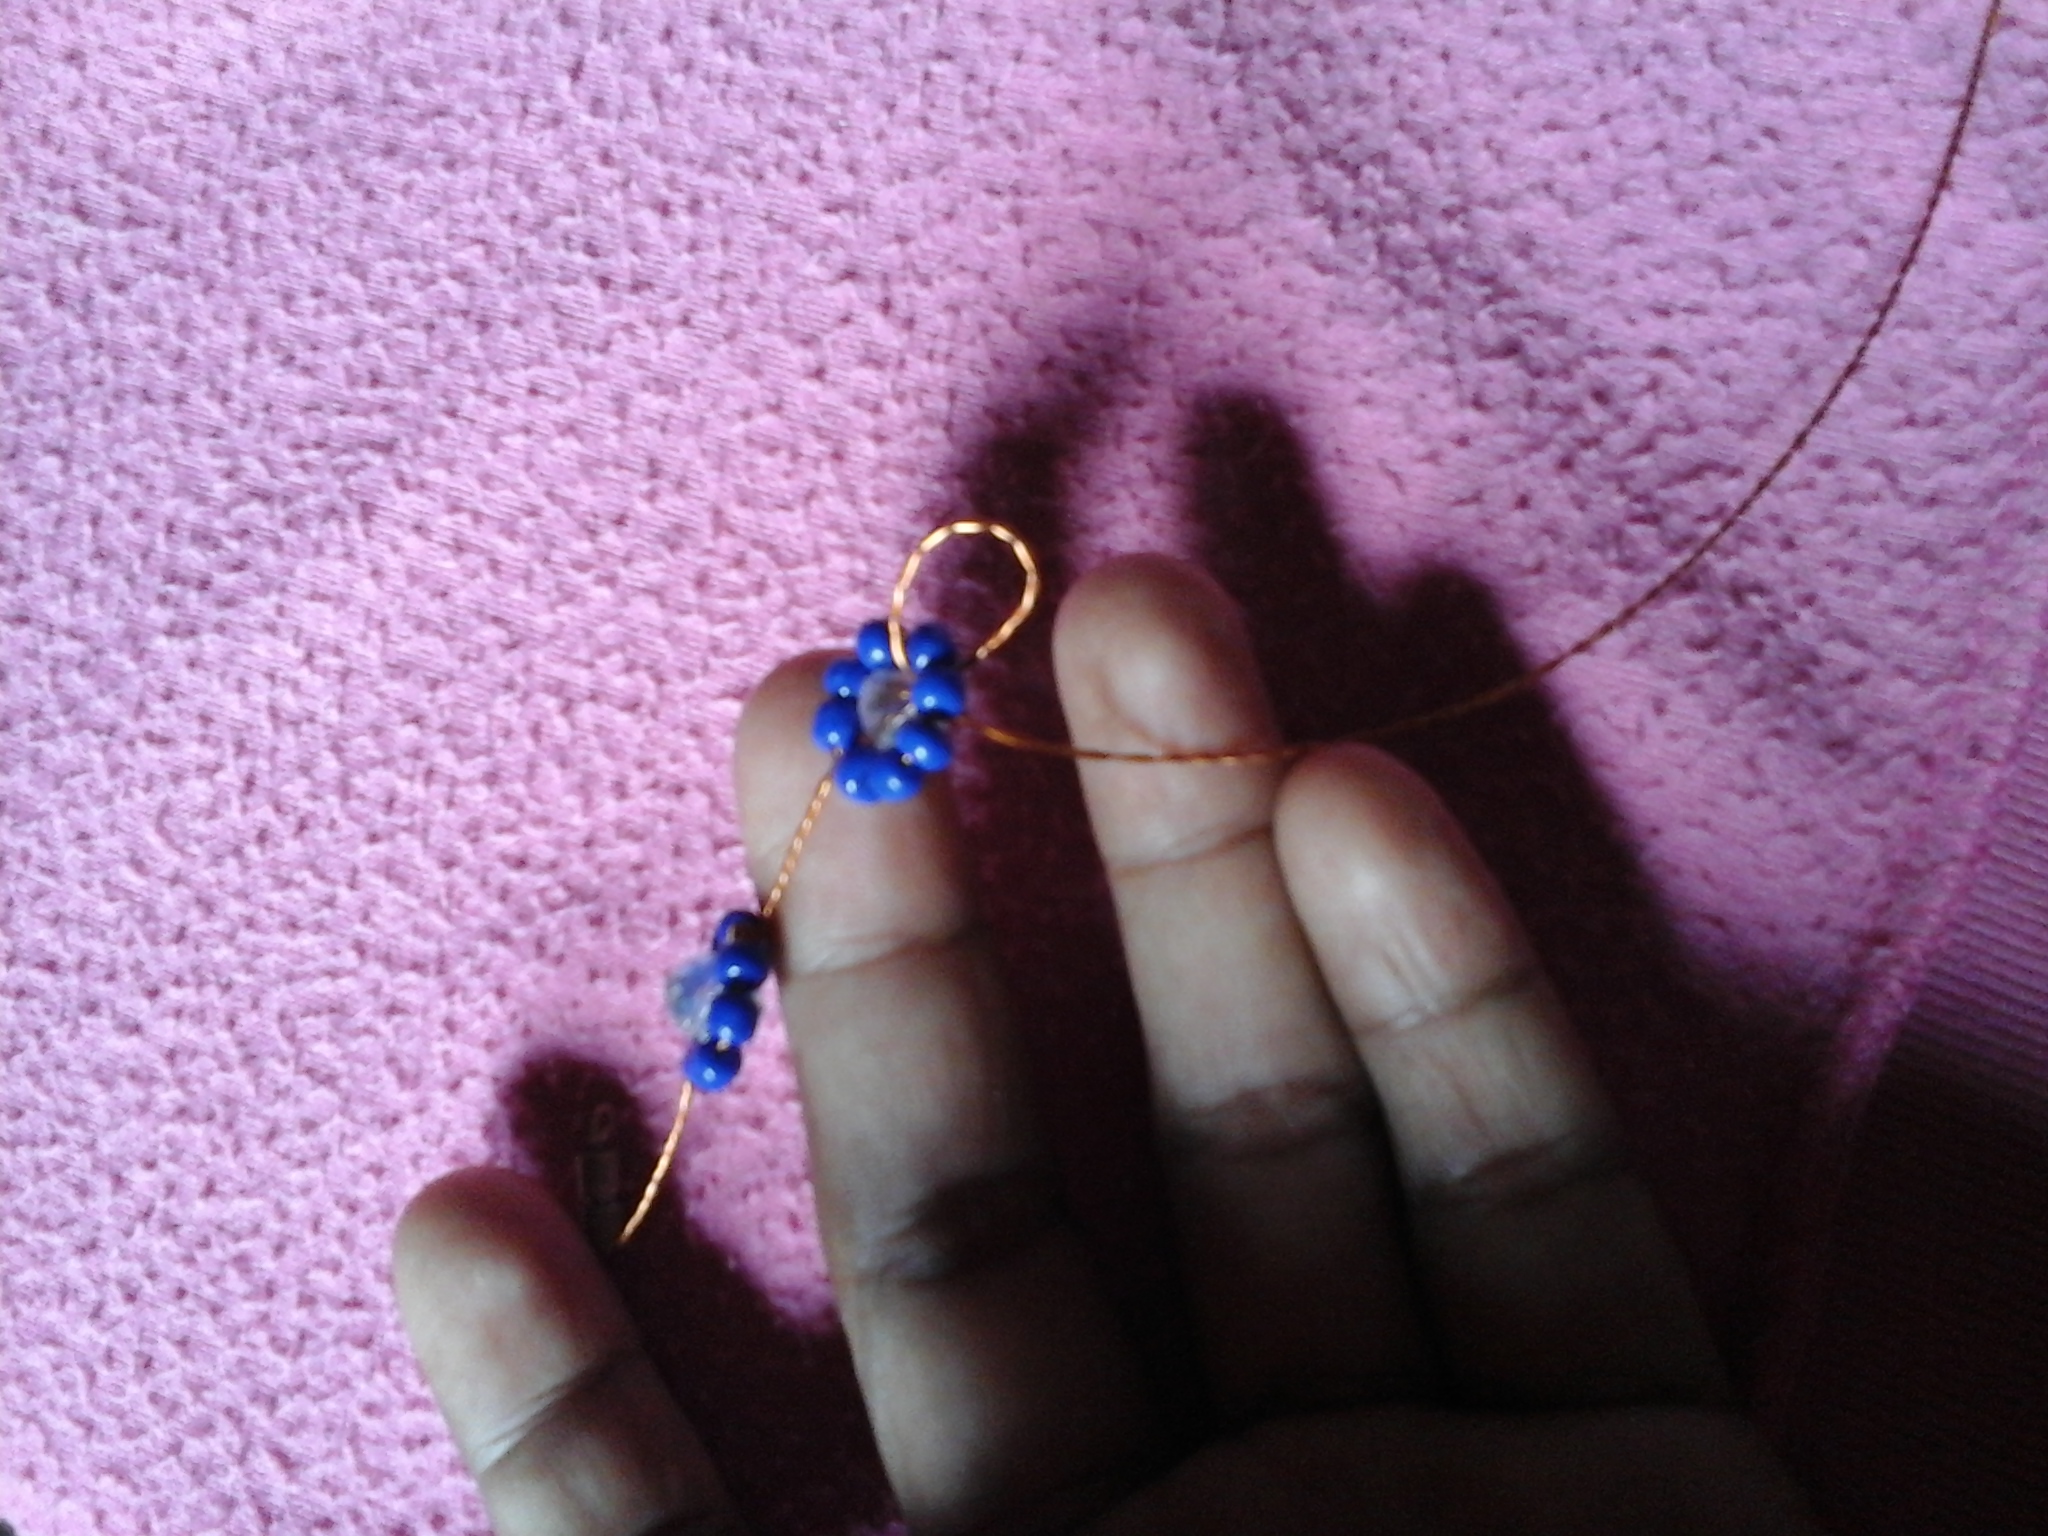
Here I show you the second flower already made, to continue making the following flowers, you have to repeat the same procedure, to make all the flowers of this necklace.
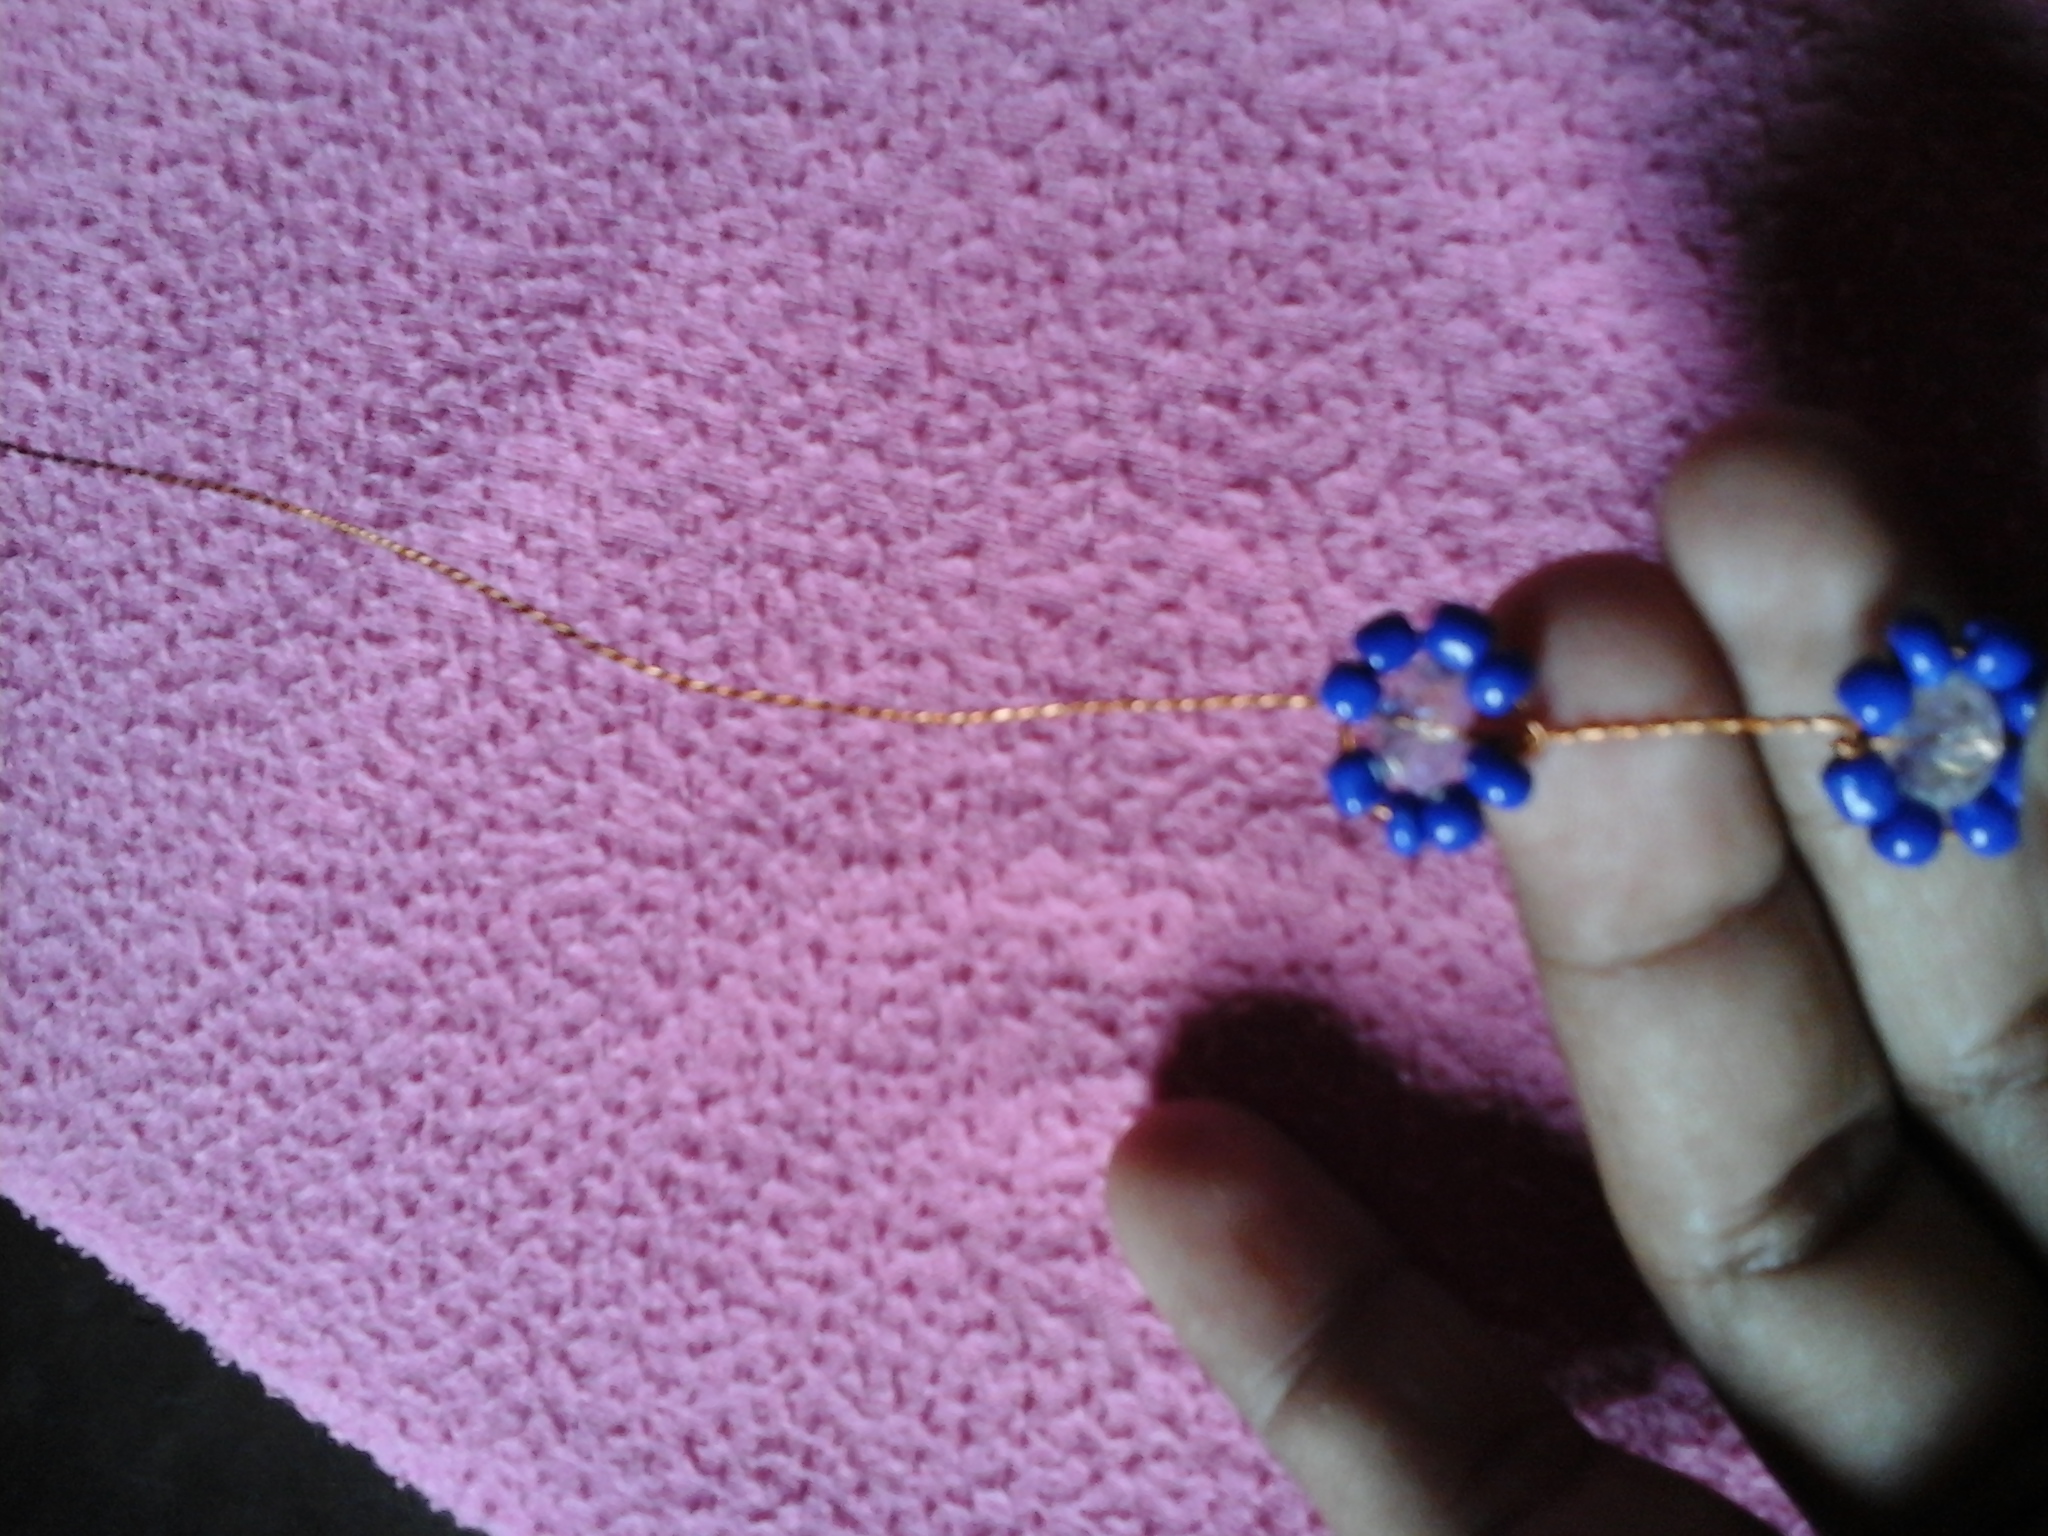
En esta imagen podrán observar una tercera flor que ya he realizado, repetimos el mismo proceso hasta llegar a la última flor.
In this image you can see a third flower that you have already made, we repeat the same process until we reach the last flower.
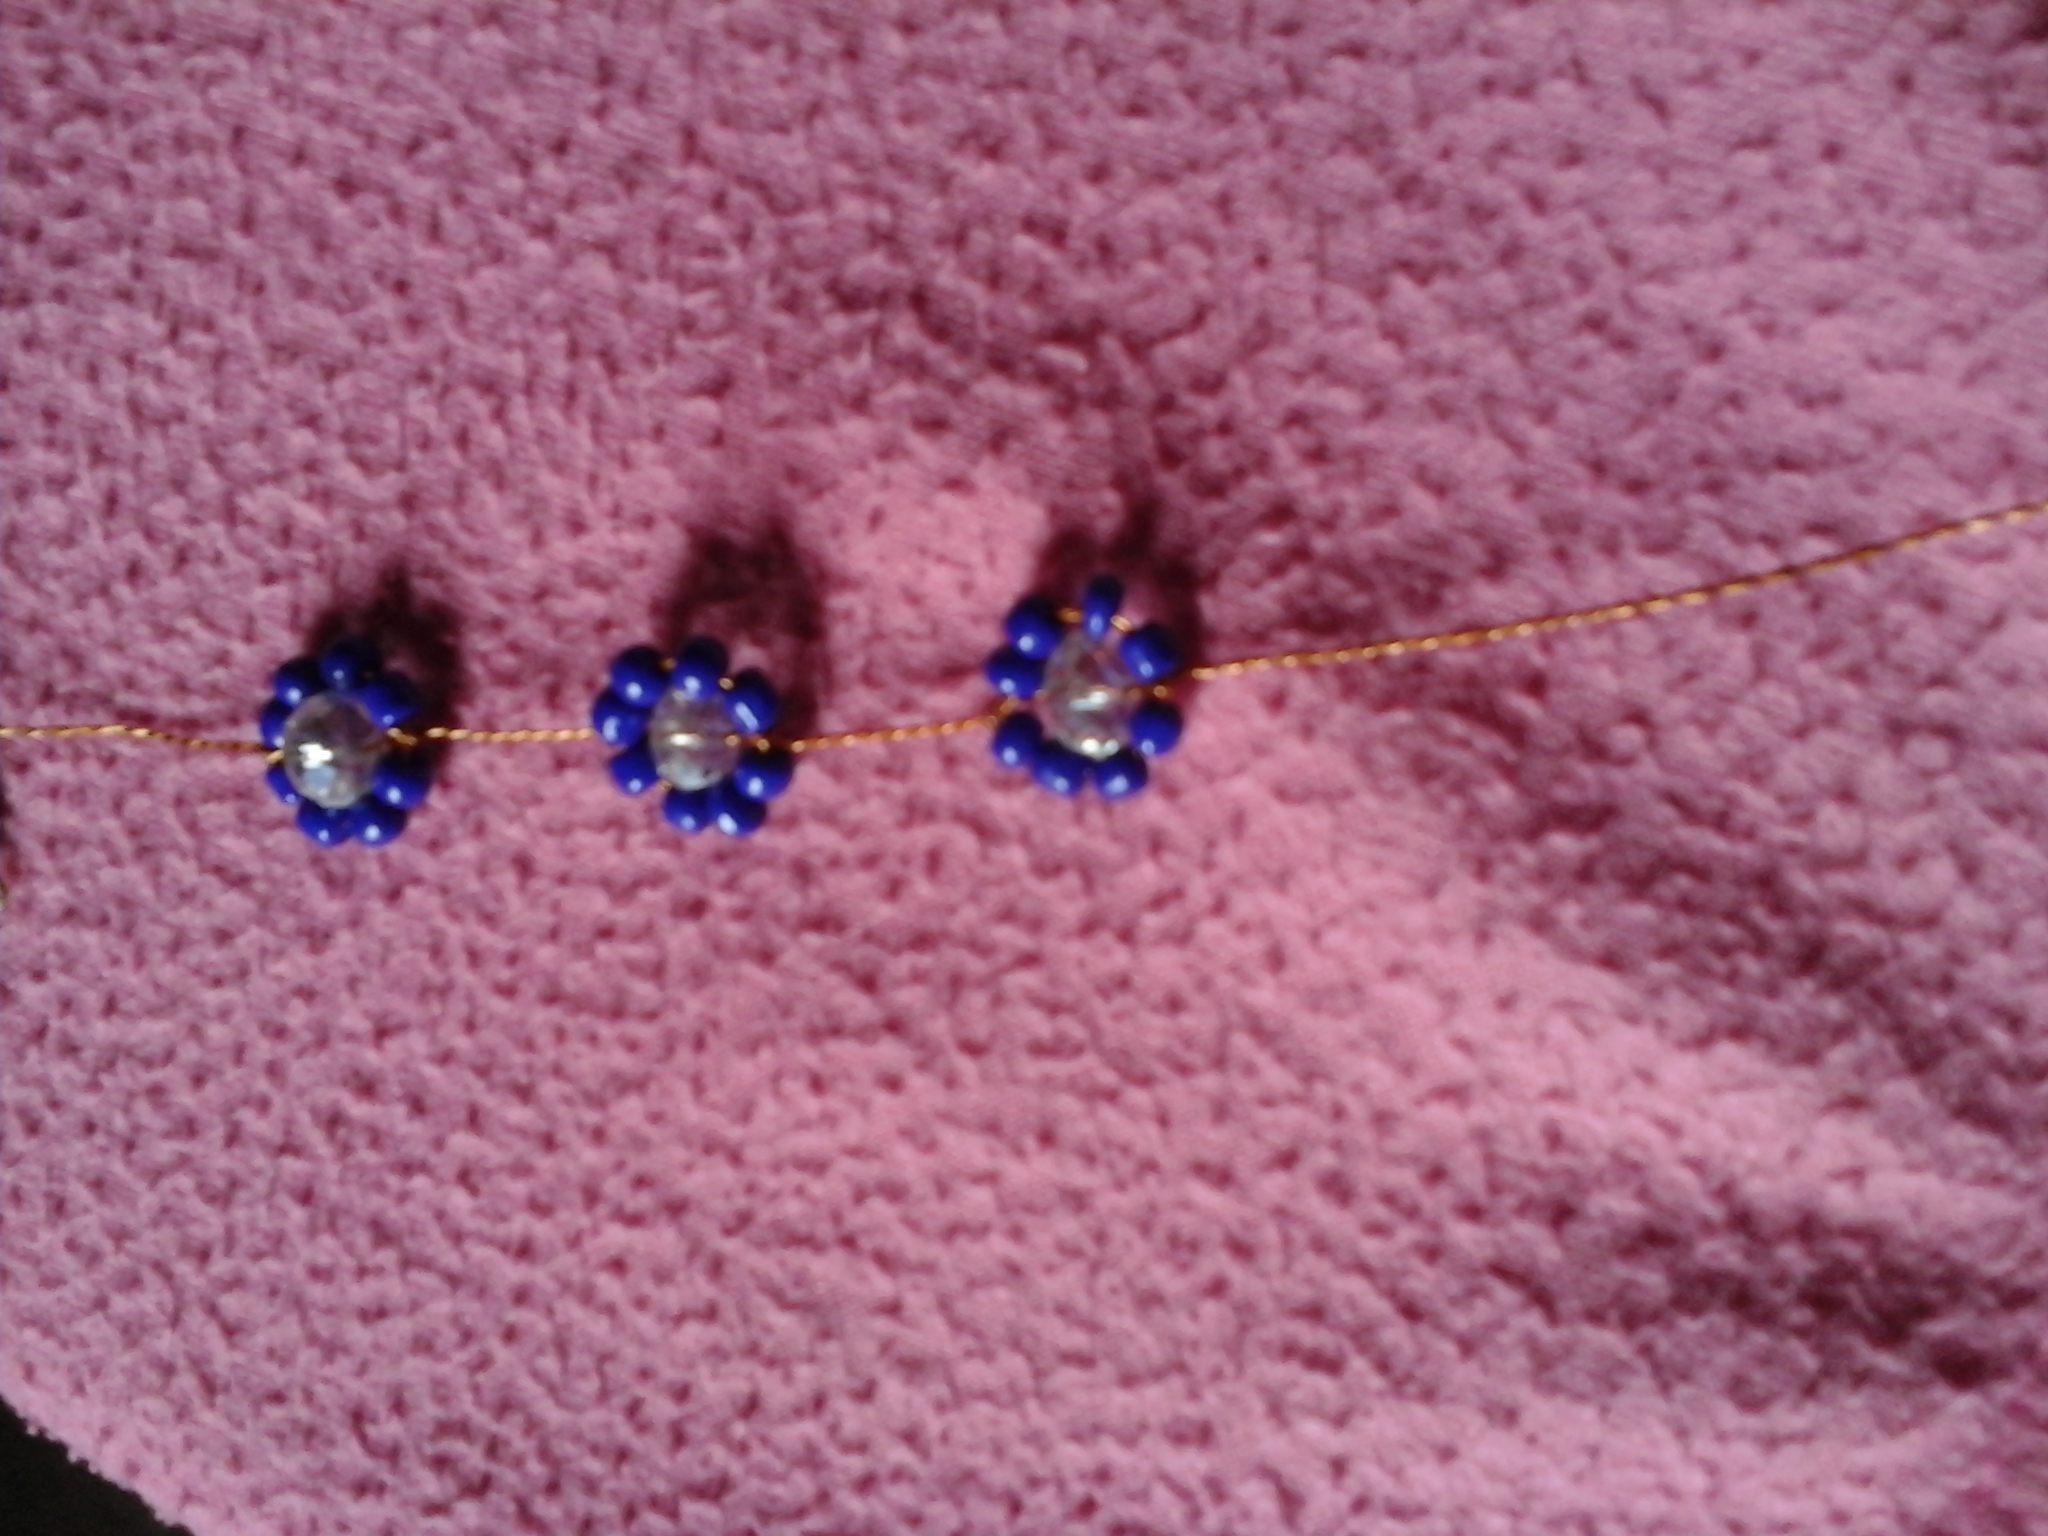
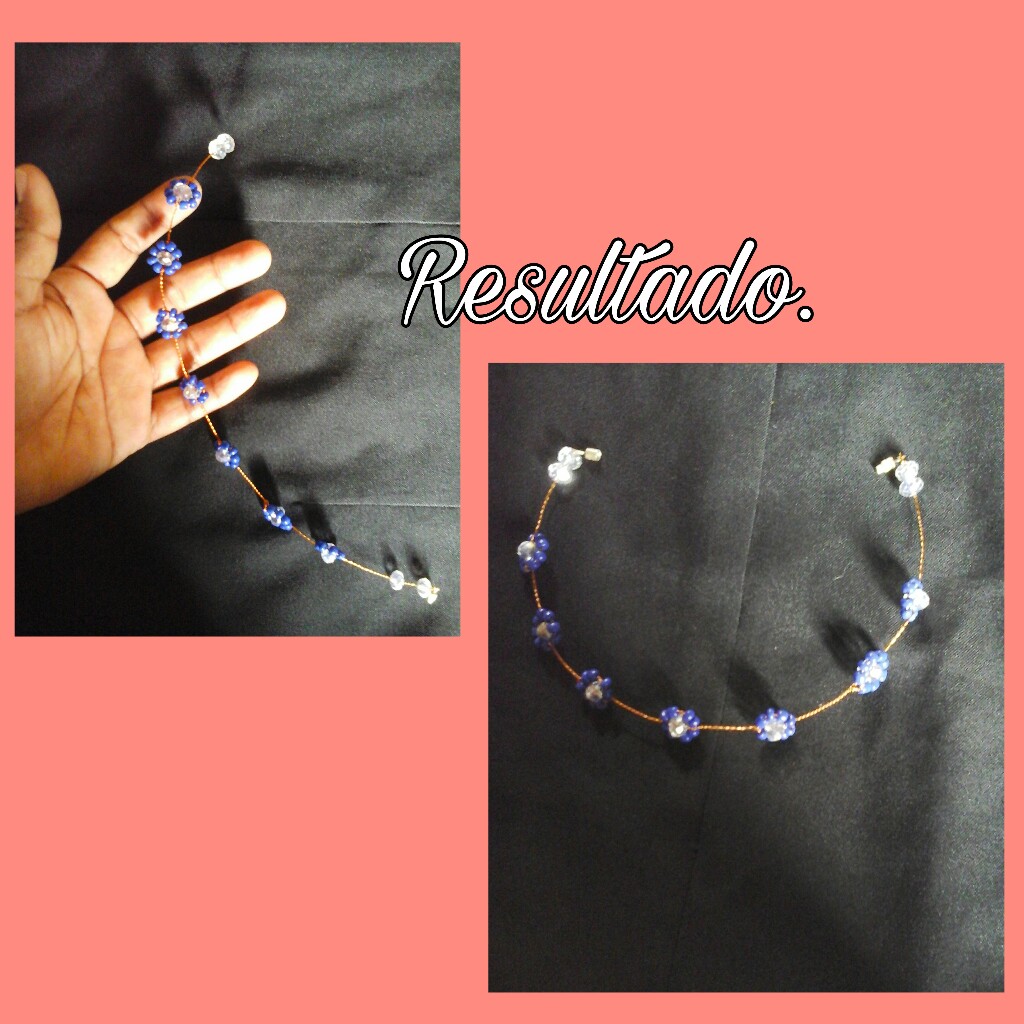
Finally here we have finished with all these beautiful and simple flowers that make up this necklace, to finish we place two swarosvki stones and place the clasp to close it.
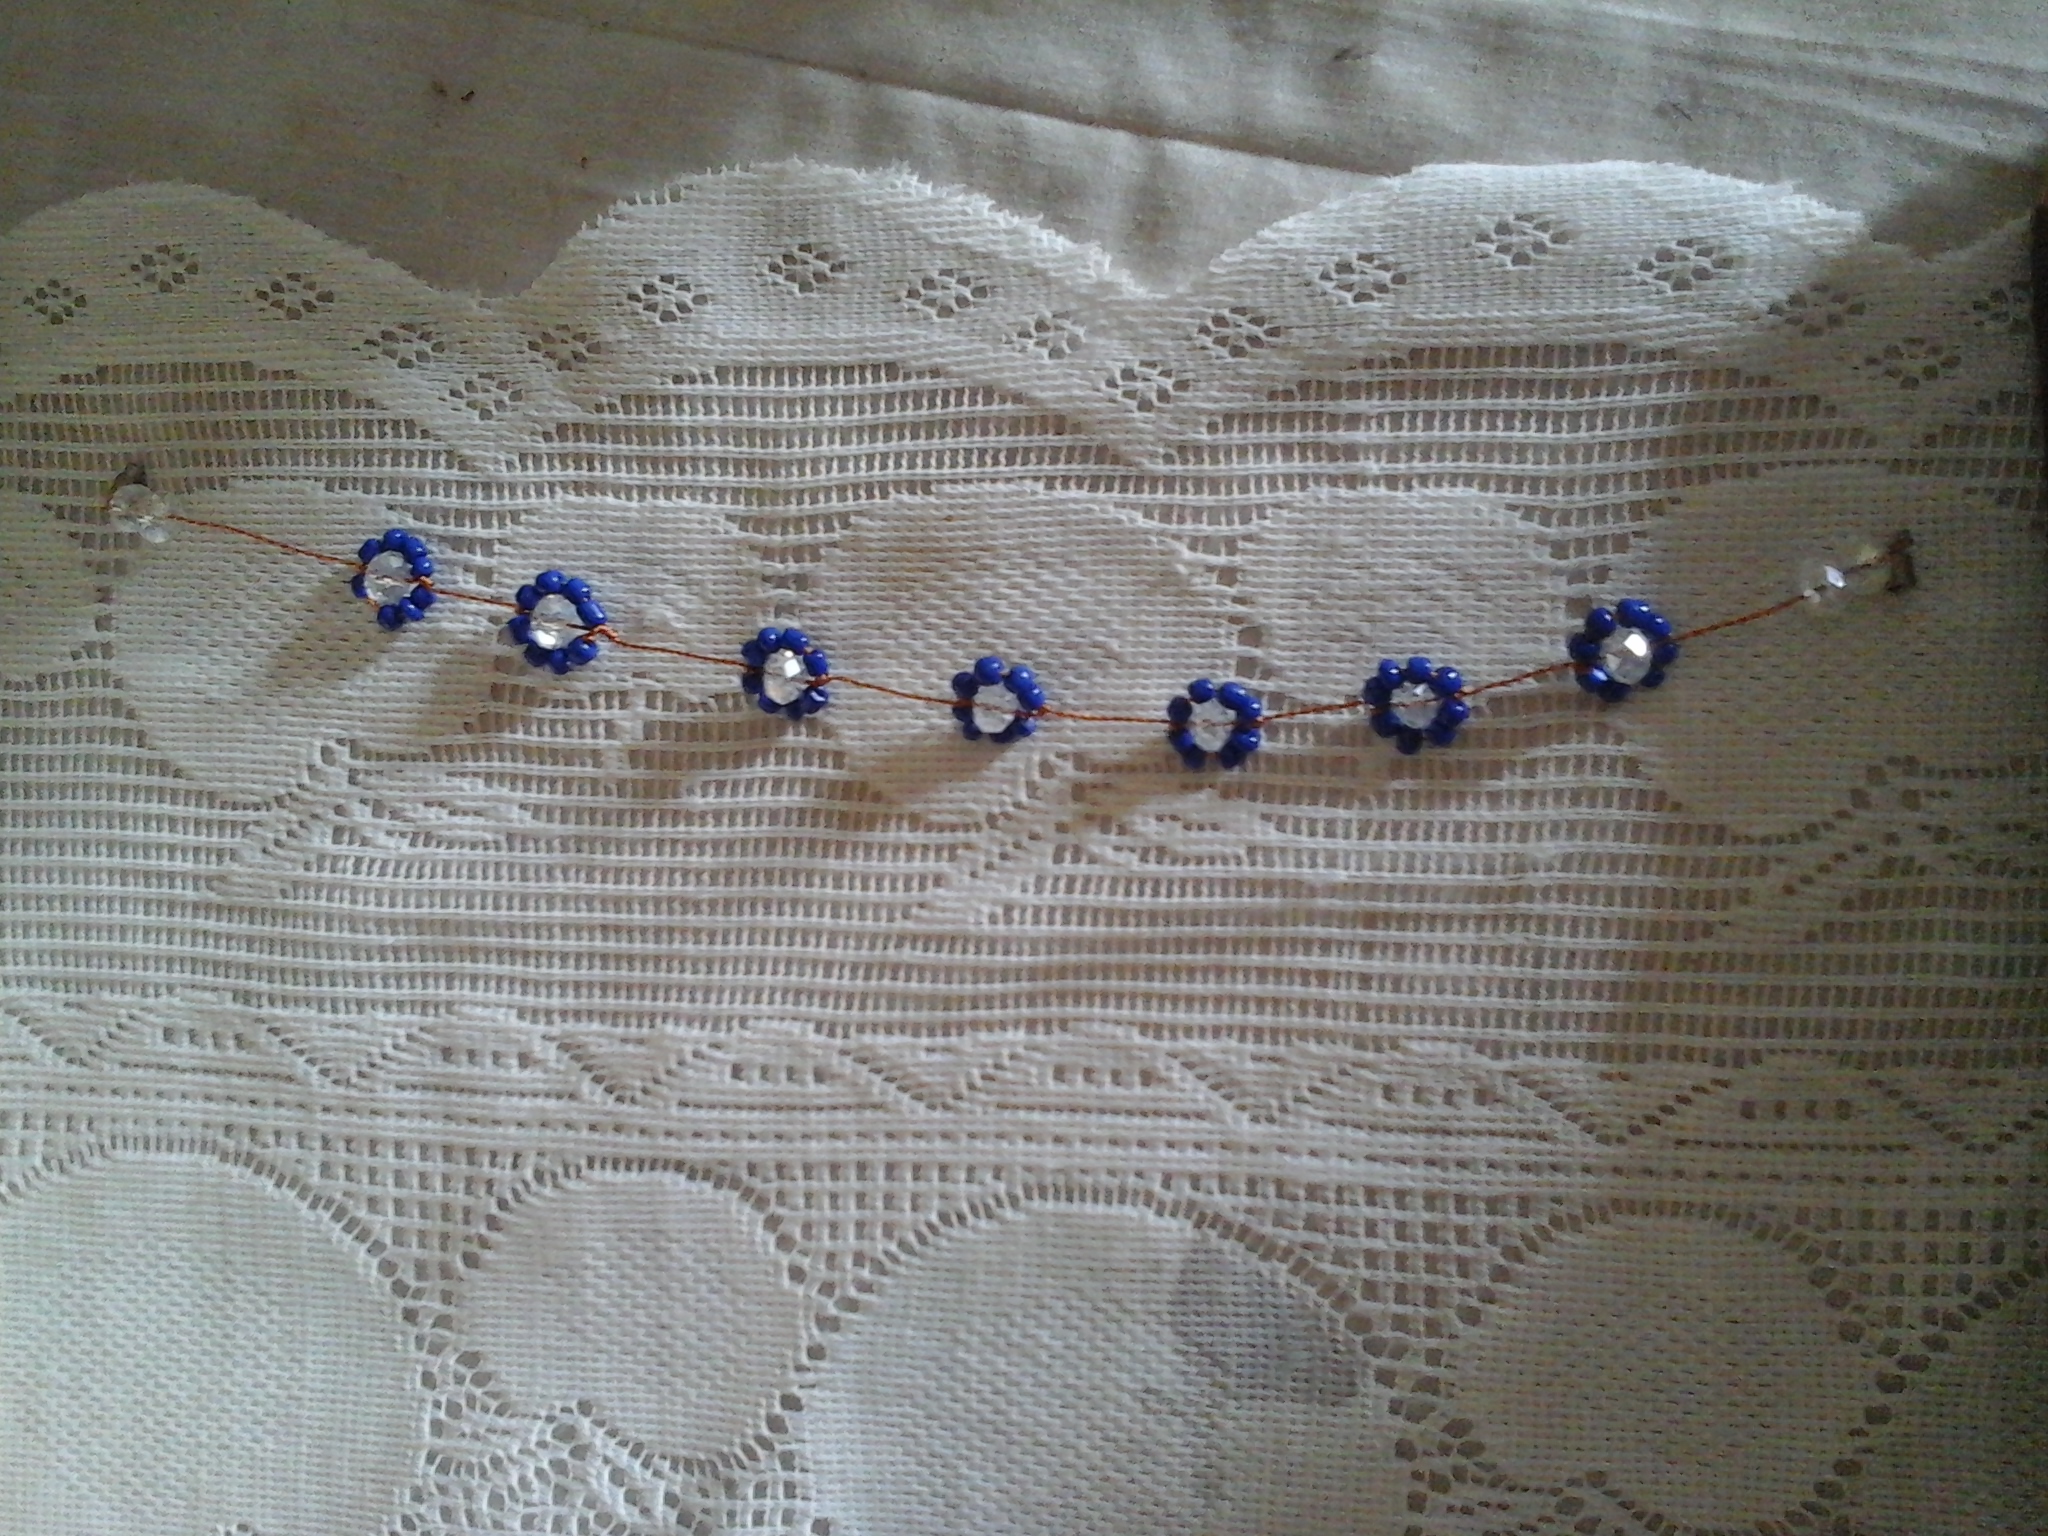
Friends, I am fascinated to be able to finish this beautiful work and see the result. I hope you like the final result and that you are also encouraged to make one like this with the color of your choice, so it is ready to wear preferably at night.
Grateful to everyone for reading until the end, I hope we will read each other again in a new and very creative tutorial. Until next time! take care of yourselves!😙
¡Gracias por visitar mi blog!.
Thank you for visiting my blog!.
Todo el contenido es de mi autoria, las fotos fueron capturadas por mi tablet Samsung galaxy, editadas por aplicación picsart.
Traductor utilizado Google.com.
All the content is my authorship, the photos were captured by my Samsung galaxy tablet, edited by picsart application.
Translator used Google.com.
Que hermosa, el paso a paso bien explicado, me encanta el color.
Si, muchas gracias! saludos y bendiciones
¡Enhorabuena!
✅ Has hecho un buen trabajo, por lo cual tu publicación ha sido valorada y ha recibido el apoyo de parte de CHESS BROTHERS ♔ 💪
♟ Te invitamos a usar nuestra etiqueta #chessbrothers y a que aprendas más sobre nosotros.
♟♟ También puedes contactarnos en nuestro servidor de Discord y promocionar allí tus publicaciones.
♟♟♟ Considera unirte a nuestro trail de curación para que trabajemos en equipo y recibas recompensas automáticamente.
♞♟ Echa un vistazo a nuestra cuenta @chessbrotherspro para que te informes sobre el proceso de curación llevado a diario por nuestro equipo.
🥇 Si quieres obtener ganancias con tu delegacion de HP y apoyar a nuestro proyecto, te invitamos a unirte al plan Master Investor. Aquí puedes aprender cómo hacerlo.
Cordialmente
El equipo de CHESS BROTHERS
muchas gracias