[ENG- ESP] Elegant tendrils in the shape of a wire fan / Elegantes zarcillos con forma de abanico alambrismo /@alexanderflx
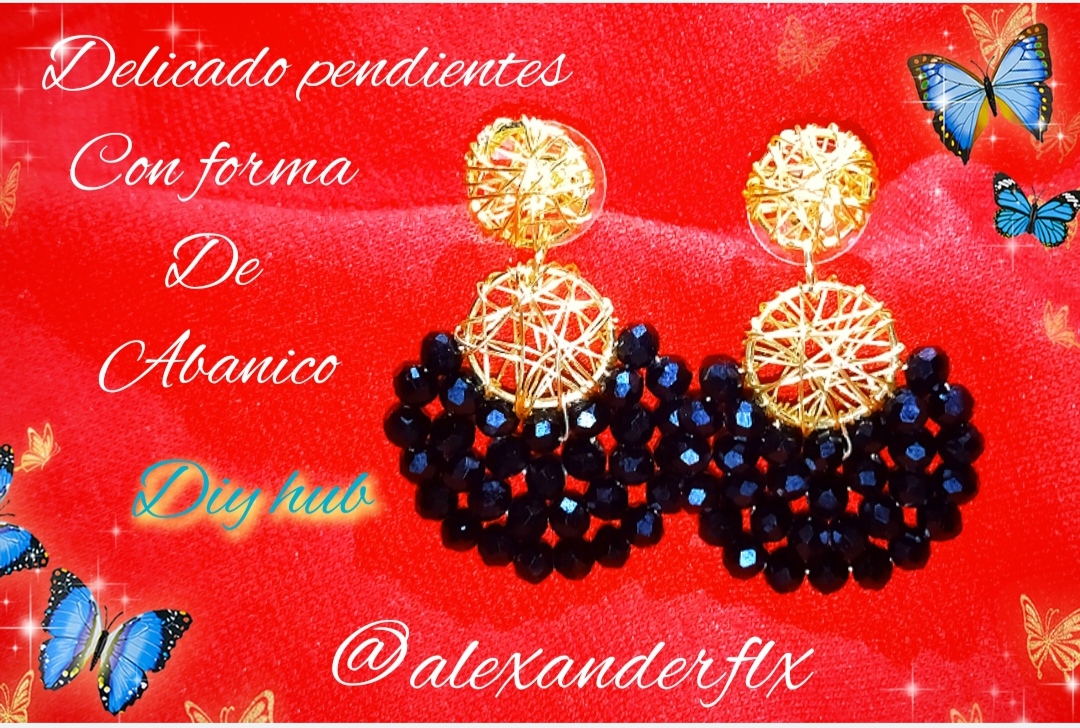
Hello everyone, I hope you are well and you are having a beautiful weekend. Yesterday I had a great time, it was a beautiful day and today I am also having a great time, on this beautiful night I want to share some beautiful earrings in the shape of fan are made with black crystals so that they can be used with any garment they are also made with the technique that cannot be missing the beautiful technique of wire rope I hope you like it they are made with a lot of love, well without further ado we will go step by step
Hola a todos espero se encuentres bien y estén pasando un hermoso fin de semana yo el día de ayer la pase súper fue un hermoso día y hoy también la estoy pasando muy bien, en esta hermosa noche les quiero compartir unos hermosos pendientes con forma de abanico están echos con cristales negros para que lo puedan usar con cualquier prenda también están echo con la técnica que no puede faltan la hermosa técnica de alambrismo espero les guste están echo con mucho cariño, bueno sin más que decir pasaremos al paso a paso
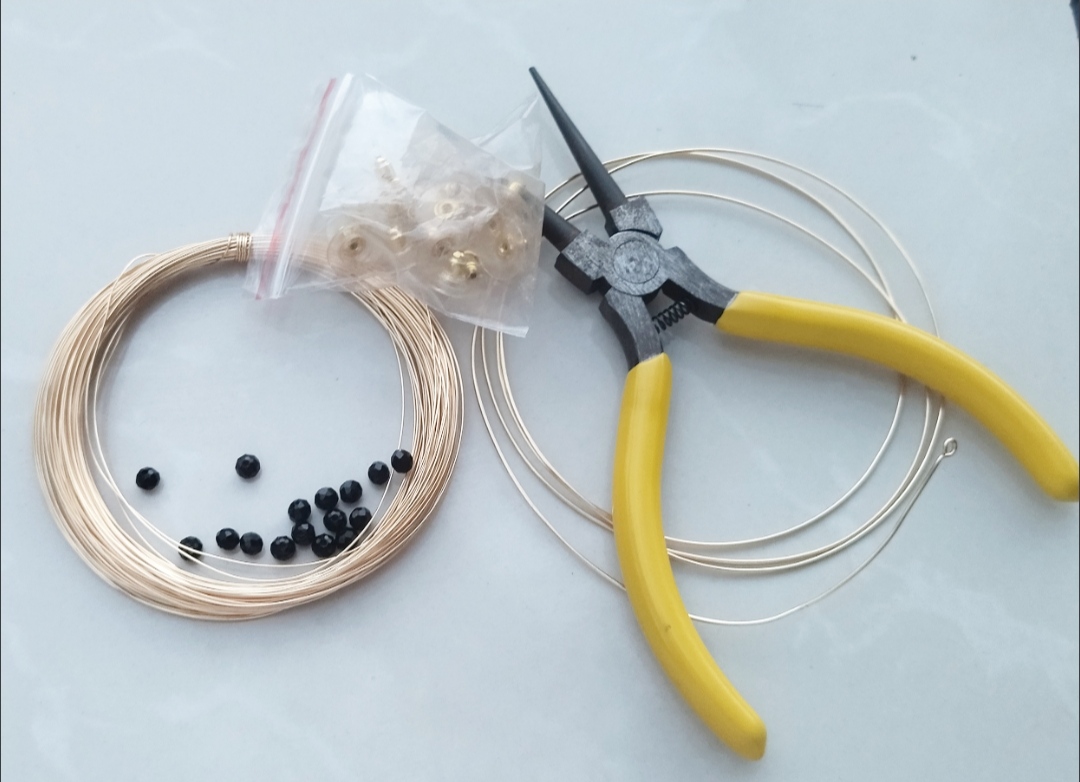
- 20 gauge jewelry wire.
- 26 gauge jewelry wire.
- jewelry tweezers.
- Jewelery stones
Que necesitamos .
Alambre de bisuteria calibre 20
Alambre de bisuteria calibre 26.
pinzas de bisutería.
Piedras de bisutería
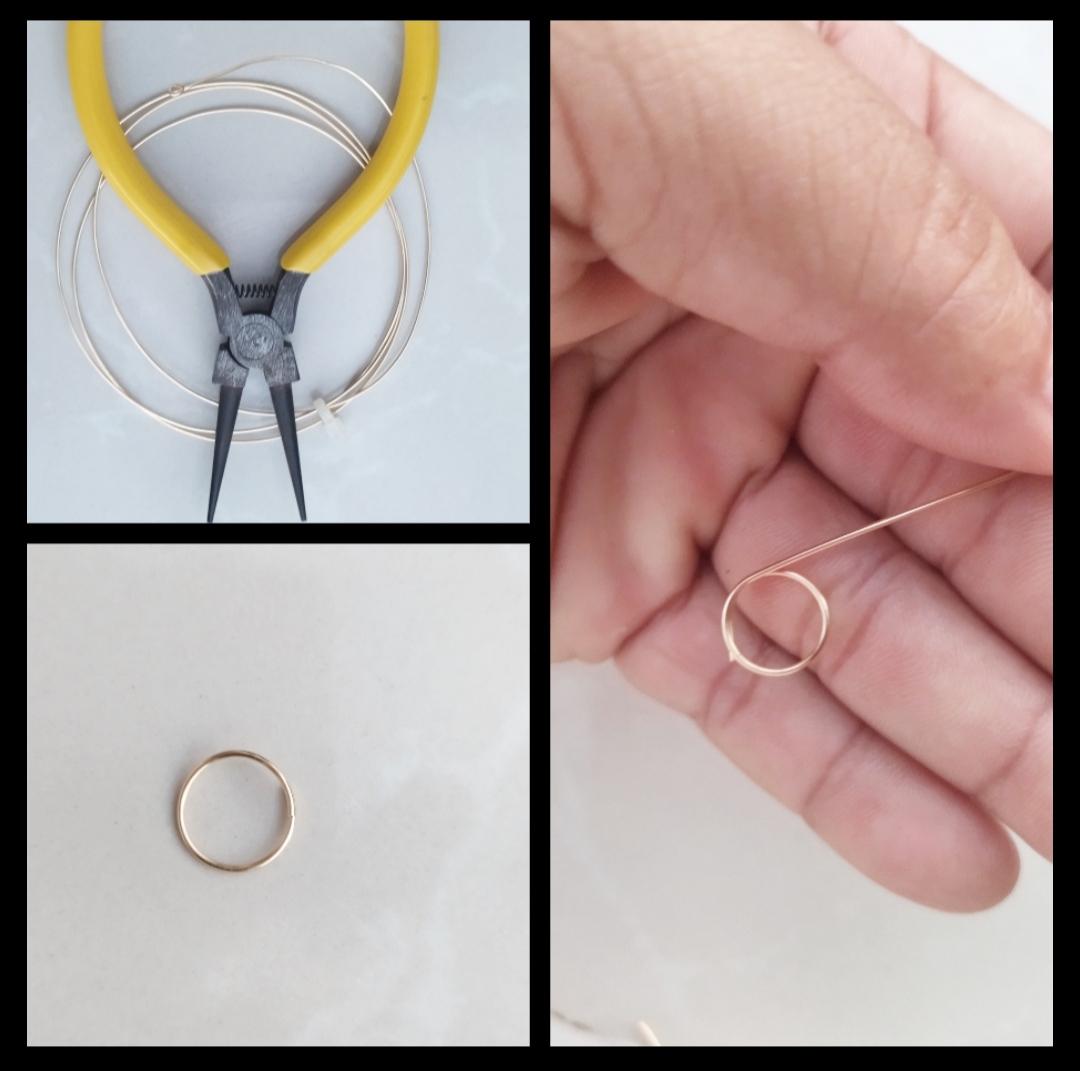
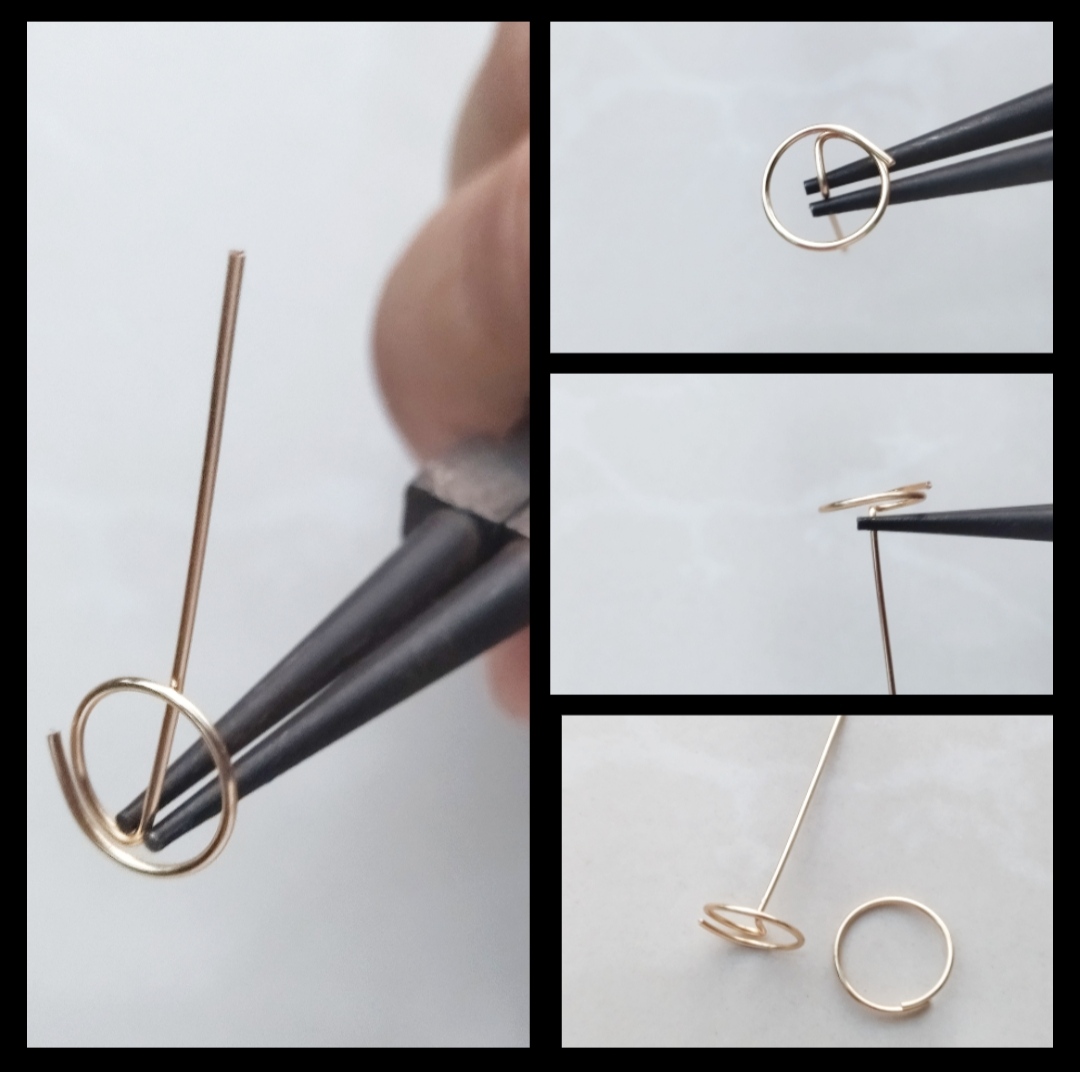
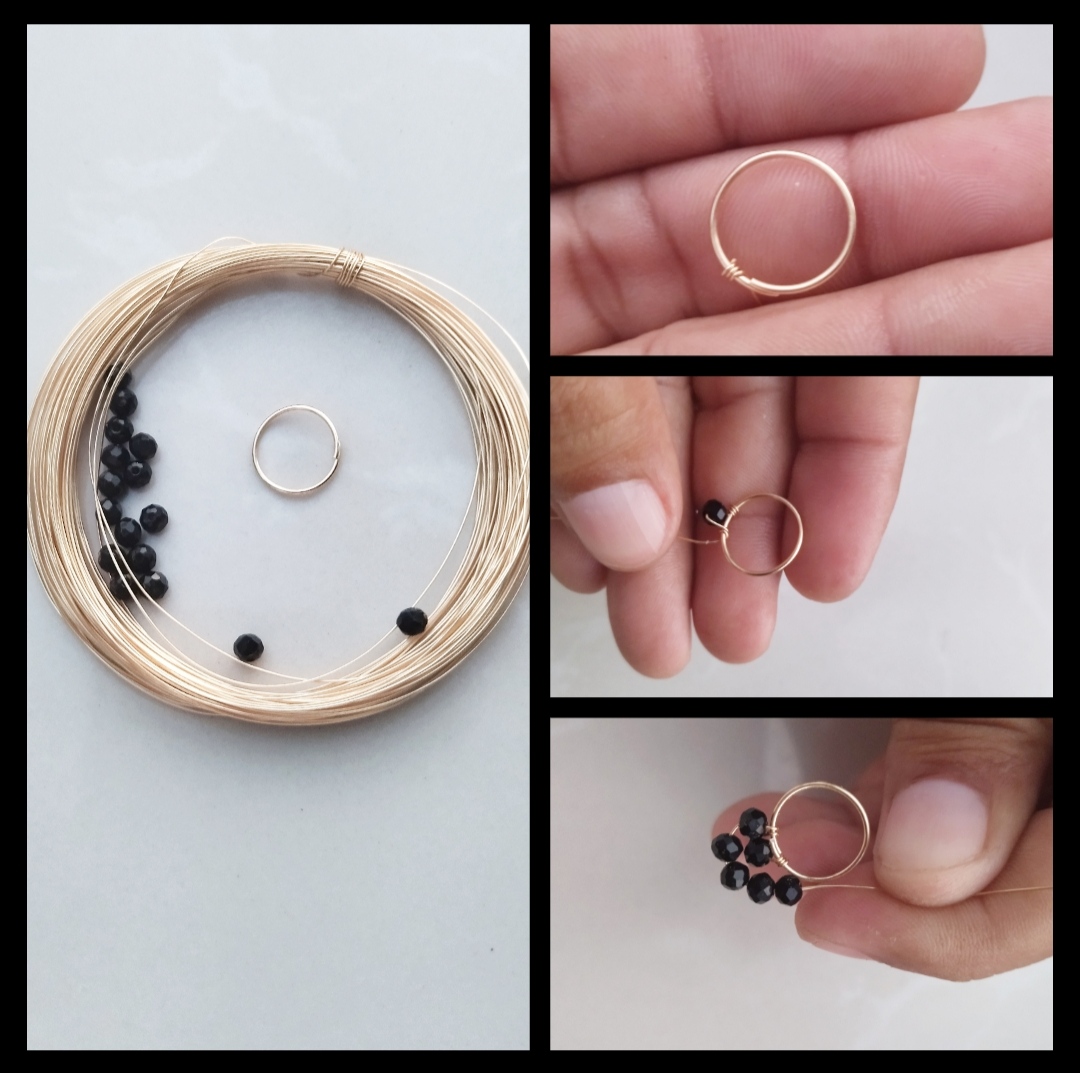
Step 1: To begin we are going to take the wire 20 the pliers and first we will make the two bases for the tendril as you can see these tendrils have two parts so we will first make the base now we will start first we will make a round one we can help ourselves with a round object to that it is very round then we will make another round but a little smaller but to this round we will leave a piece of wire which we will bend downwards and then backwards and as you can see we already have the first two pieces .
Paso 1: Para empezar vamos a tomar el alambre 20 las pinzas y primero aremos las dos base para el zarcillo como pueden ver estos zarcillos tiene dos parte entonces aremos primero la base ahora empezaremos primero aremos un redondo nos podemos ayudar con algún objeto redondo para que nos quede bien redondo luego aremos otro redondo pero un poco más pequeño pero a este redondo le dejaremos un trozo de alambre el cual doblaremos hacia abajo y luego hacia atrás y como pueden ver ya tenemos las dos primera pieza
Step 2: now we will begin to decorate our first piece, which is the largest round to begin with, we must take wire 26 and the black crystals. Now we will begin first, we take the tip of the wire and twist it or secure it in the round, then we insert a stone and secure the other side by turning it a few times, then we will insert other stones and secure the other side again and thus until we have three lines of stones
Paso 2: ahora empezaremos adornar nuestra primera pieza que es el redondo más grande para empezar debemos tomar alambre 26 y los cristales negros ahora empezaremos primero tomamos la punta del alambre y la entorchamos o aseguramos en el redondo luego metemos una piedra y aseguramos del otro lado dándole unas vueltas luego meteremos otras piedras y aseguramos del otro lado nuevamente y así asta tener tres líneas de piedras.
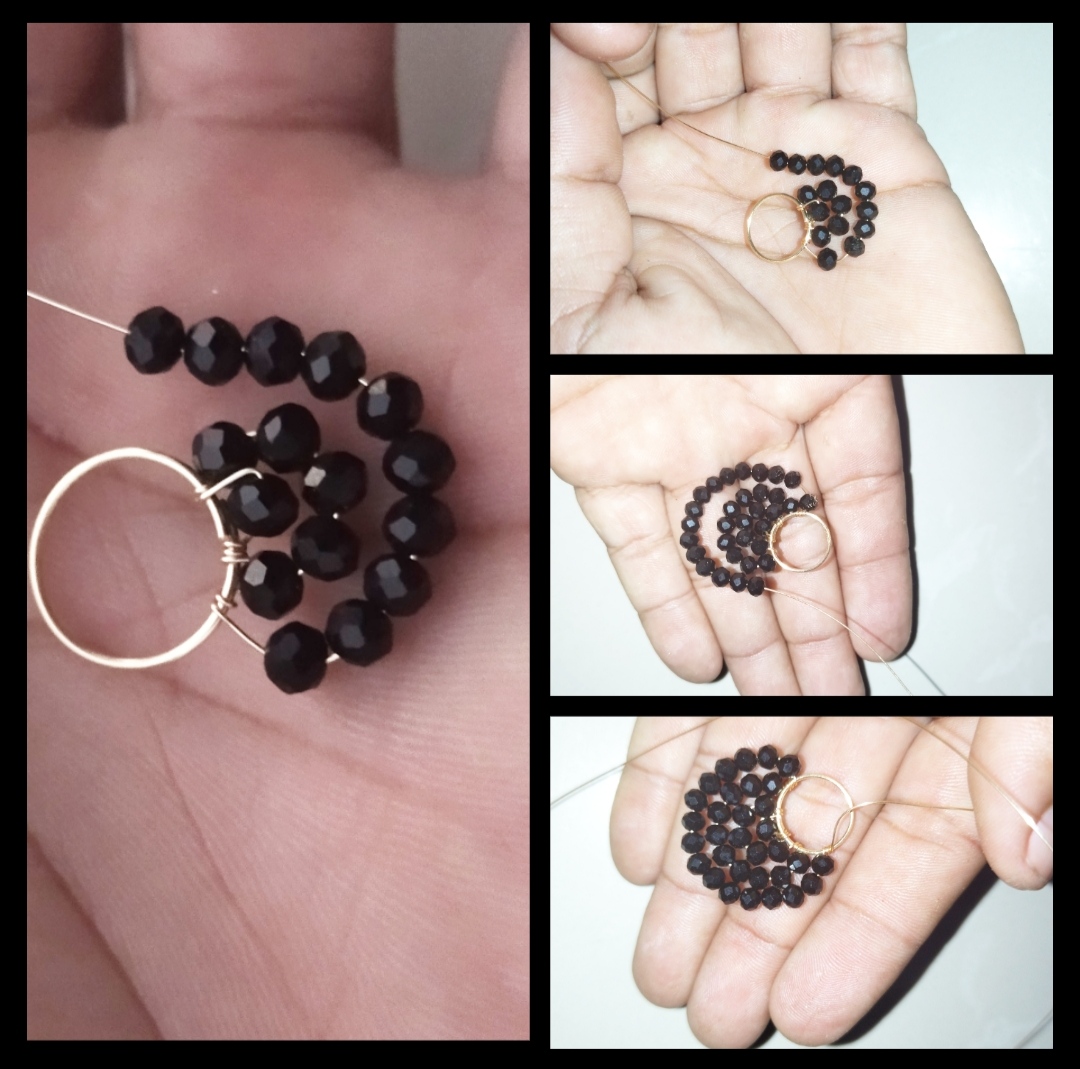
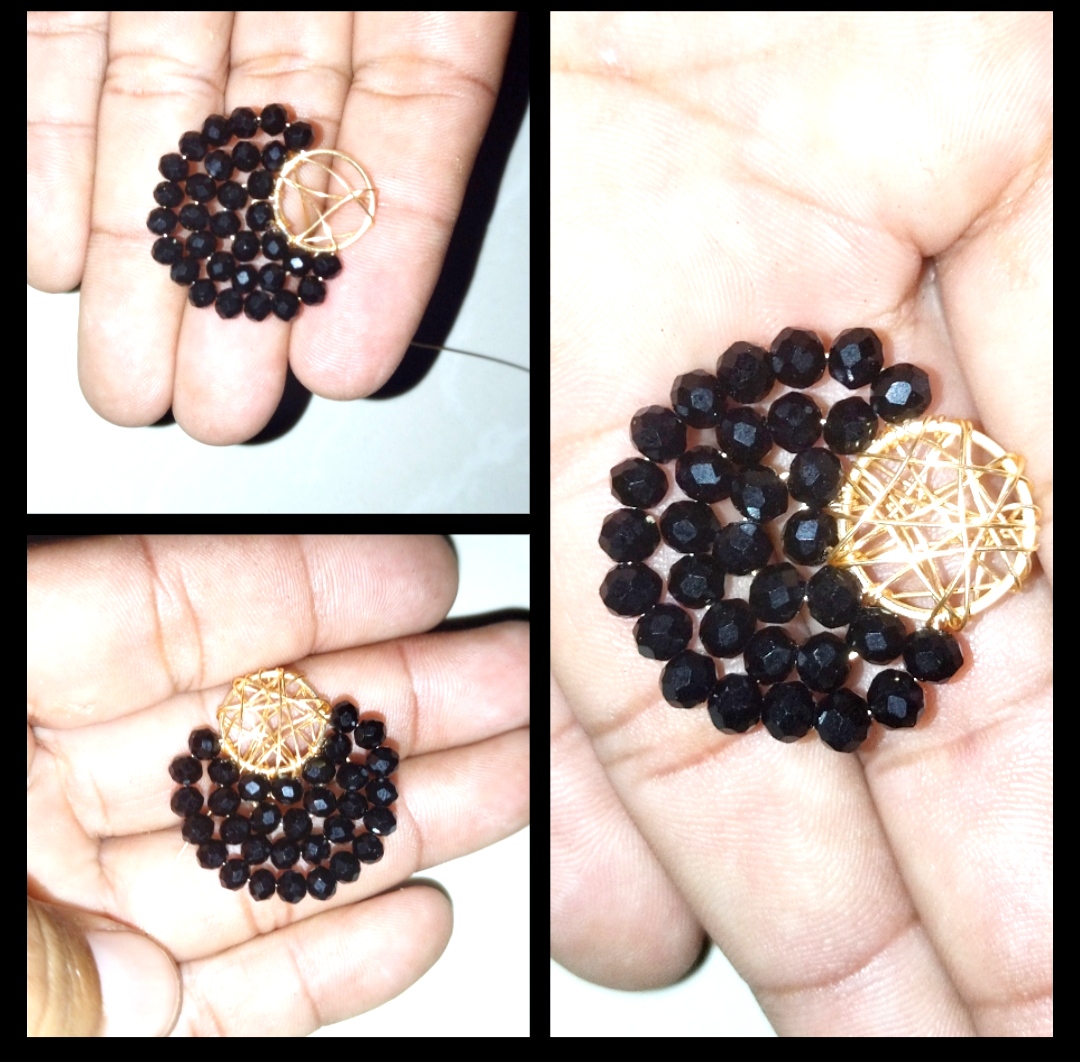
Step 3: In our third step we will continue working on the same piece we will decorate it a little more as you can see in the photo do not cut the wire because with that same wire we are going to braid in the middle of the r where we will do it with a lot of patience but I assure you how super easy we just have to be careful when weaving the wire
Paso 3: En nuestro tercer paso seguiremos trabajando en la misma pieza la adornaremos un poco más como pueden ver en la foto no corte el alambre porque con ese mismo alambre vamos a trenzar en medio del r dondo lo aremos con mucha paciencia pero les aseguro que super fácil solo debemos de tener cuidado al tejer el alambre
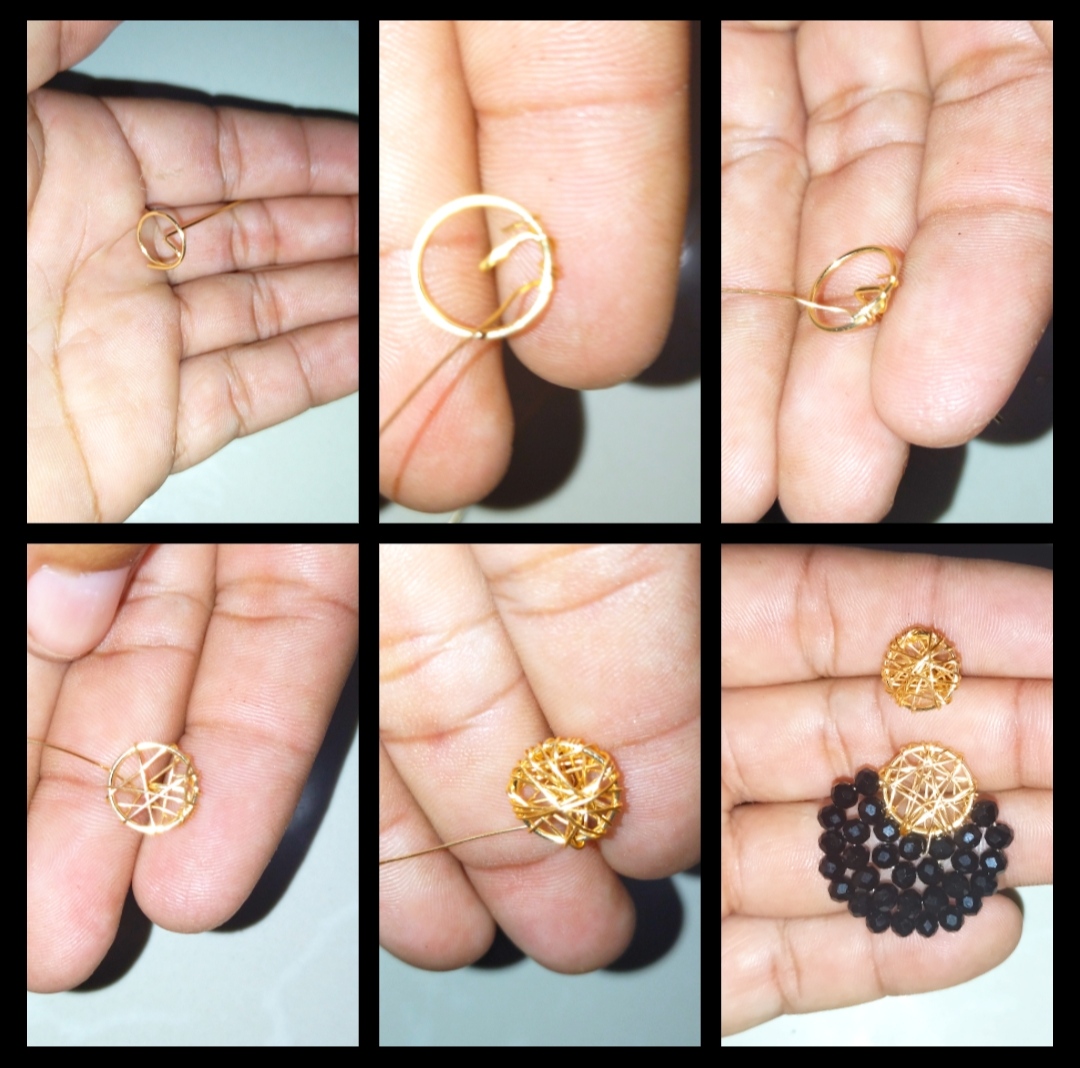
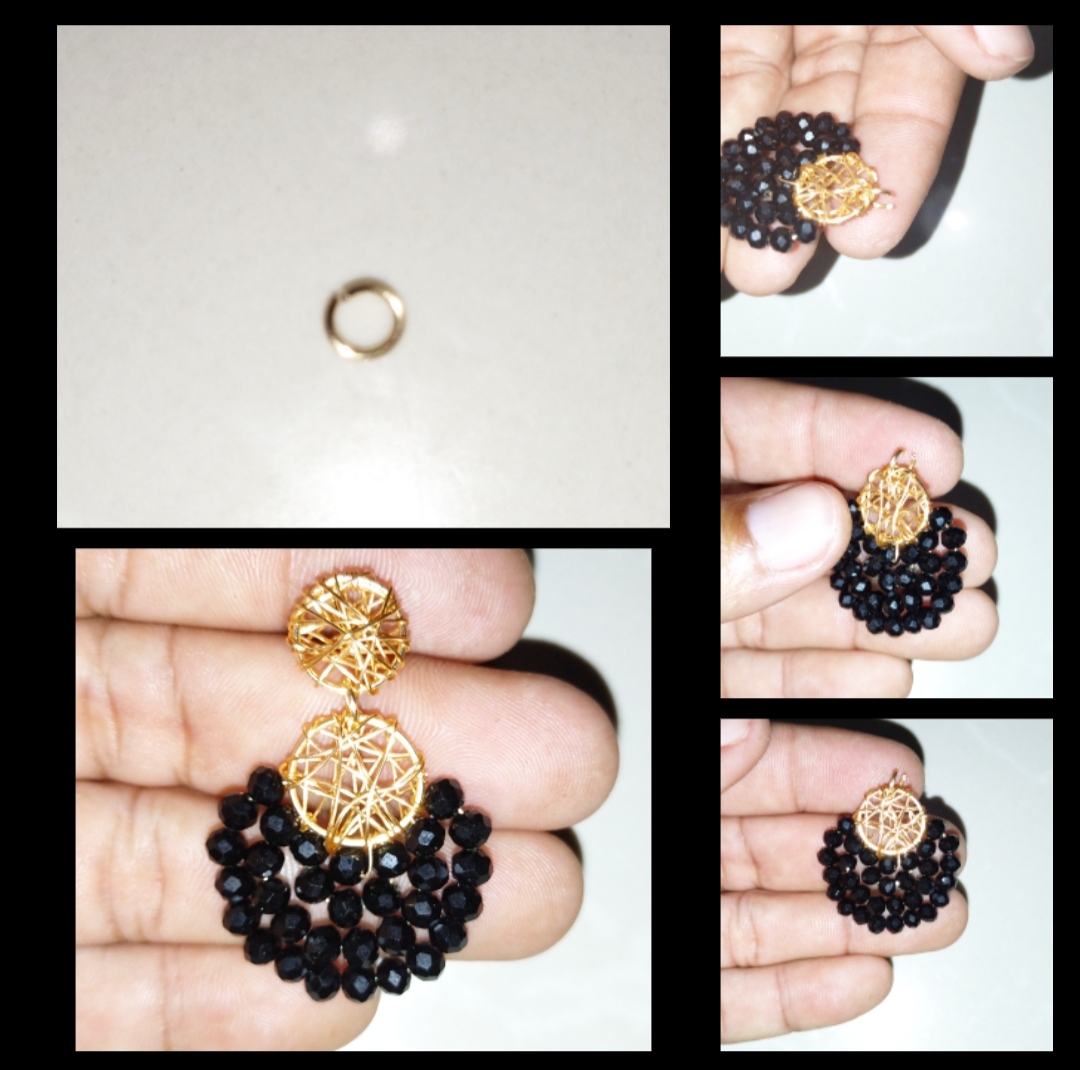
Step 4: Well we are already in the last step I hope you are doing well in this step we will work on our second piece which is the small round to begin with we will take a piece of 26 gauge wire this step we will do it in the same way as the third step we must weave the wire then after weaving we will join the two pieces and to join it we must make a small round which we will put on the edge of each piece and ready we already have a beautiful super easy tendril I hope you like it and have a happy night.
Paso 4: Bueno ya estamos en el último paso espero lo esté haciendo bien en este paso trabajaremos en nuestra segunda pieza que es el redondo pequeño para empezar tomamos un pedazo de alambre calibre 26 este paso lo aremos de igual manera que el tercer paso debemos tejer el alambre luego luego de teje uniremos las dos pieza y para unirla debemos hacer un pequeño redondo el cual pondremos en el borde de cada pieza y listo ya tenemos un hermoso zarcillo super fácil espero les guste que pasen una feliz noche.
<Beautiful Wire Rope Tendrils
<Hermosos zarcillos en Alambrismo
Todas las Fotos son de mi autoría y fueron tomadas con mi Celular Redmi 9T
Thank you for sharing this post in the DIYHUB Community!
Your content got selected by our fellow curator semarekha & you just received a little thank you upvote from us for your great work! Your post will be featured in one of our recurring compilations which are aiming to offer you a stage to widen your audience within the DIY scene of Hive. Stay creative & HIVE ON!
Please vote for our hive witness <3
It's really looks nice, life is easy when someone step into something that's so valuable, so nice