Aretes de moño / Bow earrings
Hola querida comunidad de #Jewelry, hoy Les traigo un tutorial para hacer unos bonitos zarcillos. Hace poco vi estos aretes en Pinterest y me llamaron mucho la atención ya que son súper lindos y sencillos de hacer y te da un toque coquette.
Hace unos días hice un tutorial haciendo unos anillos de lazo vi que a muchos de ustedes les gustó y quise hacer estos aretes de lazo.
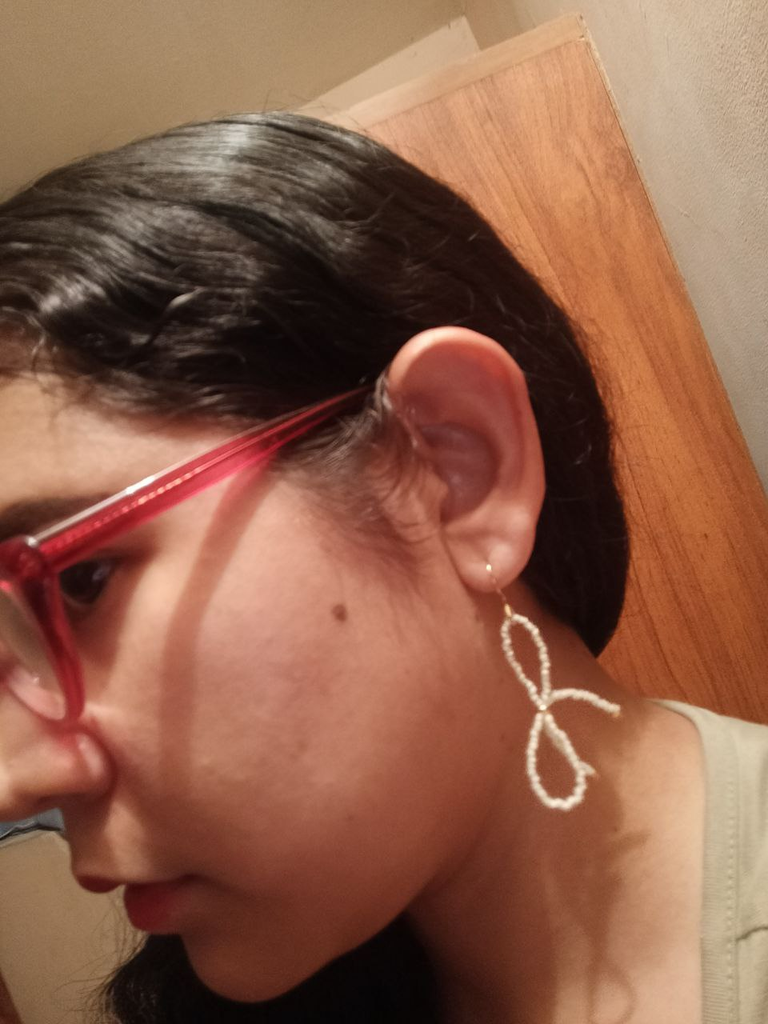
En lo personal no puedo usar zarcillos porque sufro de alergias, ya que luego se me inflaman los lóbulos de la oreja. Pero igual me animé a hacerlos para que muchos de ustedes puedan crear unos bellos zarcillos y lucirlos 💕
Hello dear #Jewelry community, today I bring you a tutorial to make some beautiful earrings. I recently saw these earrings on Pinterest and they caught my attention because they are super cute and easy to make and give you a flirty touch.
A few days ago I did a tutorial making some bow rings, I saw that many of you liked it and I wanted to make these bow earrings.
Personally, I cannot wear earrings because I suffer from allergies, since then my earlobes become inflamed. But I still decided to make them so that many of you can create beautiful tendrils and show them off 💕
Materiales que usé:
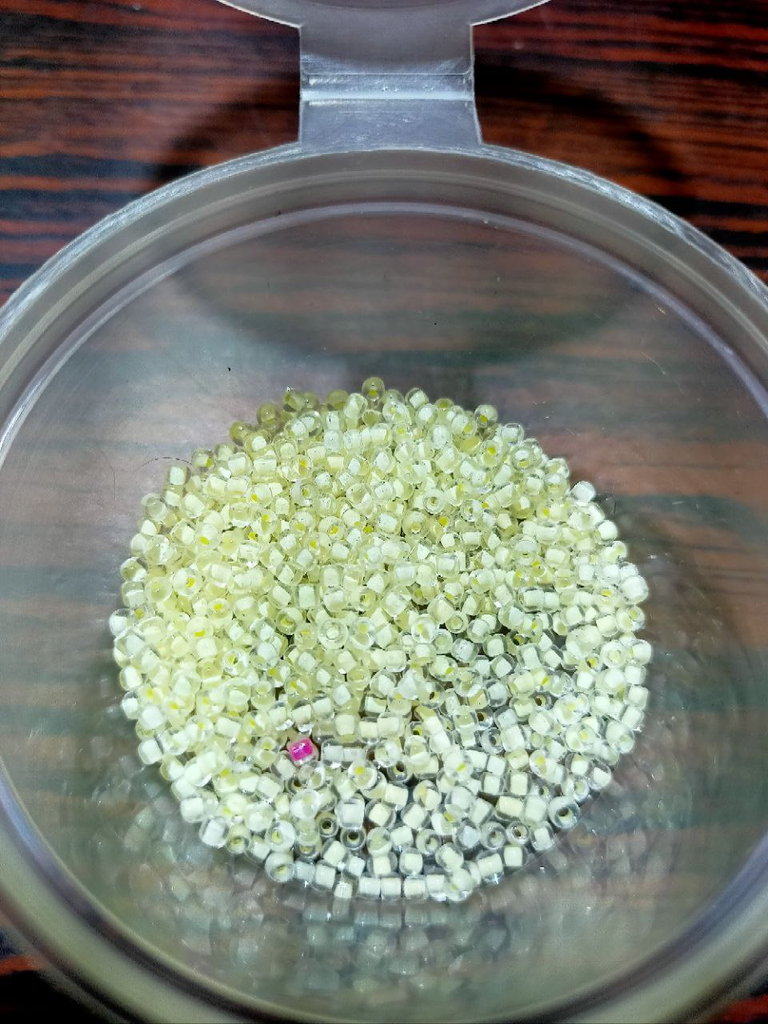
✅Mostacilla color pastel
✅2 balines dorados
✅Un par de anzuelos
✅Un par de aros dorados
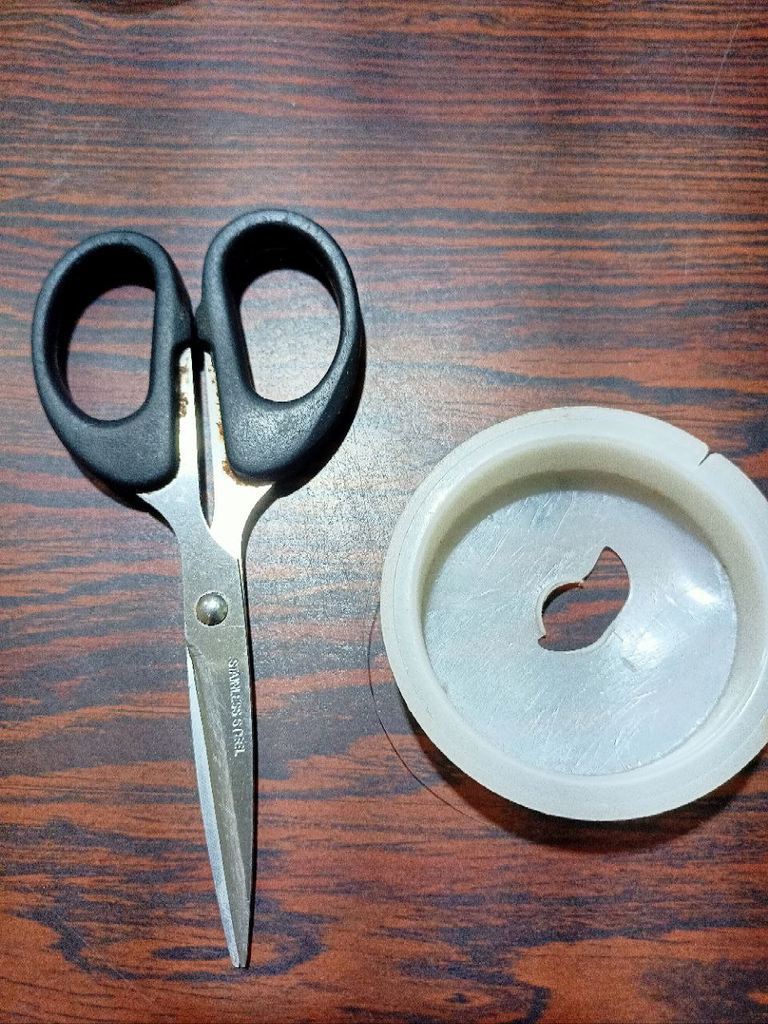
✅Tijeras
✅Nylon
Materials I used:
✅Pastel mustacilla
✅2 golden pellets
✅a couple of hooks
✅A pair of golden earrings
✅Scissors
✅Nylon

Proceso:
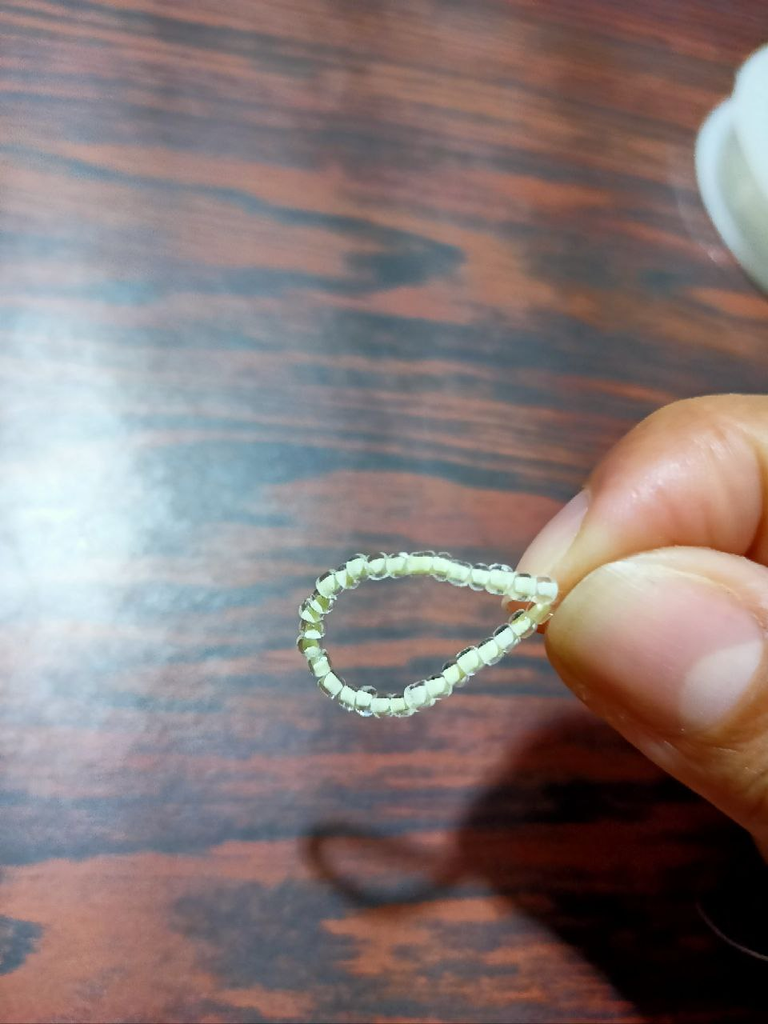
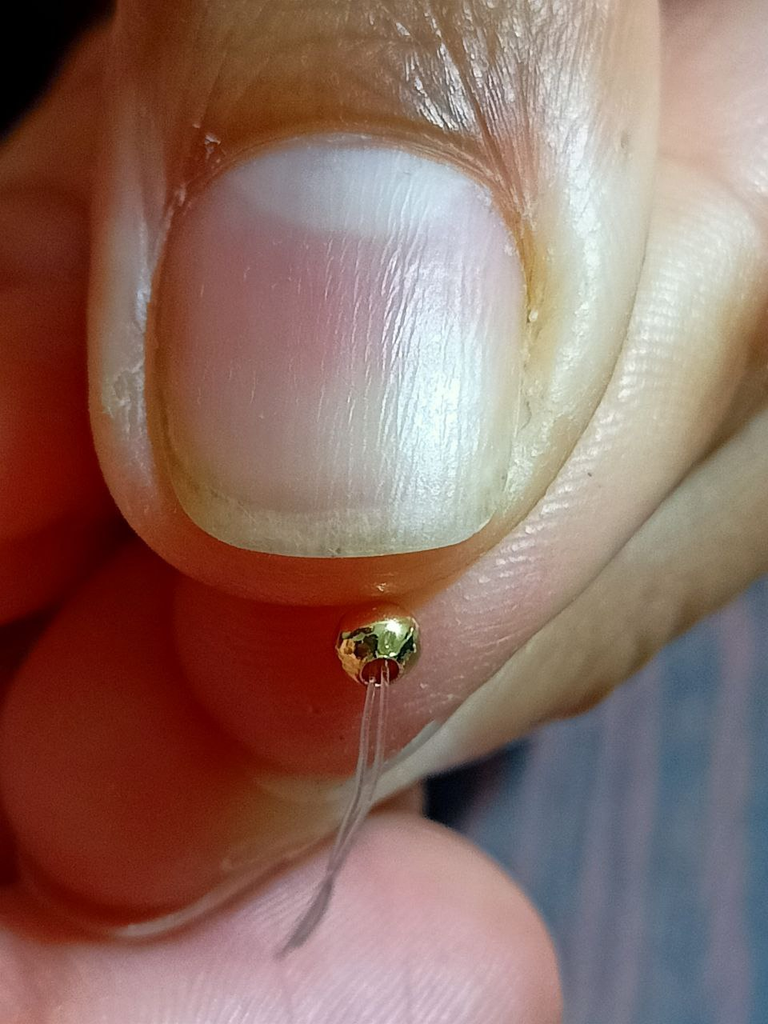
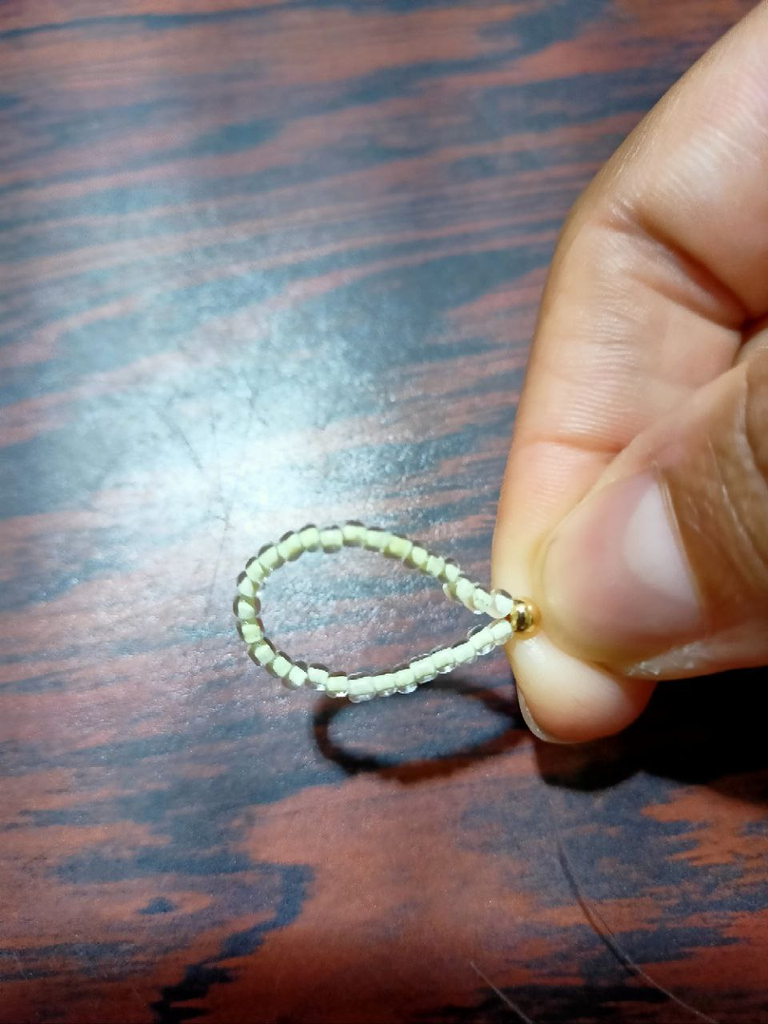
Primero tomé un pedazo de nylon en mi caso tomé aproximadamente 20 cm sé que es mucho, pero me gusta que sobre y que no falte luego comencé introduciendo varias mostacillas. Para hacer la primera oreja del lazo usé 30 mostacillas, porque no quiero que se vea muy pequeño, si ustedes quieren usar mucho más para que se vea más grande o mucho menos queda a la elección personal. Luego uní los dos extremos del nylon y metí un balín dorado.
Process:
First I took a piece of nylon, in my case I took approximately 20 cm, I know it's a lot, but I like it to be extra and not missing. Then I started introducing several beads. To make the first ear of the bow I used 30 beads, because I don't want it to look too small, if you want to use much more to make it look bigger or much less is up to personal choice. Then I joined the two ends of the nylon and inserted a golden pellet.
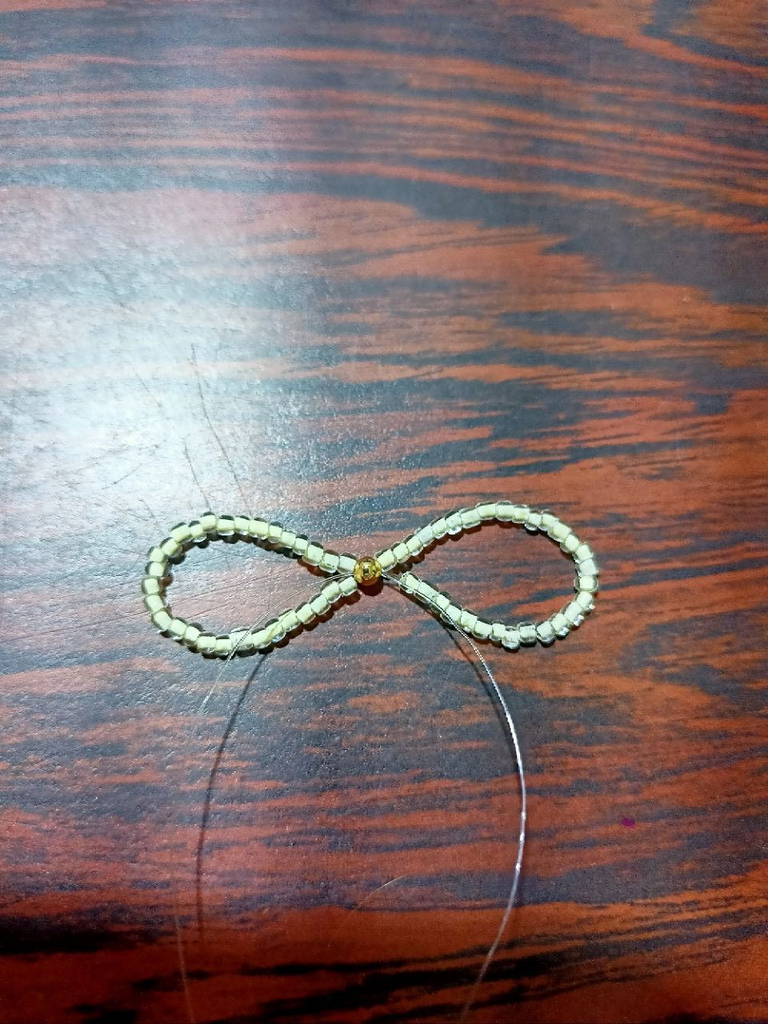
Como tercer paso comencé metiendo por uno de los hilos de nylon más mostacillas, esto para realizar la segunda oreja del lazo Igualmente volví a meter 30 mostacillas para que quedara parejo con la que ya había realizado anteriormente. Luego la punta del hilo por el cual metí las mostacillas la voy a introducir por el balín que está en el medio del lazo, procedo a jalar y ya estaría formado nuestro lazo.
As a third step, I began by inserting more beads through one of the nylon threads, this to make the second ear of the bow. I also added 30 beads again so that it would be even with the one I had already made previously. Then I will insert the end of the thread through which I put the beads through the ball that is in the middle of the loop, I proceed to pull and our loop will be formed.
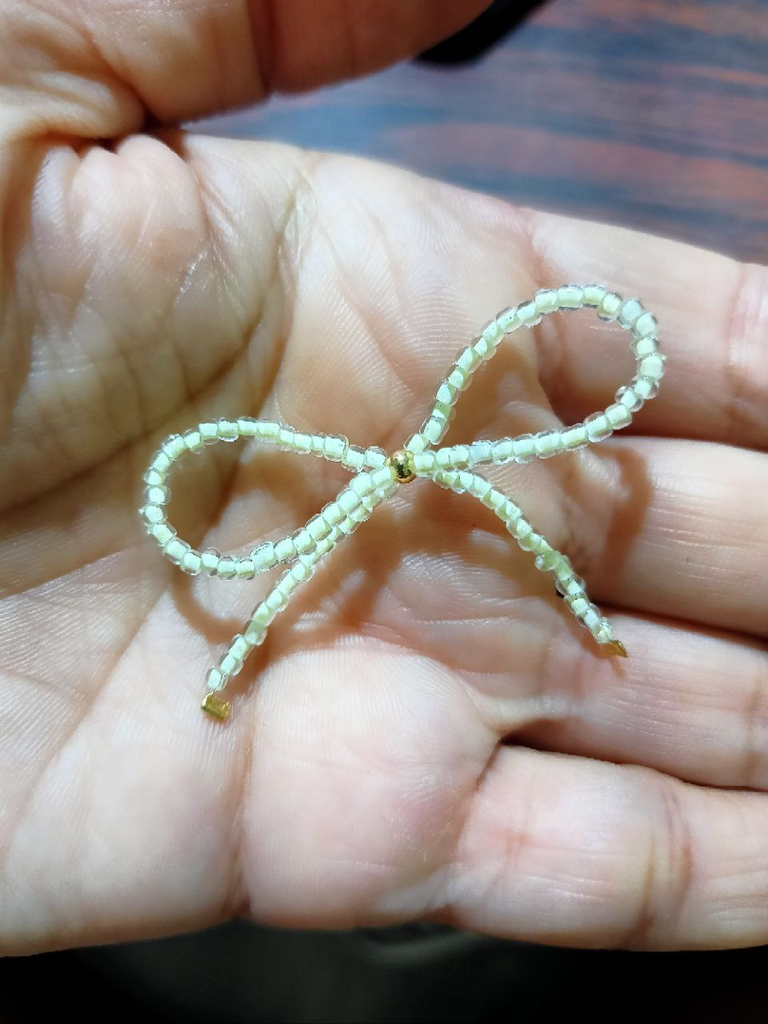
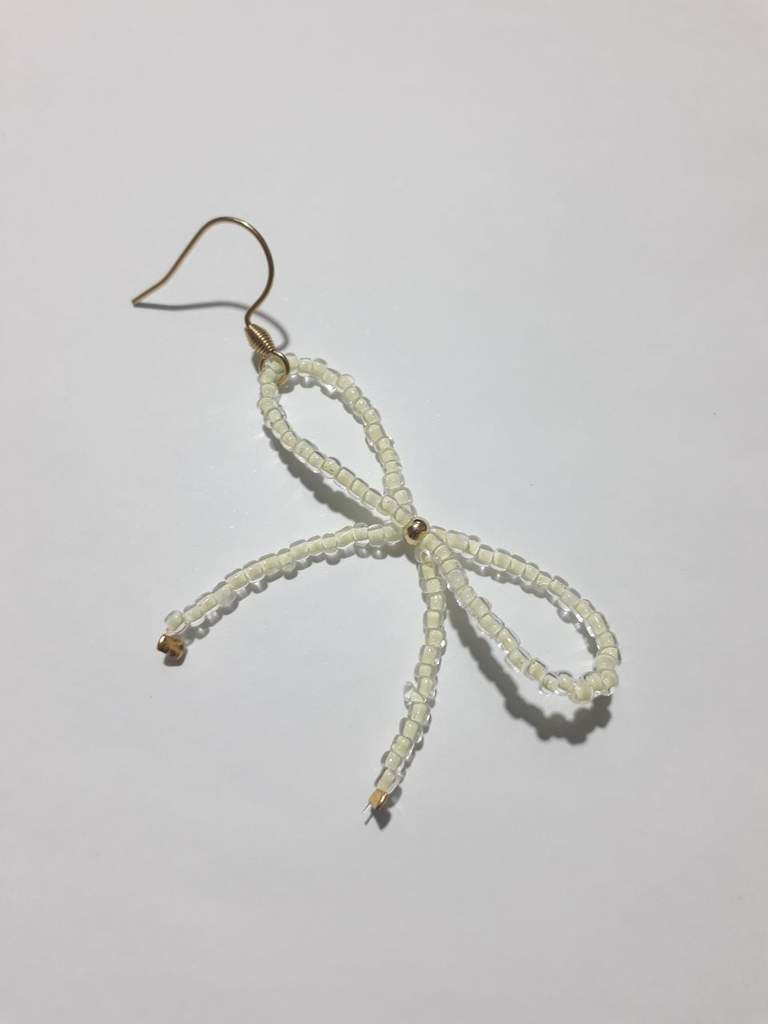
Luego los dos hilos que quedaron de cada uno de los lados del lazo voy a rellenarlos con más mostacillas para hacer la cola del lazo, usé por cada hilo 15 mostacillas. Una idea para ustedes es que pueden colocar más mostacillas en uno de esos hilos, para que quede con una linda asimetría.
Una vez le hayan introducido las mostacillas a la cola del lacito pueden decidir si al final cerrarlo con un nudo con el mismo nylon o con un escalachin, que son unos pequeños abalorios de metal el cual se introducen y se aplastan con una pinza para fijar nuestras demás piedras en mi caso decidí colocarlos en las puntas para que las demás mostacillas no se salieran.
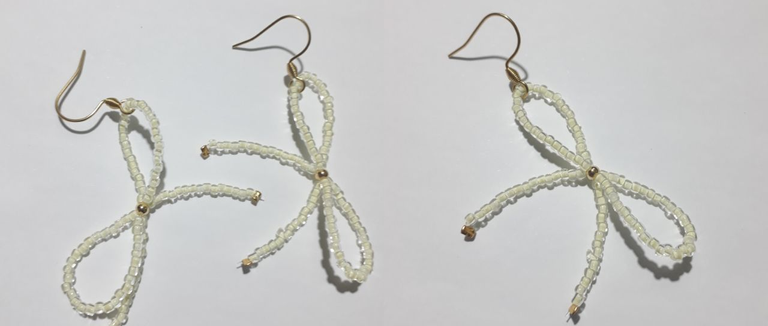
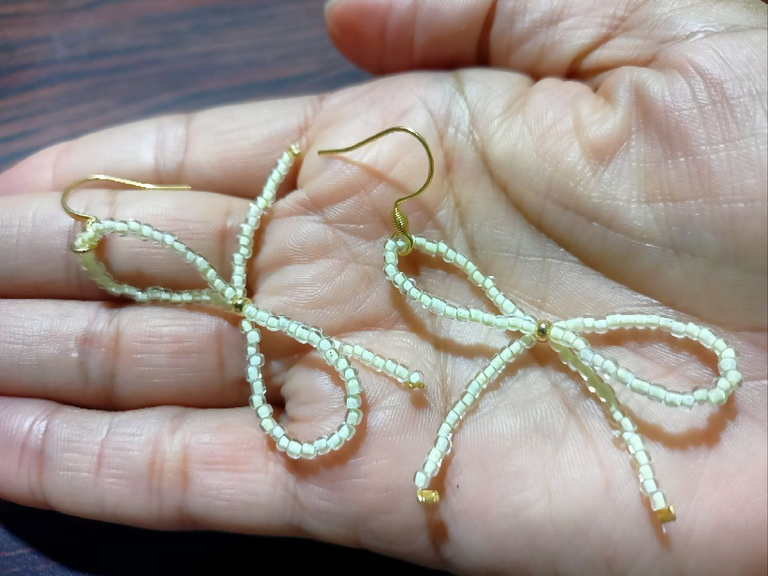
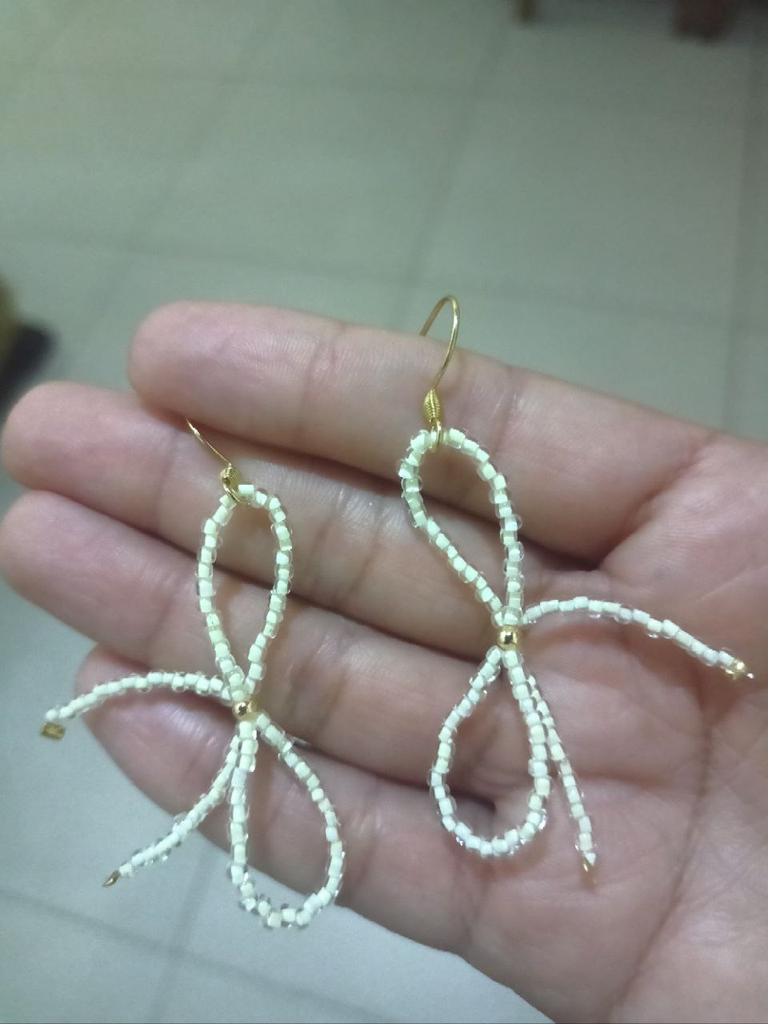
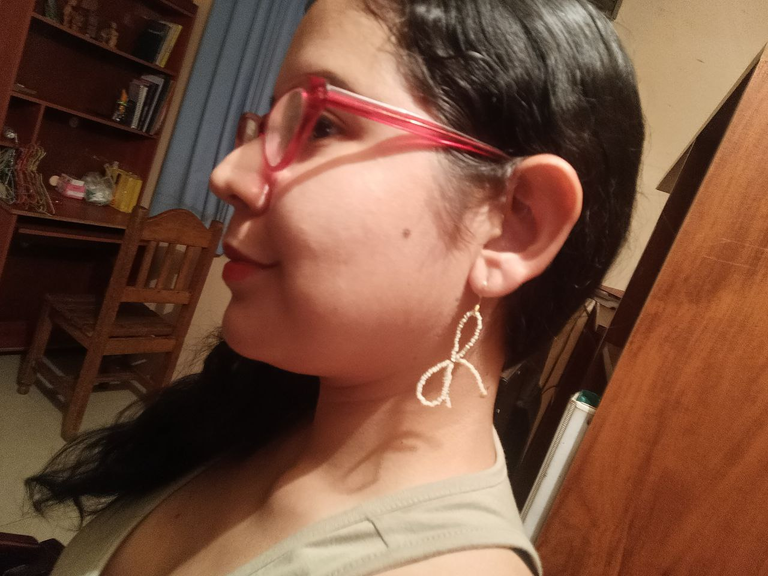
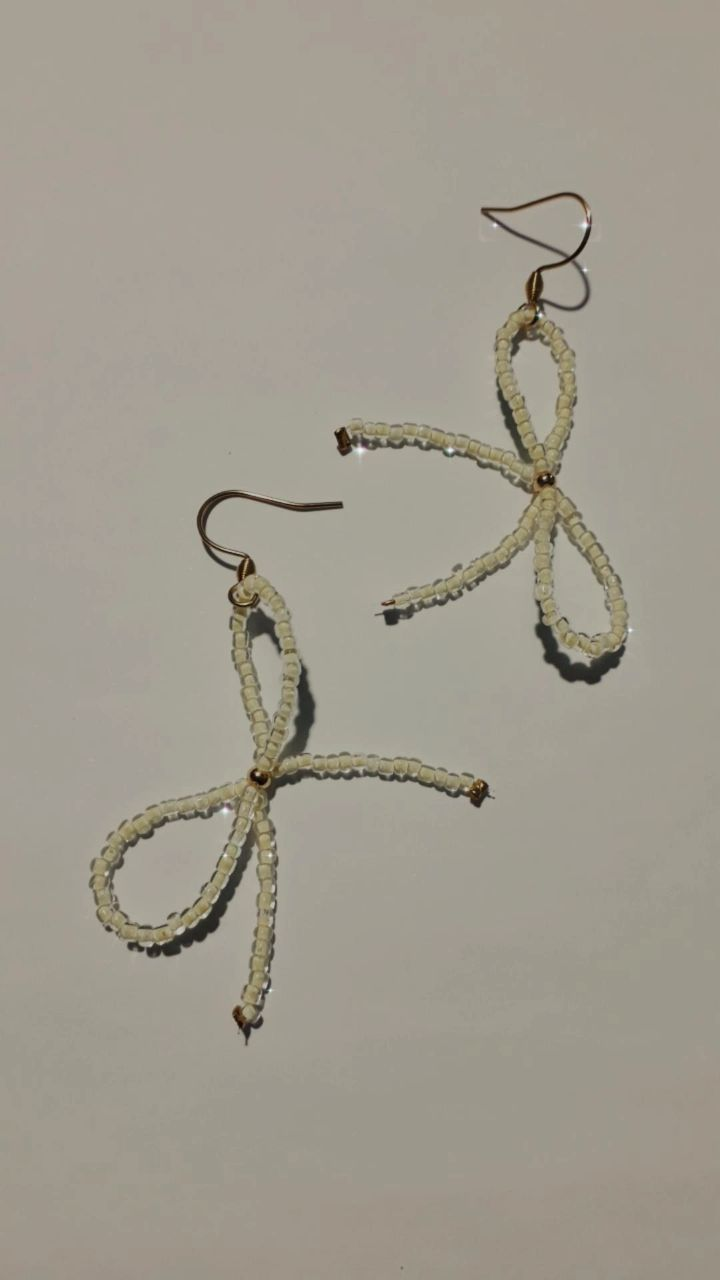
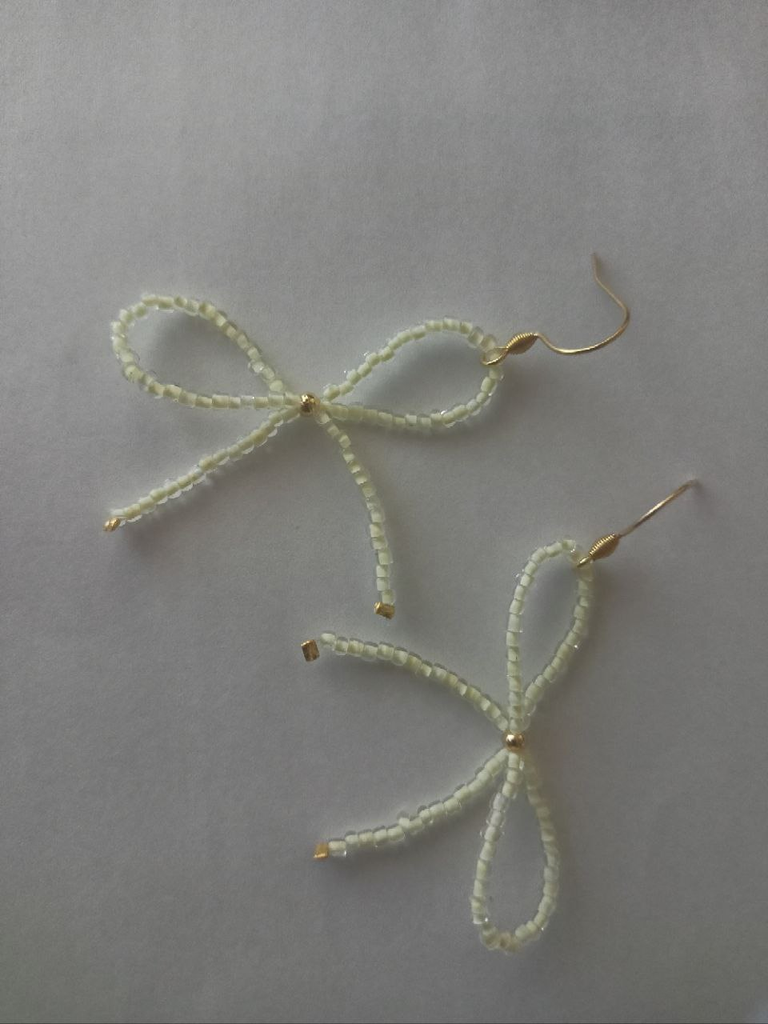
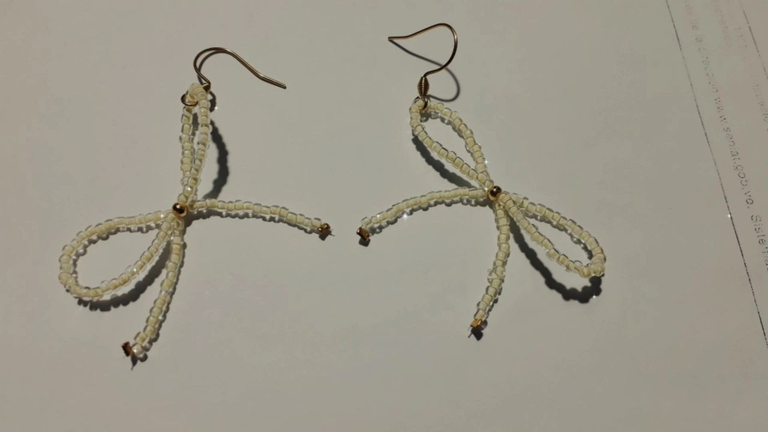
Hacemos el mismo procedimiento con el segundo lacito para tener nuestro par de zarcillos. Y este es el hermoso resultado, un bellísimo par de sarcillos, ideales para lucir en cualquier ocasión. Es una lástima que yo no pueda usarlos, pero será un bello regalo para mi madre.
Then I am going to fill the two threads that were left on each side of the bow with more beads to make the tail of the bow, I used 15 beads for each thread. An idea for you is that you can place more beads on one of those threads, so that it has a nice asymmetry.
Once you have inserted the beads into the tail of the bow, you can decide whether to close it with a knot with the same nylon or with an escalachin, which are small metal beads that are inserted and crushed with tweezers to fix our beads. Other stones in my case I decided to place them on the tips so that the other beads would not come off.
We do the same procedure with the second bow to have our pair of tendrils. And this is the beautiful result, a beautiful pair of earrings, ideal to wear on any occasion. It's a shame that I can't use them, but it will be a beautiful gift for my mother.
Espero les haya gustado este tutorial. ¡Hasta un próximo post!
I hope you liked this tutorial. Until a next post!
Hermoso trabajo y la energía se le escritura un deleite, saludos !DOOK
You just got DOOKed!
@fonestreet thinks your content is the shit.
They have 8/200 DOOK left to drop today.
Learn all about this shit in the toilet paper! 💩
Muchas gracias por valorar mi trabajo 🤗. ¡Saludos!
Those are cute!
!INDEED
Sending you an Ecency curation vote
(5/50)
@alejandrabm1! @melinda010100 Totally agrees with your content! so I just sent 1 IDD to your account on behalf of @melinda010100.
thank you 😀
The earrings look beautiful, I love the style and the color.
thank you! It's good that you liked them ❤️
This earing look so beautiful. Thanks for sharing
Thanks for your support 😀🤗
It looks elegant and beautiful. It shows your creativity. Love it. Keep up the good work!
The bow earrings looks nice and beautiful, I love it, thanks for sharing
I'm glad you liked them. Thank you for commenting 🤗😍